16 Gardening Tips For Growing Delicious Bell Peppers (And How To Avoid Common Mistakes)
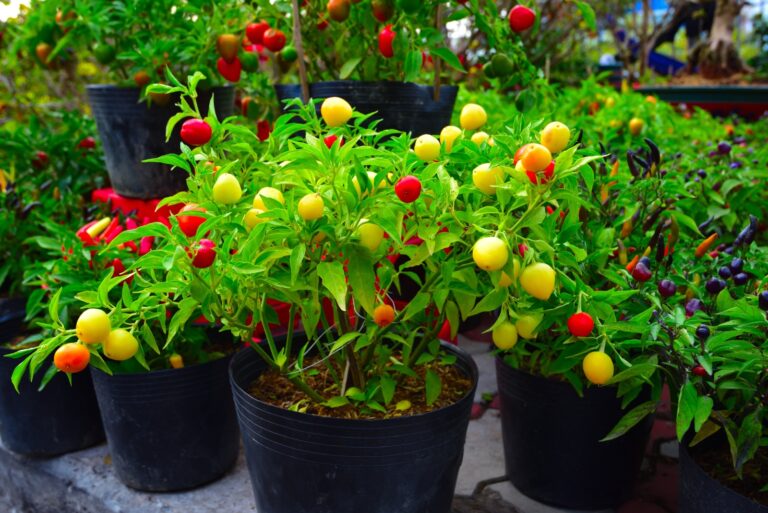
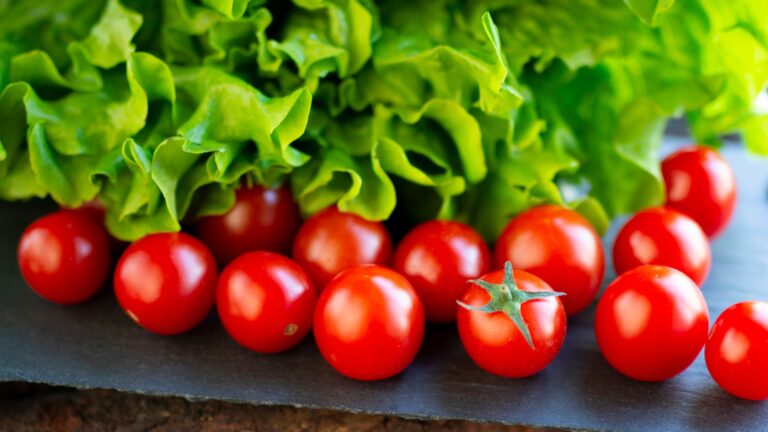
Bell peppers can turn any garden bed into a vibrant patch of edible jewels. With their crisp texture and sweet flavor, they’re a go-to for salads, stir-fries, and snacking straight off the vine. Growing them well is a satisfying win for both taste and color.
Whether you’re just getting started or already have dirt under your nails, knowing what peppers need makes all the difference. Sunshine, consistent watering, and a touch of compost give these plants the boost they crave to produce rich, flavorful fruit.
Watch out for common missteps like overcrowding, uneven watering, or letting pests sneak in. With the right care and a few smart habits, your bell peppers can flourish—and your kitchen will be all the better for it.
1. Start Seeds Early Indoors
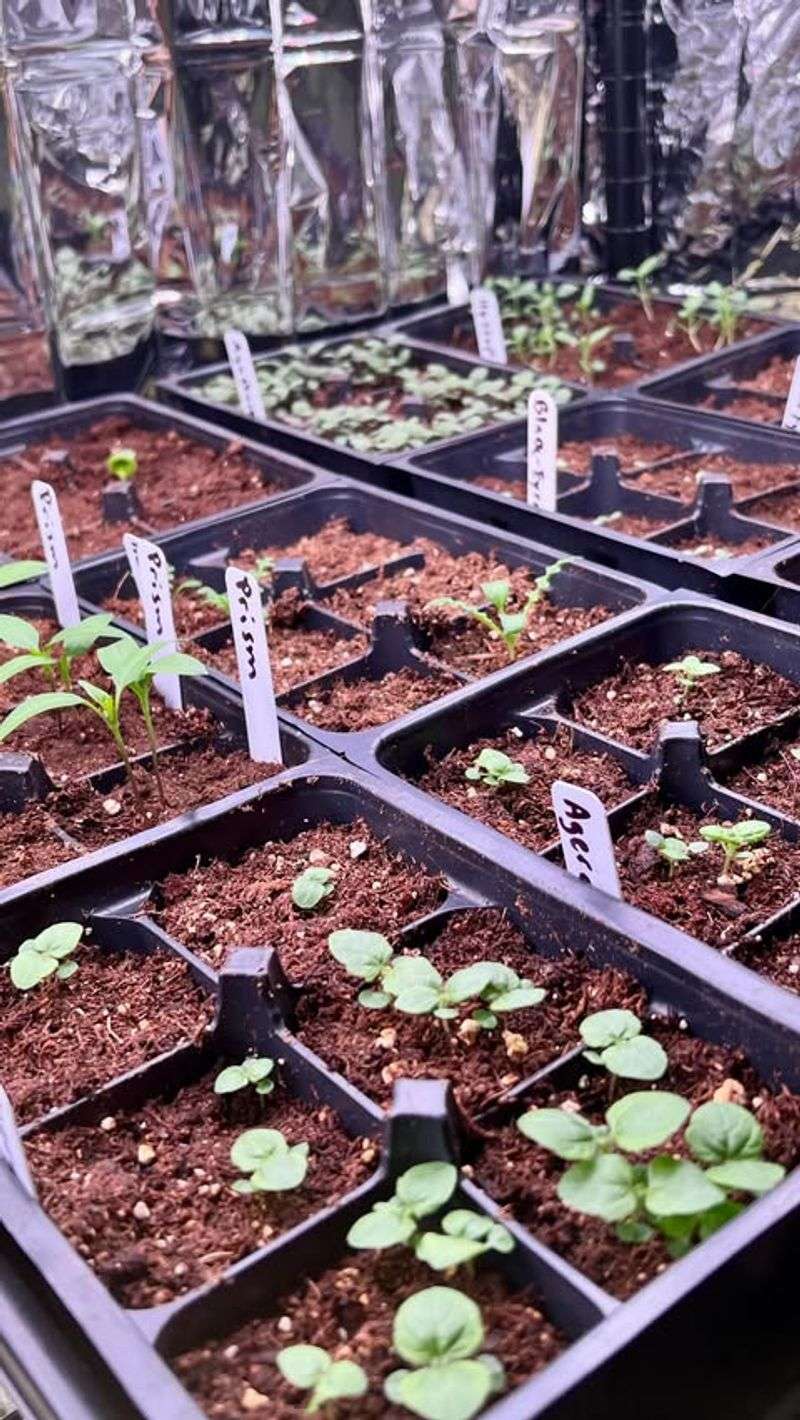
Bell peppers need a long growing season to reach their full potential. Starting seeds indoors 8-10 weeks before your last frost date gives them the head start they need.
Place seed trays in a warm spot (around 80°F) to encourage germination. Many gardeners make the mistake of planting directly outdoors too early, resulting in stunted growth.
I learned this lesson when my first pepper crop barely produced any fruit. Now I mark my calendar every January to begin my indoor pepper nursery.
2. Harden Off Seedlings Properly

The transition from indoor protection to outdoor conditions needs to be gradual. Expose seedlings to outdoor conditions for increasing periods over 7-10 days before permanent transplanting.
Rushing this process is a rookie error that can shock or kill your carefully nurtured plants. Start with just an hour of outdoor time, gradually increasing exposure.
For my first pepper crop, I skipped this step entirely and watched my plants wilt dramatically. That sunburn took weeks to recover from!
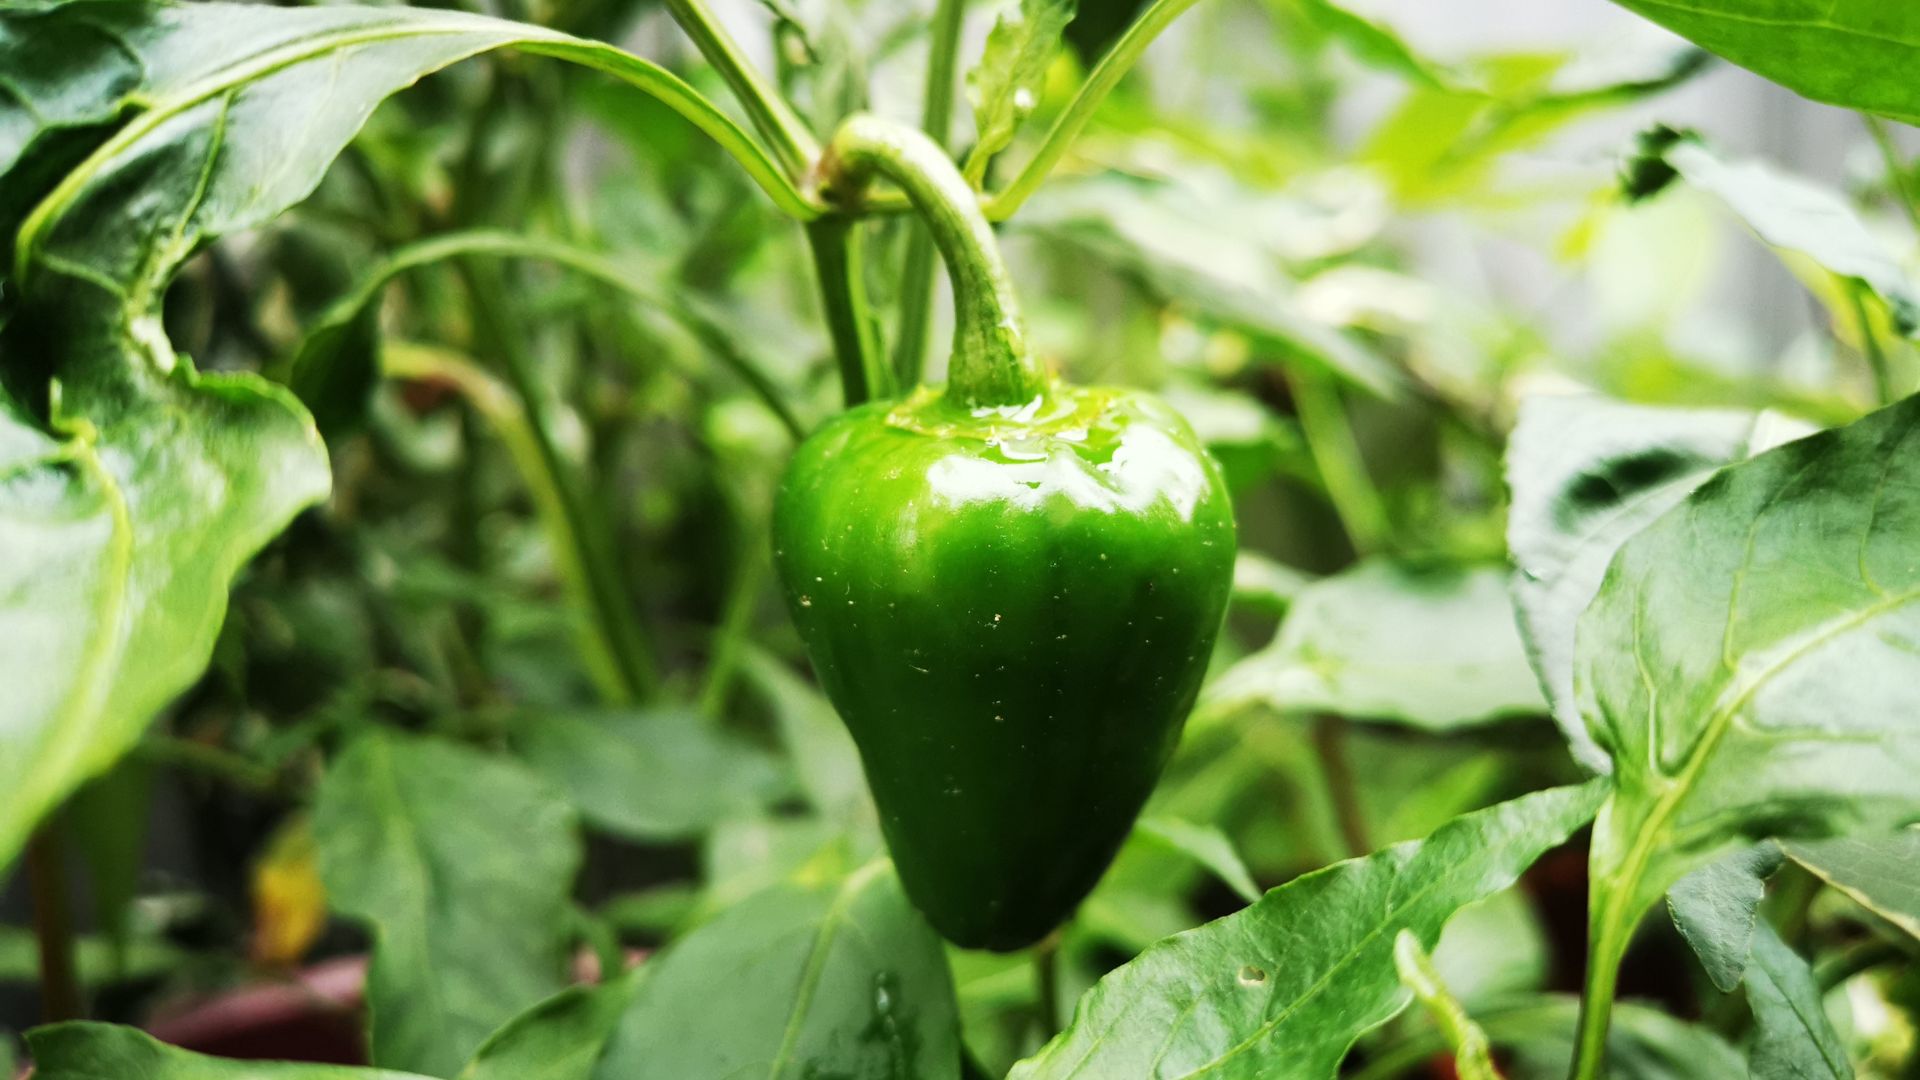
3. Choose The Perfect Planting Location
Bell peppers thrive in full sun – at least 6-8 hours daily. Southern exposure works wonders for these heat-loving plants, but afternoon shade in extremely hot climates prevents sun scald.
Many gardeners underestimate peppers’ light requirements, placing them in partial shade where they’ll produce fewer fruits. The soil temperature matters too – peppers prefer it warm.
When I moved my pepper bed from the east side to the south side of my garden, my harvest nearly doubled. The extra hours of direct sunlight made all the difference.
4. Space Plants Generously

Crowding peppers is a common mistake that leads to disease and reduced yields. Allow 18-24 inches between plants and 24-36 inches between rows for proper air circulation.
When plants touch, moisture gets trapped on leaves, creating perfect conditions for fungal diseases. Proper spacing also prevents competition for nutrients and water.
The year I tried to maximize my small garden by planting peppers just 12 inches apart, I ended up with half the harvest and twice the disease problems. Sometimes less really is more!
5. Enrich Soil With Compost
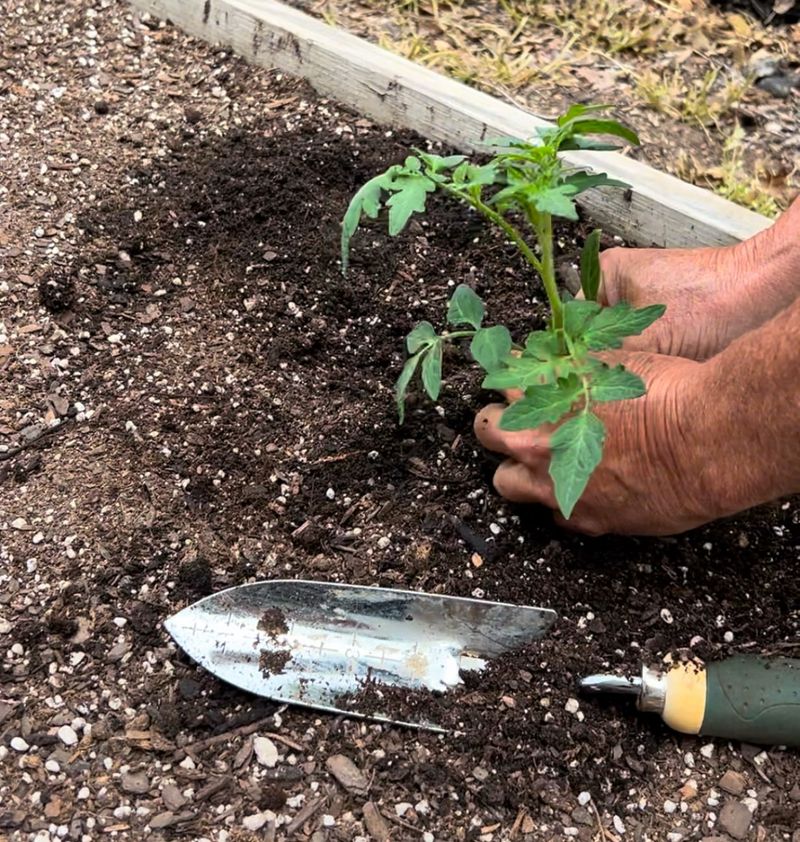
Peppers are heavy feeders that deplete soil quickly. Working 2-3 inches of compost into your garden bed before planting provides essential nutrients and improves drainage.
Many gardeners skip this step, thinking fertilizer alone is sufficient. Without organic matter, soil becomes compacted, limiting root growth and nutrient absorption.
The difference between my compost-enriched beds and plain soil is striking – the enriched peppers grow nearly twice as tall with glossy leaves that signal plant health.
6. Test And Adjust Soil pH
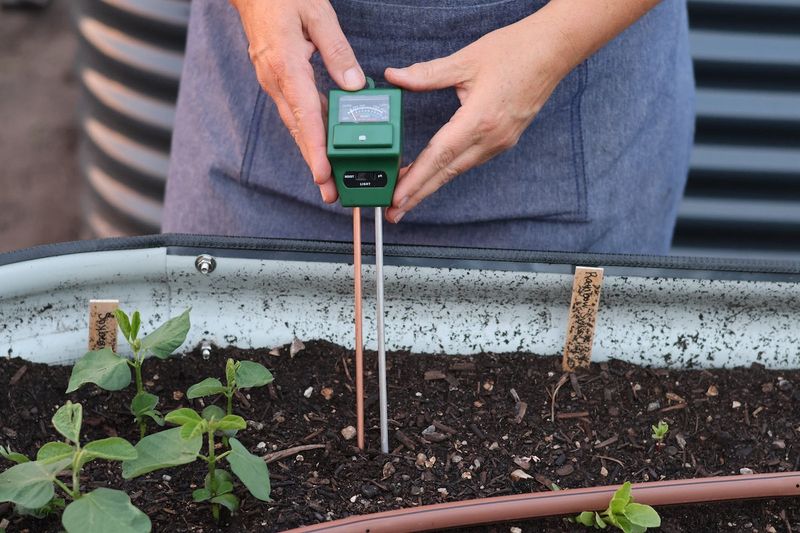
Bell peppers prefer slightly acidic soil with a pH between 6.0 and 6.8. Outside this range, plants struggle to absorb nutrients even when they’re present in the soil.
Buying a simple soil test kit can save your entire crop. Many gardeners skip testing and wonder why their peppers look yellowish despite regular fertilizing.
After battling stunted plants for two seasons, I discovered my soil pH was 7.5. Adding sulfur brought it down to 6.5, and suddenly my peppers flourished with dark green leaves and abundant fruit.
7. Support Tall Varieties
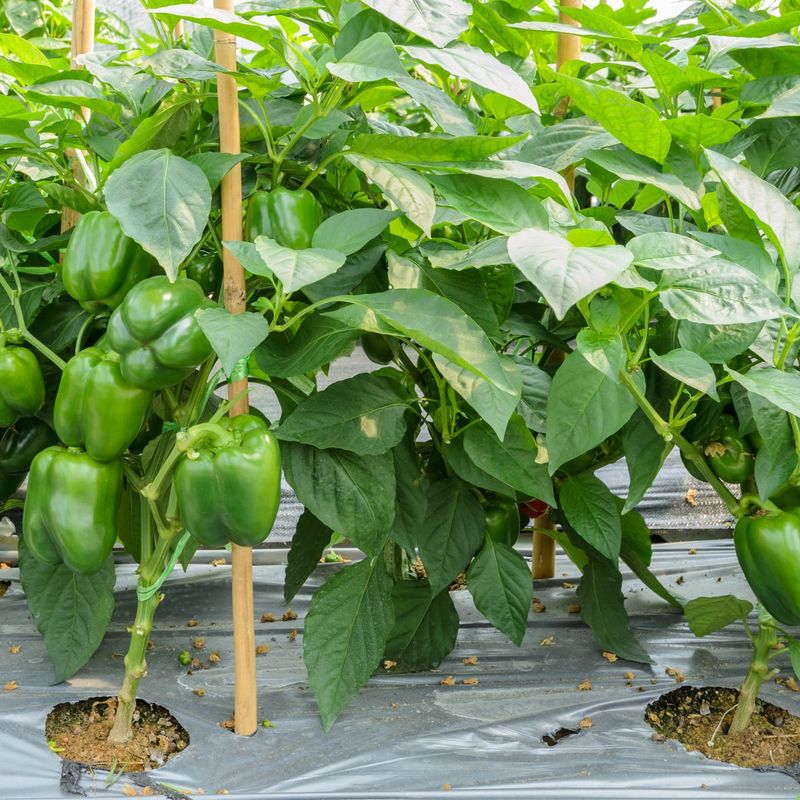
Bell pepper plants can reach 3-4 feet tall and become top-heavy with fruit. Without support, stems break easily, especially after rain or during fruit production.
Cage or stake plants when they’re young, before they need the support. Waiting until plants are large makes it difficult to add support without damaging roots.
I once lost half my harvest when a summer storm knocked over my unsupported plants. Now I place cages at planting time, allowing the plants to grow securely through the season.
8. Water Deeply But Infrequently
Shallow, frequent watering creates weak root systems. Instead, water deeply once or twice weekly, providing 1-2 inches of water each time, allowing soil to dry slightly between waterings.
Inconsistent watering leads to blossom end rot, a common pepper problem where fruits develop dark, sunken spots. The key is maintaining even soil moisture.
During one particularly hot summer, I noticed my peppers dropping their flowers despite regular watering. Switching to deep, weekly watering with mulch on top solved the problem almost immediately.
9. Apply Organic Mulch
A 2-3 inch layer of organic mulch around pepper plants works wonders. It maintains soil moisture, suppresses weeds, and keeps soil temperature consistent – all crucial for pepper production.
Straw, shredded leaves, or grass clippings work well. Just keep mulch an inch away from stems to prevent rot, a mistake many beginners make.
The summer I experimented with mulched versus unmulched pepper rows showed dramatic results. The mulched plants produced until frost while the bare-soil plants struggled through August heat.
10. Feed With Balanced Fertilizer
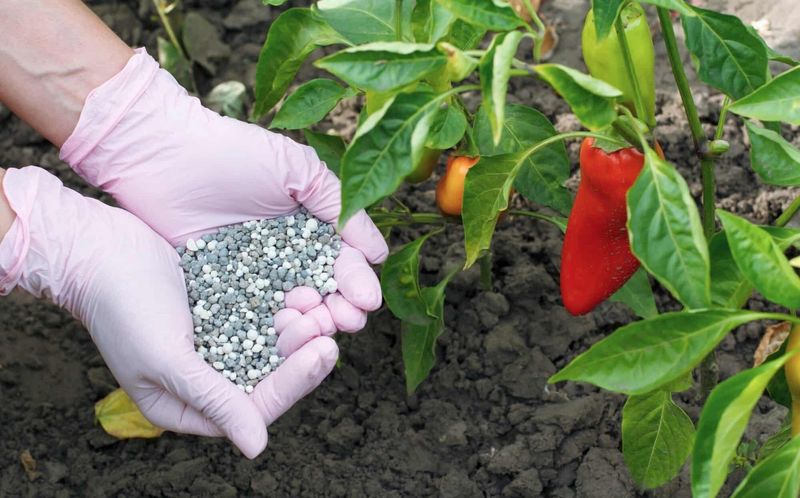
Over-fertilizing is a common mistake that produces lush leaves but few peppers. Use a balanced fertilizer (like 10-10-10) at planting time, then switch to one with less nitrogen (like 5-10-10) when flowering begins.
High nitrogen promotes foliage growth at the expense of fruit production. Follow package directions carefully – more isn’t better with fertilizer.
My first garden produced beautiful pepper plants with hardly any peppers because I used leftover tomato fertilizer too frequently. Less really is more when it comes to feeding peppers!
11. Watch For Blossom Drop
Peppers drop their flowers when temperatures exceed 90°F or drop below 60°F. This natural response to temperature stress often alarms gardeners who think something’s wrong with their plants.
During heat waves, provide afternoon shade with row covers. In cooler climates, black plastic mulch helps warm the soil and protect against cool nights.
After losing early blossoms to a late spring cold snap, I started keeping old sheets nearby to cover plants when temperatures dip unexpectedly. This simple trick has saved many potential peppers!
12. Prevent Sunscald With Leaf Cover
Sunscald appears as large whitish-yellow patches on peppers exposed to intense sun. This common problem occurs when plants lose leaves to disease or pruning, leaving fruits exposed.
Avoid excessive pruning that removes protective foliage. If necessary, use shade cloth during the hottest part of summer to protect developing fruits.
One particularly hot July, half my peppers developed sunscald after I overpruned. Now I focus on maintaining healthy foliage throughout the season rather than trying to shape the plants.
13. Control Pests Naturally
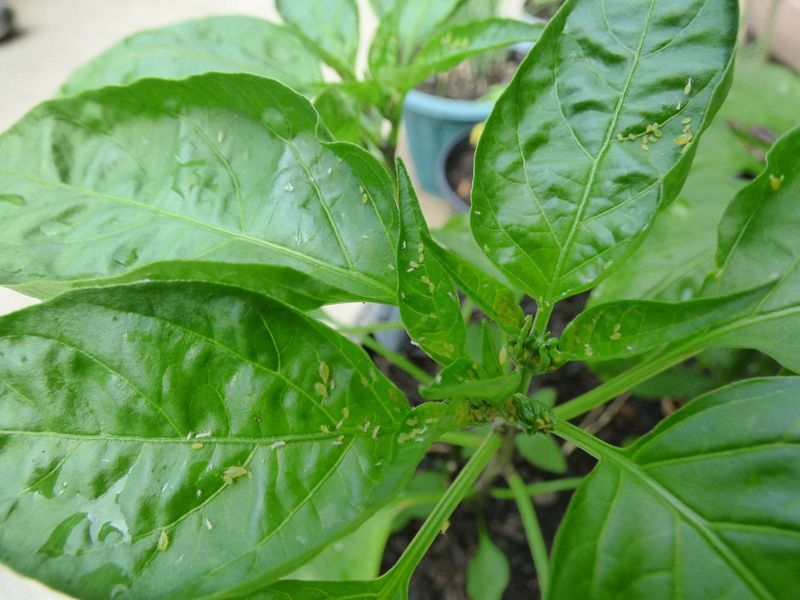
Aphids, hornworms, and pepper weevils love bell peppers as much as we do. Check undersides of leaves weekly for early signs of infestation rather than waiting until damage is extensive.
A strong spray of water removes aphids, while handpicking works for larger pests. For persistent problems, insecticidal soap is safer than chemical options.
Companion planting has dramatically reduced my pest issues. Marigolds and basil planted between pepper rows seem to confuse and repel many common pepper pests.
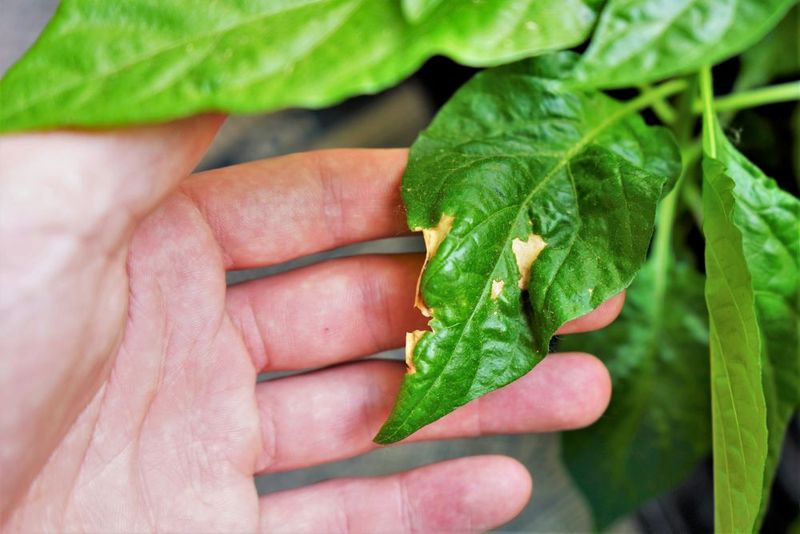
14. Recognize Disease Early
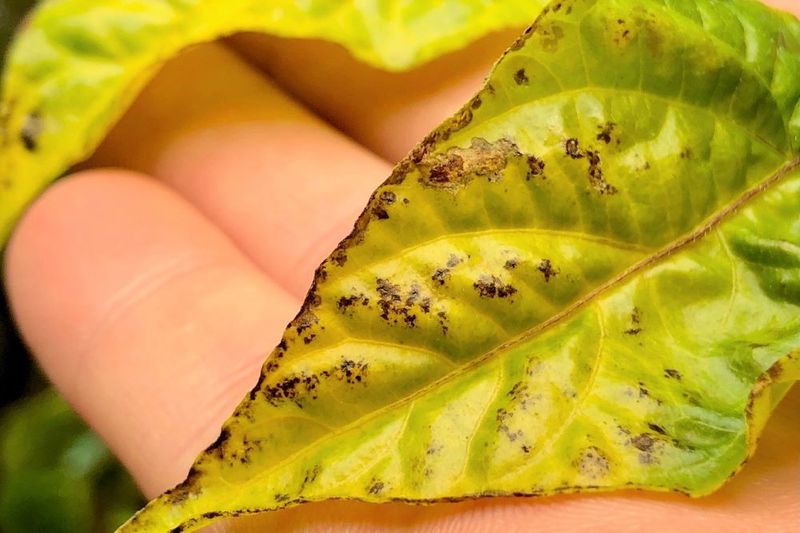
Bacterial leaf spot and powdery mildew can devastate pepper plants. Yellow leaves with dark spots or white powdery patches signal trouble that needs immediate attention.
Many gardeners mistake disease symptoms for nutrient deficiencies, wasting time with fertilizers while infections spread. Good air circulation and avoiding overhead watering prevent most disease issues.
After losing plants to bacterial spot that spread through my entire pepper patch, I now grow resistant varieties and space plants farther apart. Prevention truly beats treatment.
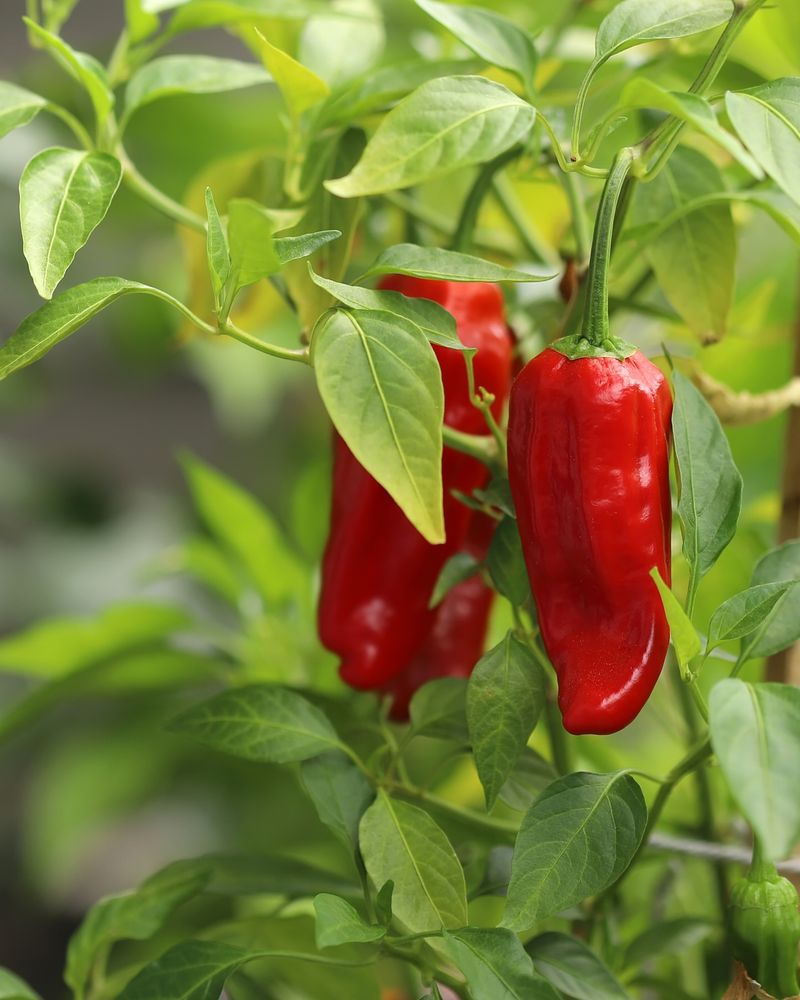
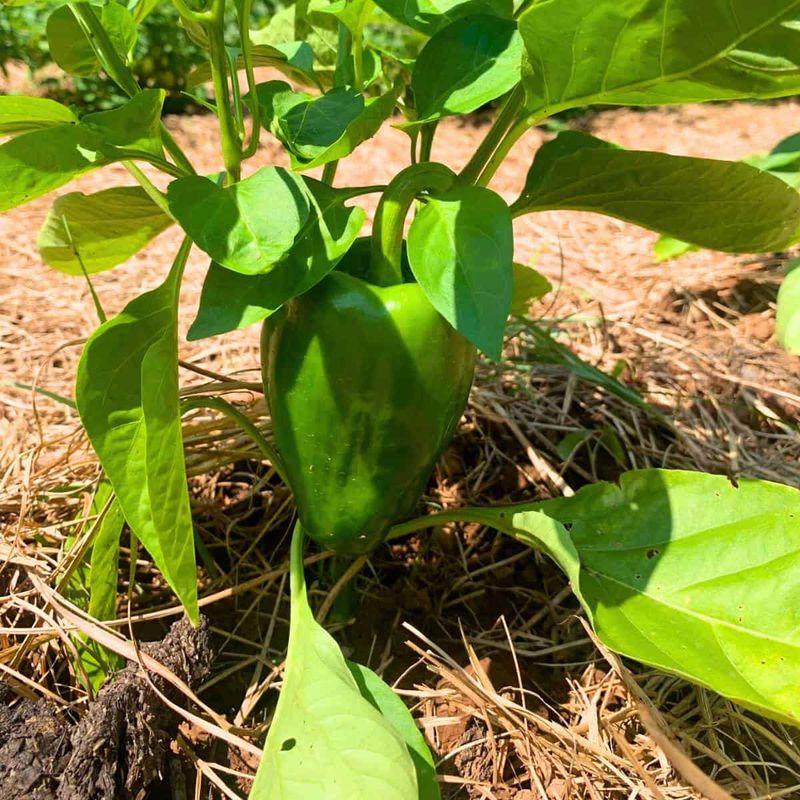
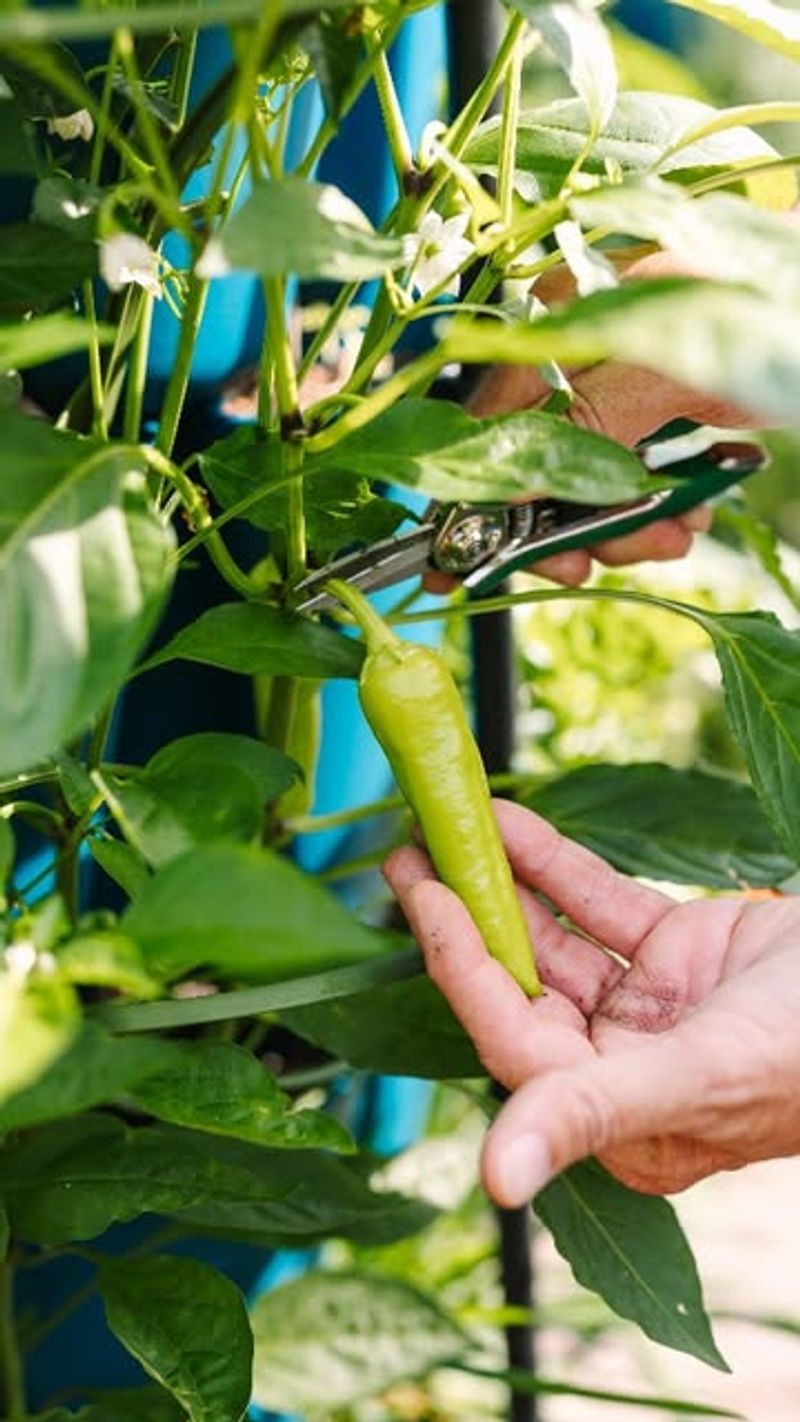
15. Harvest At Peak Ripeness
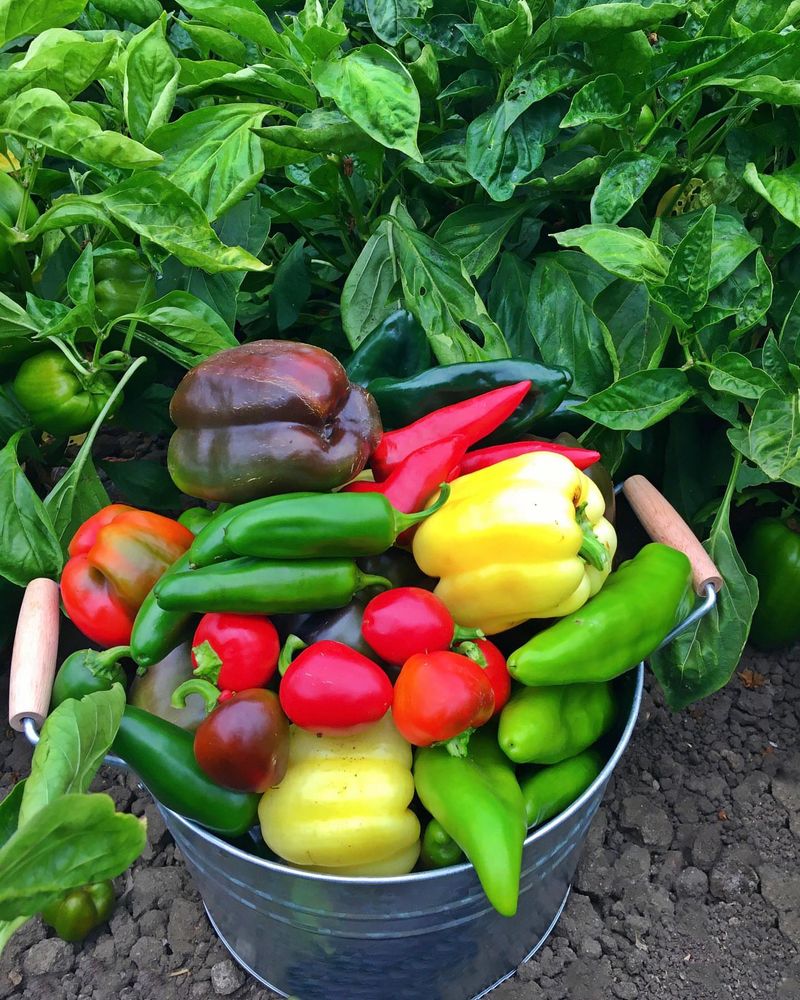
Bell peppers can be harvested when green, but their vitamin content triples when allowed to ripen fully to red, yellow, or orange. Use sharp scissors or pruning shears rather than pulling, which can damage plants.
Many gardeners harvest too early, missing out on sweetness and nutrition. Peppers change from bitter to sweet as they mature.
Patience rewarded me when I left some peppers to fully ripen. The difference in flavor between green and colored peppers from the same plant was astonishing – like completely different vegetables!
16. Extend The Season With Protection
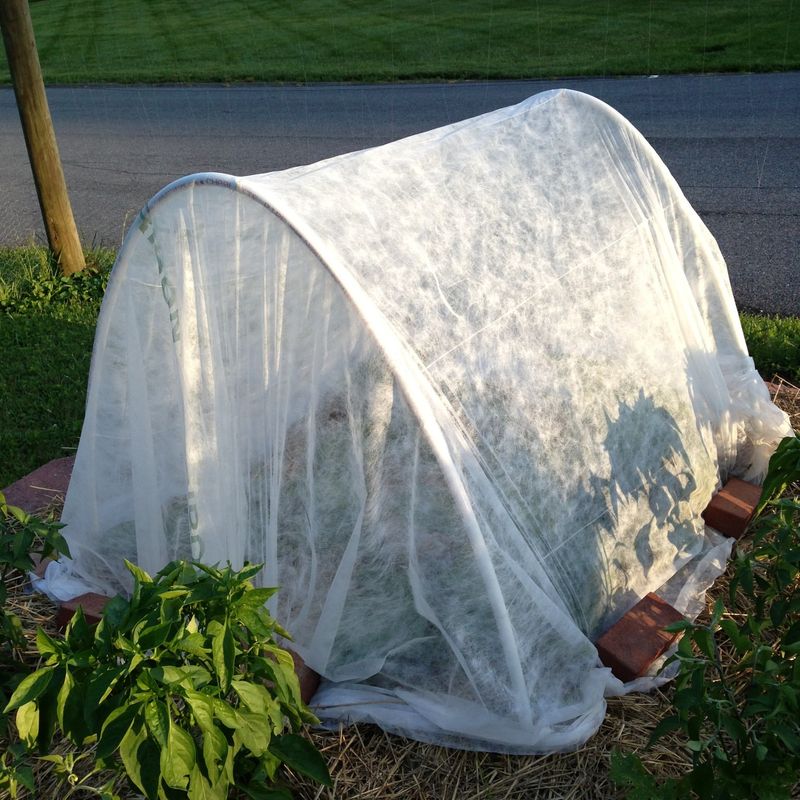
Early fall frosts don’t have to end your pepper harvest. Cover plants with blankets or specialized row covers when temperatures threaten to drop below 50°F.
Many gardeners give up too soon, missing weeks of potential harvest. For container peppers, simply moving pots indoors overnight can extend your season significantly.
Last year, using old bed sheets to cover my pepper rows during three early frosts allowed me to continue harvesting until late October – nearly a month longer than my neighbors!