The 7 Garlic Growing Stages: A Complete Guide
Garlic is one of those veggies that you either love or hate. The taste of garlic is truly unique, but people mainly don’t eat it because of the smell.
One thing is for certain; this Allium species is one of the most frequently grown in home gardens.
For those gardeners out there who want to grow their own garlic, I’ll go through the 7 garlic growing stages and describe what to expect from each stage.
I’ll also answer the question of how long it takes to grow garlic, give you some tips for growing it, look at the best varieties to grow, and tell you about some issues that can occur during garlic cultivation.
Let’s dive straight in!
The 7 Garlic Growing Stages
What stages do the Allium sativum go through before harvest?
Here’s a handy list:
• Germination
• Spring or green garlic
• Scapes
• Young bulb formation
• Mature bulb
• Flowering
• Harvest
Let’s get into details!
1. Germination
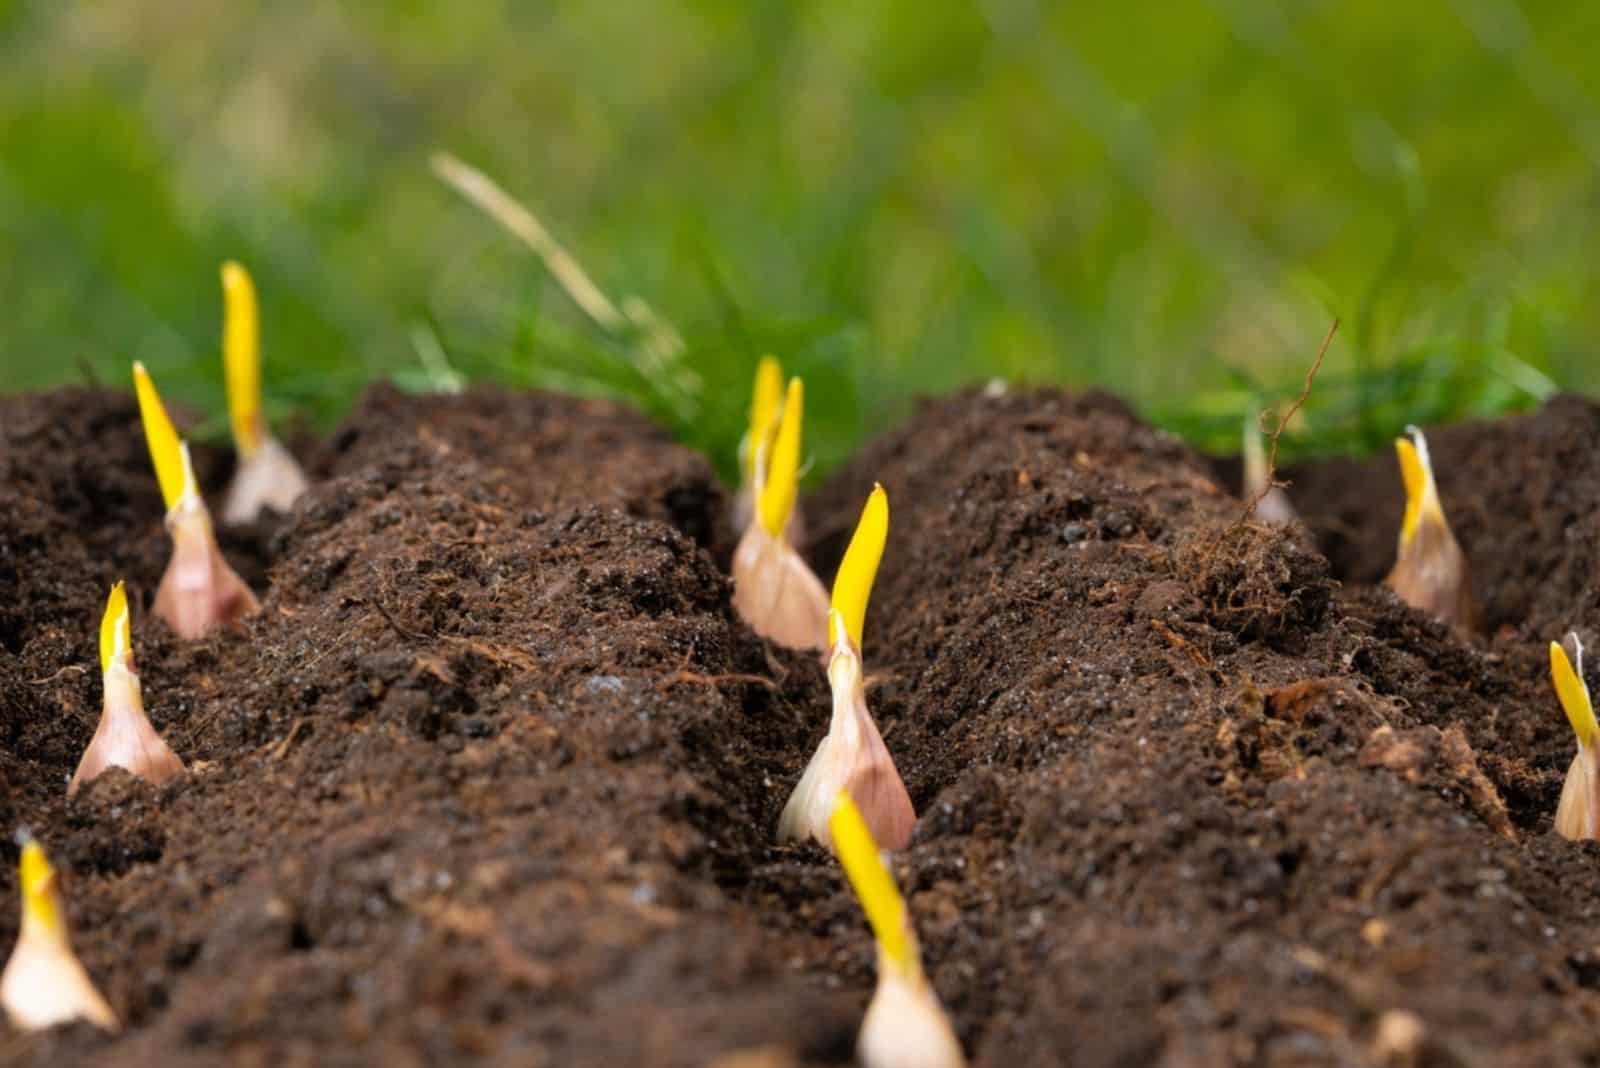
The life cycle of the garlic plant begins with germination. But there’s one thing that makes garlic germination different from that of other veggies or plants; each plant can produce anywhere between 6 and 15 cloves.
These cloves will actually serve as seeds and each one will develop into a bulb that will have between 6 and 15 cloves. How remarkable is that?
The main reason we don’t plant garlic seeds is that, well, there aren’t any!
Wait, what? You have to remember that this veggie has been cultivated since forever (cultivation started approximately 4 thousand years ago).
Time passed and this veggie lost the ability to generate seeds. Even though we still have some cultivars that produce flowers during their lifetime, they won’t generate seeds because they die before it happens.
Before you plant your garlic, you need to decide on the variety. Why? Some varieties can be started in the fall and some are more suitable for spring planting.
If you plant the cloves in fall, they’ll hibernate for 2-3 months, i.e., before they form the shoot. They’ll focus their energy on the formation of a robust root system that’ll help them survive during the winter.
Hardneck vs Softneck Varieties
The time of planting differs for hardneck and softneck garlic varieties. If you’ve researched garlic cultivation, you may have come upon the term “vernalization”. (1)
This is a process that is mainly used for hardneck garlic plants. It will allow each clove to divide into more cloves.
If you plant your sativum plant in the fall, you don’t need to assist with the vernalization because the natural environment will take care of it.
On the other hand, you’ll need to enhance cold vernalization if you decide to plant in spring.
You can plant some softneck garlic types in the fall, but it’ll start generating shoots at the end of winter.
2. Spring Or Green Garlic
You can pick green or spring garlic when the plant generates new shoots. Bear in mind that the bulbs below the soil line haven’t developed fully yet.
If you like green onions, then you should try spring garlic. It tastes like mature garlic and can be used in many dishes, such as risotto with mushrooms and spring garlic, or green garlic toast.
The essential thing to understand about green garlic is that you can’t store it like you store mature bulbs. You can put it in a refrigerator and consume it within one week or, even better, use it fresh.
3. Scapes
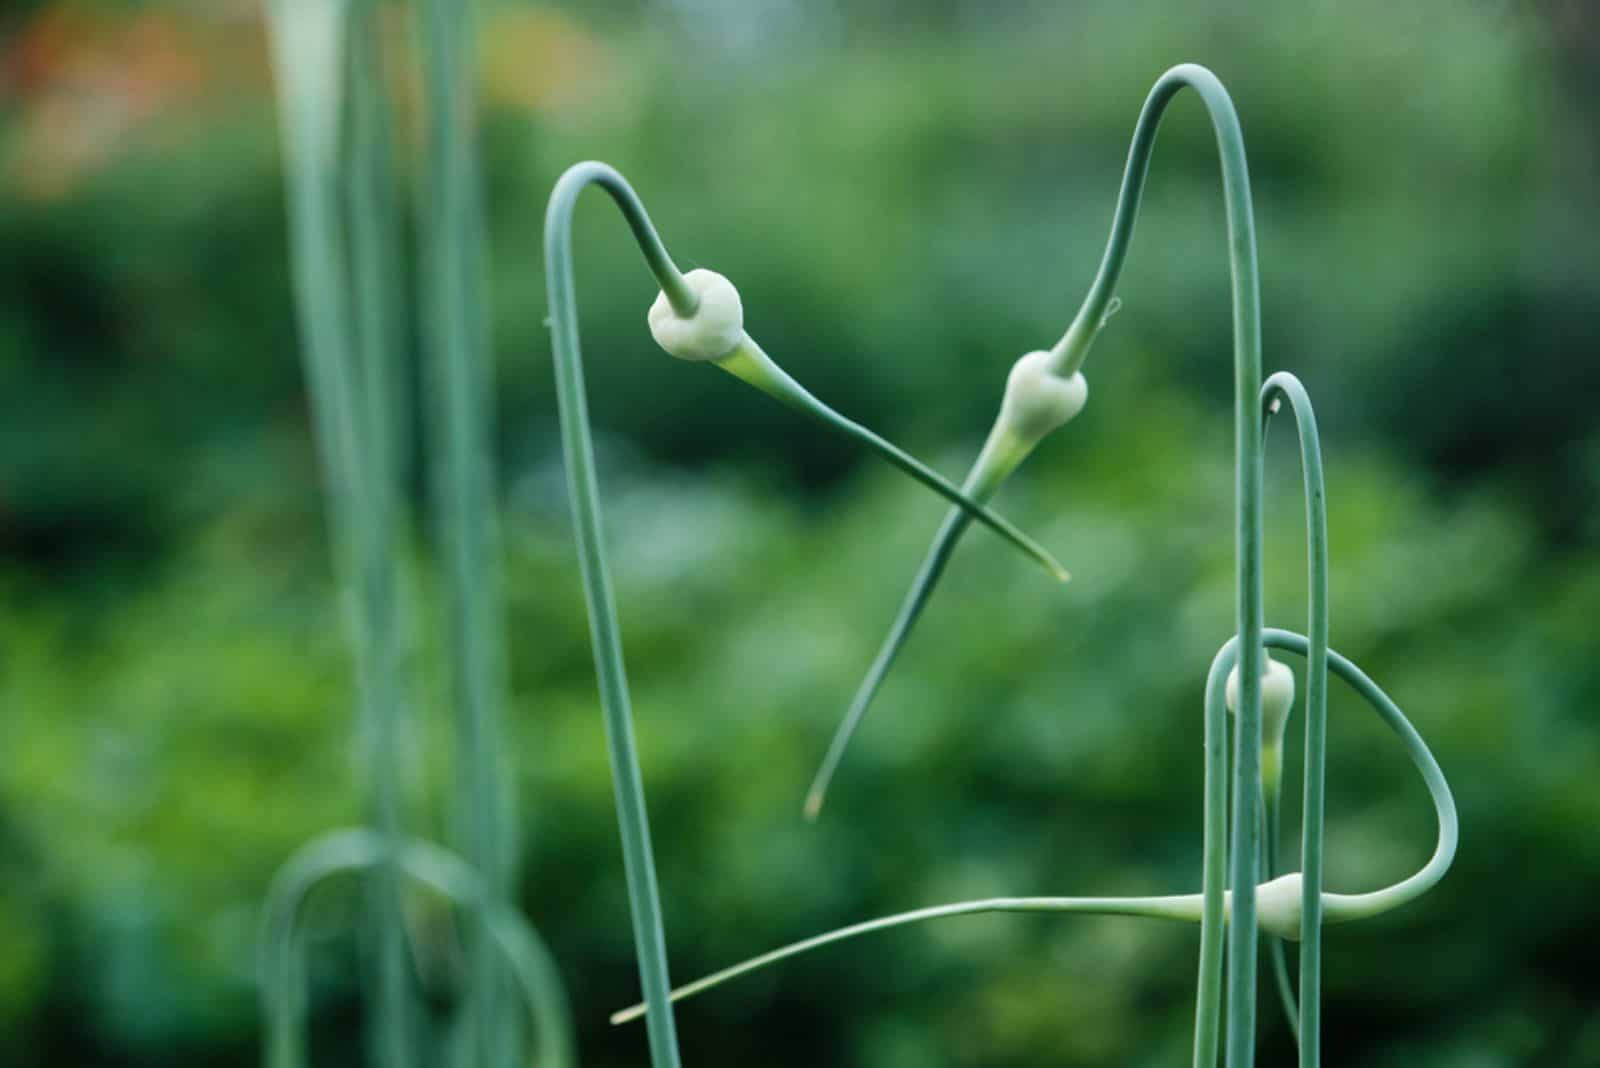
What you see as scapes on the shelves of supermarkets are actually flower stalks of the Allium sativum plant.
They are robust and have long flower buds at the end. The bud is still closed, and if you don’t pick your scape at this point the bud will open and form into flowers.
Why should you remove the scapes? The first reason, and most important for some growers, is the taste of scapes. You can grill them or make a delicious soup!
Another reason, more important in garlic cultivation, is to encourage the bulbs to grow bigger.
You can harvest garlic scapes once you notice the stalk has generated its first loop. By generating the scapes, your garlic is telling you it’ll be ready for picking in about a month.
4. Young Bulb
The good thing about garlic is that you can harvest the bulbs even if they aren’t fully grown. They taste similar to mature bulbs (only not that strong), but the storage capacity is different.
You should either use it fresh or store it in the refrigerator, where it can stay for up to one week.
Of course, these bulbs won’t be as big as mature ones. Another difference is that the young bulbs have a different outer covering; it’s leathery and moist unlike the skin of mature bulbs, which can be described as papery and dry.
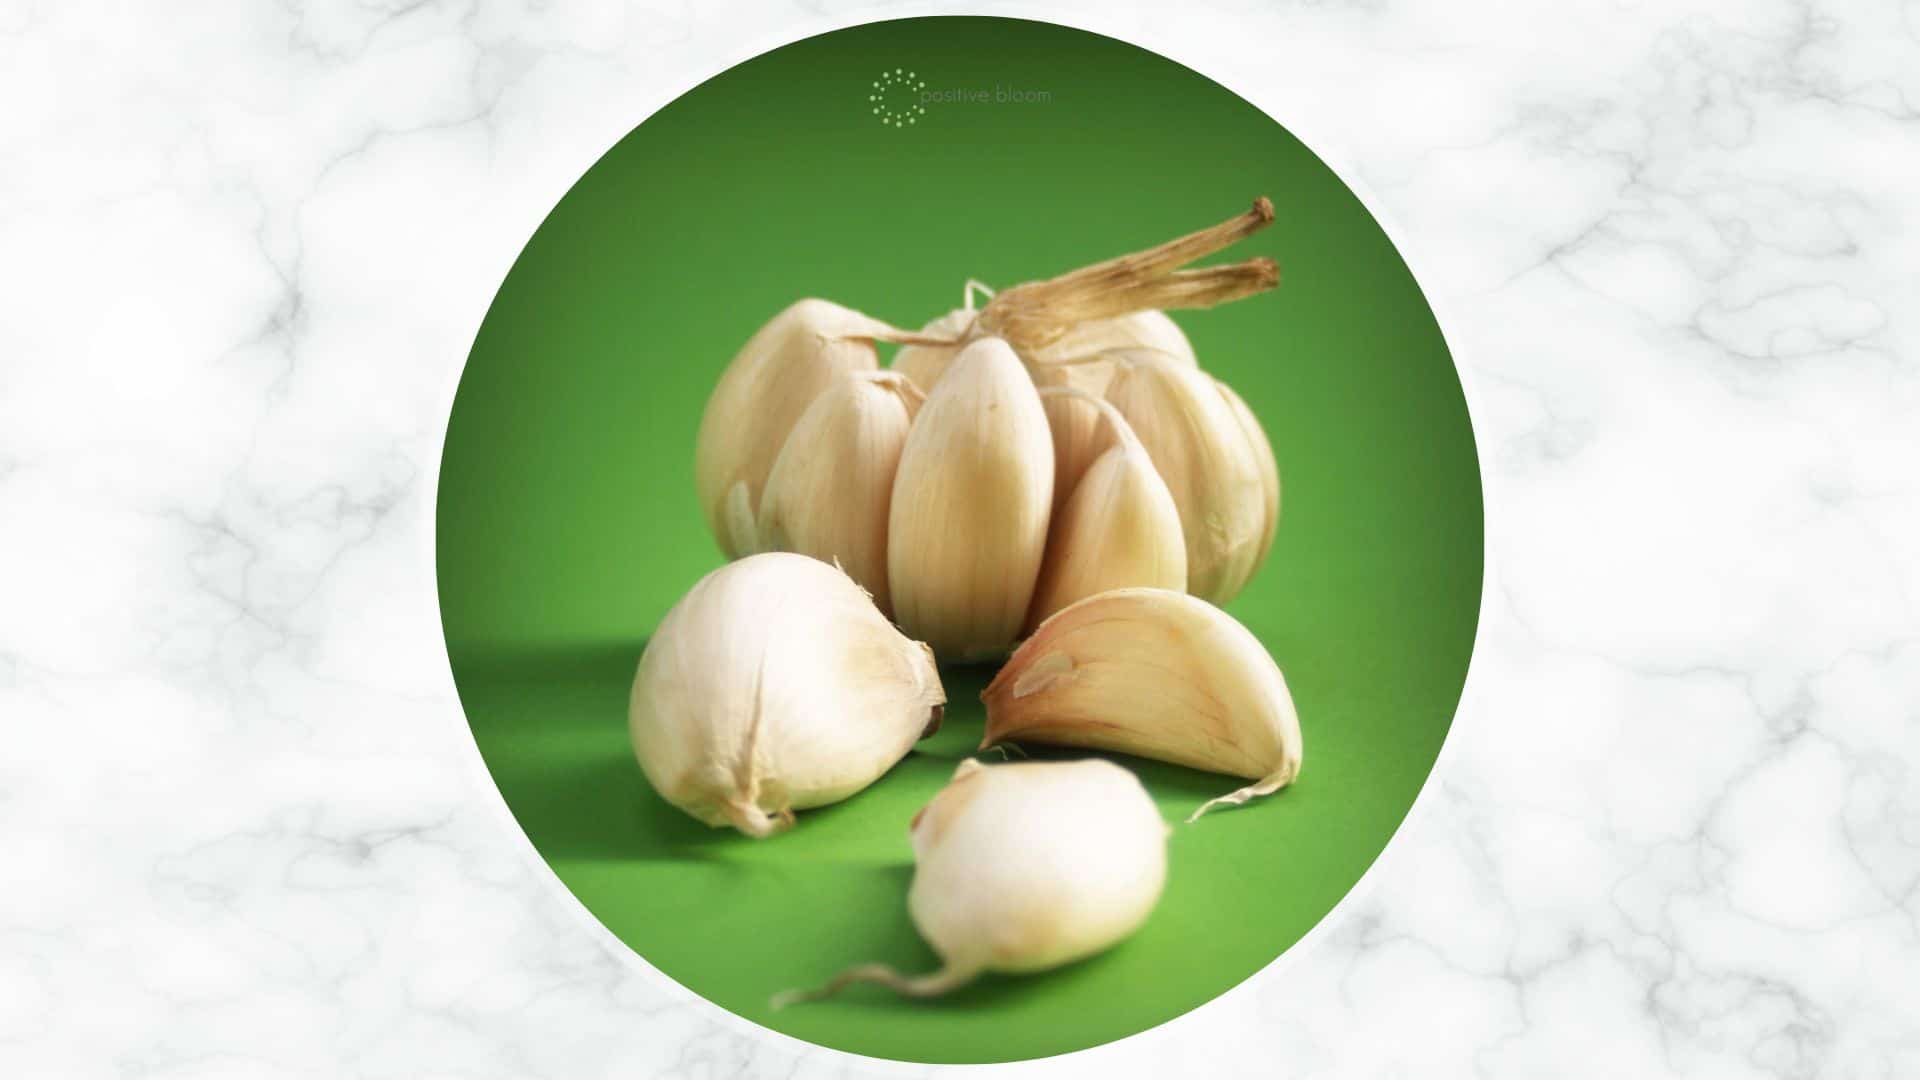
5. Mature Bulb
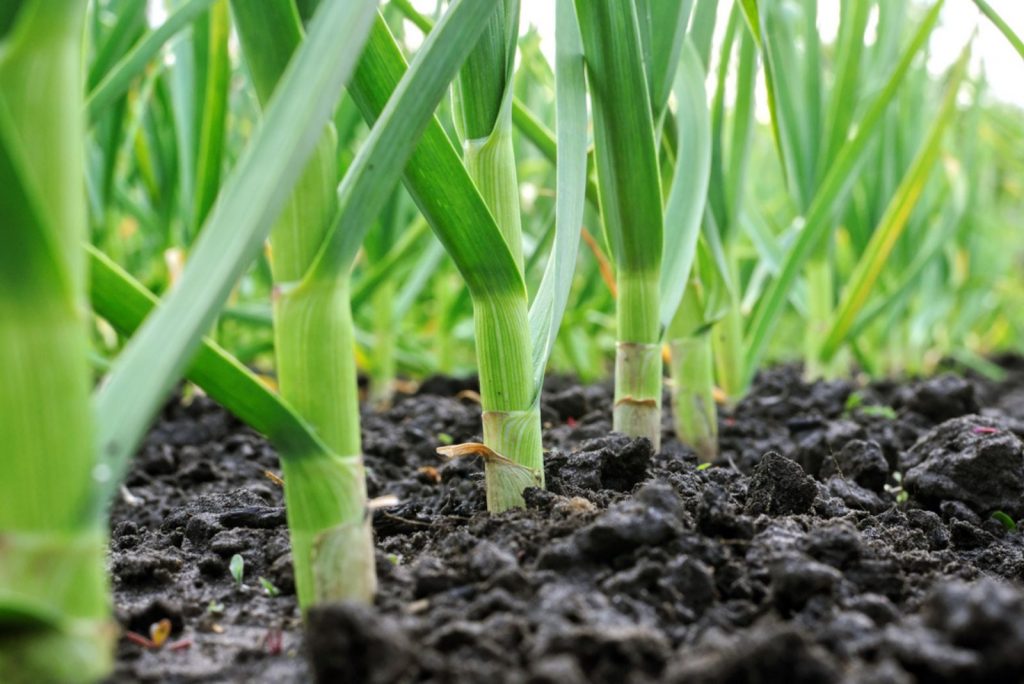
Now comes the most important part of garlic cultivation, the mature growth stage!
How can you tell if your bulbs are mature?
Garlic stems are robust and stay upright, the leaves are meaty, and the heads have different skin when bulbs are mature.
The foliage starts turning yellow and eventually turns brown when the garlic is completely ready for harvest.
The taste and storage capacity of mature bulbs differs compared to younger bulbs and scapes. Your garlic now has its recognizable strong taste, and you can store it to last long.
6. Flowering Stage
The garlic is now entering the flowering stage; the scapes straighten up and the blossom appears. You can also notice tiny bulbils that can be stored and planted next season.
The best thing about these bulbils is that they are adjusted to conditions in your region and develop resistance to diseases. However, it can be pretty challenging for the bulbils to develop into mature bulbs.
At this stage, the Allium sativum plant may generate seeds, but as mentioned, the seeds won’t germinate.
I highly recommend growing this Allium species from cloves rather than from bulbils or seeds.
7. Harvest
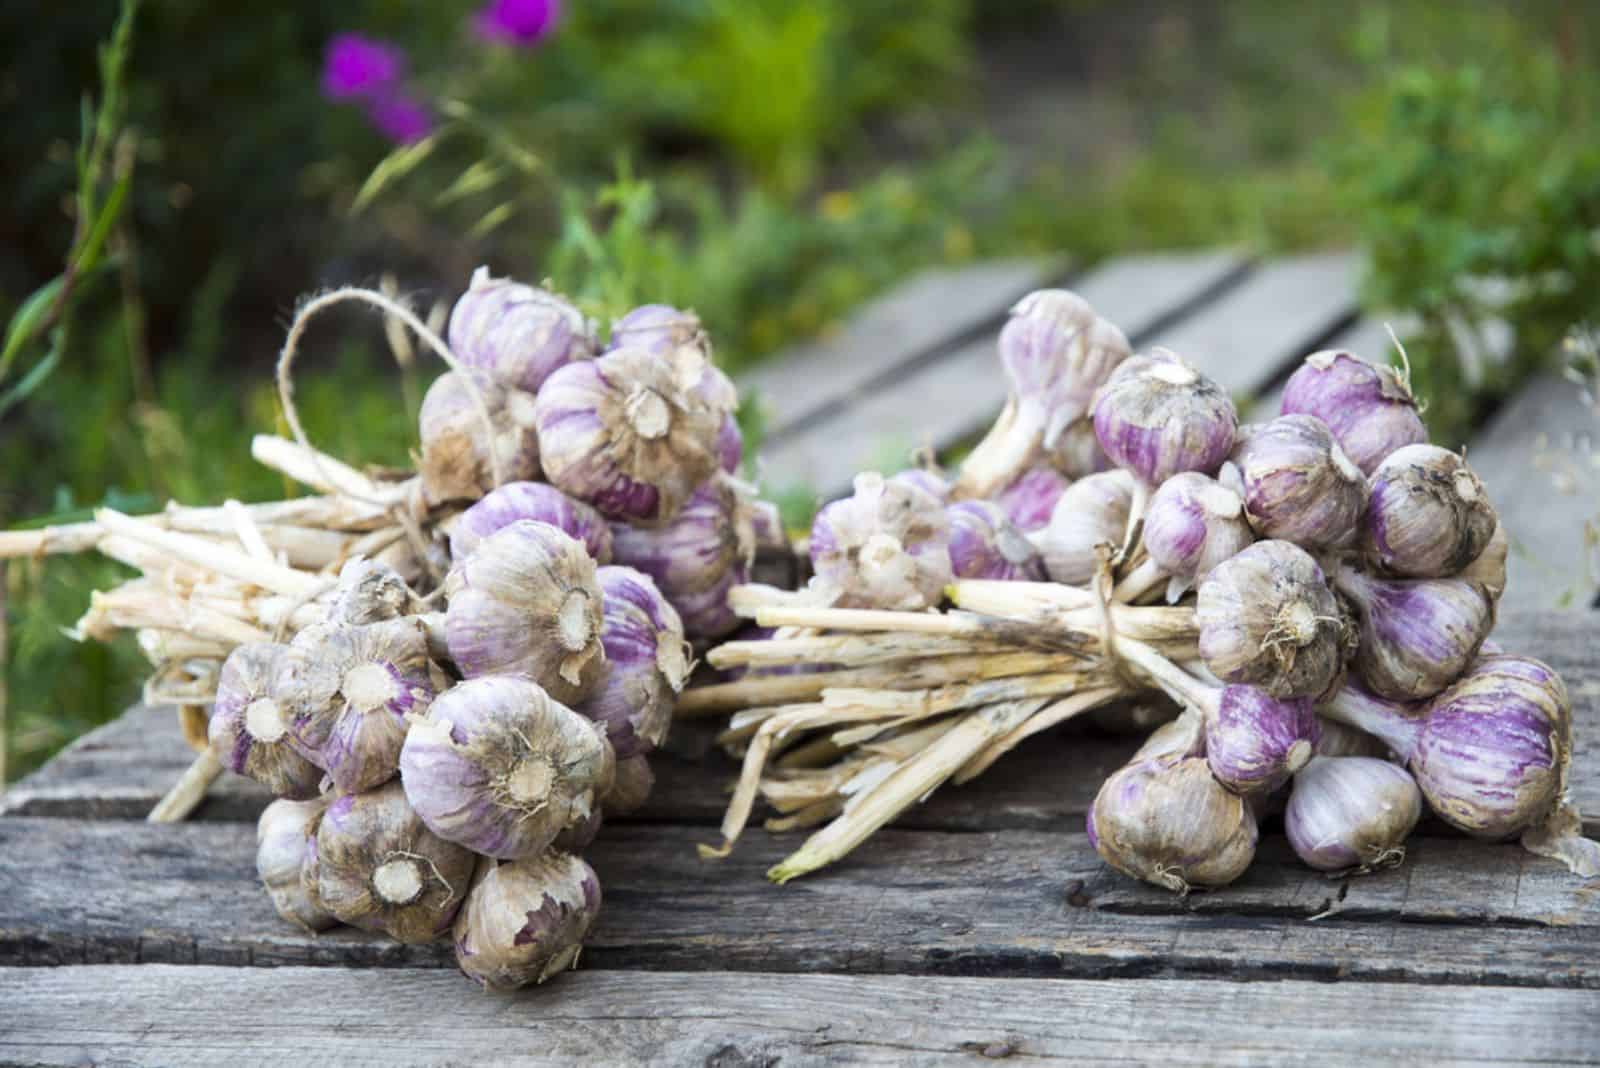
It’s very important to prevent the rotting of bulbs when stored, so you should pick your garlic when less than half of the leaves turn yellow.
If you wait too long for harvest, the bulbs can open, and if they are left in moist soil they can rot. Be careful when harvesting your sativum plant and pay attention to avoid damaging the base.
Eliminate the excess soil around the bulbs to prepare your garlic for storage. Find a cool and well-aerated spot for your garlic and don’t remove foliage or stems at this point.
Wait until all the garlic parts are fully dry and then get rid of the stems and outer layers that still have some soil attached.
If you want to grow garlic next year, select the biggest and healthiest bulbs after harvest and leave them in a cool and dry spot.
Here’s a video showing you the garlic growth cycle: https://youtu.be/BKnqRMd1ImI
How Long Does It Take To Grow Garlic?
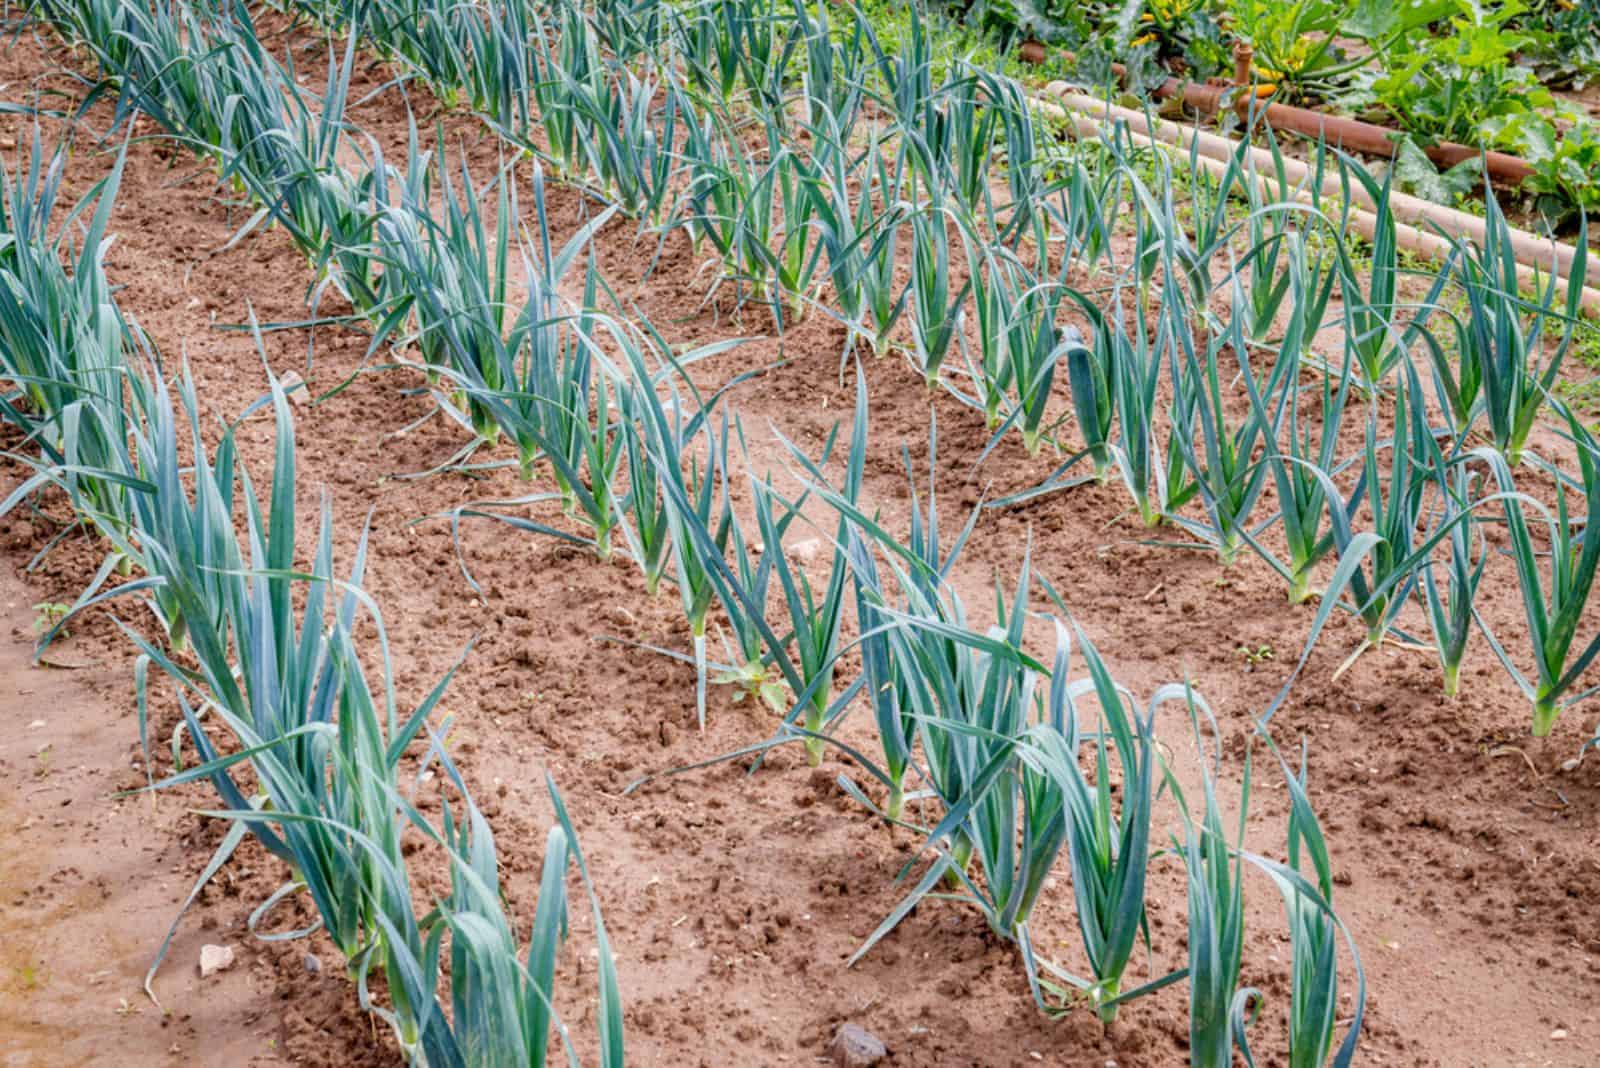
There are two factors that determine the time garlic needs to fully develop – variety and climate. Generally speaking, these delicious veggies need approximately 9 months to mature.
If you live in the North, I recommend growing varieties such as German Red, Chesnok Red, and Spanish Roja.
For growers situated in the South, I recommend California White Early for spring harvest and California White Late for summer harvest.
Let’s now look at some tips on how to keep your garlic happy and healthy during each growth stage!
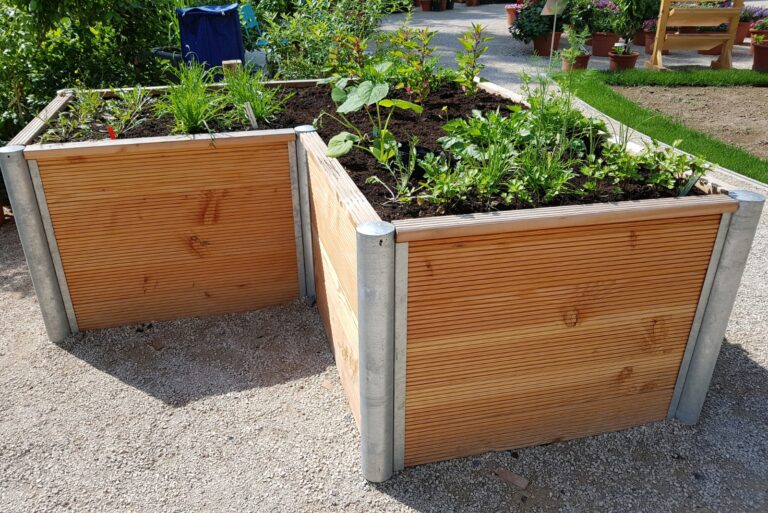
Tips For Planting Garlic
Here are the steps for planting the Allium sativum species:
1. Before sowing your garlic, separate the cloves from the bulb (a couple of days prior to planting). Don’t remove the outer layer of the cloves.
2. Prepare the site by working in fishmeal or bonemeal.
3. Take the cloves you saved or bought in the nursery and put each one approximately 2 inches deep. The spacing between each planted clove should be from 4 to 8 inches. When planting the clove, make sure the wider part faces down.
4. As for the spacing between the rows, I recommend about 10 inches.
Tips For Growing Garlic
Here are 5 tips for growing garlic plants:
1. Mulching: If you live in a region with hard frost, consider adding a layer of mulch to protect fall-sown cloves. Remove the layer of mulch at the beginning of the spring or when the danger of frost passes.
2. Feeding: Apply blood meal (2) at the beginning of the spring and in early May.
3. Deweeding: Pay close attention to weeds since they can inhibit the growth of your garlic.
4. Watering: Irrigate your garlic twice a week when it develops young bulbs, and keep irrigating according to that schedule until mid-June.
5. Companion planting: Consider planting your garlic as a companion plant for tomatoes. Your garden will be pest-free and you’ll have plenty of delicious crops on your table.
Common Issues With Garlic
Garlic is a hardy veggie, but some pests and diseases can affect it. If your Allium sativum plant is infested by maggots, it’ll display poor growth or start yellowing. You can protect your garlic by putting on row covers and using the crop rotation method.
Thrips can also affect your garlic, and the most common signs of thrip infestation in garlic are white blotches, deformed bulbs, and brown leaf tips. Consider choosing resistant varieties prior to planting and introduce beneficial insects, such as ladybugs and lacewings.
White rot disease is the most common in garlic and other Allium specimens. It’s possible to control white rot disease biologically (3) so I highly recommend contacting professionals since it’s very hard to cure it.
Wrapping Up
If you like the taste of garlic and want to try growing this veggie yourself, you need to know the garlic growing stages.
You’ve seen all the information on the various growth stages and successful garlic cultivation, so I’m sure you’ll have a healthy and tasty crop if you follow our advice.
Until next time!