17 Genius Hacks To Grow Juicy, Mouthwatering Watermelons
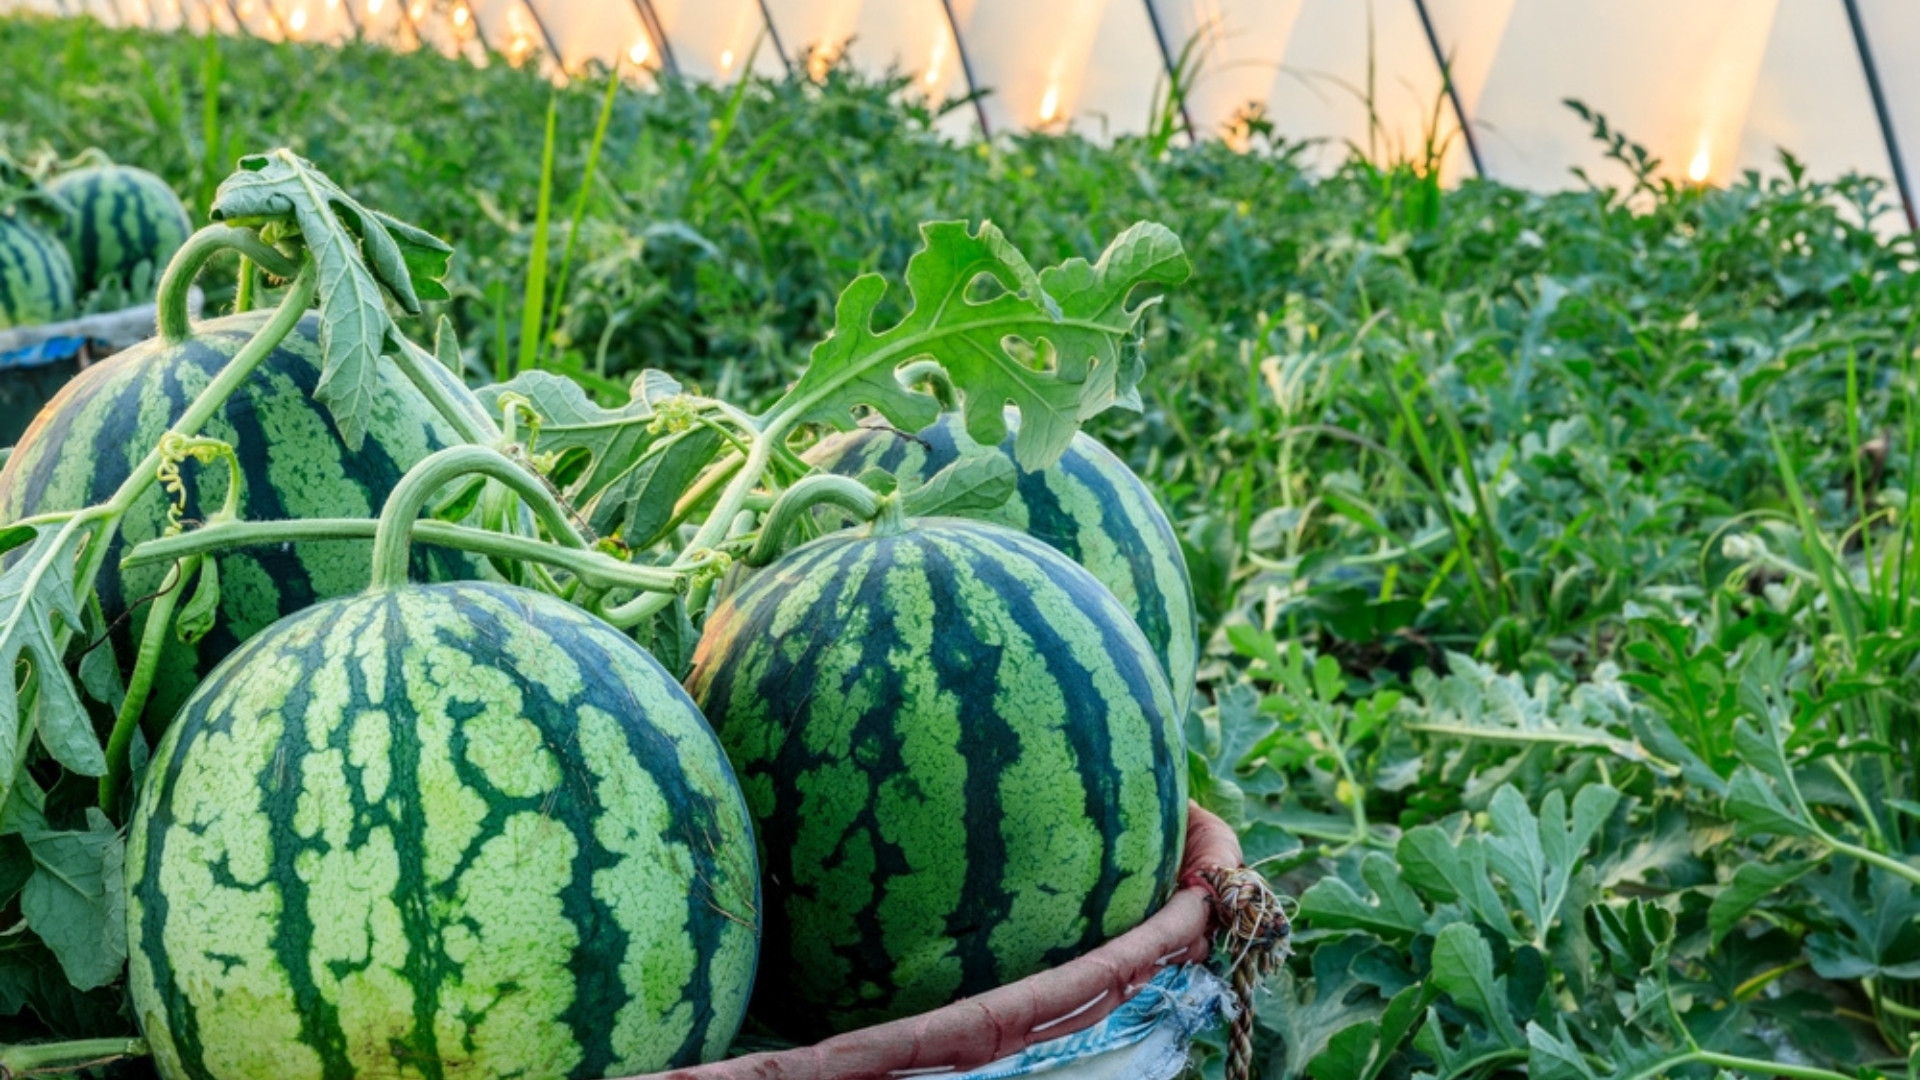
Growing juicy watermelons in your backyard can be a rewarding summer project. These sweet treats require some special care to develop their signature sweetness and size. With the right techniques, even beginner gardeners can harvest impressive melons that will be the star of any summer gathering.
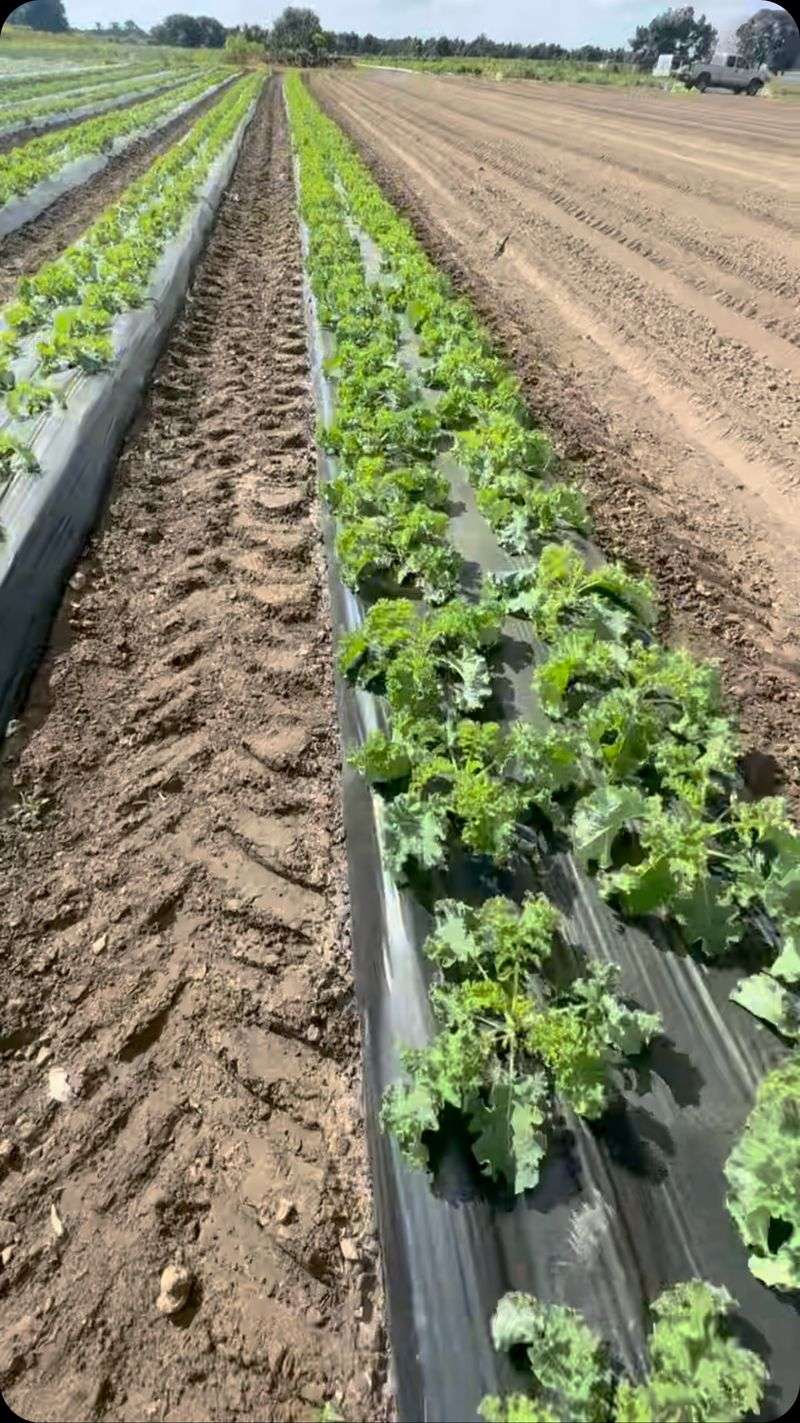
1. Warm Soil Planting
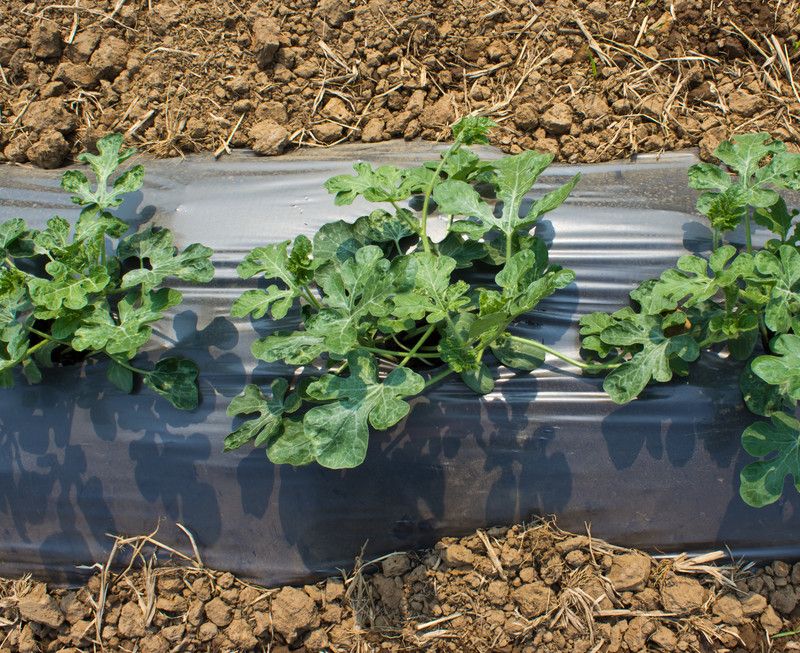
Watermelons thrive in warm conditions, so don’t rush to plant them too early. Wait until soil temperatures reach at least 70°F before planting seeds or transplants.
Cold soil leads to slow growth and possible seed rot. Use black plastic mulch to pre-warm your soil for a week before planting. This simple step gives your watermelon plants a strong start and can add weeks to your growing season.
2. Sugar Boost Formula
Sweeten your watermelons naturally by applying a special sugar boost solution. Mix one tablespoon of Epsom salts with one gallon of water and add a quarter cup of sugar.
Water your plants with this mixture twice during the growing season – once when flowering begins and again when small fruits appear. The magnesium in Epsom salts helps the plant absorb nutrients better while supporting chlorophyll production for sweeter melons.
3. Vertical Trellis System
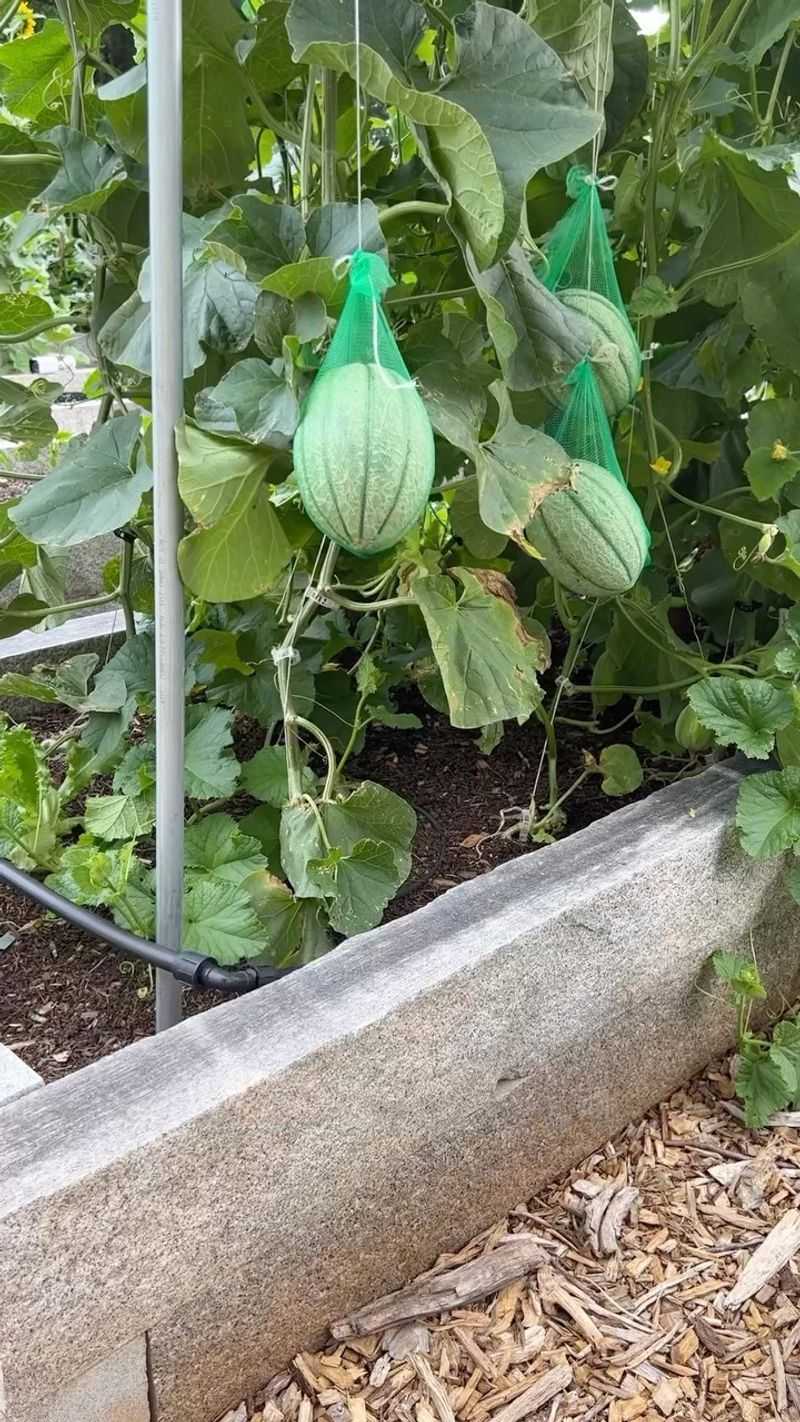
Limited garden space? Grow watermelons vertically! Construct a sturdy A-frame trellis using cattle panels or heavy-duty garden netting.
Train young vines to climb by gently wrapping them around the supports. As fruits develop, create hammocks from old t-shirts or pantyhose to support their weight. This method improves air circulation, reduces pest problems, makes harvesting easier, and can triple your growing space.
4. Pollination by Hand
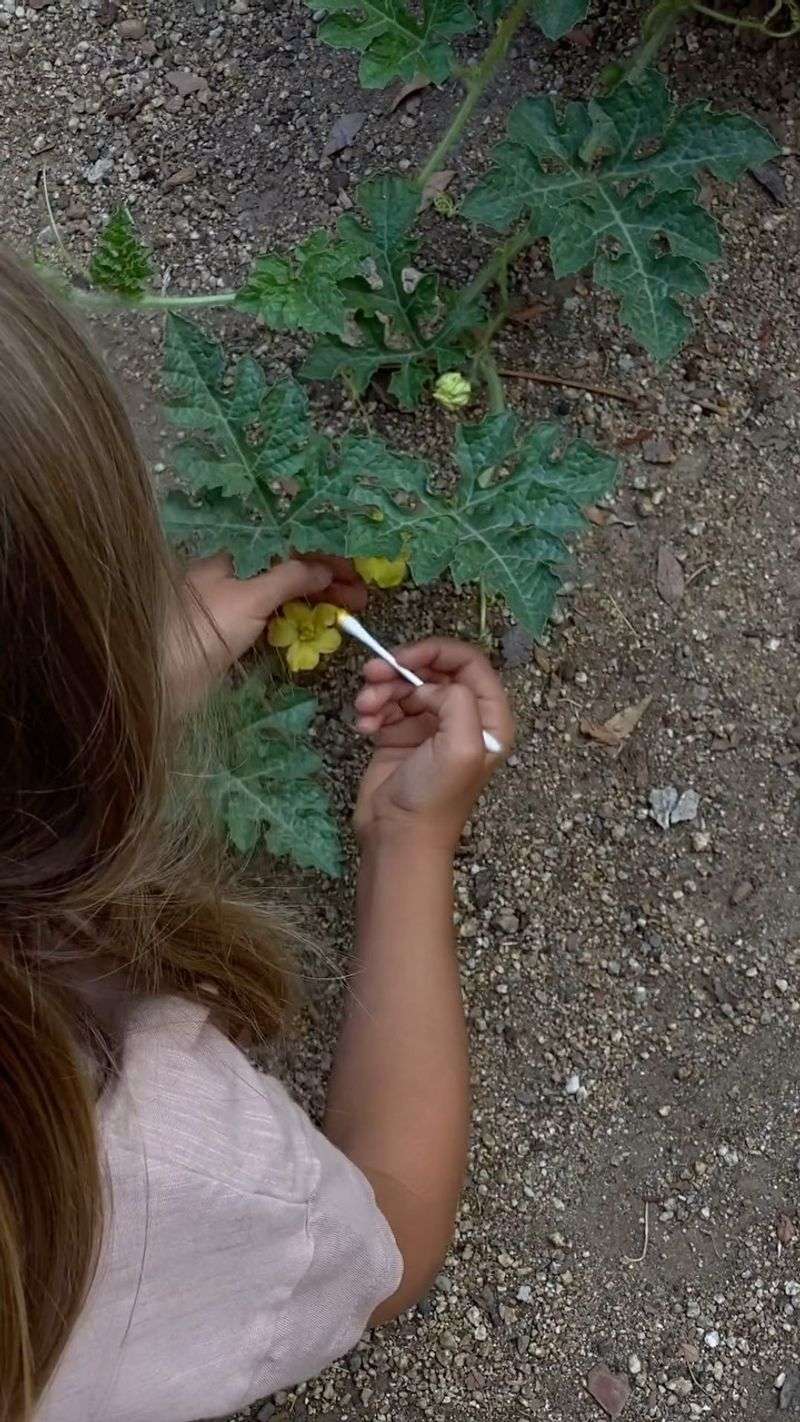
Boost your watermelon yield through hand pollination. Identify female flowers (they have a tiny watermelon shape at the base) and male flowers (thinner stems with no fruit shape).
Early morning is ideal for this garden task. Simply pick a male flower, remove its petals, and gently brush the center against the centers of female flowers. Each successful pollination creates another potential watermelon! This technique is especially valuable during rainy periods when bees are less active.
5. Milk Jug Irrigation
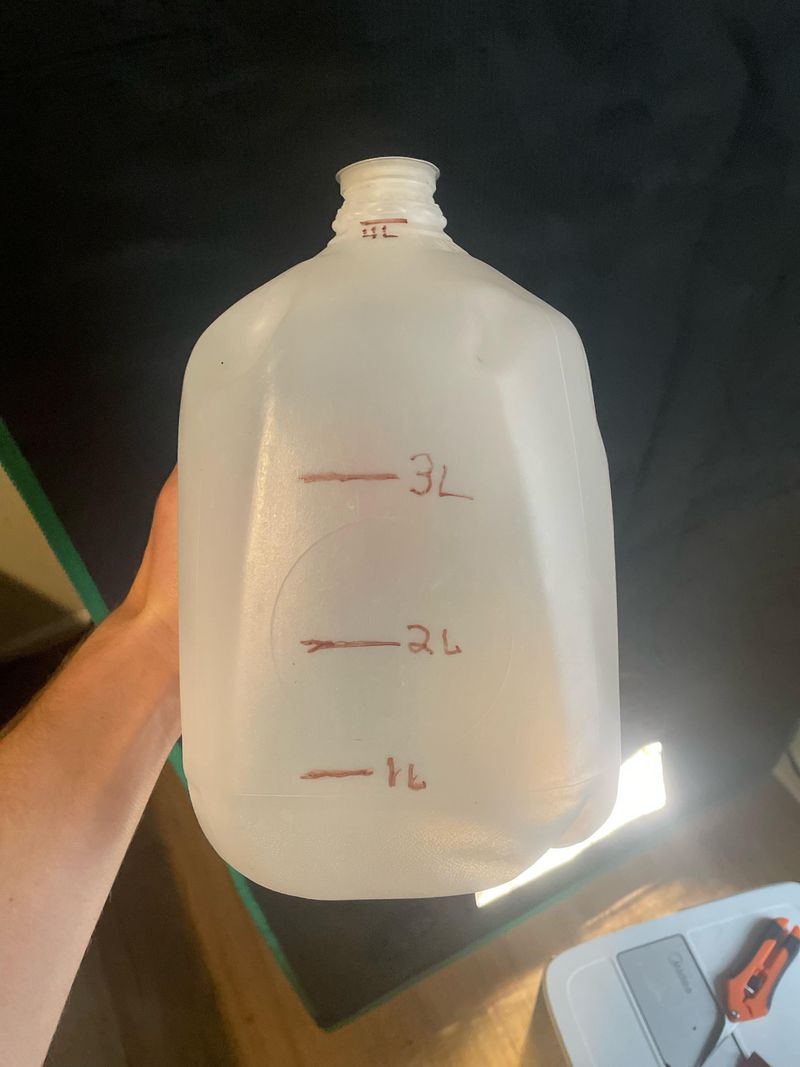
Create a perfect drip irrigation system using old milk jugs. Punch several small holes in the bottom of clean plastic gallon jugs, then bury them halfway into the soil near your watermelon plants.
Fill the jugs with water twice weekly. The water seeps slowly through the holes, delivering moisture directly to the roots where it’s needed most. This method conserves water while preventing leaf diseases that can develop from overhead watering.
6. Cardboard Weed Barrier
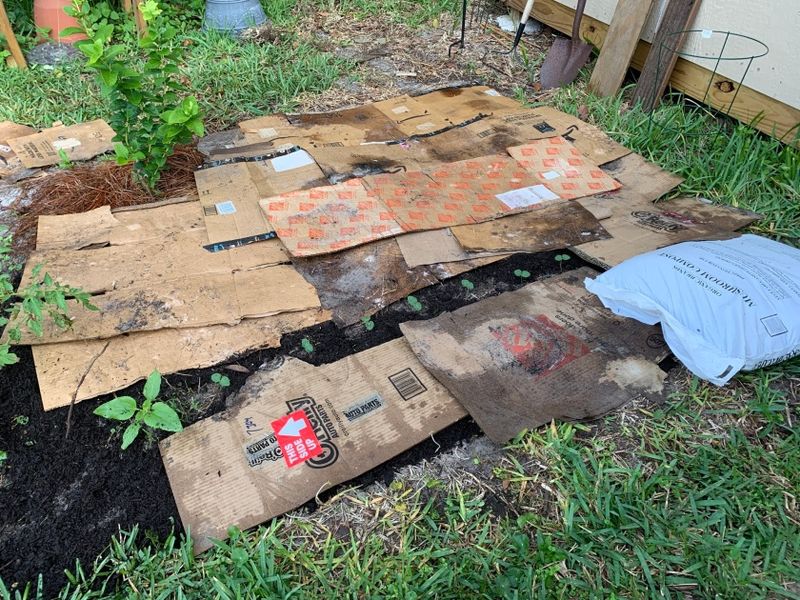
Flatten cardboard boxes and place them around your watermelon plants to create an excellent weed barrier. Cut holes where plants will grow through, then cover the cardboard with a thin layer of mulch for a natural look.
The cardboard blocks sunlight to weeds while slowly decomposing to feed your soil. As an added bonus, it helps retain soil moisture during hot summer days. Your watermelons will grow virtually weed-free with this simple recycling hack.
7. Companion Planting Magic
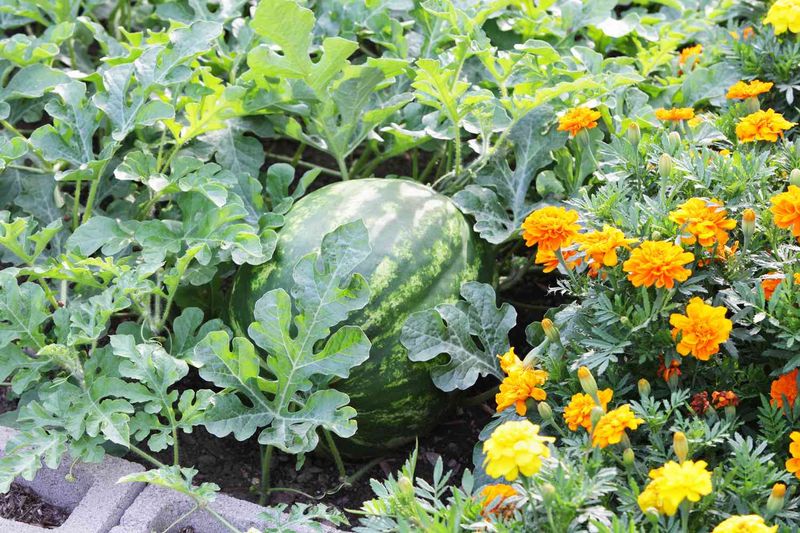
Plant nasturtiums and marigolds alongside your watermelons to repel damaging insects naturally. These colorful flowers attract beneficial insects while deterring problematic ones like aphids and cucumber beetles.
Corn makes another excellent watermelon companion, providing natural shade during intense afternoon sun. Avoid planting potatoes nearby, as they compete for nutrients. Smart companion planting reduces the need for pesticides while creating a more beautiful and productive garden space.
8. Cinnamon Seedling Shield

Protect young watermelon seedlings from damping-off disease with ordinary cinnamon from your kitchen. Sprinkle a light dusting around the base of each seedling after planting.
Cinnamon contains natural antifungal compounds that prevent the soil-borne fungi responsible for killing seedlings. This organic protection works especially well in cool, damp spring conditions when fungal problems are most common. Your seedlings will establish stronger roots, leading to healthier plants.
9. Banana Peel Power
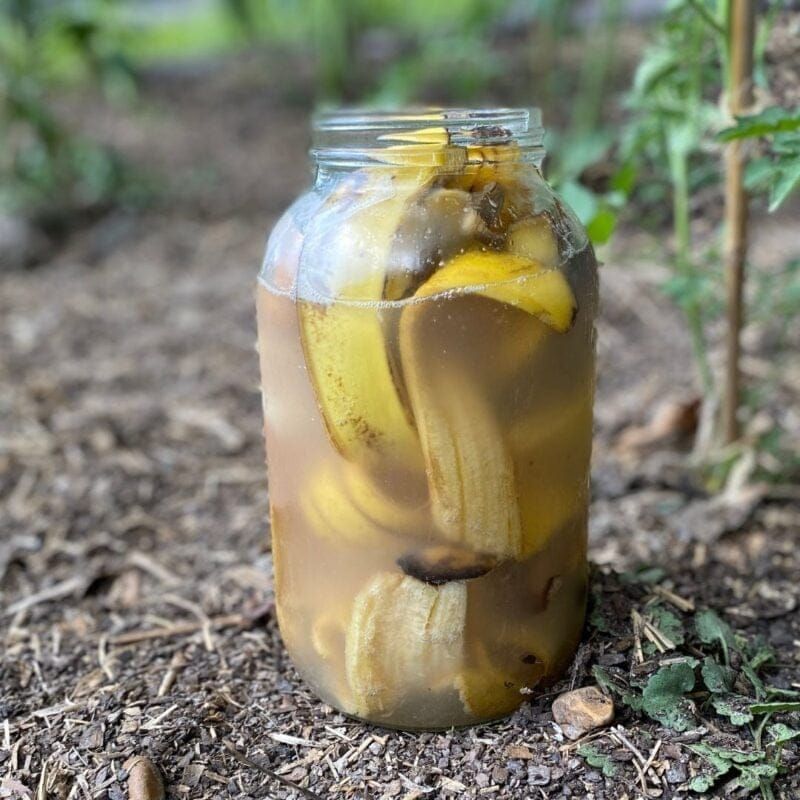
Transform ordinary banana peels into an amazing watermelon fertilizer. Chop fresh peels into small pieces and bury them 2-3 inches deep near the base of your plants.
As they decompose, banana peels release potassium, phosphorus, and calcium – exactly what watermelons need for proper fruit development. Apply this natural boost every three weeks during the growing season. The peels also help repel aphids while attracting beneficial pollinators to your garden.
10. Beer Trap Defense
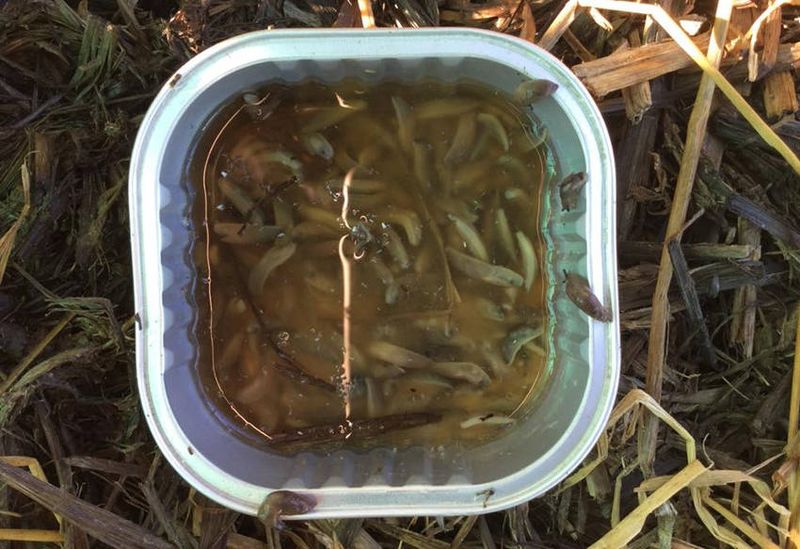
Keep slugs and snails away from tender watermelon seedlings with simple beer traps. Bury shallow containers like tuna cans so their rims sit just at soil level, then fill them halfway with beer.
The yeast in beer attracts these garden pests, causing them to fall in and drown. Empty and refill the traps every few days, especially after rain. This chemical-free protection method works while you sleep, saving your plants from being munched overnight.
11. Plastic Mulch Warming
Red plastic mulch can significantly increase your watermelon yield. Unlike black plastic which just warms the soil, red mulch reflects specific light wavelengths back to the plants that trigger faster growth and fruit production.
Lay the mulch before planting, securing edges with soil or landscape pins. Cut X-shaped holes for planting. Studies show red mulch can increase yields by up to 20% while also conserving soil moisture and preventing ground contact that can cause fruit rot.
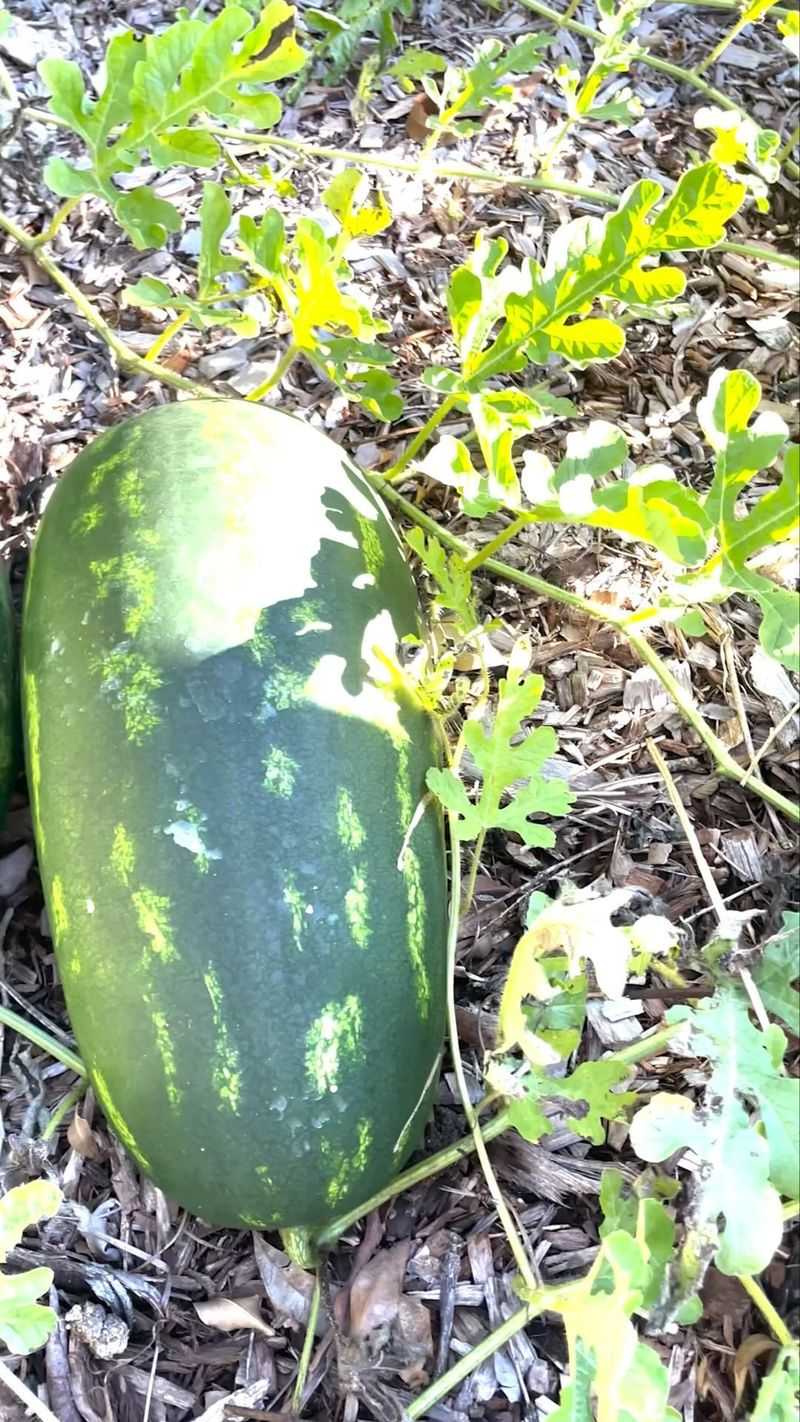
12. Melon Cradles
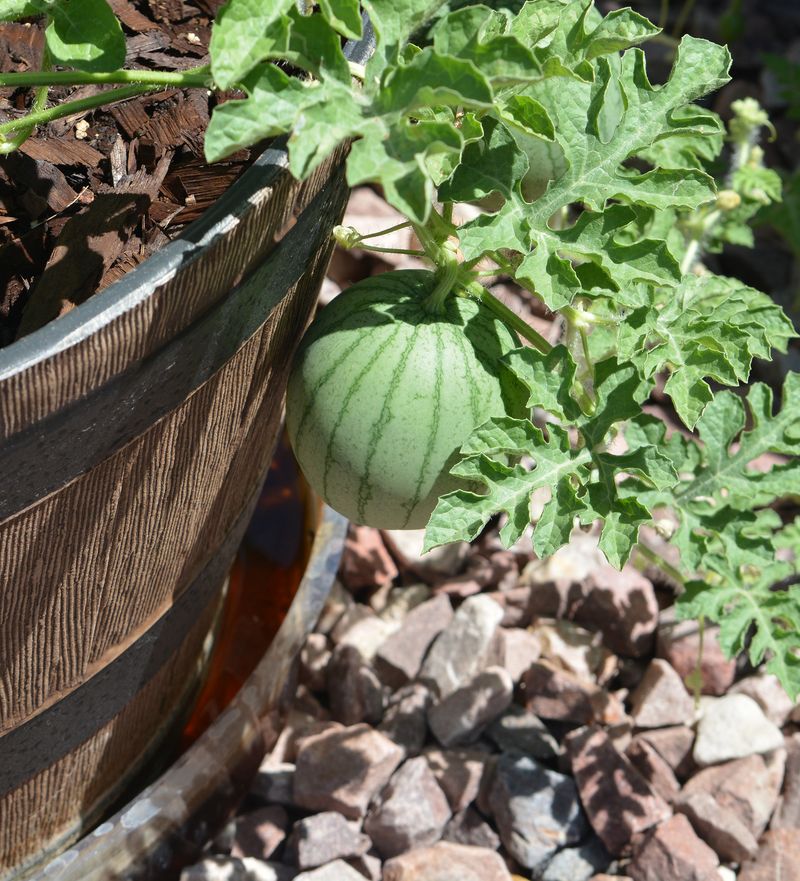
Prevent rot and insect damage by creating special cradles for developing watermelons. Place a flat rock, small piece of wood, or even a plastic container lid under each growing fruit.
These platforms keep your melons off damp soil, reducing the chance of rot and insect intrusion from the ground. For an extra touch, position the cradles so the watermelons receive maximum sunlight on all sides. This simple step can dramatically improve fruit quality and appearance.
13. Blossom End Rot Prevention
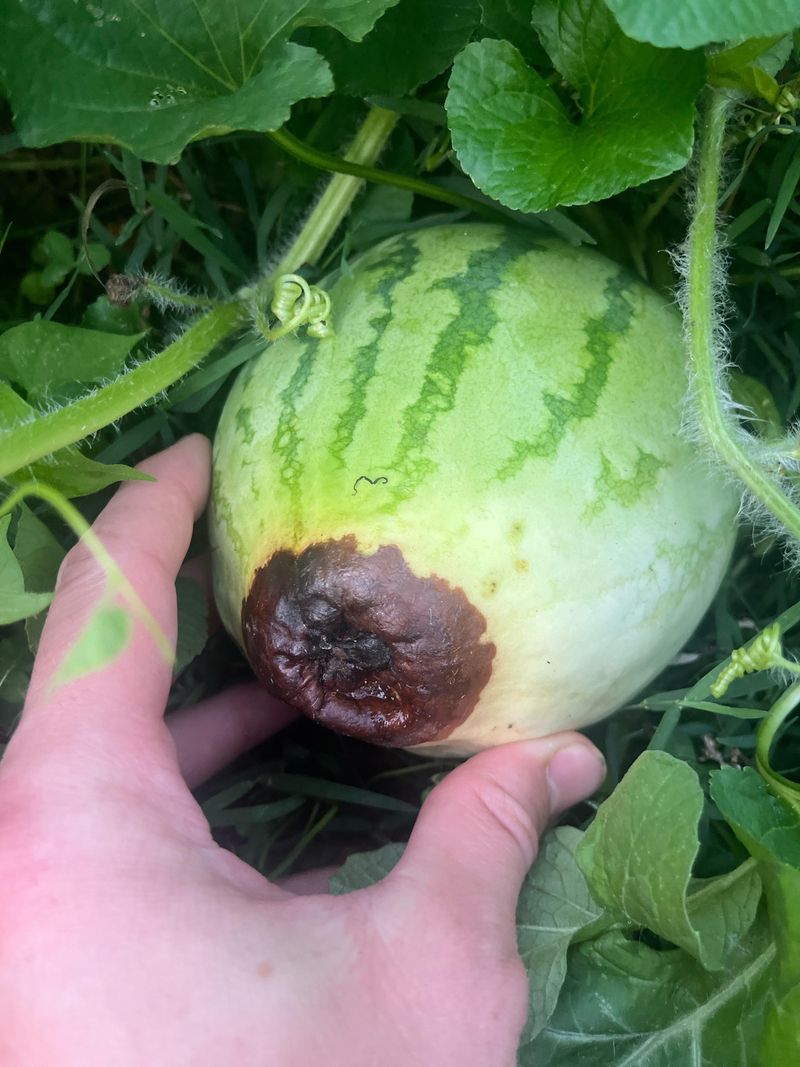
Stop blossom end rot before it ruins your watermelons by applying crushed eggshells around your plants. Rinse shells thoroughly, dry them completely, then crush into a fine powder.
Mix a cup of crushed shells into the soil around each plant. The calcium from the shells prevents the black, sunken spots of blossom end rot. Consistent watering also helps by ensuring proper calcium uptake. Apply this treatment early in the season for best results.
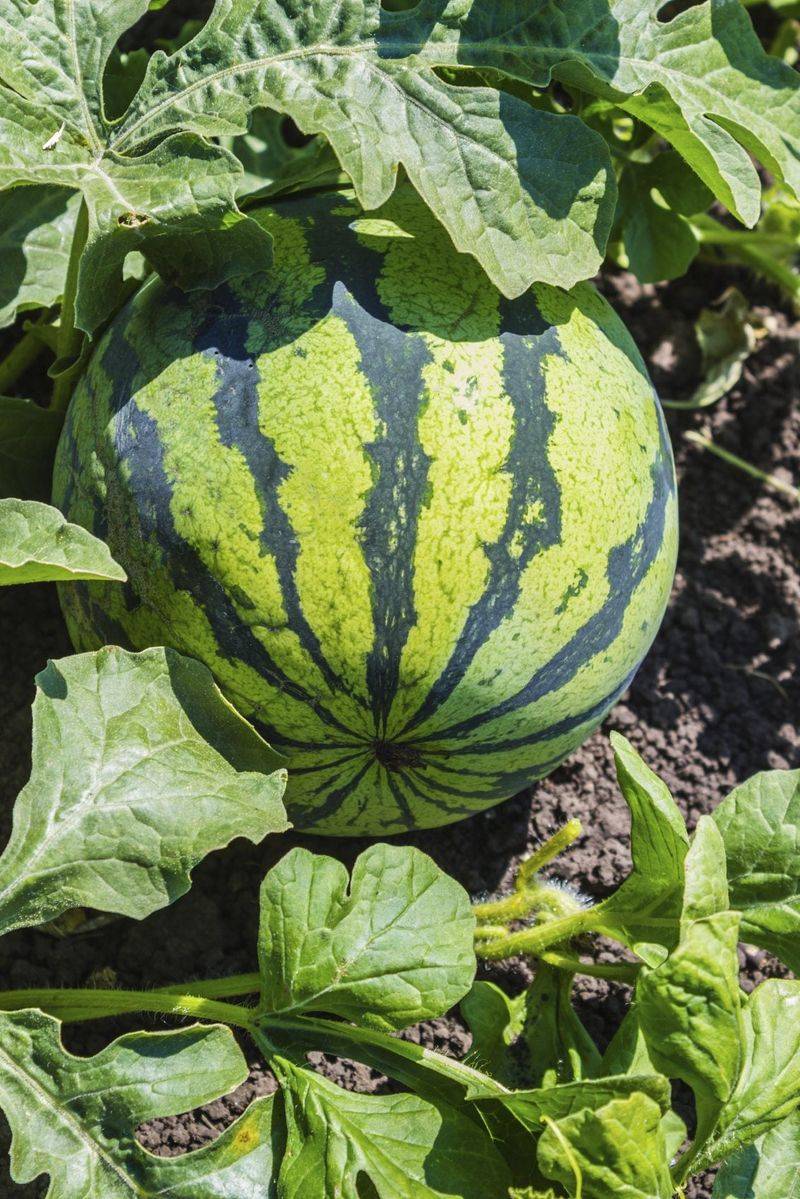
14. Perfect Timing Harvest
Master the art of harvesting watermelons at peak ripeness with the triple-check method. First, examine the curly tendril nearest to the fruit stem – it should be completely brown and dry.
Next, check if the spot where the melon touches the ground has turned from white to creamy yellow. Finally, give the melon a gentle knock – a deep, hollow sound indicates ripeness. Harvesting at the right moment guarantees maximum sweetness and perfect texture.
15. Vinegar Fungus Fighter
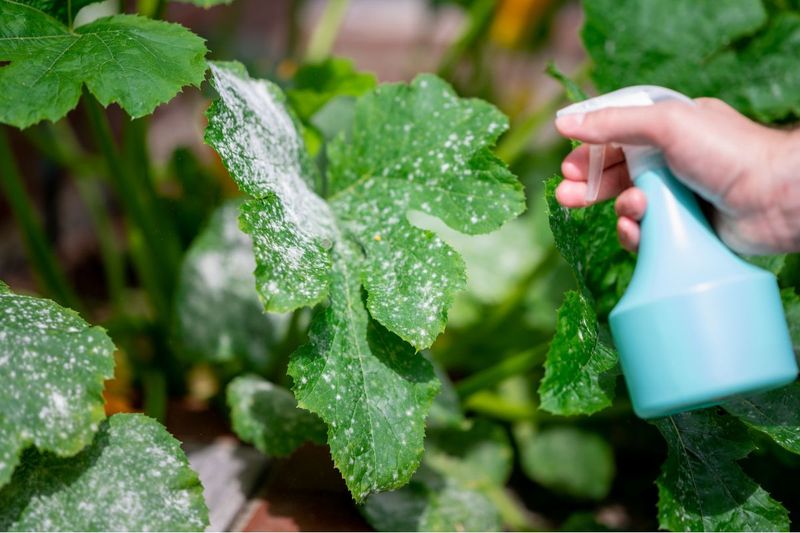
Combat powdery mildew on watermelon leaves with a simple vinegar spray. Mix one part white vinegar with ten parts water and add a drop of dish soap to help the solution stick to leaves.
Spray affected plants in the morning so leaves can dry completely before evening. The acetic acid in vinegar alters the pH on leaf surfaces, making it impossible for fungal spores to multiply. Apply weekly during humid periods when fungal issues are most likely to develop.
16. Coffee Grounds Boost
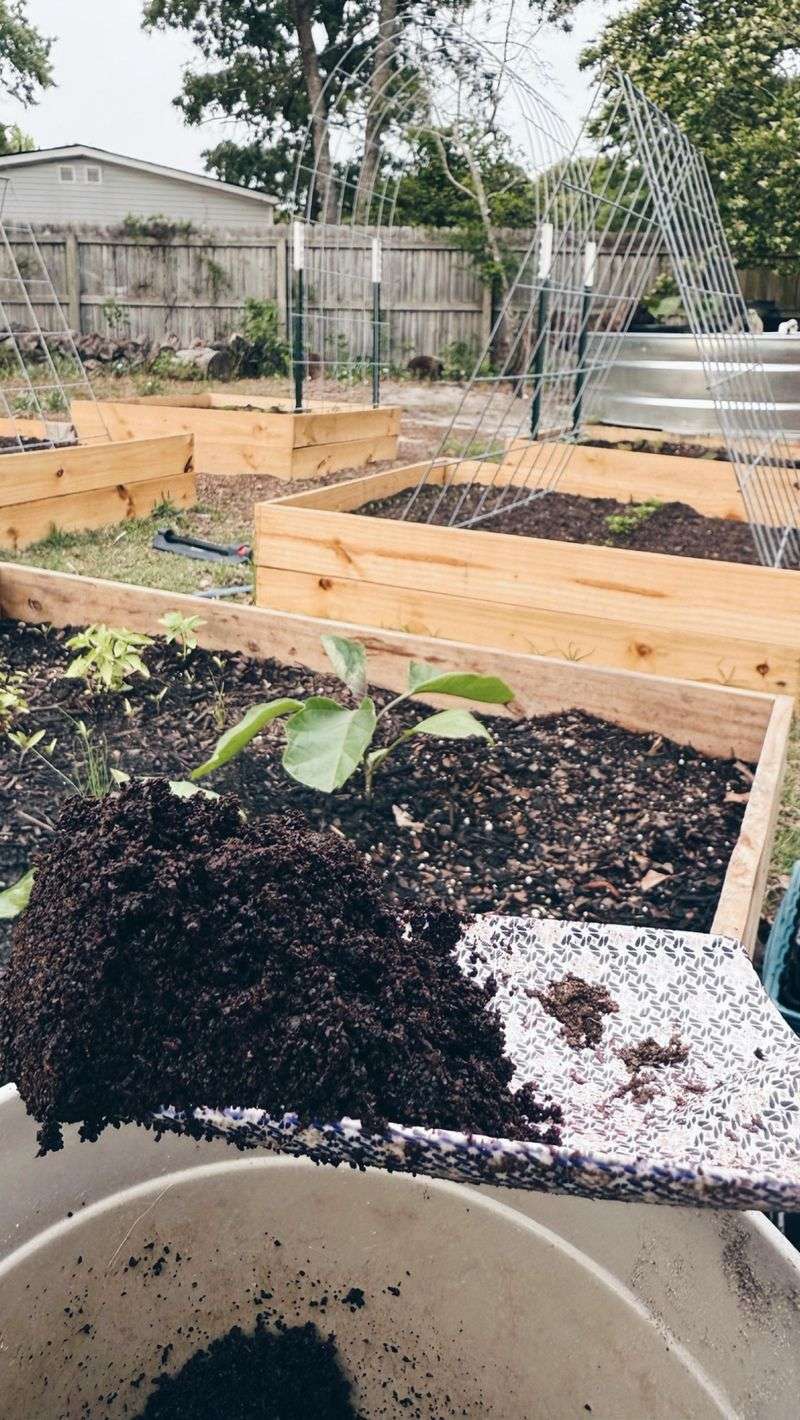
Used coffee grounds work wonders as a watermelon fertilizer supplement. The grounds add nitrogen to soil while improving drainage and attracting earthworms that aerate the soil naturally.
Sprinkle a thin layer of grounds around plants monthly, but avoid touching the stems directly. Coffee grounds also help repel slugs and snails thanks to their rough texture and caffeine content. This recycled kitchen waste becomes garden gold for your watermelon patch!
17. Mini Greenhouse Protection
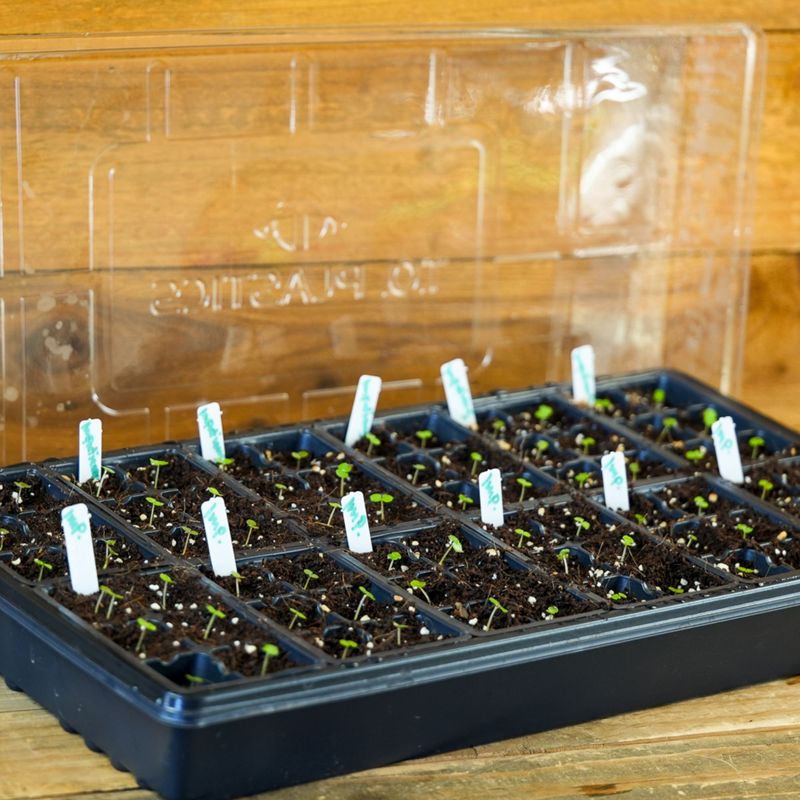
Get a jump start on the growing season by creating mini greenhouses for watermelon seedlings. Cut the bottoms off clear plastic 2-liter bottles and place them over newly planted seedlings.
Remove the caps for ventilation on warm days. These mini greenhouses protect young plants from cold nights, wind, and pests while creating a perfect microclimate. The trapped heat speeds growth dramatically. Remove the bottles once plants outgrow them or when temperatures consistently stay above 65°F.