18 Genius Tips For Using Gravel In Landscaping The Right Way (And The Rookie Mistakes That Ruin The Look)
Gravel might seem like a simple landscaping material, but it can transform your outdoor space when used correctly. From garden paths to driveways, this versatile material offers both practical benefits and aesthetic appeal. However, there’s a fine line between a professional-looking gravel installation and a messy mistake that screams amateur.
1. Layer Up for Longevity
Professional landscapers always start with proper layering. Begin with a weed barrier fabric, followed by a base layer of larger stones, then top with your decorative gravel.
Without these layers, weeds will quickly invade your beautiful gravel areas, and the stones will sink into the soil after just a few rainfalls. This foundation work might seem tedious, but it’s what separates stunning, low-maintenance gravel areas from constant headaches.
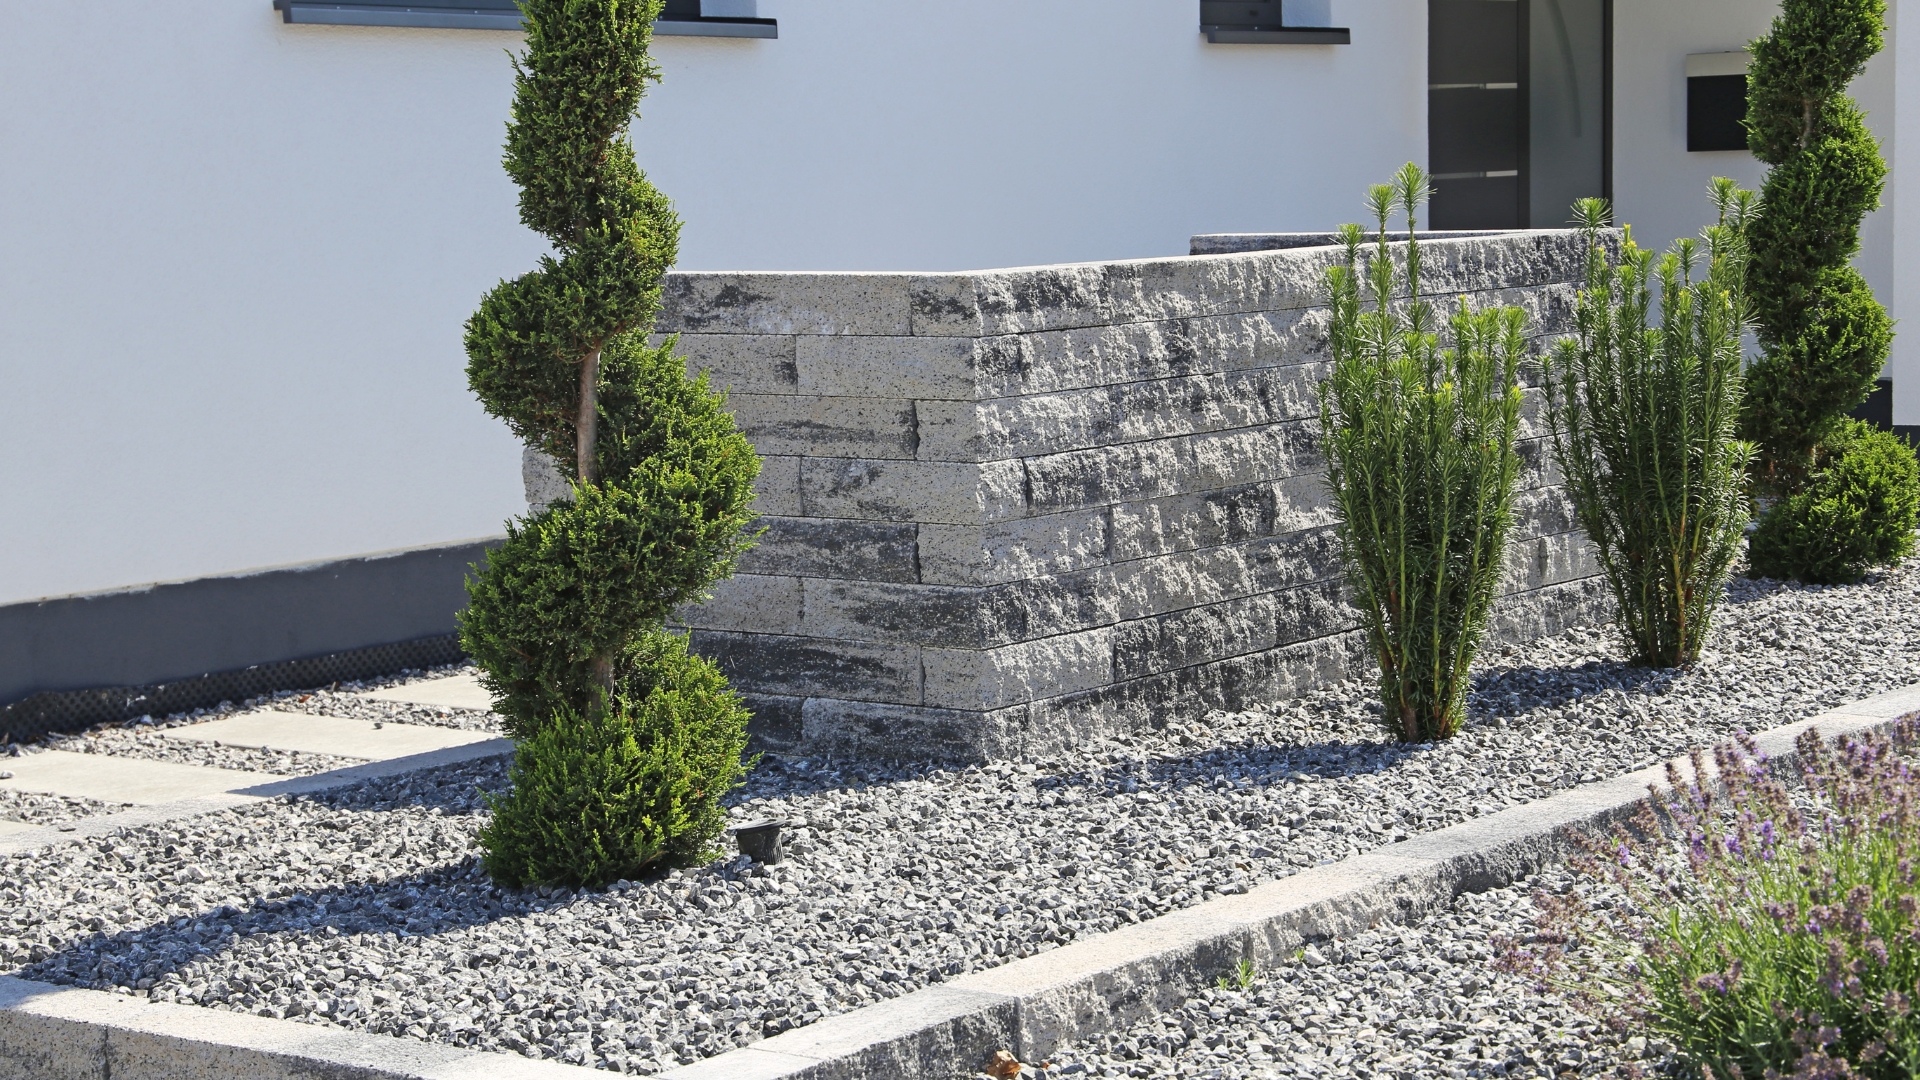
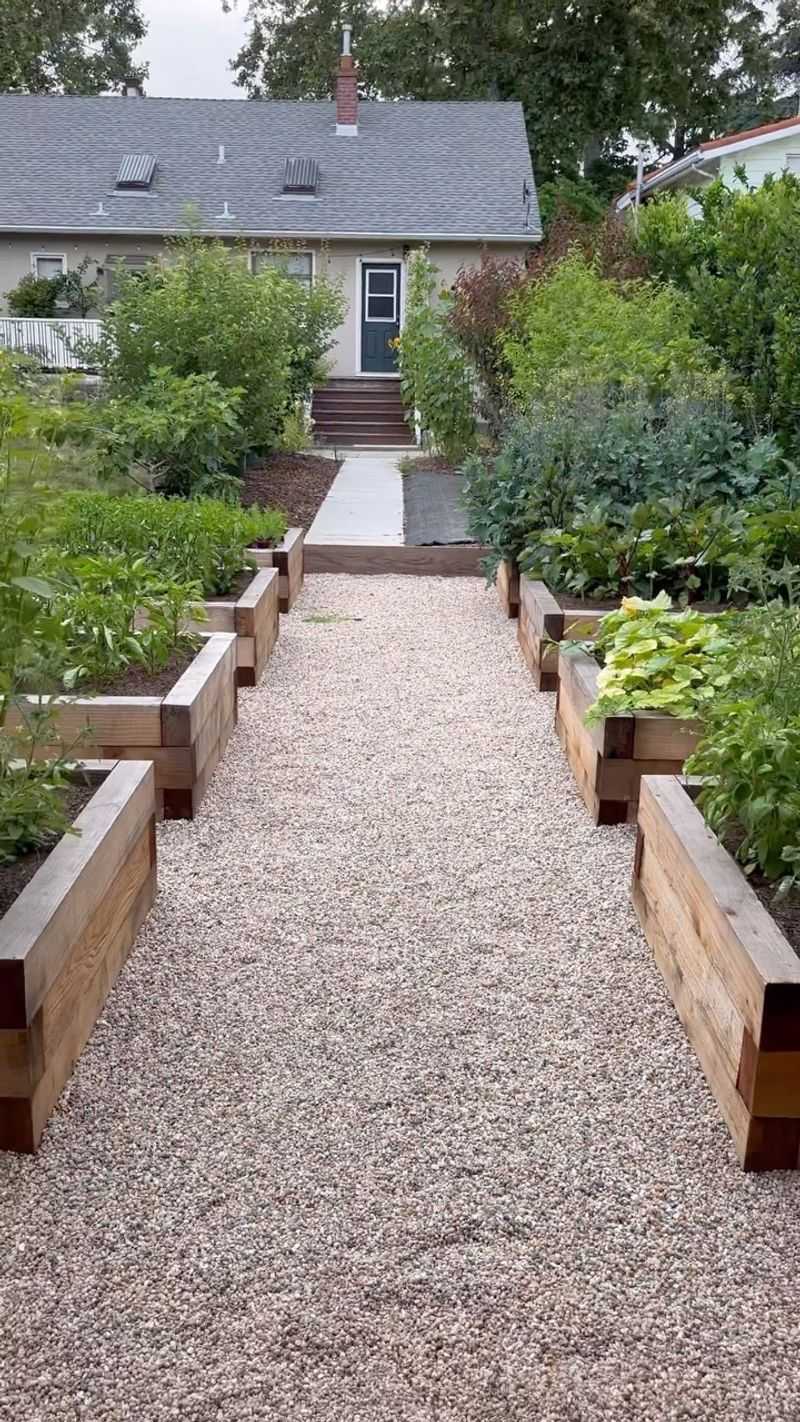
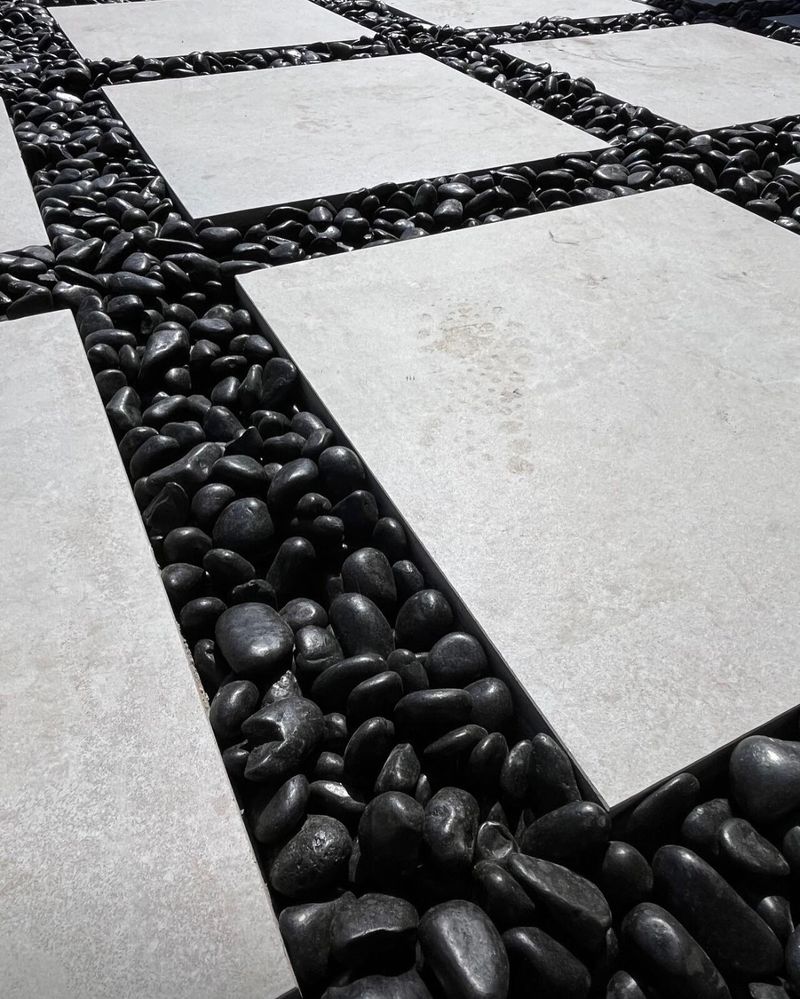
2. Edge With Purpose
Gravel that spills onto lawns or walkways looks sloppy and creates maintenance nightmares. Strong edging materials like metal strips, stone borders, or wooden frames keep everything contained exactly where it belongs.
The rookie move? Skipping edges or using flimsy plastic that bends and breaks. Quality edging might cost more upfront but saves countless hours of sweeping up runaway pebbles and redefining blurred boundaries between your gravel and other landscape elements.
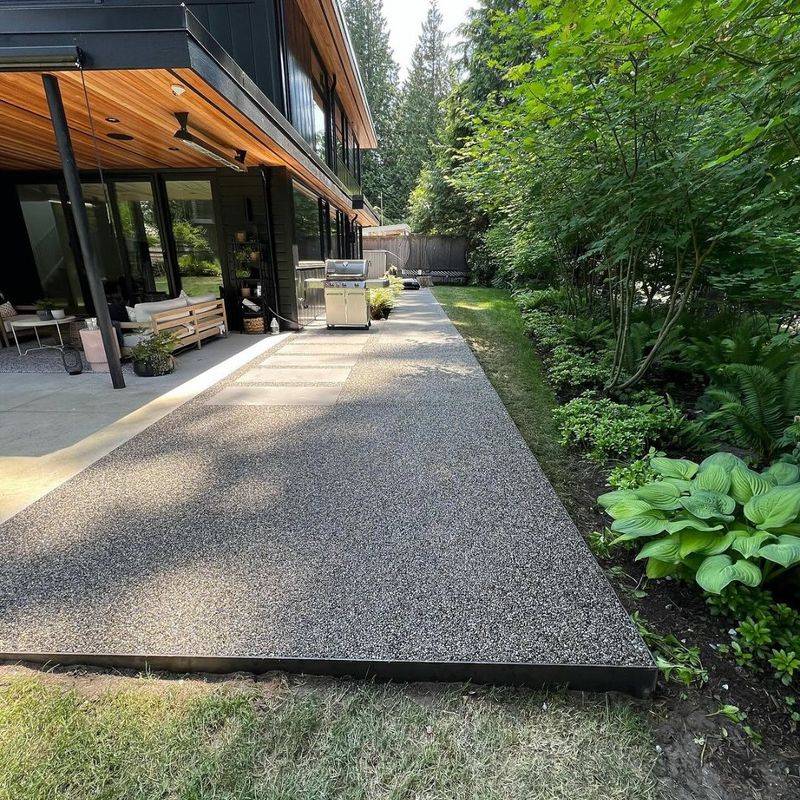
3. Match Gravel Size to Function
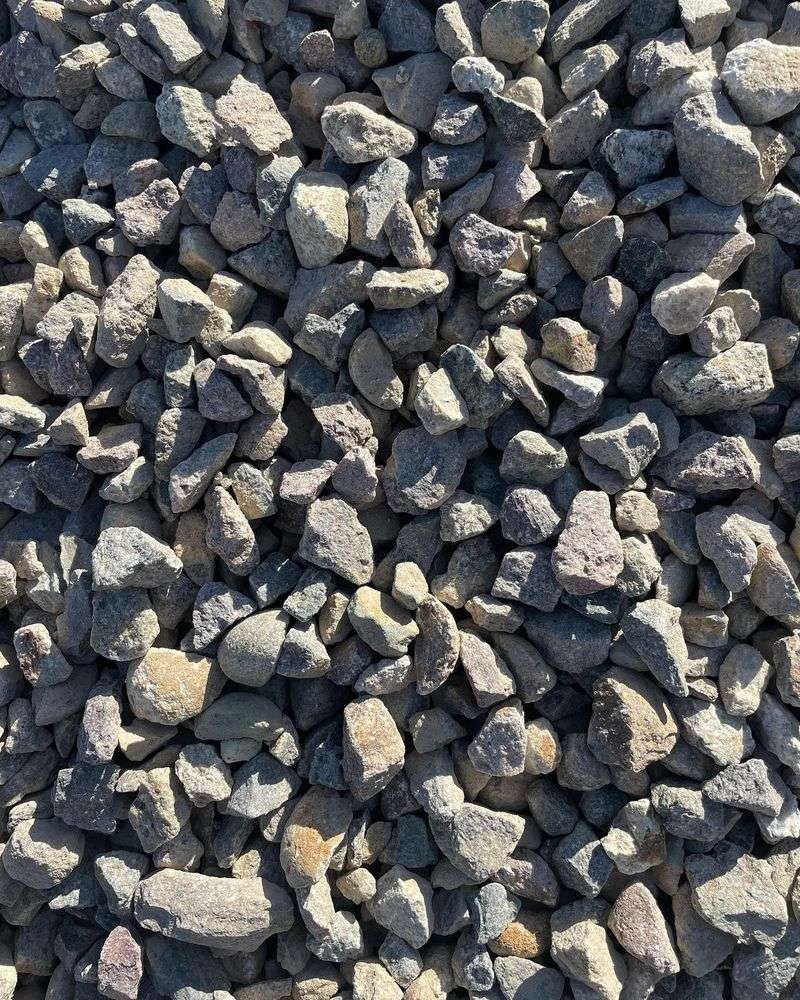
Pea gravel feels wonderful underfoot but shifts too easily for driveways. Crushed stone with angular edges locks together for high-traffic areas but might be uncomfortable for barefoot garden paths.
Many homeowners choose gravel based solely on looks, then wonder why it’s not performing well. Walkways work best with 3/8-inch stones, while driveways need 3/4-inch or larger material that won’t get stuck in tire treads. Matching size to function prevents frustration and wasted money.
4. Consider Color Psychology
Light-colored gravels reflect heat and brighten shady areas but show dirt more easily. Dark gravels create dramatic backdrops for plants but absorb heat, potentially stressing nearby vegetation during summer months.
Don’t just grab whatever’s on sale! Think about your climate, surrounding colors, and maintenance preferences. In desert landscapes, warm tones blend naturally, while cool gray gravels complement modern architecture. The right color choice can dramatically enhance your overall landscape design.
5. Calculate Depth Correctly
Too little gravel shifts and exposes the ground beneath, while excessive depth wastes money and makes walking difficult. Paths and patios need at least 2-3 inches of depth after compaction.
Many DIYers underestimate how much material they need. One cubic yard typically covers about 100 square feet at 3 inches deep. Always use a gravel calculator rather than guessing! Proper depth ensures your installation looks professional and performs as intended.
6. Compact With Care
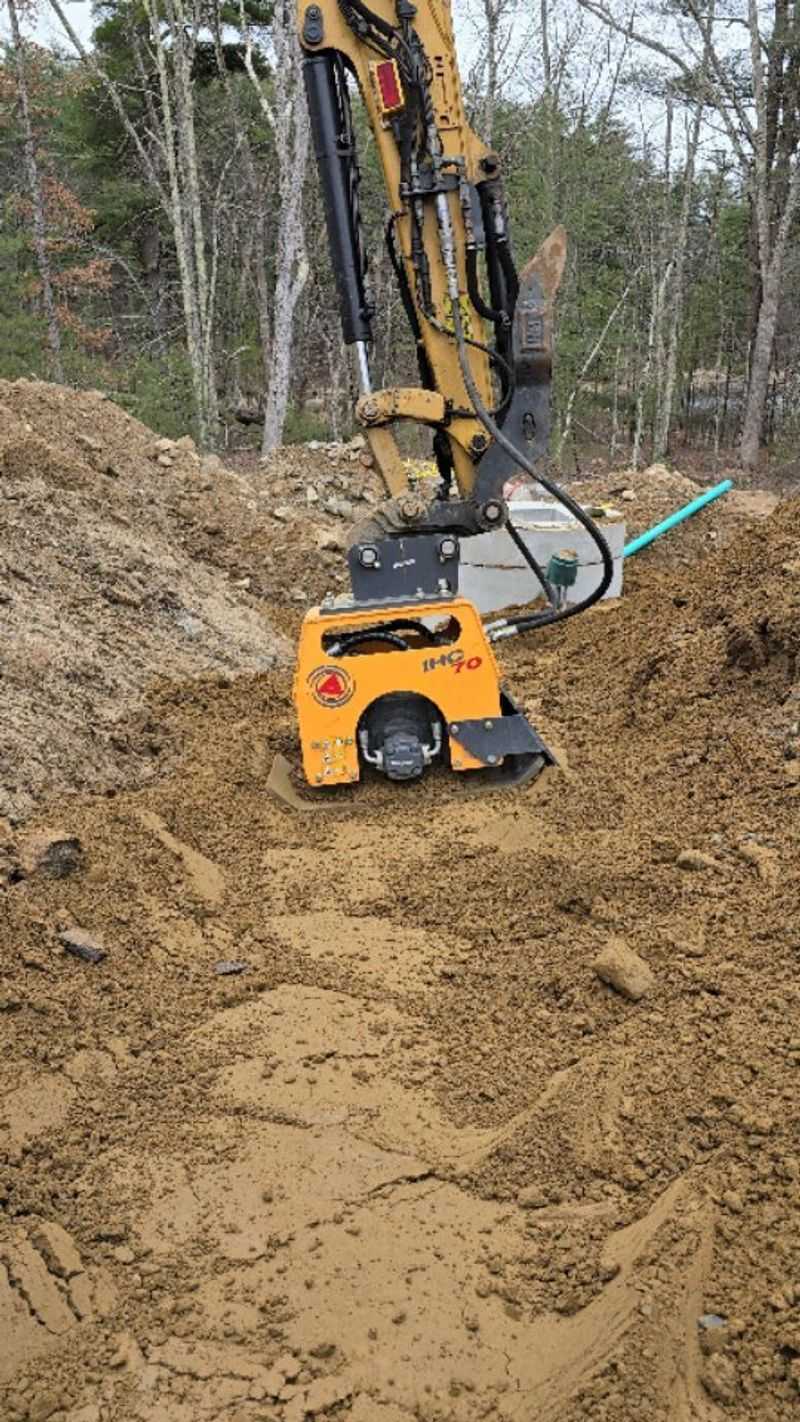
Rented plate compactors transform loose gravel into solid surfaces that resist shifting and rutting. For smaller areas, a hand tamper works well if you apply consistent pressure.
Skipping compaction is a classic rookie error. Without it, your gravel surface will remain loose and unstable. Work in thin layers, lightly wetting each before compacting.
This creates a firm base that maintains its shape through seasons of use and weather, especially important for driveways and high-traffic pathways.
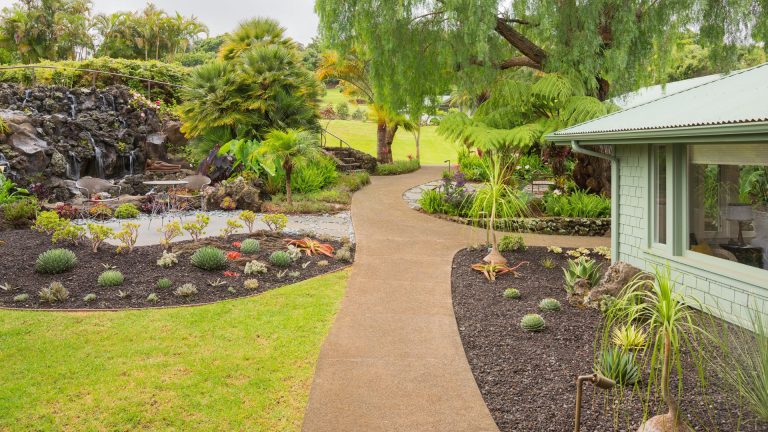
7. Create Curves That Last
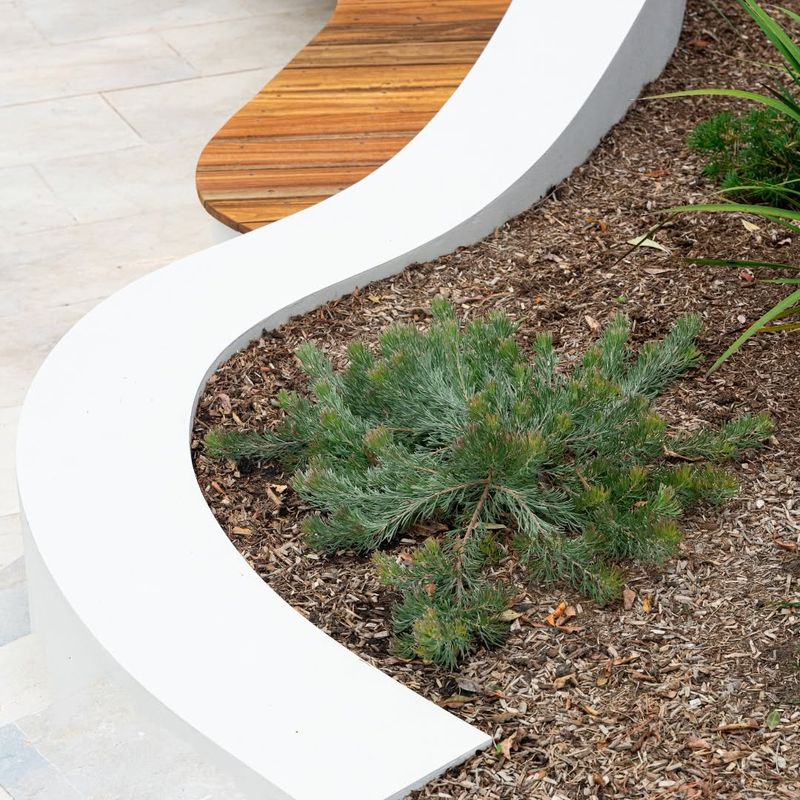
Graceful curved gravel paths add charm to gardens but require deeper edging than straight sections. The outward force of foot traffic gradually pushes gravel against the edges, causing straight boundaries to fail first.
Install edging at least 2 inches deeper on curves than on straight sections. Many beginners create beautiful curved designs that quickly lose their shape. By understanding these physical forces, you’ll create curves that maintain their elegant lines year after year, preserving your landscape’s designed aesthetic.
8. Manage Water Runoff Wisely
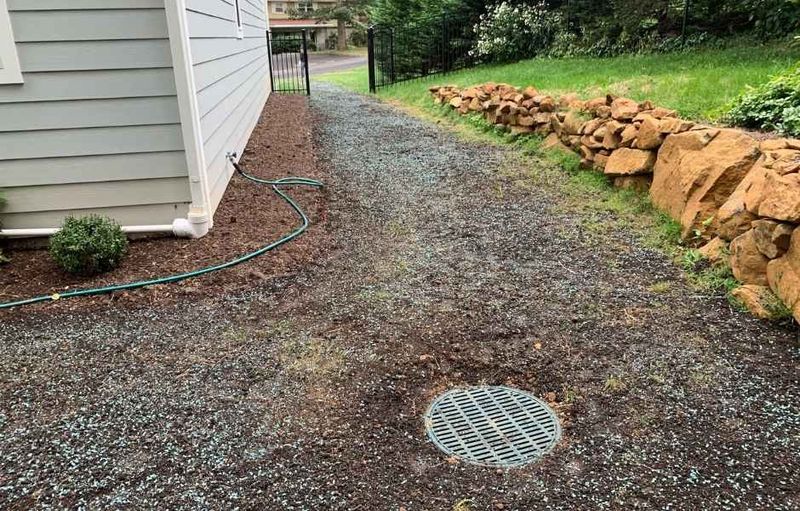
Gravel surfaces should always slope away from buildings at a minimum 2% grade. This prevents water from pooling or flowing toward foundations where it can cause serious damage.
Poor drainage planning is a costly mistake. On pathways, create a slight crown in the middle so water sheets off to both sides. For larger areas, incorporate subtle swales that direct runoff toward appropriate drainage points or rain gardens. Thoughtful water management extends the life of your gravel installation.
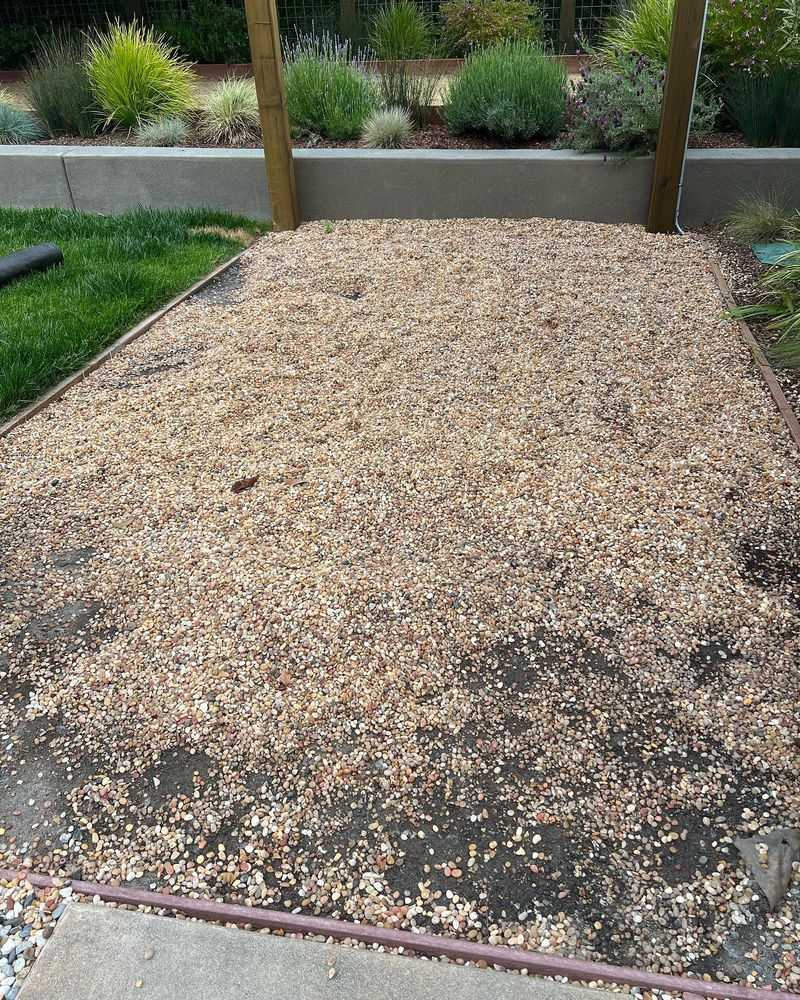
9. Separate Sizes Strategically
Mixing different gravel sizes creates instability as smaller pieces work their way downward while larger ones rise to the surface. This natural sorting process, called stratification, ruins the appearance over time.
Instead, use different sizes in separate areas connected by clear transitions. Fine gravel works beautifully in meditation gardens where you might walk barefoot.
Larger stones function better in drainage areas. When you need different sizes, separate them with edging or level changes for a professional look.
10. Integrate Stepping Stones Properly
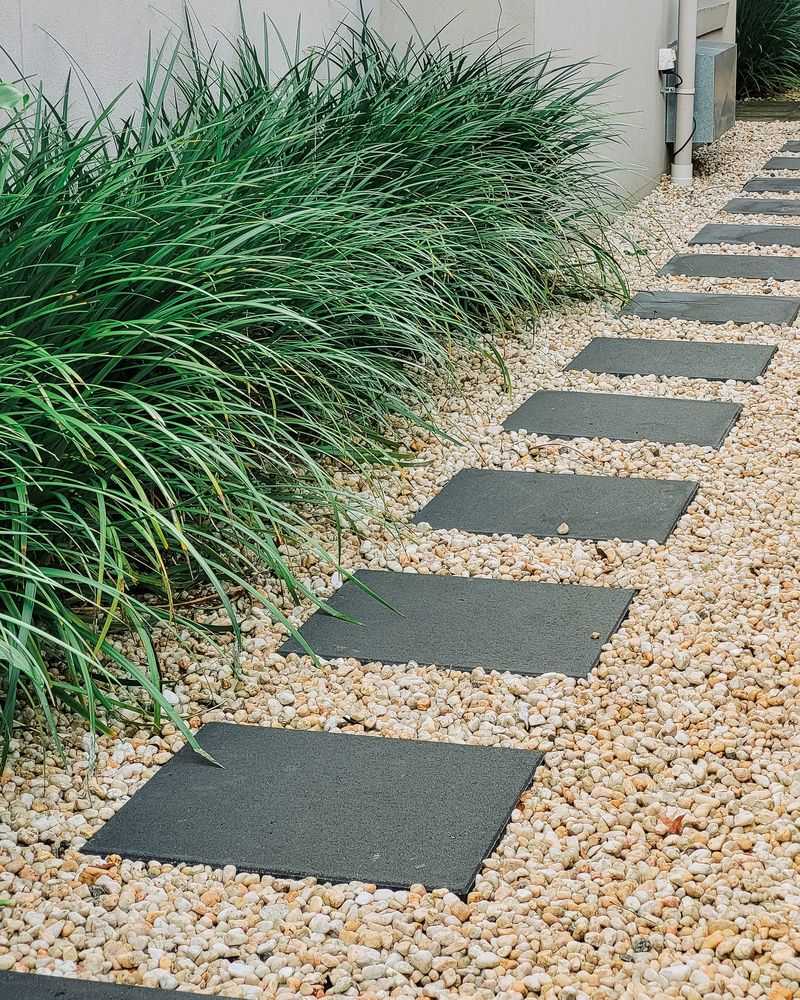
Floating stepping stones provide stable footing in gravel areas, but they sink when installed incorrectly. Set each stone on a compacted base of sand or fine gravel, not directly on soil.
Position stones at a natural walking pace—about 24 inches apart center to center. The amateur mistake is placing them too far apart or directly on loose gravel. Keep stone tops flush with or slightly above the gravel surface to prevent tripping hazards while maintaining the design’s flow and functionality.
11. Maintenance Matters: Raking Techniques
Leaf blowers work for light debris, but nothing beats a gravel rake for restoring texture. These specialized tools have widely spaced tines that move stones without removing them completely.
Regular maintenance prevents compaction and keeps your gravel looking fresh. After rain or heavy use, spend a few minutes redistributing displaced stones.
The pros know that periodic raking actually reduces long-term maintenance by preventing more serious issues like weed establishment or drainage problems.
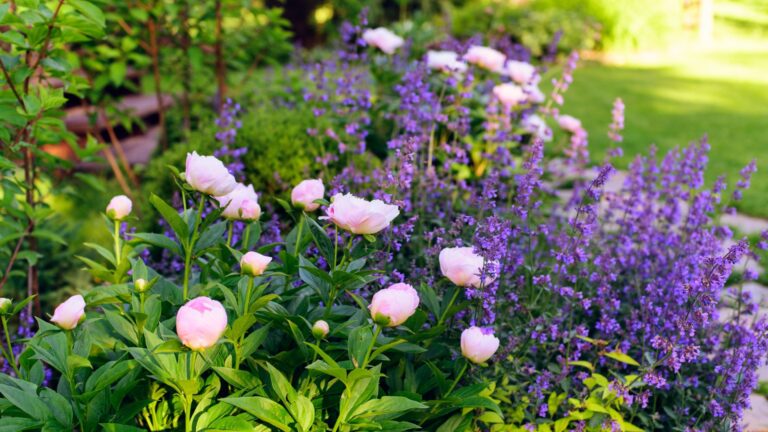
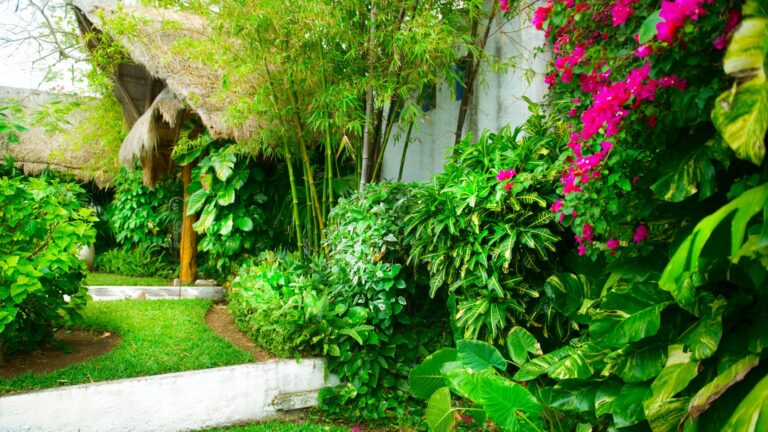
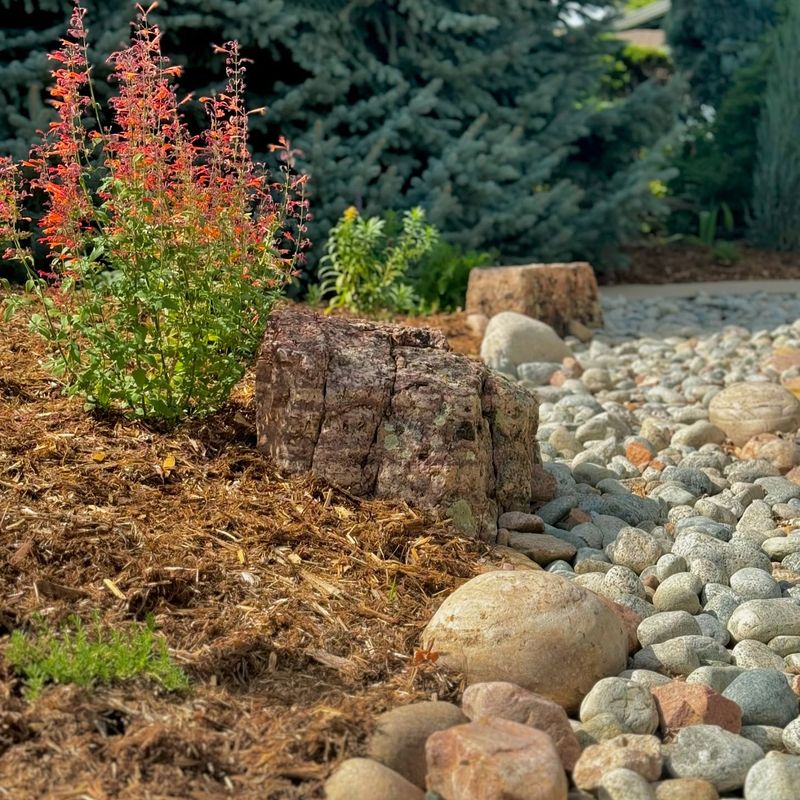
12. Smart Plant Pairings
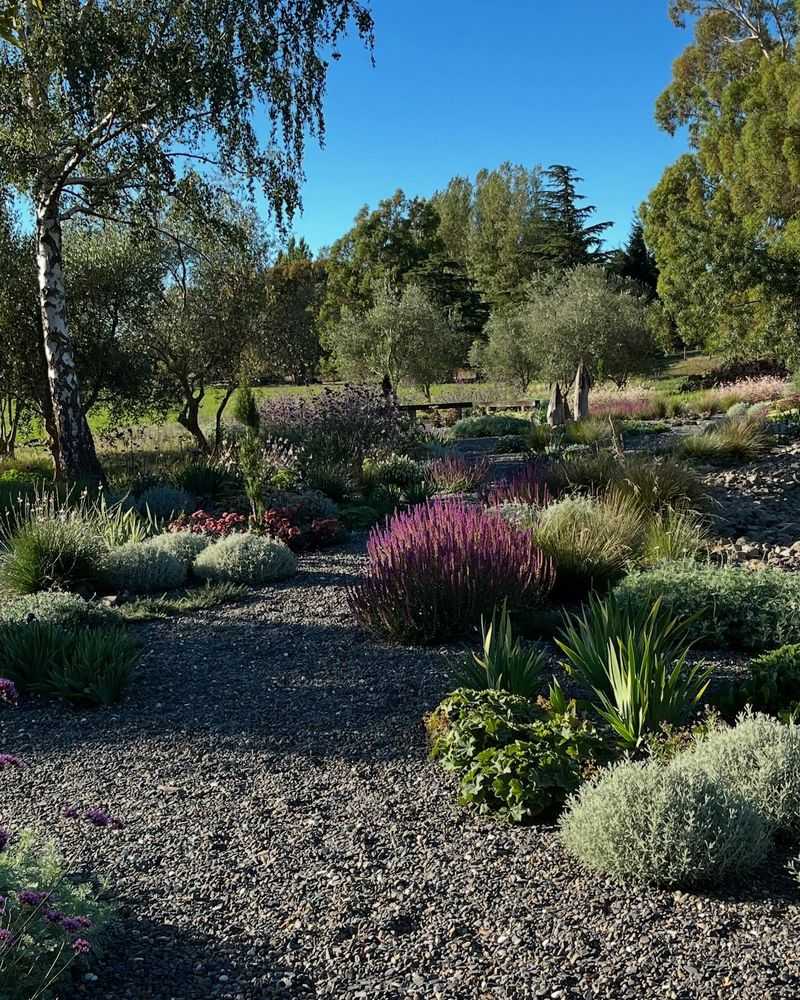
Low-maintenance plants like lavender, sedum, and ornamental grasses complement gravel beautifully without dropping messy leaves or sending invasive roots through weed barriers.
The rookie mistake? Planting trees with aggressive roots or shrubs that shed extensively. Plant debris gets trapped in gravel and decomposes, creating perfect conditions for weeds.
Choose plants adapted to well-drained conditions that won’t require frequent fertilizing, which can wash through gravel and pollute groundwater.
13. Stabilize Slopes Successfully
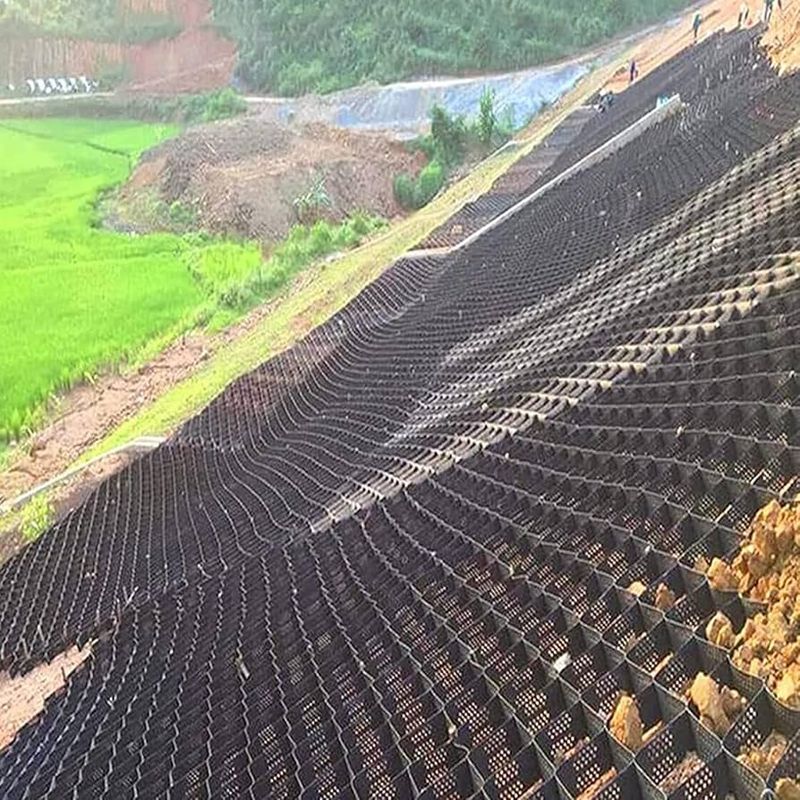
Gravel on slopes steeper than 3:1 will wash away without stabilization. Honeycomb grid systems hold stones in place while allowing water to drain properly through the surface.
Many homeowners learn this lesson the hard way after rainstorms carry their expensive gravel downhill. For moderate slopes, terracing with short retaining walls creates level areas where gravel stays put. On gentler inclines, mixing slightly larger stones into your gravel blend increases stability naturally.
14. Sound Considerations

Rounded pea gravel creates that satisfying crunch underfoot but can be noisy near windows where you might want quiet. Angular crushed stone provides a more subdued sound profile for areas close to the house.
Consider how sound travels in your landscape. The pleasant crunch that signals a visitor’s arrival becomes less charming at 2 AM under a teenager’s sneaking footsteps. Near bedrooms or meditation spaces, choose materials with your soundscape in mind, or incorporate sound-absorbing elements like dense plantings.
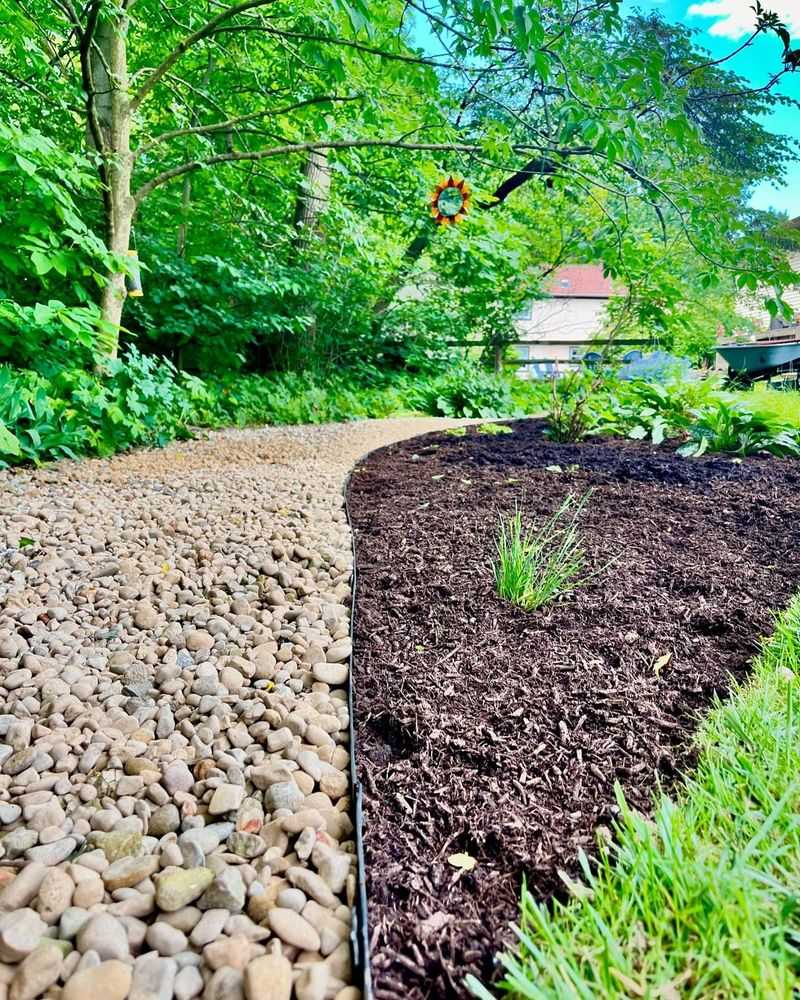
15. Transition Zones That Flow

Abrupt changes between gravel and other materials look jarring and unprofessional. Create transition zones using gradually changing textures or mixed materials that guide the eye naturally from one area to another.
For example, where gravel meets lawn, install a band of larger decorative stones or a row of pavers. These transitional elements prevent gravel from spilling onto grass while creating visual harmony.
Thoughtful transitions elevate your landscape from amateur to professional-looking with minimal extra effort.
16. Permeable Solutions for Eco-Friendly Drainage
Traditional concrete sends rainwater rushing into storm drains, while gravel allows it to percolate naturally into the soil. This recharges groundwater and reduces flooding, making gravel an environmentally responsible choice.
To maximize these benefits, install a proper drainage layer of clean, crushed stone beneath your surface gravel. Many municipalities now offer incentives for permeable surfaces like properly installed gravel. The environmental advantages are significant, particularly in areas with water restrictions or flooding concerns.
17. Lighting That Transforms
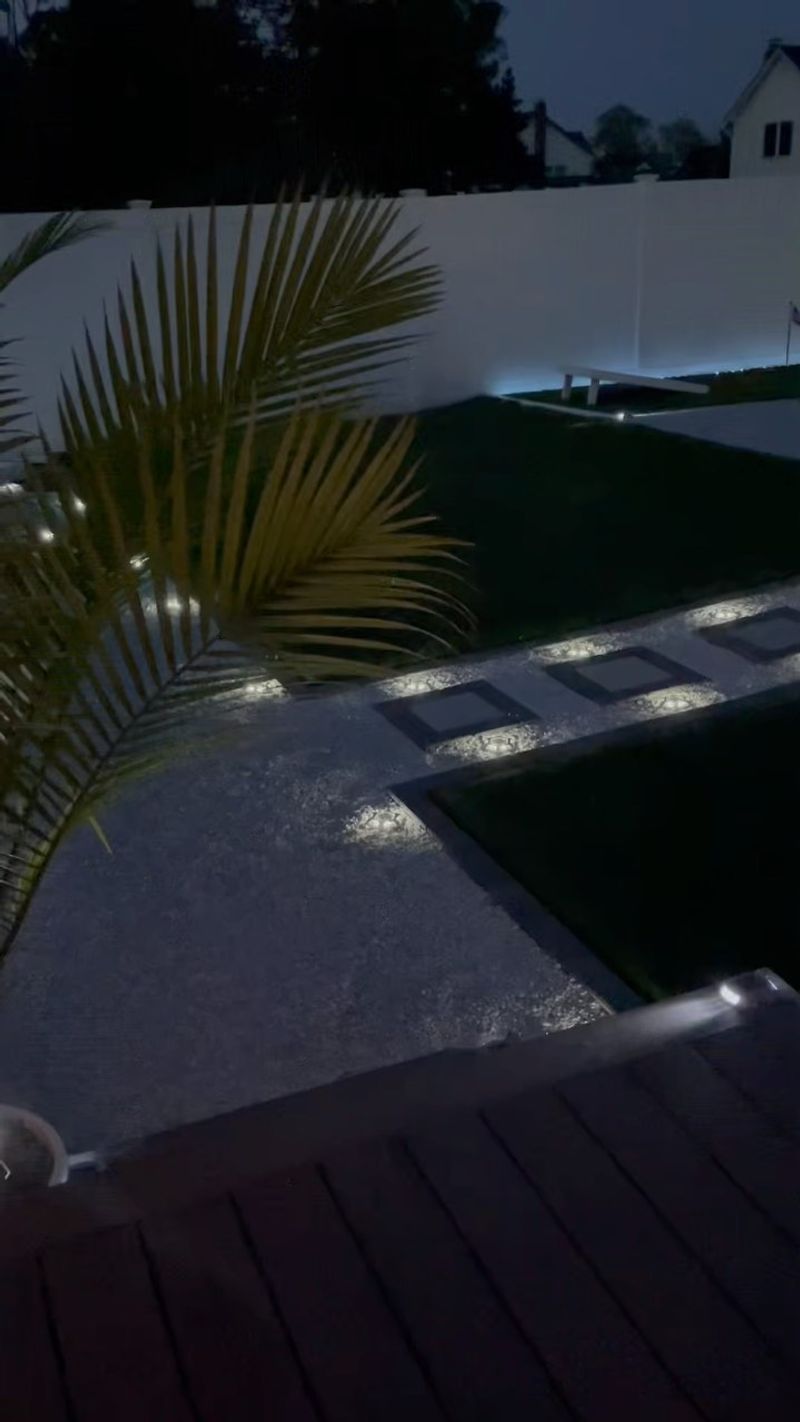
Light-colored gravel reflects landscape lighting dramatically, multiplying its impact. Strategic placement of low-voltage lights along gravel paths creates magical nighttime landscapes while improving safety.
Solar path lights work well but often don’t last through long winter nights. Wired systems cost more initially but provide reliable illumination year-round.
The amateur approach is random light placement that creates harsh spots and shadows. Professional designers position lights to highlight textures and guide movement through the space.
18. Regional Material Selection

Locally sourced gravels reduce transportation costs and environmental impact while looking more natural in your landscape. They’re often better adapted to local climate conditions too.
In coastal areas, shell fragments mixed with gravel create regional authenticity. Mountain settings look best with angular stone similar to natural scree.
Desert landscapes shine with warm-toned decomposed granite. Working with materials native to your region creates a sense of place that imported options simply can’t match.