7 Tips For Growing Loofah Sponges & 9 Witty Ways To Use Them
Did you know that you can grow your own non-toxic cleaning products? No, I’m not talking about herbs, it’s loofah sponges!
I know it sounds like something you’d see in a cartoon, but I swear they’re the real thing. And just like their synthetic counterparts, these loofahs will absorb just the right amount of product and create a nice foam.
The difference between them is that these ones degrade naturally.
Let’s discover some tips for growing loofah sponges and learn how to use them!
What Are Loofah Sponges?
This plant product has a starchy texture and sort of resembles a kind of sea creature.
But this one doesn’t swim in the ocean, instead it grows inside an enormous green gourd.
It is native to Asia, became popular in Egypt in the Medieval times, and has become an attractive commodity all over the U.S. recently. (1)
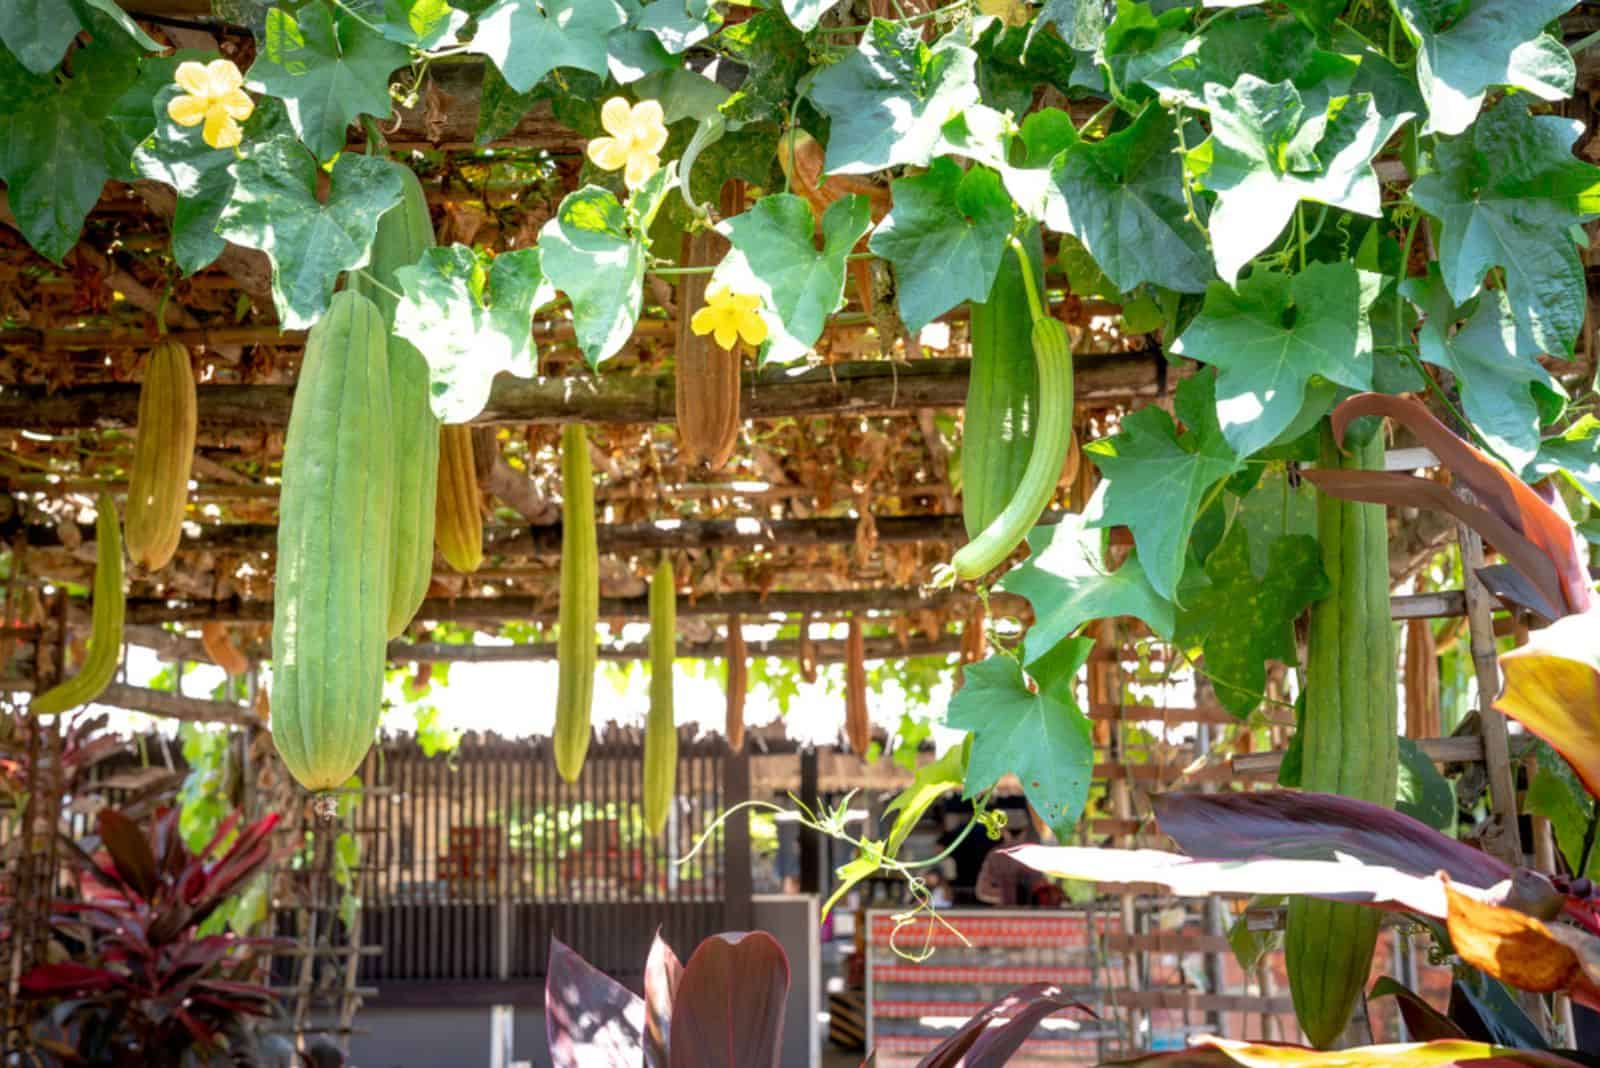
Loofah sponges belong to the gourd family (Cucurbitaceae), and look like a really long, light green zucchini. It flourishes in hot conditions and needs a trellis for optimal growth.
You can even eat its fruit, which tastes like a zucchini if harvested young. However, most growers leave it to mature so that they can produce their very own cleaning supplies.
How To Grow Them
Loofah sponges are perfect to grow in USDA zones 6 and above, so if you live in these regions, you can plant a couple and see what happens.
They do require at least 4 months to fully mature, but don’t let that discourage you from growing them. You can harvest them unripe and use them in your cooking.
Here are some tips to help you get started!
Find Quality Seeds
These plants are a bit fussy to germinate, which is why your best option is to go with some high quality seeds.
The downside is that they’re not widely available in regular garden centers. Luckily, you can find them in online stores.
On the upside, you won’t have to buy the seeds ever again. Just save some from your first harvest and plant them the following year.
Start Them Indoors
Since loofah squash has a long growing season and requires plenty of sunlight, it’s best to start the seeds indoors and jump start the season.
The best time to do this is 6-8 weeks before the last spring frost.
Before you sow the seeds, you should first keep them in water for about 24 hours. Then plant them in a seed-starting mix and place the nursery tray on a heating mat to increase germination success.
Keep the soil moist at all times. I find that covering the tray with cling foil or a humidity dome helps keep moisture in so there’s no need for frequent watering.
Once the seeds germinate and you notice sprouts pushing out of the soil, move the tray to a sunny location or turn on your grow lights.
Transplant To Larger Planters

This plant roots quickly. It needs space to grow, so you’ll need to transplant it to a larger container once it develops true leaves. (These are larger than the first ones that appear.)
You can move them to biodegradable planters so that you don’t have to disturb their roots when moving them outside. Just be careful not to damage the roots.
And if you want to skip this step altogether, sow the seeds in larger pots. This will take up more space and not all seeds will germinate, so you may waste the extra room for nothing.
Harden The Seedlings And Move Them Outdoors
The young loofah squash will continue growing, and soon the time will come for you to move it outside. However, you can’t just take it outdoors and hope for the best.
You have to harden your squash by taking it outside, leaving it there for about an hour or two, and then taking it back indoors. Keep it in a sheltered place where harsh sun and wind won’t damage it.
Gradually increase the outdoor exposure, leaving it outside for longer periods. After some time, increase the amount of sunlight it gets so that it can get used to it.
This process might take a week or two, depending on your region. Once the plant can last an entire day outside, it’s time to move it there for good.
Plant your loofah squash a foot apart in a location with full sun and fertile, well-draining substrate. Train them on a sturdy trellis to support their growth.
Stake And Care
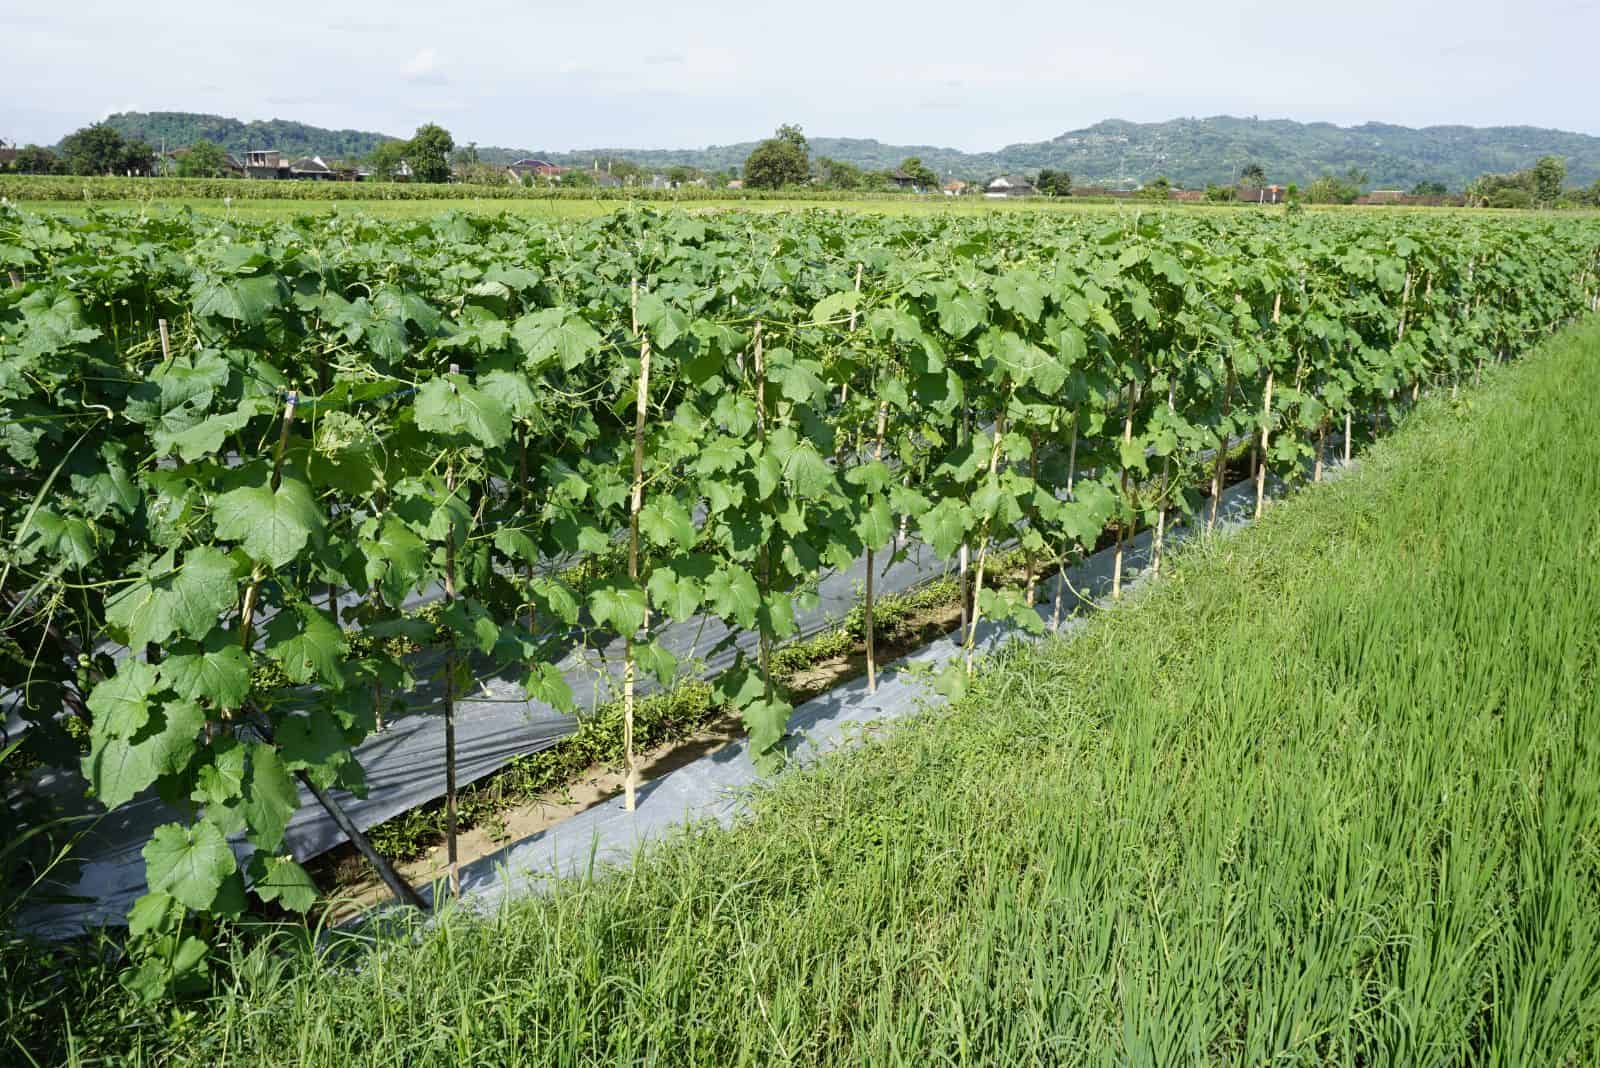
You can stake loofah squash by planting them at the base of the stake, and they’ll work their way upwards. You will have to tie them every now and then to keep them growing upright.
Choose a heavy-duty trellis that can support the heavy loofah squash fruit – chain link fences work well.
When it comes to plant care, these loofahs don’t need that much. Water them frequently, keep them in direct sunlight, and they’ll thrive.
When late summer comes, put some diatomaceous earth on them to keep them safe from squash bugs.
Soon you’ll notice young loofah flowers and fruit appearing, which you can harvest and add to your salads or use like any other squash.
But if you want to let them mature and form a real loofah, you’ll have to refrain from harvesting them when young. You’ll also have to monitor them so that the fruit doesn’t get trapped in the trellis, since that’ll deform them and make them harder to harvest.
About 8 weeks before the first fall frost, deadhead the remaining blossoms so the plant can spend its energy on producing larger fruit.
If the temperatures get freezingly low, use row covers and mulch to protect the loofah squash. Cold can stunt the plants’ growth and result in a poor harvest.
Harvest Before The Frost
The fruit usually gets about a foot long, and the ideal time to pick it is when it turns brown and dries out.
However, if you live in a region that gets quite cold before this, you will need to harvest the fruit when it’s green. Freezing temperatures will destroy the loofah sponge, so it’s better to pick it green than not pick it at all.
Green fruit will produce loofahs in excellent condition – they’ll just be a bit smaller and harder to peel.
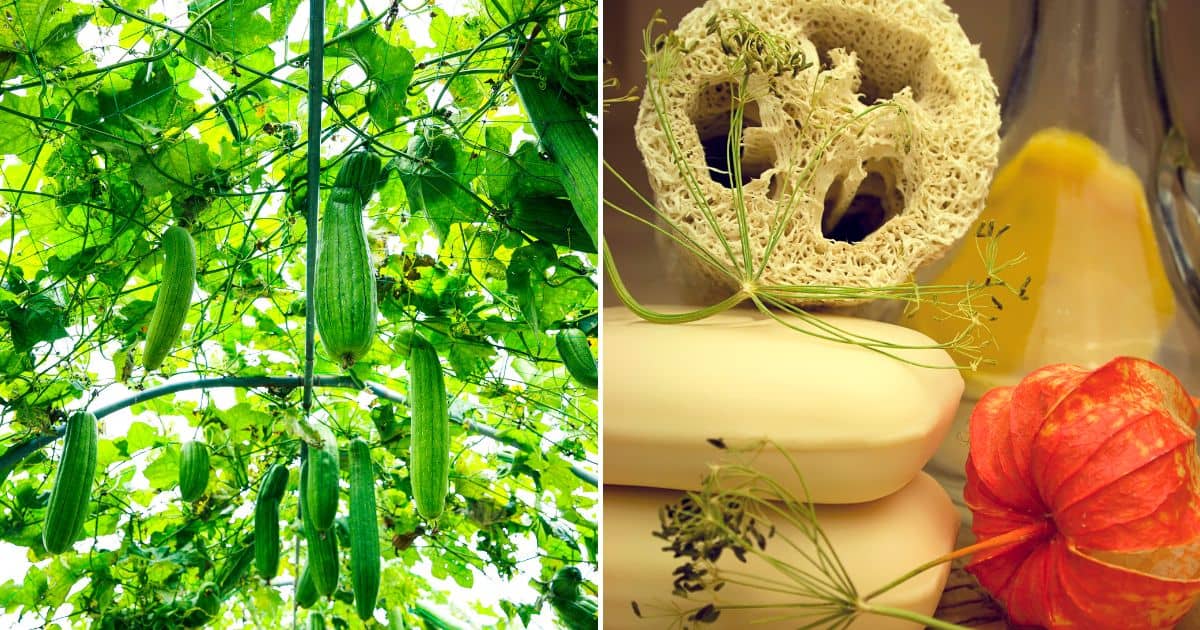
Peel The Skin
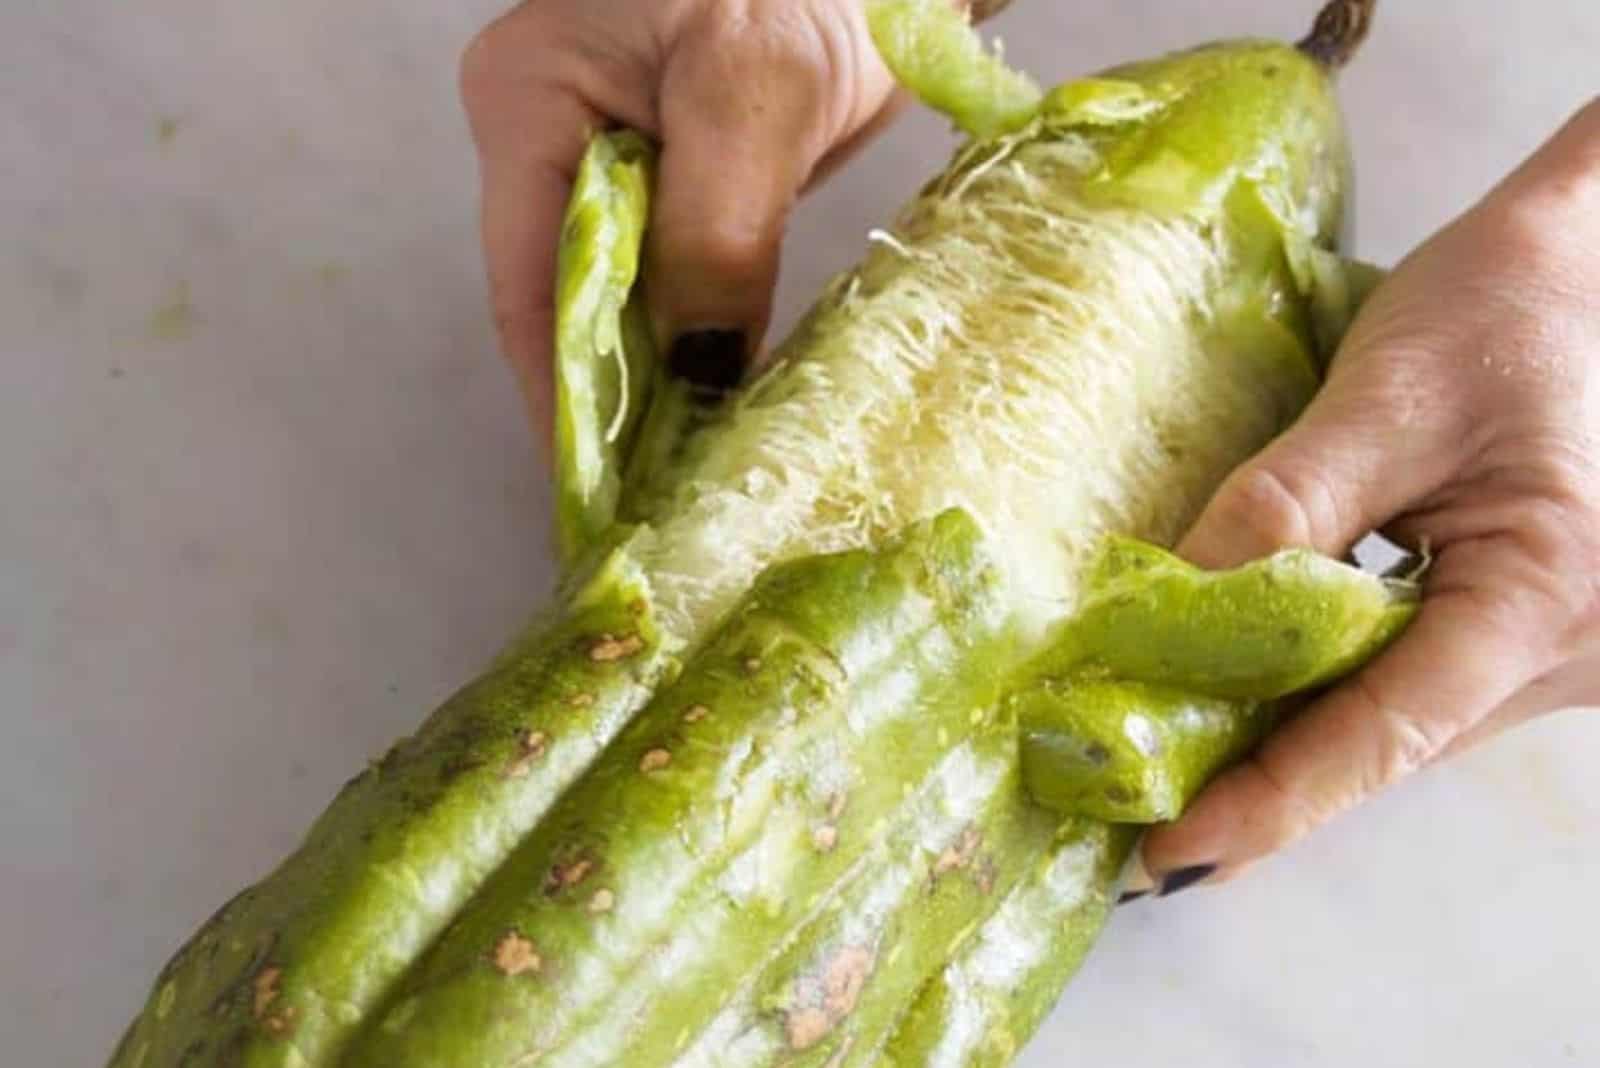
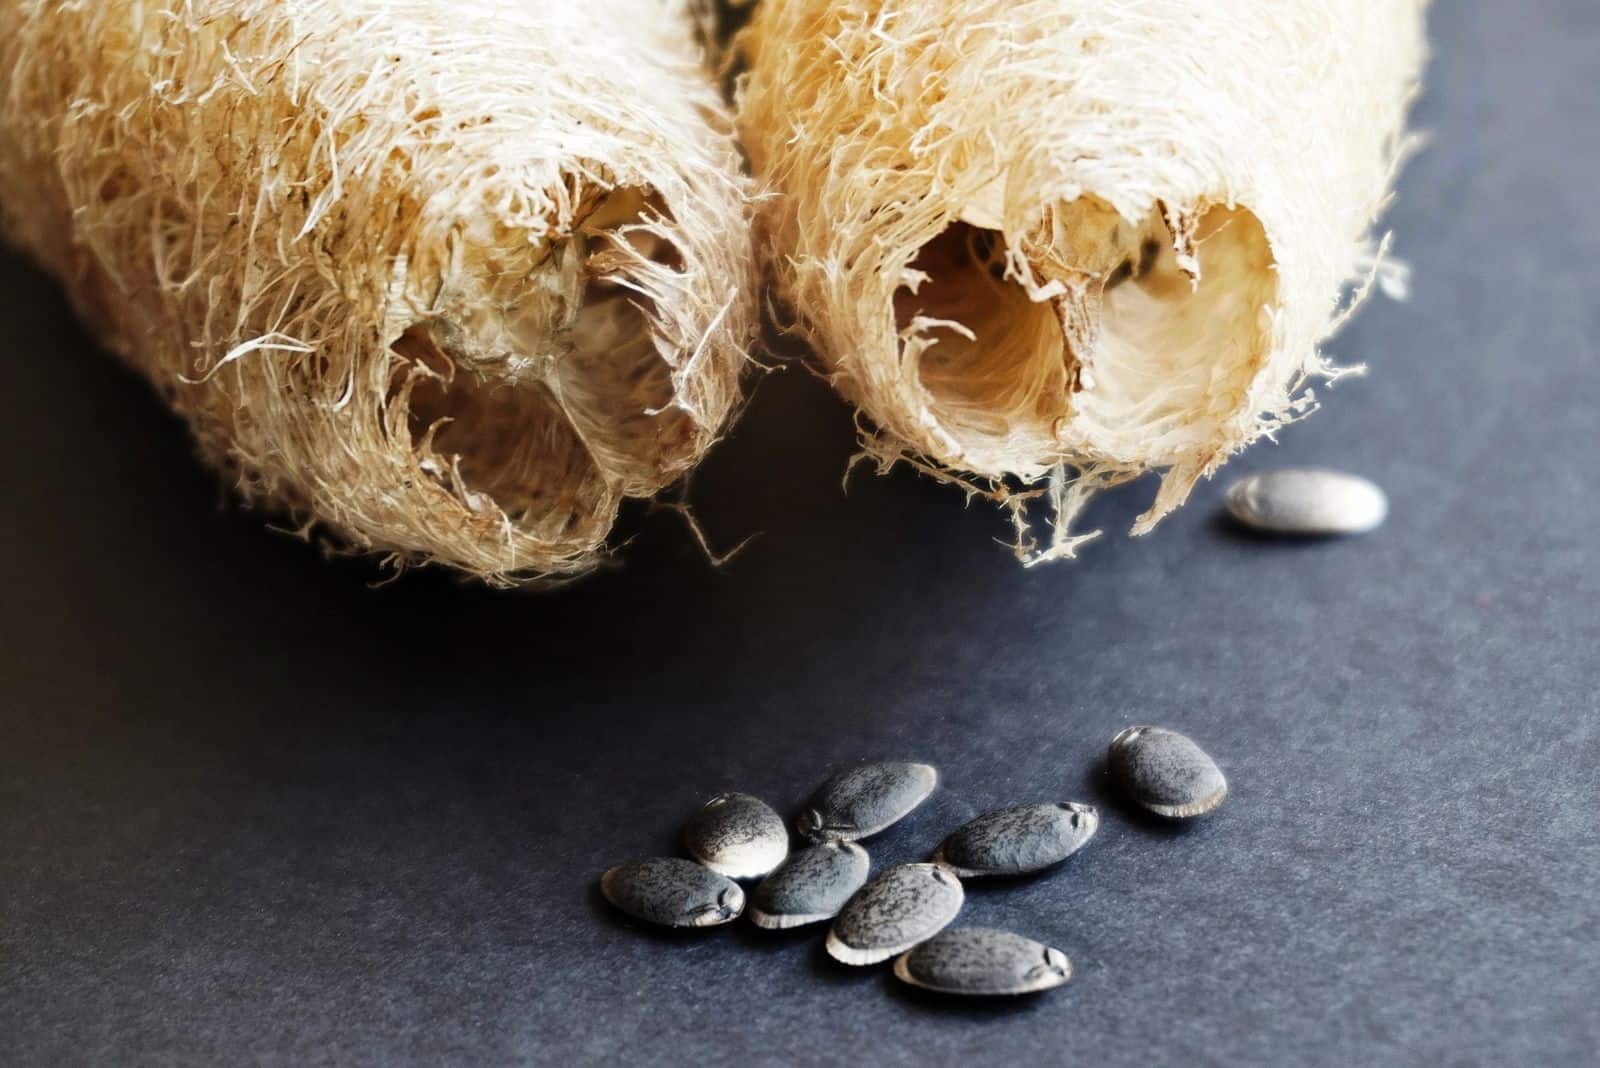
The last step in growing loofah sponges is peeling the skin. Mature, brown, dry loofahs have a cracked skin which easily comes off.
But if you had to harvest this veg green, you might need to squeeze and slash it to get a better grip with your fingers.You can also soak it beforehand since this can loosen the skin a bit, and then cut it and peel it off like a banana.
Once the skin is gone, you’ll notice fibrous insides. Shake the seeds out and save them for the following year. Soak the sponge in a solution of dish soap and water to get rid of the sap.
Afterwards, you may add some non-chlorine bleach if it looks stained or dirty, which will make the color more even.
Rinse the bleach and take the loofahs outside to dry in the sun. Keep them in a dry breathable container or a cloth bag and they’ll last for years.
Pro tip: Peel the green loofah sponge right away. If you leave it to ripen, it’ll only start to rot or become more stained.
How To Use Loofah Squash
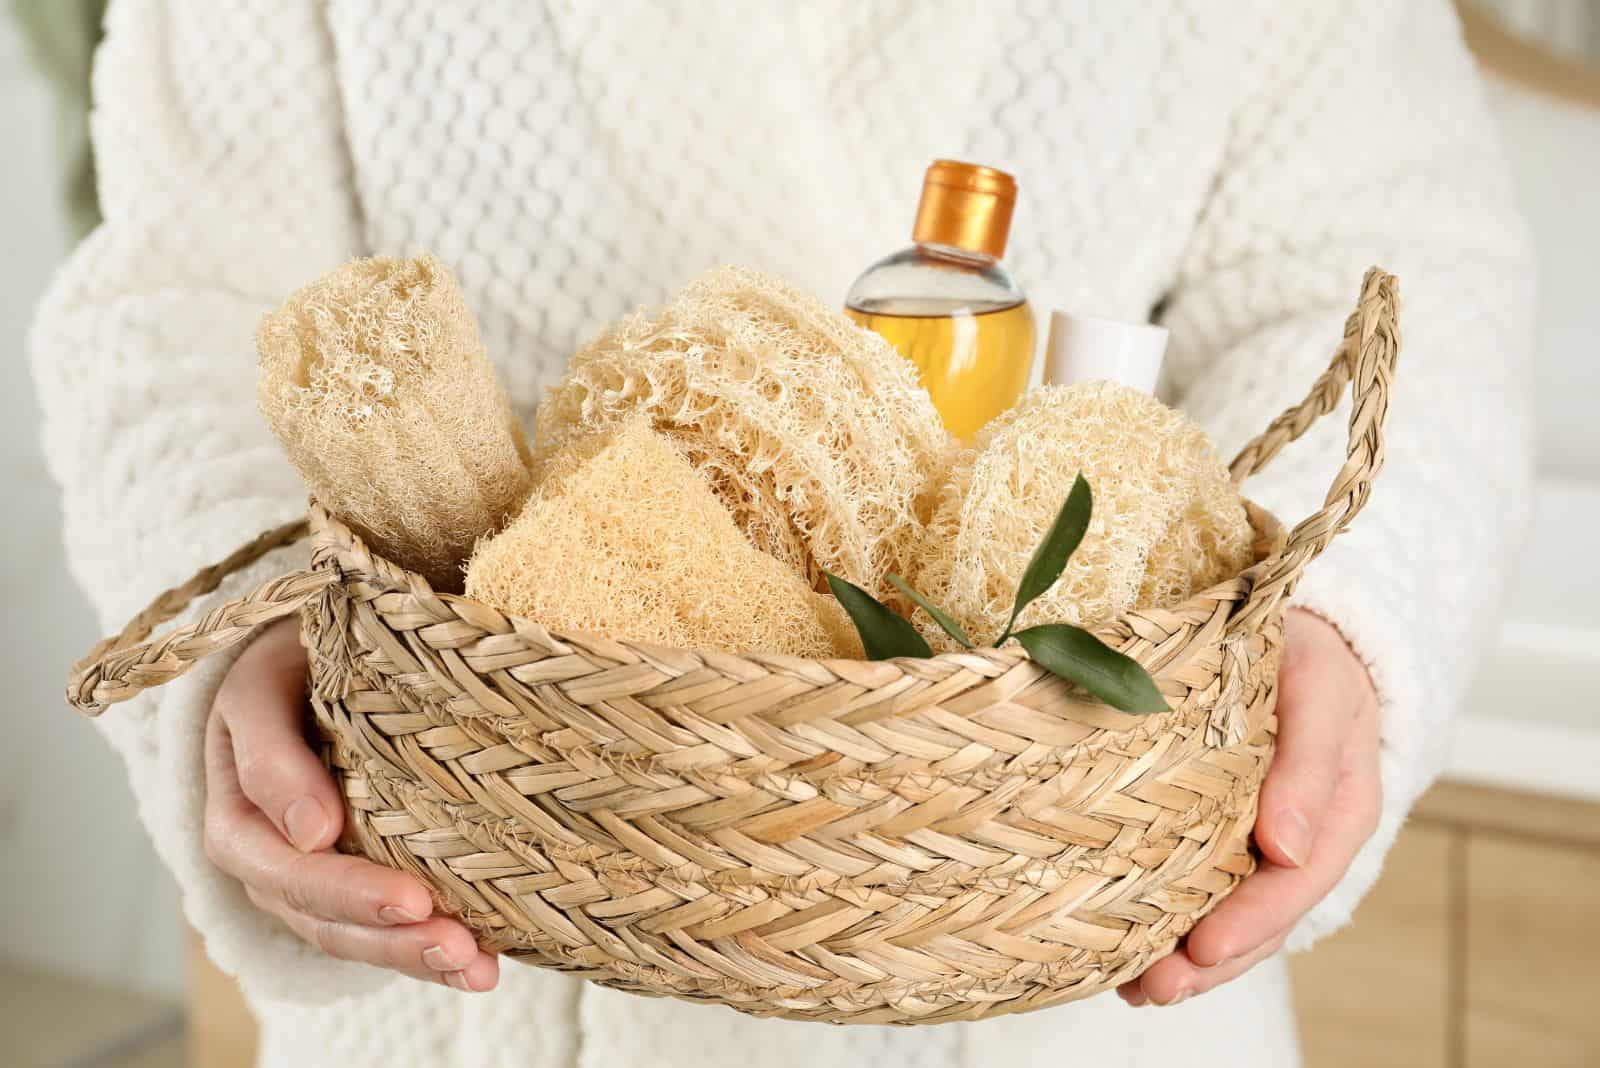
You can use your naturally grown loofah sponges as soon as you harvest, clean, and dry them. Use them whole or slice them into smaller discs for easier scrubbing.
Here are nine ideas to put these things to use, but don’t stop here; let this be your inspiration so that you can find other ways of utilizing these sponges!
• Fill the hollow loofah insides with some soil and use them as biodegradable seed starting pots.
• Use it as a dish scrubber, which is especially gentle on cast iron and won’t harm the seasoning layer of oil.
• The most obvious use is to make a bath sponge. Tie a rope, a shoelace, or a thread through the loofah and hang it in your shower for easier access.
• Keep it at hand for removing messy stickers from glass and plastic surfaces. If you put on some oil or glue-remover first, it’ll work even better.
• The gentle loofah sponge will successfully clean grout and delicate surfaces such as glass or porcelain without scratching them.
• Add tiny bits of this sponge to your homemade soap for some extra scrubbing and a unique texture.
• Kids will love this material for their arts and crafts projects. Cut the loofah into smaller discs and let the kids dab them in paint to create fun shapes and experiment with textures and art.
• Loofahs aren’t just for kids. You can pull its fibers apart and use them for your own projects, from decorating sandals to coasters and mats.
• And if you have many of these loofahs hanging around, try selling them on eBay or Etsy. Other crafters will welcome this new material.
As you can see, there are many different uses for these loofah sponges, although you may find some more by experimenting. Just make sure to properly clean and dry them before using them. And once you’re done with them, toss them into your compost.
Pro tip: Extend your loofah shelf life by soaking them in a solution of 90% water and 10% bleach once a week.
I hope you enjoyed this article!
Until next time.
References:
1. Xie, Y., Lie, G., Li, Y., & Migliaccio, K. (2023). Luffa – An Asian Vegetable Emerging in Florida. Horticultural Sciences Department, UF/IFAS.