Growing Red Roses From Buds Is Possible And This Is How You Do It
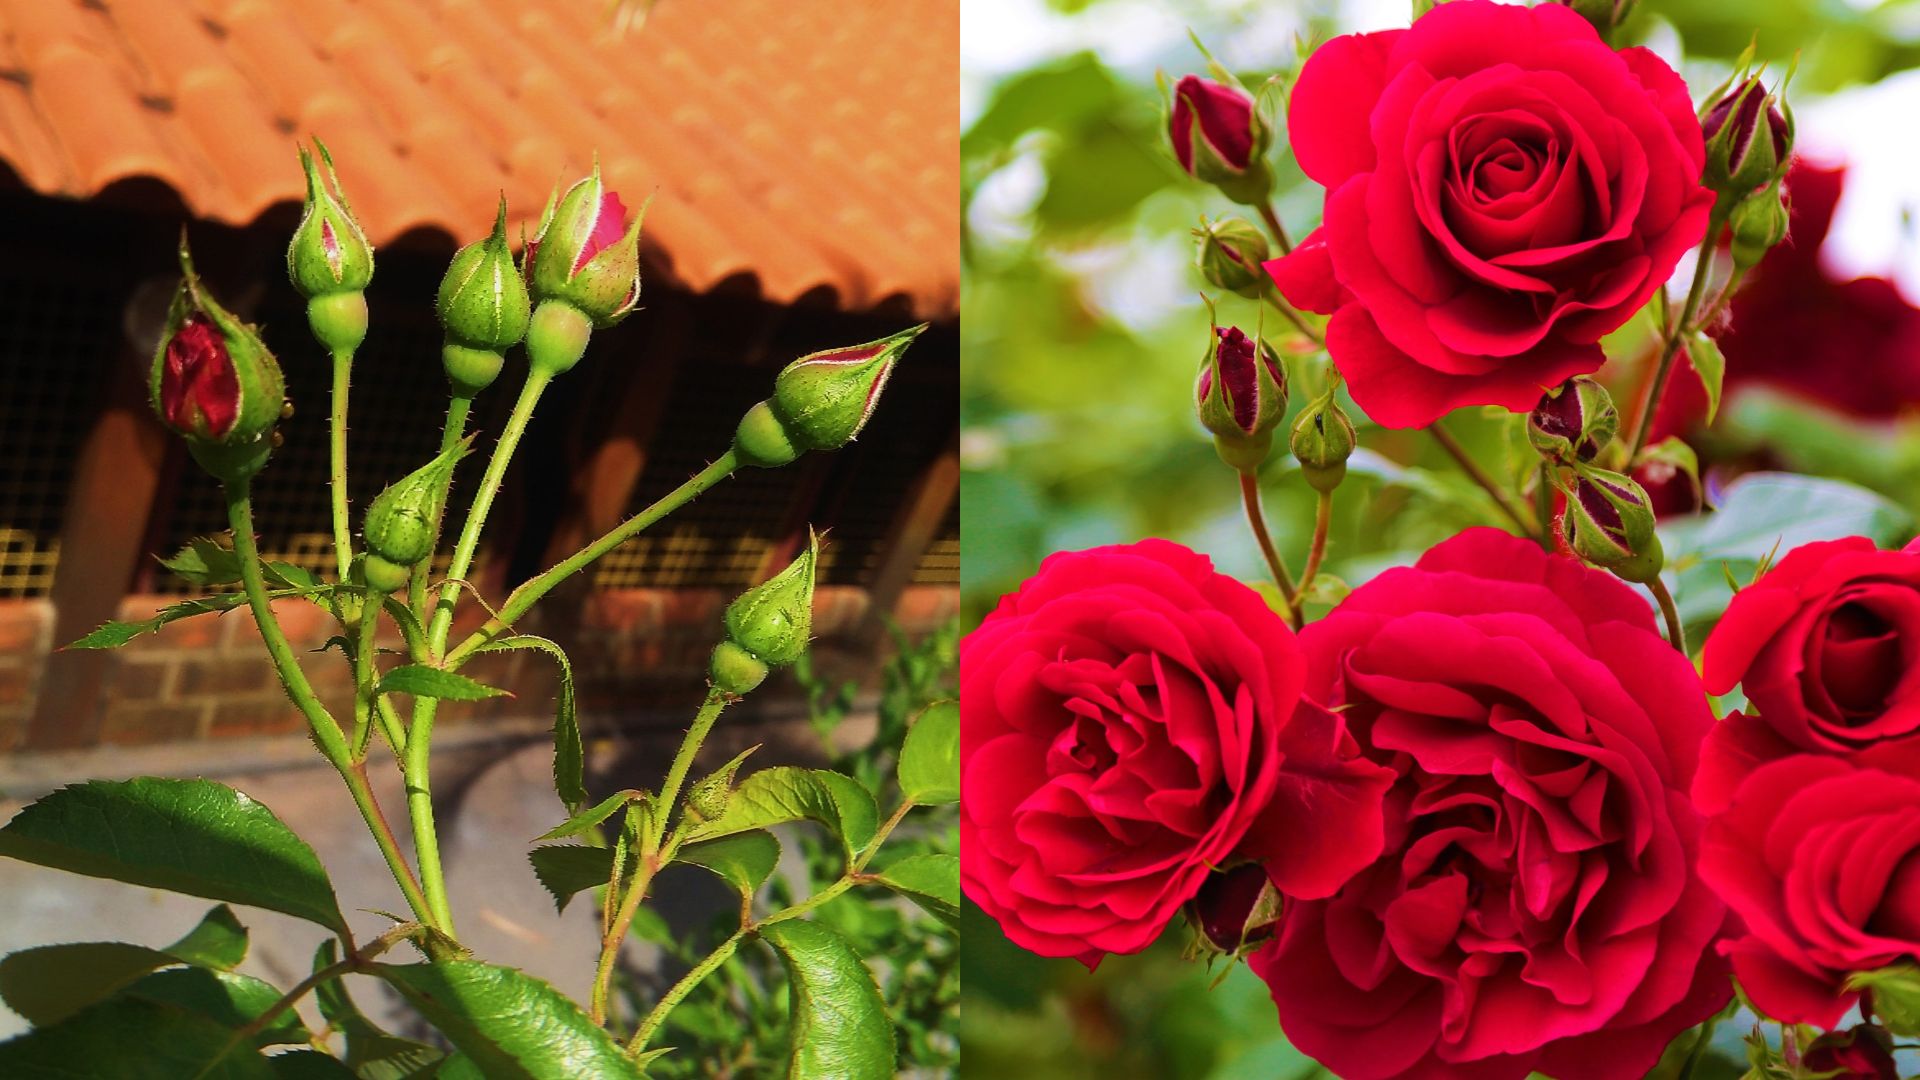
Did you know that you can propagate roses from their buds and enrich your garden with more of these gorgeous bushes and climbers?
Even though this method isn’t that common, it is quite simple and yields fast results (faster than seed propagation anyway).
All you need are some clean and sharp gardening scissors, one banana, and a small pot filled with a high-quality potting mix.
Once you have all this, you can start your rose plantation. Here are the details!
Let’s get started!
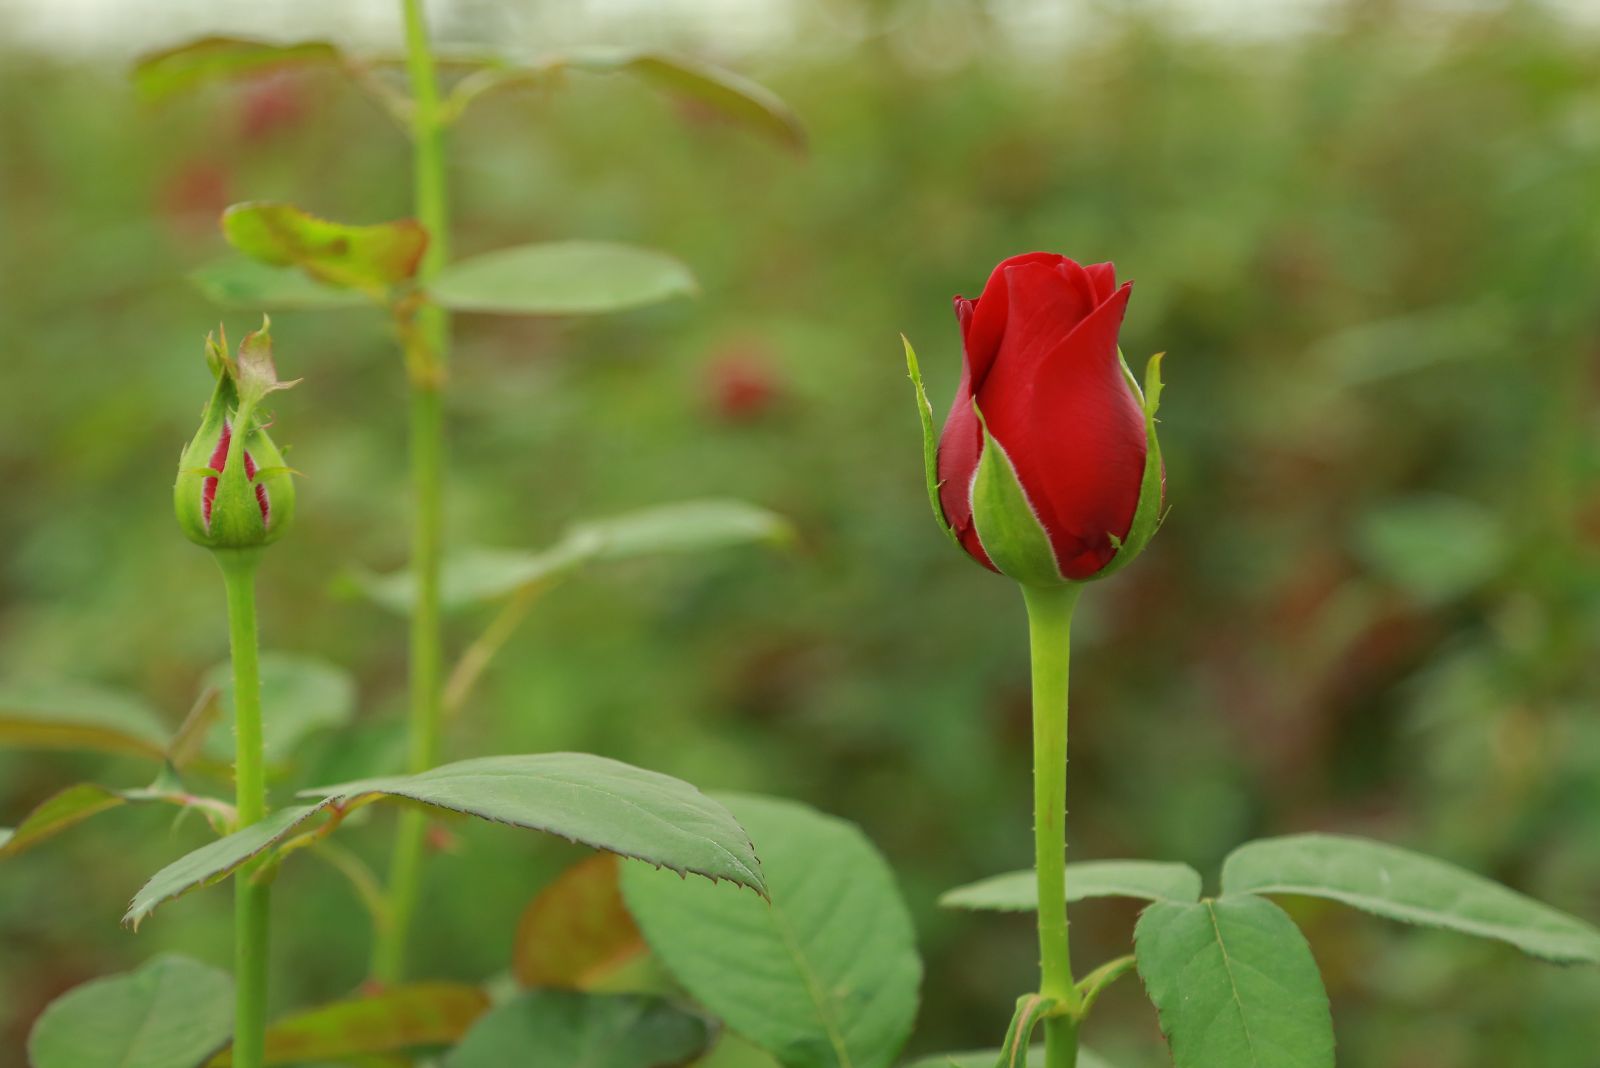
Choosing And Preparing Rose Cuttings
The first step is all about identifying the best rose varieties and the ideal time for taking the cuttings.
Here’s how to do it!
Selecting The Right Rose Variety
There are many tough roses you can choose from, but the best ones are those with strong stems and great disease resistance. Some of the most popular choices include floribundas, climbing roses, and hybrid teas.
And if you still haven’t added these varieties to your collection, you can try propagating any rose you have as long as it is free from diseases and pests.
Choosing The Best Time For Taking Rose Buds
The best time for taking rose cuttings is in spring and early summer because that’s when these plants grow actively and will have the highest success rate.
You can also take them in fall, but you might come upon more issues, such as adjusting lighting and temperature. In this case, I’d suggest propagating rose buds in a greenhouse.
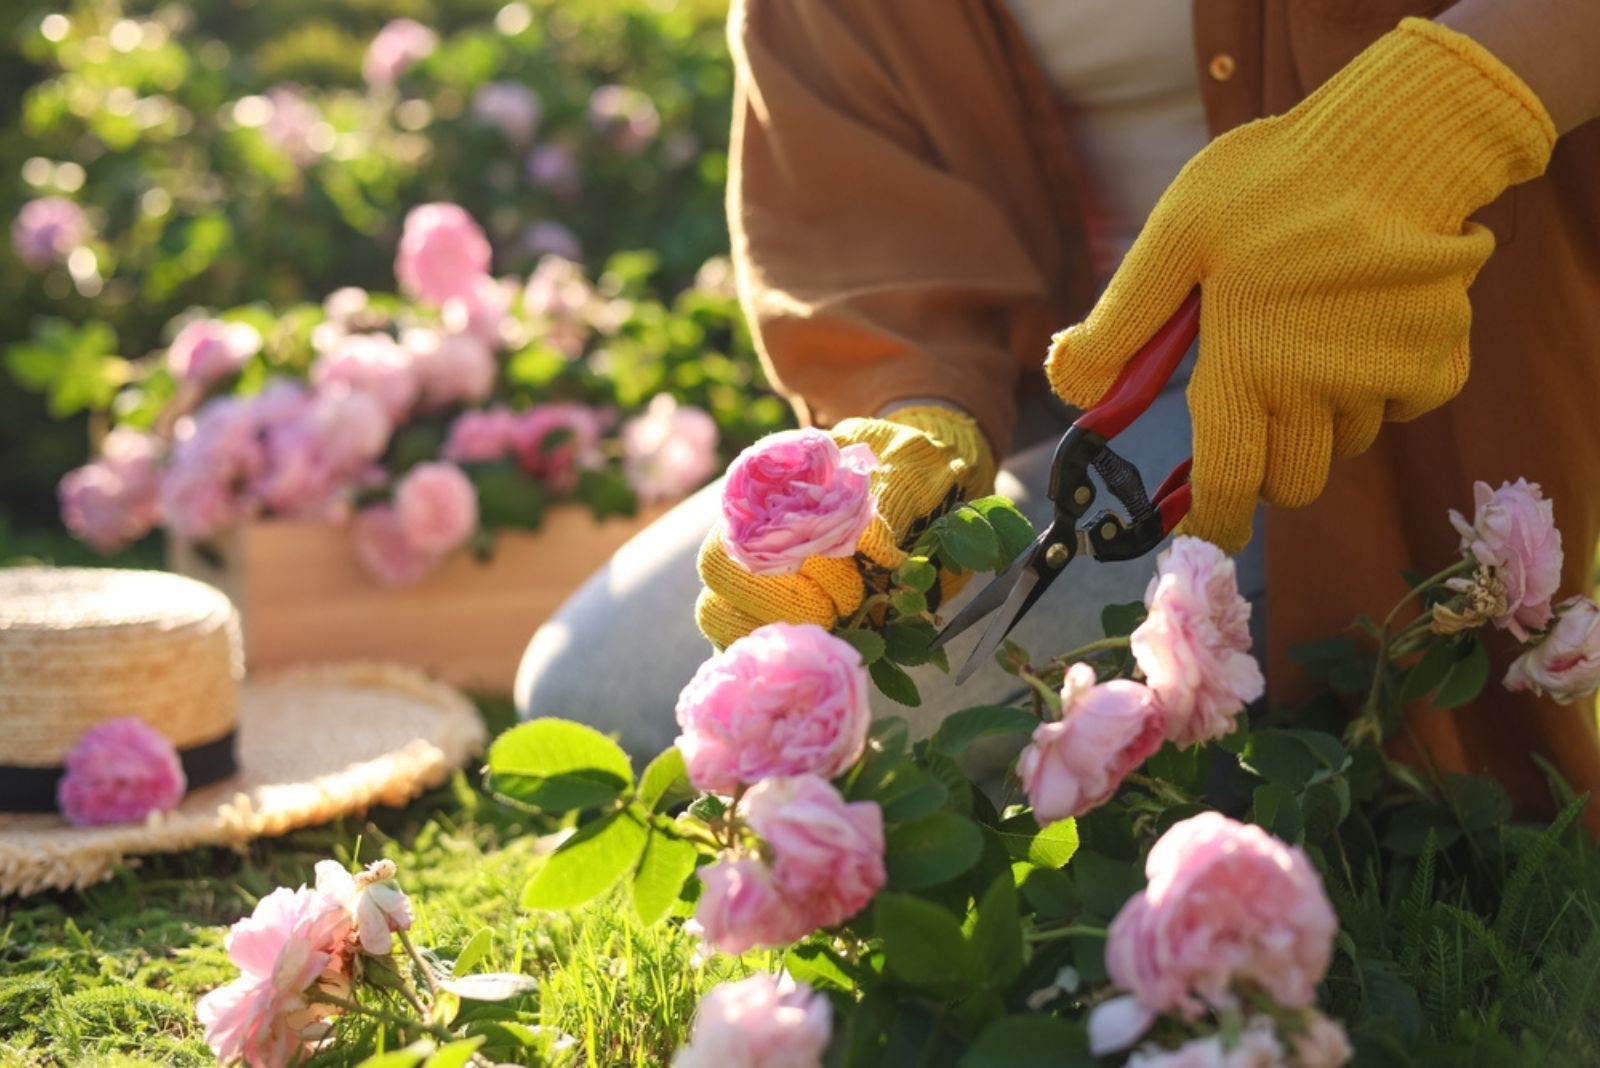
Taking And Preparing Buds
Take cuttings from healthy stems that aren’t too old and have plenty of new growth.
Of course, choose the shoots that have plenty of buds and cut them with sharp and clean pruners.
Remove the rose buds from the stem, remove some of the connecting tissue, and get rid of the brown and seedy stuff on the top part.
Rooting And Planting
Once you’re done preparing the rose buds, it is time to plant them.
The following steps are crucial if you want to try landscaping with knockout roses (or any other variety) because you can multiply the bushes you have and save a lot of money.
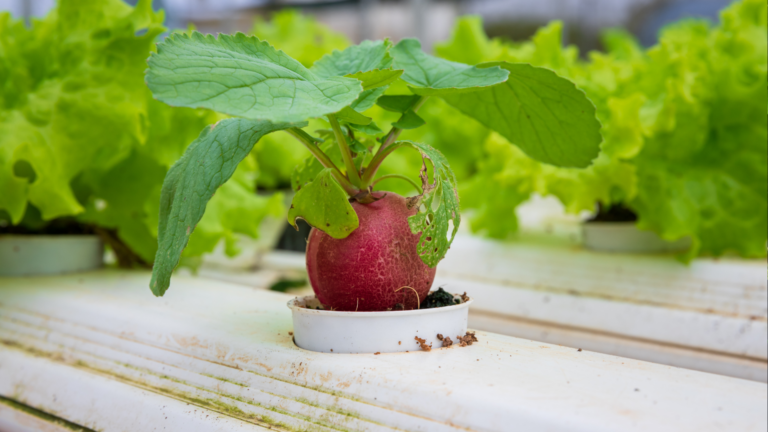
Identifying The Best Soil
Growing roses isn’t that difficult, but you do have to pay attention to certain things, such as soil requirements, especially when you’re starting them from buds.
In this case, I’d go with a high-quality potting-soil or use a mix of garden soil, rice husk, and horticultural grit. This will provide drainage and the necessary nutrients for rose buds to thrive.
Note: If your garden soil is contaminated or extremely heavy, make sure to use a lot more grit and rice husk, or skip it altogether and get some topsoil or use a store-bought mix.
Applying Root Hormone And Planting Buds
In this case, I don’t mean real rooting hormone, I’m talking about bananas.
Cut a few banana slices or cut the whole fruit in half vertically. This will provide the necessary nutrients for your rose buds to root.
Lay the banana slices on top of the soil and place the buds on it face down. That means that the part that would open and expose the flower should be in contact with the banana because that’s where the roots will grow.
After you plant the buds, lightly cover them with more growing medium and water them.
P.S. Some gardeners pre-soak the buds in garlic water and use that for the first irrigation, but it isn’t necessary.
Providing Optimal Growing Environment
Once you do all this, your roses should show some real growth in as little as 20 days, provided you give them optimal growing conditions.
That means keeping them in warm temperatures (room temperature is just fine) and ensuring they have bright indirect sunlight as soon as they sprout.
Don’t keep them in direct sun because that can scorch their tender growth.
And don’t forget to water them regularly and keep the soil moist (but never soggy). If it dries out completely, your propagation will most likely be unsuccessful.
Repotting And Transplanting
Once your roses show some real growth, it is time to move them to a larger pot. Take them out of their current planter, clean their roots, and plant them in a container filled with a fertile, high quality potting medium.
Water them thoroughly and keep repotting them as they grow to ensure they have plenty of space around their roots.
You can also repot your roses in separate containers to reduce the amount of work you have to do.
Once they grow big enough you can transplant your roses to a permanent location outside. The best time for this is late winter or early spring, depending on your climate.
You can also transplant them during their growing season. In this case, you should cut your roses back to about half their size before transplanting to reduce the shock and ensure their roots and vegetative growth develop proportionately.
Or you can continue growing container roses and place them on your patio, in your doorway, or alongside your pathway.
Here are some more tips on growing red roses from buds:
Aftermath Maintenance And Care
There are many rose-growing mistakes I made as a beginner gardener, such as not giving them enough sunlight and watering them inadequately.
Avoid these and your rose bushes and vines will thrive, no matter how you propagate them.
Sun Exposure
Make sure that your newly propagated roses get at least 6 hours of sunlight, preferably in the morning because it is gentler and won’t burn their foliage.
Plant them in a location protected from harsh winds or keep them in containers and move them around for best sun exposure.
Water Requirements
If you want to get more rose blossoms, you need to water them adequately and at the right time. The best way to irrigate your rose bushes and vines is to avoid wetting their foliage, or rather to water them at the base of the plant.
The best time for watering your roses is in the morning because the sun isn’t that strong and your plant will have enough time to drink before the excess evaporates.
Newly planted roses require about 2 gallons of water 2-3 times per week, whether it comes from rainfall or supplement irrigation.
And once the plant matures (the second year after planting and onwards), you can reduce watering to once a week.
Of course, potted roses will need more frequent irrigation, so always remember to check the topsoil. If it’s dry, you should water these shrubs or vines.
Pest And Disease Control
Pests and diseases can cause serious harm to your roses, so make sure to deal with them promptly.
Monitor your plants regularly and immediately apply organic insecticides if you notice any bugs lurking around. Neem oil and insecticidal soaps work great.
Common diseases that affect roses include powdery mildew and black spot. Both of them occur in warm and humid conditions, so make sure not to overcrowd your plants and ensure they have plenty of airflow.
Overhead watering can also lead to these issues, so avoid it at all costs.
And if you do notice any signs of disease, remove the infected plant material and apply fungicides to the healthy parts as a preventive method.
Other Propagation Methods
Growing roses from buds is a method not known to many gardeners, but there are others you must have heard of, such as using cuttings, seeds, grafting, or division.
These are the ones we’ll explore in the following sections.
Softwood vs Semi-Hardwood vs Hardwood Cuttings
Propagating roses from cuttings is one of the most common methods out there because it is easy and yields a lot of plants.
One thing that plays a crucial role in this is the type of cuttings you’re using.
Softwood cuttings are taken in early summer. They are green, plump, soft, and flexible.
We take semi-hardwood shoots for propagation in late summer or early fall. These shoots have already started to harden, losing some of their softness and flexibility.
Finally, hardwood cuttings are taken in winter, when stems are firm and hard.
Softwood cuttings are the easiest to propagate and they root the fastest, although you can propagate roses from any type of cuttings if you’re patient enough.
All you have to do is take a cutting about 6 inches long, cut at an angle of 45° just below the leaf node. Dip it in rooting hormone (if you want), plant it in a seed-starting mix, expose it to bright indirect light, and ensure it never gets dry.
In a couple of weeks, you’ll notice new growth, which is a sign that your cutting has taken root.
Grafting
Grafting is an advanced propagation technique in my opinion, and is usually done in nurseries. We usually apply it to rose varieties that are otherwise difficult to multiply.
When grafting, you take a cutting from a rose variety you wish to propagate and attach it to the root stock of another rose type. The cutting, (called a scion) will produce its own vegetative growth and flowers, while the rootstock ensures it has roots to do that.
There are several grafting techniques, such as bud, whip, and cleft grafting. Each of these methods includes making precise incisions in the stem and the rootstock and connecting them together.
The graft will quickly heal and your rose will start to grow if you provide it with the right conditions.
Here are some tips if you want to try out this method:
Division
This method is fairly simple and it refers to dividing the rose bush into multiple smaller plants, each with its separate root system.
The best time to do it is while the plant is in dormancy, so in early spring or late fall.
Choose a healthy and established plant and water it deeply before division. Then, dig around your plant to avoid damaging the roots and uproot it with a shovel. Clean the roots from the dirt, separate them with your hands, and cut them with a sharp knife to divide the rose.
Seed Propagation
Propagating roses from seed isn’t that common because it can take years for the bush or vine to start producing blossoms, and even then you may be disappointed to find out that they are not the same as the parent plant.
And yet, if you’re up for a little change, don’t mind waiting, and want to be surprised with the end result, here’s how to do it.
Collect the rose seeds, plant them in a seed-starting mix, water them, and cover them with a humidity dome or plastic wrap to prevent them from drying.
Once they sprout and begin to grow, remove the dome or wrap, move the pot to a spot with bright indirect sunlight, and water the seedlings regularly.