How To Build A Rain Garden In California To Capture Runoff And Support Wildlife
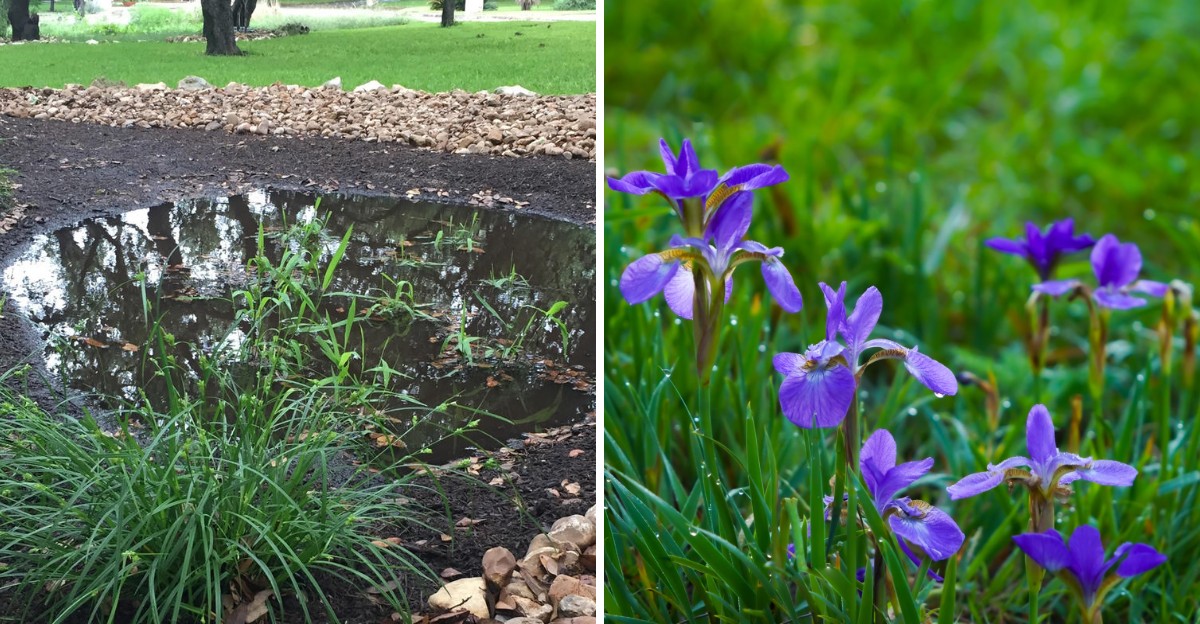
A single inch of rain falling on a 1,000-square-foot roof produces about 600 gallons of water. Most of that water races down the gutter, across the driveway, and straight into the storm drain.
Along the way it picks up oil, fertilizer, and pet waste, then carries the whole mess toward creeks and the ocean.
I find that number a little shocking every time I think about it. In California, where summers can stretch for months without a drop, letting winter rain slip away feels like tossing out free groceries.
Personally, I believe the smartest fix is also one of the prettiest. A shallow, planted dip in the yard can slow that water, clean it, and let it sink into the ground where roots can use it.
You’re in for a treat when bees, hummingbirds, and butterflies start treating your yard like their favorite diner. So where does all that rain go at your place right now?
That Gushing Downspout Is Pointing You Toward The Perfect Spot
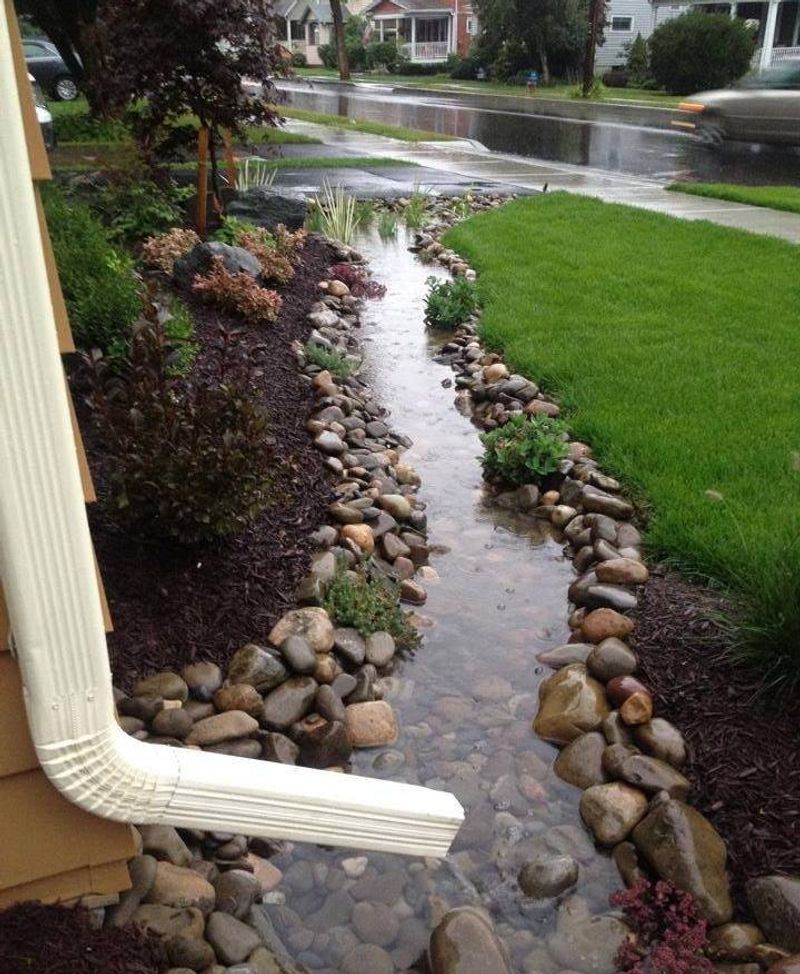
Grab an umbrella and wait for the next good storm. Watching rain move across your yard tells you more than any measuring tape can.
Notice where water pours off the roof, where it pools, and where it rushes downhill. The best rain garden spot usually sits a little downslope from a downspout, driveway, or patio, on flat or gently sloping ground.
Distance matters just as much as flow. Most California city guides recommend keeping the basin at least 10 feet from your house foundation, and some suggest 15 feet for extra safety. You also want to stay away from septic tanks, leach fields, and the root zones of big trees.
Skip any spot where water already sits for days after rain. That soggy patch probably has drainage problems a rain garden cannot solve.
Before digging, call 811 or submit a request online at least two working days ahead. The free service marks buried gas, water, and power lines so your shovel stays out of trouble.
One more tip from my own trial and error. Snap a few phone photos during storms. Those pictures make it much easier to plan where water enters and leaves your new garden later on, especially once the dry season arrives and everything looks the same again.
A Simple Water-Filled Hole Reveals How Thirsty Your Soil Is
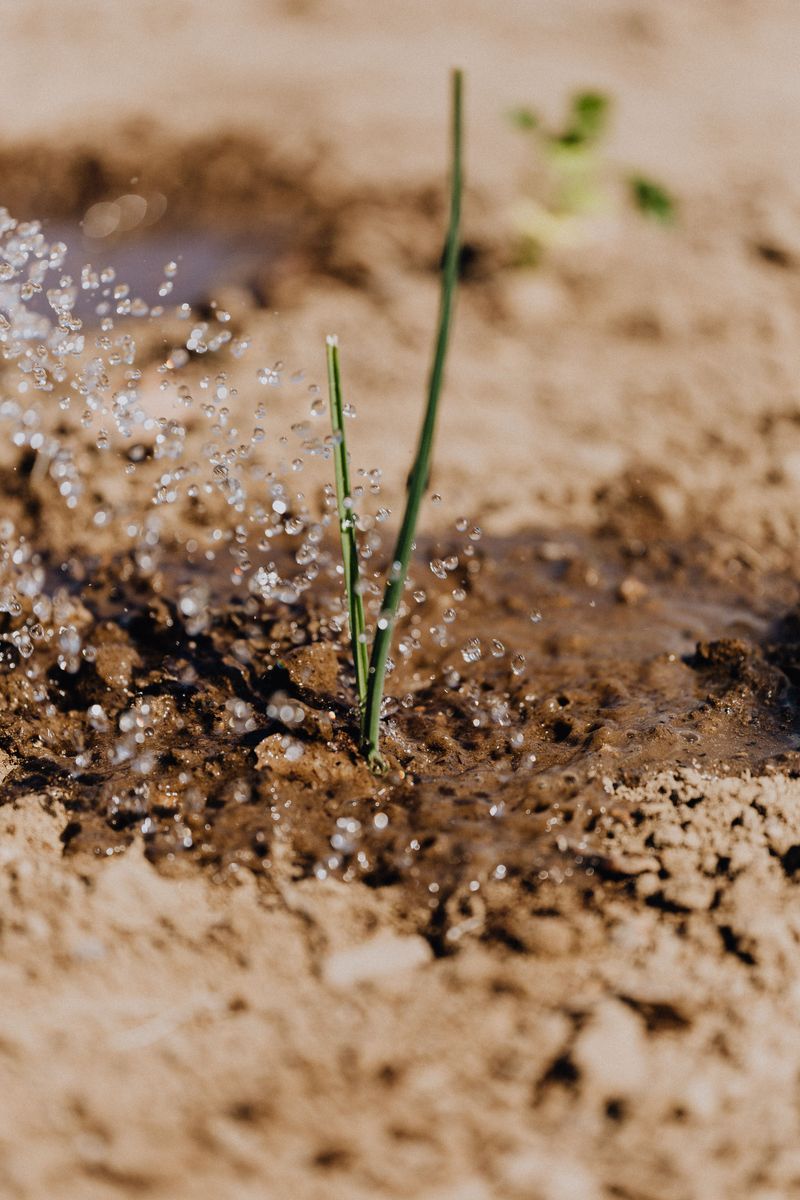
Soil can be a picky eater. Some types gulp water fast, while heavy clay sips it so slowly you might lose patience.
A percolation test takes about a day and costs nothing. Dig a hole roughly 8 inches wide and 8 inches deep where your garden will go. Fill it with water, let it drain, then fill it again and push a stick or ruler in to track the level.
Check back over the next several hours. If the second fill drains within about 8 hours, your soil should handle a rain garden nicely. Sandy soils often empty in an hour or two, which is great for infiltration.
Slow draining usually points to clay, which is common in much of the Bay Area and Central Valley. Squeeze a damp handful. If it forms a sticky ribbon between your fingers, clay is the likely reason.
Clay is not a deal breaker. You may need a larger, shallower basin or more compost worked into the soil.
If water still stands after a full day, consider another spot or talk with a landscape pro about an underdrain. Mosquitoes love standing water, so steady draining keeps your garden healthy and your evenings pleasant.
Your Roof Size Decides How Big The Rain Basin Should Be

Size feels tricky at first, but the math is friendly. Start by estimating the roof or paved area that will drain into your garden.
Measure the length and width of that section of roof, then multiply. Many guides suggest making the rain garden about one-third of that area for clay-heavy soils, and smaller for fast-draining sand. A 300-square-foot roof section could feed a 100-square-foot garden.
Depth stays modest. Most residential rain gardens are about 6 inches deep in the center, with gently sloping sides. Deeper basins hold more water but take longer to empty, which can stress plants.
Slope matters too. Ground with a gentle grade between roughly 2 and 12 percent works well. Steeper hills raise erosion and stability concerns, so a landscape designer is worth calling.
Shape is where you get to have fun. Kidney beans, crescents, and teardrops look natural and fit around paths and patios.
Mark your outline with a garden hose or spray paint, then live with it for a few days. Walk around it, view it from the kitchen window, and adjust. I moved mine twice before it felt right, and I am glad I did.
Shovels Out For Digging A Level Basin With Compost-Rich Soil
Digging day is the sweaty, satisfying part. Pick a dry stretch, because working wet clay turns it into something like brick.
Remove grass or weeds first, then scoop soil from the center of your outline. Pile the extra dirt along the downhill edge. Packed down, that pile becomes a low berm that helps hold water in place.
Keep the bottom as level as you can. A long board with a carpenter’s level on top works well. A flat floor spreads water evenly, so one corner does not flood while another stays dry.
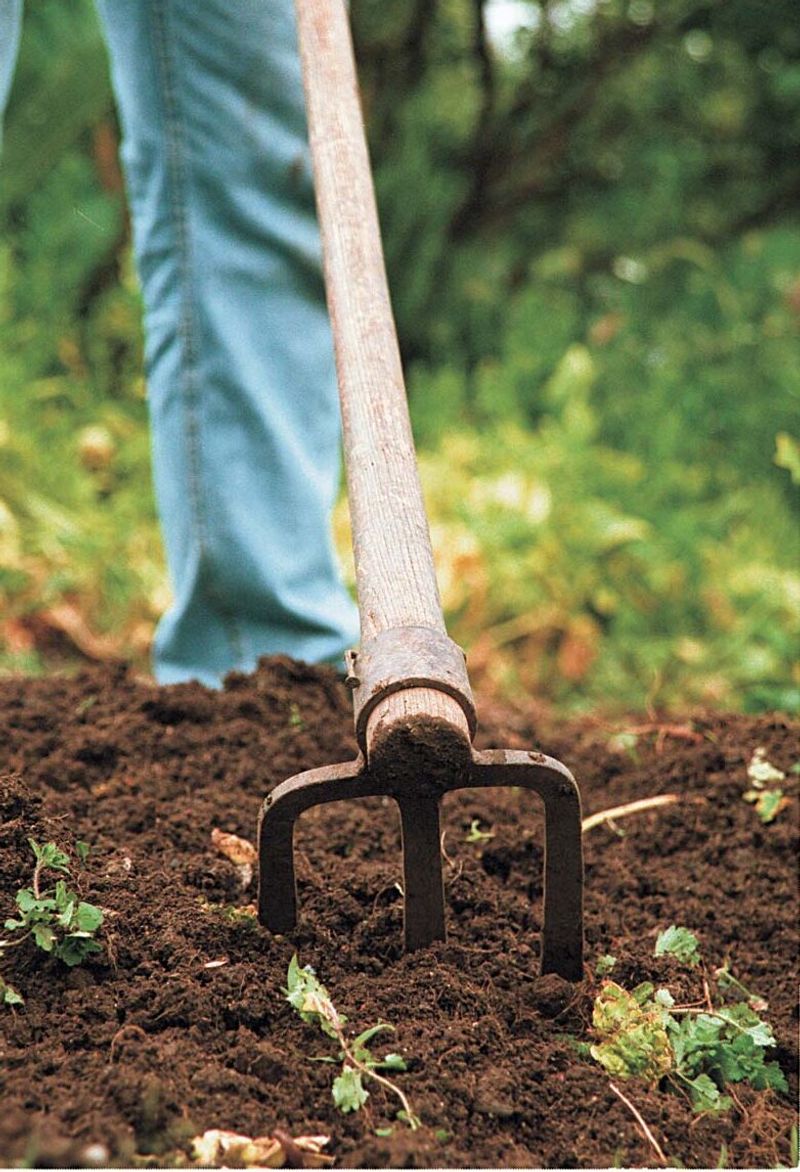
Once you reach your depth, loosen the floor another 12 inches or so with a garden fork. Roots and rainwater both appreciate the softer ground.
Compost comes next. UC Cooperative Extension and local agencies often recommend mixing a few inches into the top layer of native soil. Many California natives prefer leaner soil, so a light hand, around an inch, often suits them best.
Avoid adding sand to clay. That mix can actually pack tighter and drain worse.
Finally, protect the inlet where water enters. A few flat rocks or a cobble pad keep rushing water from carving channels in your fresh work.
Rock-Lined Overflow Channels Keep Big Storms Under Control
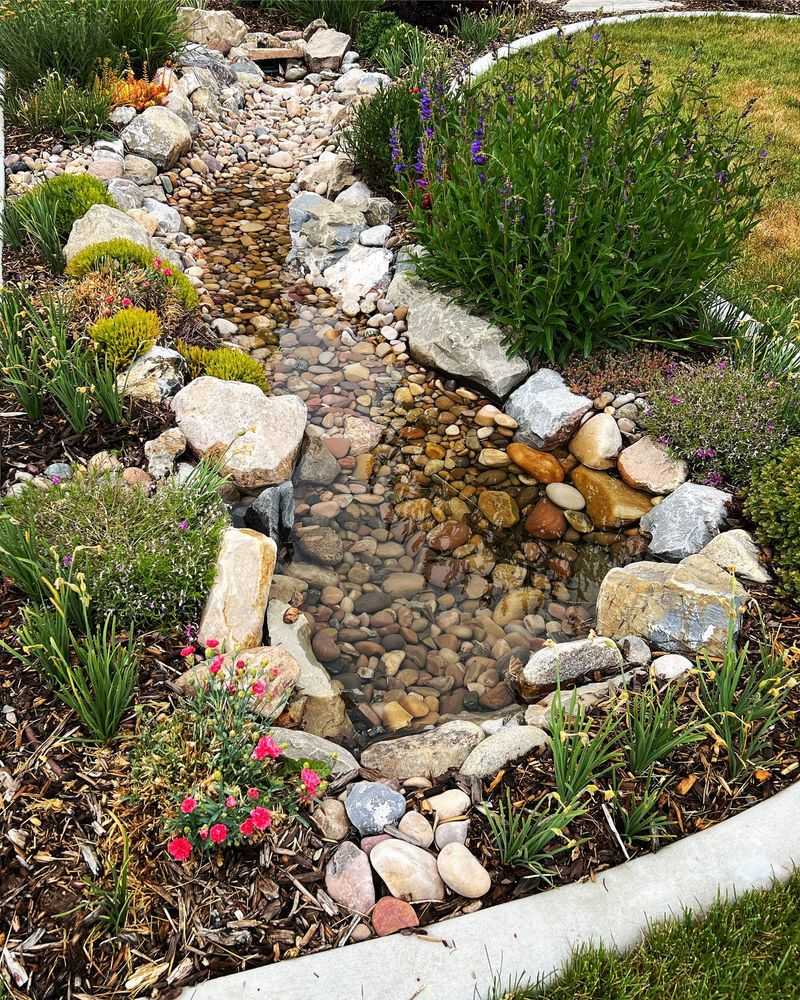
Atmospheric rivers do not care about your plans. When several inches fall in a day, any rain garden can fill up fast.
An overflow route gives that extra water somewhere safe to go. Without one, it may spill toward your foundation, a neighbor’s yard, or a slope that erodes.
The simplest choice is a low notch in the berm on the downhill side. Line it with river rock or cobbles so flowing water cannot dig a ditch. That stony spillway looks charming, too, a bit like a tiny creek.
From there, guide water toward a lawn, another planted area, or a gravel swale. Sending it to the street or storm drain should be a last resort, and some cities have rules about it.
Check your local guidelines before building. Cities like Berkeley, San Diego County, and Pacific Grove offer free rain garden handbooks with drawings of inlets and outlets.
Test everything with a garden hose before planting. Run water into the inlet and watch where it travels. Fixing a crooked spillway now beats fixing a muddy mess during a January downpour, and the hose test only takes about twenty minutes.
Douglas Iris And Monkeyflowers Can Handle Soggy Winters And Dry Summers
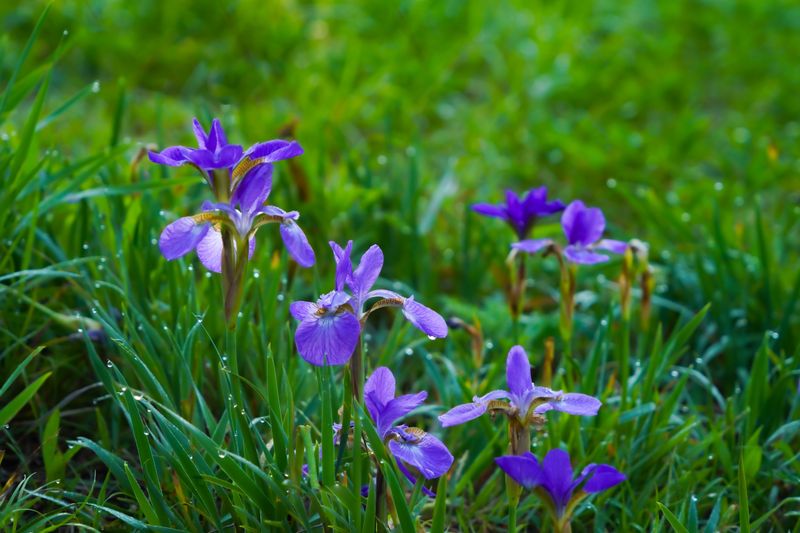
Rain garden plants have a strange job. They spend winter with wet feet, then go months without a drink.
California natives handle that swing better than most nursery favorites. Our Mediterranean climate shaped them for wet winters and long, dry summers.
Think in zones. The basin floor stays wettest, so plant moisture-tolerant natives there, like California gray rush, Santa Barbara sedge, and deer grass. Yerba mansa is a lovely low choice for the center, too.
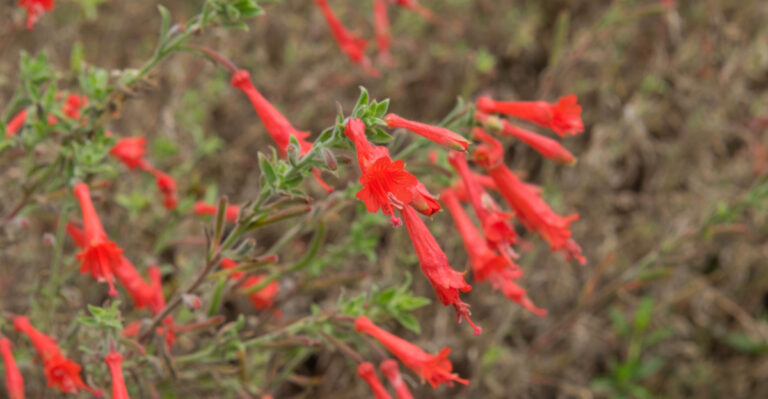
Slopes dry out faster. Douglas iris, sticky monkeyflower, and California fuchsia shine on the sides. The upper rim and berm suit drought lovers such as hummingbird sage, coffeeberry, and ceanothus.
Wildlife responds quickly. Native bees work the sages, hummingbirds chase the fuchsia’s red tubes, and birds pick at coffeeberry fruit in fall.
Fall is usually the best planting season across most of the state. Cooler weather and winter rain help roots settle before summer heat.
Skip invasive plants like pampas grass, Mexican feather grass, and periwinkle. The California Invasive Plant Council keeps an updated list. Calscape, from the California Native Plant Society, lets you search plants that fit your exact zip code.
Bird Baths, Rocks, And Bare Soil Turn The Basin Into Wildlife Habitat
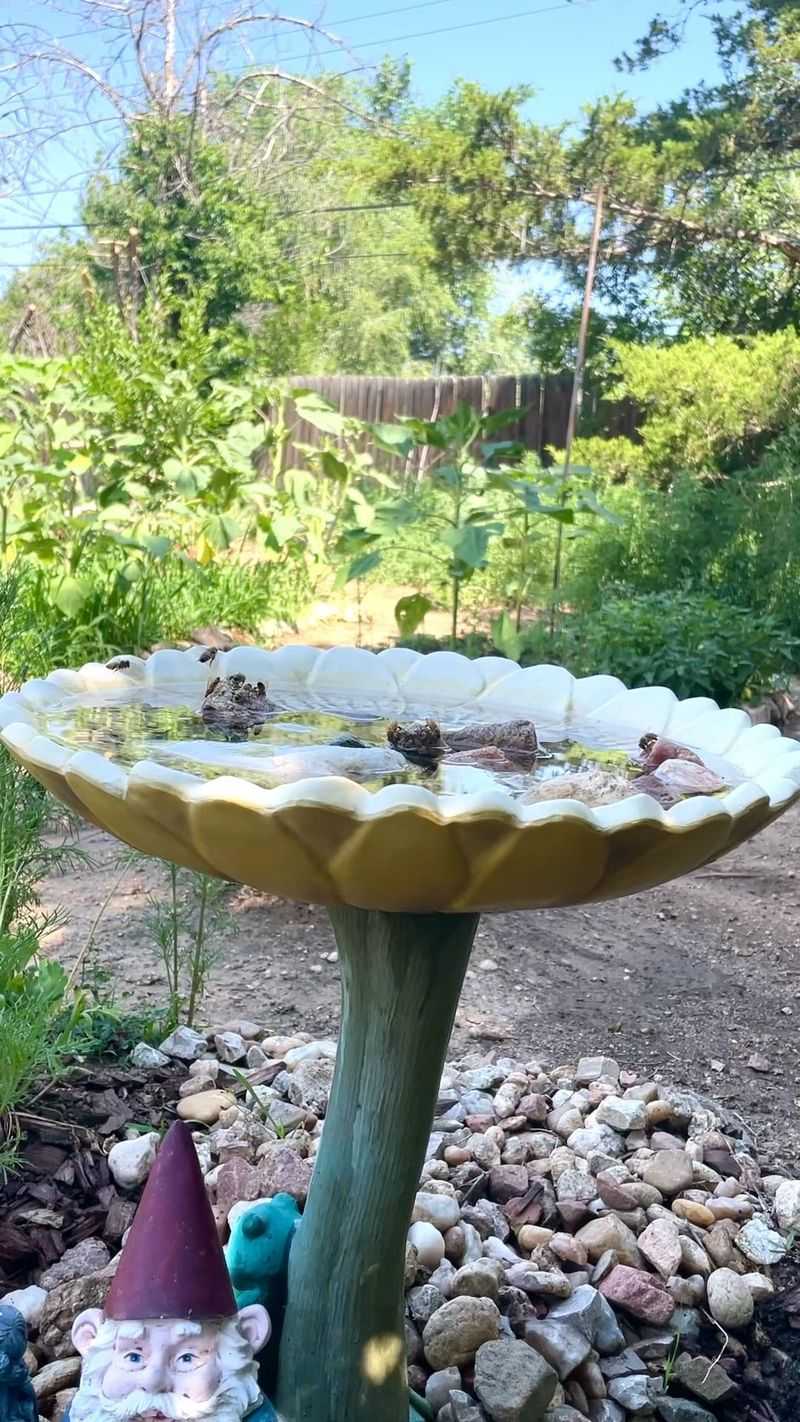
Plants are only half the wildlife invitation. Little extras can turn a tidy basin into a busy neighborhood.
Roughly 70 percent of native bees nest in the ground, according to bee researchers. Leave a few sunny patches of bare, unmulched soil along the upper edges. You may soon spot tiny holes where solitary bees raise their young.
Rocks do double duty. Flat stones near the edge soak up morning sun, giving western fence lizards a warm place to bask. Those lizards happily eat insects in return.
Water draws birds during the dry months, when the basin sits empty. A shallow bird bath with sloped sides gives finches and towhees a drink. Scrub it every few days to keep it fresh.
Let some flowers go to seed in late summer. Goldfinches love dried seed heads, and that small bit of messiness feeds them for weeks.
Go easy on pesticides. Even organic sprays can harm the caterpillars that birds feed their chicks.
A small log or brush pile in a corner adds shelter for beetles and ground birds. I love watching a California towhee scratch under mine every morning.