How To Fix An Overwatered Plant In 5 Easy Steps
Overwatering frightens beginner gardeners all around the world. So if you thought that you were the only one dealing with this issue, trust me, you’re not!
The problem is actually very common and there are many factors that lead to it. It’s not really about adding too much water to a plant at once, like many people think.
If you’re at your wits’ end, you’ve come to the right place. I’ll show you how to fix an overwatered plant in a few easy steps. I’ll also explain what leads to this issue and how to recognize it and prevent it from happening ever again.
Let’s get started!
Reasons And Signs Of An Overwatered Plant
Plants can’t live without water and that’s probably the reason why beginners water their plants all the time. Yes, our goal is to keep them happy and healthy, but in the plant world, too much water is actually more dangerous than not enough.
Beginner growers should know that the watering needs of plants change depending on the weather, plant growth stage, and time of year.
If plants go through dormancy during the winter, and most do, they’ll need less water because they don’t display new growth and water evaporates slower in cooler temperatures.
On the other hand, warm temperatures increase the water evaporation rate and plants display new growth during summer, which means your plant will be thirstiest during the hot summer months. (1)
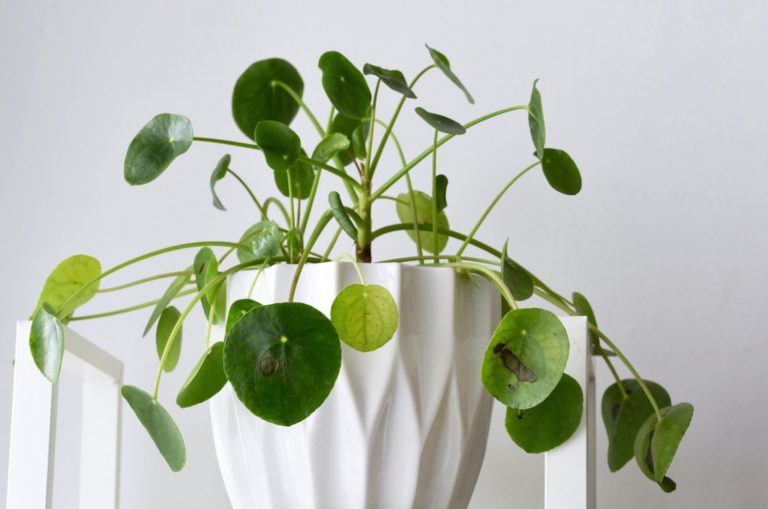
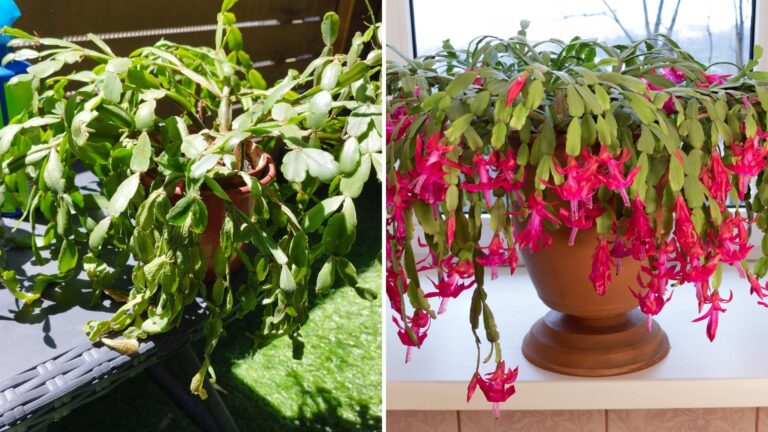
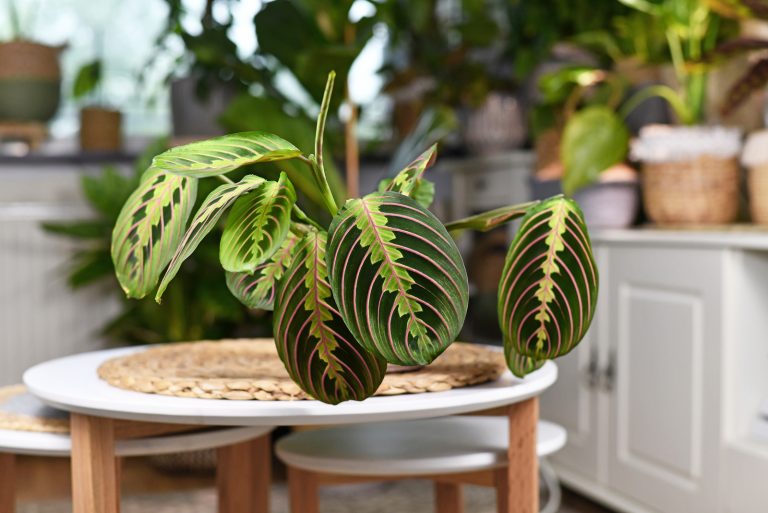
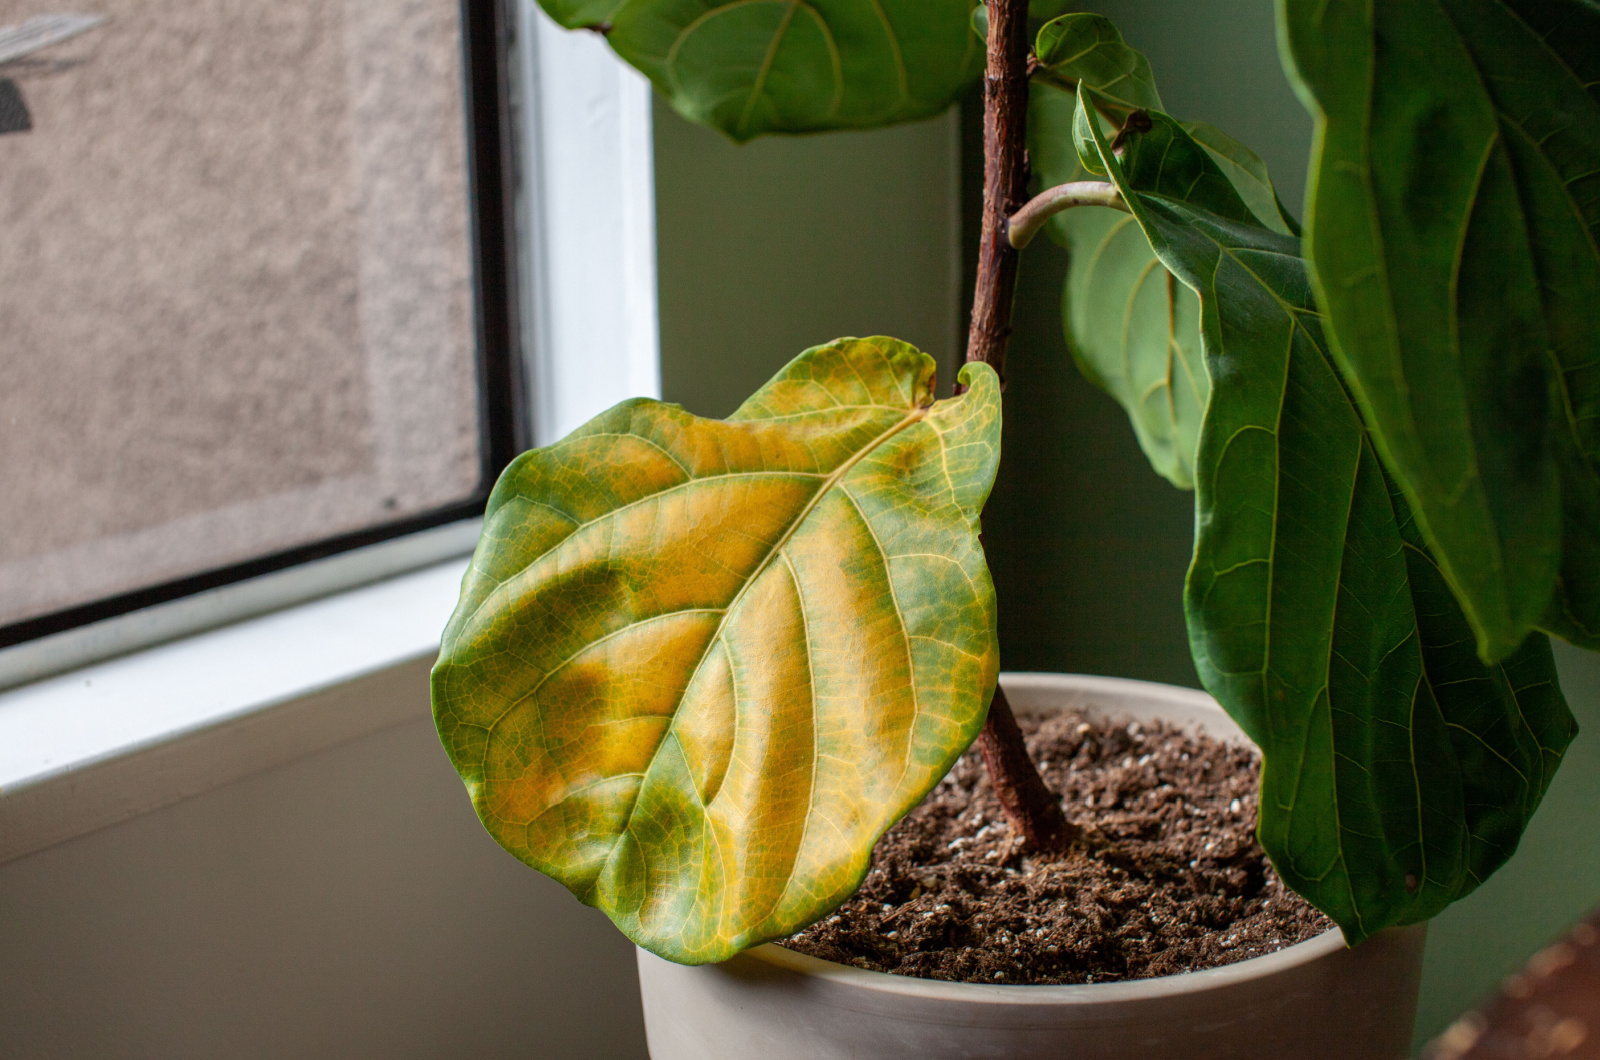
Knowing the signs of overwatering will help you react faster and save your plant from root rot. If you overwater your plant you may notice yellowing and browning on the foliage, the plant will droop and wilt, and the soil will most likely become mushy on the surface.
Even though many plant parents link overwatering to potted plants, it can easily happen to plants grown directly in the ground.
Some growers decide on self-watering planters or apply the bottom watering technique to prevent overwatering. But checking soil moisture before each watering is crucial to mastering this part of gardening. I’ll give you more tips on watering in the following paragraphs.
If you are looking at an overwatered plant right now and wondering what to do, here’s how to fix it!
Step 1: Stop Watering
Call me Captain Obvious but I must say that you should not add any water at this point. Even though your plant looks weak and discolored, giving it more water will only increase its susceptibility to root rot disease.
The first thing you need to do is allow the soil to dry out entirely. If your plant hasn’t suffered a lot of damage, leaving the soil to drain well is actually the only thing you need to do.
However, I always recommend going through all the following steps just to make sure the plant is in the best possible condition.
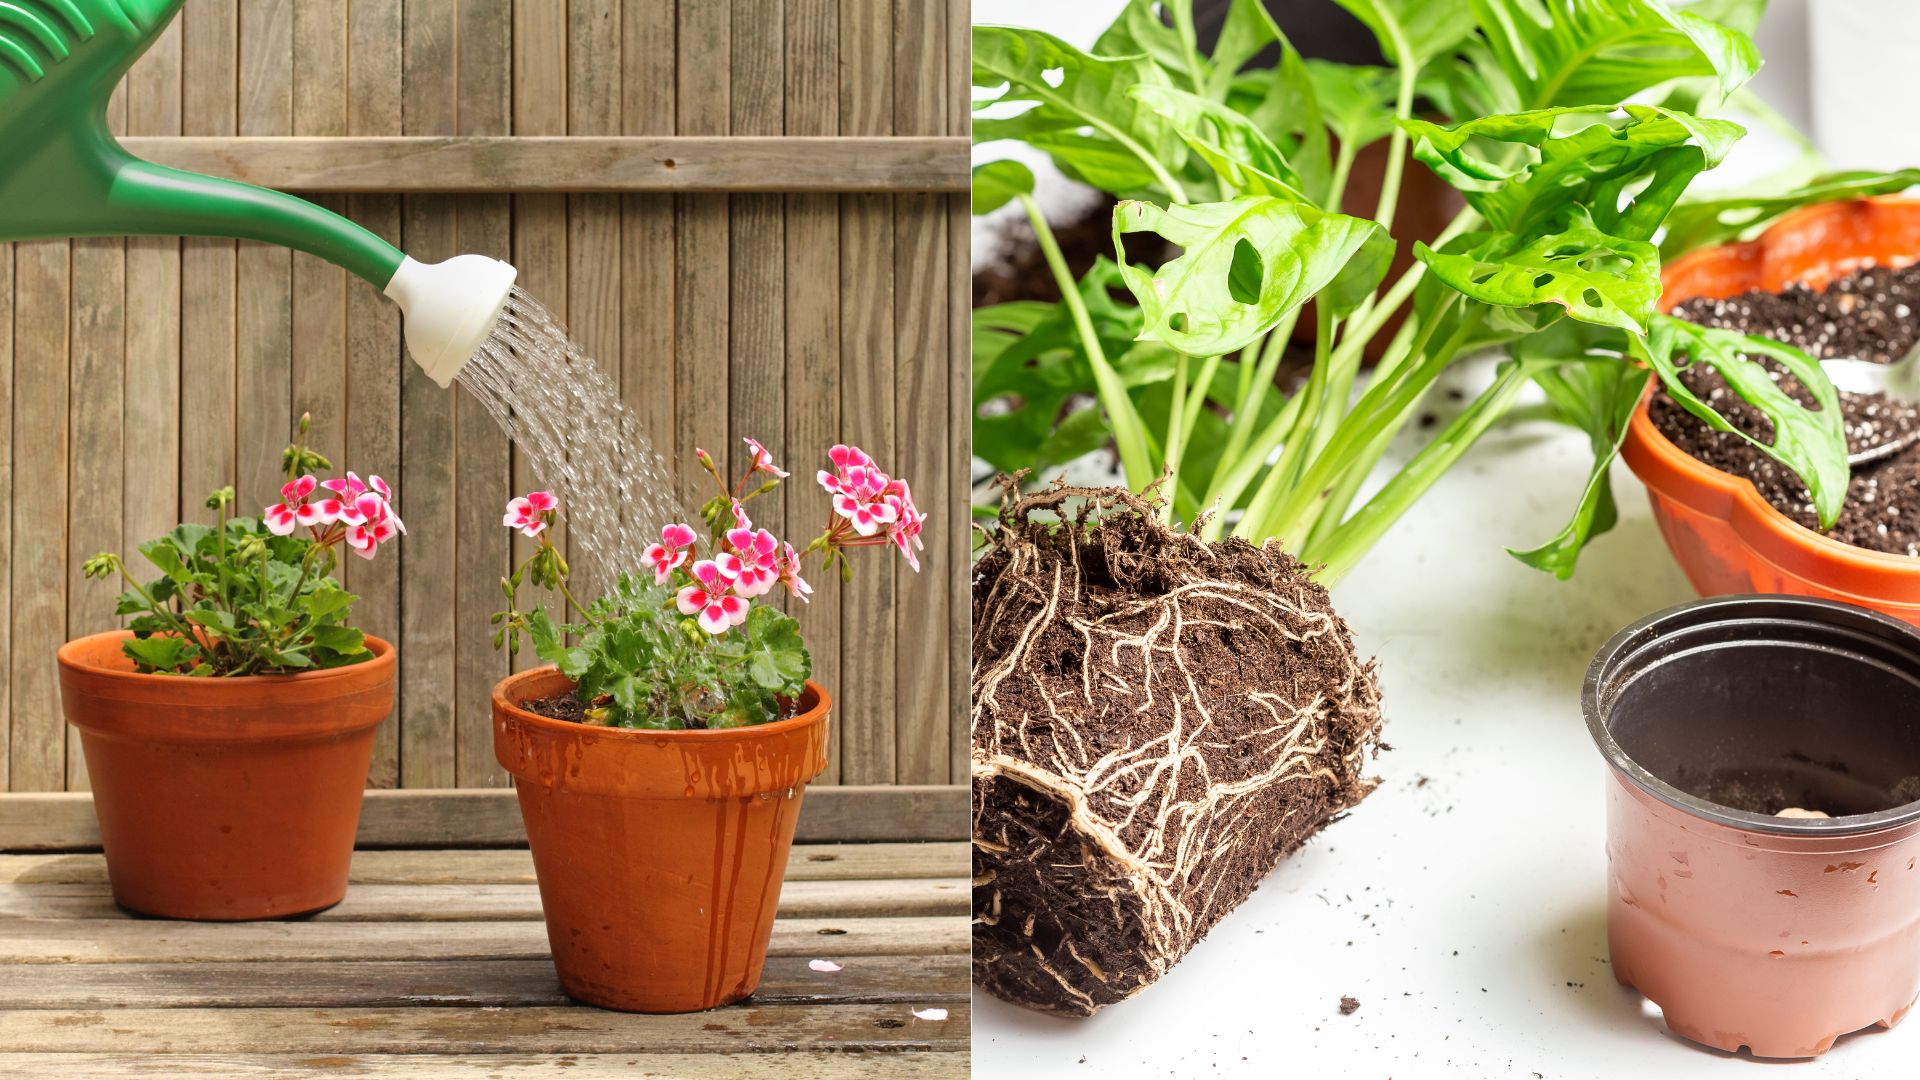
Step 2: Repot

Replenishing soil will ensure more nutrients and help your plant recover faster. Additionally, the soil may be the culprit for overwatering, especially if it’s too compact and retains too much water.
This is an excellent opportunity to plant your overwatered plant in a free-draining potting mix, which will prevent further watering issues.
Here is how to repot an overwatered plant.
1. Take your plant out of its current container and gently loosen the soil around the roots. This may be harder with wet soil, so wear gloves if you don’t want too much dirt on your hands.
2. Inspect each root carefully and search for mushy and black or brown ones. If you find any, take a pair of scissors, dip the blades in rubbing alcohol or bleach, and cut off damaged roots. Sterilization of the cutting tools will prevent the infection from spreading.
3. You need a clean pot for the repotted plant so you can either sterilize the old one or use a new one. Make sure the container you select has holes in the bottom.
4. Fill the pot with fresh potting mix. Even though each plant has different needs, the general rule is to use free-draining potting soils. If the soil you intend to use is too compact, amend it with perlite, pumice, orchid bark, or other materials that promote drainage.
Never use old soil because it may contain pathogens that will transfer to repotted plants. Also, don’t use garden soil because it may also contain harmful substances or even pests.
5. Put the container in bright indirect light and hold off on watering.
Step 3: Relocate The Pot
The biggest mistake you can make if you have an overwatered plant is to put it in full sun to dry faster.
Well, it will indeed dry faster, but the damage it will suffer is irreparable. The leaves above the soil surface won’t receive any water because of the high water evaporation rate, which will result in dehydration.
Always put the overwatered or repotted plant in a spot that receives bright but indirect light to avoid stressing it even further.
Additionally, you can remove the blossoms or fruits, if any, to help the plant focus its energy on recovery.
Step 4: Enhance Airflow
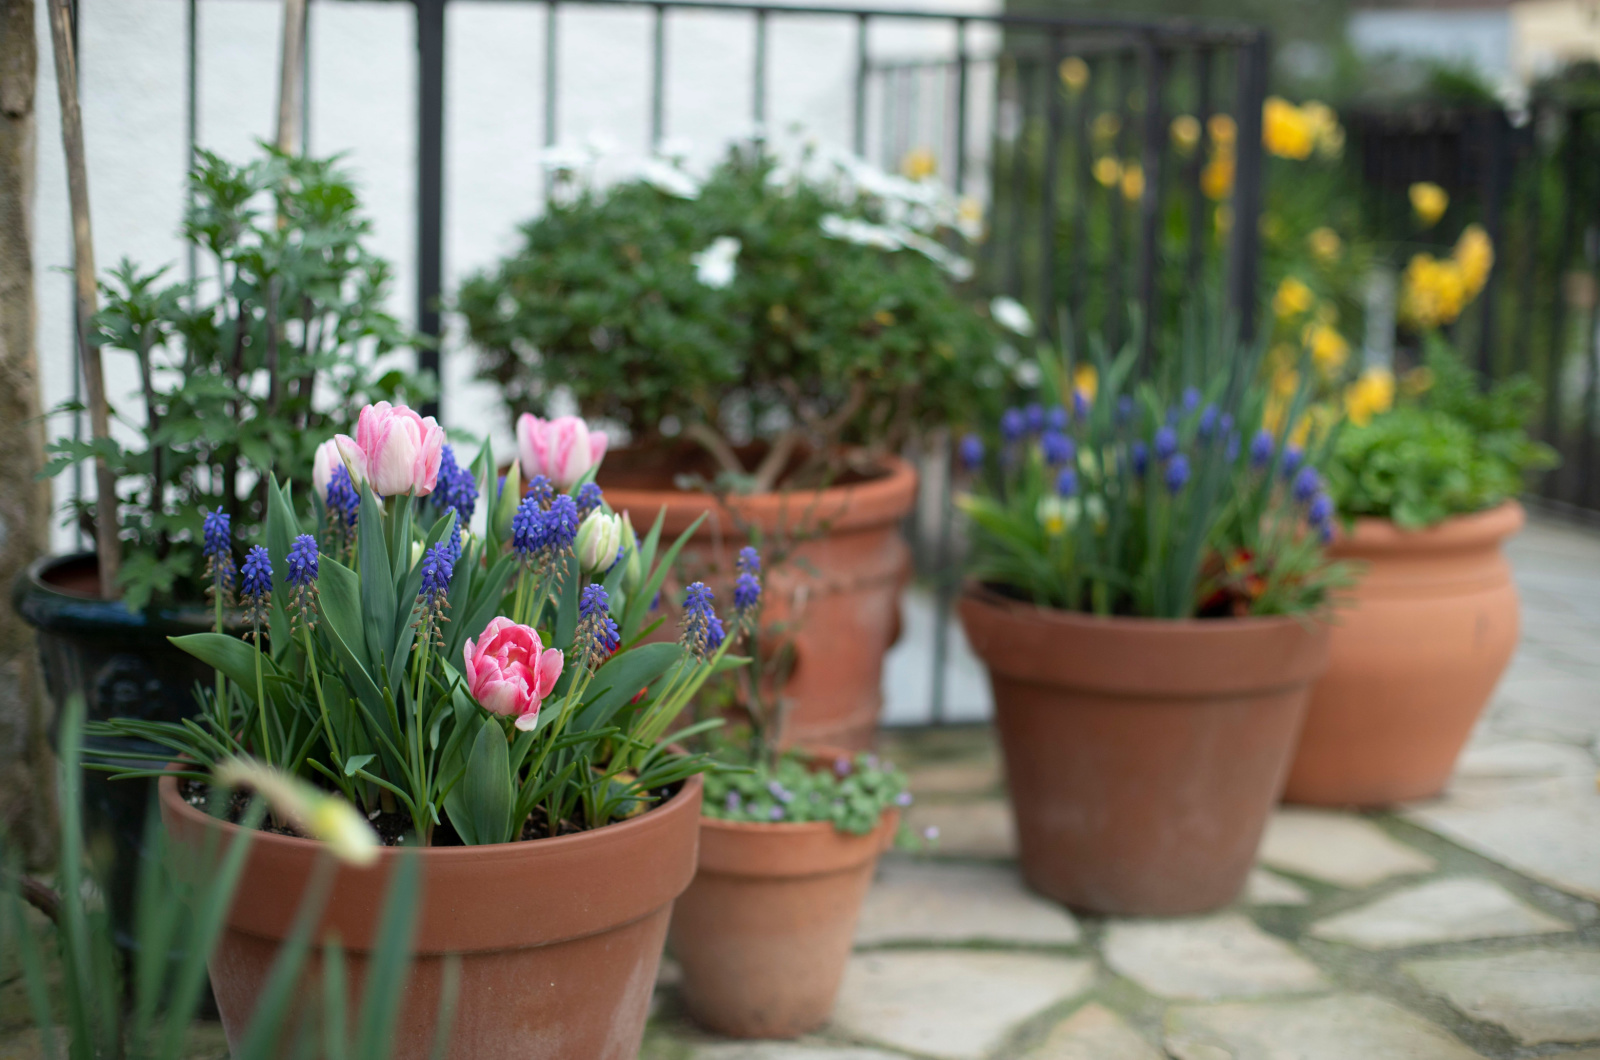
Always remember that roots need air to breathe and develop further. Choosing the perfect pot material is one of the ways to improve air circulation in the soil.
Terracotta pots are always the best choice for plants. They’re porous and don’t retain moisture, which is especially beneficial to plants that prefer dry soils, such as succulents and cactuses.
You can also improve airflow by removing the plant from its container and leaving it on a rack to get rid of the excess moisture.
The free-draining materials mentioned above will also enhance porosity.
Step 5: Ensure The Best Conditions
Your plant won’t recover overnight. The time needed mainly depends on the damage the plant suffered, so you must be patient.
It’s essential to adjust all conditions so that your plant doesn’t stress again. For instance, don’t keep your plant in full sun during the hottest parts of the day.
You should employ the bottom watering technique; simply fill a large container or sink with room temperature water and put your plant in it. The soil will absorb moisture gradually and water won’t accumulate.
Of course, this is only possible for smaller plants. For larger plants, always water them around the base and avoid wetting the leaves since they can rot if there’s water on them.
Always pay attention to humidity levels; if the humidity is low, you’ll need to water less, and vice versa. Keep your plant in a room with the recommended temperature since it affects the water evaporation rate.
And finally, never water your plants, both indoors and outdoors, until you check the soil moisture content. Simply put your finger or a wooden stick in the soil and if it’s dry, continue with water.
This method is frequently used by experienced gardeners. If you’re unsure about its effectiveness, consider investing in a moisture meter. This is an affordable device that will give you a precise measurement and you’ll know if it’s time to water.
Fixing an overwatered plant isn’t hard if your plant isn’t severely damaged. This is why it’s essential to know why it happens and how to recognize this condition. Now that you know everything, go and make your green buddy, well, green again!
References
1. Evaporation and climate. (n.d.). Student Materials. https://serc.carleton.edu/integrate/teaching_materials/food_supply/student_materials/905