10 Simple Steps To Grow Basil From Seed (And Secrets For Bigger Harvests)
Basil was one of the first herbs I ever tried to grow—and I definitely made a few rookie mistakes. But once I figured out what it actually likes, my little seedlings turned into big, fragrant plants that just kept giving.
It’s way easier than I thought, and honestly kind of addictive. Now I’ve always got fresh basil on hand, and it tastes a million times better than store-bought.
Here’s exactly how I grow it from seed, plus a few little tricks that made my harvests explode!
1. Choose the Right Seeds
Not all basil varieties are created equal! Sweet basil is perfect for beginners, while Thai, lemon, or purple basil offer unique flavors for the adventurous gardener. Always check the seed packet’s expiration date since old seeds have lower germination rates.
Quality matters, so purchase from reputable suppliers who specialize in herbs. Fresh seeds increase your chances of success and provide stronger plants that resist disease better.
2. Gather Your Supplies

Ready to start your basil journey? You’ll need seed-starting trays or small pots with drainage holes, seed-starting mix (not garden soil!), a spray bottle, and clear plastic covers or plastic wrap for creating a greenhouse effect.
A sunny windowsill or grow lights will ensure your seedlings get enough light. Having everything prepared before you begin makes the process smoother and increases your chances of success.
3. Prepare Your Container
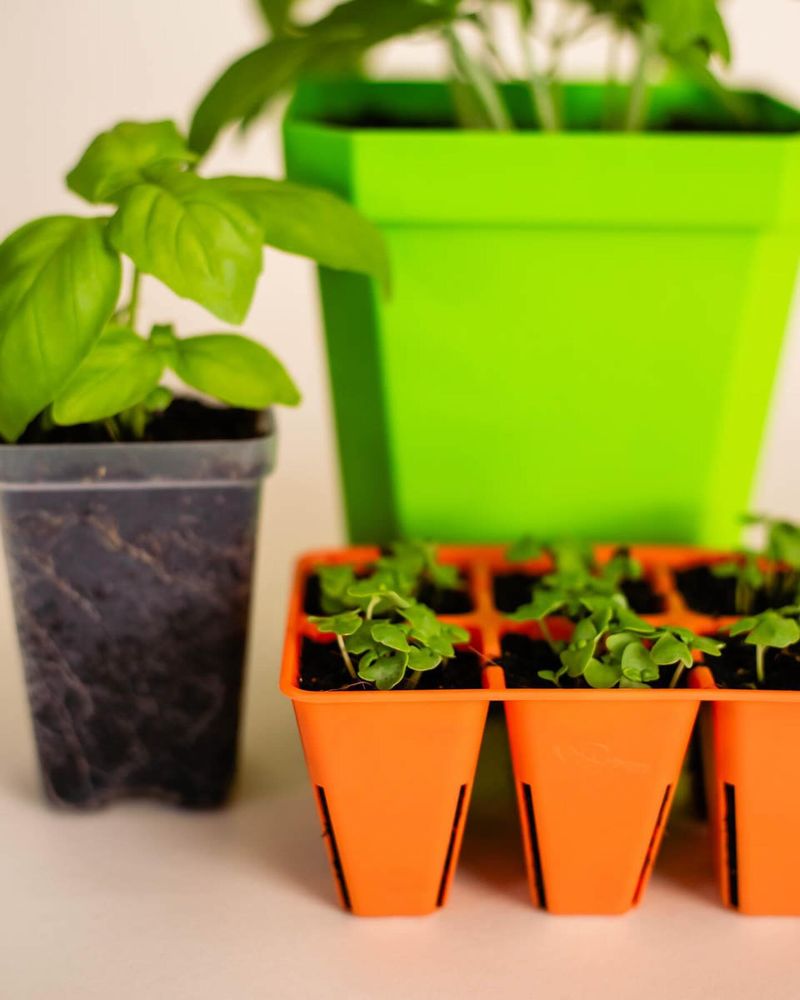
Fill your containers with moistened seed-starting mix, leaving about half an inch of space at the top. Gently tap the containers to settle the soil without compacting it too much. The soil should be damp but not soggy.
Proper containers with drainage holes prevent waterlogged roots that can lead to rot. For an eco-friendly option, recycled yogurt cups or egg cartons work great as long as you poke drainage holes in the bottom.
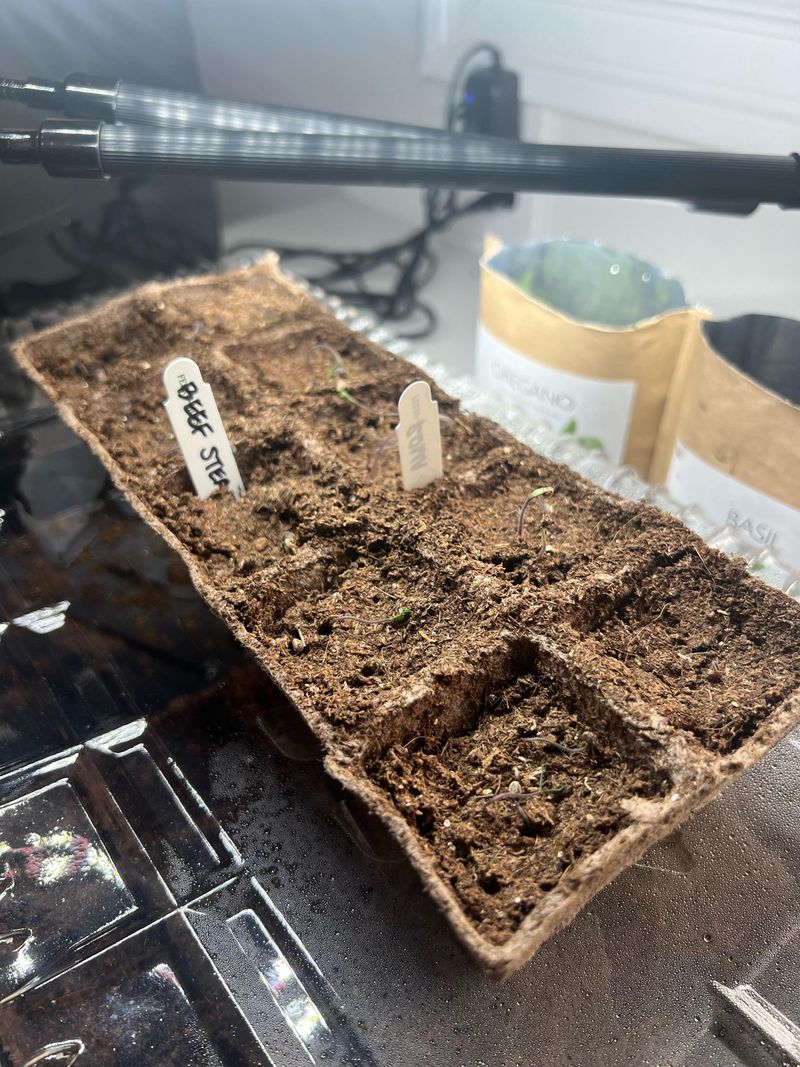
4. Sow the Seeds Properly
Sprinkle a few basil seeds onto the soil surface in each container. Basil seeds are tiny, so don’t worry about spacing them perfectly. You can always thin them later! Press the seeds gently into the soil without burying them completely.
Basil needs light to germinate, so cover seeds with just a thin layer of soil—no more than ⅛ inch. Too deep, and your seeds might never emerge from their earthy bed.
5. Create a Mini Greenhouse
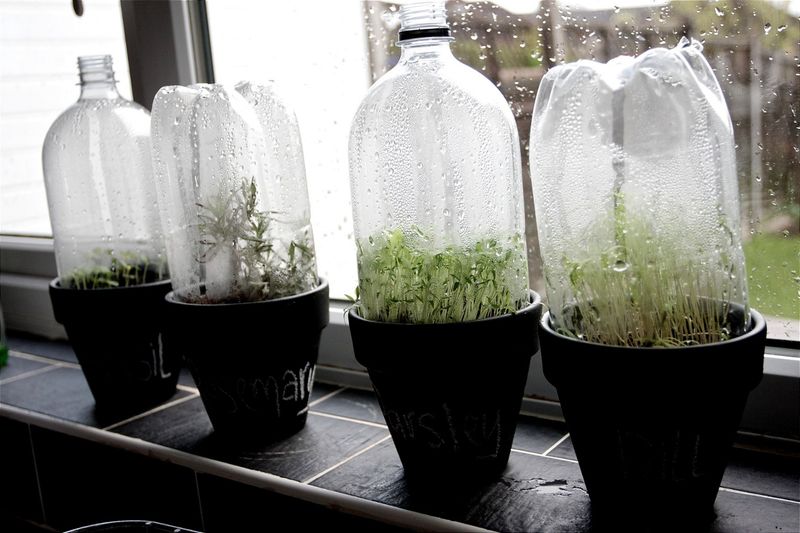
Magic happens in humid environments! Cover your seed containers with plastic wrap or a clear dome to create a mini greenhouse effect. This traps moisture and heat, creating the perfect environment for germination.
The cover helps maintain consistent humidity levels that basil seeds love. Just remember to remove it occasionally to prevent mold growth. Your seeds will thank you by sprouting faster in this cozy, humid environment.
6. Find the Perfect Spot
Basil seeds germinate best in warm conditions between 70-85°F. A sunny windowsill that doesn’t get too cold at night works wonderfully. South-facing windows typically provide the most consistent light throughout the day.
If you don’t have enough natural light, consider using grow lights positioned 2-3 inches above the containers. Keep seeds away from drafty areas or air vents that might dry them out or create temperature fluctuations.
7. Water with Care
Keep the soil consistently moist but never soggy. A spray bottle works perfectly for gentle watering that won’t disturb the tiny seeds. Check moisture levels daily by touching the soil surface with your fingertip.
When watering becomes necessary, consider bottom watering by placing the container in a shallow tray of water for 10-15 minutes. This encourages roots to grow downward and prevents damping off, a common fungal disease that kills seedlings.
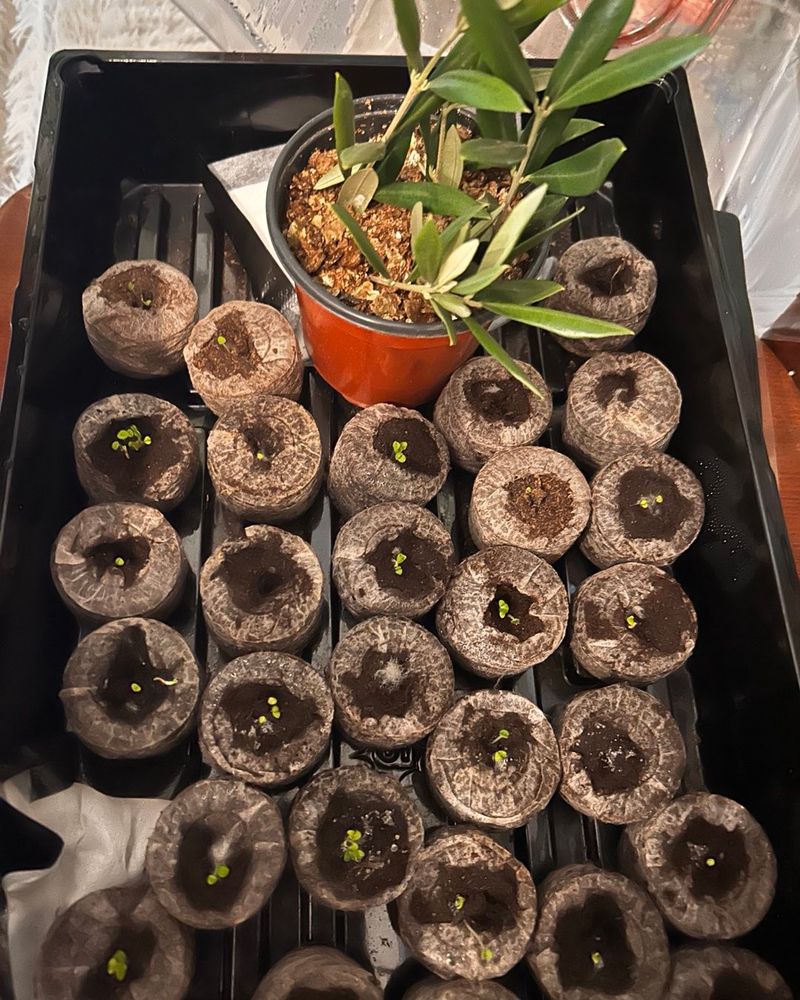
8. Watch for Germination
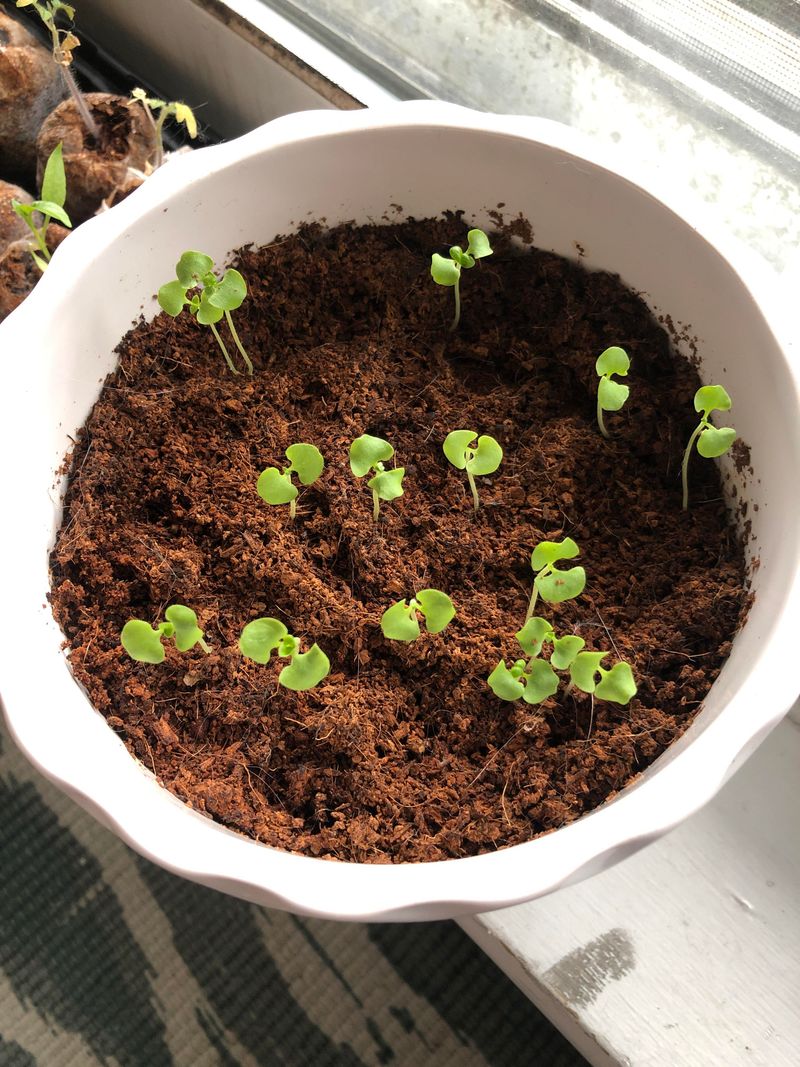
The exciting moment arrives! Basil seeds typically germinate within 5-10 days when conditions are right. You’ll notice tiny green specks pushing through the soil—these are your basil babies making their debut!
Once most seeds have sprouted, remove the plastic cover to prevent mold growth. This is also the time to celebrate your first gardening milestone. Each tiny sprout represents potential for delicious meals in your future.
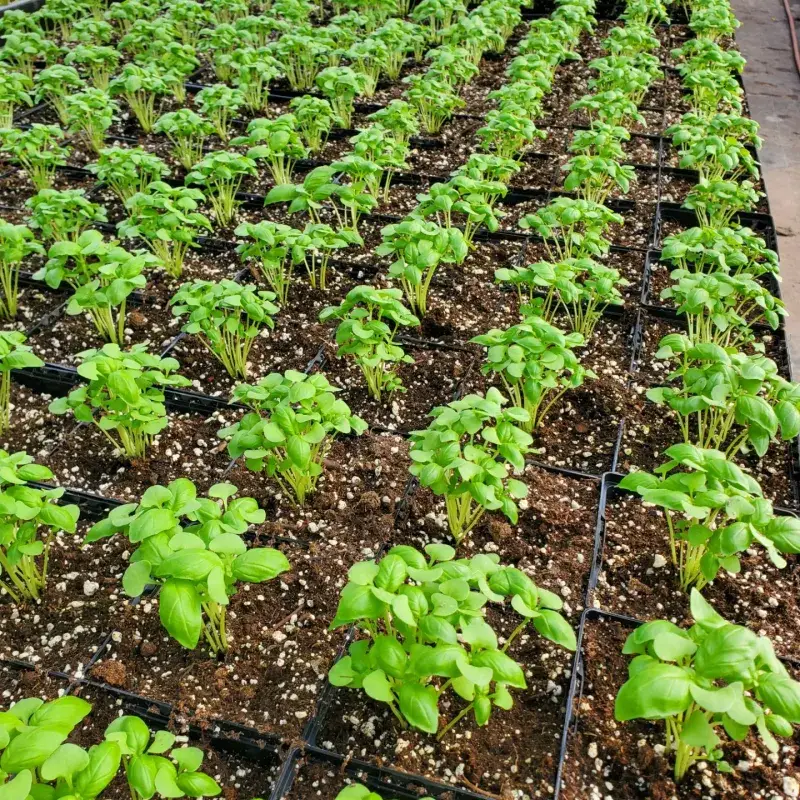
9. Provide Adequate Light
Young basil seedlings need plenty of light to grow strong and prevent legginess. Once germinated, ensure they receive 14-16 hours of light daily. If using natural light, rotate containers regularly to prevent plants from leaning toward the light source.
If seedlings start stretching or looking pale, they’re telling you they need more light! Consider supplementing with grow lights positioned just a few inches above the plants to keep them compact and healthy.
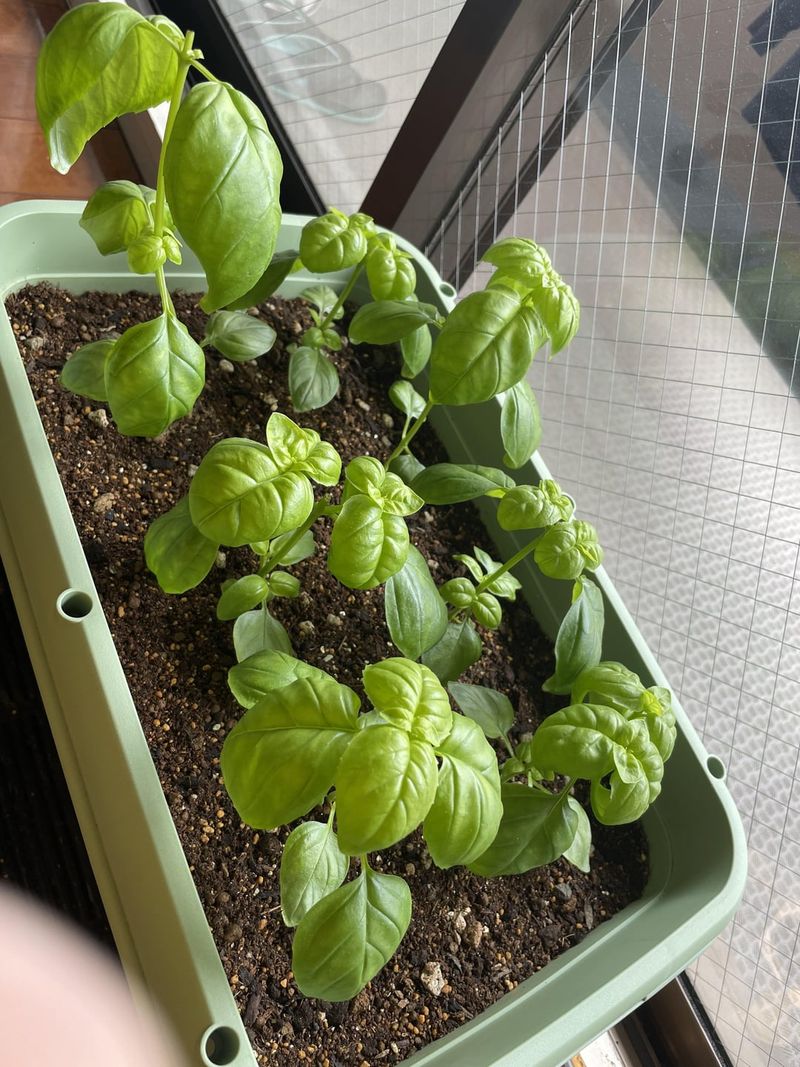
10. Thin the Seedlings
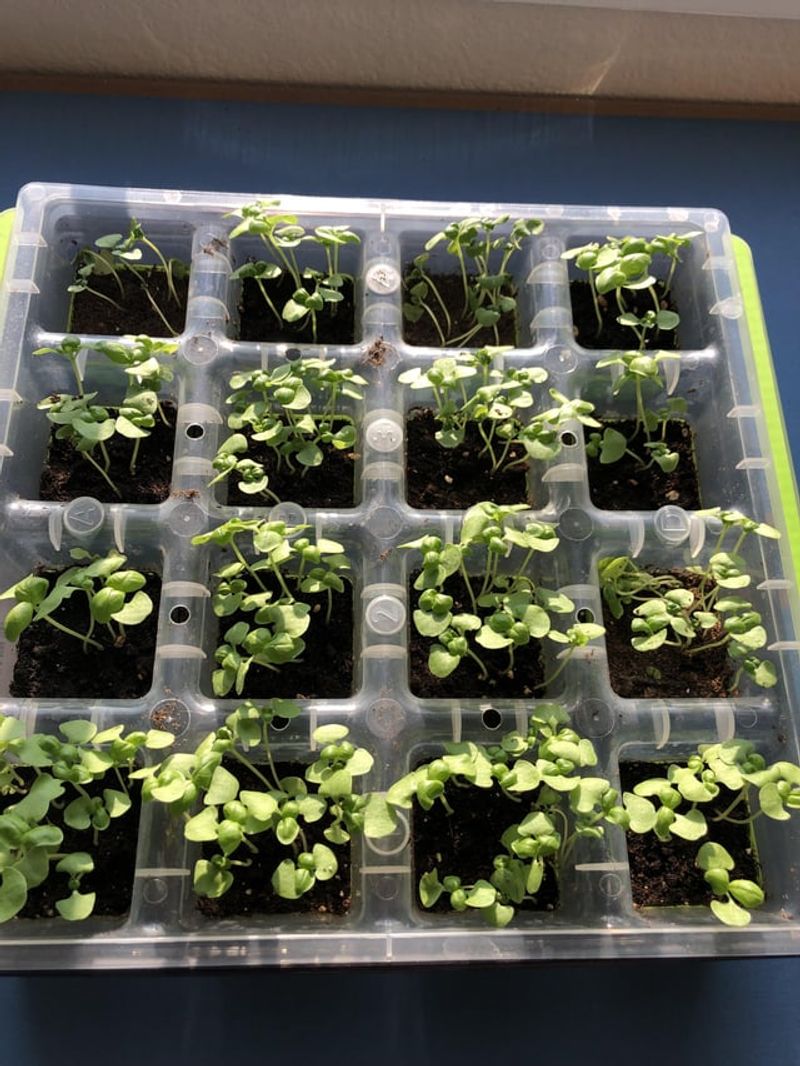
When seedlings develop their first true leaves (different from the initial seed leaves), it’s time to thin them out. Choose the strongest seedlings and snip the extras at soil level using small scissors. Resist pulling them out, which might disturb the roots of plants you want to keep.
Aim for one plant every 2-3 inches to give each basil baby room to grow. It feels harsh to cut perfectly good seedlings, but this tough love results in stronger, healthier plants with better air circulation.
11. Start Fertilizing Gently
Once your seedlings have developed their second set of true leaves, they’re ready for light feeding. Dilute a balanced liquid fertilizer to half the recommended strength and apply it every two weeks. Organic options like compost tea or fish emulsion work beautifully.
Always water plants before fertilizing to prevent root burn. Remember that with basil, less is more—overfertilizing can reduce the concentration of flavorful oils in the leaves, giving you lush but less tasty herbs.
12. Harden Off Before Transplanting
Prepare indoor-grown seedlings for the great outdoors through a process called hardening off. Start by placing plants outside in a sheltered spot for just an hour, then gradually increase their outdoor time over 7-10 days.
This gradual introduction to wind, direct sun, and temperature fluctuations strengthens their stems and leaves. Skip this step, and your pampered indoor plants might suffer shock when moved outside permanently. Patience here pays off with resilient plants.
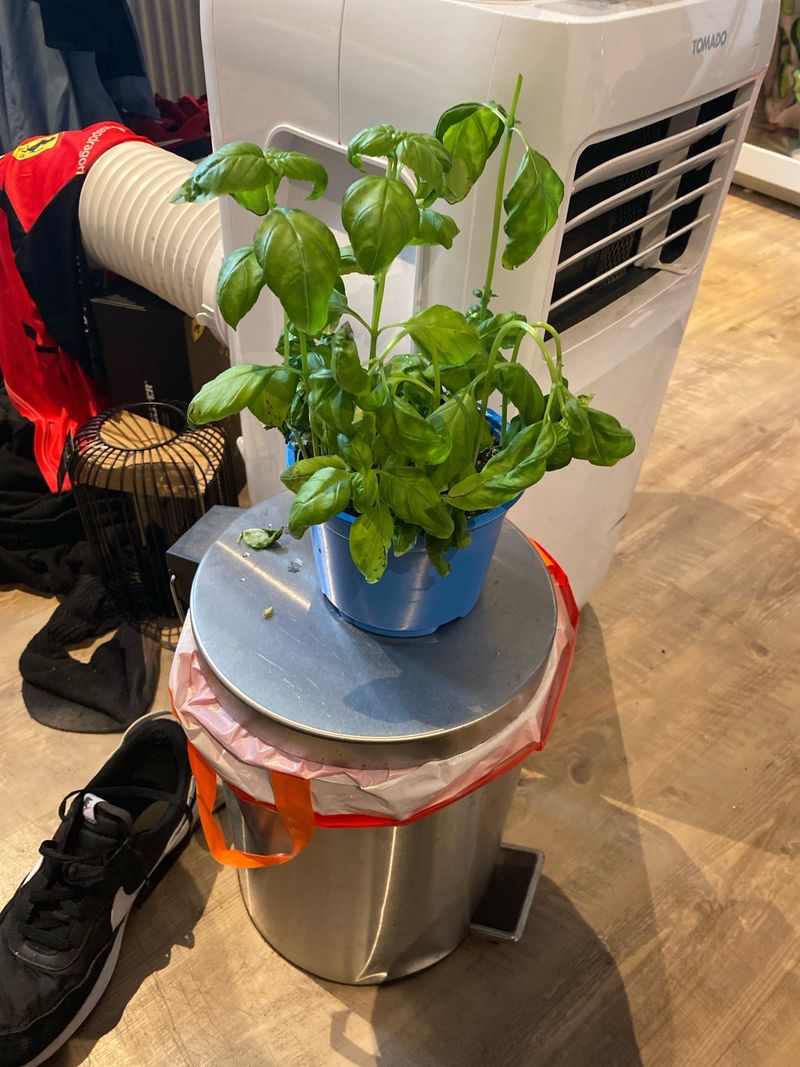
13. Transplant to Larger Containers
When seedlings reach 3-4 inches tall with several sets of true leaves, they’re ready for a bigger home. Choose containers at least 8 inches deep with drainage holes, or prepare garden beds in a sunny spot after all danger of frost has passed.
Dig holes slightly larger than the root ball and space plants 6-12 inches apart. Basil loves room to spread out! Water thoroughly after transplanting to help roots establish and reduce transplant shock.
14. Maintain Proper Watering
Established basil plants prefer soil that’s allowed to dry slightly between waterings. Stick your finger an inch into the soil—if it feels dry, it’s time to water. Always water at the base rather than overhead to prevent leaf diseases.
Morning watering is ideal, giving leaves time to dry before evening. Mulching around plants helps retain moisture and suppress weeds. A layer of compost or straw about an inch thick works wonders while keeping roots cool.
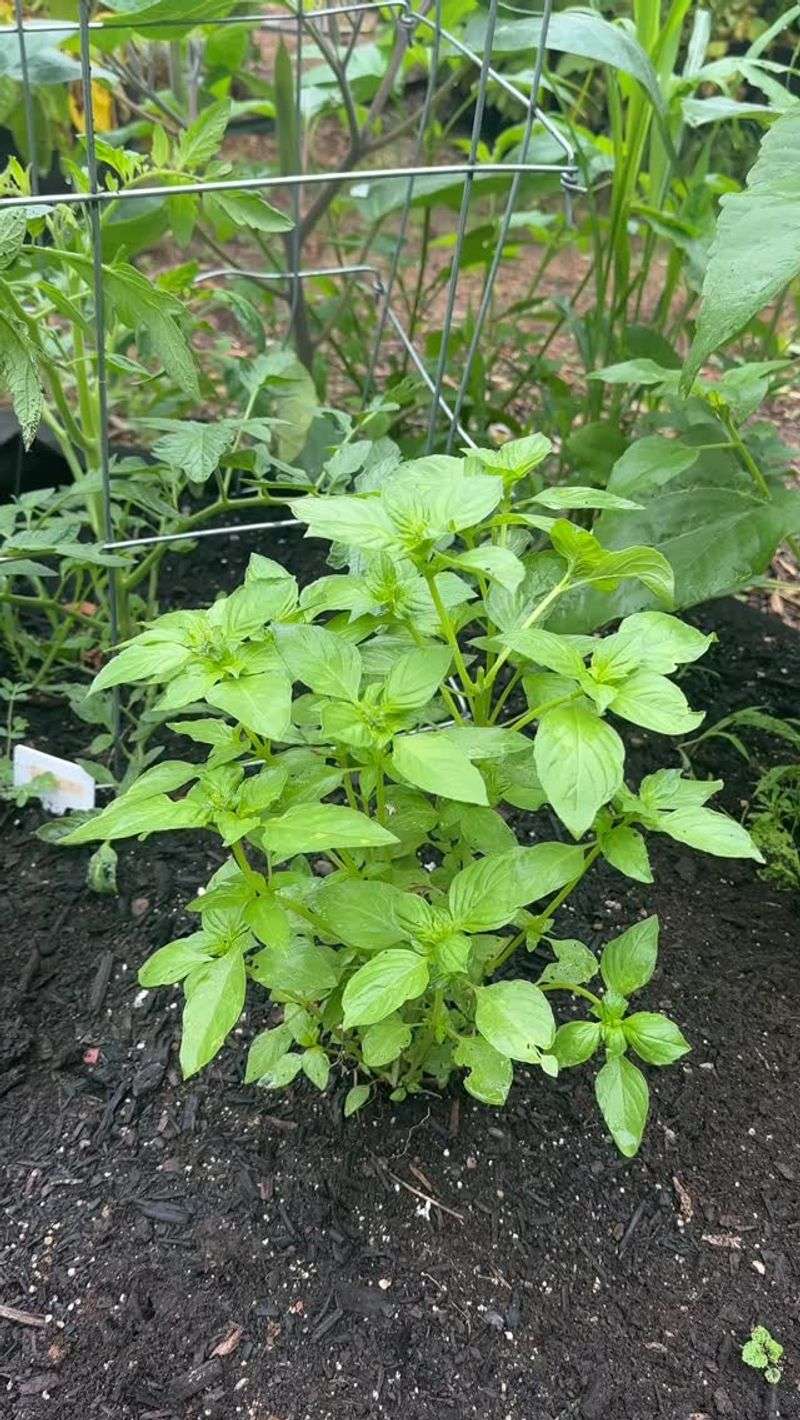
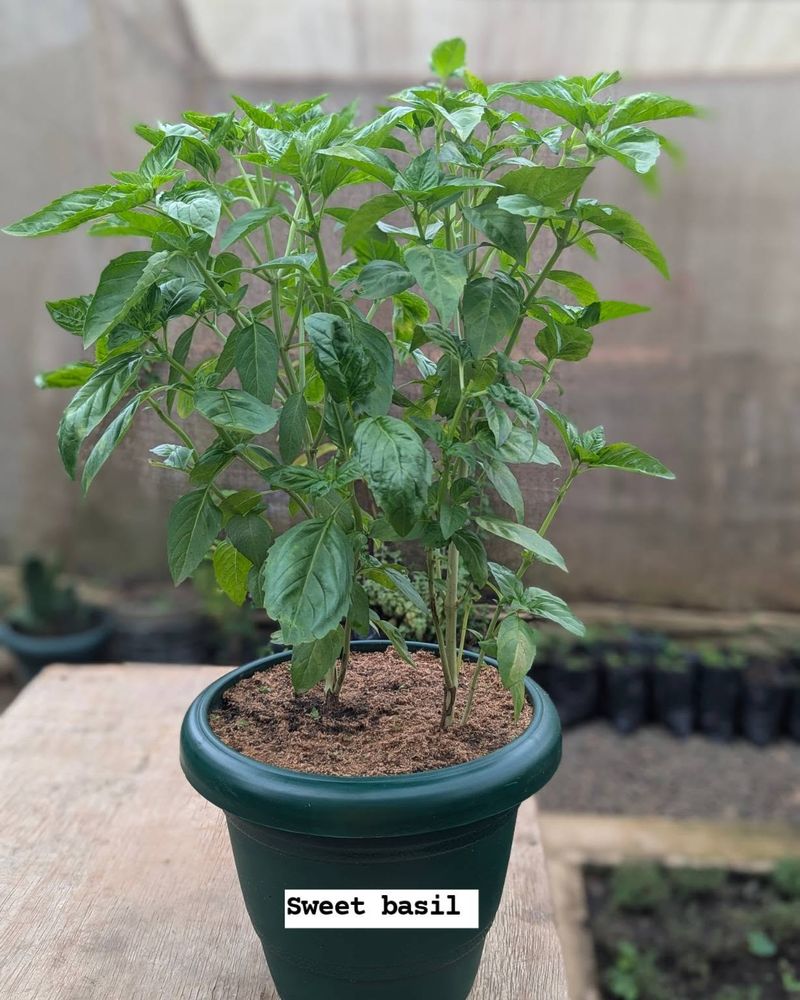
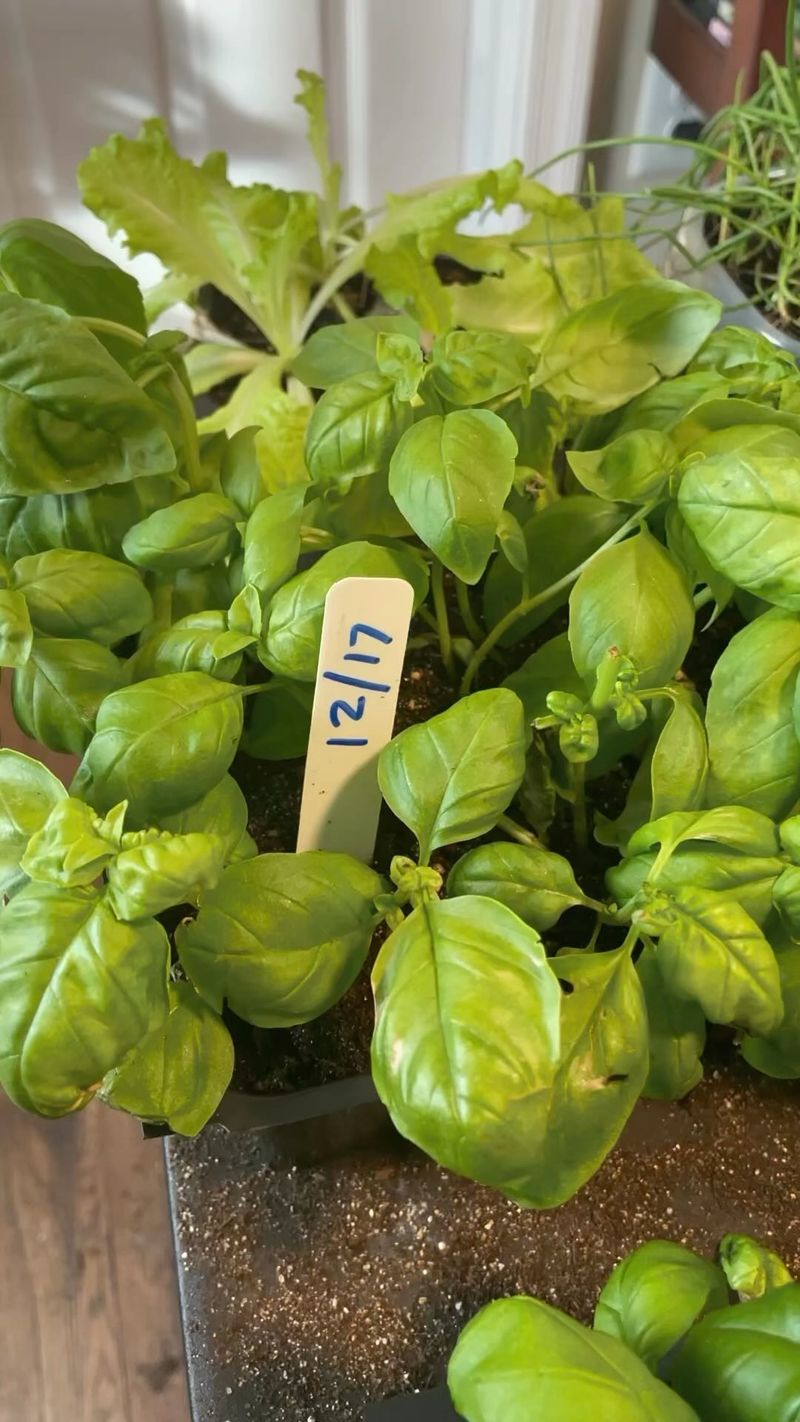
15. Harvest Regularly for Bushier Growth
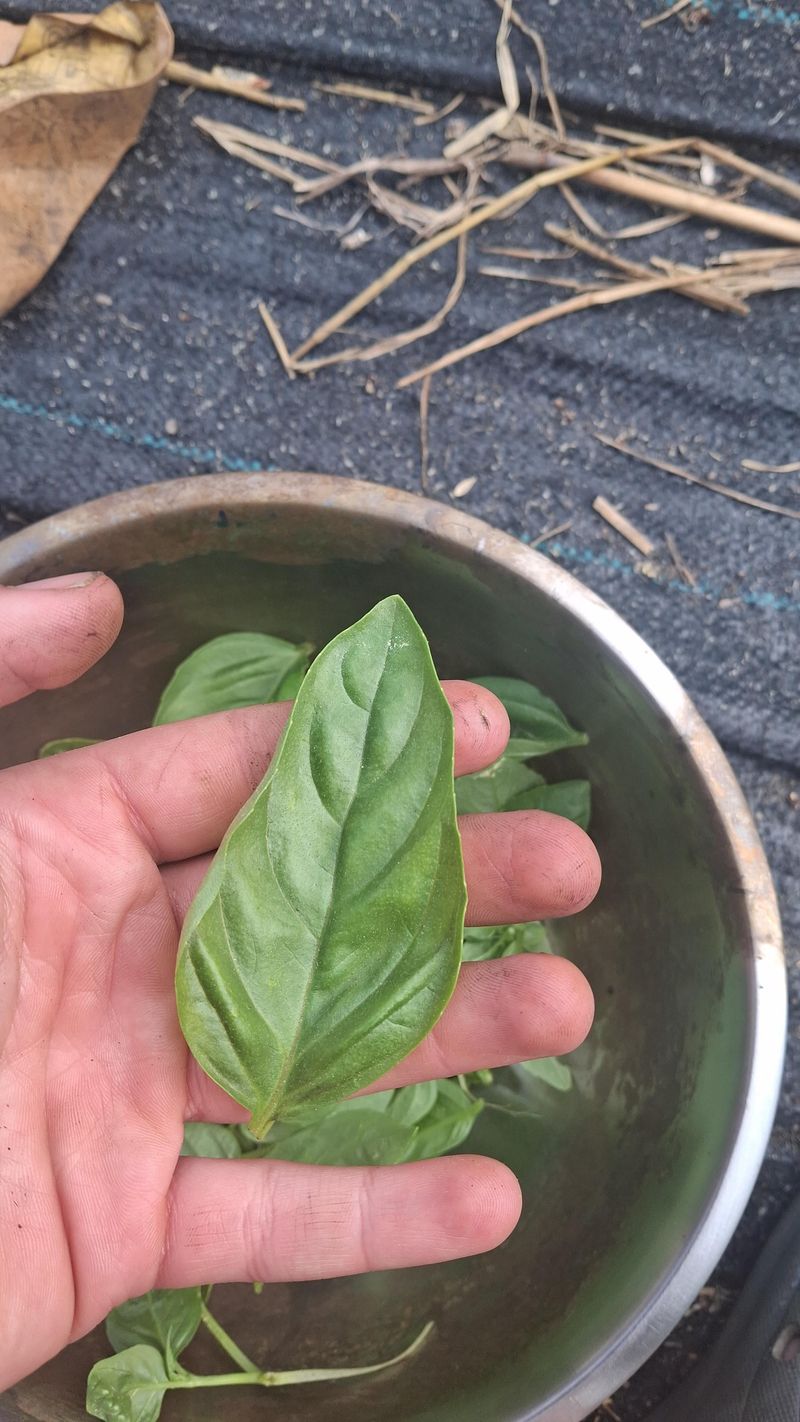
Here’s the secret to abundant basil: harvest often! Once plants reach 6-8 inches tall with several sets of leaves, begin harvesting by pinching stems just above a leaf node. Regular harvesting encourages branching and prevents flowering.
Always remove flower buds as they appear unless you’re saving seeds. Flowering signals the plant to focus energy on reproduction rather than leaf production. With proper pruning, a single plant can provide fresh basil all season long!