Use These Brilliant Tips For Growing Freesia And Get More Stunning Blossoms
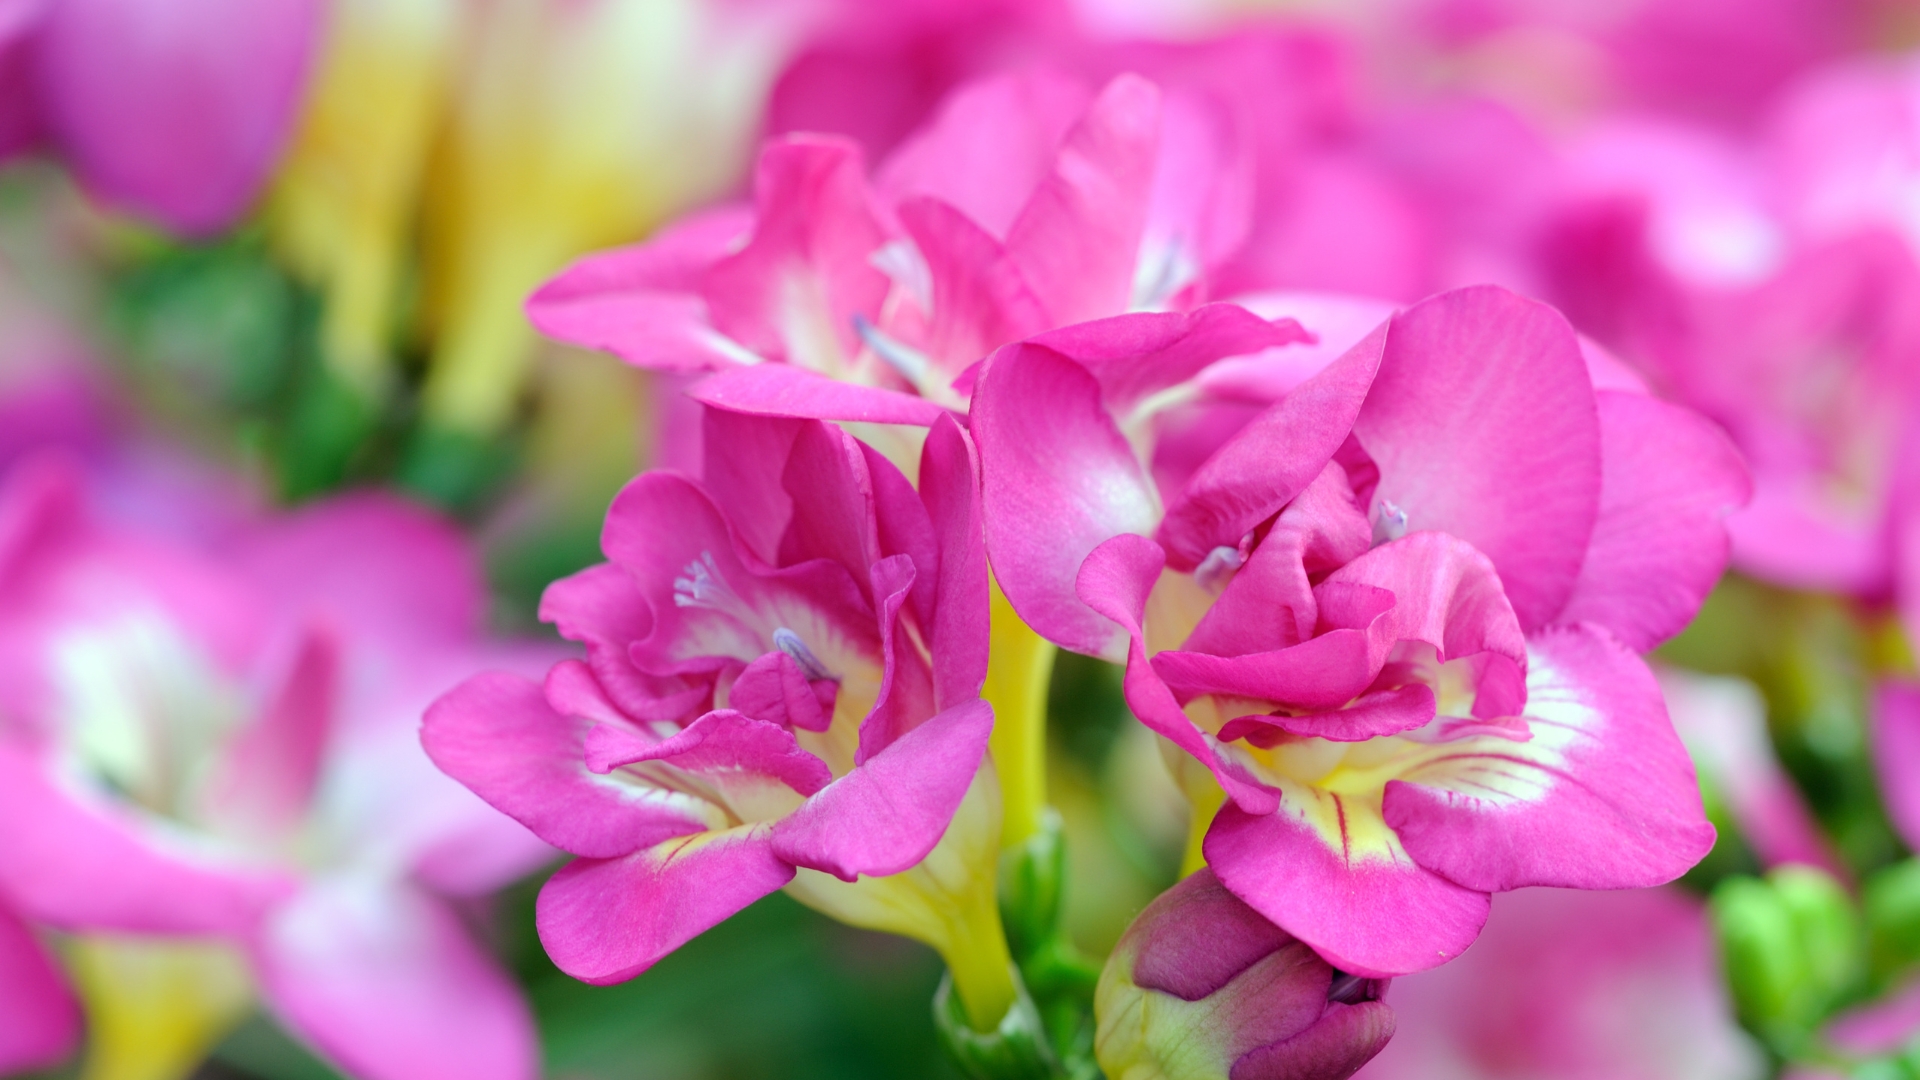
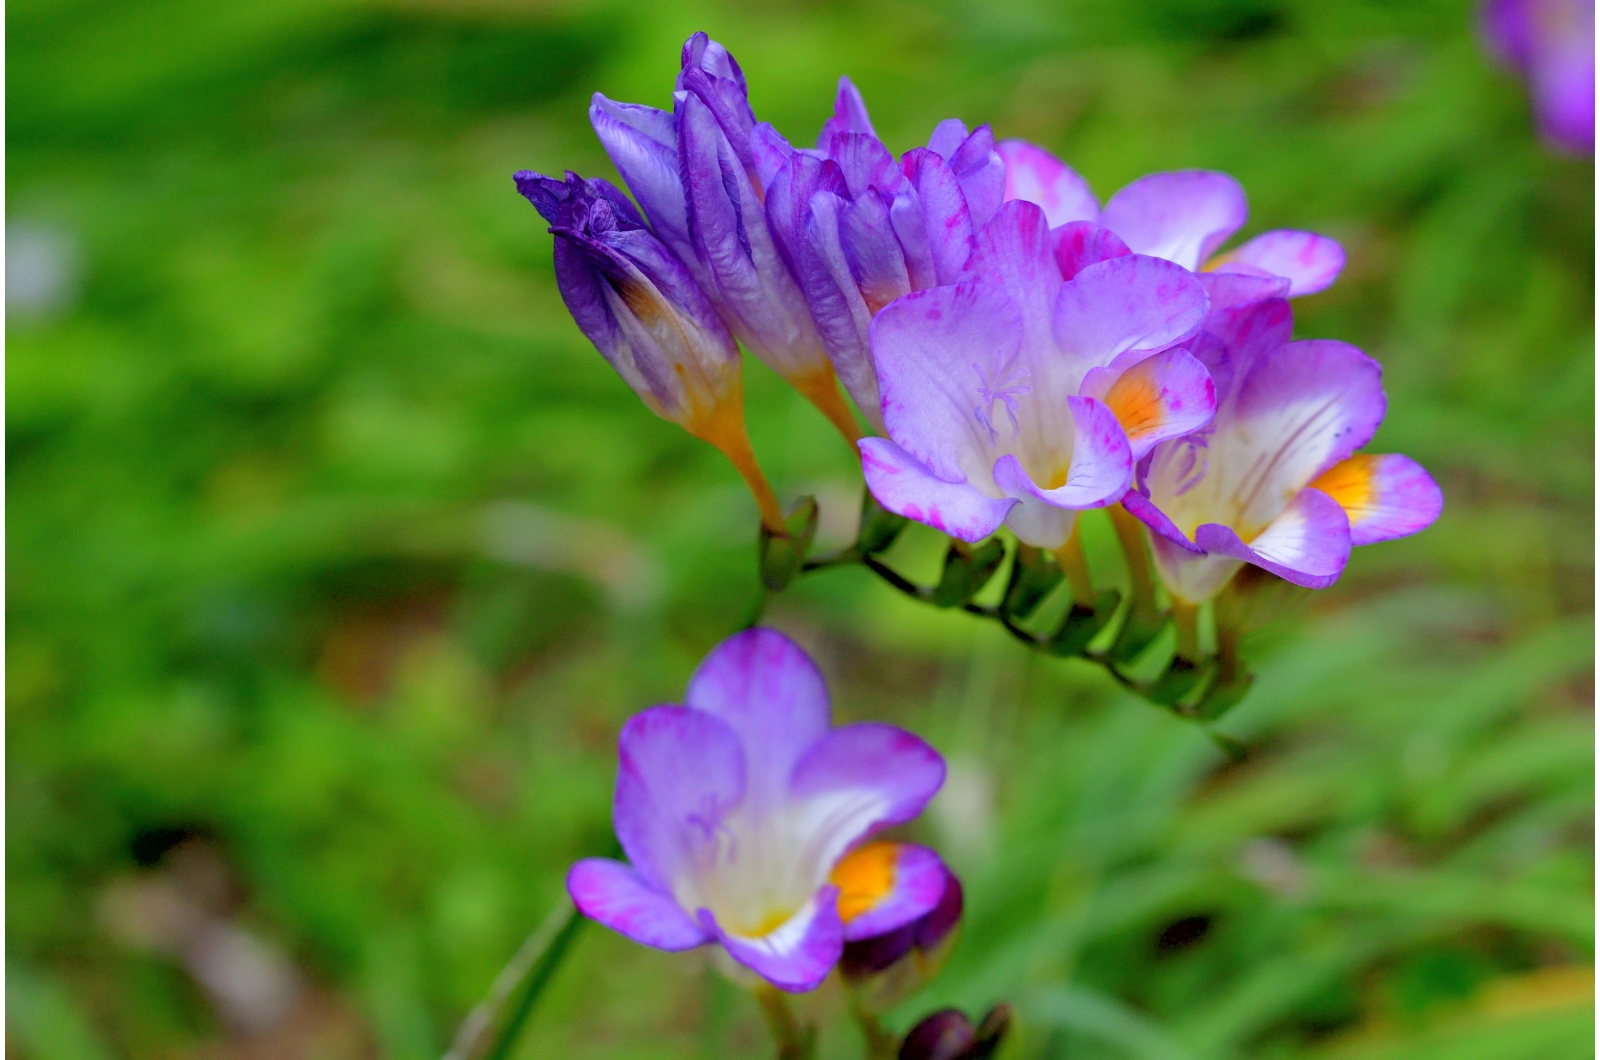
There are two words I use whenever I describe freesia flowers to someone: fragrant and breathtaking. This plant really has it all; its tubular scented blossoms deserve a spot in every garden.
Pollinators adore freesias, and that’s another benefit of growing these species. The only drawback is that freesias don’t tolerate cold temperatures, but they respond well to container growing, so you can grow these plants no matter where you live.
In this article, I’ll show you how to grow freesia flowers, from selecting the best varieties to dealing with common issues.
Let’s get started!
More About Freesia Flowers
This species belongs to the Iridaceae family aka the Iris family, and is categorized as a herbaceous perennial.
The native habitat of these plants is southern Africa and most species are found in Cape Provinces.
Freesias are also popular for their symbolism; they stand for friendship because botanist Christian P. Ecklot named the plant after his best friend, Fredrick Freese.
The sweet fragrance is the reason why freesias are commonly used in the cosmetic industry. Botanical Christmas candles are frequently adorned with freesia scent.
Varieties To Select
There are many varieties of freesia out there, but here are my favorites.
• Honeymoon: This freesia typically reaches 20 inches and produces ivory flowers with a hint of pinkish-purple.
• Oberon: If you want to spice things up in your garden, Oberon freesia is a perfect choice. Its sweetly scented orange blossoms with light yellow throats are incomparable.
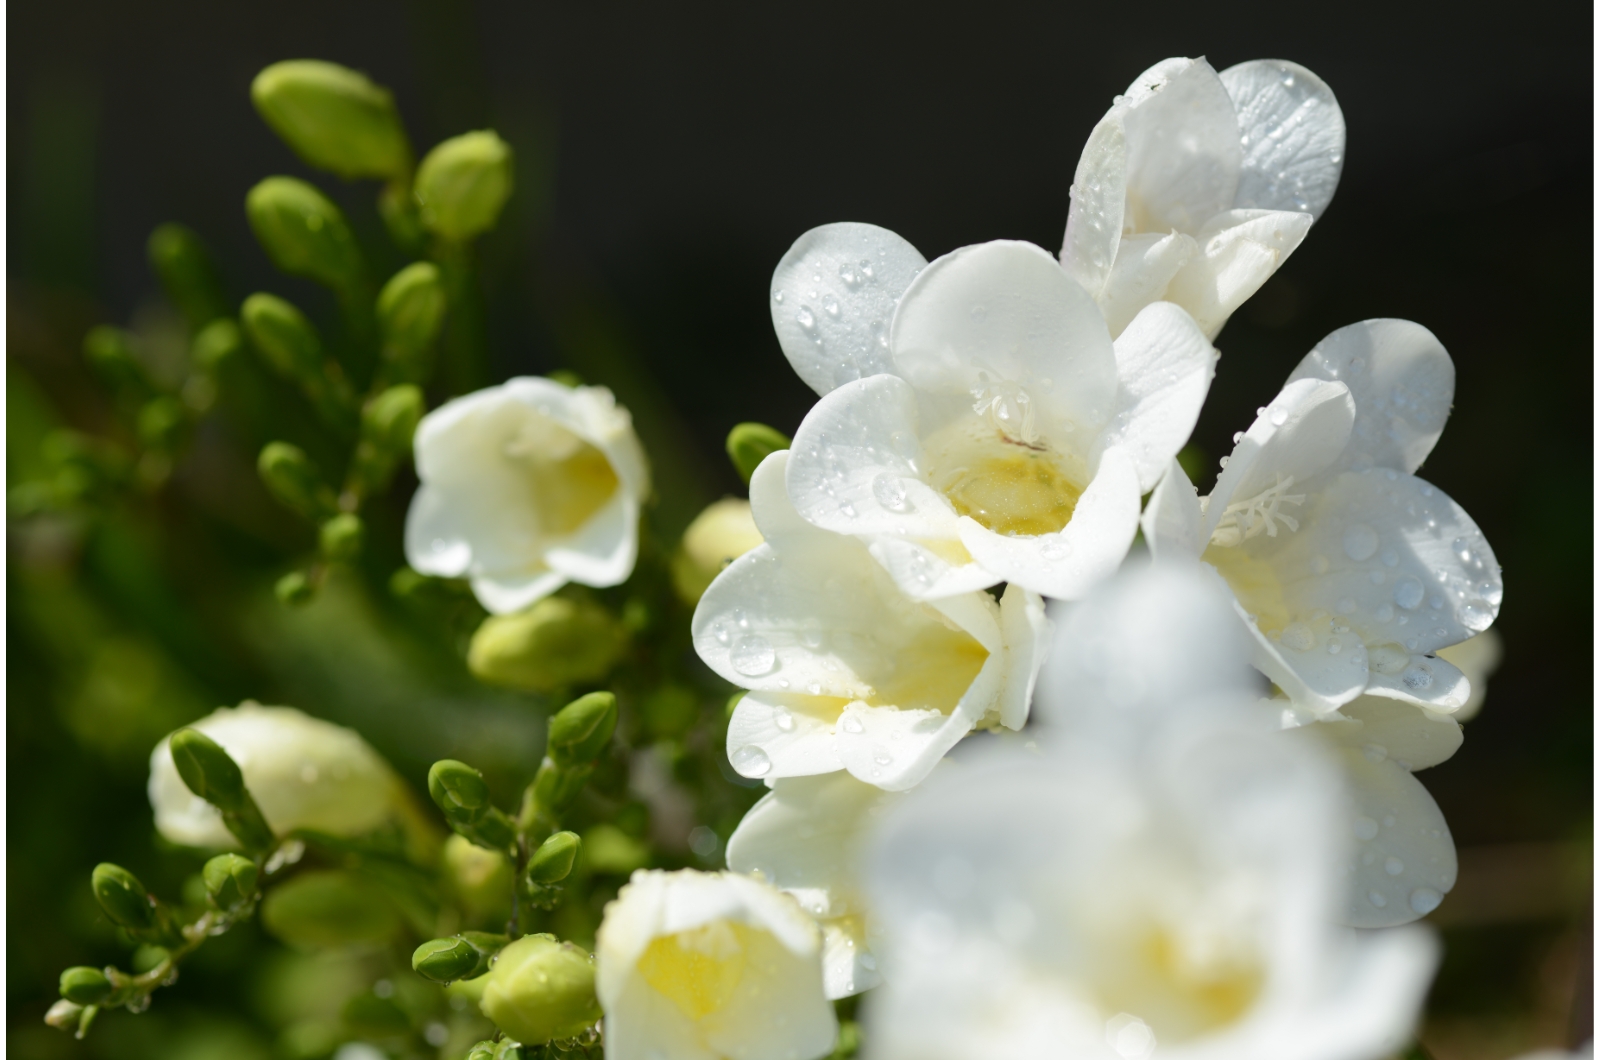
• Virginia: This variety reaches 15 inches and produces stunning white blossoms, which is why it stands as a symbol for purity and innocence.
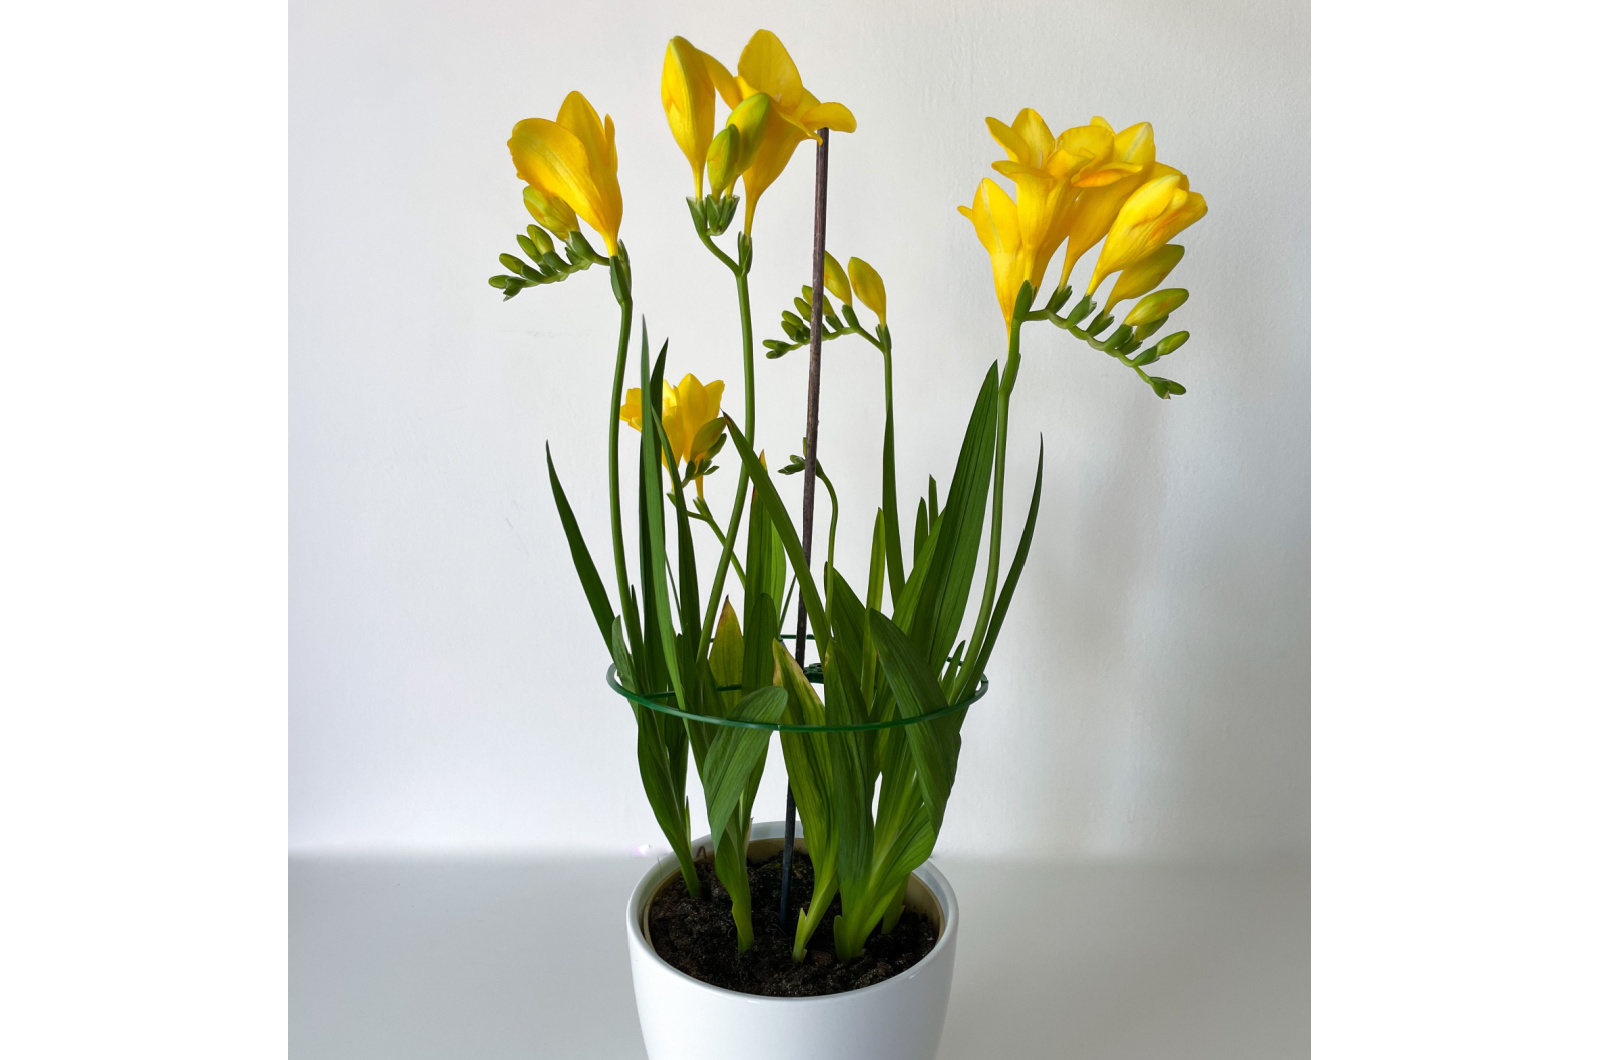
• Texas: The yellow double-petaled blossoms of the Texas freesia will brighten up your garden and leave your neighbors green with envy.
How To Plant Freesias
As mentioned before, freesias don’t tolerate cooler temperatures and even mild frost could quickly kill them. Growing freesias as perennials is possible only in USDA growing zones 9 through 10.
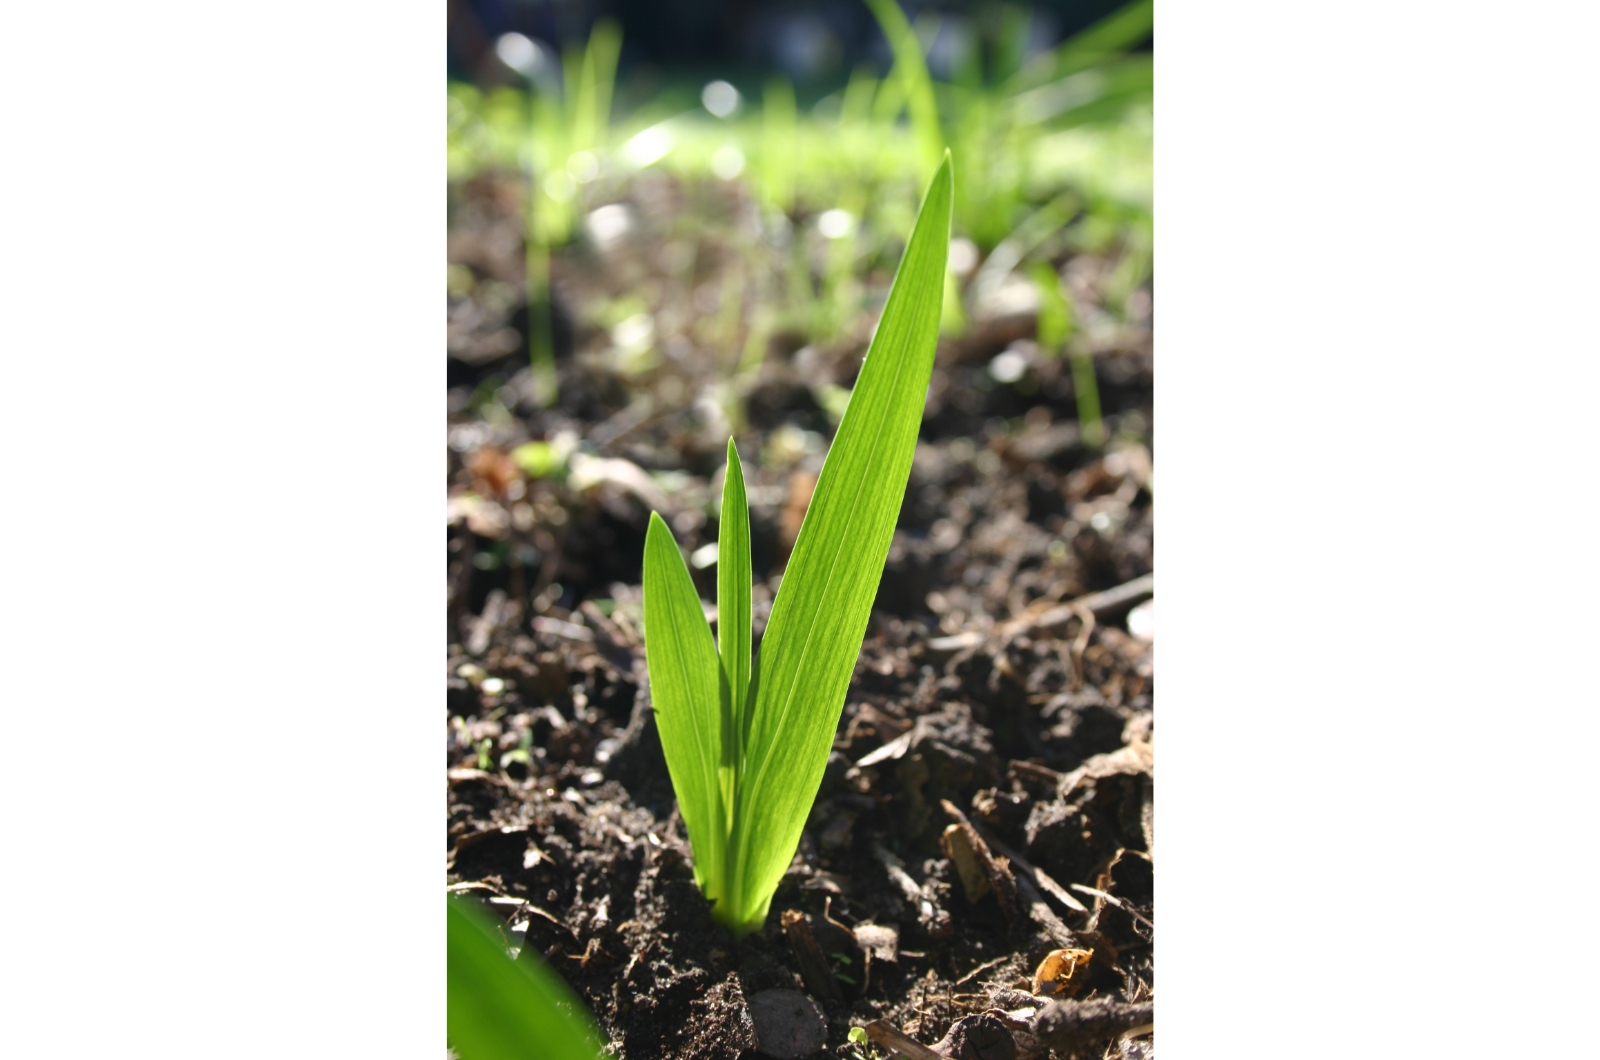
If you live in these climates, the best time to plant herbaceous freesias is in the fall. They’ll display leaf growth over the winter months and generate their lovely blossoms once spring arrives.
When grown in regions with freezing temperatures, freesias do best if planted in early spring.
The first step you need to take is finding a spot for your freesia with excellent drainage and sheltered from high winds.
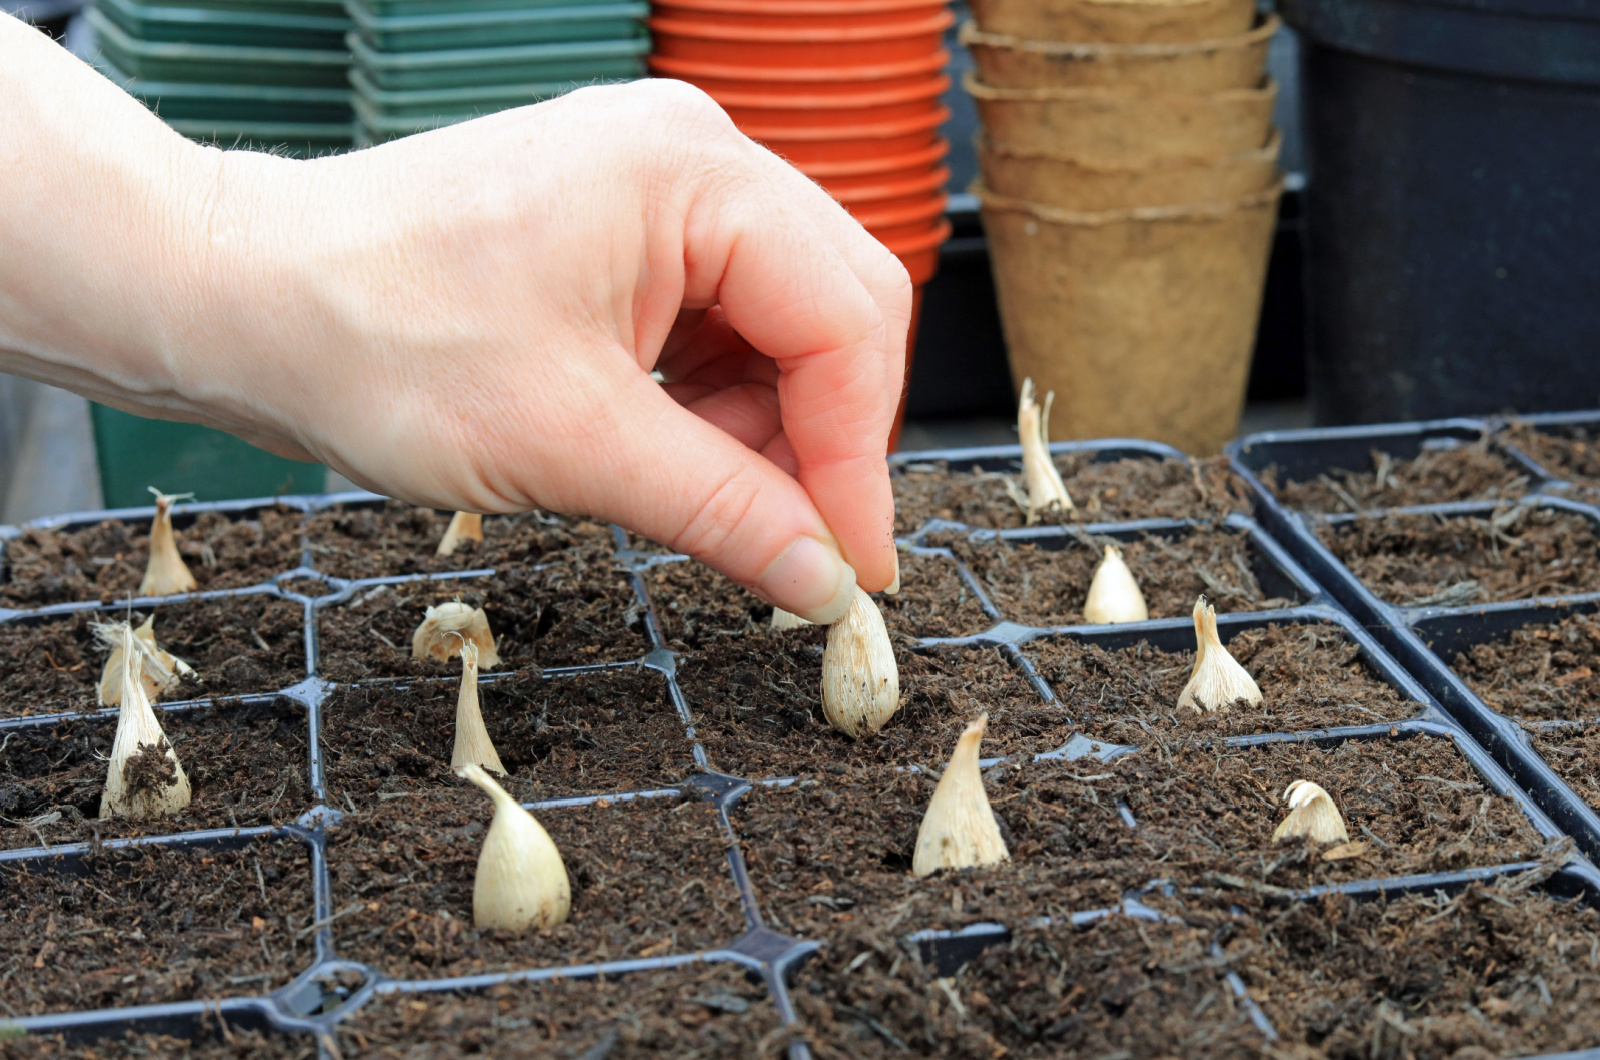
Then loosen the soil around the freesia roots and plant the corms in groups of 5 to 6. This will result in a wide number of grassy leaves and a lot of flowering stalks.
When planting the freesia corms, be sure that the pointy side faces upward, and don’t forget to water the corms thoroughly.
If you want to grow your freesias in containers, select a pot with good drainage and enough room to fit the roots.
After planting, give your freesias a good soak and put the containers in a shady spot.
A Complete Growing Guide
If you’ve successfully planted your freesias, now it’s time to learn which other conditions to ensure for healthy development.
Light Conditions
Freesias can grow well in both full sun and partial shade, depending on your region. However, they’ll benefit most from full sun exposure if planted in the fall.
If you’re planting later in the season for some reason, you should ensure partial shade during hot afternoons.
Container-grown freesias enjoy partial sun because they need a cooler temperature to generate blossoms.
Watering Schedule
These plants have moderate watering needs and they won’t tolerate drought or excess moisture around their roots.
The key to healthy freesia growth is moist soil, not soggy. Yellow and wilting leaves are the signs of overwatered freesia plants.
After planting your freesias, don’t water them frequently until the roots develop. Then stick to giving them an inch of water every week for best results.
Soil
If you want your freesias to flourish, you’ll need to ensure they have soil that is sandy and has a lot of compost or well-aged manure.
This combination will ensure enough nutrients for your freesias and prevent their soil from waterlogging.
If your soil is too compact, make sure to amend it with quick-draining materials before planting your freesias.
Temperature And Humidity
Freesias are native to warm regions but need cooler temperatures to grow. In their natural environment, these plants are dormant during the hottest months and wake up when the temperatures drop.
But temperatures below 42 degrees Fahrenheit could kill your freesias, so opt for a temperature range of 42 to 70 degrees.
These flowering perennials prefer moderate humidity levels and won’t grow well in dry regions.
Fertilizing
You’ll need to apply the first round of fertilizer when your freesias display the first bud growth. I recommend using a potash-rich fertilizer at this point.
Fertilizers, with an NPK ratio of 10-10-20 are perfect for freesias because they contain a lot of potassium for more blossoms.
Feed your freesias approximately twice a month until the blossoms fade.
Maintenance Tips
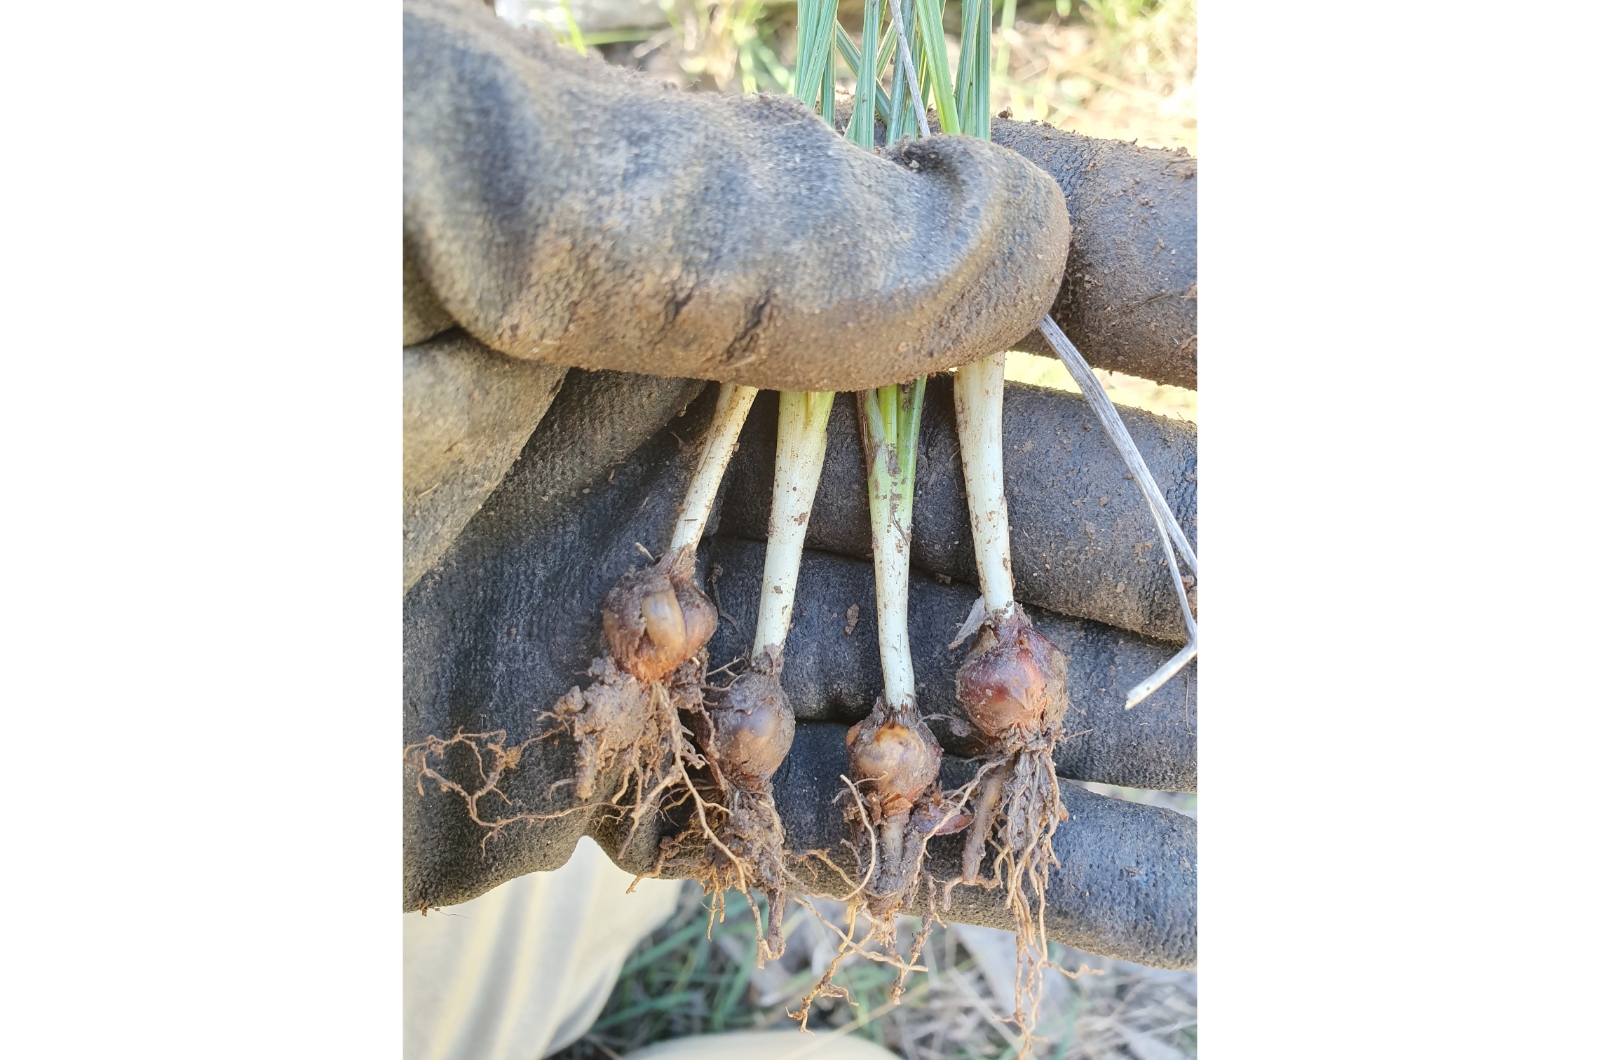
When it comes to freesia maintenance, it mainly refers to preserving the plant in cooler climates. The corms should be lifted from the ground as soon as the foliage dies back.
Before storing them, make sure your freesia corms are dry to prevent fungus and mold development.
The next step is to ensure a warm and humid environment for the corms so that they can generate flower buds.
Put your freesia corms in a paper bag and find a spot with temperatures around 80 degrees Fahrenheit and humidity of 75-80%.
Do not change the location for approximately 15-20 weeks, and then store your freesia corms in a cool spot until planting.
How To Grow Freesia Plants In Pots
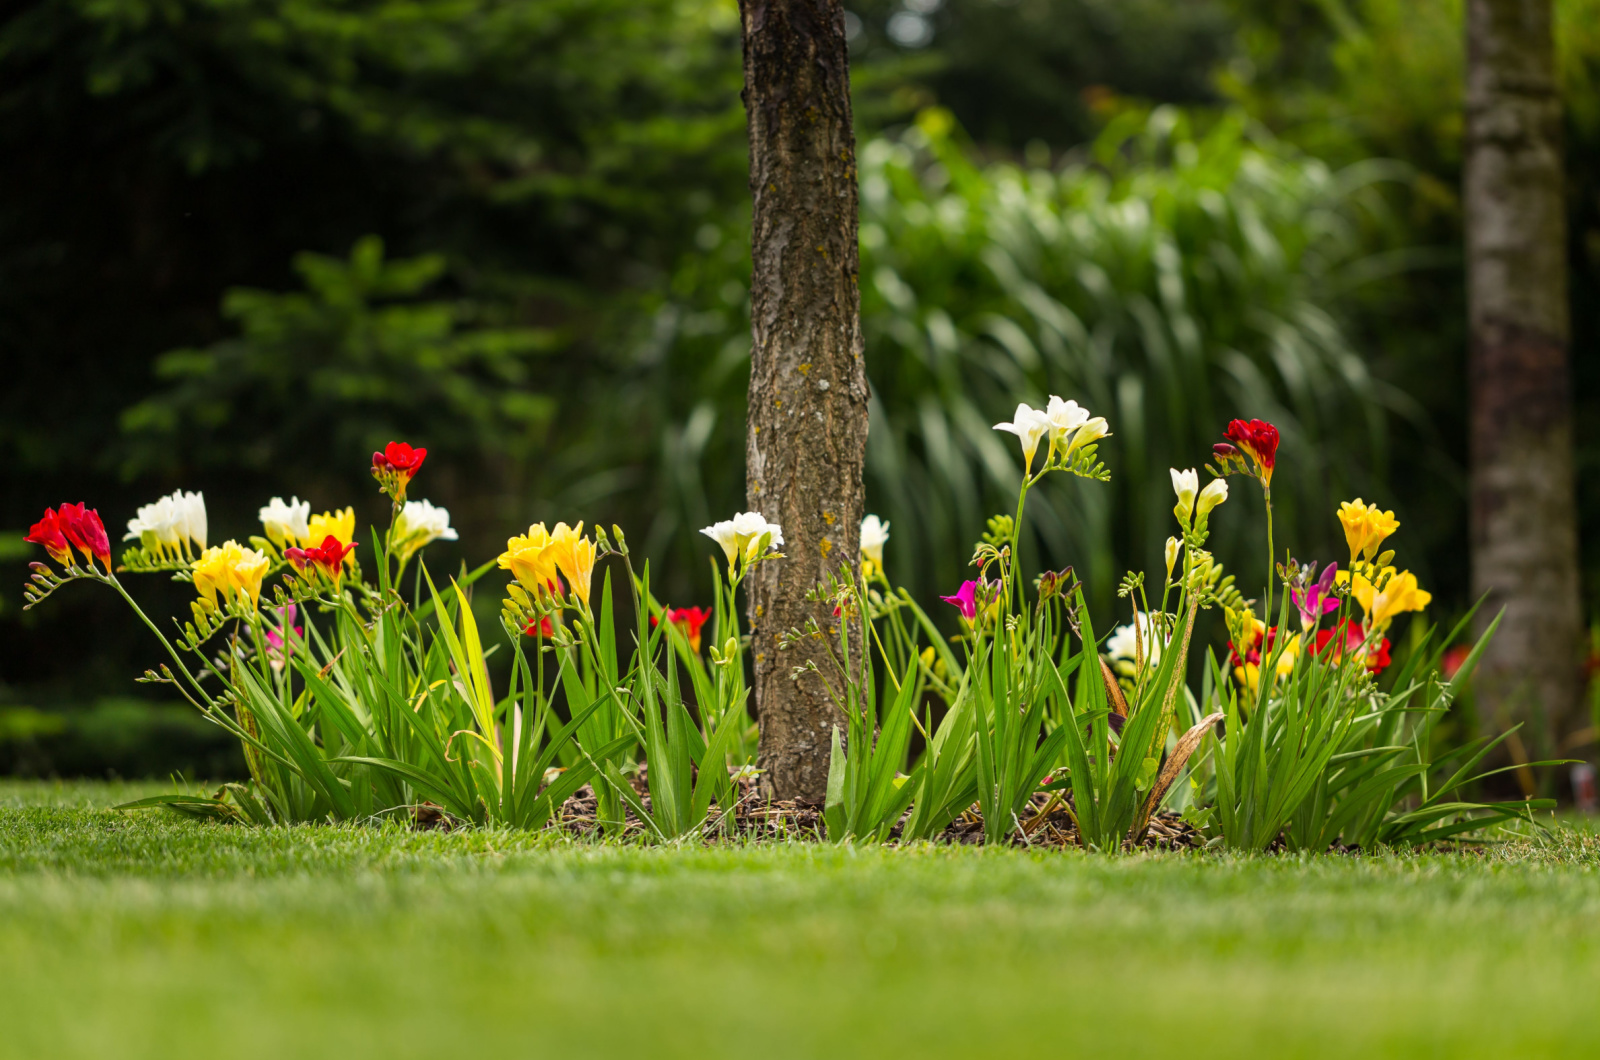
Freesias are commonly grown in scented gardens but they make perfect potted plants and houseplants.
First, select a container for your freesias that’s at least 6 inches deep. Prepare the growing substrate by mixing standard potting soil with sand to enhance drainage and porosity.
I recommend planting a few freesia corms in the same pot for a fuller plant and more blooms.
Irrigate your newly potted freesias and put them in a shaded spot. As soon as you notice sprouts, ensure at least 6 hours of sun for your freesias daily.
How To Propagate Freesias
You can start freesias from seed, but brace yourself for a wait because plants started this way need about 3 years to produce blossoms.
It’s way easier to wait until the freesia corms start displaying offsets. In the fall, as the plants gear up for growth, use a gardening fork to lift, divide, and replant the corms for a freesia display that won’t keep you waiting.
Common Issues
Incorrect growing conditions may lead to a few problems in freesia plants. For instance, if your freesias don’t receive enough light or the temperatures are too high, you’ll see fewer blossoms.
If you dehydrate your freesia, it will most likely display wilting. As mentioned earlier, too much moisture leads to yellowing in these herbaceous perennials.
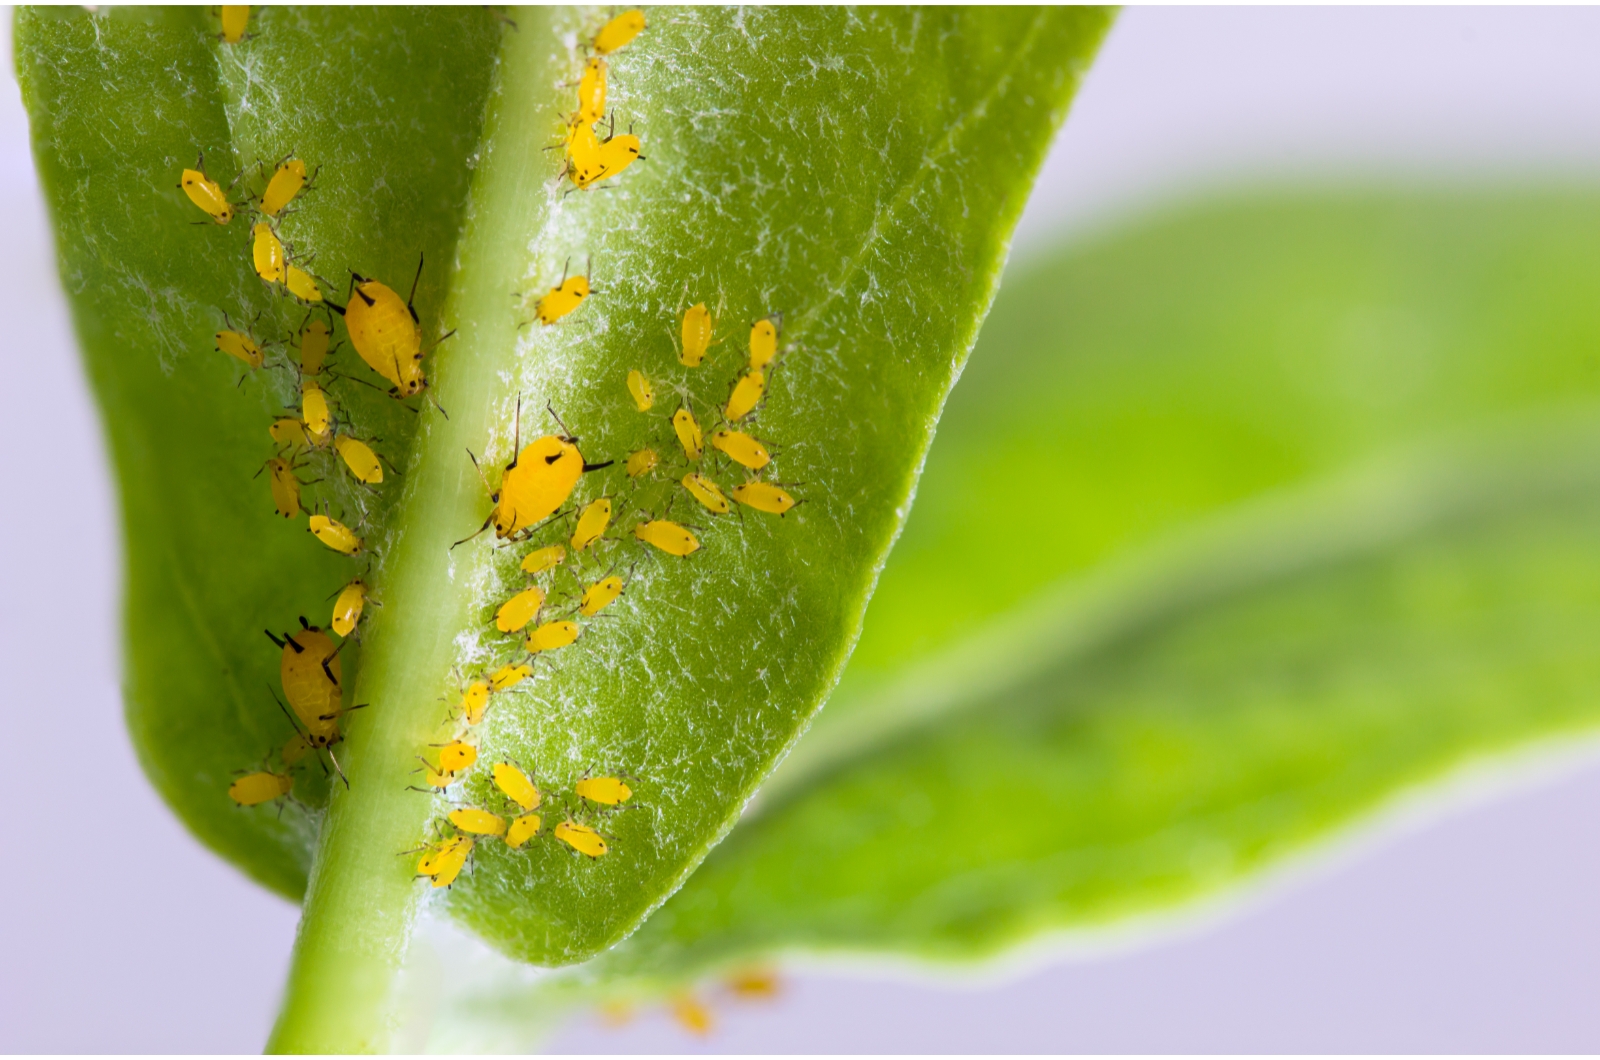
Thrips, spider mites, aphids, slugs, and snails are all potential threats to your freesia. Even voles and moles can pay a visit and feed on the corms.
You should introduce beneficial insects to your garden, and if there’s a need for chemical control, neem oil and diatomaceous earth are the best options.
If you grow these plants in a poor-draining growing substrate, they can develop iris leaf spot disease. Never water your freesias overhead to avoid bacterial soft rot.
Growing freesias is a fun and highly rewarding experience. For best results, make sure to follow our guidelines and enjoy an abundance of freesia blooms!