Tricks You Should Try For Growing Melons In Raised Beds
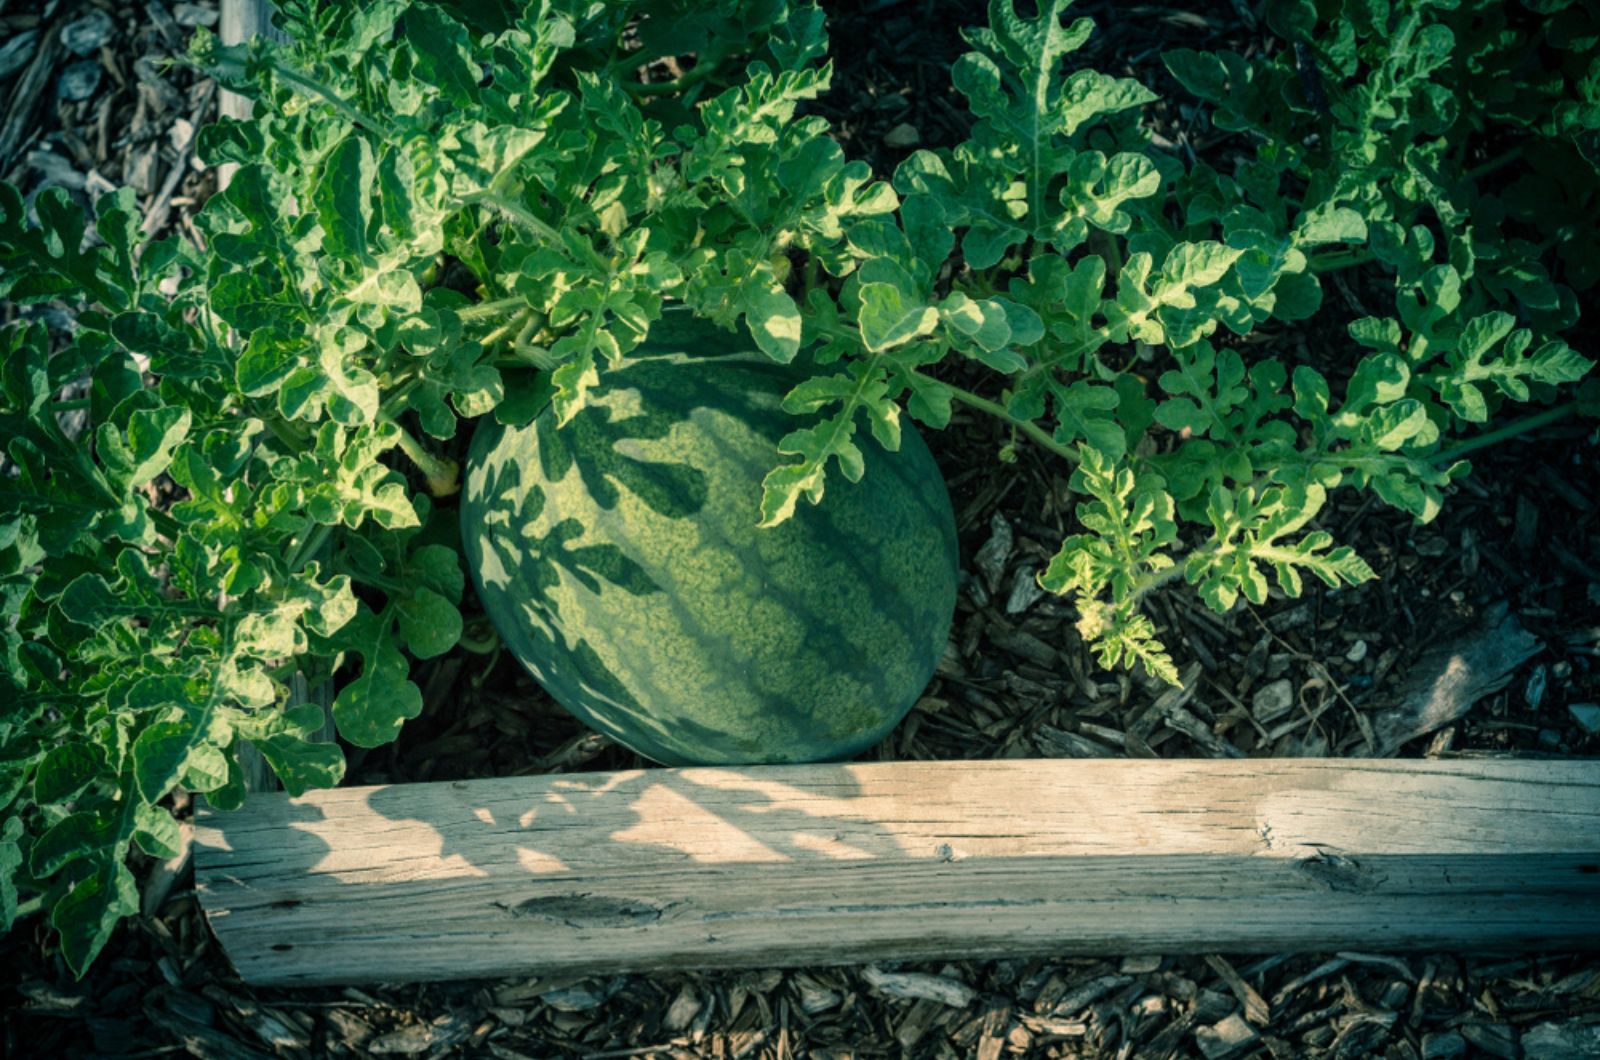
Melons are perfect fruits to close out your gardening adventure this summer. If you grow them now, they will be ready for harvesting in early fall! It might seem impossible, but with these tricks you’ll be able to achieve it.
My garden wasn’t big enough for growing melons, but then a genius idea came to mind! Why not use raised beds? It turned out to be the perfect choice, as the melons grew incredibly well without any complications.
Who doesn’t want to skip the store and enjoy freshly ripened melons from their own yard? That’s why you should get raised beds right away!
Choose Special Varieties That Won’t Attract Unwelcome Guests
You should choose pest-free types of melons, such as honeydew and cantaloupe. These varieties will make your work much easier. You won’t have to worry about infections and pests ruining all the effort you put into growing them!

I grew these types, and they turned out as perfect as other melons. They were delicious, and I ended up making smoothies every day!
Place Raised Beds Where The Sun Shines The Most
They will need eight to ten hours of direct sun! That’s a lot, right? Just make sure that you put raised beds in the right spot! You should choose the metal ones because they will provide enough warmth for the melons.
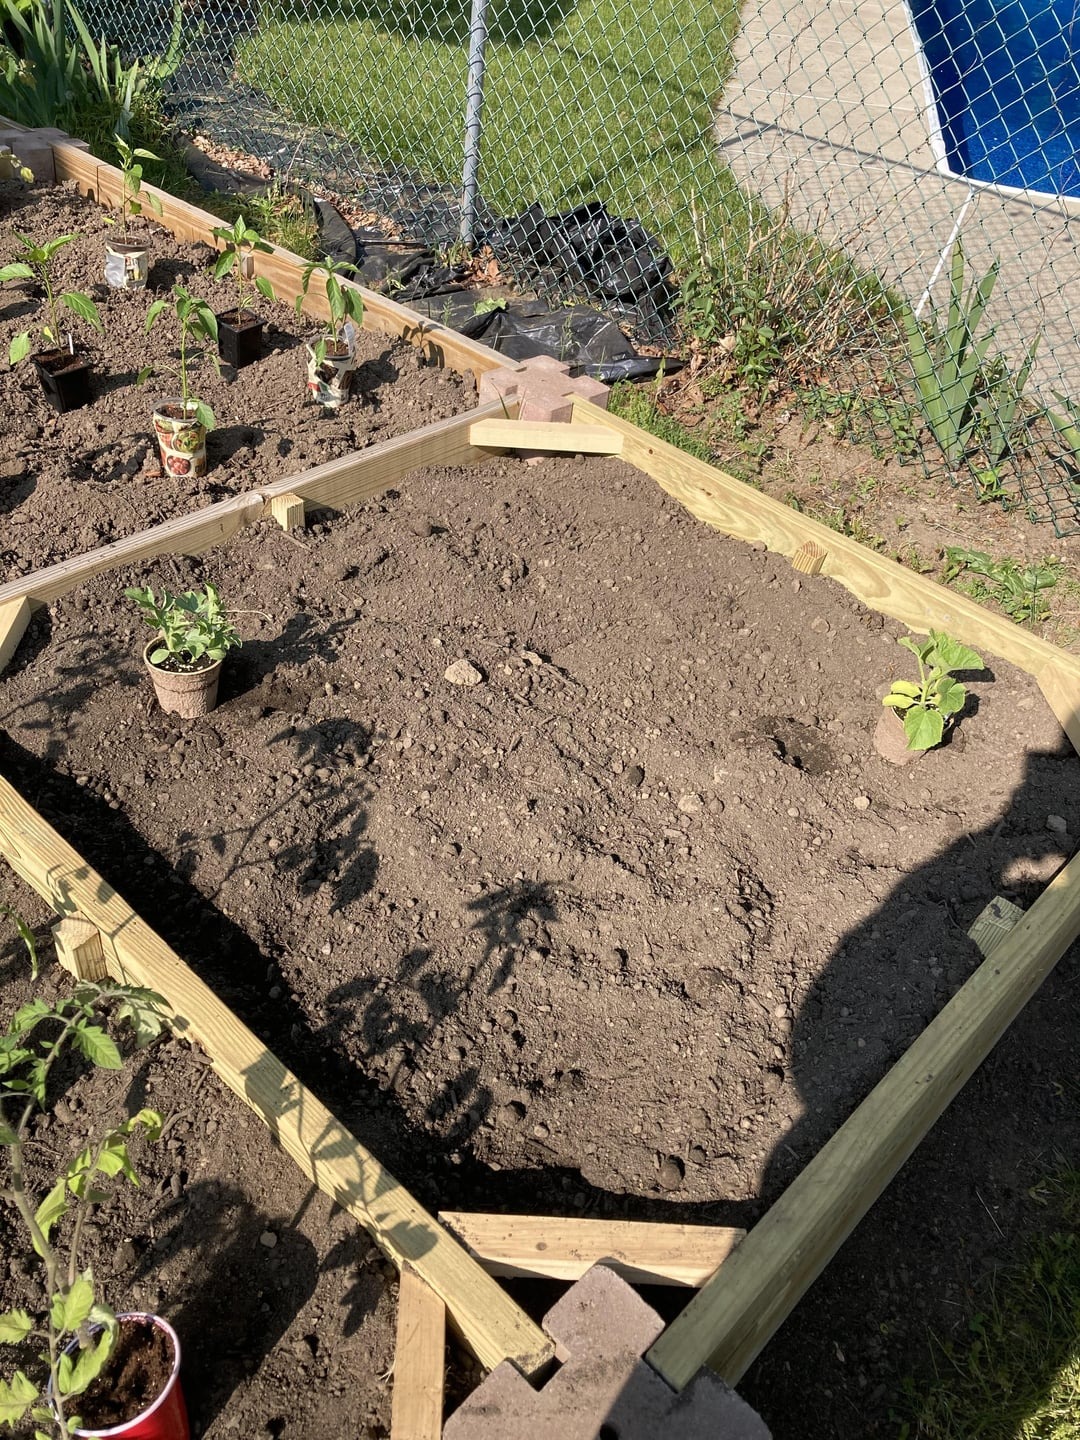
This will make them even juicier and full of sweetness! Sunlight will also accelerate the growth process, leading to a yummy harvest.
Use Good Quality Soil And Watch The Magic Happen
Melons need humus-rich soil, but they also thrive in clay, sandy, or free-draining ones. You should replace the soil in your raised beds a month or two before planting the seeds. Mix it all together with compost or mulch, and voilà. You’ve got the perfect spot for your melons!
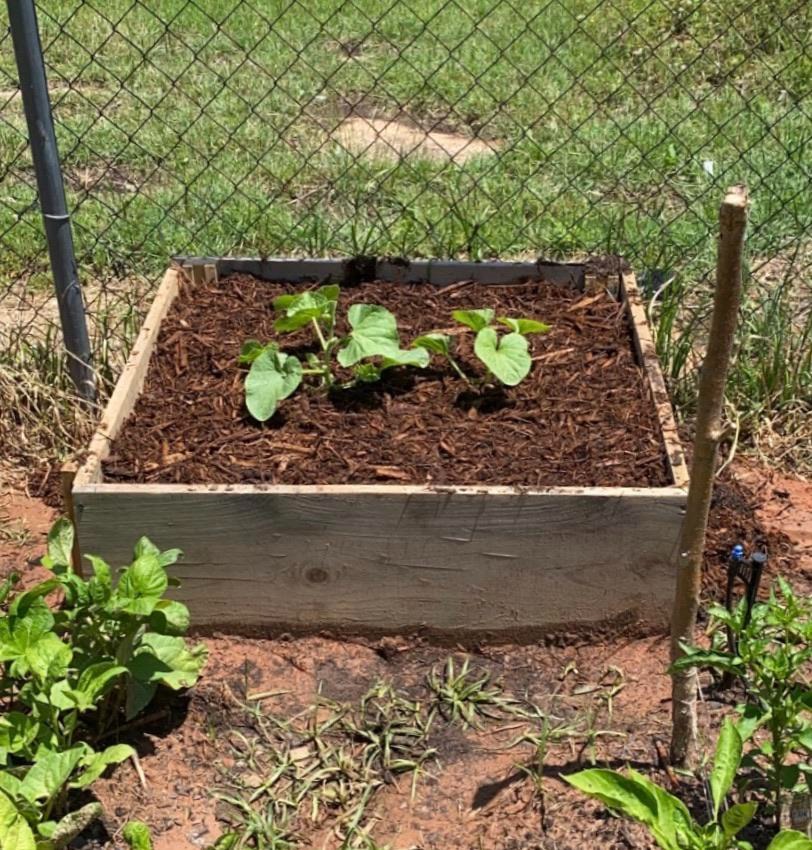
Now your raised beds are ready for growing melons! If you follow these simple steps, they will thrive in your garden from the moment the first tiny fruits start to appear.
Choose This Fertilizer For Better Growth
Potassium plays a big role in the growth of your melons. Use a balanced organic vegetable fertilizer every six weeks.
To avoid overdoing it, water the plants after applying any type of fertilizer. If you notice yellowing and wilting leaves, it may be a sign of over-fertilization. That’s why you need to be careful when feeding them.
Harvest Melons For Tasty Kitchen Specialties
After about eighty days, your melons will be ready for harvest! Pick them by lifting and twisting the fruits. If they don’t twist off, that means the melons aren’t ready yet. Let a few more days pass and give them another chance.

Prepare some big baskets because you’ll end up filling it with delicious fruits. After that, you can eat your freshly picked melons to satisfy all your cravings! Start by making a tasty juice or smoothie, or try them in summer fruit salads!
Have you already started shopping for raised beds? Trust me, they are worth it! Your melons will grow really well in them.
These tricks also helped me a lot while growing melons. After harvesting, I didn’t have enough space to store them! I even started gifting them to my neighbors.
Now you know the secret recipe for making these fruits thrive. Don’t waste any more time, start growing them now!


