17 Simple Tricks To Grow Self-Seeding Plants That Come Back Every Season

I used to think self-seeding plants were a gardening mystery—until I figured out a few easy tricks that made them come back like magic. Now, they pop up every year with barely any effort, and it feels like a little gift each season.
The best part? Less planting, more enjoying. If you’re after a garden that basically grows itself, these are the tips that worked wonders for me.
1. Let Nature Take the Lead
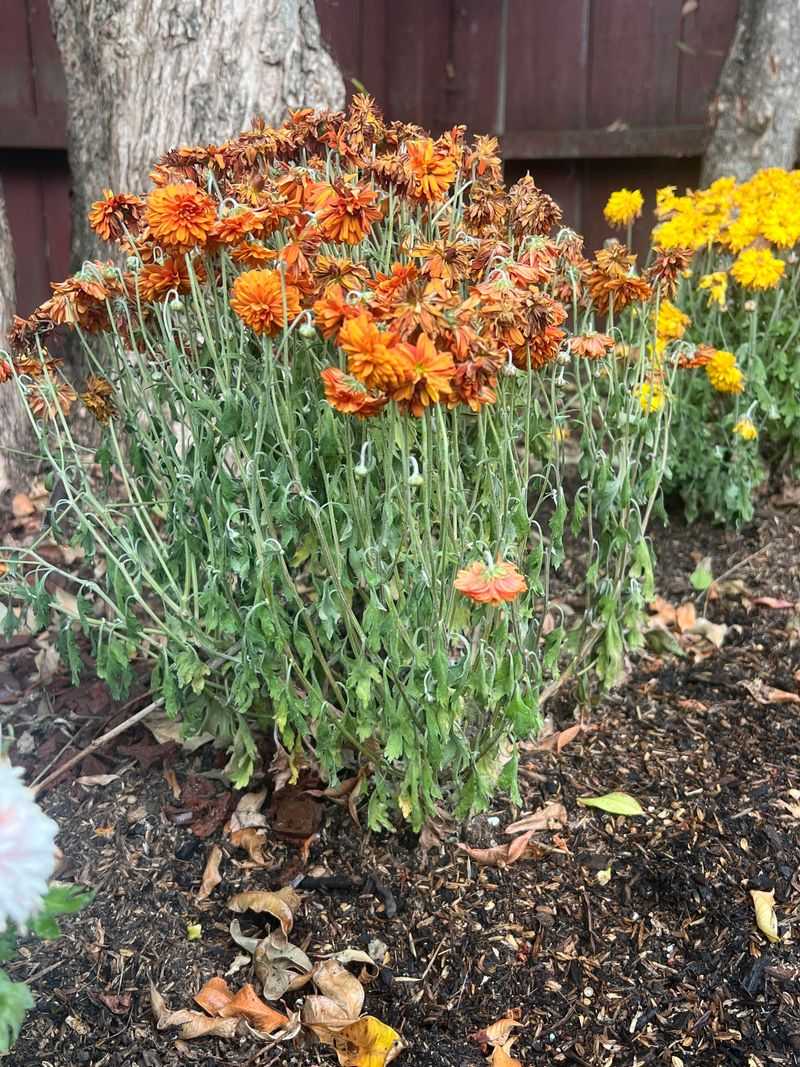
The easiest trick for successful self-seeding is simply stepping back and allowing plants to complete their natural cycle. Resist the urge to deadhead every spent flower or tidy up all fallen seeds at season’s end.
Those messy seed heads are actually tiny packages of next year’s garden! Many gardeners accidentally prevent self-seeding by being too neat. Leave some strategic areas untouched during fall cleanup to give seeds a chance to settle into the soil.
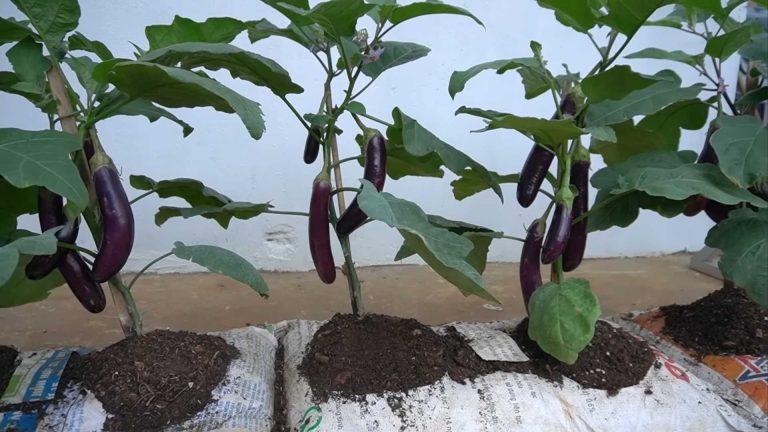
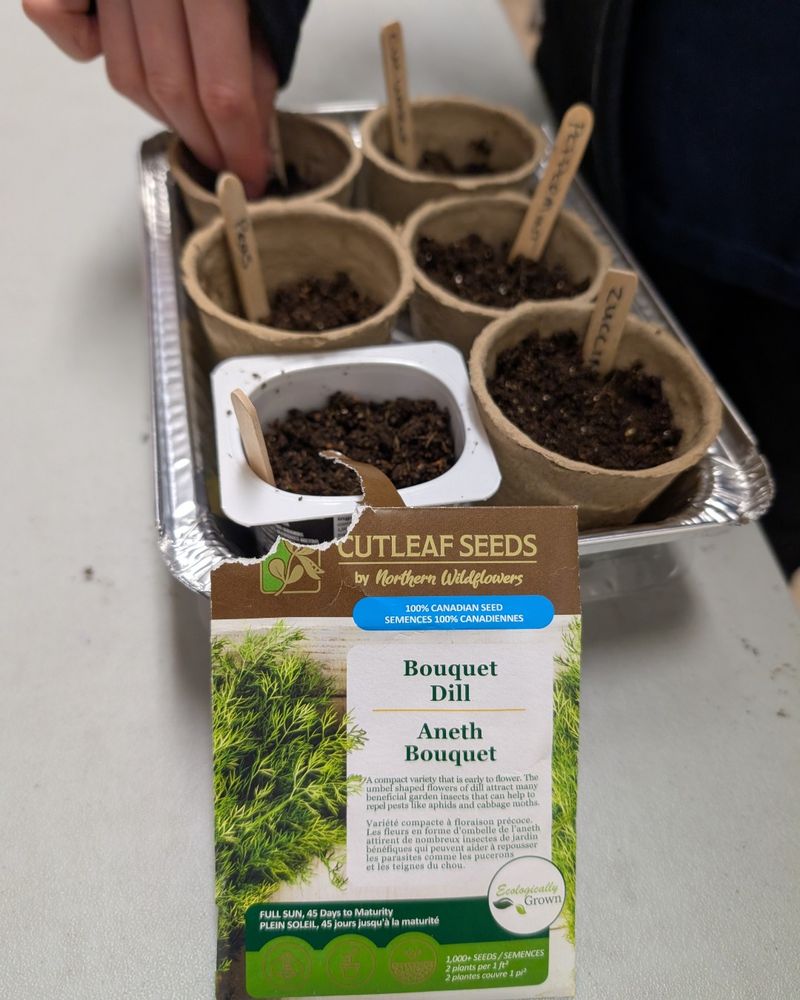
2. Choose the Right Plants
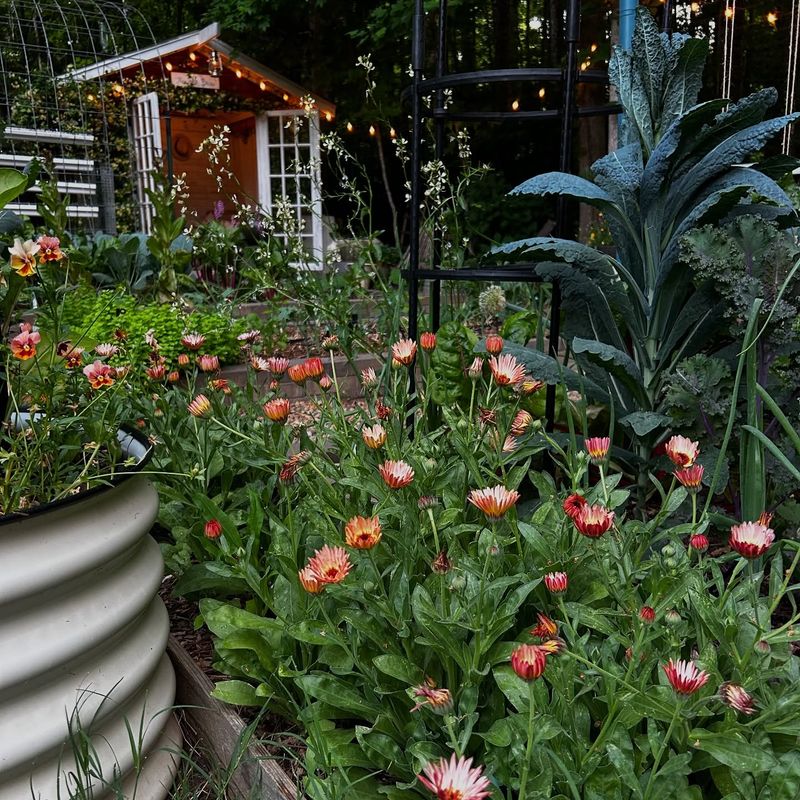
Not all plants self-seed effectively, so selecting the right varieties makes all the difference. Calendula, poppies, forget-me-nots, and love-in-a-mist are champion self-seeders that return reliably year after year.
Native wildflowers particularly excel at this natural reproduction process. They’ve already adapted to your local conditions and know exactly when to drop their seeds for optimal germination. Their built-in timing ensures they’ll appear at just the right moment each season.
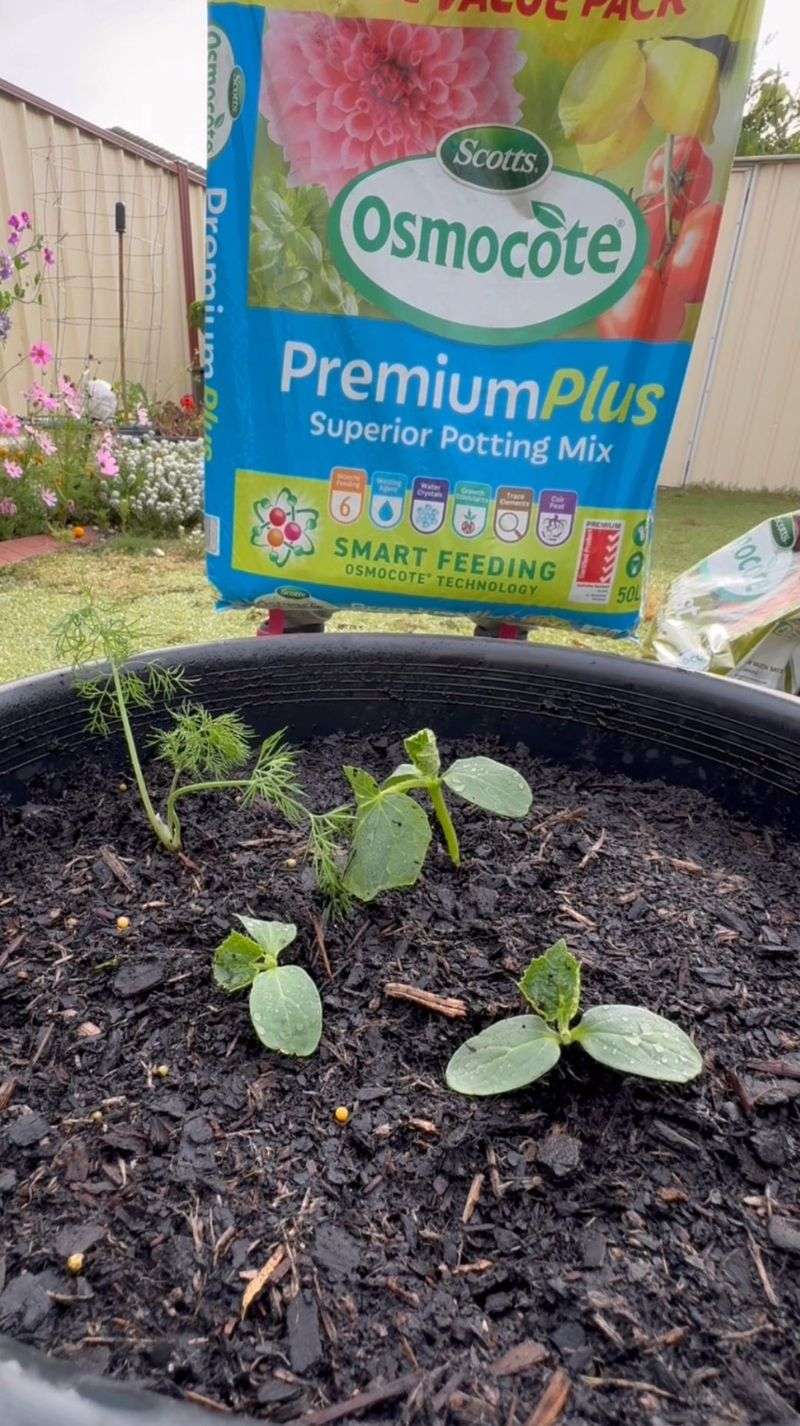
3. Create Seed-Friendly Soil

Seeds need good contact with soil to germinate successfully. Lightly rake your garden beds in fall after plants have dropped their seeds to ensure proper soil contact. Don’t dig deeply – just a gentle surface scratching does the trick.
Adding a thin layer of compost (about ¼ inch) helps too. It provides nutrients while still allowing tiny seedlings to push through easily. Many self-sowers actually prefer slightly disturbed soil where their seeds can nestle into small crevices and find protection.
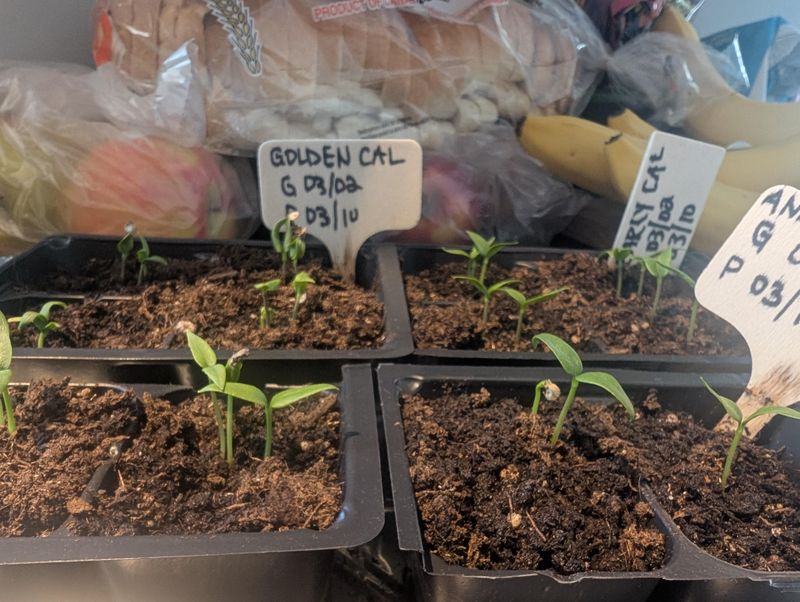
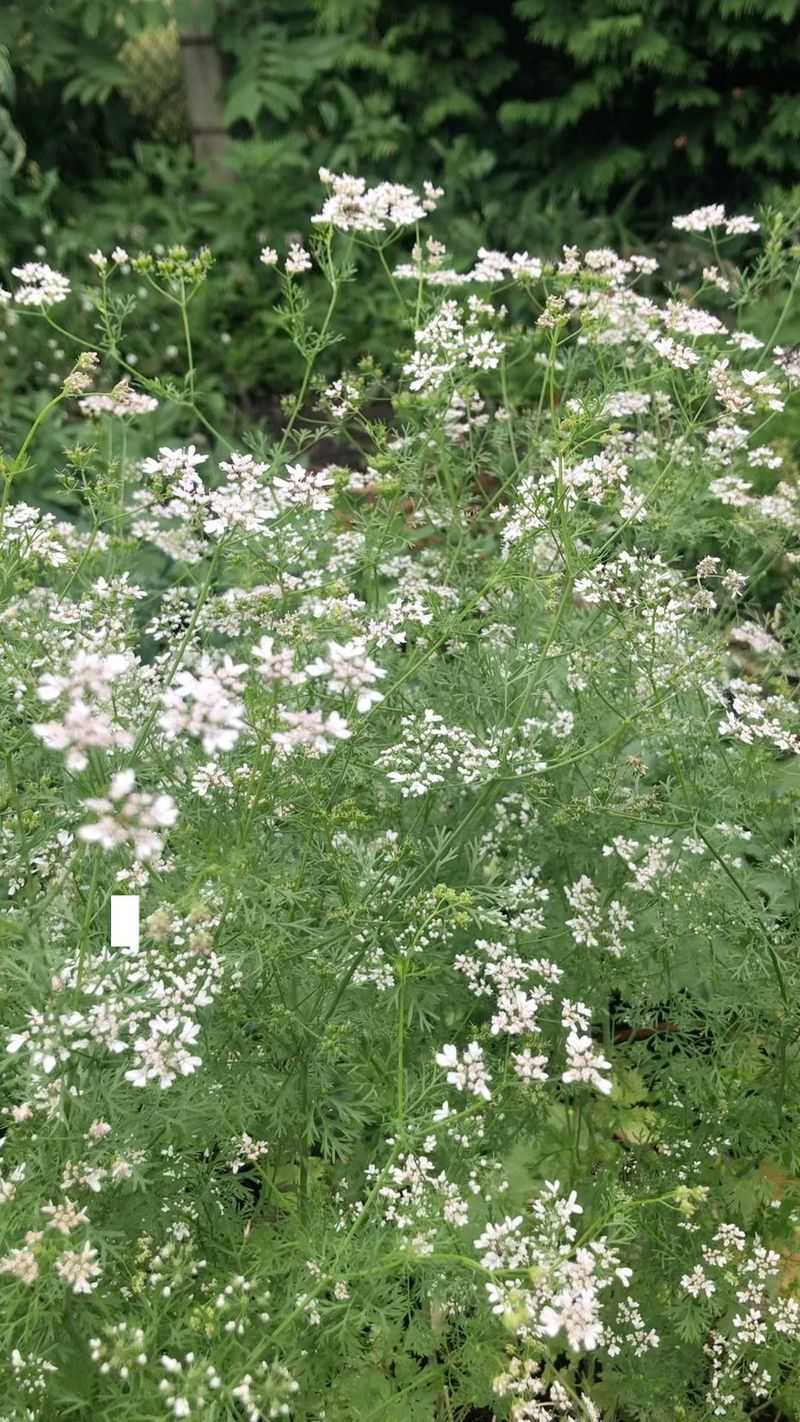
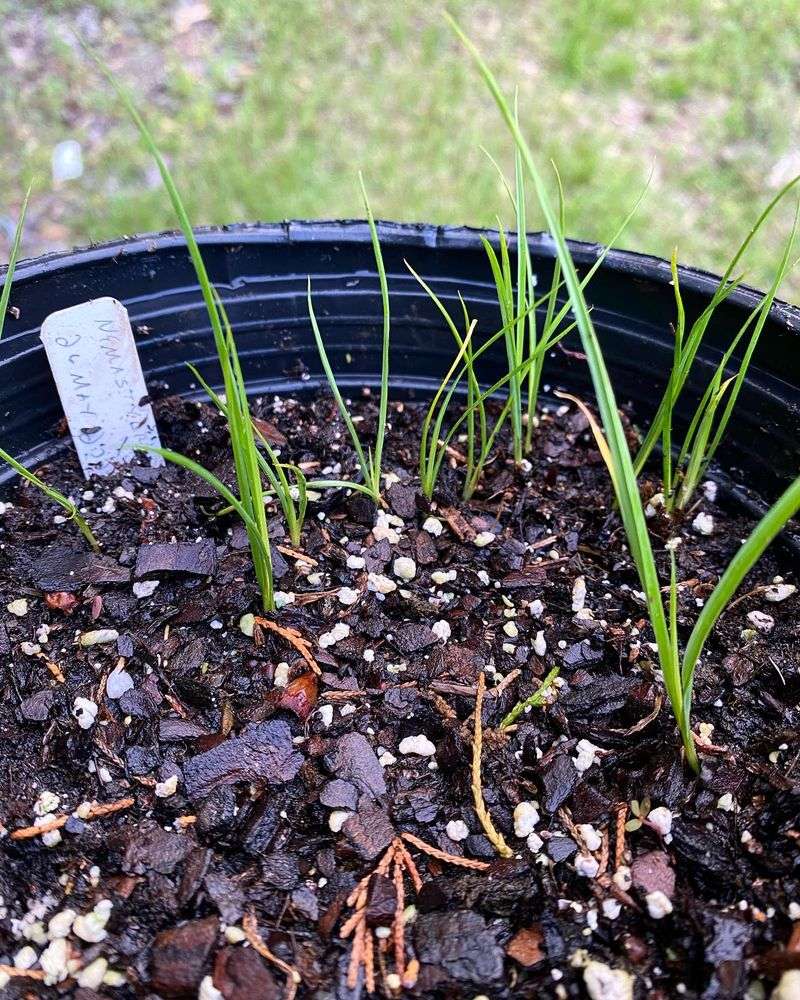
4. Mark Your Self-Seeders
When plants start dropping seeds, mark their locations with small stakes or plant markers. This simple step prevents accidental weeding of seedlings next spring when you might not recognize the baby plants.
Color-coded markers work wonderfully – try using one color for annuals and another for perennials. Take quick photos of marked areas in fall to create a garden map. This visual reference helps you remember where to expect new growth and which mysterious sprouts are welcome visitors rather than weeds.
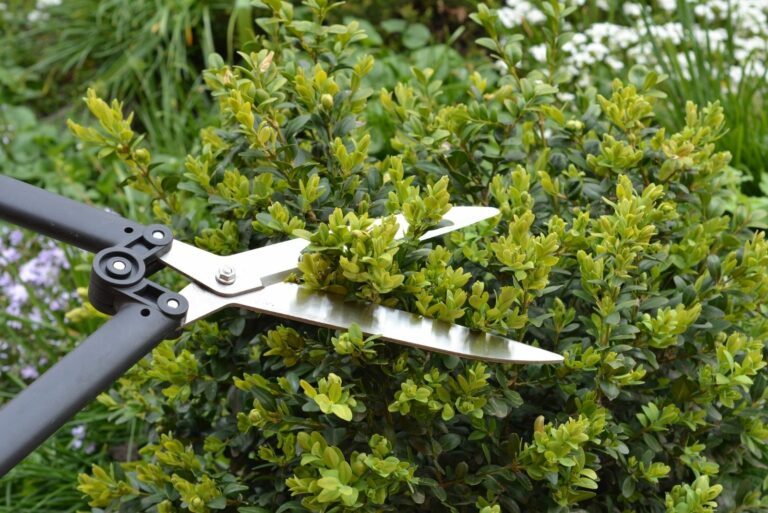
5. Strategic Deadheading
Selective deadheading creates the perfect balance between neat gardens and self-seeding success. Remove spent flowers from the front of your garden beds to maintain a tidy appearance, while leaving those at the back to form seeds.
For plants that produce numerous flowers, try deadheading only 70% of the blooms. This approach gives you extended flowering while still allowing some seed production. The practice also prevents plants from becoming too aggressive, striking that perfect balance between controlled spread and natural growth.
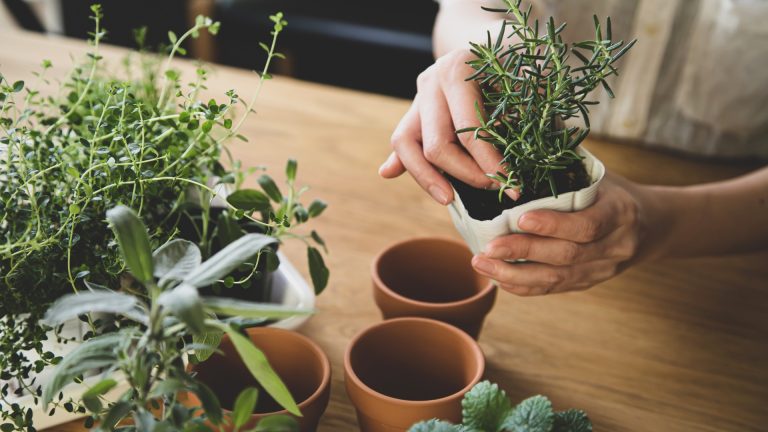
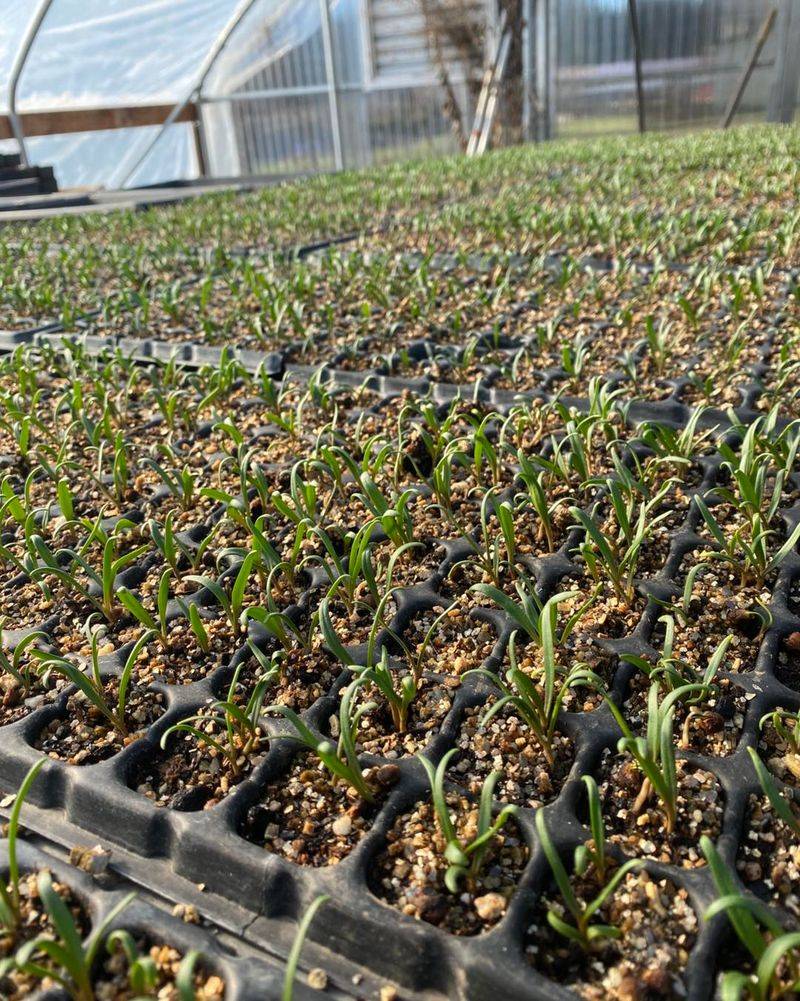
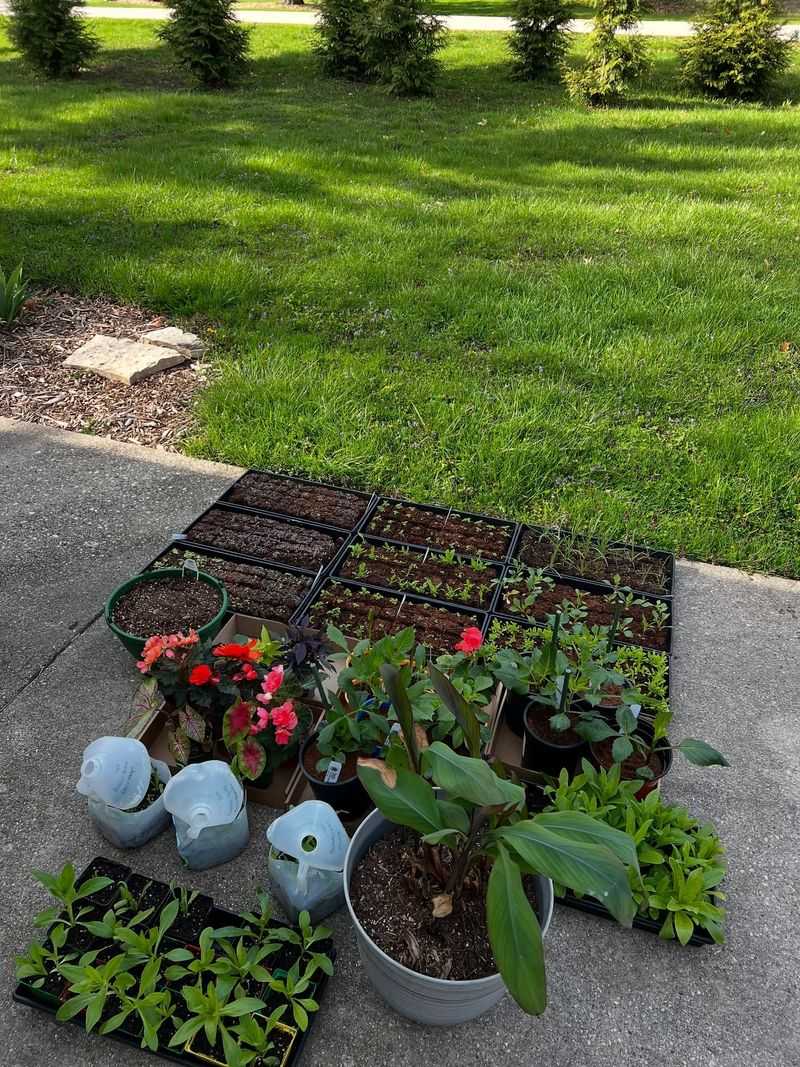
6. Thin Seedlings Wisely
When self-seeded plants emerge in spring, don’t let them all grow or they’ll compete for resources. Wait until seedlings develop their first true leaves (not just the initial seed leaves) before deciding which to keep and which to remove.
Thin plants to proper spacing by snipping extras at soil level rather than pulling, which disturbs roots of neighboring seedlings. Save the thinned seedlings for transplanting elsewhere! Many can be gently moved to fill gaps in your garden, creating free plants from nature’s bounty.
7. Collect and Scatter Seeds
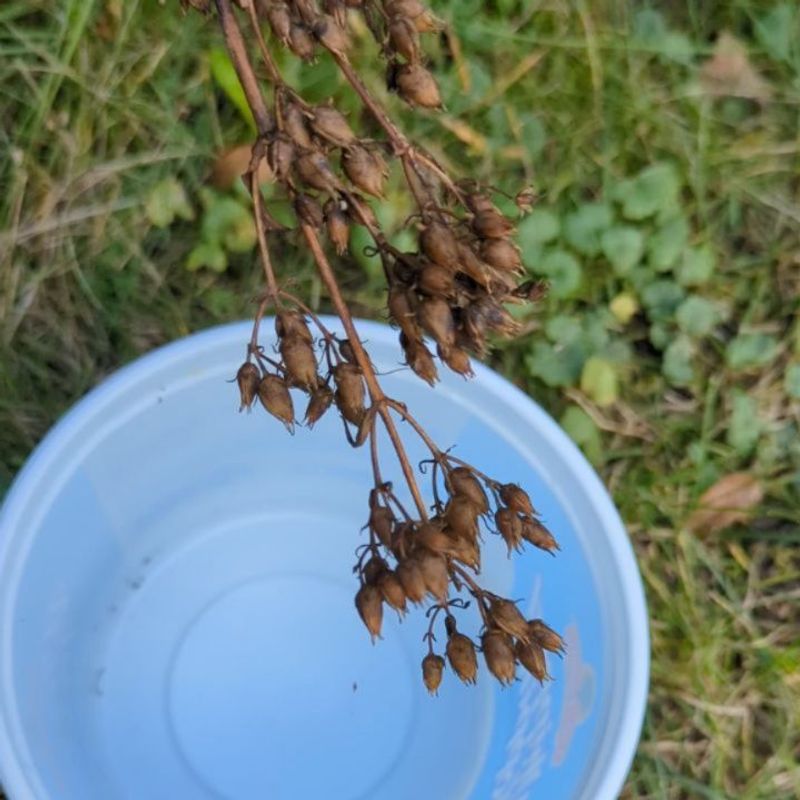
Help your plants spread to new areas by collecting mature seeds and scattering them where you’d like more growth. Simply shake seed heads into paper bags on dry, sunny days when they’re fully ripe and starting to open naturally.
Store labeled seeds in cool, dry places until fall or early spring. Some seeds benefit from cold stratification – the natural freeze-thaw cycle of winter. Mimic this by mixing seeds with slightly damp sand in a sealed container and refrigerating for a few weeks before sowing.
8. Create Seed-Catching Beds
Design specific areas in your garden to catch falling seeds. Place these seed-catching zones downhill or downwind from your mature plants where nature will naturally deposit seeds.
Keep these areas minimally mulched with just a light layer of fine compost or leaf mold. Heavy mulch prevents seeds from reaching soil. The ideal seed-catching bed has loose, well-draining soil with a slightly rough texture that gives seeds plenty of nooks to settle into and germinate successfully.
9. Manage Unwanted Spread
Some enthusiastic self-seeders need boundaries to prevent garden takeovers. Install physical barriers like decorative edging that extends 2-3 inches below soil level to block underground runners from vigorous spreaders.
Deadhead aggressive plants after their first flush of flowers to enjoy their blooms while limiting seed production. Another effective trick involves surrounding enthusiastic self-seeders with dense plantings of well-behaved perennials. These act as living barriers, filling soil space and reducing germination opportunities for overeager neighbors.
10. Provide Winter Protection

Many self-sown seeds benefit from light winter protection that mimics their natural habitat. A thin layer of leaf mulch (about 1 inch) provides just enough insulation without smothering delicate seeds.
For extra protection in harsh climates, try covering seed-rich areas with breathable row cover fabric or branches from Christmas trees. These create microhabitats that trap snow – nature’s perfect insulator – while still allowing air circulation. Come spring, gradually remove these covers as temperatures warm to avoid cooking emerging seedlings.
11. Embrace Micro-Climates
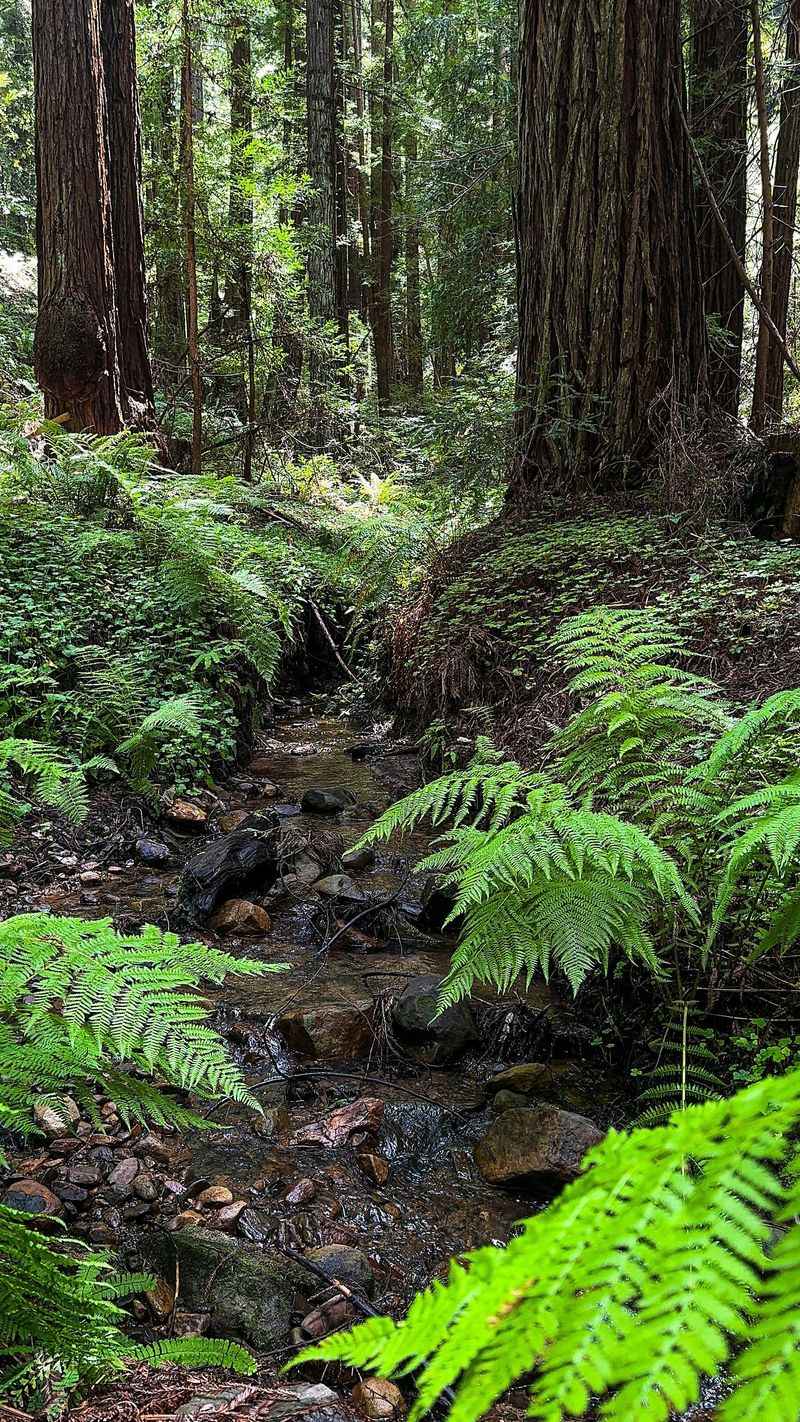
Self-seeding plants often thrive in garden micro-climates that match their natural habitats. Notice where seeds germinate most successfully and enhance those conditions. South-facing walls create warm, dry spots perfect for Mediterranean self-seeders like verbascum.
Damp, shady corners might become havens for forget-me-nots and aquilegia. Some seeds germinate better in gravelly areas while others prefer rich soil. By mapping these micro-zones in your garden, you can work with nature rather than against it, creating perfect nursery spots for different types of self-seeders.
12. Time Your Garden Cleanup
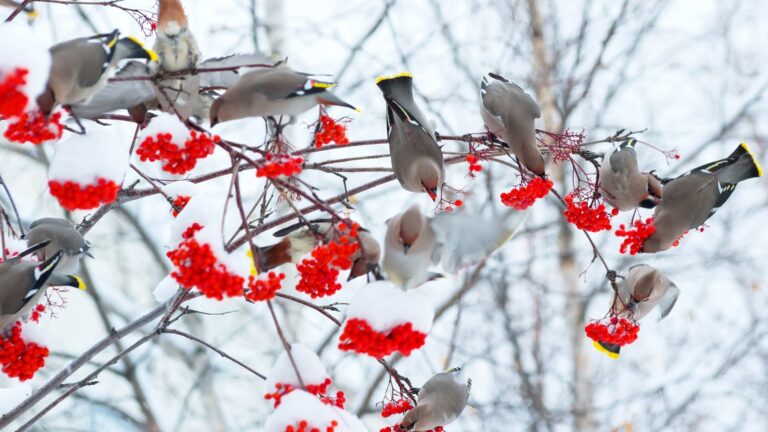
Fall garden cleanup timing dramatically affects self-seeding success. Delay major cutbacks until early spring rather than autumn to give seeds a chance to disperse naturally. If you must tidy in fall, focus on removing only diseased material.
When spring arrives, complete your cleanup before new seedlings emerge – typically before soil temperatures reach 50°F. This approach gives you the best of both worlds: seeds get their natural dispersal time while your garden still receives necessary maintenance. Remember, those seedheads also provide vital winter food for birds!
13. Partner with Pollinators
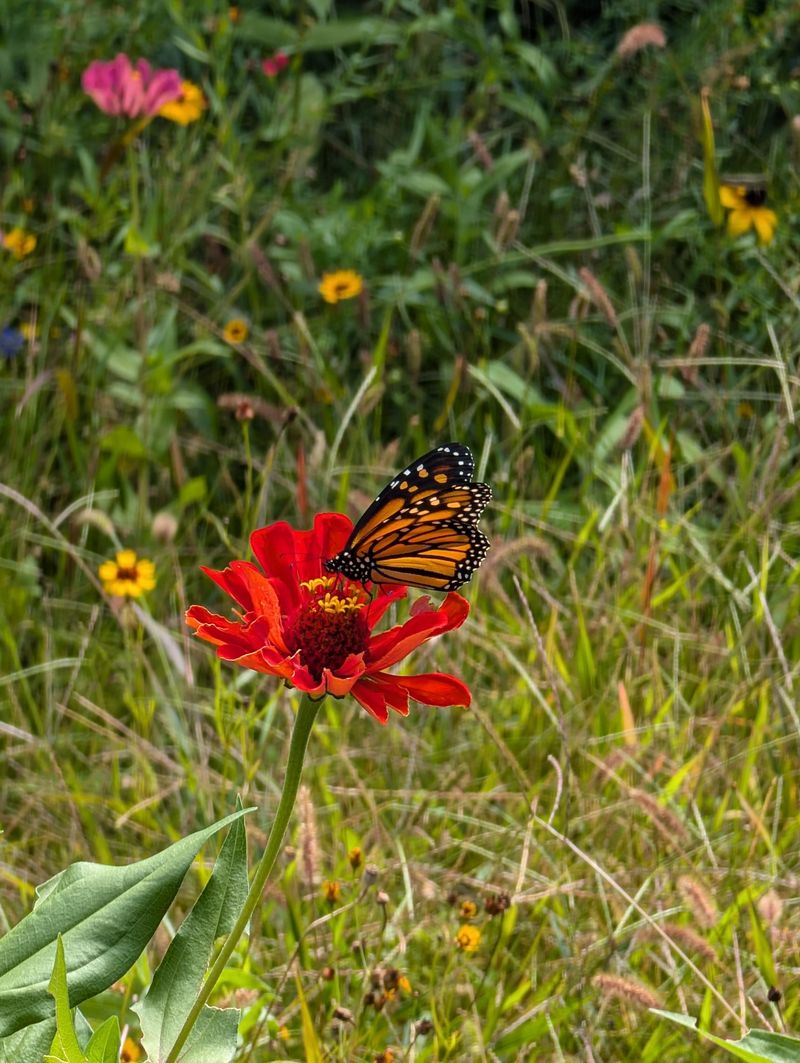
Strong pollinator activity dramatically increases seed production in self-seeding plants. Plant pollinator magnets like coneflowers, bee balm, and salvias near plants you want to self-seed more prolifically.
The increased bee and butterfly traffic ensures better pollination and more viable seeds. Consider adding shallow water sources and insect houses nearby to create complete pollinator habitats. Many native bees are specialist pollinators for specific native plants, forming partnerships that have evolved over thousands of years.
14. Understand Seed Dormancy
Different plants have unique seed dormancy requirements that affect when they’ll sprout. Some seeds germinate immediately while others need specific temperature fluctuations or even smoke chemicals from fires to break dormancy.
Native plant seeds often have built-in timing mechanisms that prevent germination until conditions are just right. Keep records of when different self-seeders appear in your garden to understand their patterns. Some might skip a year if conditions aren’t ideal, then return abundantly the following season, creating nature’s own rotating display.
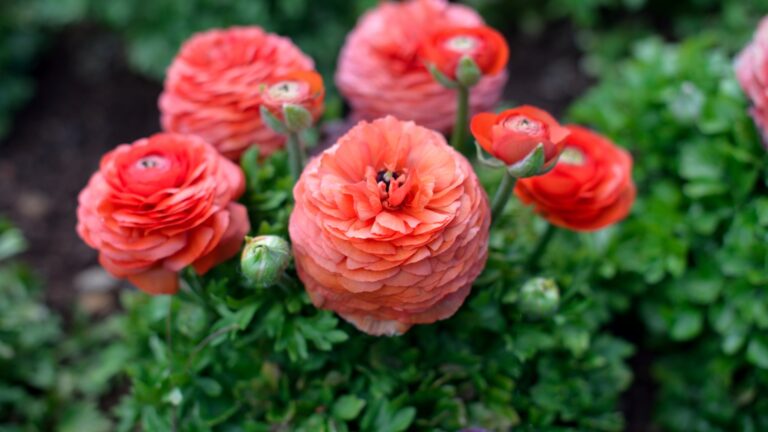
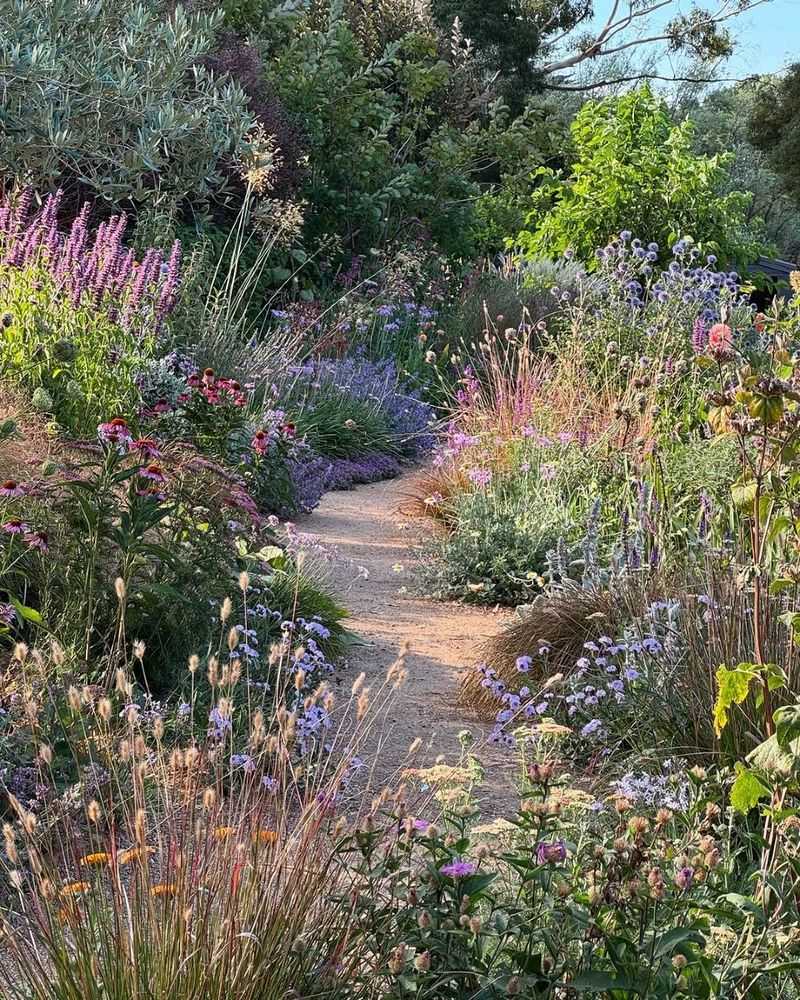
15. Create Succession Planting
Design your garden for waves of self-seeding throughout the seasons. Early bloomers like forget-me-nots finish and drop seeds just as summer plants hit their stride, while late-season black-eyed Susans scatter seeds as fall arrives.
This natural succession creates constant renewal without gaps. Map out bloom times of your favorite self-seeders and ensure you have early, mid, and late-season seed producers. The strategy not only provides continuous color but also ensures your garden soil is always capturing new seeds as others are growing.
16. Capture Seeds from Hanging Baskets
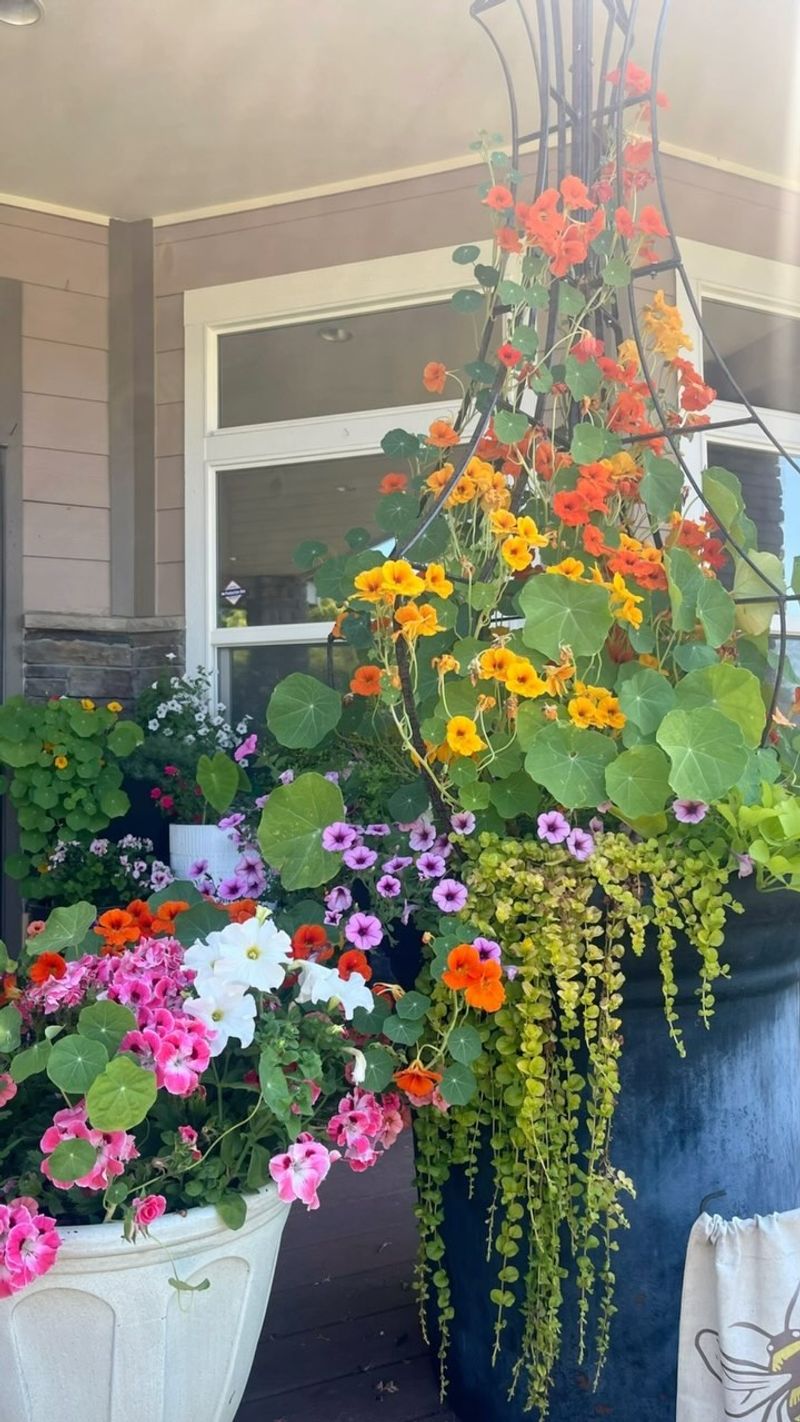
Hanging baskets and elevated containers can be perfect seed sources for ground-level gardens. Position these above prepared soil areas where you’d like plants to grow next season.
As seeds naturally drop, they’ll sow themselves exactly where needed. Try placing a window box of trailing nasturtiums above a bare patch that needs coverage, or hang baskets of lobelia over garden edges. The technique works especially well with plants that produce small seeds easily carried by the slightest breeze.
17. Adjust Soil pH Strategically
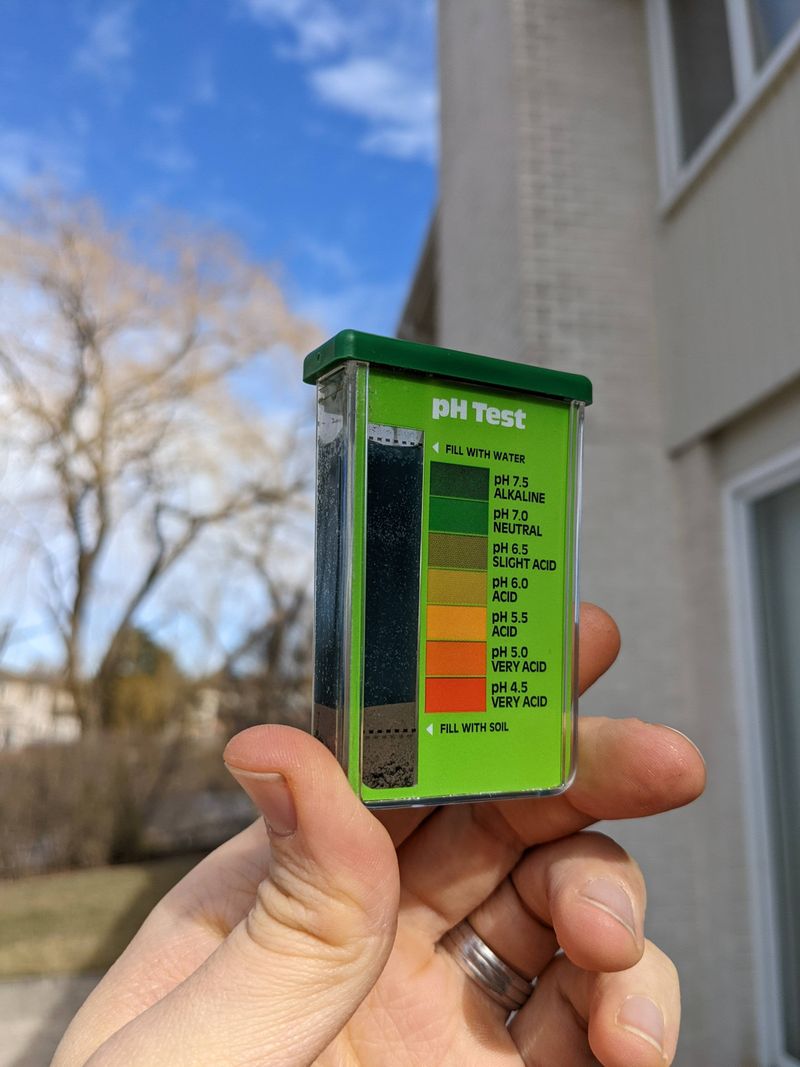
Many self-seeding plants have strong soil pH preferences that affect germination success. Slightly acidic soil (pH 6.0-6.5) favors most common self-seeders like poppies and cosmos, while slightly alkaline conditions benefit others like larkspur.
Test your soil and make targeted adjustments in different garden sections. Adding pine needle mulch creates acidic patches perfect for acid-lovers, while crushed eggshells or a light dusting of wood ash creates alkaline spots. These pH microhabitats ensure diverse self-seeders can find their perfect germination conditions.