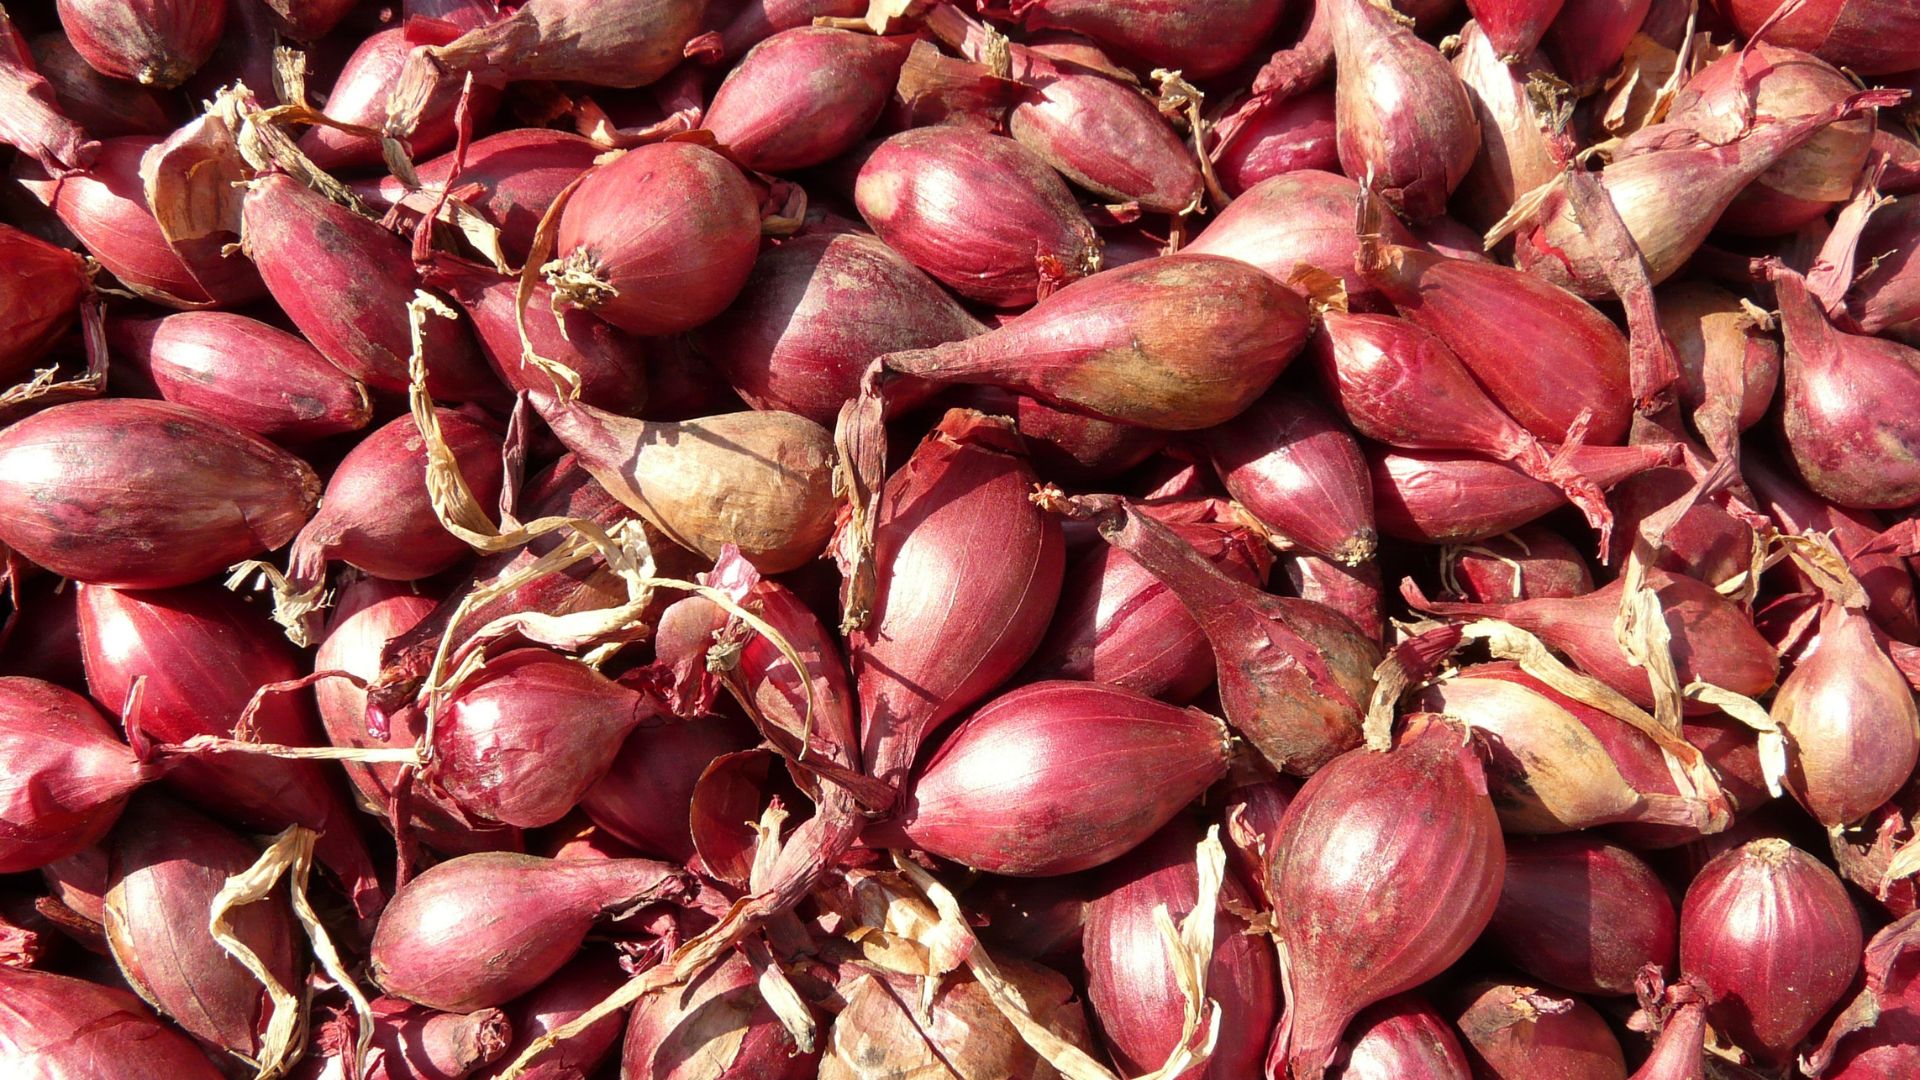
Grow Your Shallots From Seeds And Sets This Way And Have The Best Harvest Ever
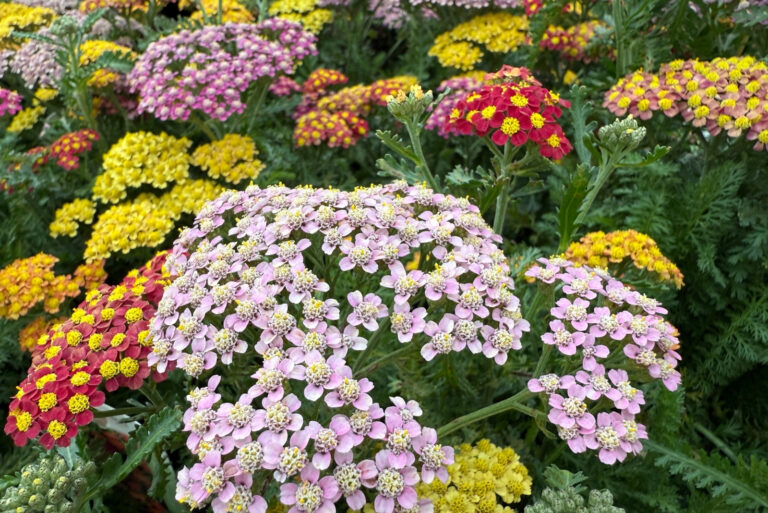
Think of shallots as onions with a milder taste. These vegetables can do a lot for your dishes. And the best part about them is that they are easy to grow!
You can plant shallot sets or seeds. Both methods are simple, although the latter takes a bit longer.
Shallots are great for storing after you harvest them in the summer months. Their delicate flavor yields them a multitude of uses. Here’s how to grow these veggies the right way.
Let’s get started!
Growing Shallots From Sets

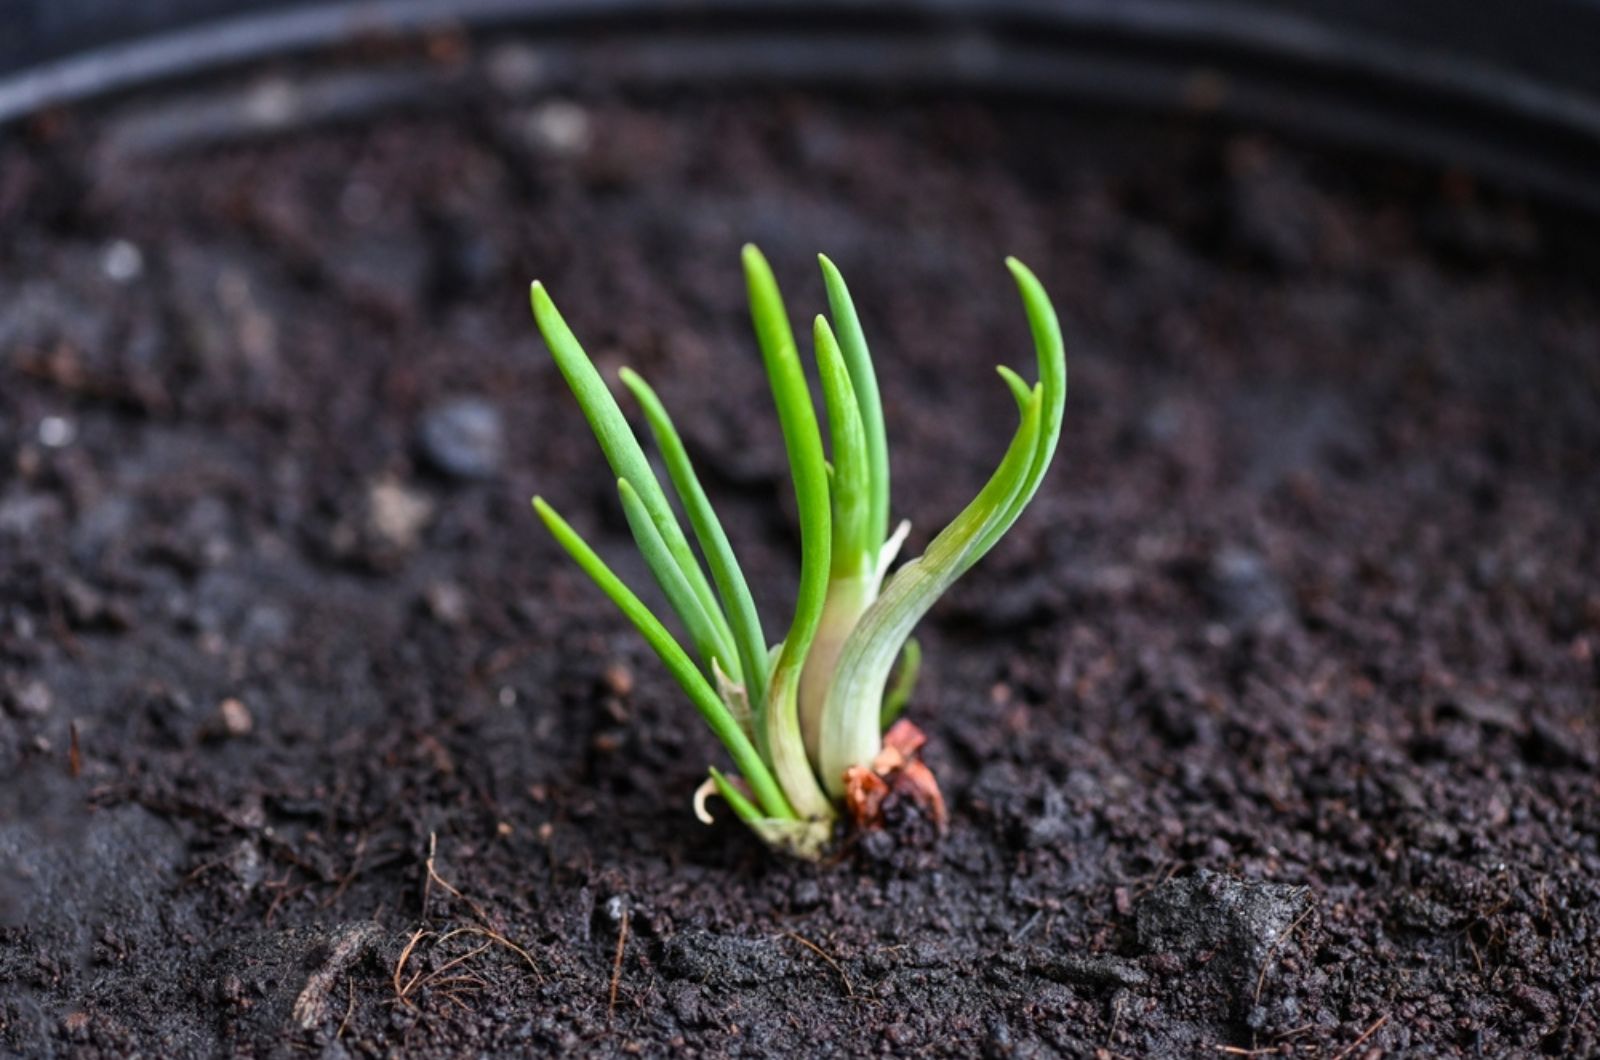
You can find shallots on the list of delicious veggies grown underground. Growing them from sets is much more beginner friendly, so I’ll start with this method first.
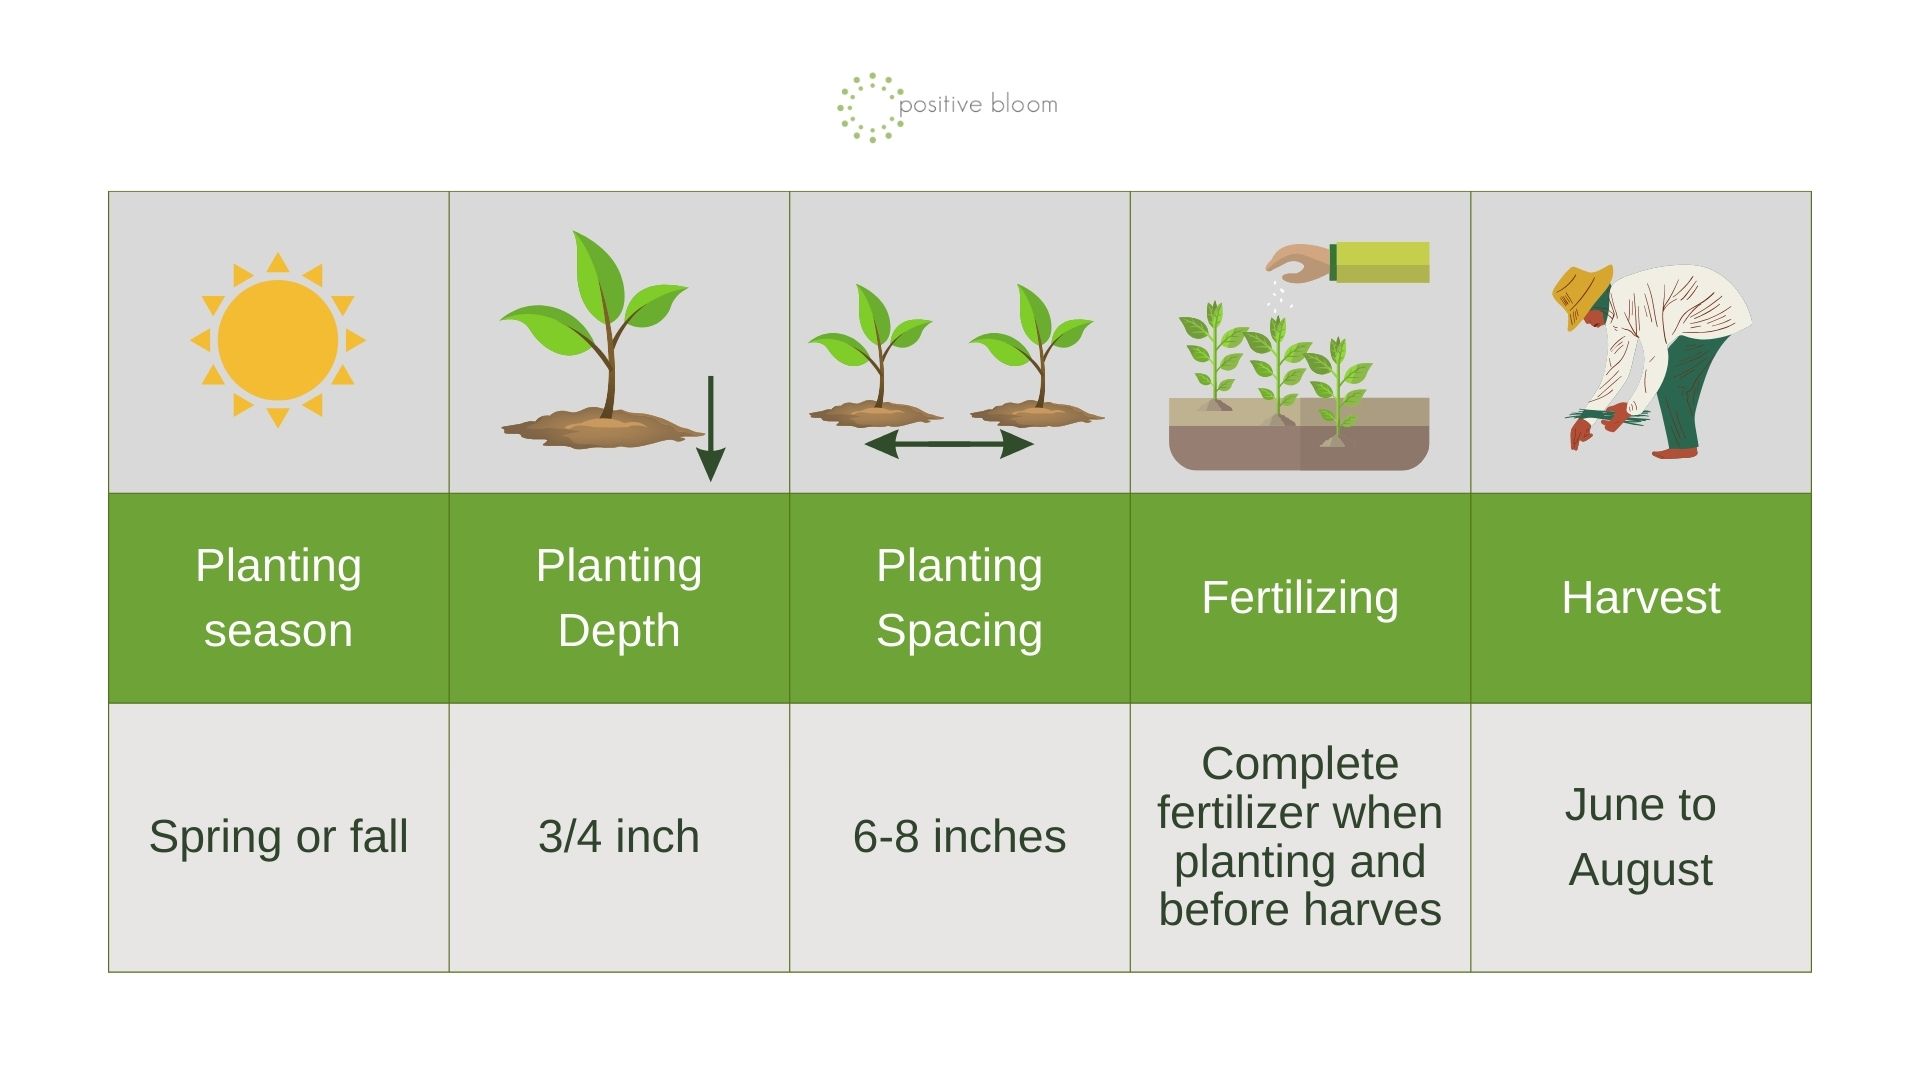
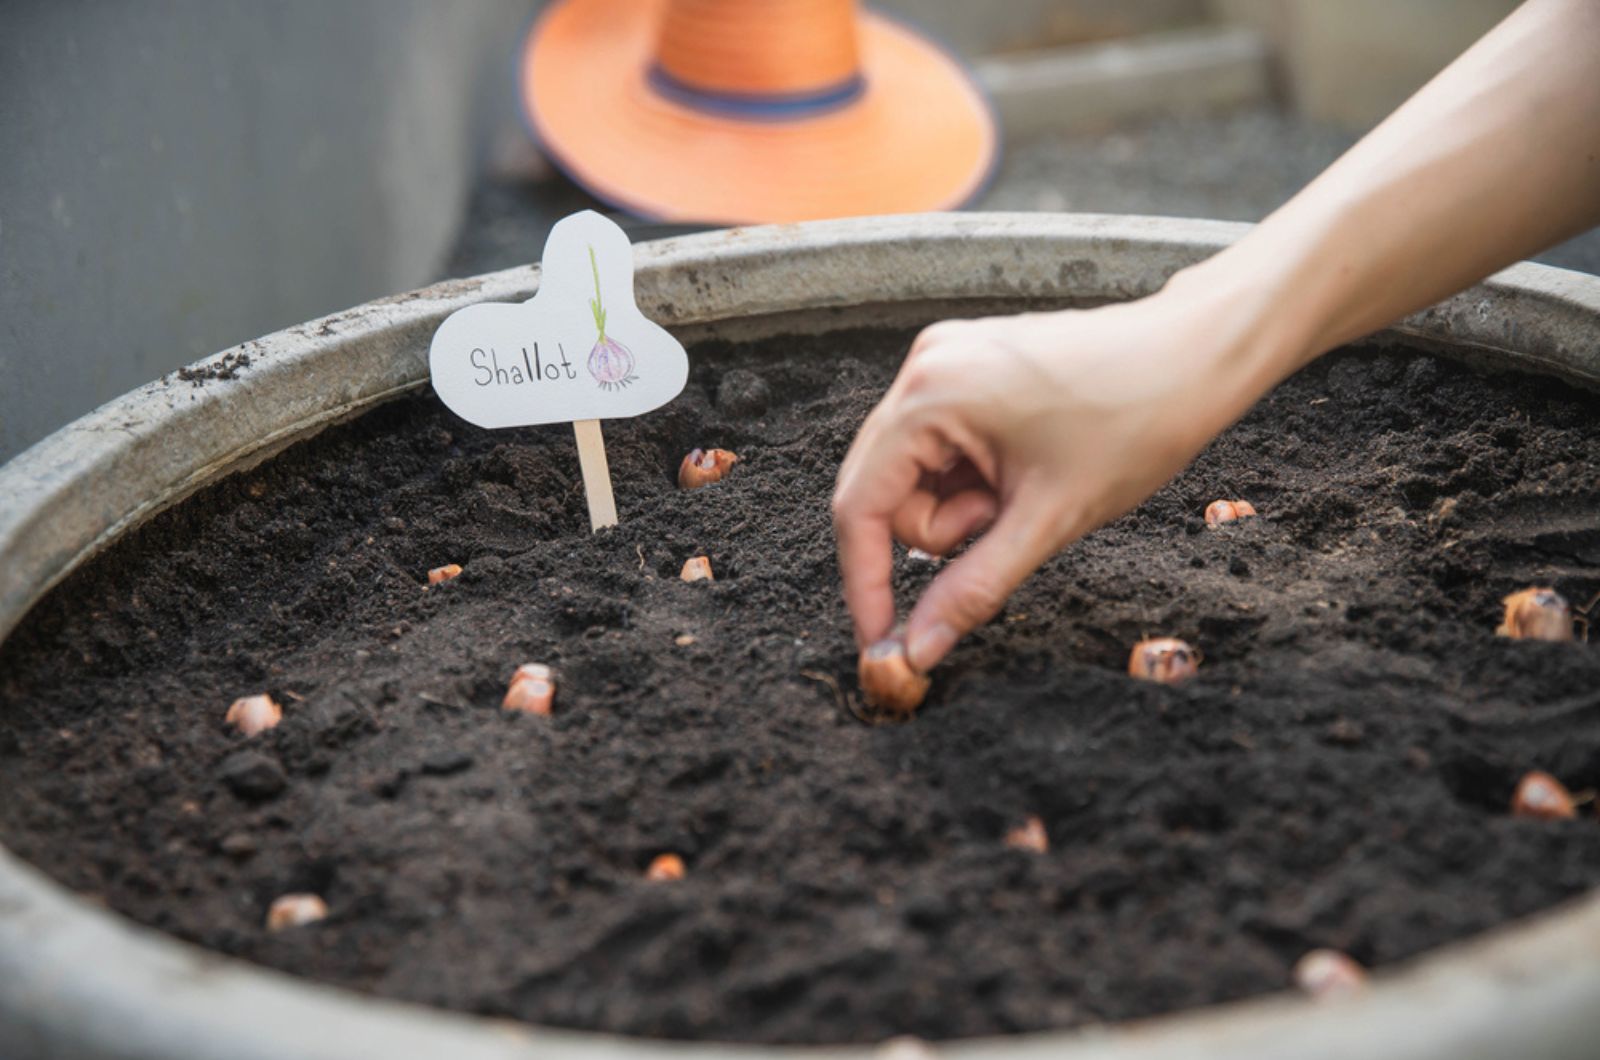
You can find shallot sets at your local garden center. Plant them in fall or spring, and you’ll get an abundant harvest.
Make sure their growing medium is moist, but never wet. Amend it with compost to make it more draining. This material will also make your substrate less compact and allow it to hold water. That prevents shallots from drying out.
Speaking of soil amendments, don’t forget to fertilize your shallots before planting. Use a complete fertilizer in addition to compost. This will yield you plenty of bulbs. Feed these veggies again 30 and 60 days after planting. (1)
Plant your shallots in a sunny location. There is no need to rotate these alliums if you replenish the nutrients and there are no diseases in the soil. But if you’re not sure, make your alliums a part of your crop rotation.
Plant the sets in late fall or early winter before the soil freezes. That can be anywhere between September and December, depending on your climate. This planting period will yield you an earlier harvest, from June onwards.
Another option is planting these alliums in late winter or early spring, as soon as the ground thaws. That’s usually between February and March for most climates. If you plant shallots at this time, you can expect the harvest between July and August.
Of course, all this depends on the shallot variety you have. That’s why you should always check the back of the package for the right planting season and instructions.

Place the shallots into the soil so that the pointy end is facing upwards. Plant them 3/4 inch deep, with the tip just above the ground.
Space each shallot set 6-8 inches apart, with row spacing of 12-18 inches.
Protect the newly planted sets with a landscaping fabric or fleece. It will prevent wildlife from munching on your shallots. Once your sets start to take root, you can remove the protective cover.
Growing Shallots From Seeds
Seed-grown shallots do need more TLC, but it’s not mission impossible. You can sow them in the ground or start them indoors. That is one of the best ways to use your greenhouse in winter.
Start your shallots indoors in February or March, depending on your climate.
Use a seed-starting mix to fill a seedling tray. Plant 5-6 seeds per cell and thin them after they germinate to 3-4 plants. Sprinkle the seeds with some growing medium, water the tray, and move it to a warm spot. 50-60°F is ideal.
Place the tray on a warm windowsill or a heating mat. Cover the nursery tray with a humidity dome or cling foil. It will prevent the potting mix from drying out.
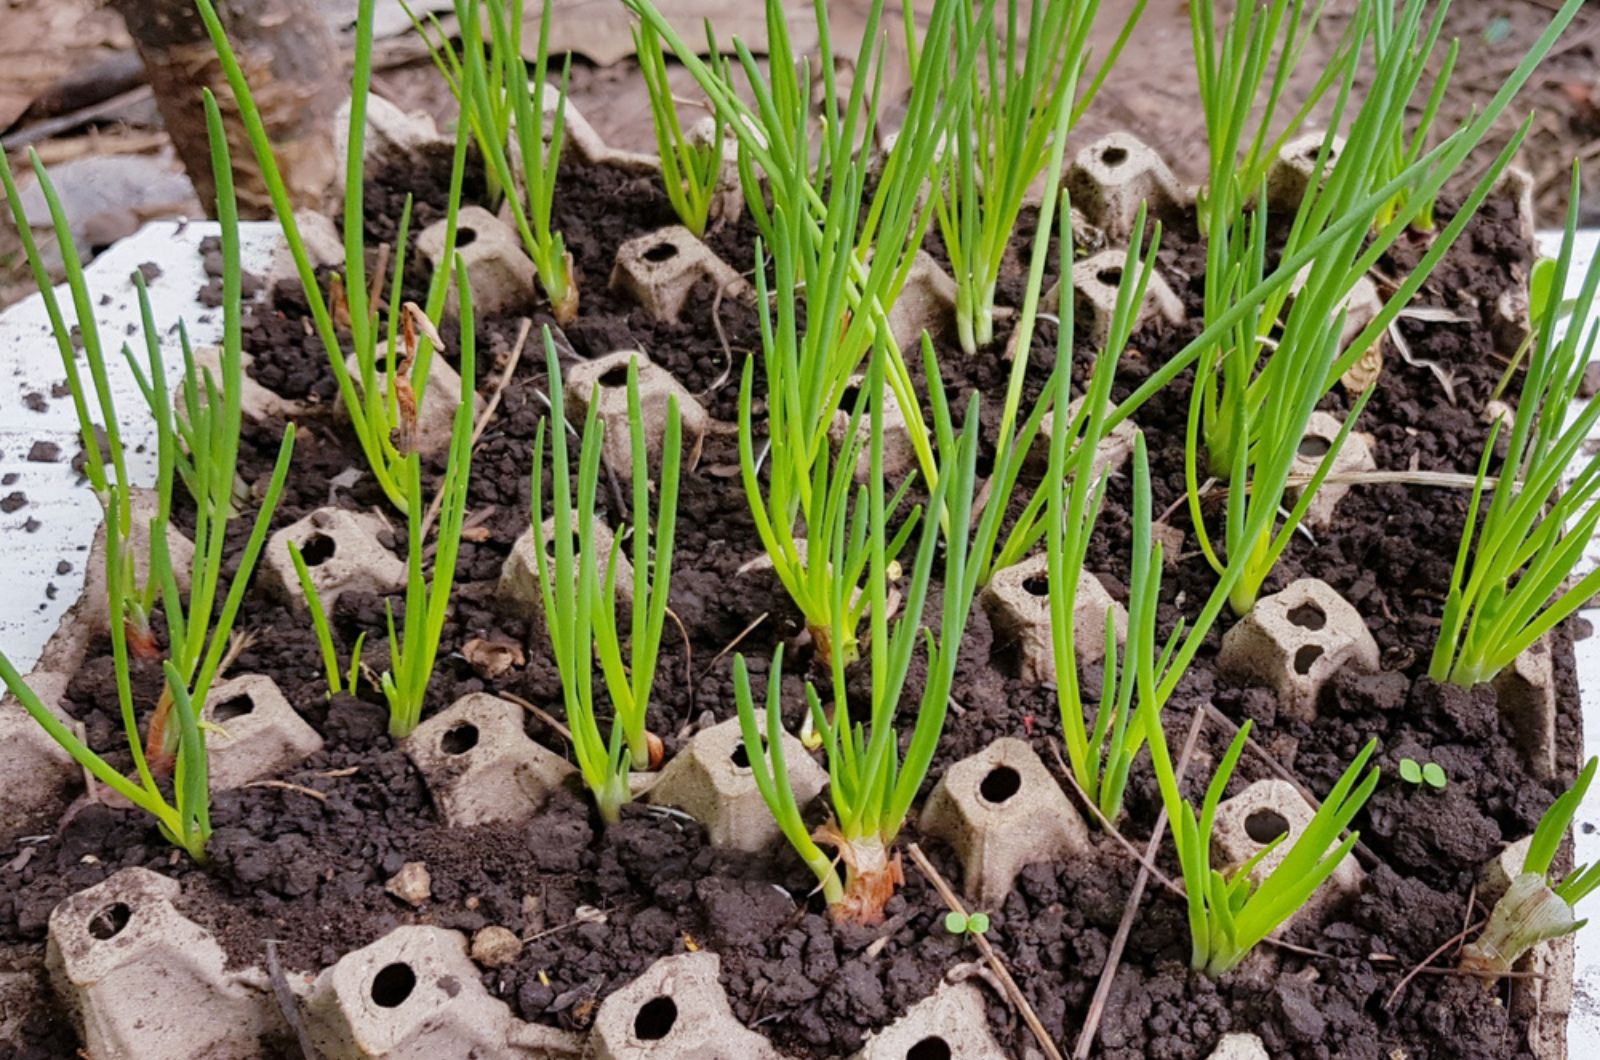
The shallot seeds should sprout within 10-14 days. That’s when you should remove the dome or wrap and place your tray in a spot with bright indirect sunlight.
Keep your seedlings moist and move them outdoors once the soil warms up. Harden them off before transplanting them to their permanent location.
The seedlings will be in clumps that you should NOT separate. Plant the shallot seedlings together with 6-8 inches between plants and 12-18 inches between rows.
P.S. If you want to plant your shallot seeds outdoors, you should wait until April or May. That’s when the soil is warm enough for the seeds to germinate.
Shallot Care Guide
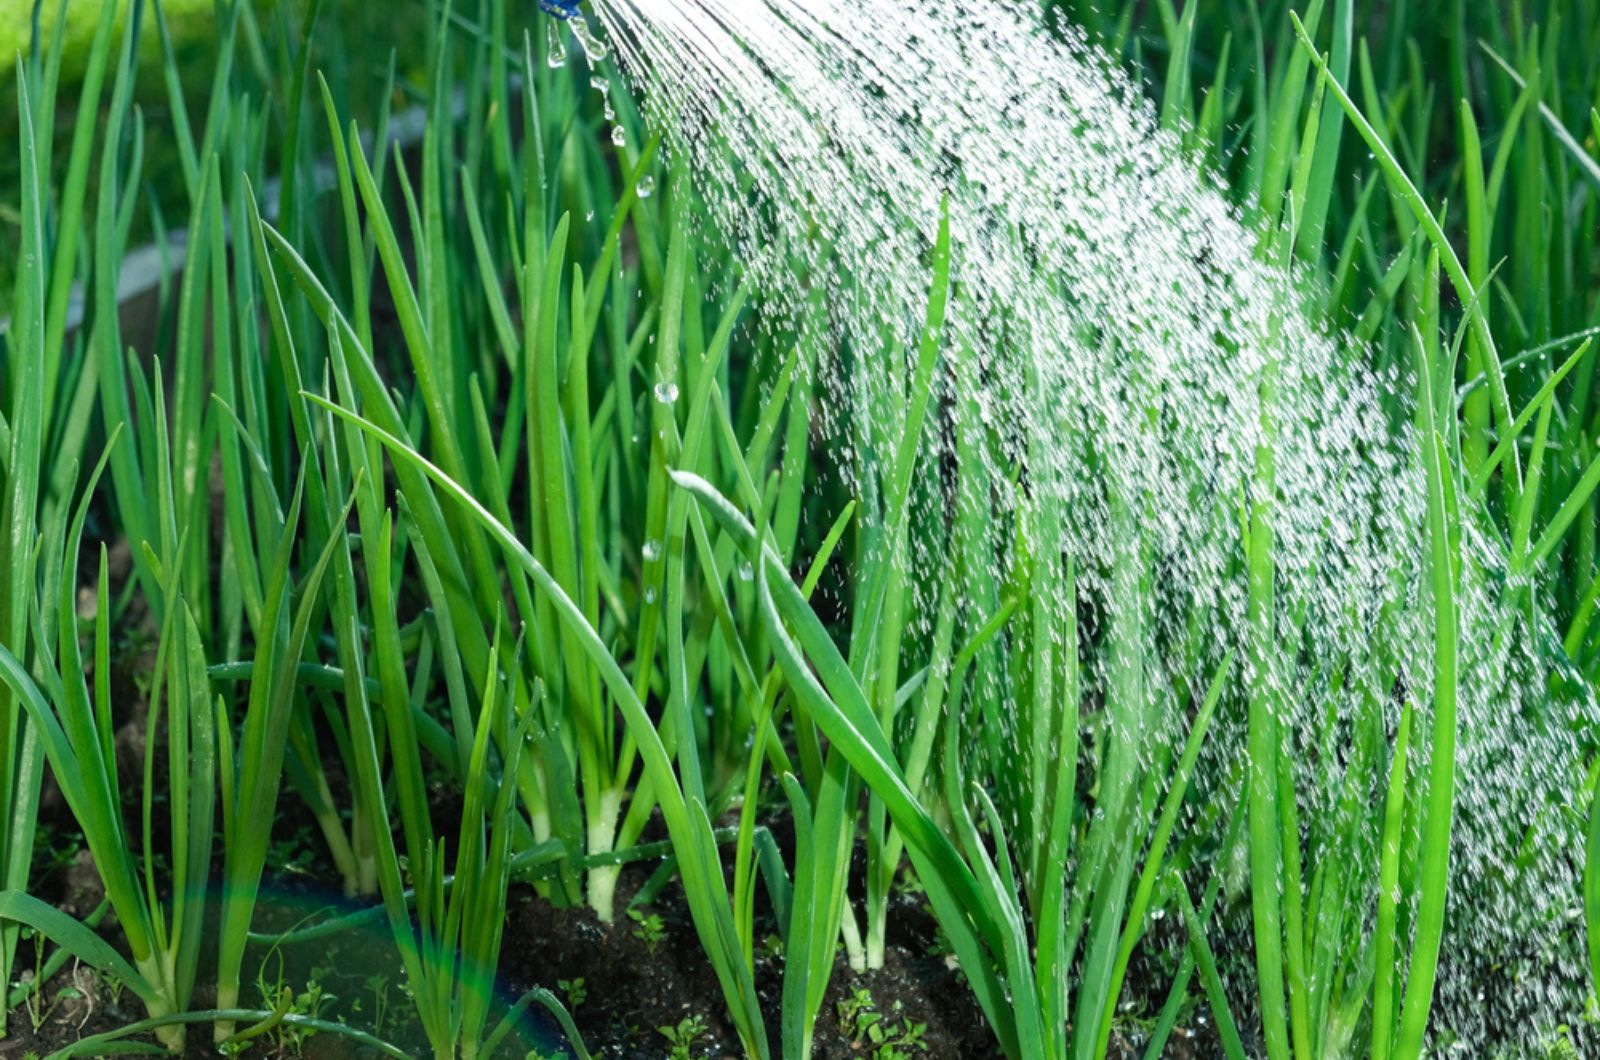
As I already mentioned, shallots like moist, but not soggy soil. Wet substrates will cause the bulbs to rot and reduce your harvest.
Give your shallots an inch of moisture per week and they should be fine. This inch includes precipitation, by the way.
When watering shallots, try to aim at the base of the plant. Wetting the leaves will increase the risk of fungal infections, such as mildew.
Don’t forget to remove the weeds. Shallots don’t like competition and the weeds will steal their moisture, space, and nutrients.
If you’ve planted your shallots in fall, consider adding nitrogen-rich fertilizer. It will boost their growth and prevent bolting. But don’t feed your shallots too late – early spring is just fine. Late feeding will stimulate leaf growth at the expense of bulbs.
You don’t have to fertilize your spring-planted shallots. Add some complete fertilizer and compost at the time of planting, and that’s it.
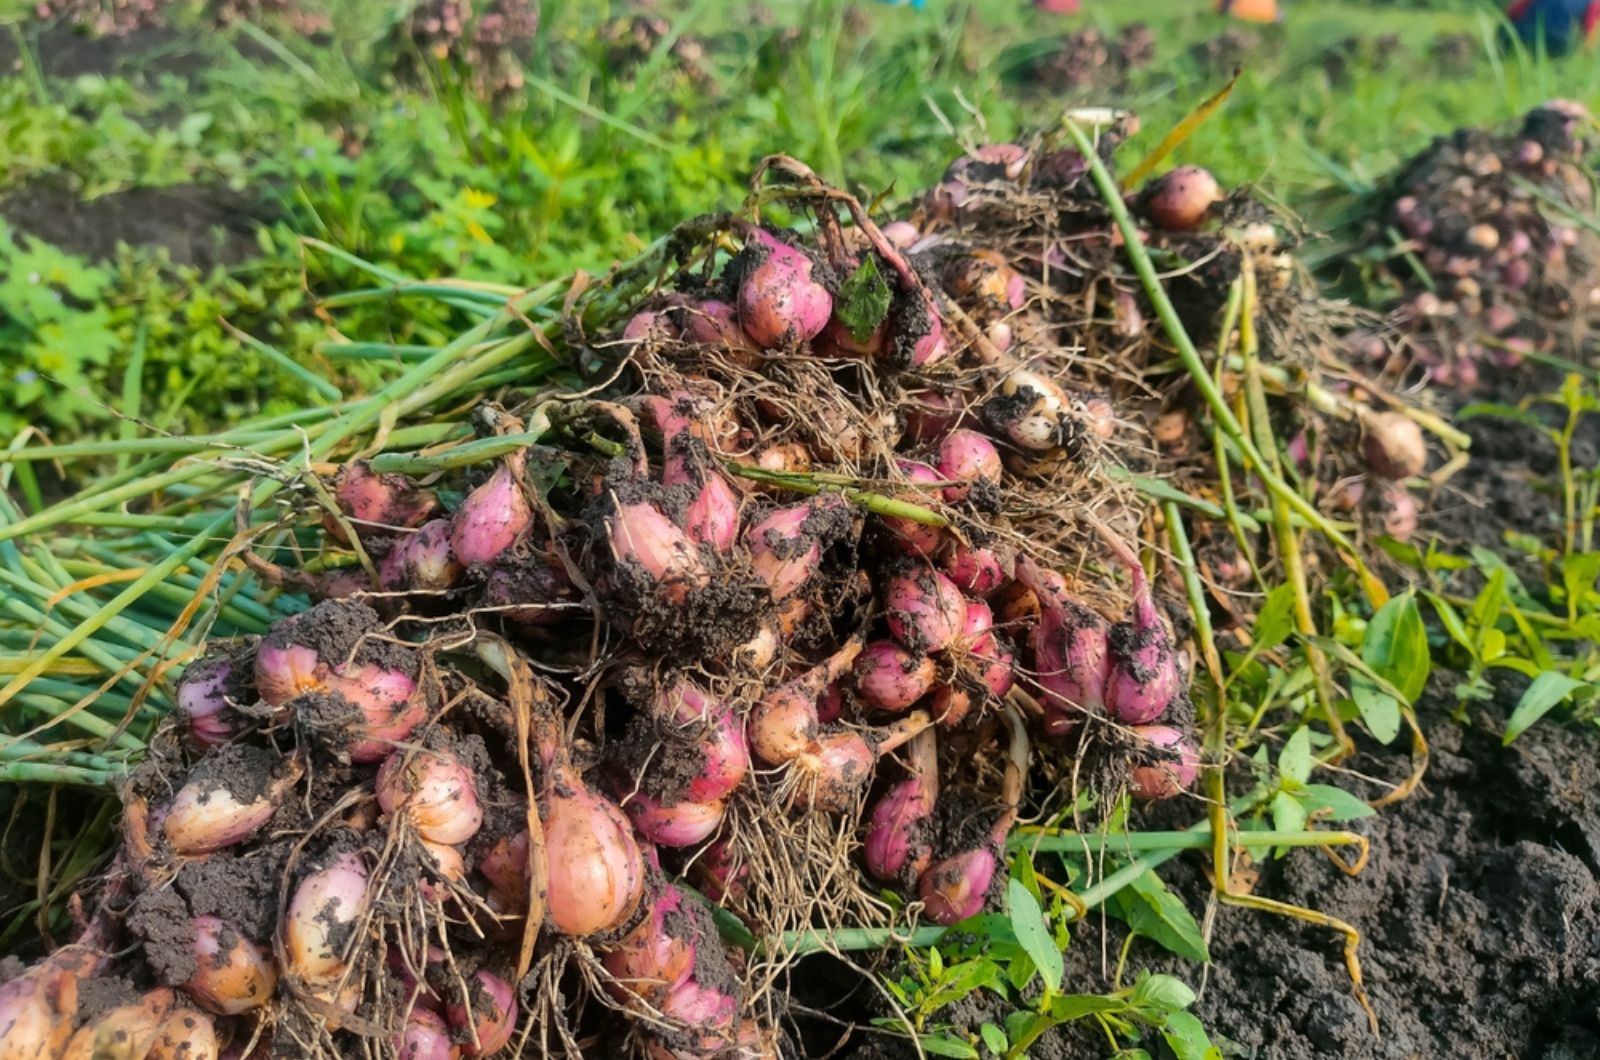
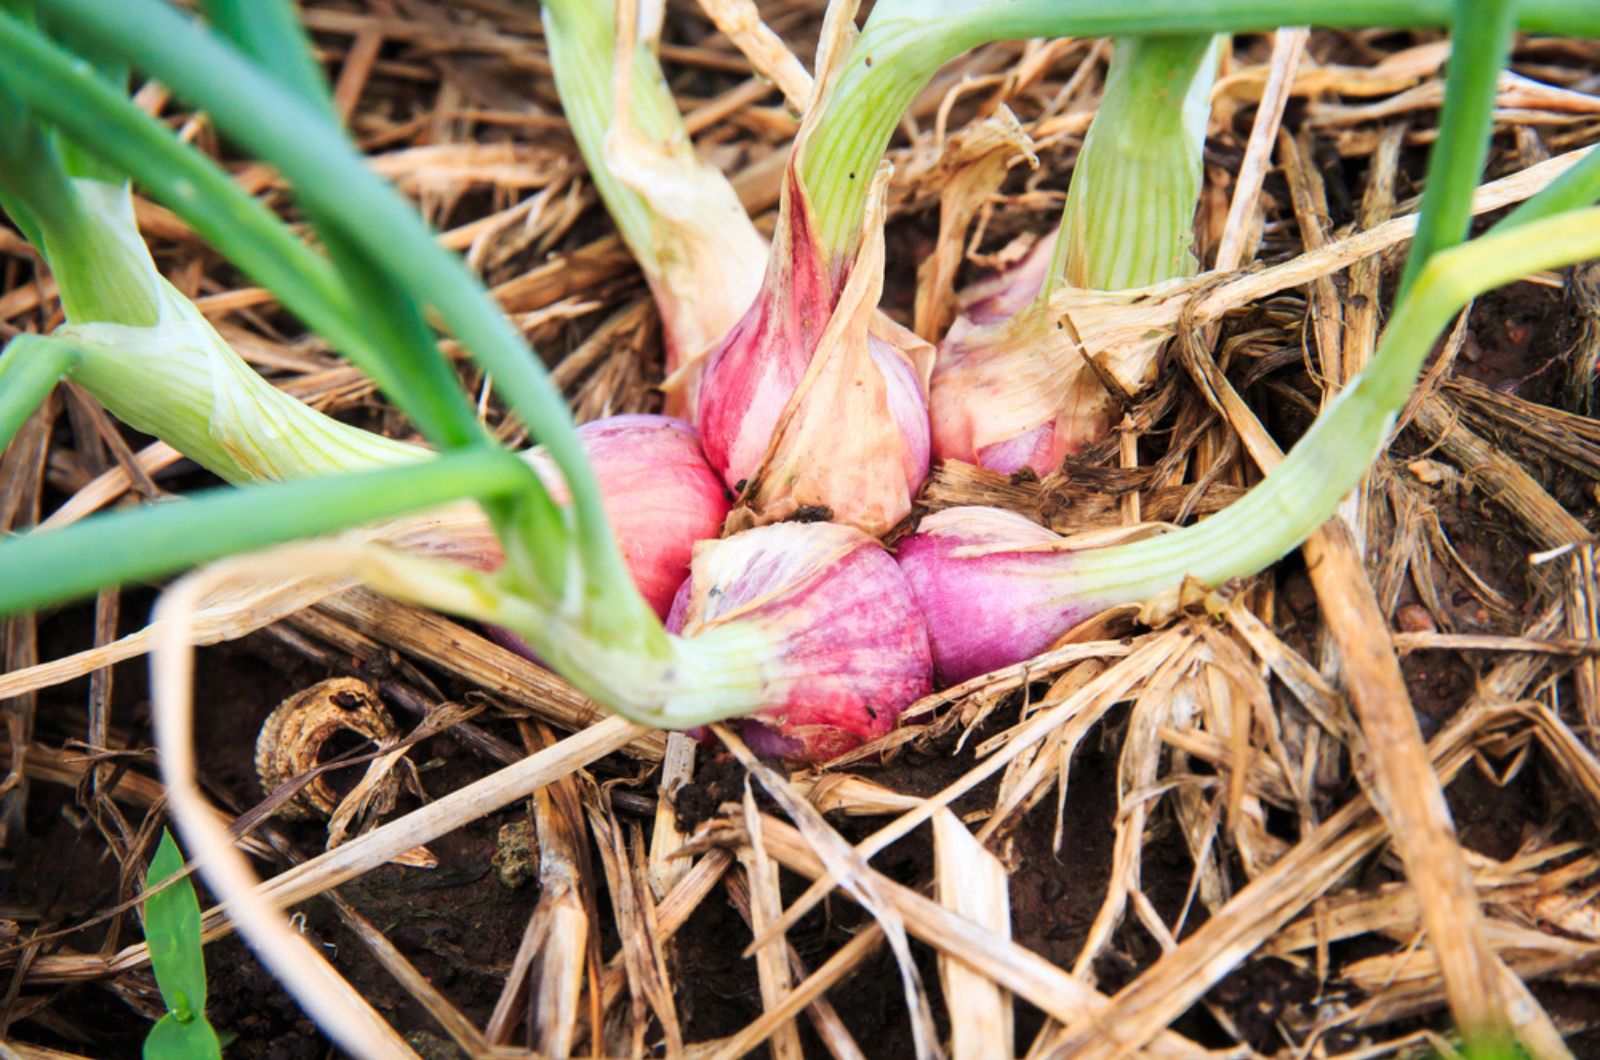
The earliest you can harvest your shallots is June. Yet, this depends on the planting time. The best way to tell whether your shallots are ready for harvest is by checking their foliage.
If the leaves are drooping and turning yellow, you can collect your shallots. Use a garden fork to dig up the bulbs and separate them with care.
After harvesting your shallots, place them in a sunny location to dry. You can also put them in a shed, greenhouse, or garage so the frost can’t damage them.
Once their skin obtains a papery texture, move them to a cool and dry spot. Your shallots will last up to 9 months when stored this way.
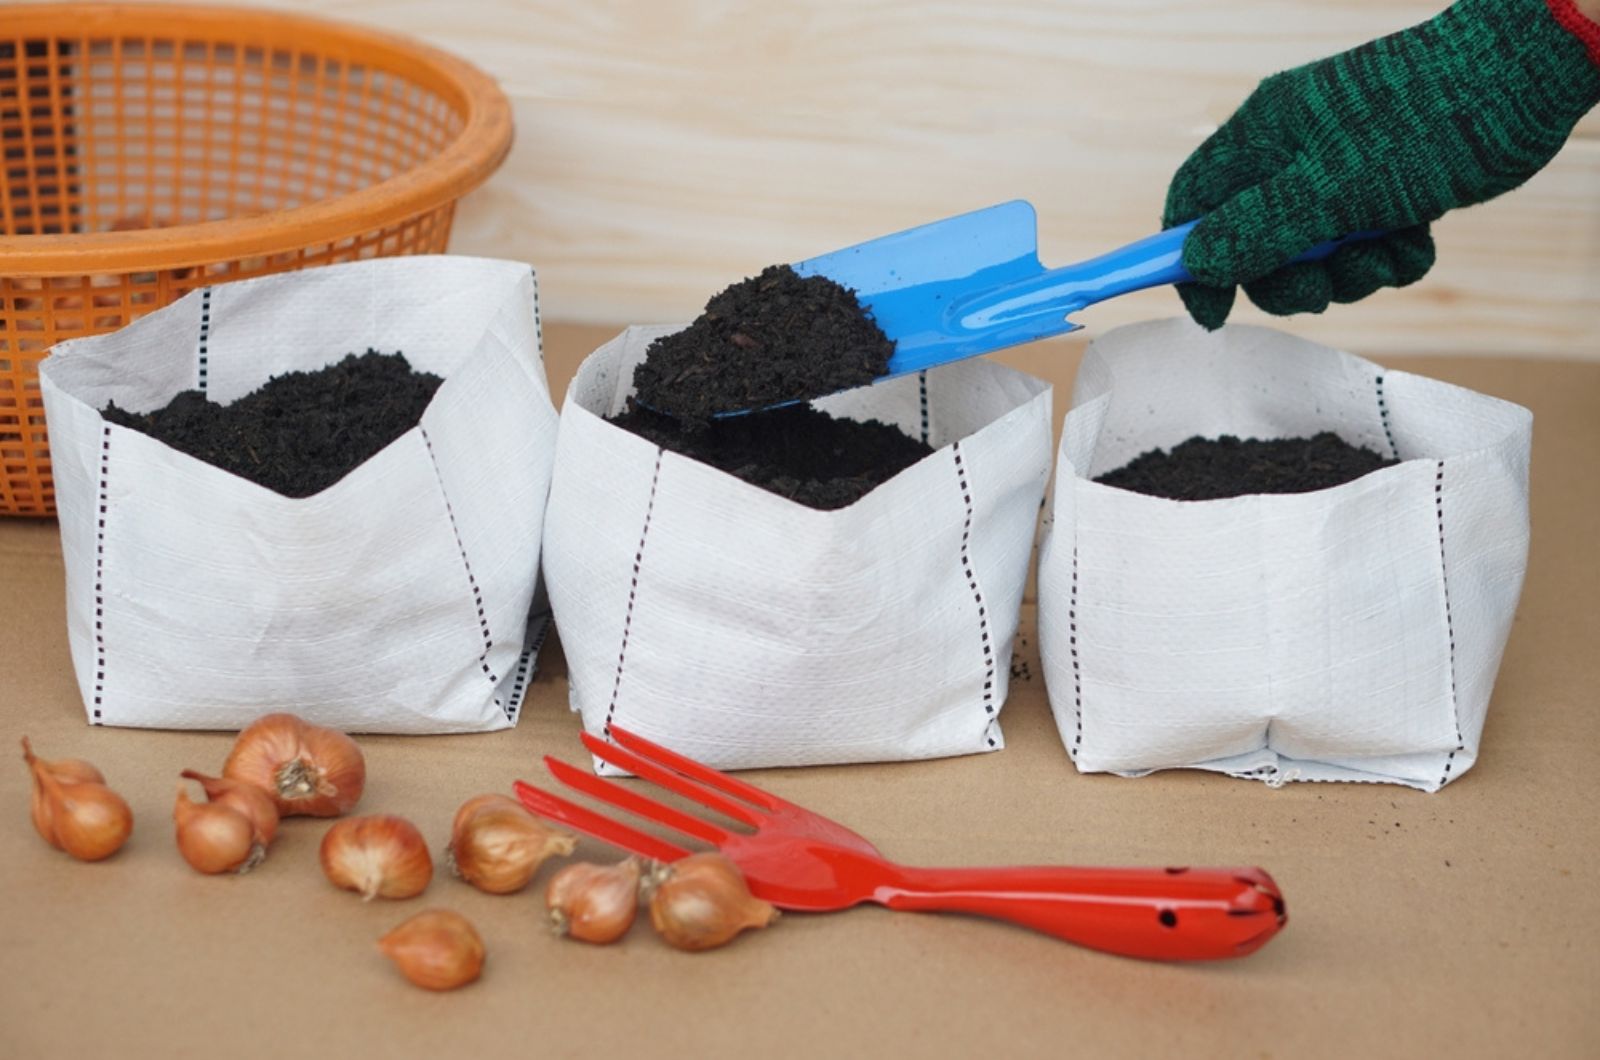
Growing Shallots In Pots
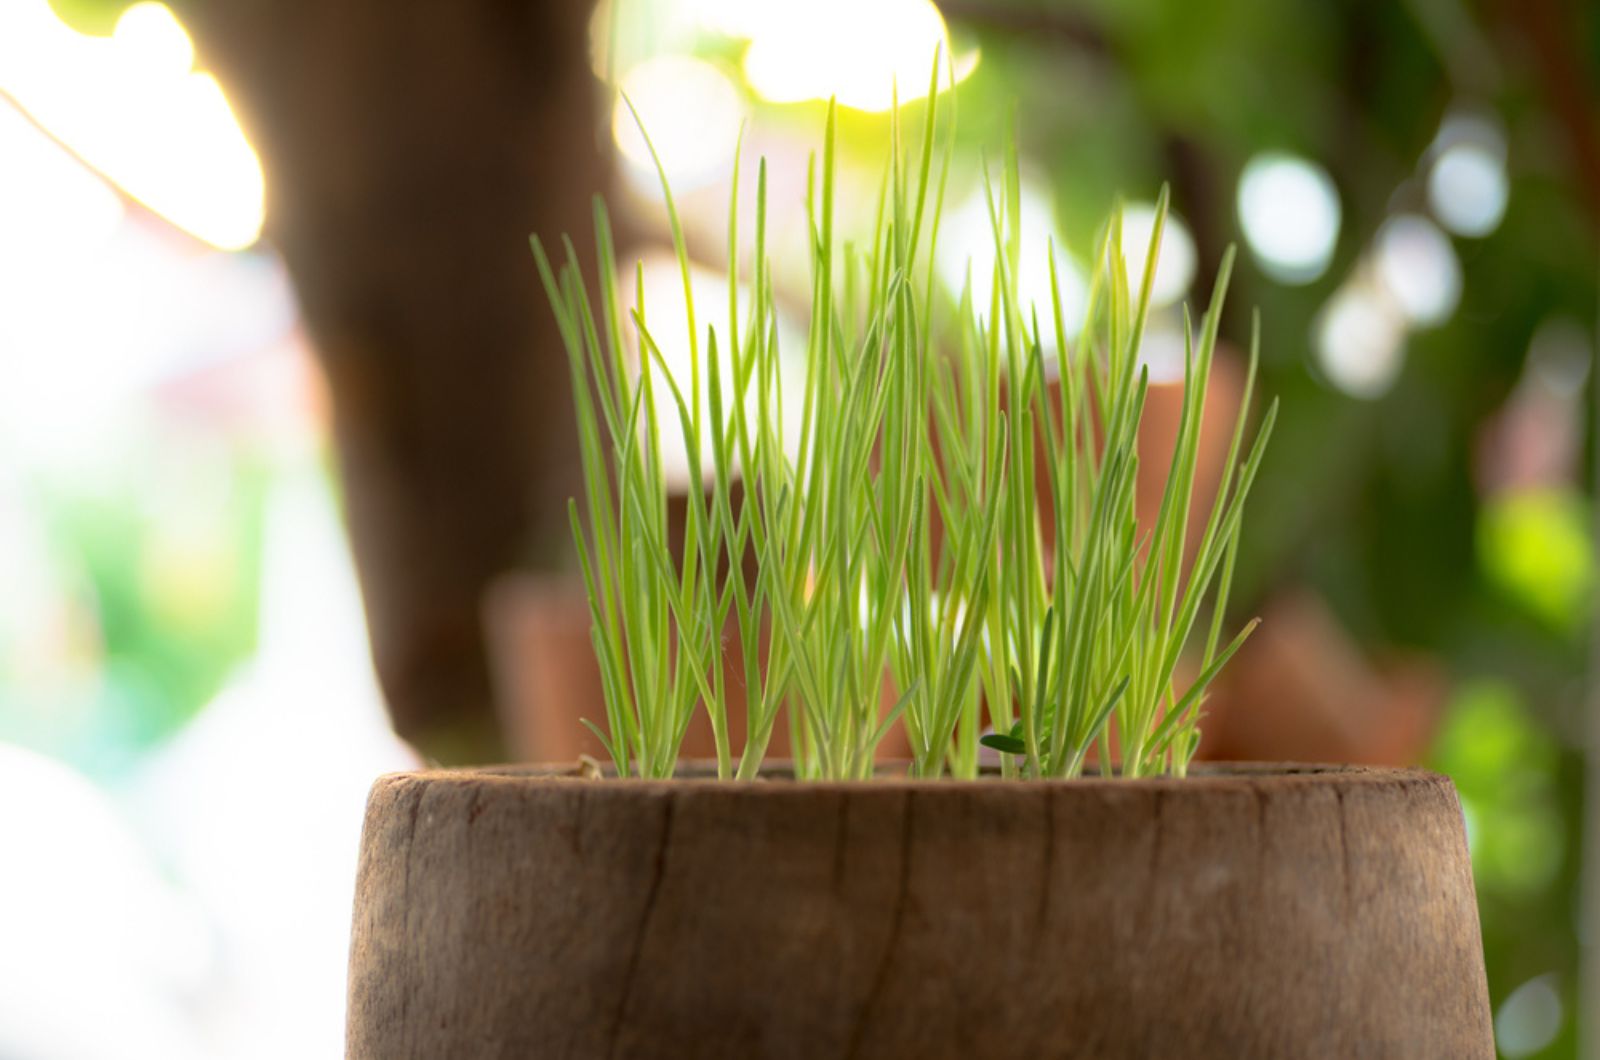
Don’t worry if you don’t have a traditional garden. You can grow these alliums in containers without any trouble. But I have to warn you that you may get smaller shallots.
The first thing you have to do is find a proper container. A large one with drainage holes is ideal.
Cramming them in a small space will yield you more bulbs, but they will be smaller in size. That’s why you should plant your shallots 6 inches apart.
Keep the planter in a warm and sunny place. Water your shallots whenever the top part of the substrate is dry. A moisture meter can help you here.
How Long Do Shallots Take To Mature?

Fall-planted shallots can take anywhere between 6-8 months before they ripen. Spring-planted ones mature much quicker and you can collect them after 3-4 months.
If you started your shallots from seeds, you will be able to harvest them 3-4 months after they germinate.
Of course, all this depends on the growing conditions, the time of planting, and the variety of shallots.
P.S. You can harvest your shallots before they reach their full size.
Can You Grow Shallots From Bulbs?
Of course you can grow shallots from bulbs. Shallot bulbs are what we refer to as sets. After the harvest, save some and replant them.
Growing shallots from store-bought bulbs isn’t ideal, though. Their suppliers probably treated them with growth regulators to deter sprouting. That’s why most of them will only rot in the ground and not grow into new plants.
How Many Shallots Can You Get From A Single Bulb?
A single shallot bulb can produce anywhere between 4 and 12 bulbs. That’s why you should space these plants the right way.
The more space they have, the more bulbs they will produce. Not to mention how much larger the bulbs will be if given enough room to grow.
References:
1. Rolf, E. & Drost, D. (2022). How to Grow Shallots in Your Garden. USU Extension.