No Garden? No Problem! Just Follow This Step-by-Step Guide For Growing Squash In Containers
If you don’t have enough garden space for your squash, opt for container gardening!
I was once a city dweller with limited outdoor space, but that didn’t stop me from growing veggies that I like. You would be surprised by how many different types of veggies can actually be grown in containers.
Squash, with its wide variety of types and flavors, is perfect for container gardening. Whether you have a small balcony or a sunny patio, you can enjoy a bountiful squash harvest right at home (talking about homegrown goodies!).
Here’s my step-by-step guide on how to grow squash in containers. It worked wonders for me, and I hope it will for you too!
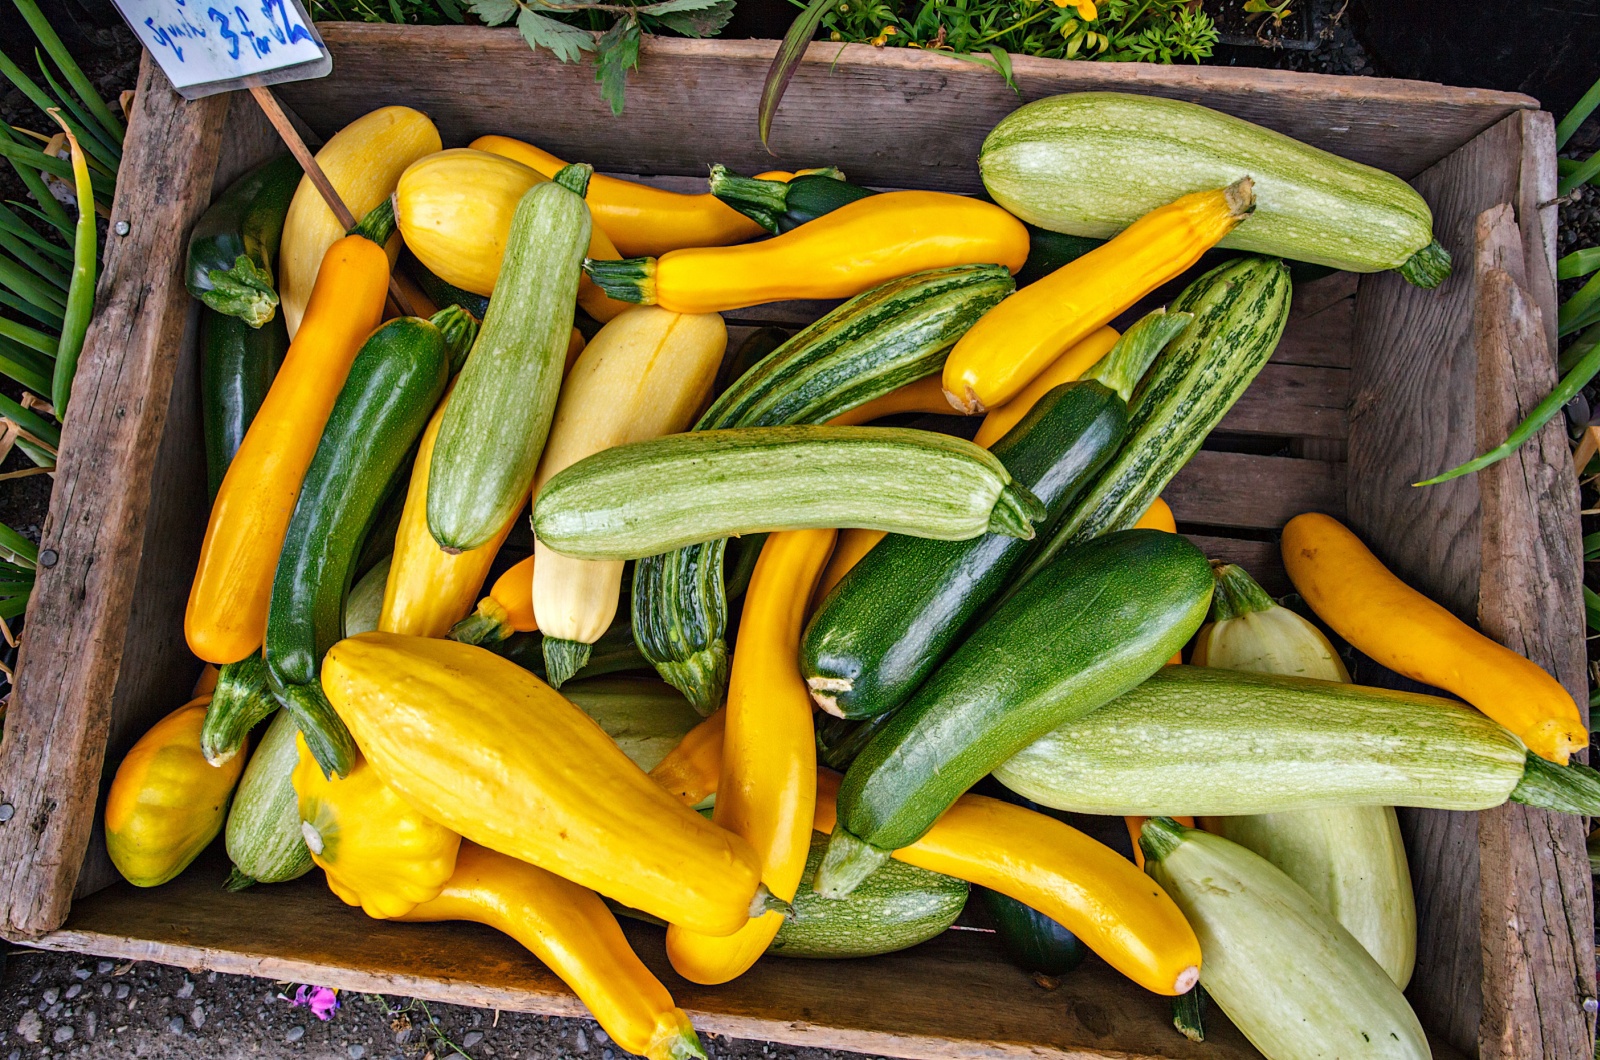
Step 1: Opt For The Right Kind Of Squash
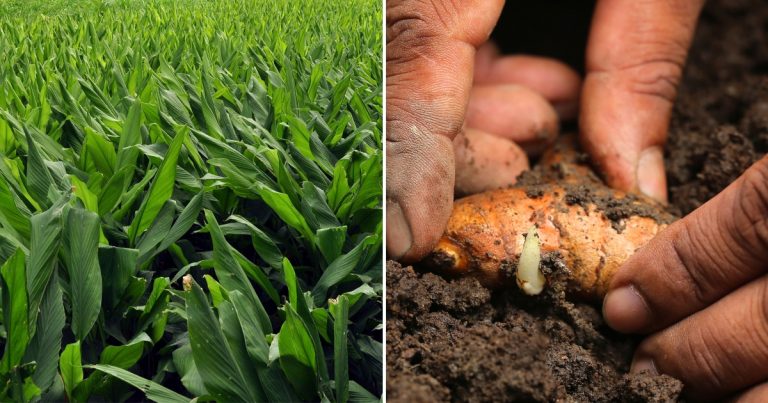
Now, not all squash varieties are suitable for container gardening. I always look for those magic words, ‘bush,’ in the name when picking my potted squash.
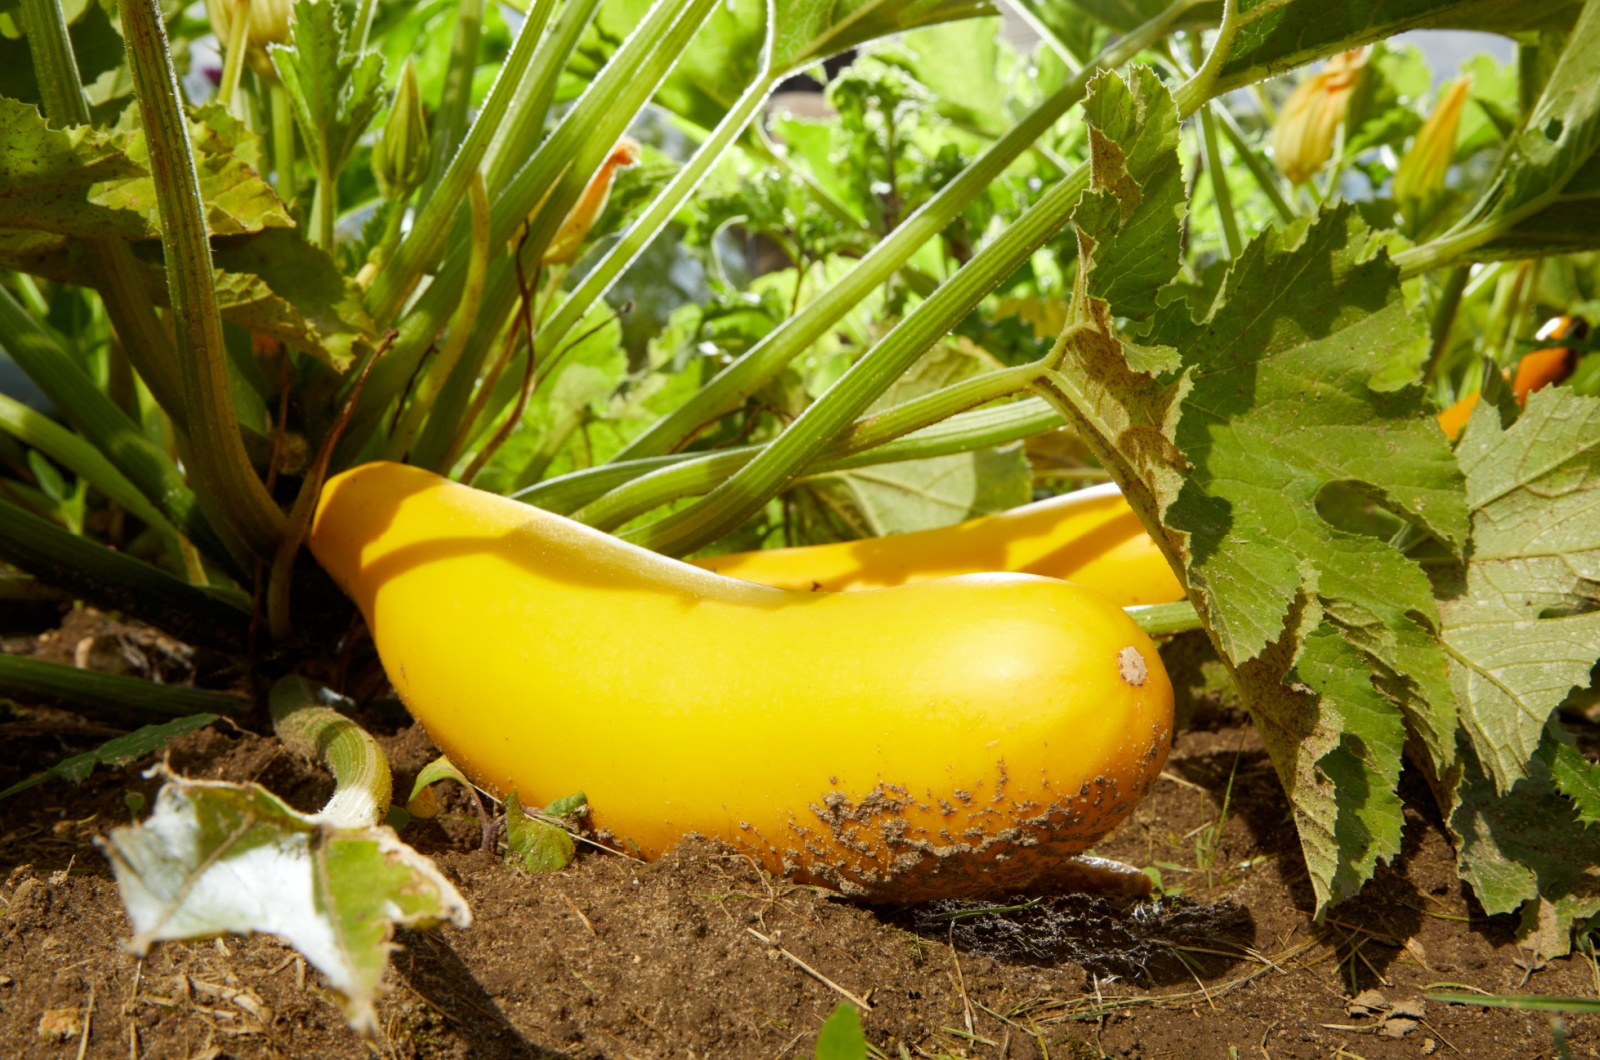
If you are about to grow a winter squash, I would suggest you opt for the ‘butterbush butternut squash’ – it’s delicious and only grows 3-foot-long vines, perfect for our compact spaces.
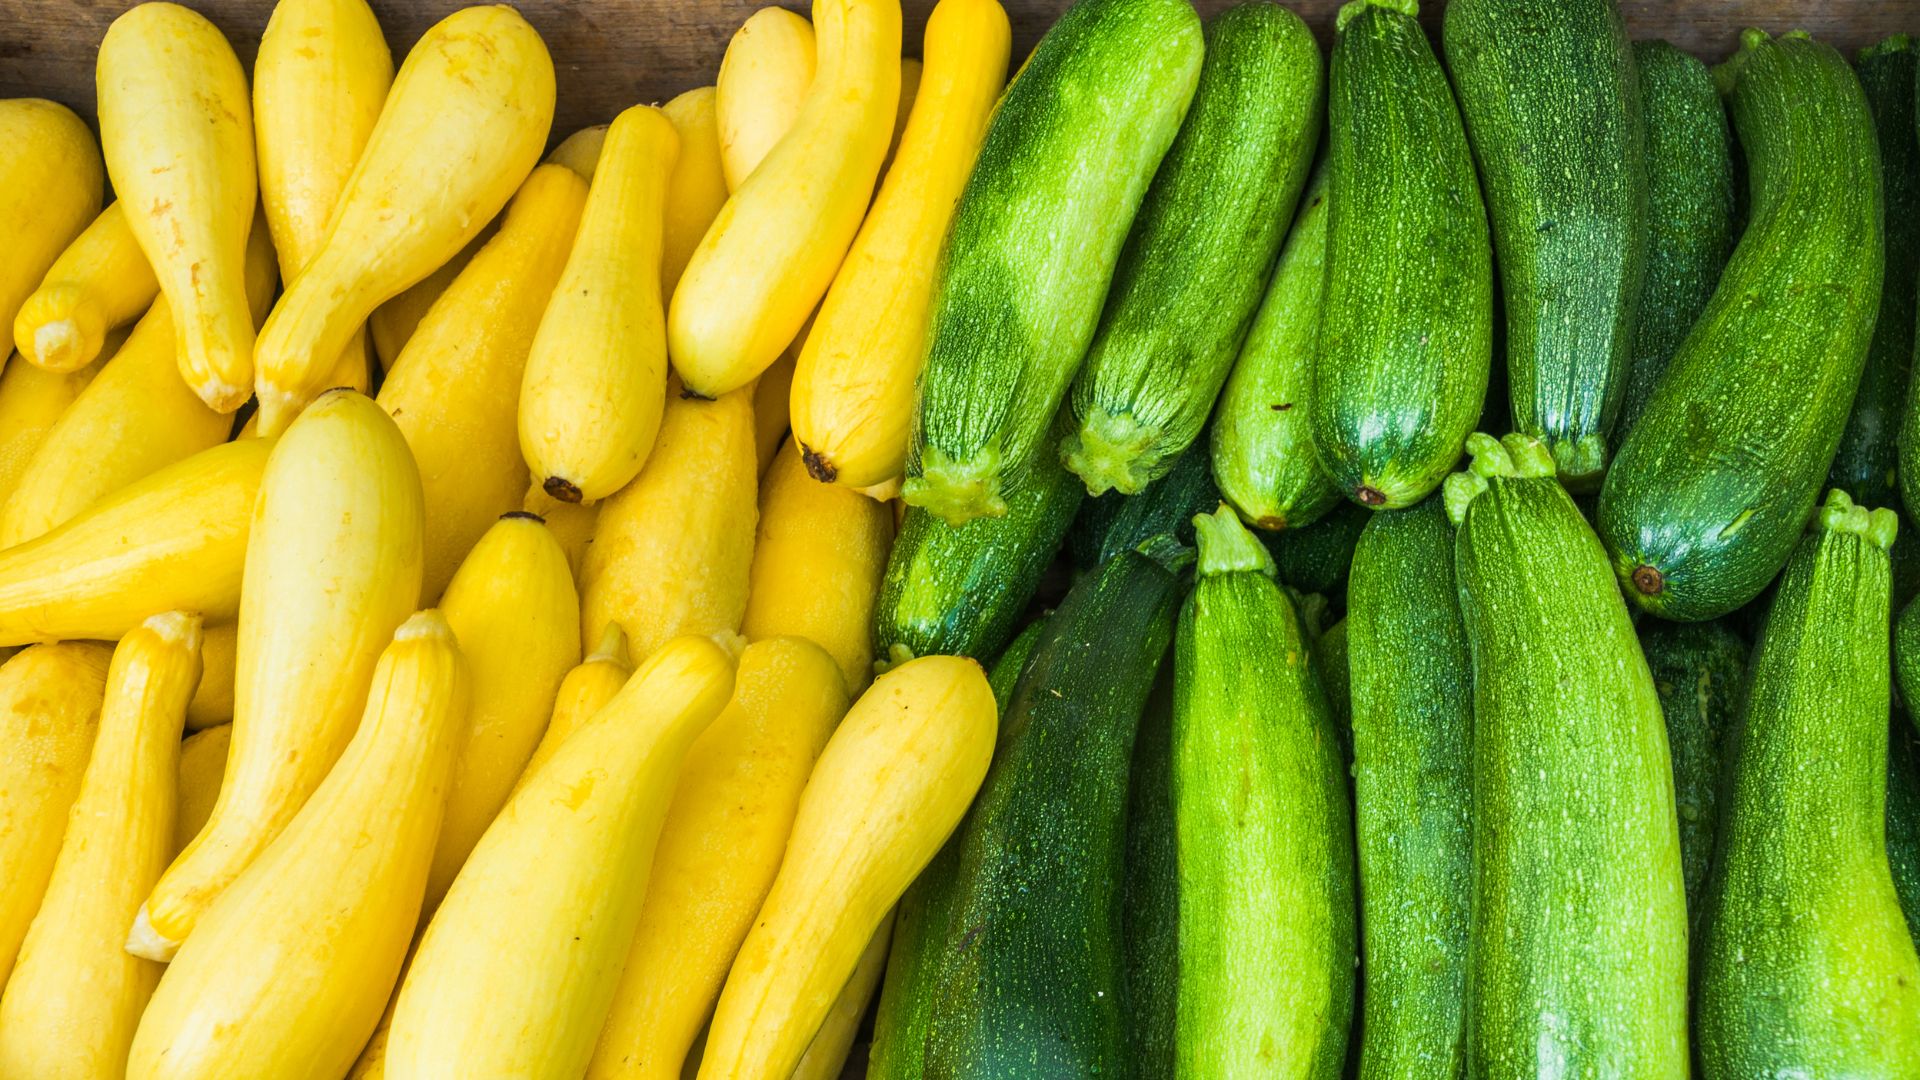
For those summer squash varieties, you can choose from ‘Bush Baby’ zucchinis and patty pan delights.
Trust me, those baby bushes will grow like crazy (but only if you get them on the right track!).
You might like: All Gardening Newbies Just Rave About Summer Squash Varieties, And This Is Why
Step 2: Pick A Container Large Enough To Fit Squash
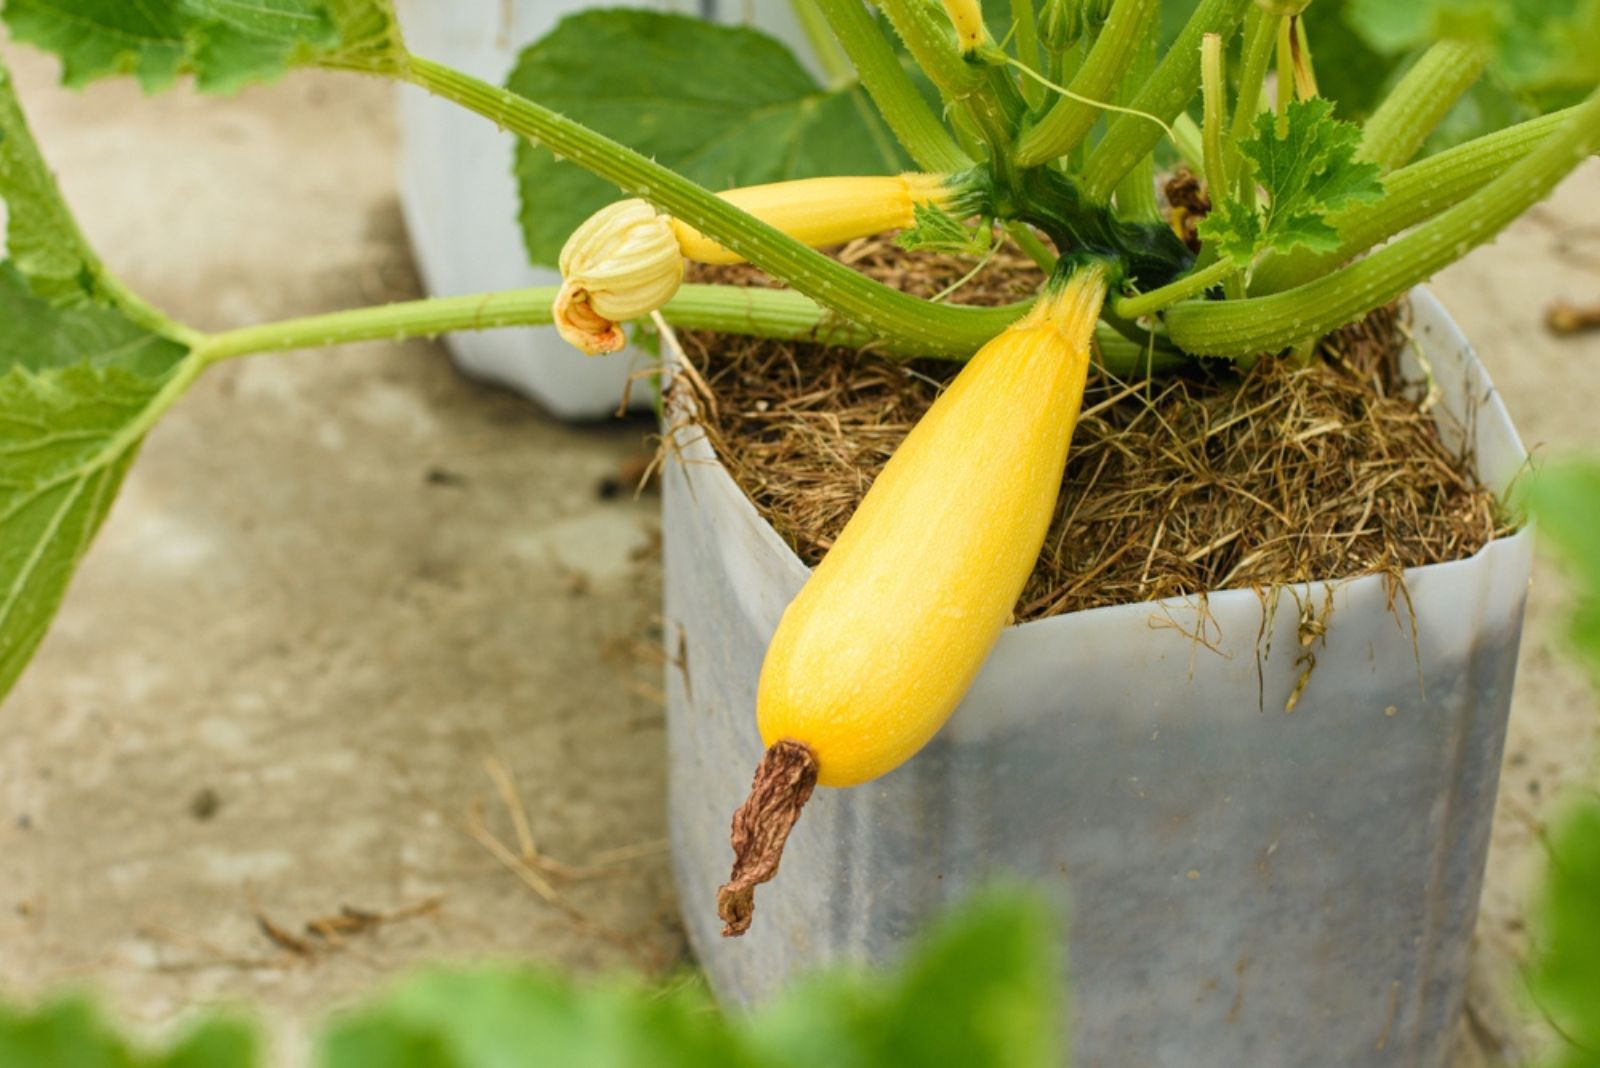
It’s no secret that squash plants need room to spread their roots and thrive, even the bush types. So, get the right-sized container and you’ll be harvesting squash galore in no time.
Squash plants prefer pots that are 20-24 inches in diameter and 12-18 inches deep. But when it comes to container size, bigger is always better!
Go ahead, pick your pot – a classic plastic planter, a lovely terracotta pot, or even a quirky half-wine barrel will work just fine (at least you have a lot of options).
And don’t forget to stick to one squash plant per pot for maximum growth potential!
Step 3: Don’t Overlook The Power Of Drainage
Good drainage is non-negotiable in container gardening, and our precious squash are no exception!
So, first things first, make sure your pots have drainage holes in the bottom. This allows excess water to escape, preventing dreaded root rot and keeping our veggies happy and healthy.
But that’s not all – choosing the right compost is key. Opt for a specially designed container gardening soil that’s light, fertile, and free-draining.
Learn from my mistakes and don’t use garden soil in pots (it’s a no-go for your squash babies).
Step 4: Remember To Hydrate Your Plants
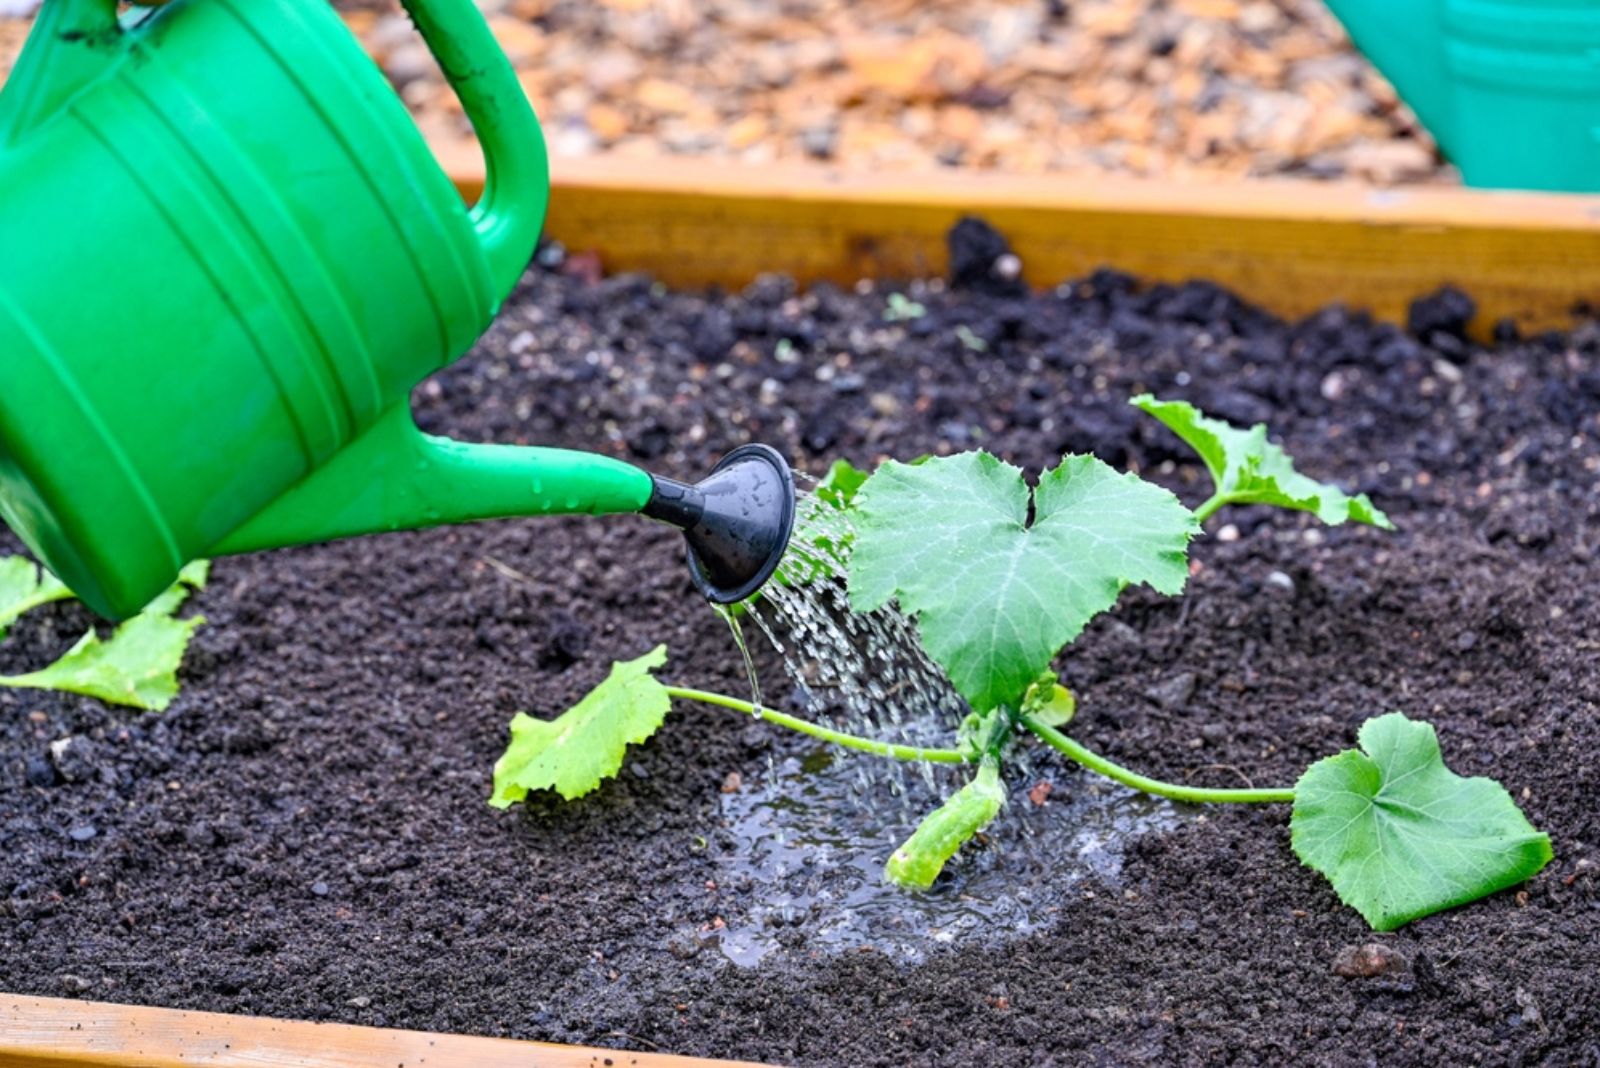
Whatever you grow in containers instead of gardens, know that it’ll need more water than usual. Since squash are thirsty plants, staying on top of hydration is crucial.
Keep that soil consistently moist but never waterlogged. Aim for about two inches of water per week, which might mean watering daily during the summer heat.
Believe me, I’ve witnessed yellow squash leaves firsthand, and it’s a clear SOS for water!
My advice? Stick your finger about an inch into the soil to check for moisture levels. Water deeply until you see some water coming out the bottom – but don’t let those pots sit in water!
Oh, and here’s a pro tip: water the soil, not the leaves. Wet leaves can lead to fungal foes like powdery mildew, and we definitely don’t want that! If you spot any mildew, prune those leaves pronto.
This might be useful: Use This Common Ingredient To Reduce Powdery Mildew In Your Grass
Step 5: Avoid Giving Them Too Much Plant Food
I know it’s tempting to shower your veggies with fertilizer, but trust me, less is more when it comes to potted plants!
Start with nutrient-rich soil first. A larger container means more room for nutrients to nourish our squash without constant feeding. Less work for us, more love for our plants!
Add some slow-release balanced fertilizer at planting time to give your squash a head start, if your potting soil doesn’t come pre-fertilized.
Switch to a phosphorus and potassium-rich fertilizer to maximize fruit production once those beauties start blooming.
You can also go for a liquid fertilizer that’s a breeze to use. Just mix it with water and give your squash plants a sip at the base every 2 to 4 weeks.
Step 6: Provide Them With Something To Climb On
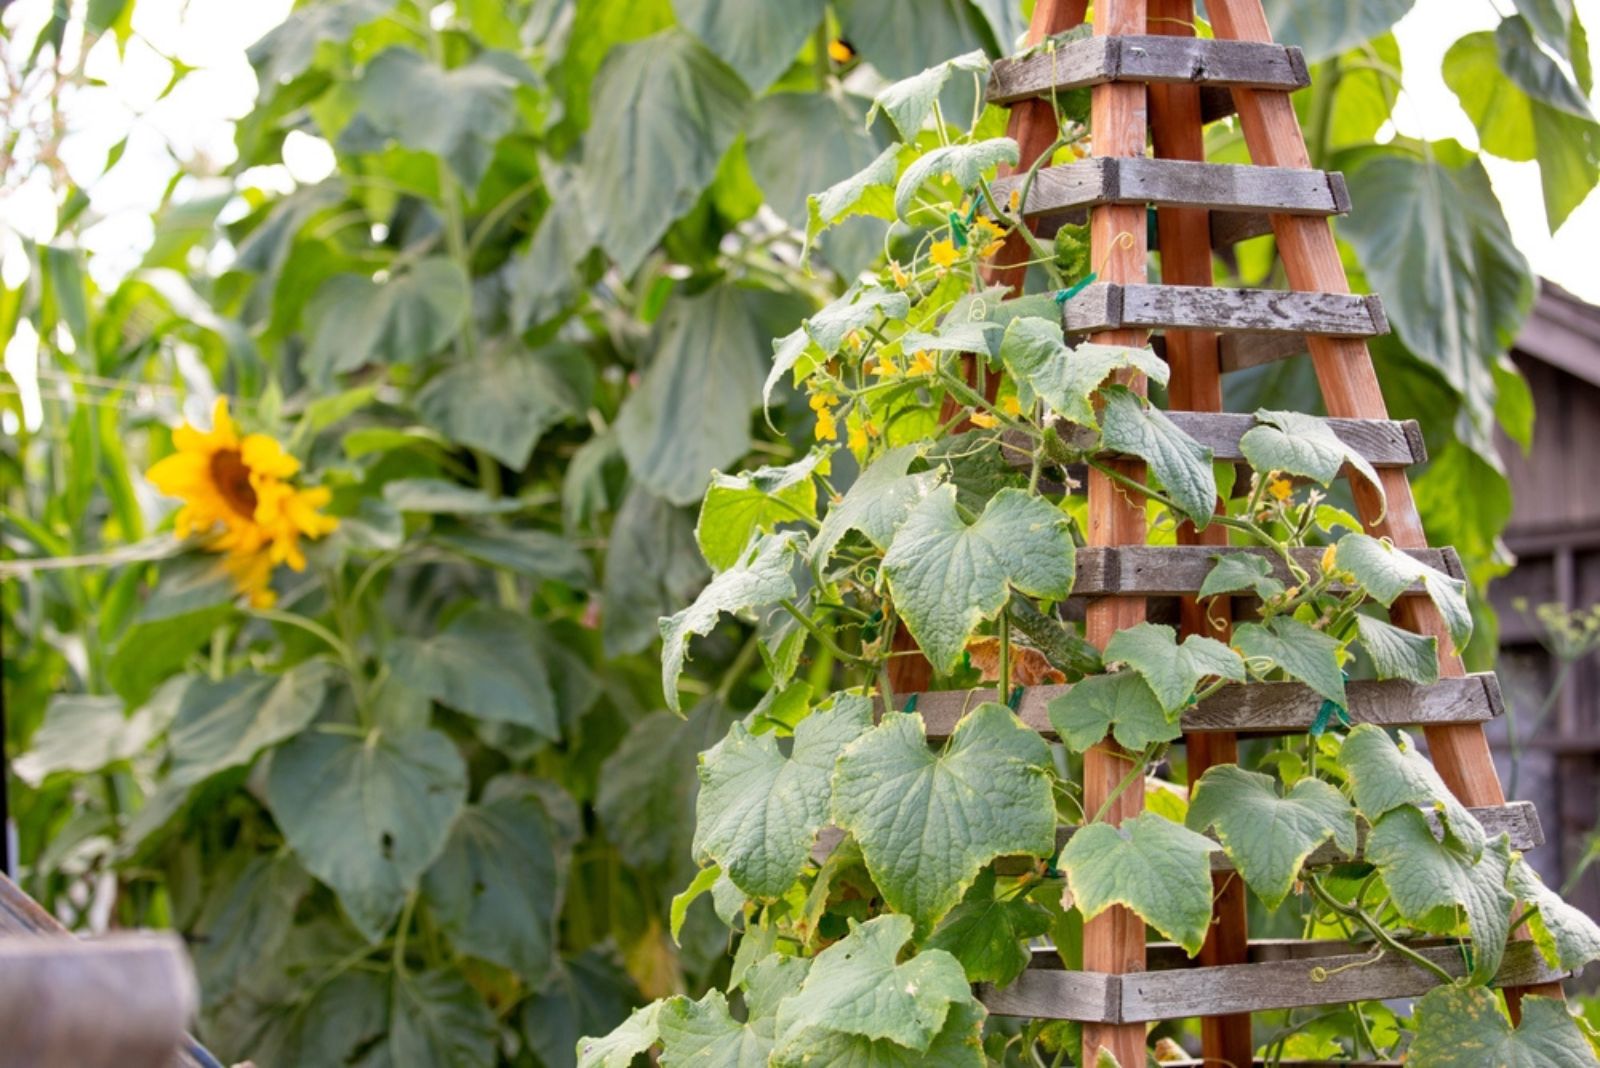
Letting squash sprawl is an option, but why not take things up a notch, quite literally?
Growing squash vertically on a trellis not only saves space but also helps keep those pesky pests and diseases away.
Now, don’t get me wrong – it’s a bit more work, but the benefits are worth it.
You’ll need a sturdy support, like an obelisk trellis or a trusty tomato cage, and some regular climbing vines.
By going vertical, your squash plants soak up more sunlight and breeze, reducing the risk of disease and giving pests a run for their money. Plus, your precious squash babies stay off the ground, away from potential soil-borne pests.
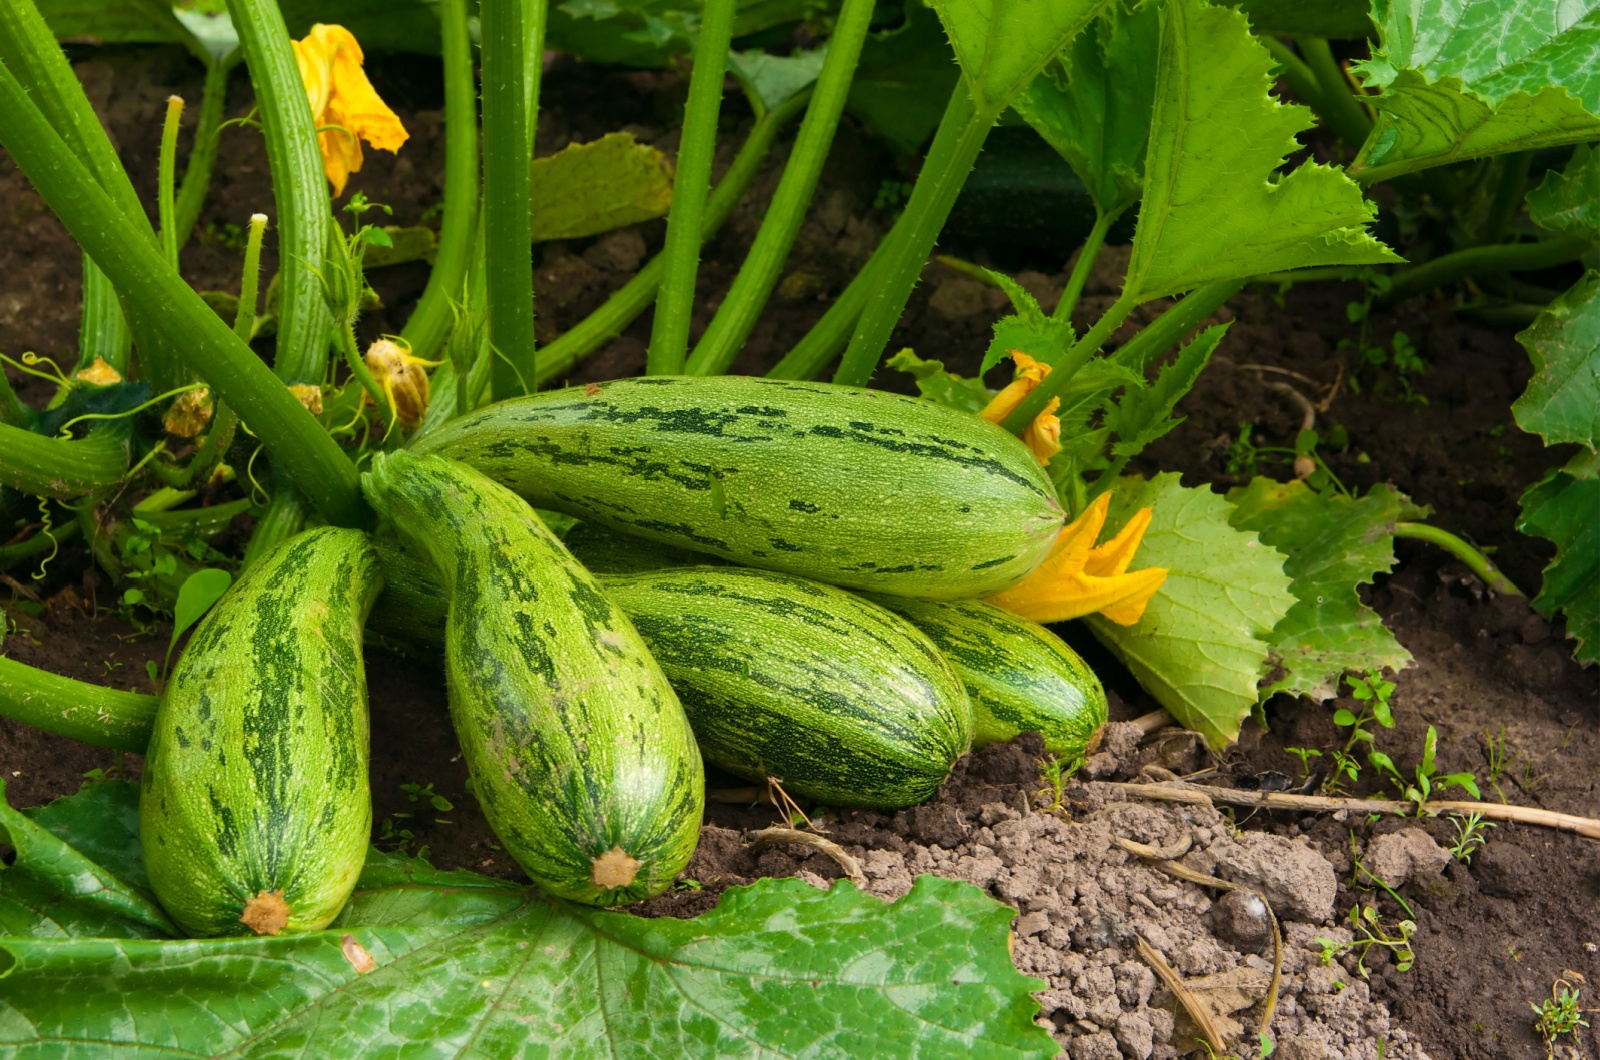
Growing squash in containers has been such a rewarding experience for me, and I hope it will be for you too! With the right variety and good drainage, you can get a great harvest from just a few pots.
Have you tried growing squash in containers? What tips have worked for you? Do you have a favorite squash variety? Share your experiences and let’s keep growing together!