6 Steps For Growing Strawberries From Strawberries
Strawberries are one of the most delicious fruits and have numerous health benefits. Growing them in your garden allows you to get fresh and organic crops and their taste is incomparable!
If you have a few strawberries at hand, you should know that you can use them for propagation. Of course, the seeds are the ones needed for this method.
In this article, I’ll show you how to grow strawberries from strawberries in a few simple steps!
Let’s get started!
1. Prepare Your Garden
Before you choose a spot in your garden for your strawberries, there are a few things you should know.
The first one is that these are sun-loving fruits, so you should opt for a spot that receives approximately 6 hours of direct sun daily.
These plants may love the sun but they won’t tolerate high temperatures. If you live in warmer climates, you should find a location for your strawberries that receives some shade during the hot summer afternoons.
You can grow these fruits in raised beds, plant them directly in the ground, or pot up your strawberries if you don’t have enough space.
Once you find a spot for your strawberries, you should start preparing the soil. Remember that these fruits thrive in slightly acidic soils, between 5.5 and 6.5.
Make sure to adjust pH if necessary before planting your strawberries to avoid issues.
2. Take The Seeds
The great thing about these fruits is that they have seeds on the outside and you can collect them and use them for propagation.
You’ll need a thin knife so that you can slice the skin; make sure the slices are thick enough to avoid damaging the seeds. Of course, leave some flesh and eat it!
Take the prepared strawberry slices and lay them on a paper towel; it will absorb excess moisture.
The next step is to leave the strawberry slices to dry out for 6-8 hours.
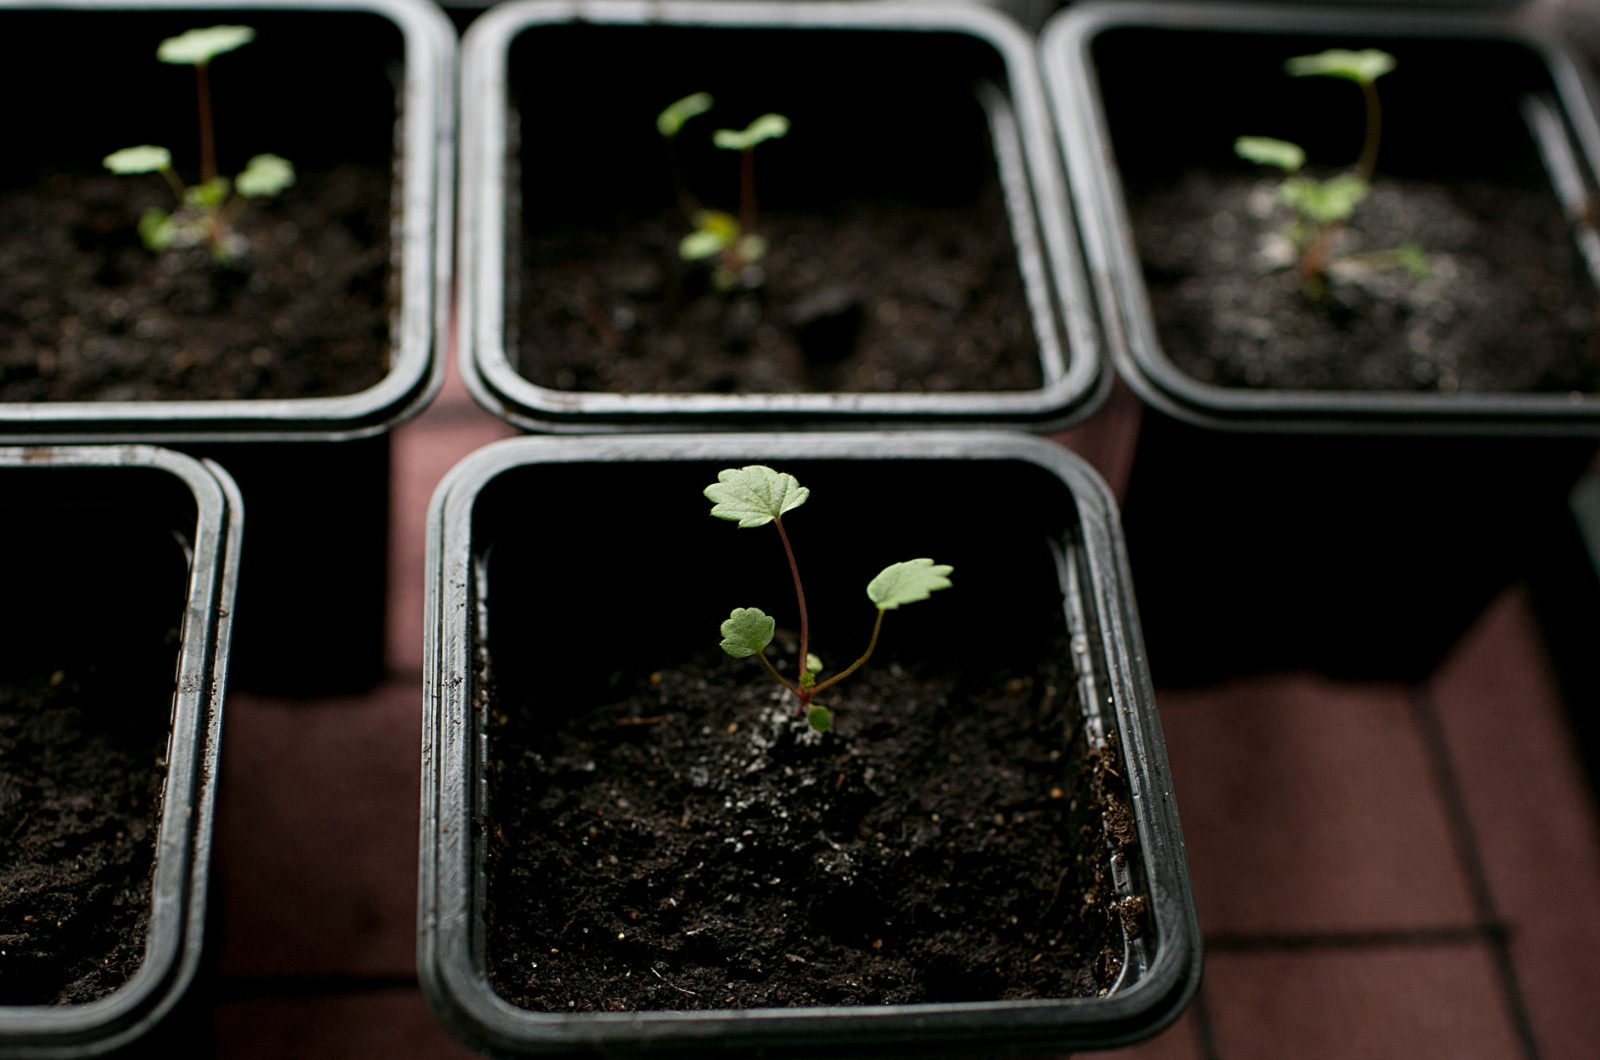
3. Sprout Them
When your strawberry slices are dry, it’s time to sprout the seeds.
You’ll need a few smaller containers filled with potting mix; I use plastic cups and the results are great.
Take the slices, put them on the soil in each container, and cover them lightly with soil. Spritz the soil in each container with some water but make sure you don’t overwater it.
Now find a spot for your strawberries where they’ll be exposed to bright but indirect light. Make sure you keep the soil moist until you see the first set of true strawberry leaves.
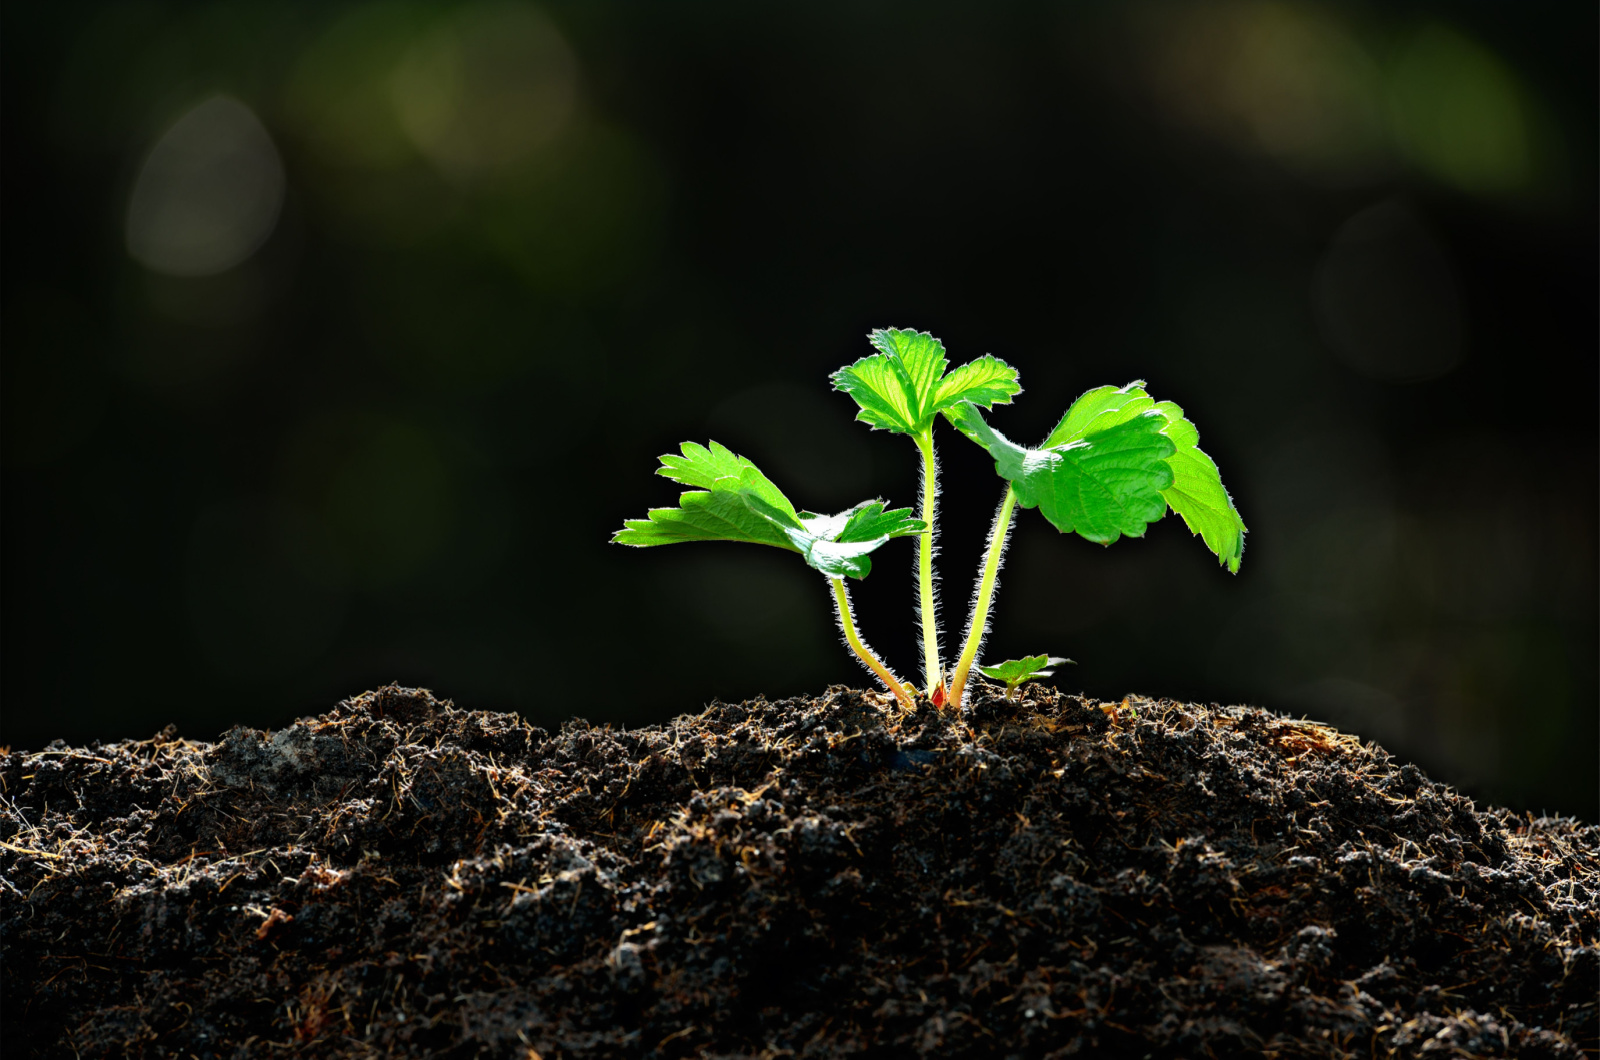
4. Transplant
The true sets of leaves indicate that your strawberries are ready for planting in your garden. When removing your sprouted plants from their containers, be careful not to damage them.
Plant your strawberries so that the roots are below the soil line and the crown stays above. Make sure there’s about 20 inches between each strawberry plant.
You can enhance growth of your red berries by applying a layer of mulch around the plant. Pine straw acts as an excellent mulch for these fruiting plants.
5. Irrigate Well
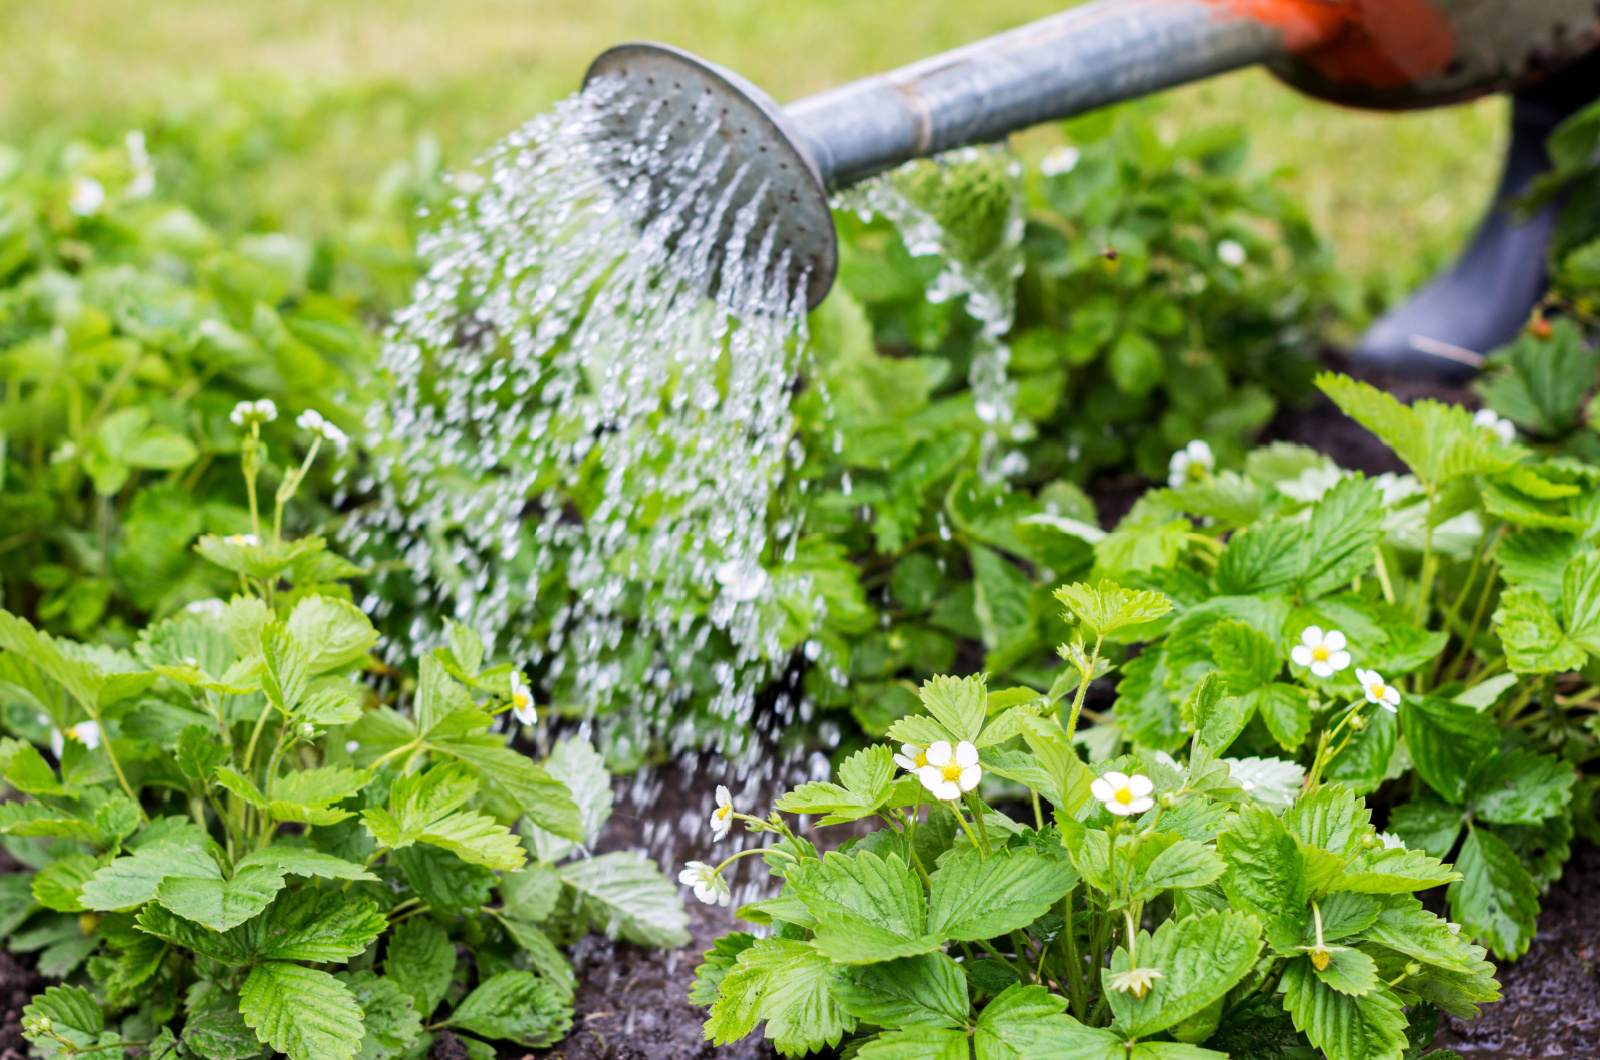
A rule of thumb is to give your newly planted strawberries water twice a week. However, this method works only if all conditions are favorable.
It’s always best to check the soil and add water when the soil dries up a little bit.
If it’s moist, it’s better to leave it for a few more days than to overwater it. Waterlogging can lead to various issues in strawberry plants, such as root rot, wilting, and poor yield.
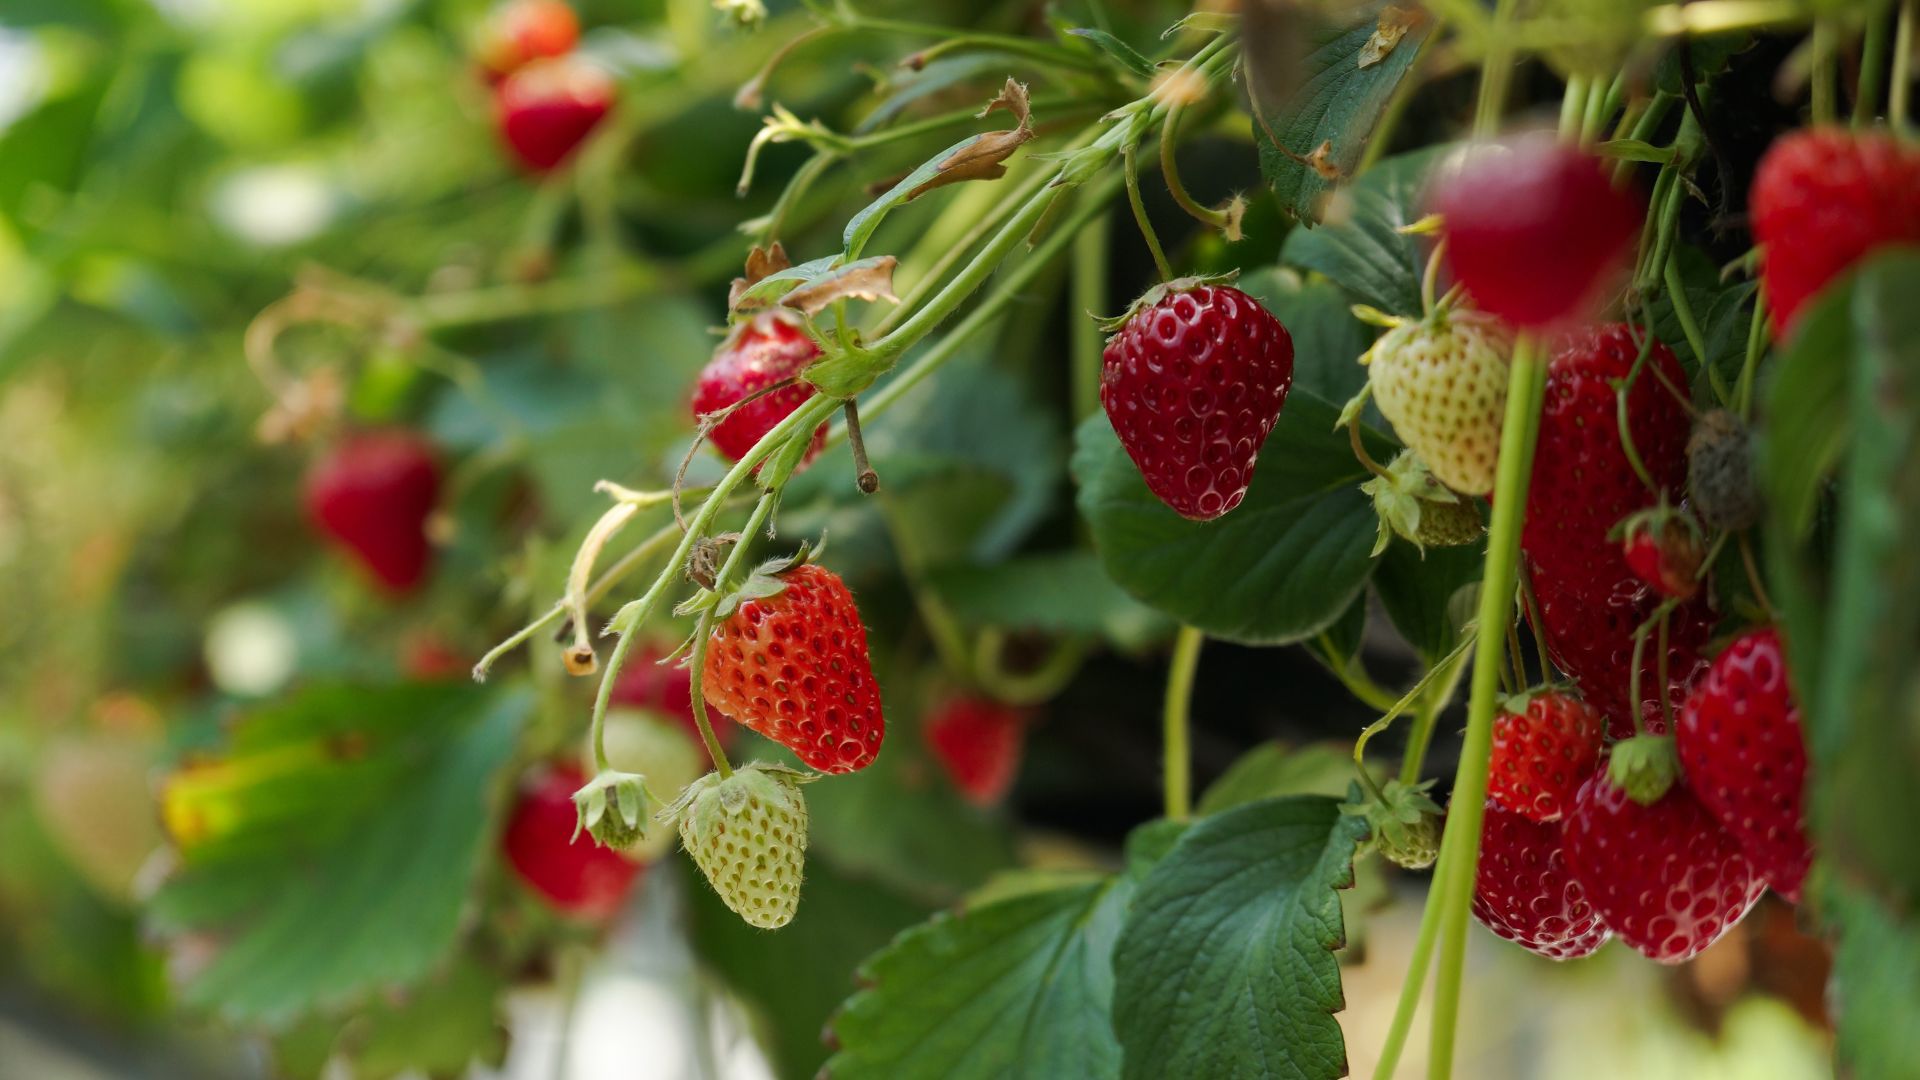
6. Harvest
If you follow all the steps correctly, you can have your first strawberries ready for harvest about 5 weeks after flowering.
Pick your strawberries when they’re red and make sure you twist the stems when harvesting to avoid damaging the fruits.
That’s it! You can have delicious strawberries from strawberries without putting in too much effort. Just follow our guidelines and enjoy the heavenly taste of your homegrown strawberries!