15 Easy Steps To Grow Sweetshrub And Enjoy Its Fragrant Blooms All Season
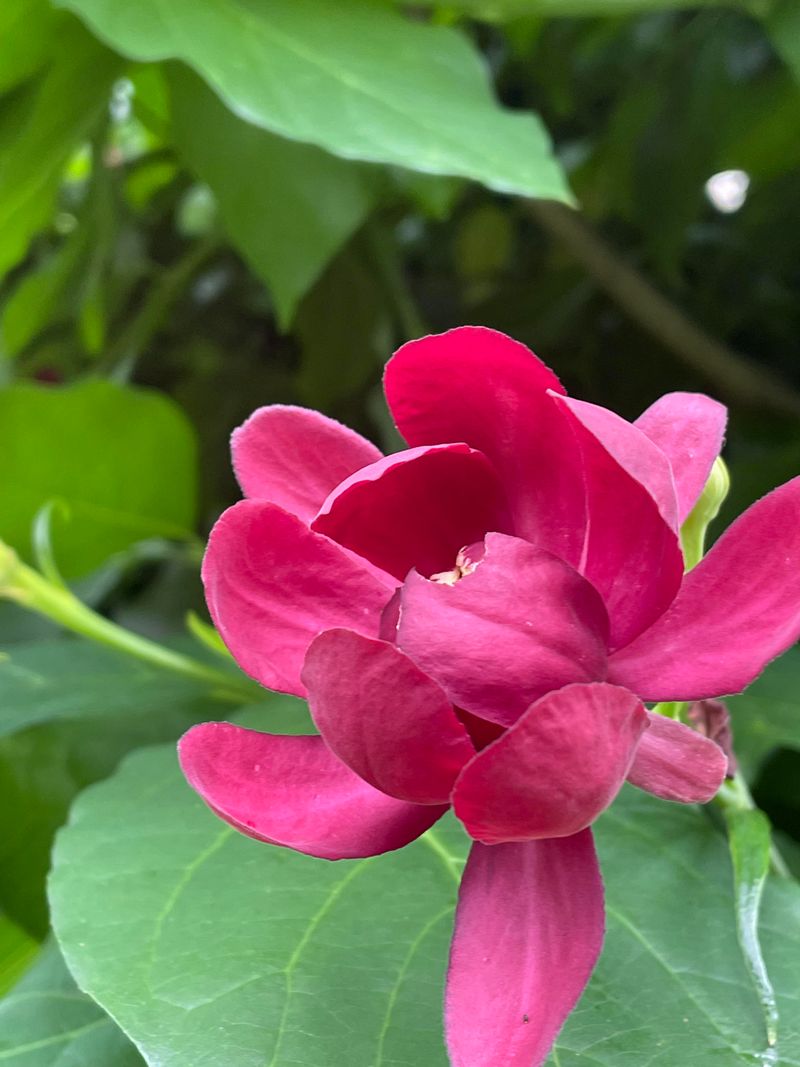
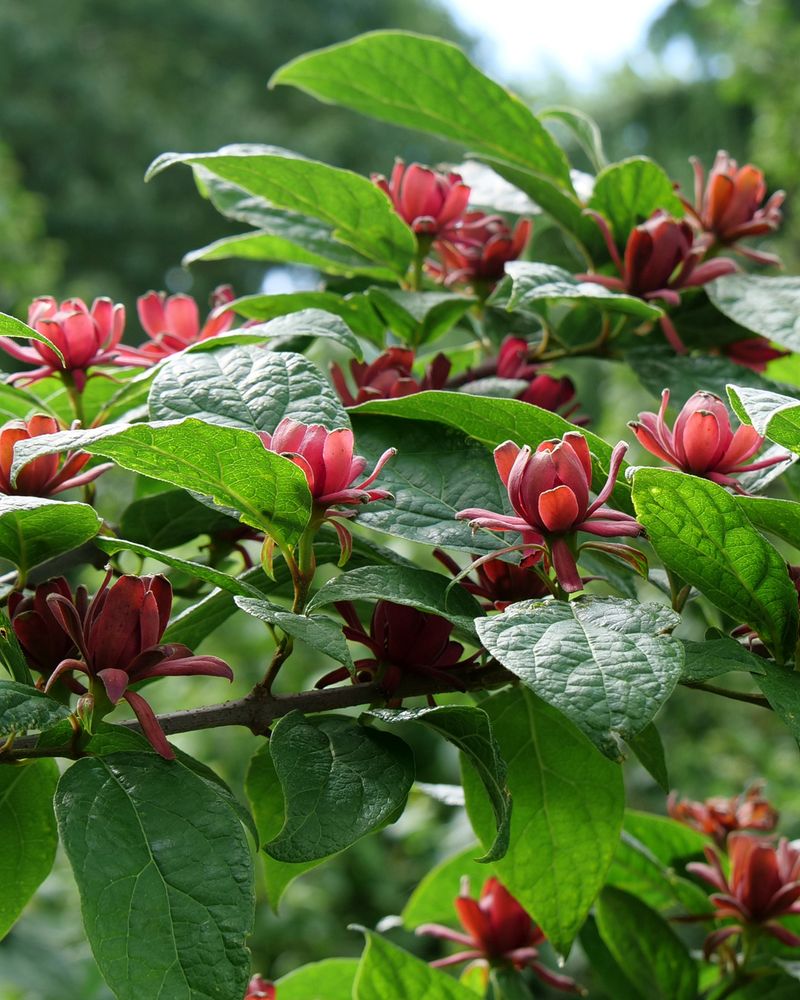
Sweetshrub is one of those plants that quietly steals the show with its rich scent and deep, pretty blooms. I planted one on a whim, and now I can’t imagine the garden without it.
The best part? It’s way easier to grow than it looks. These 15 steps will help you get started without any stress, even if you’re new to it. Once it settles in, you’ll be rewarded with fragrance all season long—no fancy tricks needed.
1. Choose the Perfect Spot

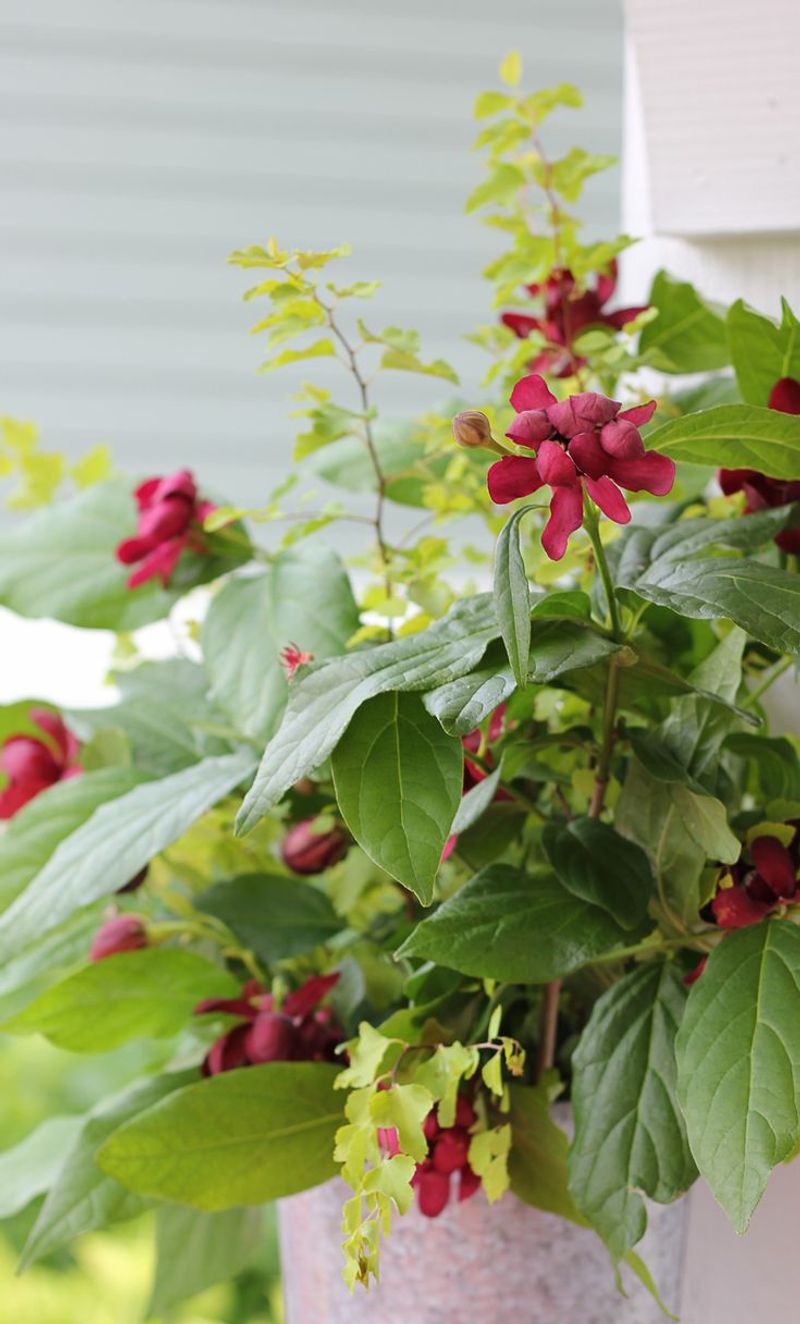
Finding the right location makes all the difference for a thriving sweetshrub. These adaptable plants prefer partial shade but can handle full sun in cooler climates. Morning sunshine with afternoon shade creates ideal growing conditions.
Look for a spot protected from harsh winds that might damage the delicate blooms. The soil should drain well but retain some moisture – sweetshrubs aren’t fans of constantly wet feet or bone-dry conditions.
2. Select Healthy Nursery Plants
When shopping for sweetshrub, examine plants carefully before bringing them home. Healthy specimens have vibrant green leaves without spots or discoloration and flexible stems with no signs of damage.
Avoid plants with roots circling the container or appearing root-bound. The best time to purchase is spring when nurseries typically have fresh stock. Check for new growth buds as a positive indicator of plant health.
3. Prepare Your Soil Properly
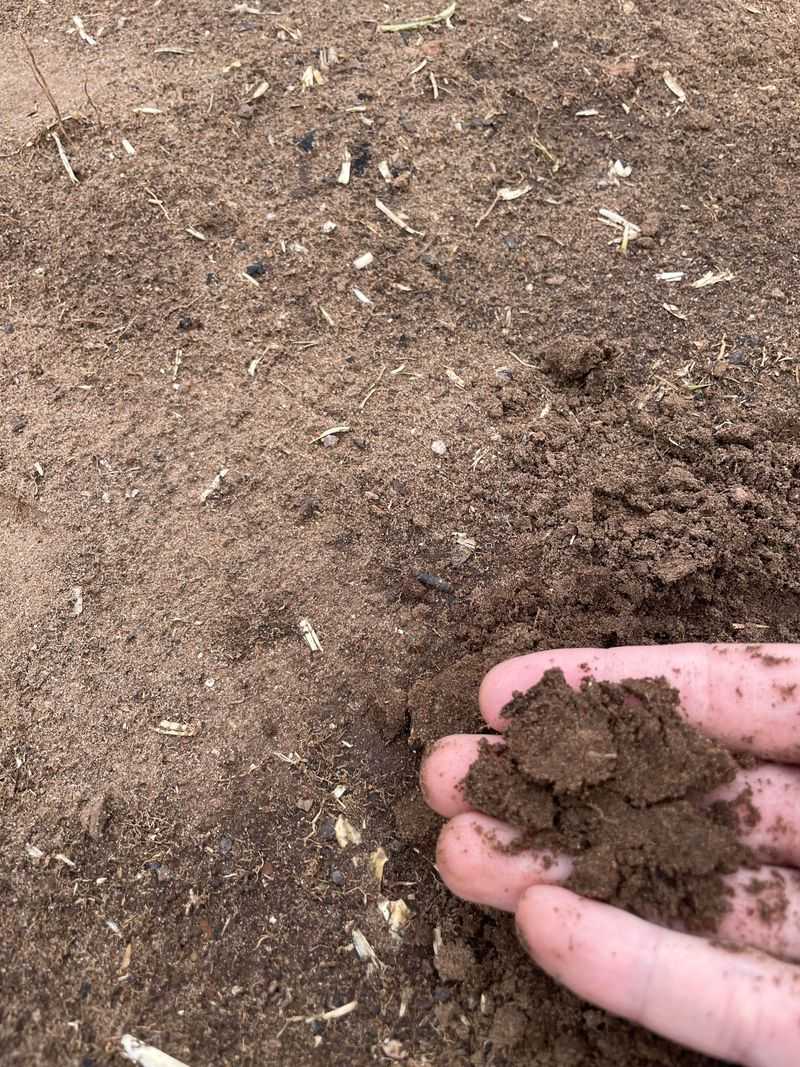
Before planting, amend your soil to create the perfect home for your sweetshrub. Start by mixing in plenty of organic compost to improve drainage while retaining moisture. The ideal pH range falls between 6.0 and 7.0, slightly acidic to neutral.
Work the amendments about 12 inches deep and in a circle twice the width of the root ball. Adding a handful of bone meal provides phosphorus that encourages strong root development during the establishment phase.
4. Master the Planting Technique
Dig a hole twice as wide as the root ball but only as deep as the container height. Gently remove the plant, loosening bound roots with your fingers to encourage outward growth. Position the sweetshrub so the top of the root ball sits slightly above ground level.
Backfill with your amended soil, tamping gently to remove air pockets without compacting. Create a slight basin around the plant to help direct water to the roots during initial establishment.
5. Water Wisely for Establishment
During the first growing season, consistent moisture is crucial for your new sweetshrub. Water deeply twice weekly, delivering about one gallon each time directly to the root zone. Morning watering is best to prevent fungal issues.
Reduce frequency as temperatures cool in fall. A moisture meter can help prevent overwatering, which causes more problems than underwatering for this plant. Look for slightly moist, not soggy, soil before adding more water.
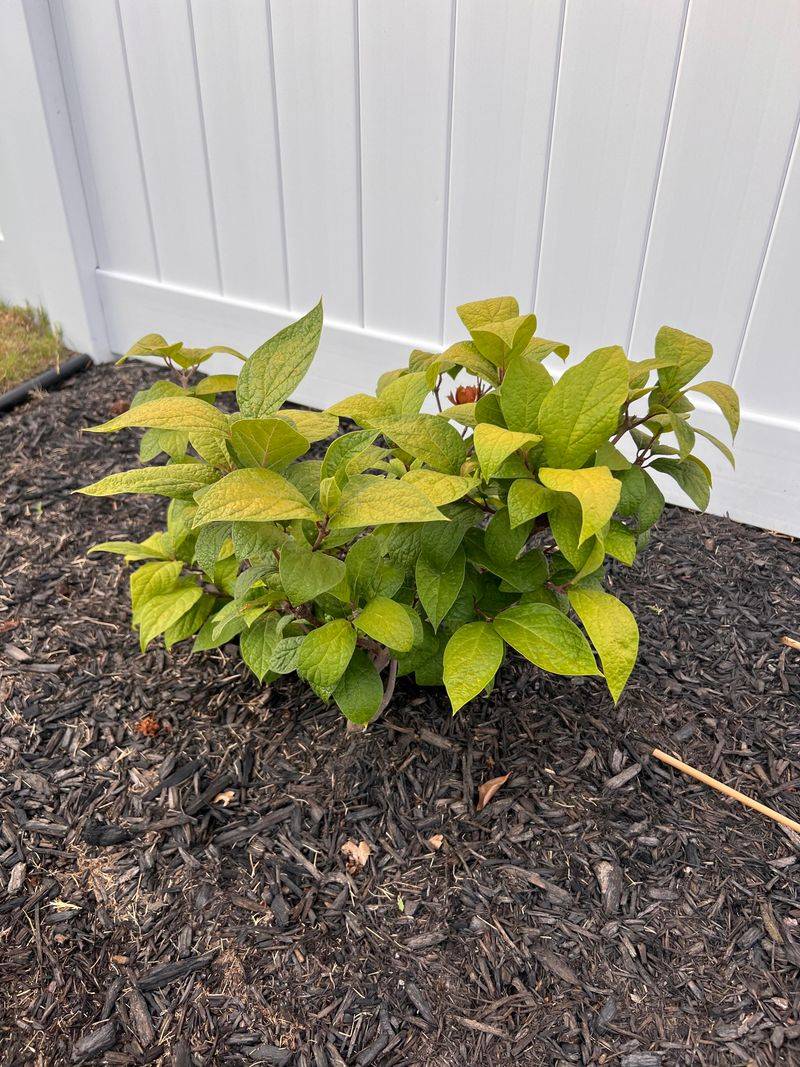
6. Apply Mulch to Retain Moisture
A 2-3 inch layer of organic mulch works wonders for sweetshrub care. Shredded bark, pine needles, or leaf compost all make excellent choices that break down slowly to feed the soil. Keep mulch pulled back a few inches from the stems to prevent rot issues.
Refresh your mulch layer annually in early spring before new growth emerges. This simple step dramatically reduces watering needs, suppresses weeds, and maintains more consistent soil temperature and moisture levels throughout the seasons.
7. Feed with Balanced Fertilizer
Sweetshrubs aren’t heavy feeders but appreciate a spring boost of nutrients. Apply a balanced, slow-release organic fertilizer (like 10-10-10) when new growth begins. Sprinkle it around the drip line, not directly against the stems.
Water thoroughly after application to help nutrients reach the root zone. Avoid high-nitrogen fertilizers that promote lush foliage at the expense of those fragrant blooms. A second light feeding in early summer supports continued flowering through the season.
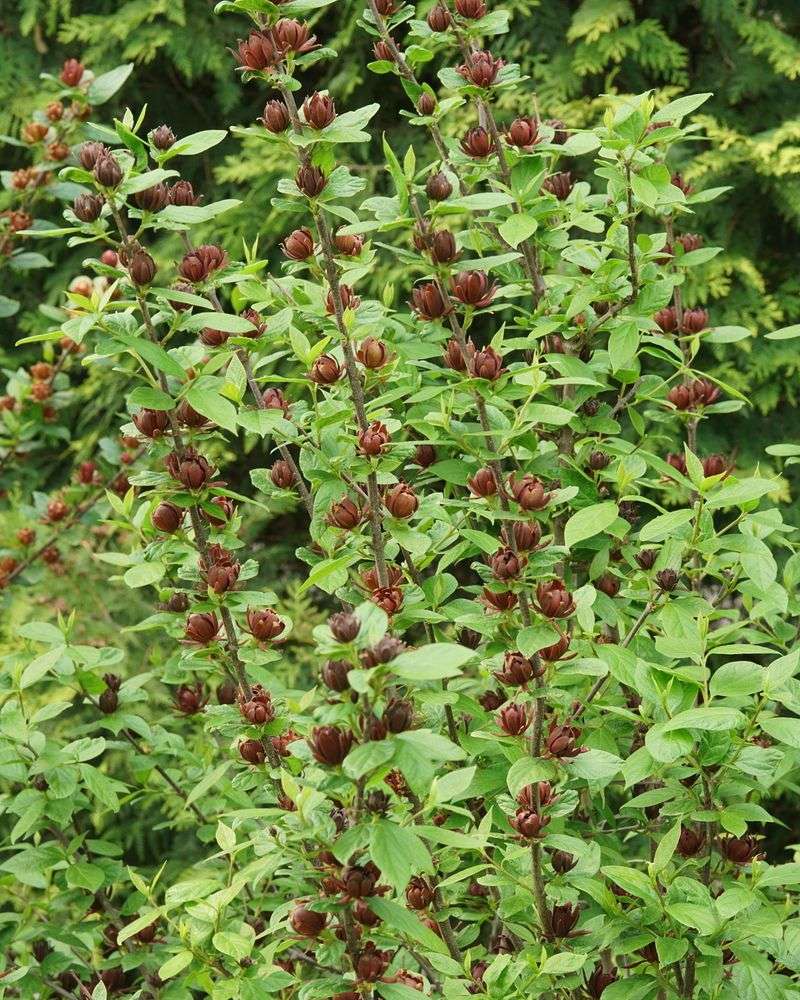
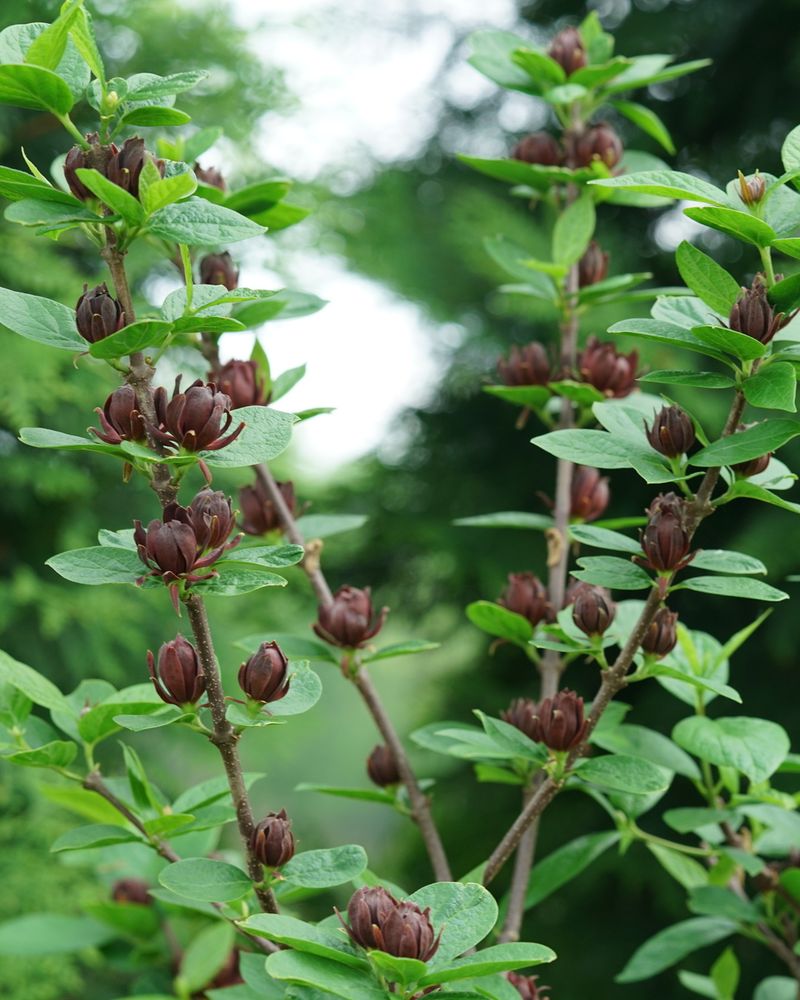
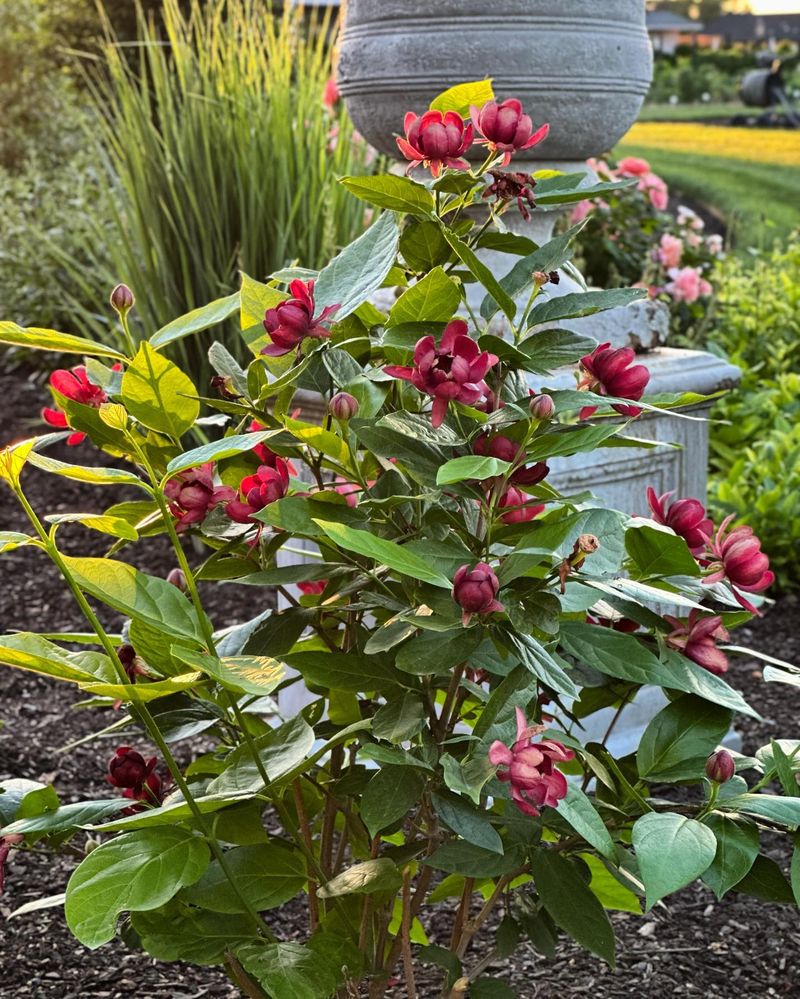
8. Prune to Enhance Blooming
Strategic pruning keeps your sweetshrub shapely and flowering abundantly. The best time is immediately after flowering ends, typically early summer. Remove dead or crossing branches first, then shape by cutting back overly long stems by one-third.
Use clean, sharp pruners to make angled cuts just above outward-facing buds. This encourages branching in the right direction. Avoid heavy pruning in fall or spring, as this removes the wood that produces those wonderfully fragrant flowers.
9. Monitor for Common Pests
Fortunately, sweetshrub faces few serious pest problems, making it relatively carefree. Occasionally, aphids might cluster on new growth, but a strong spray of water usually dislodges them. For persistent infestations, insecticidal soap works well without harming beneficial insects.
Watch for leaf-rollers in summer, which create protective tubes by rolling up leaves. Hand-picking affected leaves is usually sufficient control. Maintaining good air circulation through proper spacing and pruning naturally reduces most pest issues.
10. Prevent Potential Diseases
Disease prevention starts with proper plant spacing and air circulation. Powdery mildew can appear during humid summers, showing as a white powdery coating on leaves. Avoid overhead watering which creates favorable conditions for fungal problems.
If you spot early signs of disease, remove affected leaves promptly. Organic fungicides containing neem oil can help manage minor outbreaks. The good news is that established sweetshrubs with proper care rarely develop serious disease issues.
11. Propagate New Plants from Cuttings

Expand your sweetshrub collection through simple propagation. Take 4-6 inch softwood cuttings in early summer from new growth that’s just beginning to firm up. Remove lower leaves, dip the cut end in rooting hormone, and plant in a mix of perlite and peat moss.
Keep the medium consistently moist and provide bright, indirect light. Cover with clear plastic to maintain humidity, but remove it daily to prevent mold. Roots typically develop within 4-6 weeks, ready for transplanting the following spring.
12. Divide Established Plants Successfully
Another effective way to multiply your sweetshrub is through division every 3-4 years. Early spring before new growth emerges is ideal for this task. Dig up the entire plant carefully, preserving as much of the root system as possible.
Use a sharp spade to separate the clump into sections, ensuring each division has both roots and several stems. Replant immediately at the same depth as before, water thoroughly, and add mulch. Divisions may take a season to fully recover but will reward your patience.
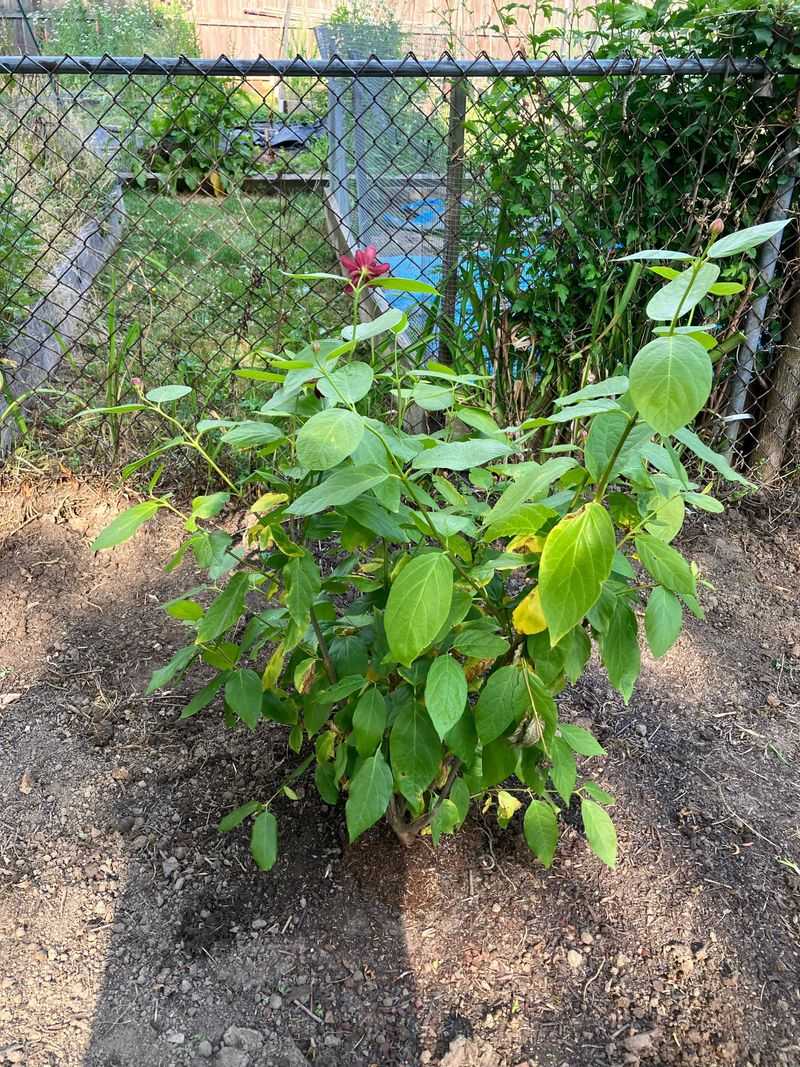
13. Create Perfect Plant Companions
Enhance your sweetshrub’s beauty with thoughtful companion planting. Native ferns provide textural contrast and thrive in similar conditions. Spring-flowering bulbs like daffodils complement sweetshrub by blooming earlier, extending the garden’s seasonal interest.
Woodland wildflowers such as Virginia bluebells make excellent neighbors. For stunning color combinations, pair the burgundy blooms with plants featuring silver or chartreuse foliage. These companions should share similar water and light requirements to maintain garden harmony.
14. Extend the Blooming Season
Maximize flowering by selecting different sweetshrub varieties. The native Calycanthus floridus blooms in late spring, while the Chinese species (C. chinensis) flowers later. ‘Hartlage Wine’ and ‘Venus’ are spectacular hybrids with extended blooming periods.
Deadheading spent flowers encourages additional blooms. A mid-summer application of phosphorus-rich fertilizer (like 5-10-5) can trigger a second flush of flowers. Consistent moisture during dry spells also helps maintain continuous flowering through the growing season.
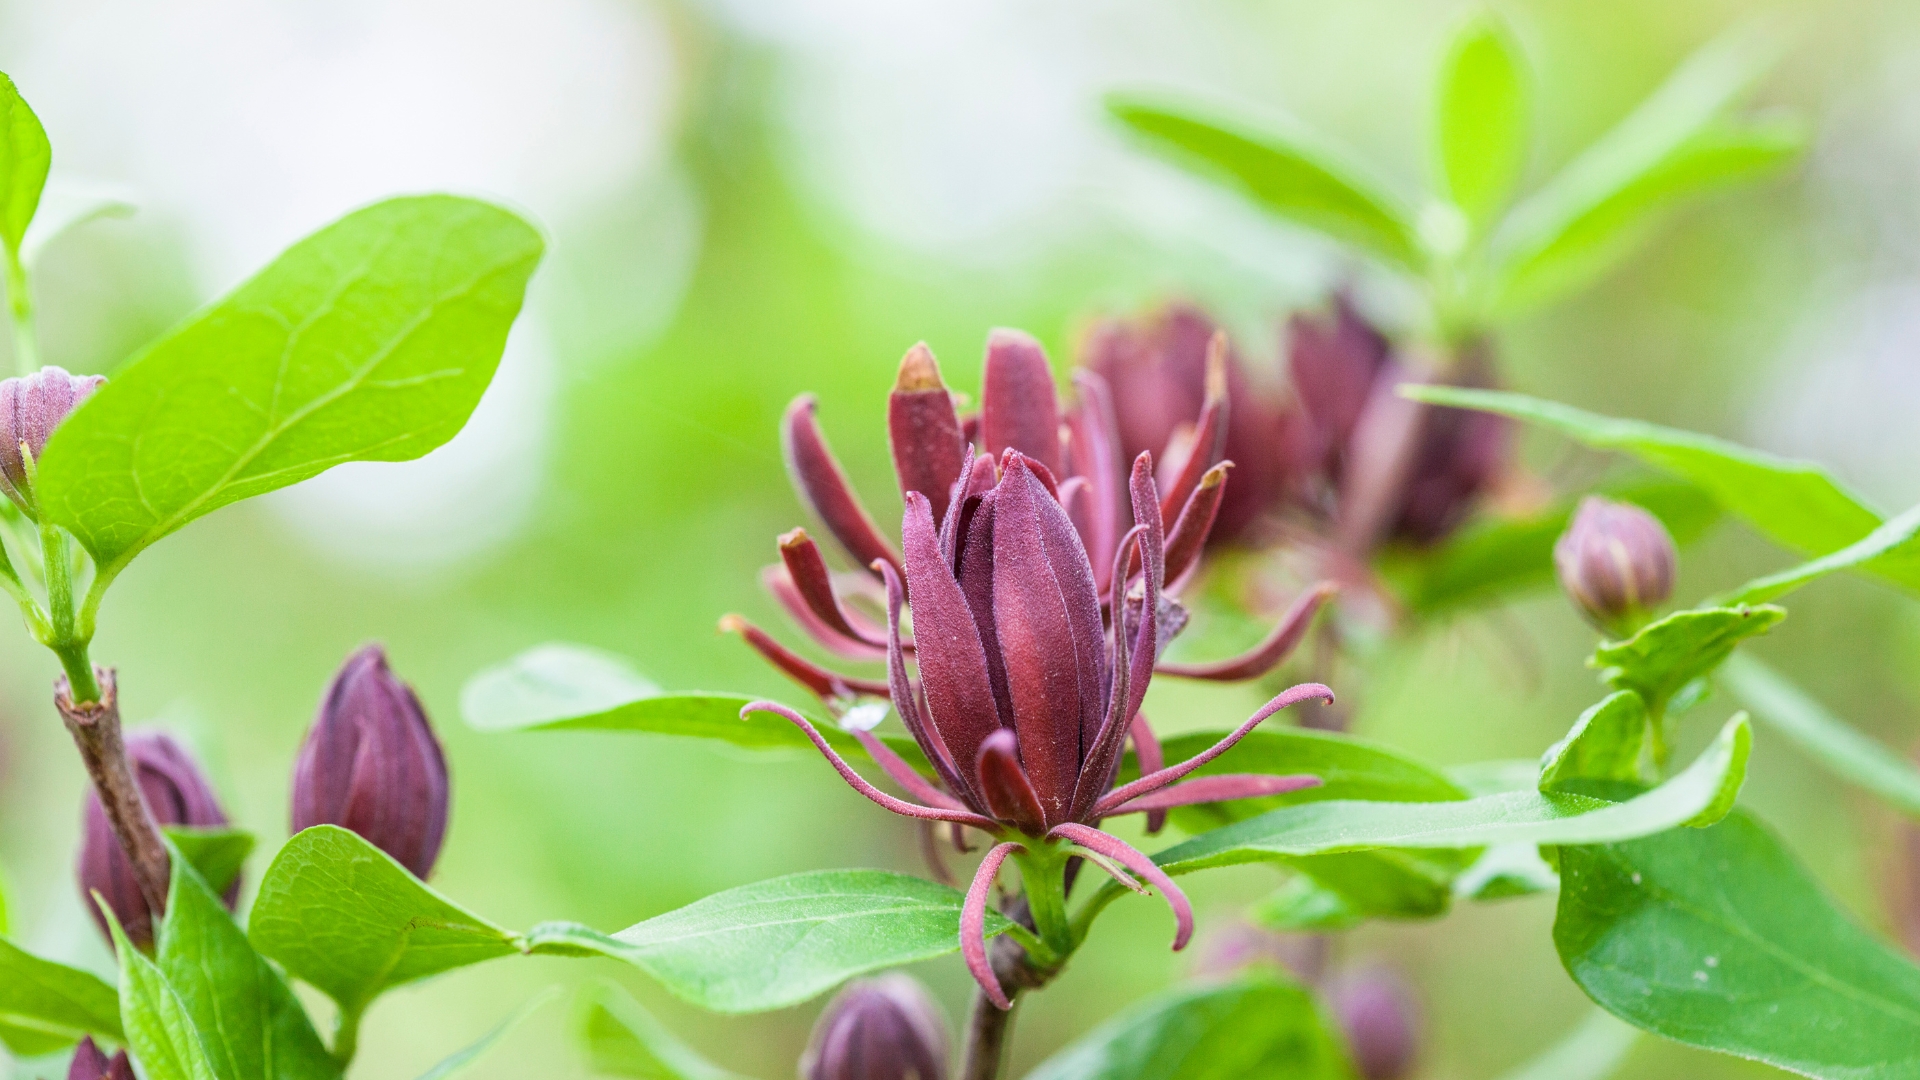
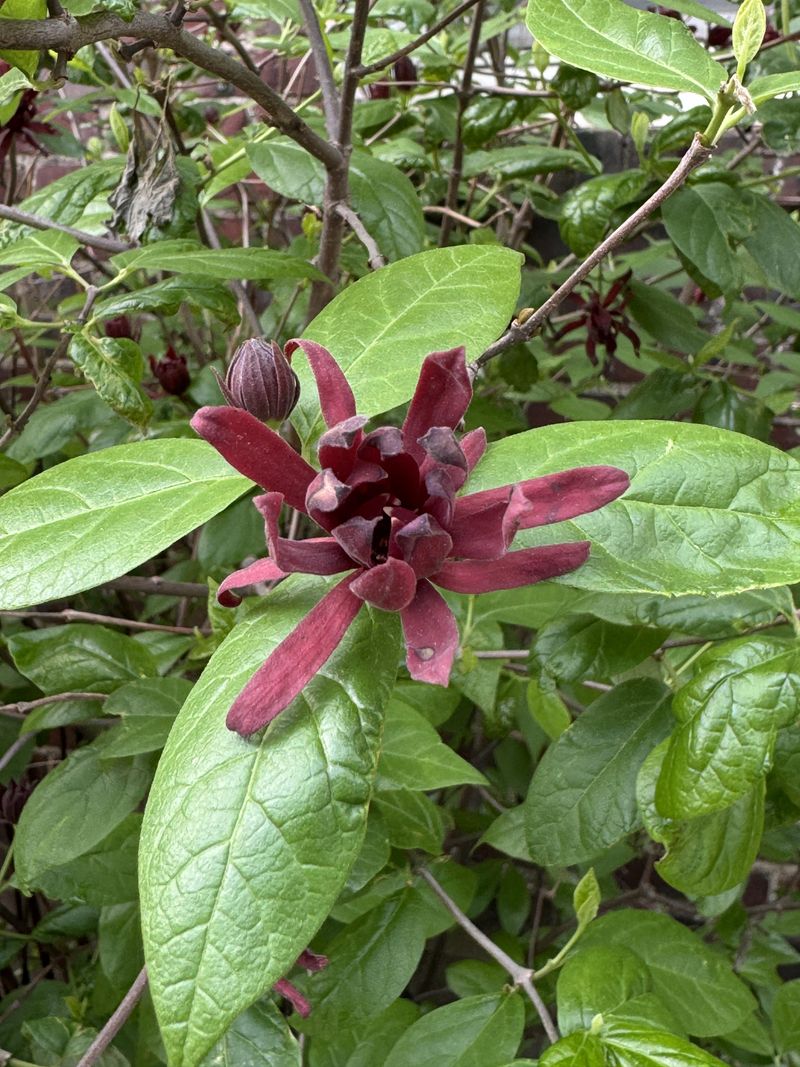
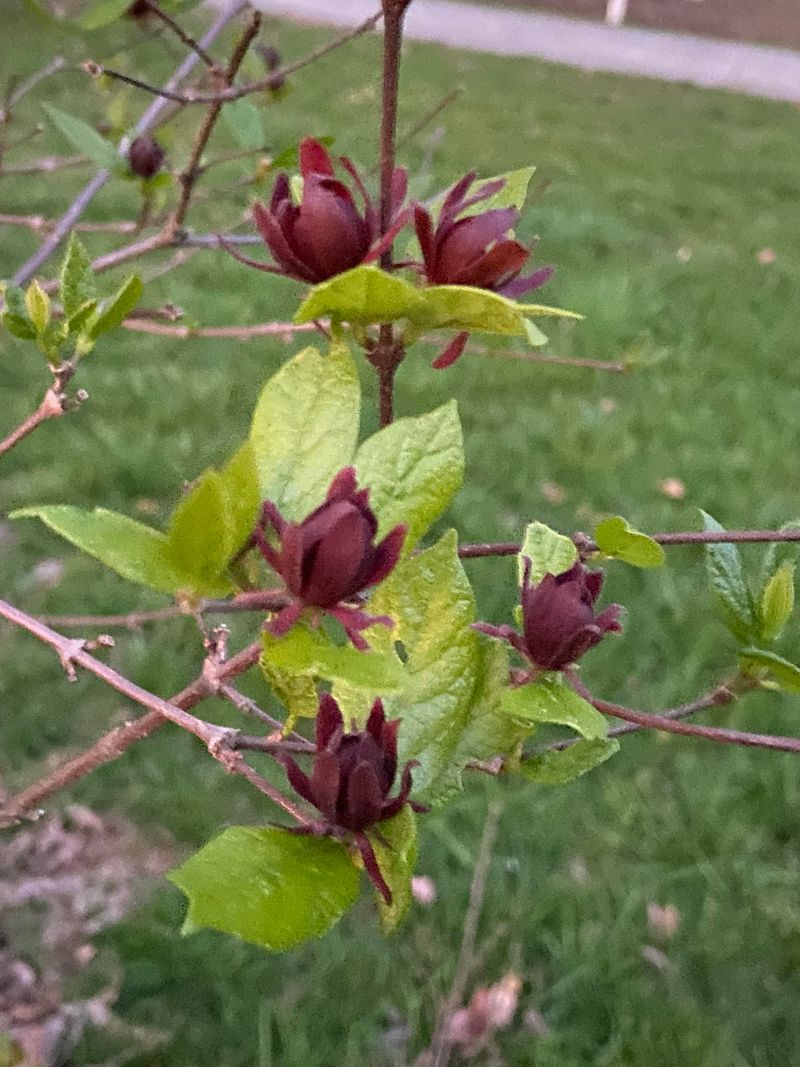
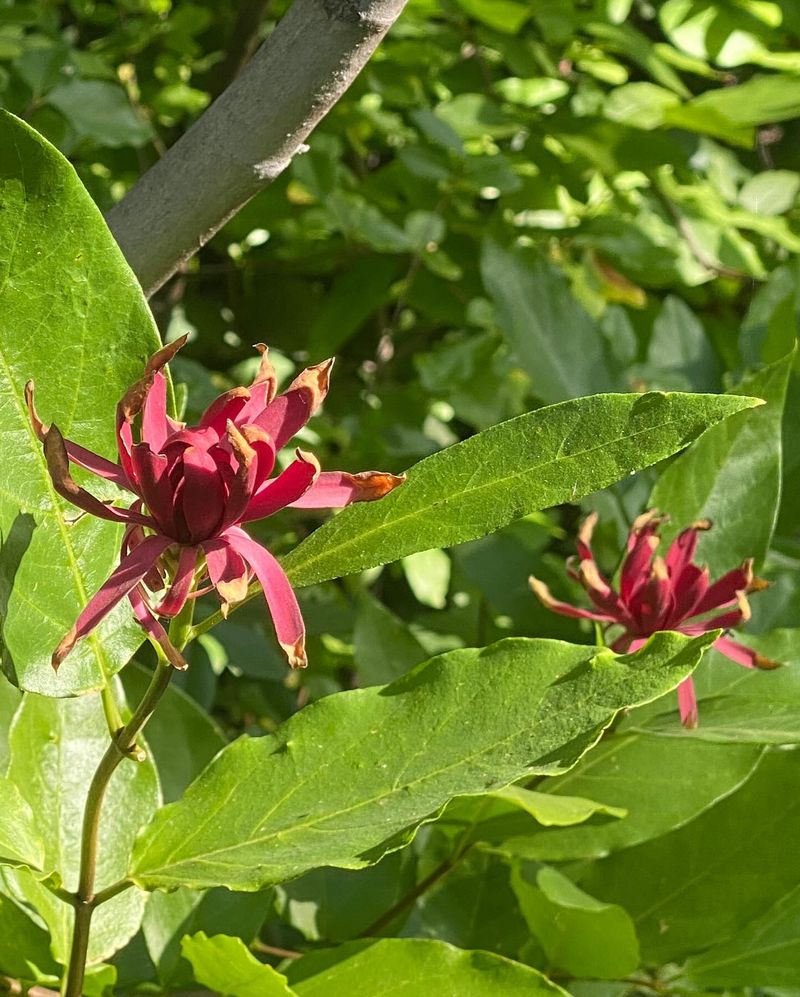
15. Harvest and Use Fragrant Blooms
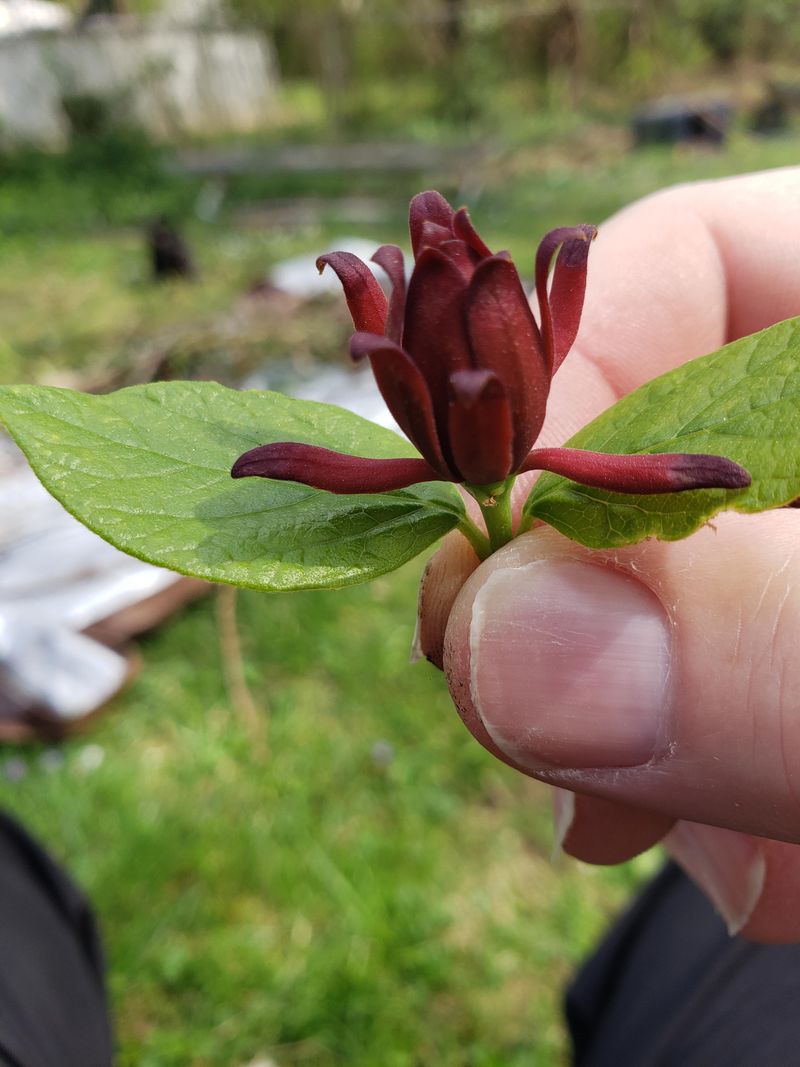
Don’t just admire your sweetshrub – bring that intoxicating fragrance indoors! Cut flowers in the morning when their scent is strongest. Choose blooms that have just fully opened for longest vase life. A simple arrangement of stems with a few leaves makes an elegant display.
Float individual blooms in shallow dishes for natural room fragrance. Dried sweetshrub flowers retain their scent and can be used in potpourri mixtures. The aromatic bark and twigs were historically used in sachets and can still serve this purpose today.