7 Ways To Grow Zinnia Flowers From Cuttings (And Tips To Keep Blooms Fresh)
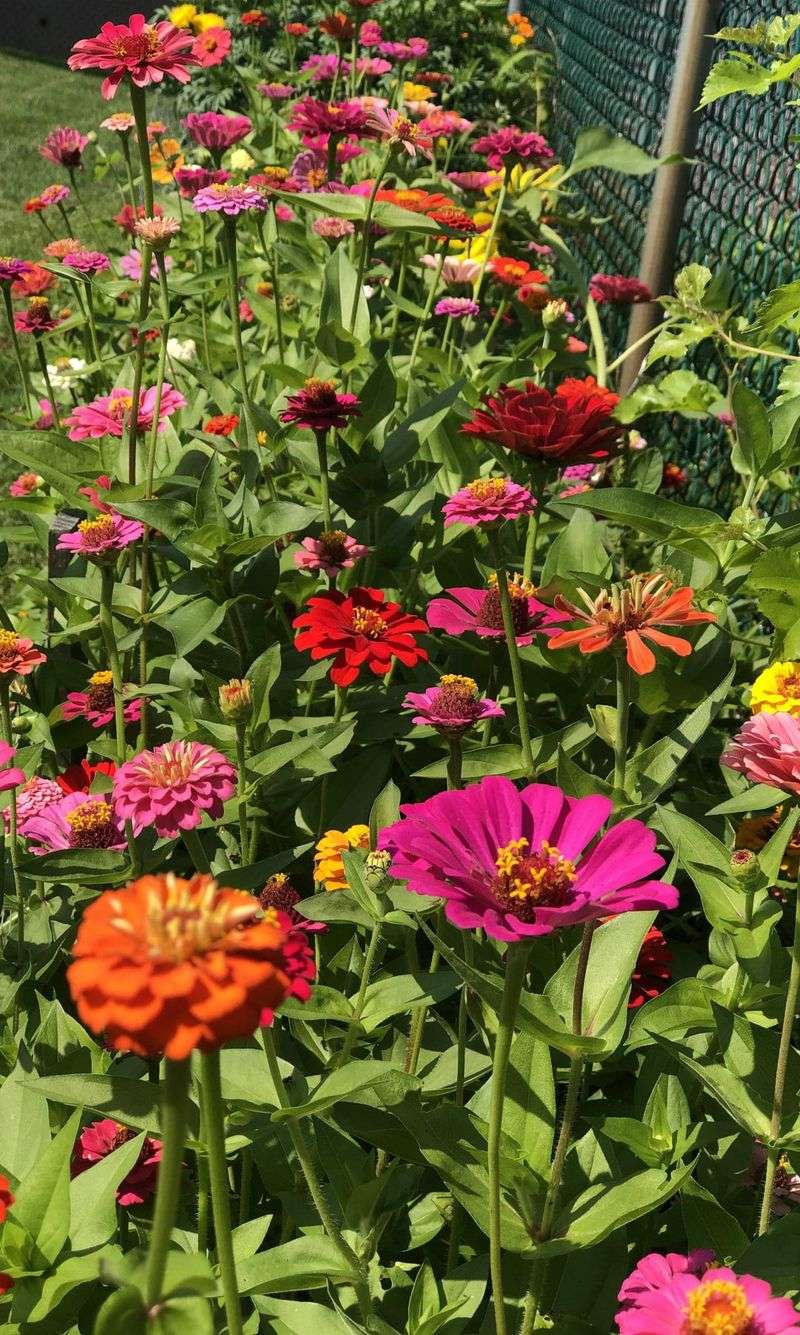
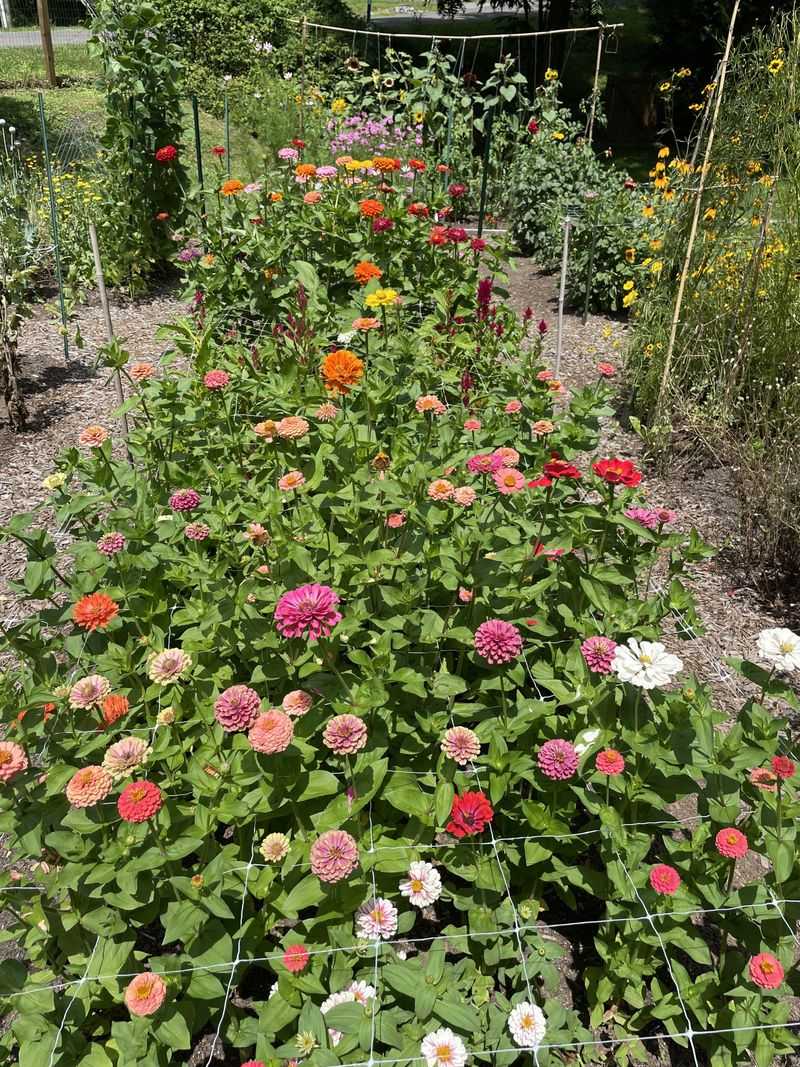
Zinnias are some of the happiest flowers in my garden—bright, easygoing, and always buzzing with bees. I usually grow them from seed, but once I found out you can grow them from cuttings too, I had to try it.
It’s quicker than you’d think, and the results are seriously rewarding. Plus, knowing how to keep those blooms fresh just makes the whole experience better.
Here’s how I grow even more zinnias from the ones I already love.
1. Take Stem Cuttings in Early Morning
Early morning is prime time for taking zinnia cuttings when plants are well-hydrated and stress-free. Select healthy stems with no flowers, making a clean cut just below a leaf node using sharp, sanitized scissors.
Aim for 4-6 inch sections with at least two sets of leaves. Remove lower leaves to prevent rotting when placed in water or soil. This morning ritual gives your cuttings the best chance of success without depleting the parent plant’s energy.
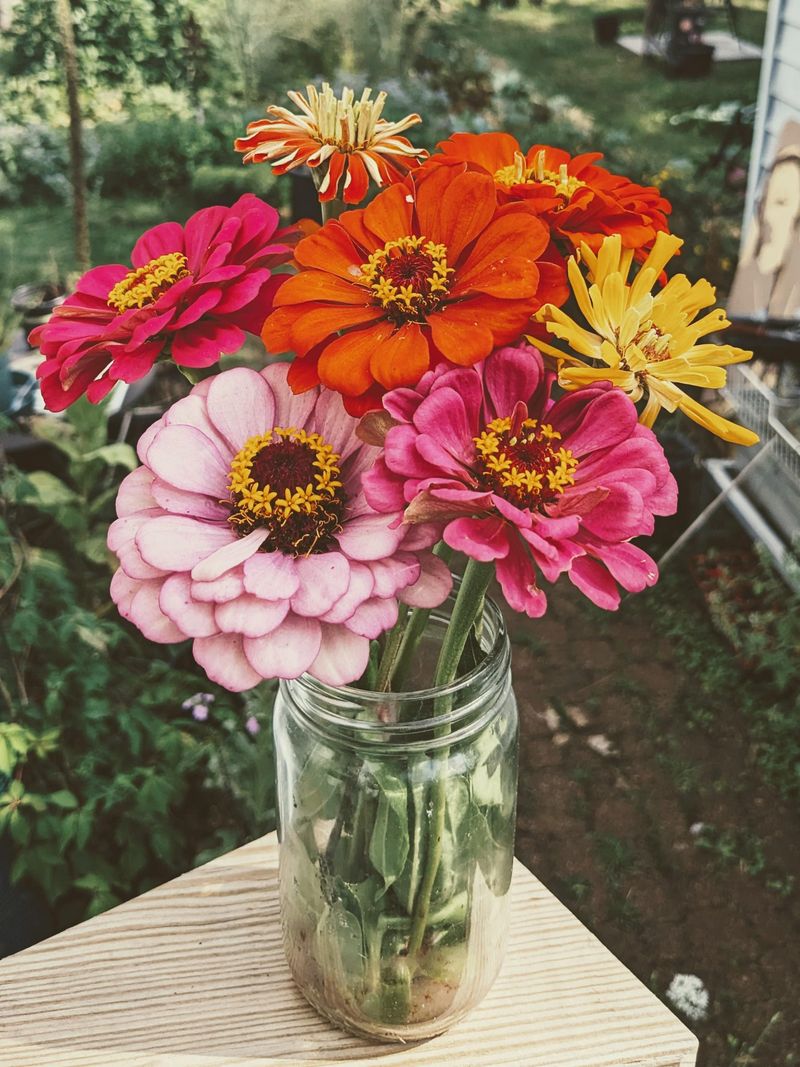
2. Root Cuttings in Water First
A clear glass jar filled with room-temperature water makes the perfect starting point for zinnia cuttings. Place your prepared stems in about an inch of water, making sure no leaves are submerged. Change the water every other day to prevent bacterial growth.
Watch for tiny white roots to emerge within 7-10 days – it’s like magic happening right before your eyes! Once roots reach about half an inch long, they’re ready for their soil debut.
3. Use Honey as Natural Rooting Hormone
Skip the store-bought chemicals and grab that honey bear from your pantry! Raw honey contains natural antibacterial properties and growth stimulants that help zinnia cuttings develop strong roots. Simply dip the cut end into a small amount of honey before planting.
The sticky sweetness protects against rot while encouraging root development. Many gardeners swear this kitchen staple outperforms commercial products, giving zinnias a natural boost while saving you money on specialty gardening supplies.
4. Create Mini Greenhouse Effect
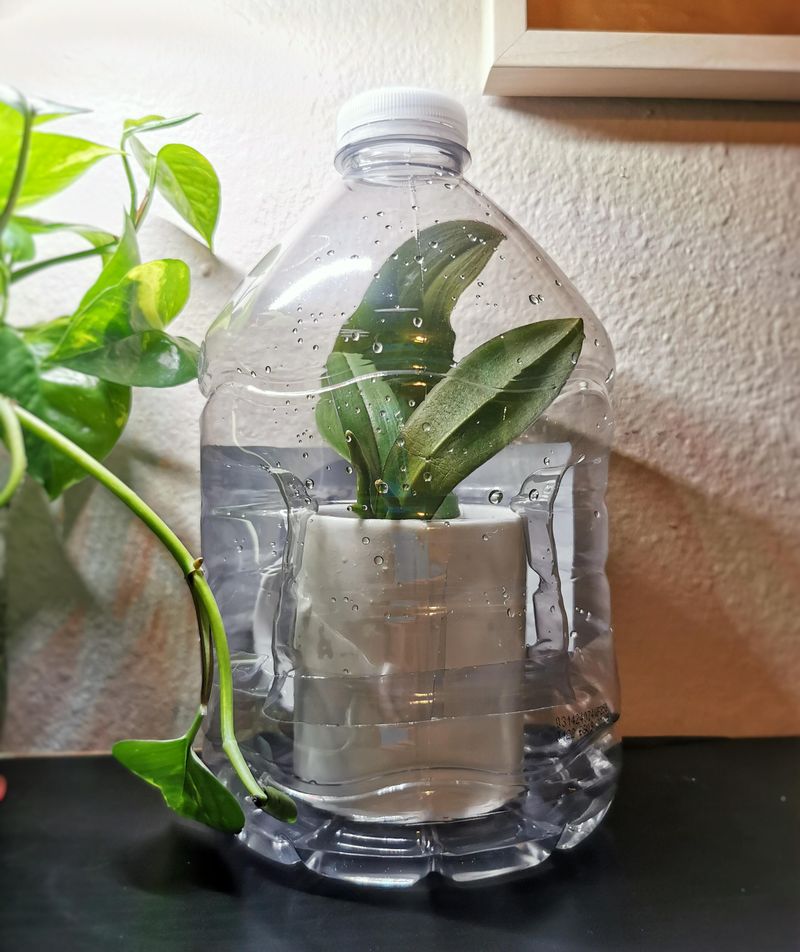
Transform ordinary plastic bottles into perfect propagation chambers for your zinnia cuttings! Cut the bottom off a clear plastic bottle and place it over newly planted cuttings. This creates a humid microclimate that dramatically improves success rates.
Remove the cap for ventilation during the day and replace it at night to maintain warmth. This recycled mini-greenhouse prevents moisture loss while allowing just enough airflow to discourage mold. Your cuttings will establish faster with this simple protection.
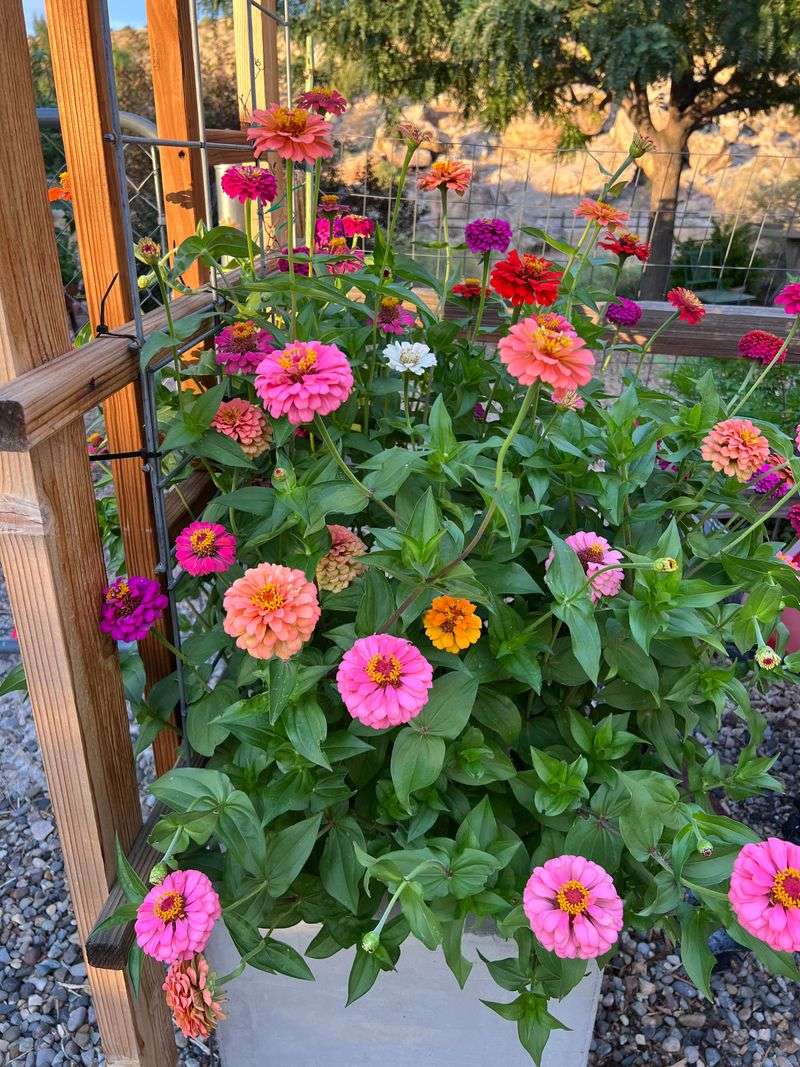
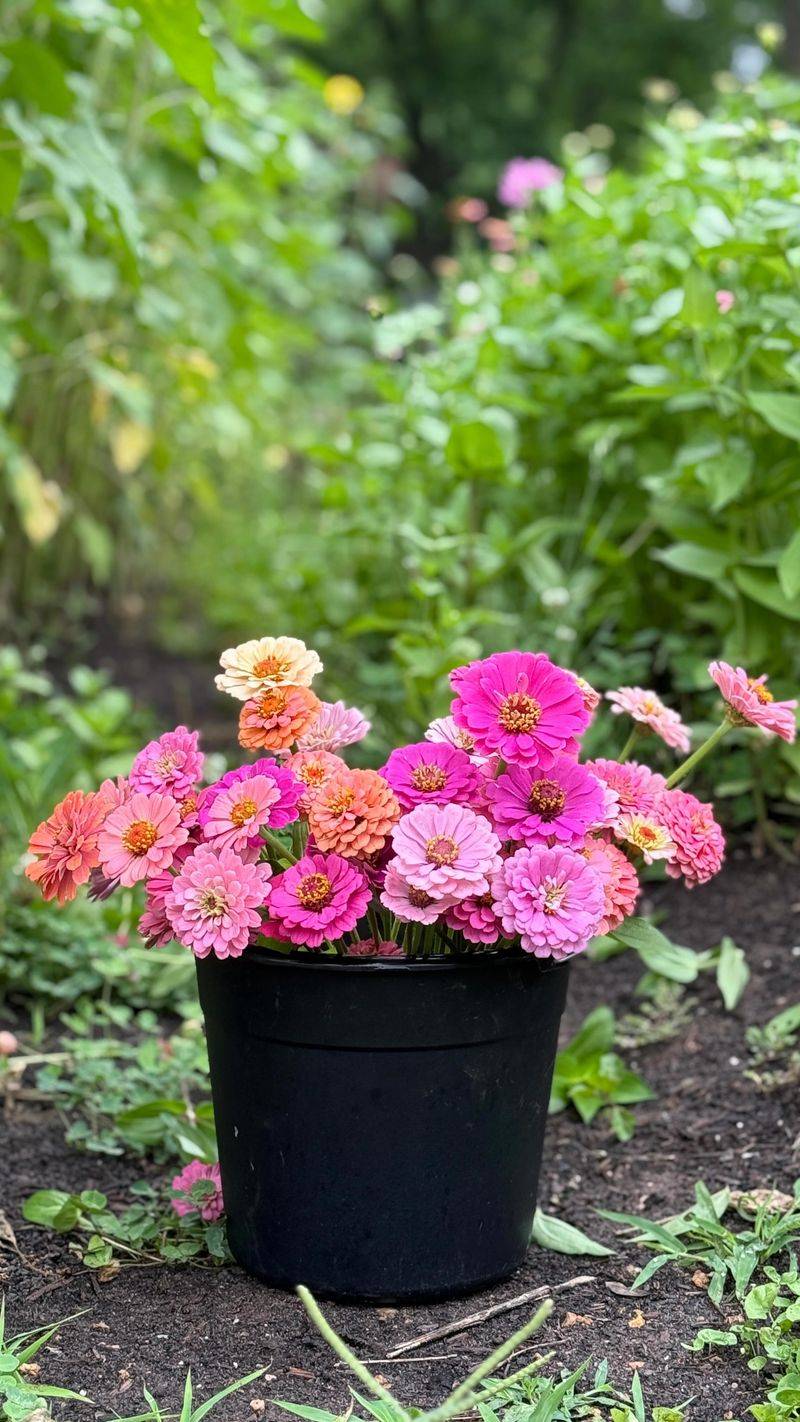
5. Plant Multiple Cuttings Together
Group three to five zinnia cuttings in a single pot to create an instantly fuller plant once they root. This community planting approach provides mutual support and creates a microclimate that boosts humidity around the developing stems.
Space them about an inch apart in a circle, with each cutting leaning slightly outward. As they grow, they’ll naturally fill out into a beautiful bouquet-like arrangement. This method gives you impressive results much faster than single plantings while maximizing your container space.
6. Provide Bright, Indirect Light
Fresh zinnia cuttings thrive in bright conditions but will quickly wilt under harsh direct sun. An east-facing window provides that perfect morning glow without afternoon intensity. If using artificial lighting, position grow lights about 6 inches above the plants.
Watch leaf color as your guide – pale leaves need more light, while crispy edges signal too much. Once roots are established, gradually introduce your baby zinnias to more direct light over a week. This gentle transition prevents shock while building strong, bloom-ready plants.
7. Pinch Tips for Bushier Growth
Once your zinnia cuttings reach about 6 inches tall with several sets of leaves, it’s pinching time! Use your thumb and forefinger to gently remove the topmost growth point just above a leaf node. This simple 5-second task tricks the plant into producing multiple stems instead of one.
The result? Bushier plants with twice or triple the flowers. Continue pinching new growth tips until about 8 weeks before your first frost date. Each pinch delays blooming slightly but rewards you with a much more impressive floral display.
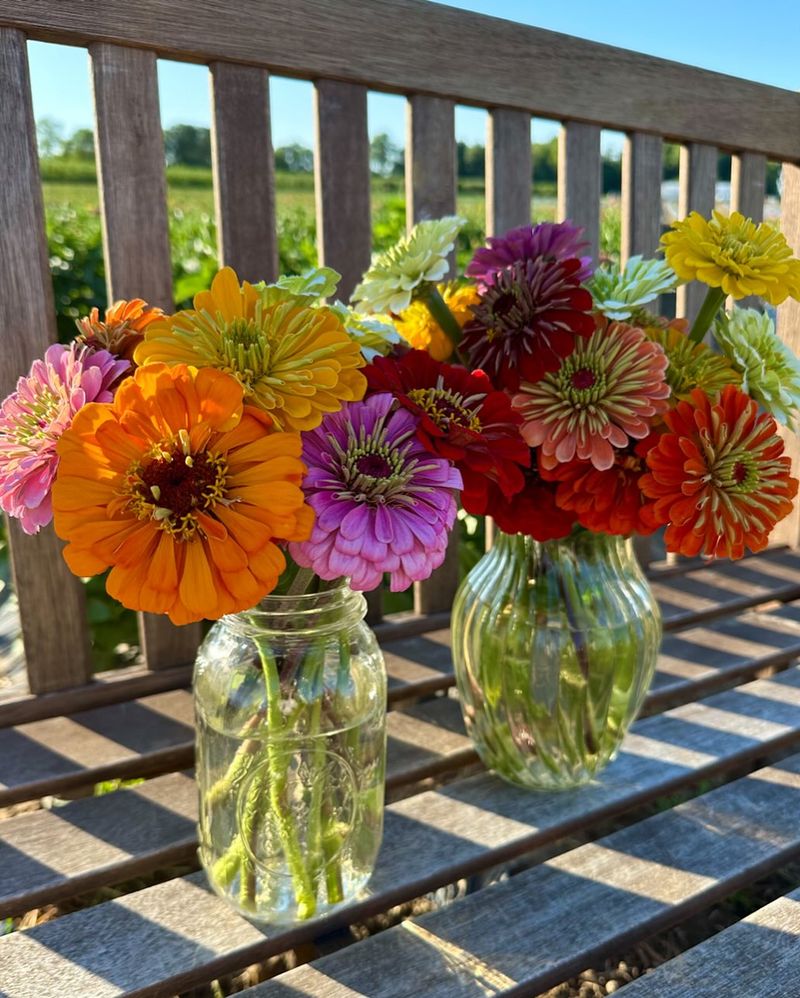
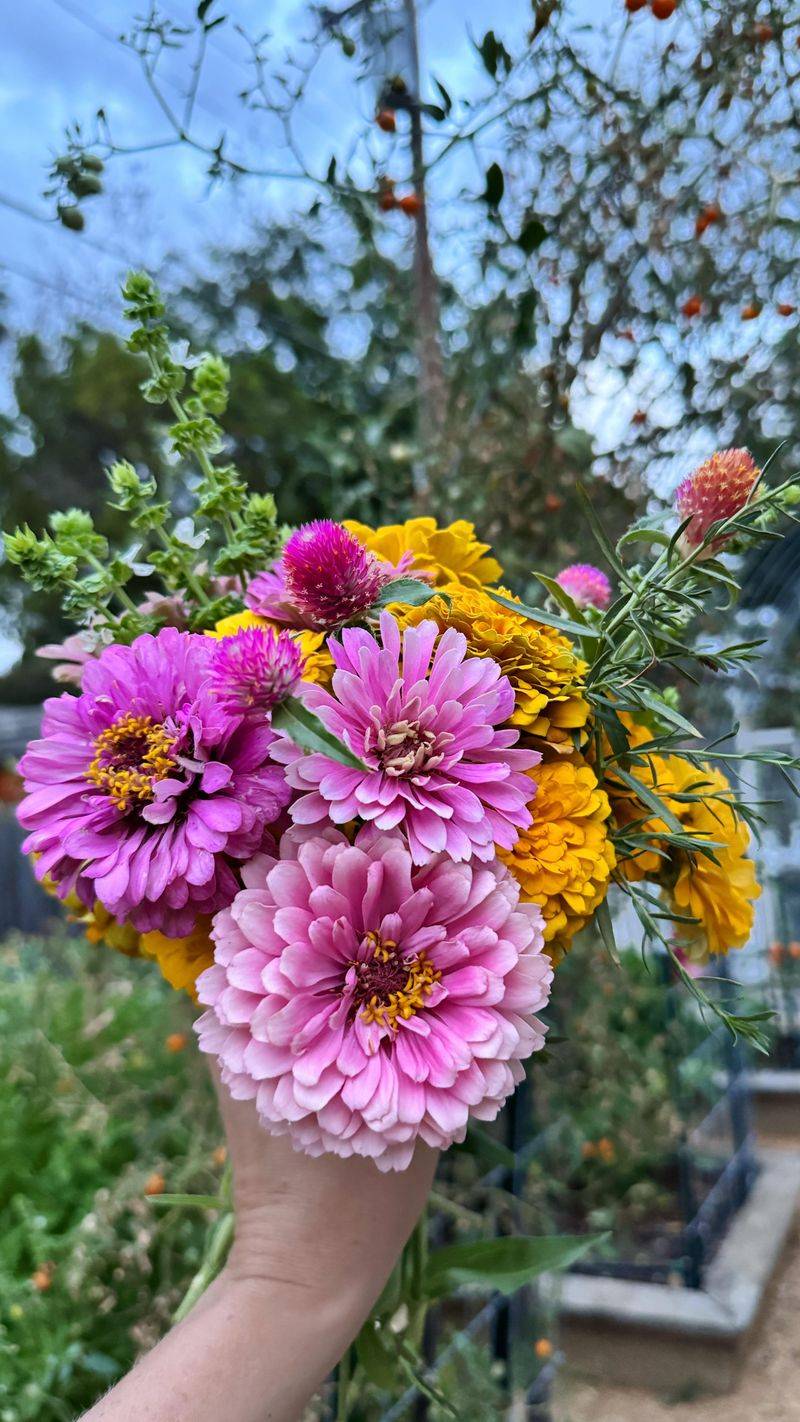
8. Cut Flowers in Early Morning
Timing is everything when harvesting zinnia blooms! Early morning, just after dew has dried but before the day heats up, is the sweet spot. Plants are fully hydrated from overnight recovery, meaning stems are packed with moisture and will last significantly longer in vases.
Bring a bucket of clean water right into the garden with you. Place cut stems directly into water rather than carrying them dry. This prevents air bubbles from forming in the stems – those invisible bloom-killers that block water uptake and cause premature wilting.
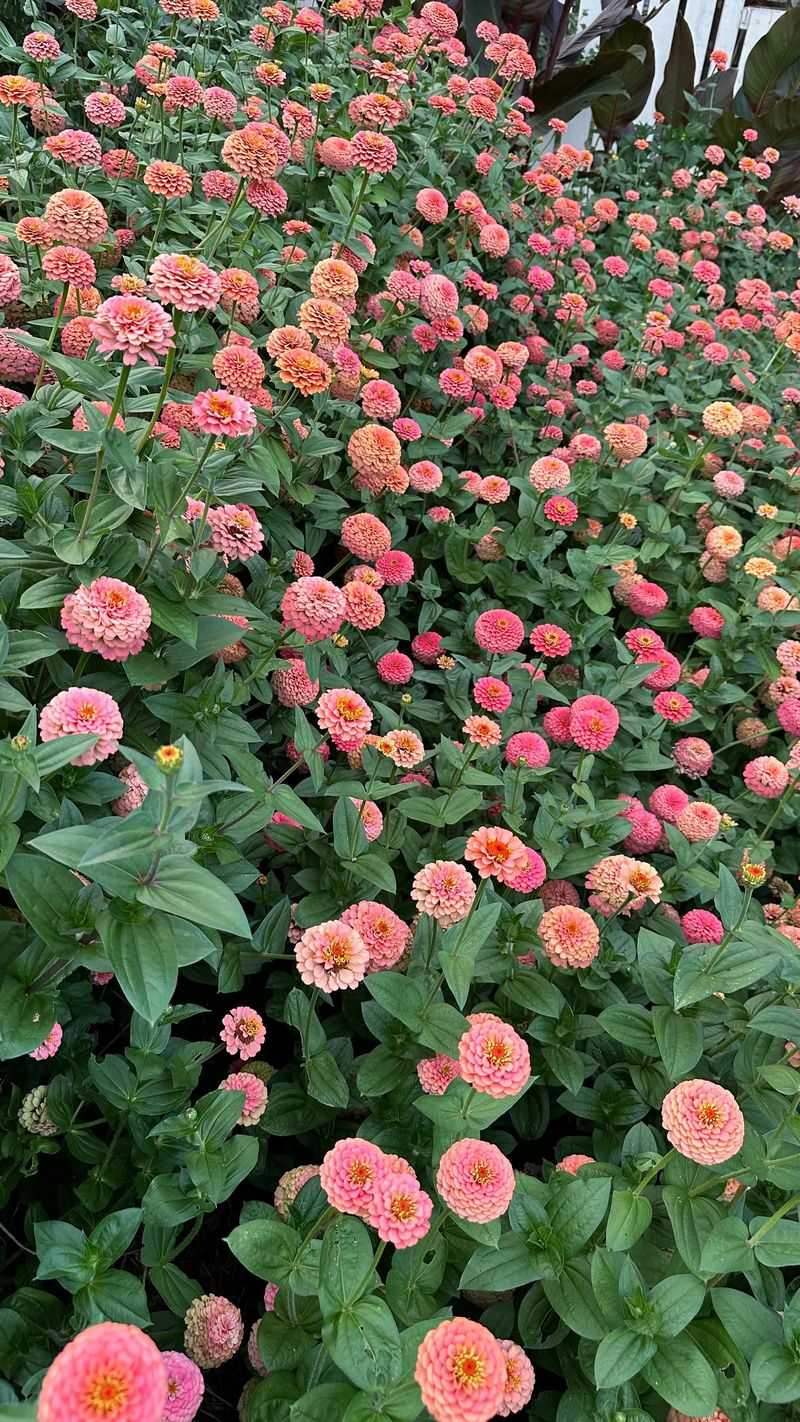
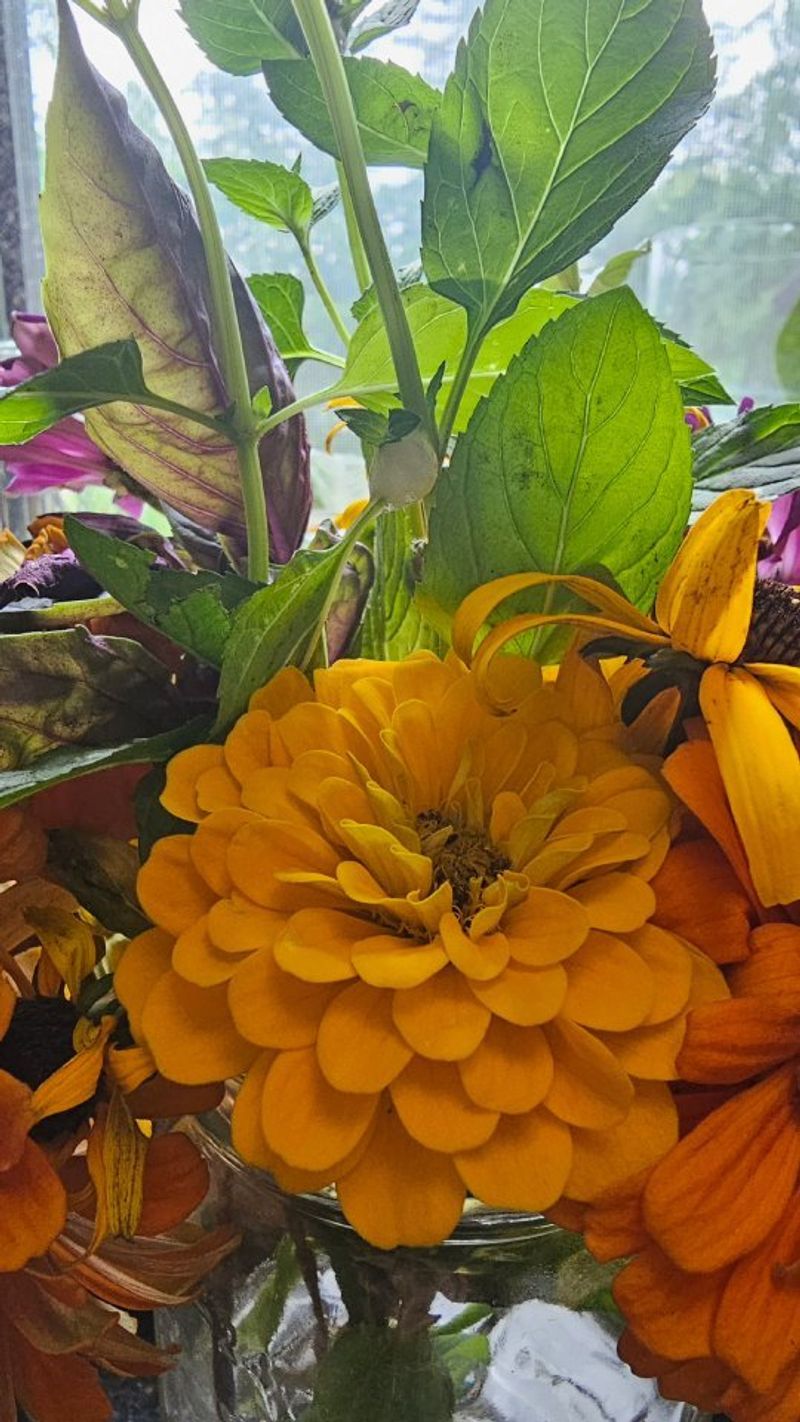
9. Choose Fully Open Blooms
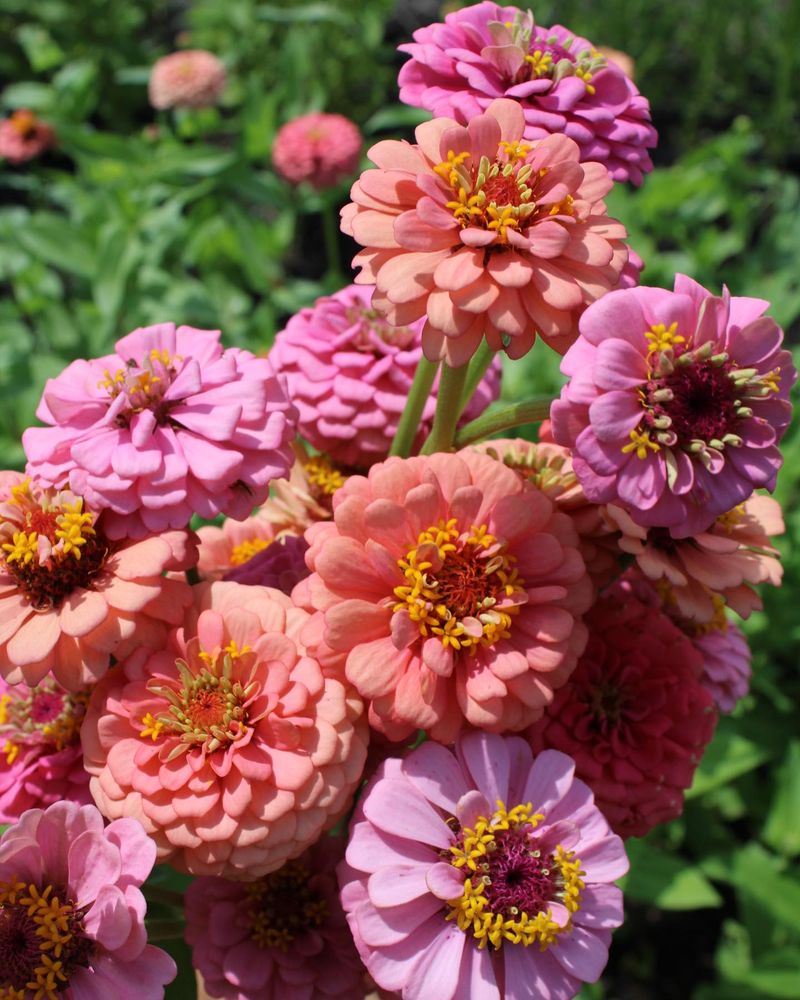
Unlike roses or tulips, zinnias don’t continue opening after cutting. The perfect cutting stage is when blooms are fully open but before the center darkens. Look for flowers with vibrant petals and bright, fresh-looking centers without browning edges.
Avoid partially open buds for arrangements – they’ll never reach their full potential indoors. However, fully developed buds with color showing can open if you leave a long stem attached to the flower. This selection technique ensures your bouquets start at peak beauty.
10. Make Diagonal Stem Cuts
Grab those sharp scissors and make a clean, angled cut across each zinnia stem. This 45-degree slice creates a larger surface area for water uptake compared to straight cuts. More surface means more hydration reaching those thirsty blooms!
Cut stems longer than needed for your arrangement – at least 8 inches if possible. You can always trim them shorter later, but having extra length gives you flexibility with vase choices and allows for fresh cuts before each water change. Those diagonal snips truly extend vase life.
11. Remove Lower Foliage
Those lush green leaves might look pretty on the plant, but underwater they quickly become slimy saboteurs. Strip all foliage that would sit below the waterline in your vase. This simple step prevents bacterial growth that clouds water and blocks stem uptake.
Leave a few upper leaves for natural beauty and photosynthesis that continues even after cutting. The cleaner your stems, the longer your zinnias will last. This leaf-stripping ritual takes just seconds but can add days to your arrangement’s lifespan.
12. Use Warm Water for First Drink

Surprise your freshly cut zinnias with a warm bath rather than cold water! Lukewarm water (about 100-110°F) moves up stems more quickly than cold, hydrating blooms faster. This initial warm drink helps overcome cutting shock and extends vase life.
After a few hours, you can switch to room temperature water for regular vase use. Think of it as a spa treatment for your flowers! This warm welcome reduces air bubbles in stems and jumpstarts the drinking process, keeping those colorful heads held high.
13. Add Homemade Flower Food
Skip those tiny commercial packets and make your own zinnia-boosting elixir! Mix 1 teaspoon sugar, 1 teaspoon white vinegar, and 3 drops bleach into a quart of water. The sugar provides energy, vinegar prevents bacterial growth, and bleach keeps the water clear.
Replace this solution every two days, giving stems a fresh cut each time. This homemade recipe works just as effectively as store-bought preservatives at a fraction of the cost. Your zinnias will drink happily while you enjoy longer-lasting, brighter blooms.
14. Keep Arrangements Away From Fruit

That beautiful fruit bowl might complement your zinnia arrangement visually, but keep them separated! Ripening fruits release ethylene gas – an invisible flower killer that speeds up aging and causes petals to drop prematurely.
Apples and bananas are particularly potent ethylene producers. Moving your arrangement just a few feet away from fruit can add days to its display life. This separation strategy costs nothing yet dramatically extends how long you’ll enjoy those vibrant zinnia blooms.
15. Change Water Every Two Days
Fresh, clean water is the secret weapon for long-lasting zinnia displays. Even with flower preservatives, bacteria multiply rapidly, blocking stem ends and preventing water uptake. Empty the vase completely every other day and refill with fresh solution.
While the vase is empty, give it a quick rinse with hot water to remove any slime buildup. Before returning stems, trim off 1/4 inch from each end to remove any clogged tissue. This regular refresh routine can transform a 5-day vase life into 10+ days of colorful enjoyment.