11 Brilliant Ways That Will Help You Prevent Transplant Shock When Moving Perennials

When it comes to transplanting perennials, ensuring a smooth transition to their new home can be a delicate process. The phenomenon known as “transplant shock” is something gardeners aim to prevent.
It occurs when perennials face stress and adjustment difficulties during the relocation process. Yellowing of the leaves, leaf drop, plant wilting, stunted growth, and root rot are often signs of transplant shock.
In this article, we are going to cover some techniques that can help prevent transplant shock when moving perennials, ensuring these cherished plants thrive in their new environment.
Let’s get started!
1. Water Them Before Transplanting
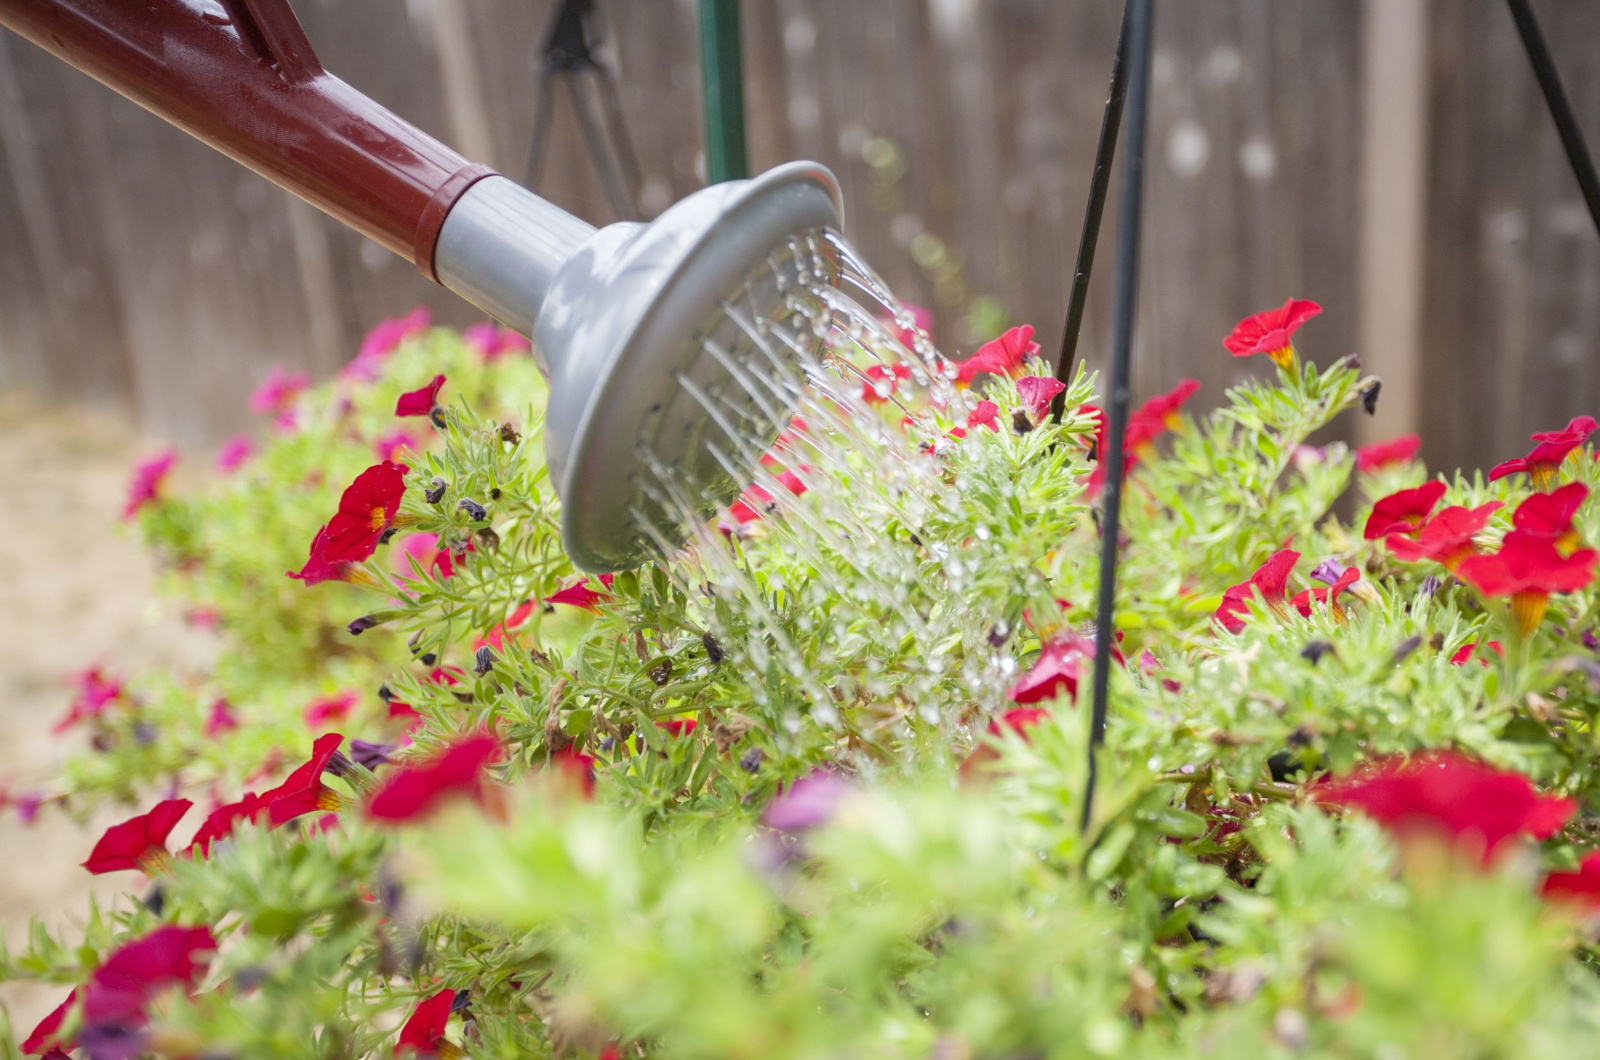
Keeping the plant’s root ball moist before, during, and after transplanting is very beneficial when it comes to transplanting. So, a few days before moving your plant to a new location, be sure to give it a nice drink.
Hydrated plants can easily adapt to new environments, which is why you should water them right after planting. Let the water run through the drainage holes, but don’t overdo it or you will drown the roots.
Check the moisture daily and be sure to water directly at the base of the plant. Continue to do so within the first few weeks to a month after transplanting. This especially applies to outdoor plants if there’s no rainfall.
I would recommend you to always check the soil before watering – if the soil is dry, then go ahead and water. If it feels soggy, postpone watering for a few days. This is an effective method to avoid root rot.
2. Hardening Off Is The Key
Think of hardening off as a fitness regimen for your plants. Gradually acclimating them to outdoor conditions, especially if they were previously grown indoors or in a sheltered environment, toughens them up.
This process prepares them for the changes in temperature, wind, and sun exposure they’ll face in their new location, minimizing the shock of the move.
Simply put your plants in semi-protected areas for a week or two. It will take a little longer if the weather is still cold – progressively increase the amount of time plants are left outside until they have adapted to the colder temperatures.
If you don’t harden off your plants, they might wilt and turn yellow.
However, this doesn’t apply to all plants and some should be transplanted right away. These include newly divided perennials, bare root berries and fruit trees, balled and burlapped trees, or any other plant material that comes packaged.
If you are dealing with seedlings, make sure to check out these 11 Tips For Successfully Transplanting Seedlings Outside.
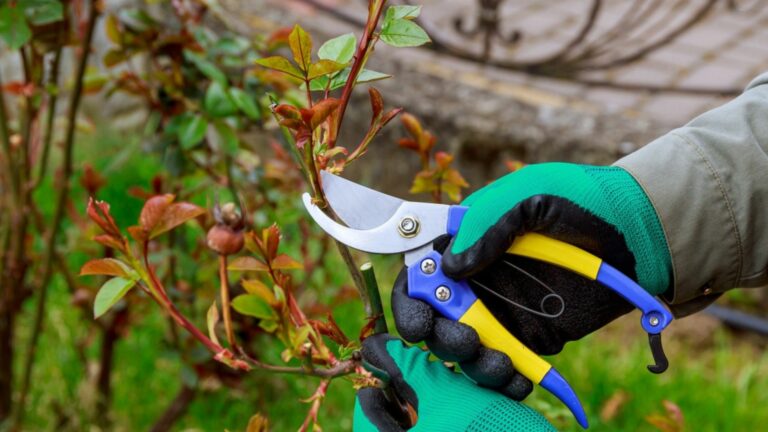
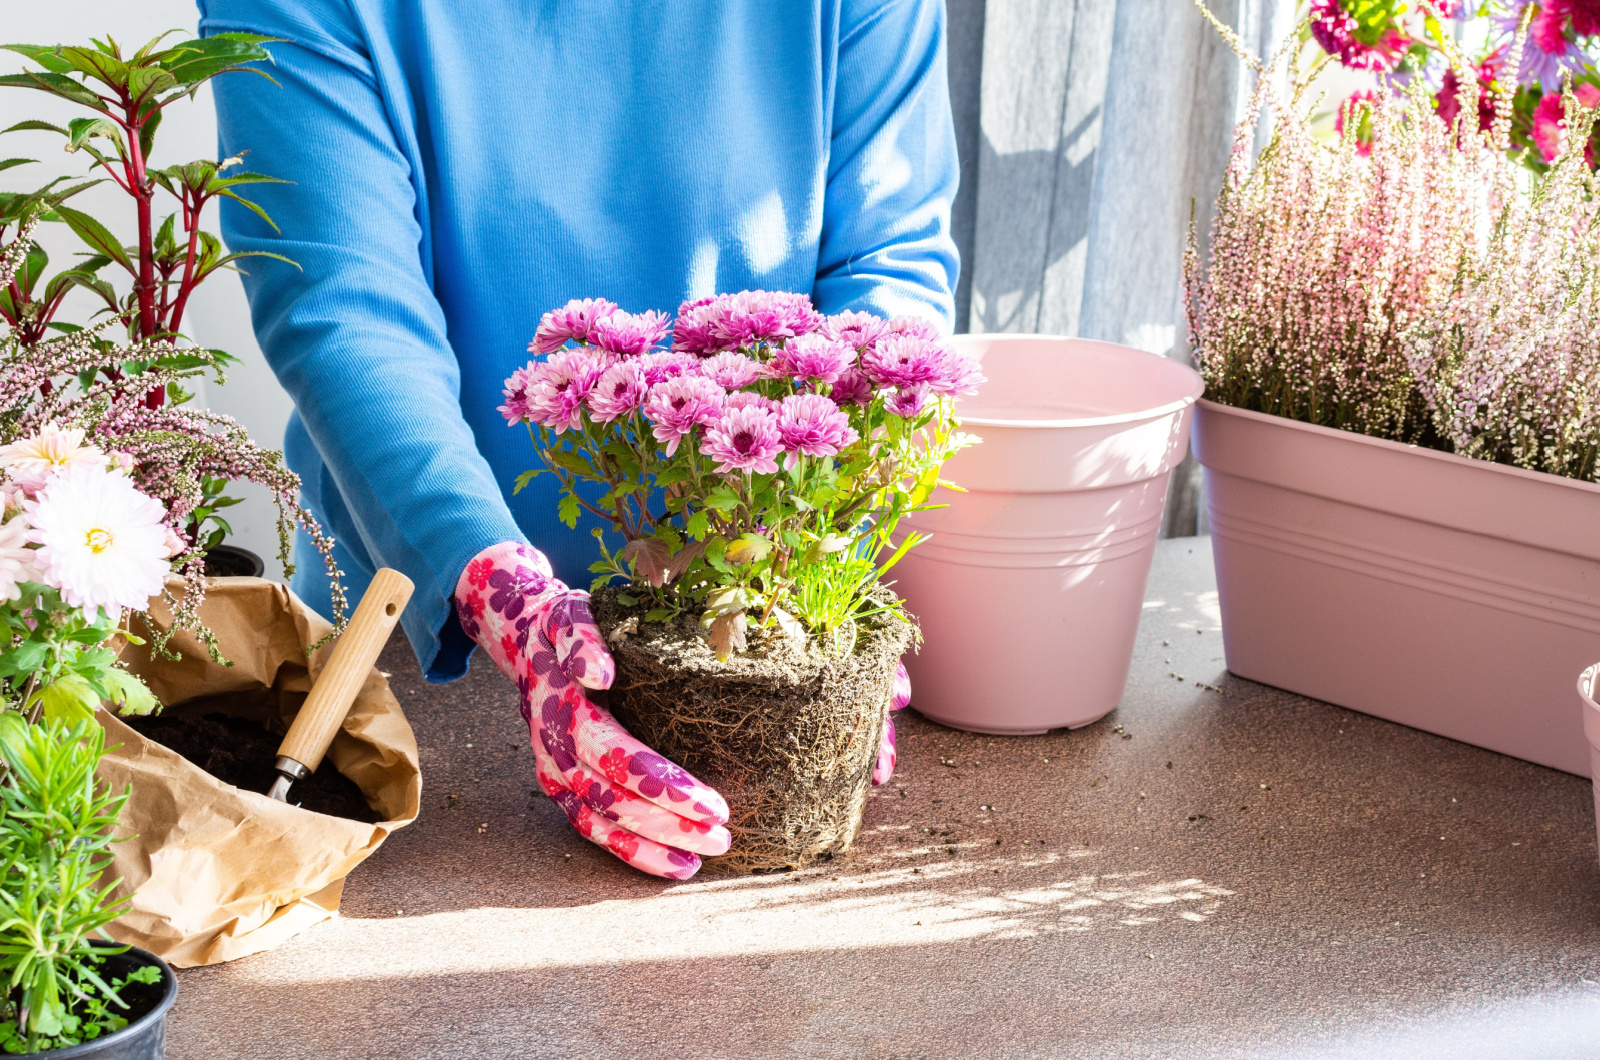
3. Don’t Let Your Plants Become Rootbound

Healthy roots are the foundation of a thriving perennial. Don’t let your plants become “rootbound,” which is when their roots get tightly wound within the pot. This can lead to nutrient and water uptake issues.
Rootbound plants are extremely susceptible to transplant shock since their roots are all tangled up and less likely to grow and expand in new soil. So, before you transplant your plants, you should check for signs of root binding.
Common signs include roots coming out of the drainage holes; they also appear tangled and overcrowded, similar to growing in a spiral around the shape of the pot. These entanglements also lead to root rot, so you should act quick!
Don’t let your plants become rootbound in the first place and you won’t have to deal with this issue. Nonetheless, some plants can get entangled without us even noticing it. In this case, you should loosen up the roots before transplanting.
Detangle the roots with your fingers or a kitchen fork. Cut away any rotten or diseased roots with a clean set of pruners. You can dunk the ball in water if they are still not loosening up. Ensure that the roots are now pointing outward and down.
In most cases, rootbound plants will still suffer some transplant shock. However, it’s far less damaging if you untangle the roots beforehand.
4. Timing Is Crucial
Transplanting your plants at the right time also plays a very important role. Early spring or late summer/early fall are often ideal, as the weather is milder and the plants are not in their active growth phase. This timing allows them to establish roots with less stress.
Winter transplanting is often avoided because cold temperatures can damage roots and lead to stunted growth.
You can figure out the right timing based on plants’ flowering time – if they are spring or early summer bloomers, transplant them in fall. Late summer or fall bloomers should be transplanted in the spring.
Plants like shrubs, herbs, and trees should be transplanted during their dormant stage but only after the risk of frost has passed.
Fall transplanting should be done earlier so that the plants are not exposed to frost (4 to 8 weeks before the first frost date is optimal for transplanting). Still, do some research and figure out the best transplanting time for your plant!
If you have lavender, check this out: Helpful Tips To Transplant Lavender + 4 Things To Avoid
5. Avoid Transplanting During The Blooming Period
A general rule of thumb when it comes to transplanting plants is to avoid doing so if they are in bloom. Transplanting during the blooming period can divert a plant’s energy away from producing blossoms, potentially weakening it.
To prevent this, aim to transplant your perennials either before or after their blooming phase for the best results. You should transplant late summer and fall-blooming plants in the spring before they flower because they spend their energy on vegetative growth during spring.
However, with spring-blooming plants, vegetative growth isn’t a priority until after the blooming period. They spend their summer and fall energy on the growth of their leaves and roots.
It is recommended to trim off the flowers if your plant is flowering and you are forced to plant it in the ground. This is because some plants stress-flower when in pots, which is why it’s especially important to prune them back.
You might also be interested in: 21 Longest Blooming Perennials For A Never-Ending Season
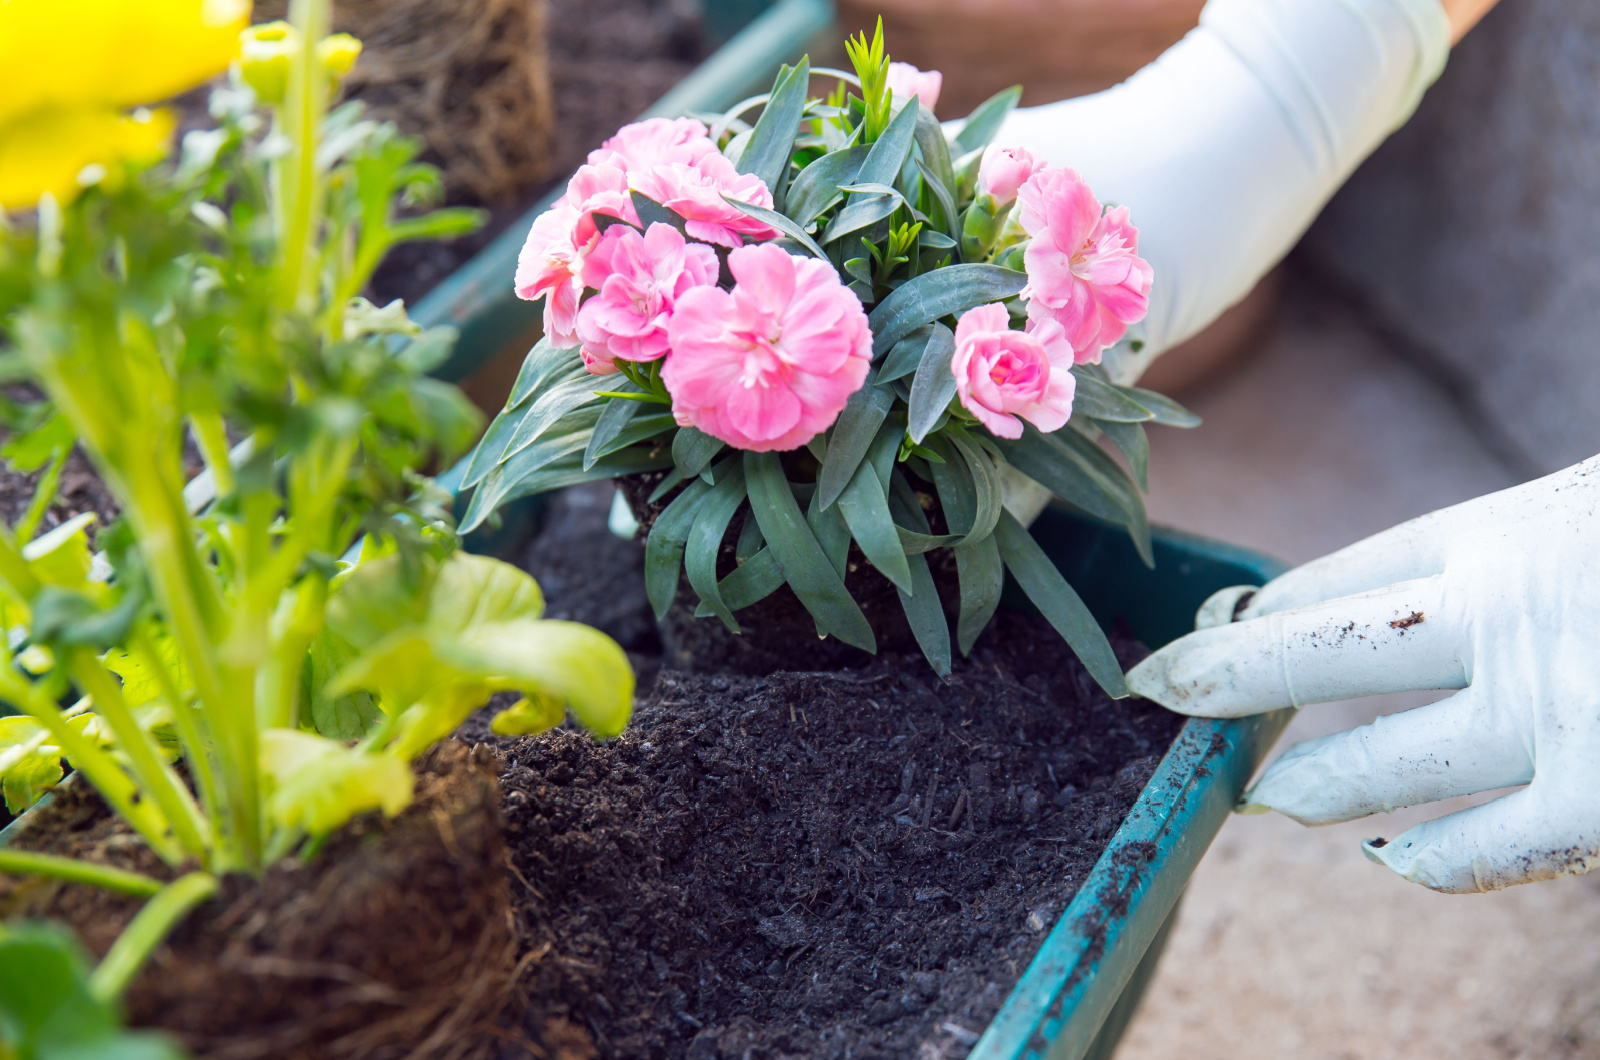
6. Prepare Your New Planting Space
The next tip is ensuring your new planting site is ready and well-prepared before moving your perennials. First of all, you should avoid placing your plant in a planting hole that is barely larger than its root ball because the roots might have some trouble expanding and growing.
Clear any weeds, amend the soil if needed, and provide adequate drainage. I would recommend you look up the plant’s soil requirements in advance. Well-draining soil is achieved by aerating and mixing with peat moss, perlite, or sand.
If your plant requires loamy soil, you should add a lot of compost. Ensure that the soil is not too compact by loosening it. Planting holes should be at least twice the depth and width of the plant’s root ball.
One common mistake is heavily pressing down the soil around a recently transplanted crown and making it compact. Although it’s crucial to tuck in the plant, stomping or patting the soil might lead to stunted growth.
What you should do is gently backfill the hole to cover the entire root system, only applying pressure to the plant’s central stem or trunk. By doing this, the plant is firmly established in its new location without compacting the hole that you have worked so hard to prepare.
Also read: Improve Your Garden Soil With These 5 Simple Methods
7. Pick The Right Time Of Day
Timing within the day matters too. Opt for early morning or late afternoon for transplanting so the sun is less intense and temperatures are milder. This minimizes stress on the plants and allows them to settle into their new surroundings more comfortably.
Most perennials like being transplanted in late afternoon. However, you can do this earlier during cloudy days. Cooler periods allow plants to retain water and prevent wilting. Plus, your delicate plants are not exposed to harsh UV rays when transplanting.
One of the mistakes that most gardeners make is digging out the plant and leaving it in the sun while they are preparing the planting hole. Roots are extremely sensitive and might be damaged by sunlight after only a few minutes of sun exposure.
Studies have shown that light decreases roots’ ability to store vital nutrients and may even result in cell death. If you must transplant in the middle of the day, cover all of the roots to prevent drying out.
Smaller bare-root plants can be left with their roots in shallow water or covered with damp paper towels, but larger plants do better when wrapped in damp burlap or towels.
I recommend planting in the evening because the plant will have enough time to adjust to its new location without facing the scorching sun for the rest of the day. Plus, there won’t be sun exposure to roots and the temperatures will be cooler.
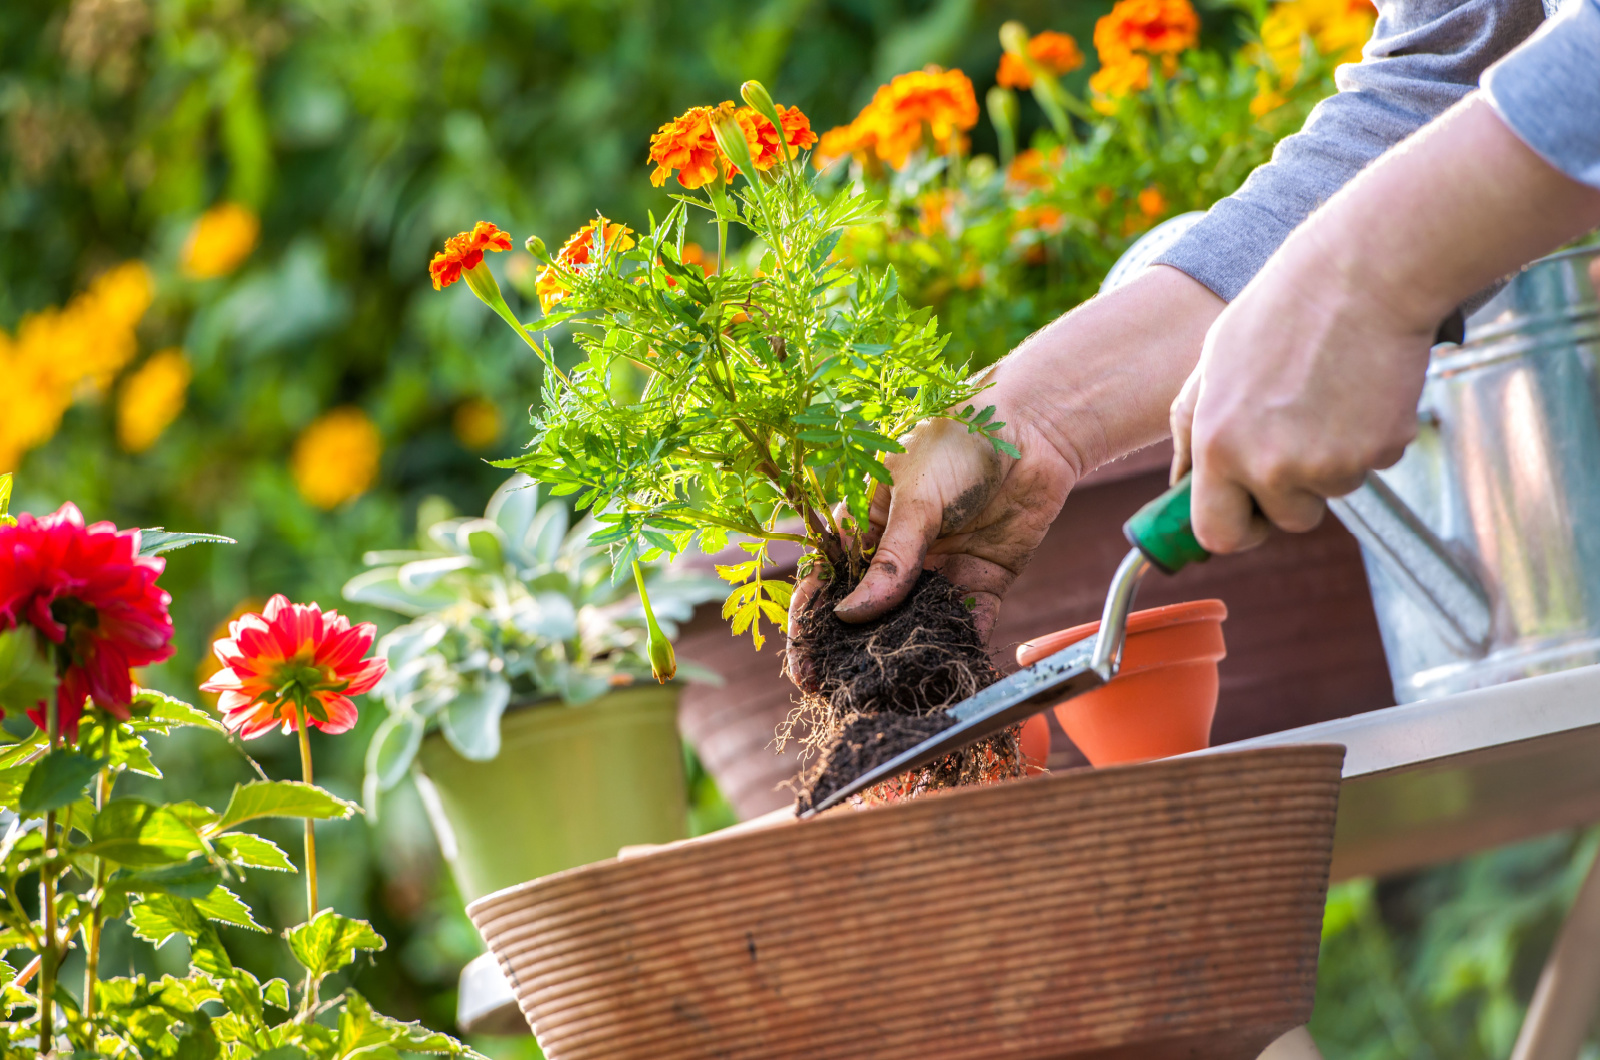
8. Opt For Smaller Plants
When possible, choose younger or smaller perennials for transplanting. They tend to adapt more quickly and experience less shock compared to larger, more established plants.
Most larger specimens have already adapted to their pots or nursery grounds. They have more robust root balls which are often tricky to dig up. Trees in particular undergo a lot of stress after being uprooted from their current location.
On the other hand, smaller plants can quickly catch up and grow profusely. Plus, they are easier to handle, cheaper, and better prepared for adjusting to new planting conditions.
In some cases, younger plants can grow more rapidly than their larger companions when transplanted at the same time. This is because younger roots and reduced stress avoid stunted growth easily.
So you see, it’s better to start small and nurture your plants until they are established. If you, for instance, add a giant tree or shrub to your landscape, the transplant shock might reduce its growth severely.
Opt for smaller plants and provide them with the best growing conditions!
You might find this interesting: 20 Breathtaking Balcony Privacy Plants And Their Care Guides
9. Don’t Disturb The Roots
Handle your plants with care and avoid disturbing the roots as much as possible during the transplanting process. These are extremely fragile and can be damaged easily – and if you damage their foundations, you can say goodbye to healthy and robust plants!
Water aggregates soil, therefore maintaining the right moisture content is essential for reducing root disturbance. The soil will form clumps and act as a protective blanket around the roots.
Furthermore, the entire structure is kept intact by gently cradling the root ball during transportation (using gloves, a sheet, or a wheelbarrow). Don’t lift a transplant by its stem, as this will cause the root ball’s soil to fall out completely.
Never drop, shake, toss, or otherwise roughly handle your plant. Gently lift and transfer them with intact root systems, minimizing stress and disruption.
10. Add Seaweed Or Diluted Kelp
Seaweed or kelp extracts are rich in nutrients and can aid in reducing transplant shock. It is scientifically proven that these marine-based fertilizers increase shoot and root growth, thus reducing the risk of transplant shock.
You can add diluted kelp immediately after transplanting – simply mix a small amount into water and use it when watering. It’s always better to use diluted kelp or seaweed because they have enough minerals to boost your plant’s growth.
Also read: 95 Things You Didn’t Know You Can Compost
11. Use Row Covers
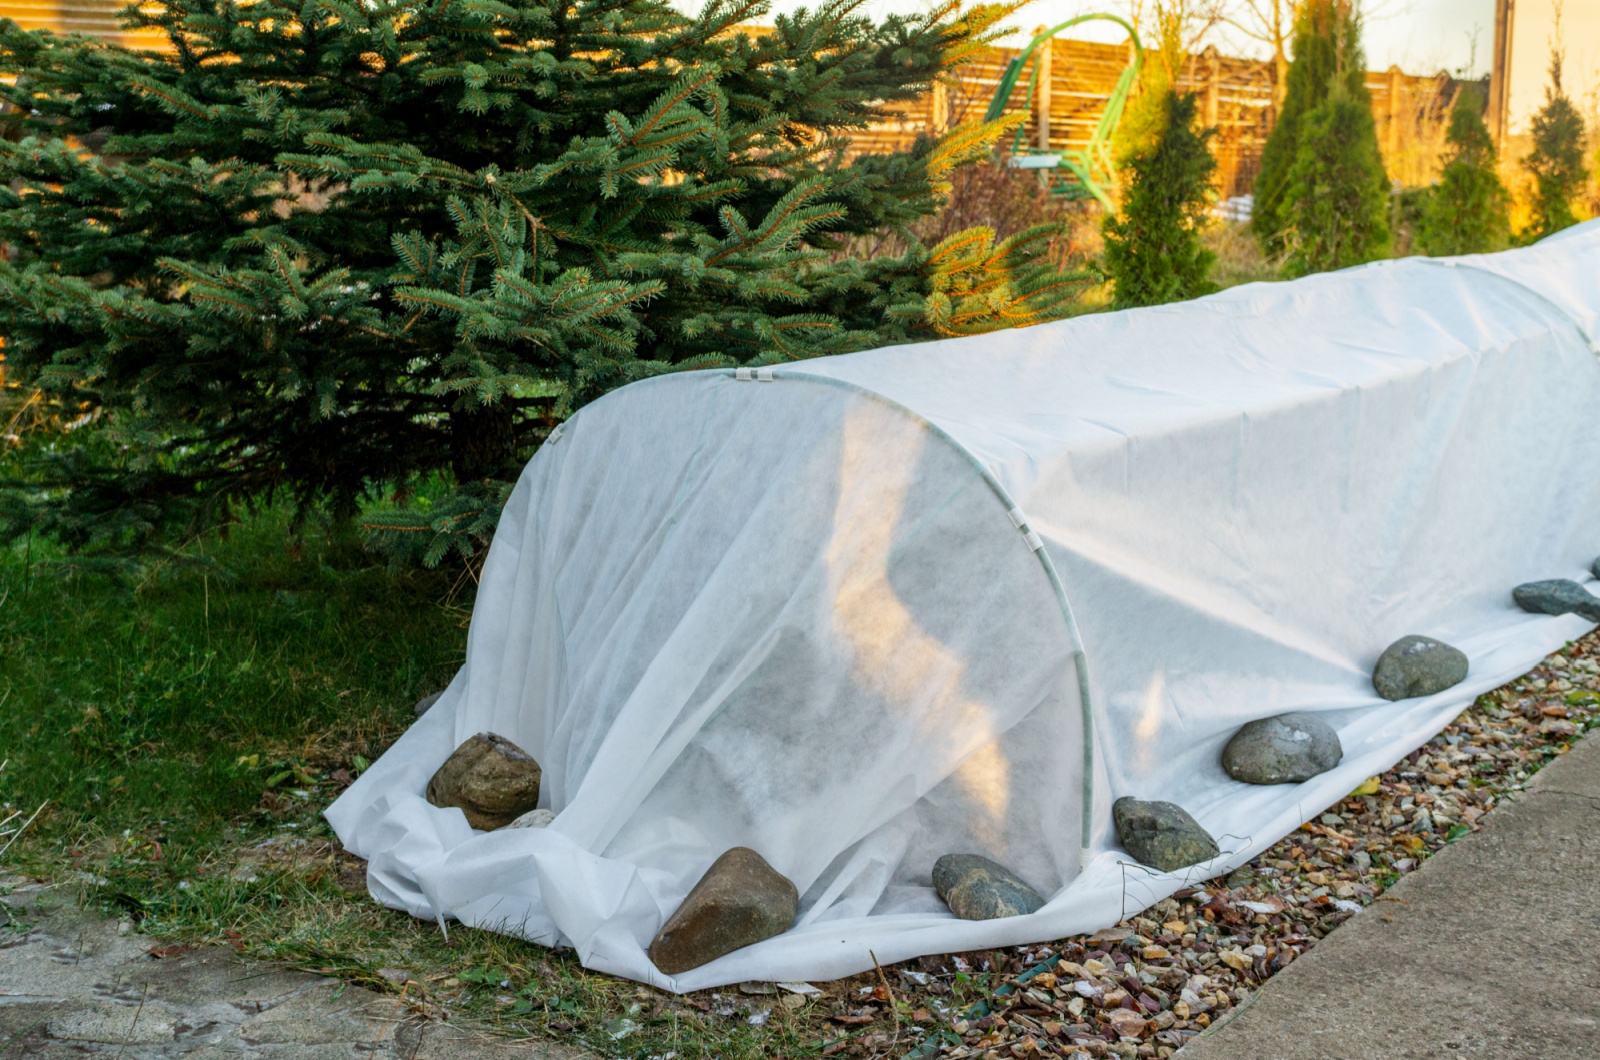
If you’re transplanting during a season with unpredictable weather or you want to provide extra protection, consider using row covers. These lightweight covers shield your perennials from harsh elements and help them adjust more smoothly to their new environment.
Row covers have different thicknesses and are suitable for sun, wind, and frost protection. The fabric can actually dilute the UV rays and protect your plants from the scorching sun.
Plus, they act as cozy blankets wrapping around the plants and providing them with moisture and warmth.
Drape the row cover directly over sturdy plants and anchor with smooth pebbles or sandbags. As an alternative, you can use hoops to make a miniature low-tunnel or wrap a light row cover around the canopy and secure it with twine.
You should keep the row covers on for one to three weeks after transplanting. These will also offer protection from pests during plants’ vulnerable establishment time.
By incorporating these tips into your transplanting process, you will create the best conditions for your perennials to thrive in their new home, ensuring they experience minimal shock during the transition!
This might be helpful: 10 Steps For Installing Floating Row Covers To Prolong Your Growing Season