This Is The Best Way To Harvest Seeds From Your Black-Eyed Susan To Enjoy Stunning Blooms Year After Year
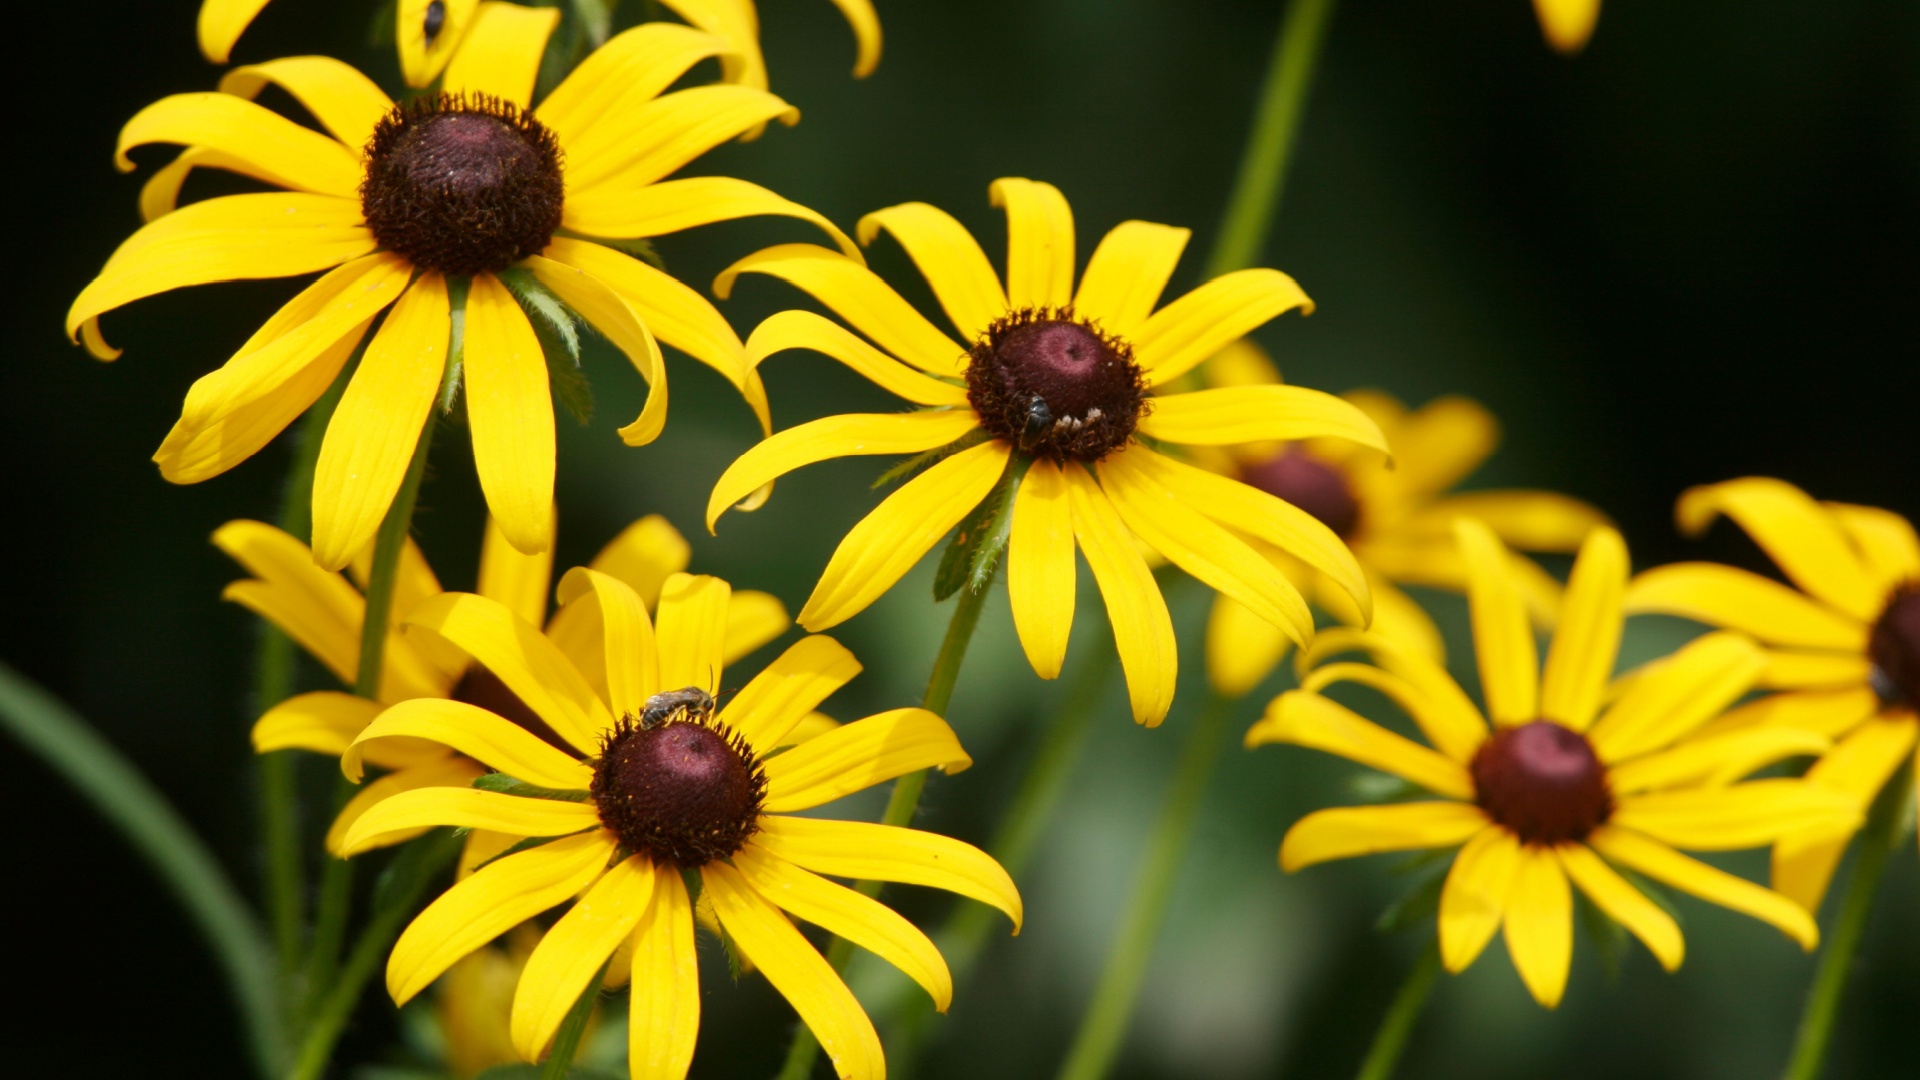
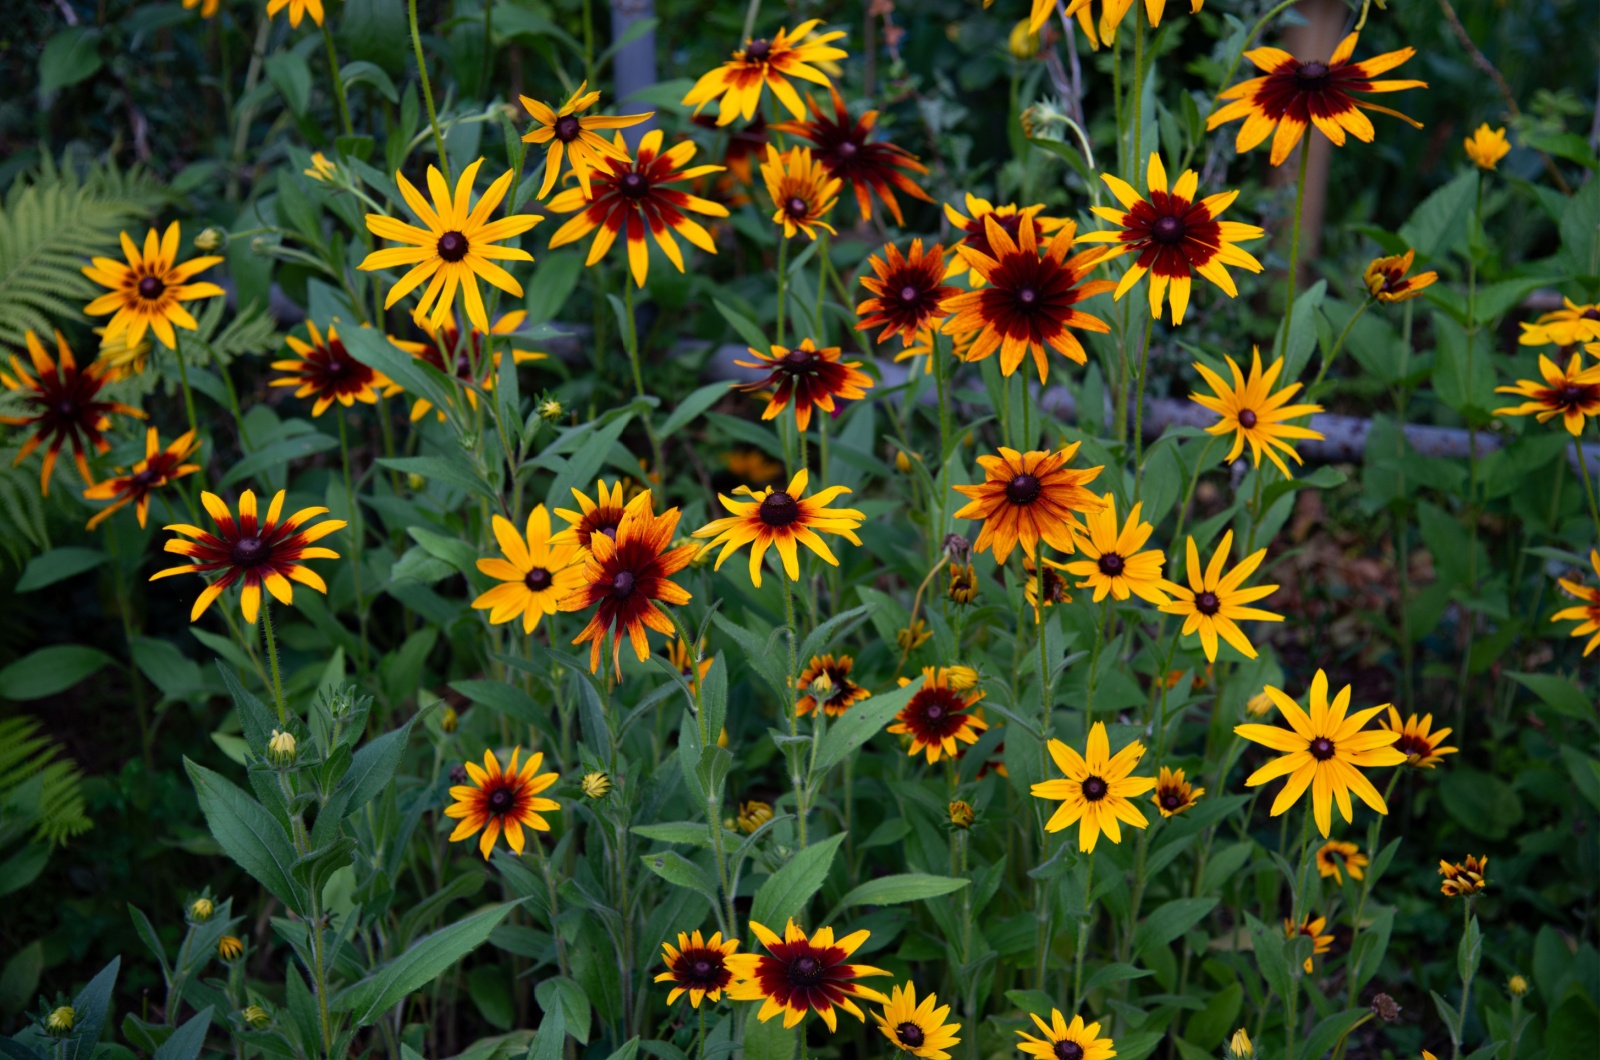
Those bright yellow, daisy-like petals of black-eyed Susans are popular in gardens all over the world! If Rudbeckia hirta (their second name) thrives in your garden too, you know how beautiful they are.
Did you notice how their scent is similar to sweet grass? The sweet smell of black-eyed Susans doesn’t just attract you, but also many beneficial pollinators such as bees and butterflies!
I know one little secret that might get you free seeds from black-eyed Susans! A few years ago, I wanted to learn more about these flowers because it was my first time growing them.
As I searched for tips and tricks for growing black-eyed Susans, I found a piece of information that shocked me! Are you ready to hear what it is? You can actually harvest seeds from Rudbeckia, store them, and plant them next spring without buying any!
But hold on! You can’t just randomly go and harvest their seeds. Timing is crucial, and now you’ll find out when you should pick up your shears and start gathering seeds!
Let’s See When The Perfect Time Is To Collect Black-Eyed Susan Seeds
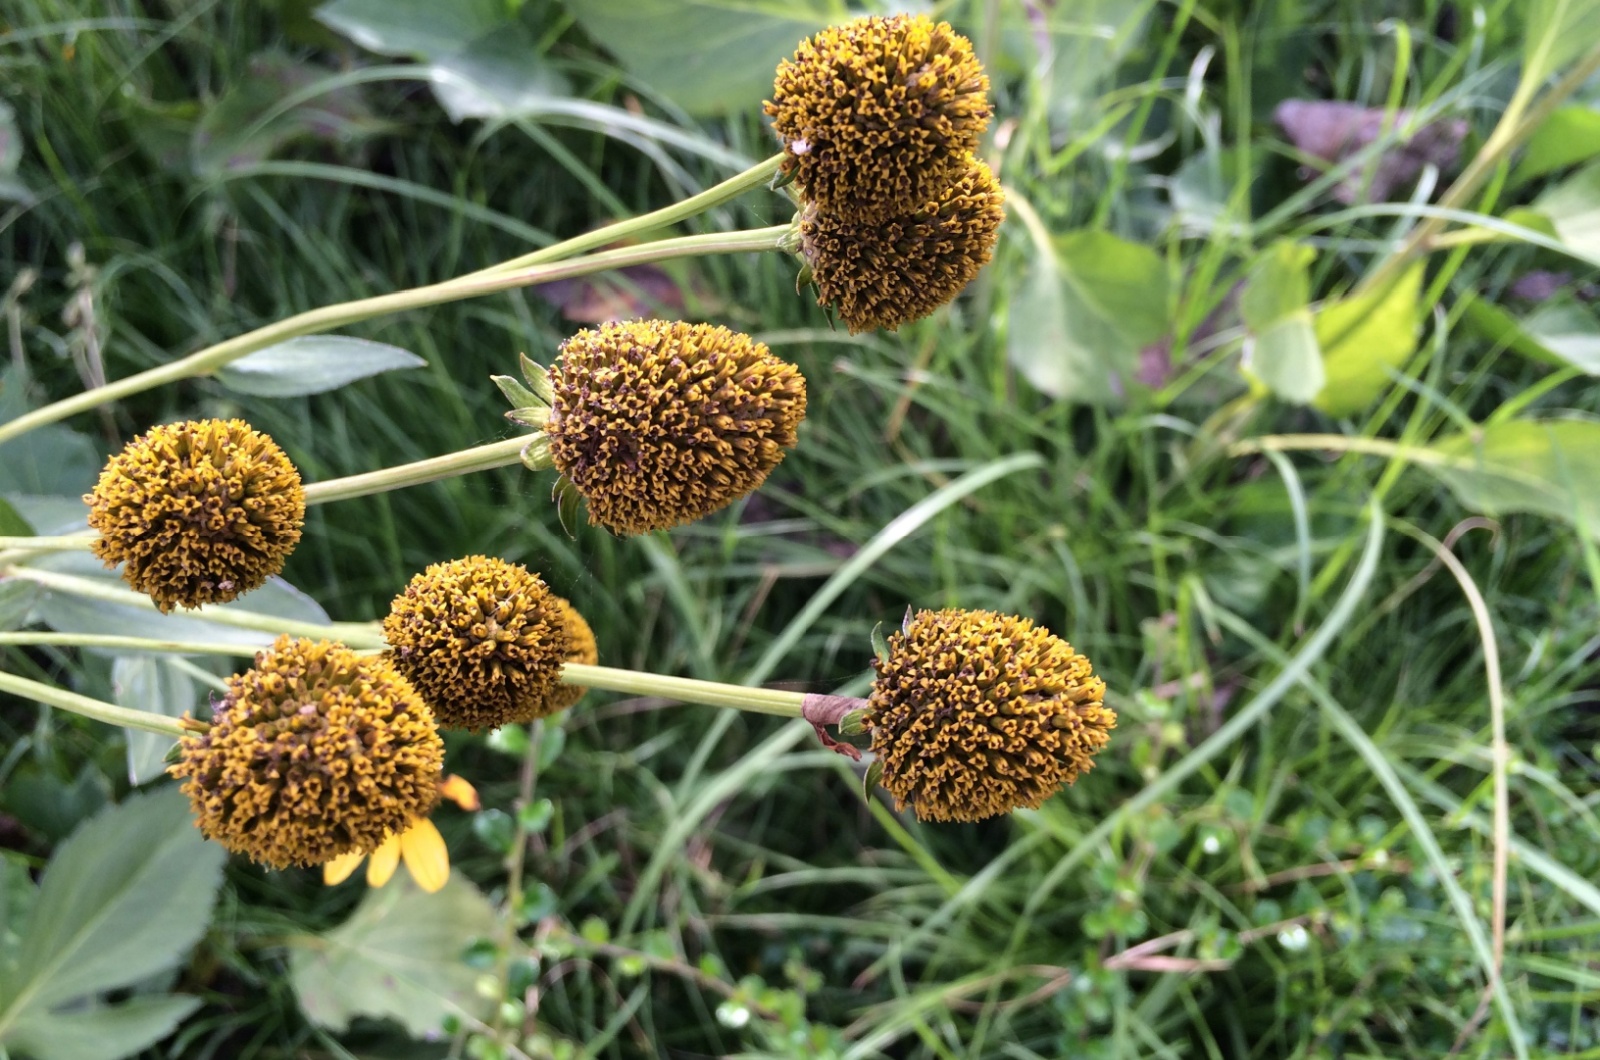
The seeds of black-eyed Susans need to be mature or they might not develop properly! This will only lead to poor germination rates, leaving you without blooms for next year. How can you tell that the seeds are ready to be harvested?
Well, there are two tricks for checking if seeds are mature enough. The seed heads on your rudbeckia should be crispy, brown, and fall apart easily in your hand. For the second trick, slowly shake the flower head, if you hear rattling, they are ready for harvesting!
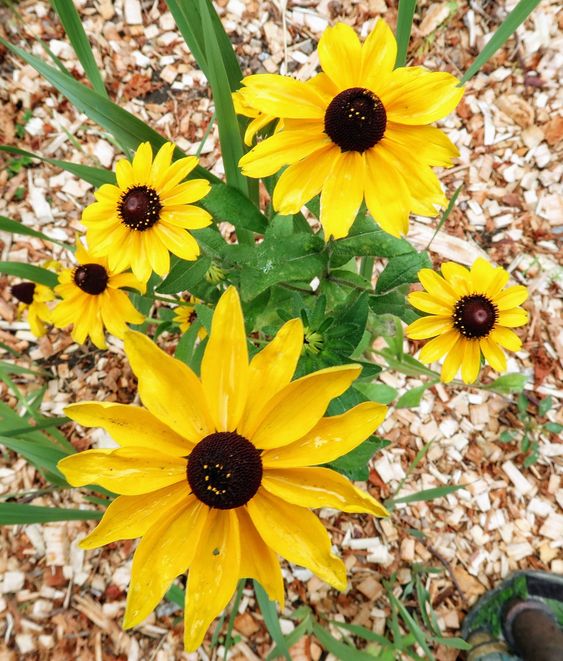
The best month to start collecting seeds from black-eyed Susans is mid-October! Since October has arrived, you can start preparing for harvesting right away. Do you think I would let you go without sharing some tricks?
You can’t go and start collecting seeds without knowing these amazing techniques that will make the work easy!
Tricks You Need to Use When Harvesting Rudbeckia Hirta Seeds
Do you remember that good old quote, “the right tool for the right job”? This is exactly why you’ll need sharp and clean gardening shears for harvesting black-eyed Susan seeds!
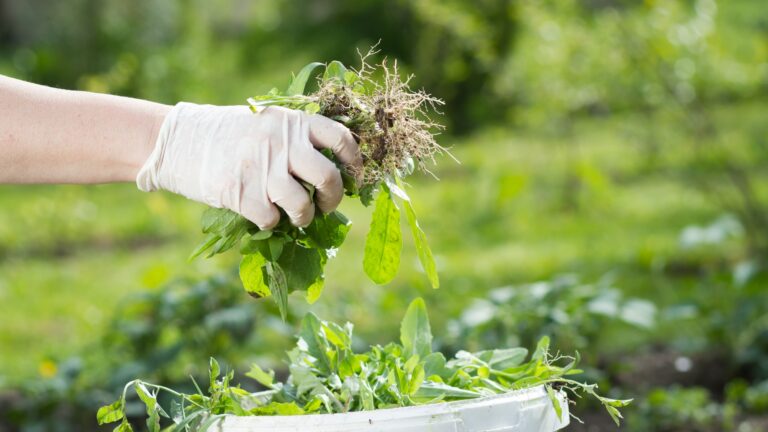
After you check if the seeds are mature enough to be collected, cut the stems a few inches below the seed heads. If your clippings are still green, lay them out on some newspaper to dry for a week or two!
Next, you’ll need to pop off the seed heads from the stems and drop them in a jar. You’ll want a jar with a lid because we are about to shake things up! After a good shake, take your sieve and hold it over some paper, then put the shaken seeds in.
Sometimes they’ll need a little help from you, so feel free to get in there and break up the seed heads with your fingers. All that’s left is to store them properly so you’ll get high-quality seeds next year.
Storage Hack That Will Make Your Saved Seeds Last For Years
You can keep black-eyed Susan seeds in an airtight container or by putting them into a paper envelope, which is definitely the cuter way!
What do you think is the best way to store Rudbeckia? Dry and cool spots are the perfect places to keep them until spring arrives! If you store them this way, they will last two to three years. Isn’t that amazing?
Expanding your collection of black-eyed Susans is a great idea, especially if you can do it for free! By collecting their seeds now, you’ll be able to plant many of these adorable yellow flowers next spring.
I adore black-eyed Susans, and that’s why I have two flower beds that I made just for them. When I found out that I could get more of them every season, I was over the moon!
Ever since then, the first thing I do in fall is grab my shears and harvest black-eyed Susan seeds. Well, I already collected all of my Rudbeckia seeds, and I think it’s your turn now!
Grab your gardening tools and make sure to use these amazing tricks so you’ll get the work done easily!