6 Steps For Making DIY Seed Bombs For A Flourishing Garden Easier Than Ever
No one can deny the fact that a thriving garden demands time and devotion, but some people are naturally talented and it seems that whatever they plant grows perfectly.
On the other hand, some people aren’t this blessed, so they need to put more effort into their gardens. But guess what? It has never been easier to get a spectacular floral display with one simple technique: seed bombs!
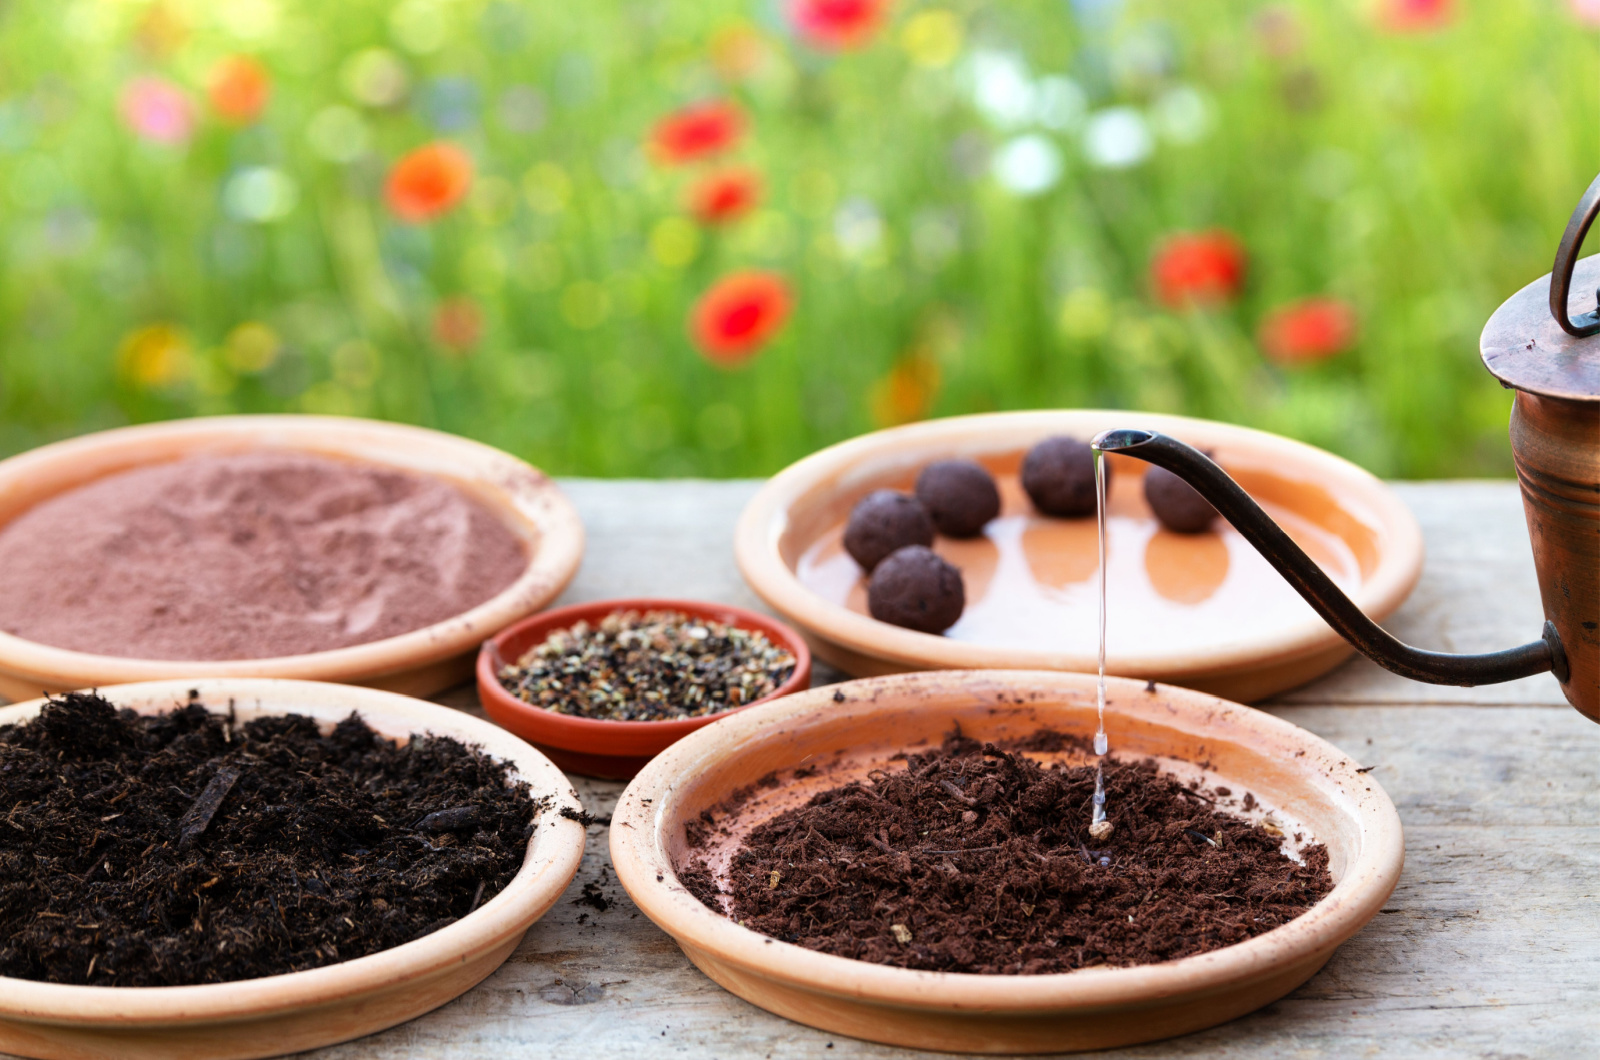
These are basically clay mounds that contain seeds and potting soil. When you put them on the ground, water will wash over them so they break up and the seeds start to grow.
The method was introduced by Japanese microbiologist Masanobu Fukuoka in the 1930s. Since then, many gardeners have used this technique because it’s super simple and gives amazing results.
In this article, I’ll show you how to make DIY seed bombs for a flourishing garden easier than ever!
Let’s get started!
Materials And Seeds To Prepare
I’m sure you’re gonna enjoy making seed bombs but don’t start until you prepare all the equipment.
Here’s a list of everything you need to start this project.
• Potting soil
• Air dry clay
• A baking sheet
• A bowl of water
• A food scale
The one thing you should pay close attention to is the selection of flower seeds. I highly recommend using the seeds of native plants for best results.
Remember that non-native species are aggressive growers and could take over your garden quickly, and that’s the last thing you want. Non-native plants are typically grown in public spaces, such as roadsides. They’ll develop fast without interfering with surrounding infrastructure.
The first benefit of native seeds is that they germinate fast and with little effort. They’re already accustomed to the conditions in your region so there’s no need for assistance. Non-native seeds may struggle to germinate and grow.
The second benefit is that you can grow flowers to attract bees and other pollinators and beneficial insects. Examples of such plants are marigolds, zinnias, and borage.
When choosing the seeds for your flower garden, pay attention to their sun requirements and if your planting site meets them.
Finally, make sure to purchase different seeds because not all of them will germinate.
Steps For Making Seed Bombs
Have you prepared all the equipment? It’s time to move everything outdoors. I must admit that things can get a little messy here and cleaning your home after may be really hard (don’t ask how I know).
Here are the steps for making your seed bombs.
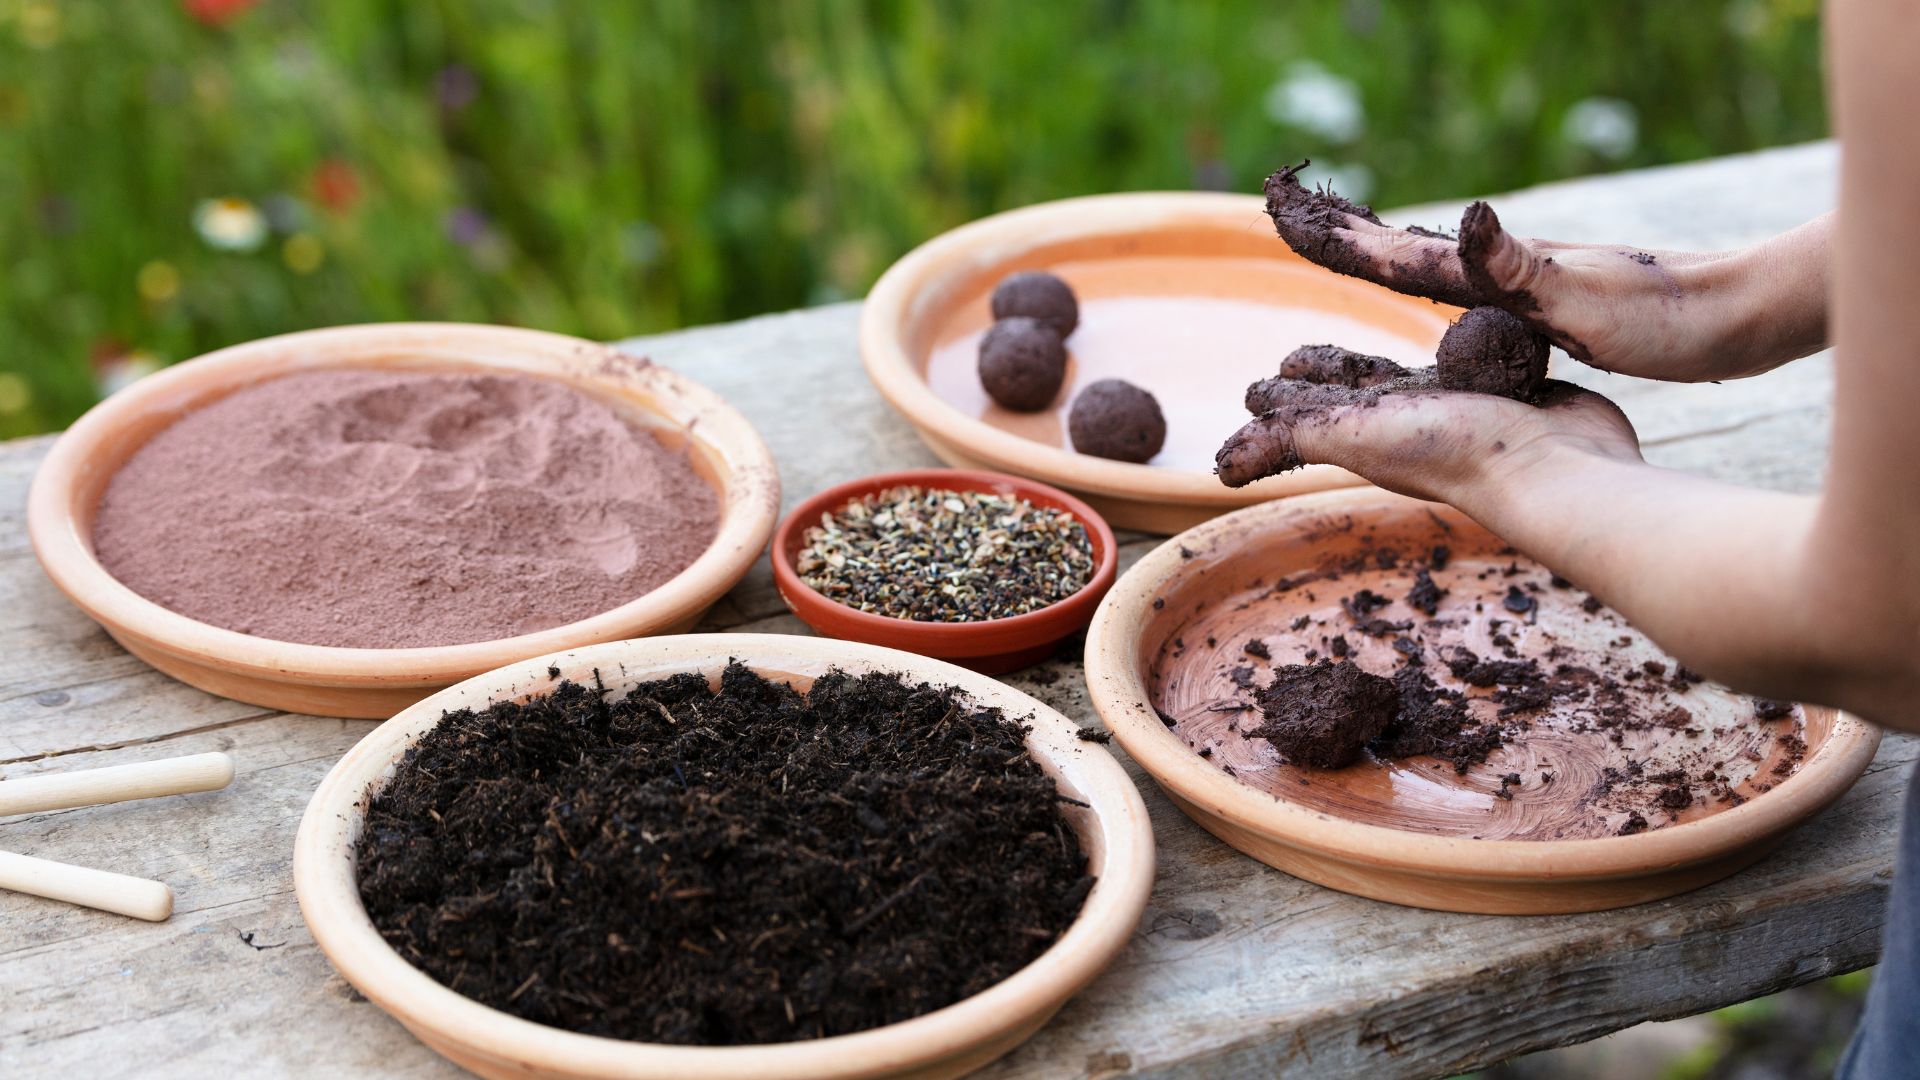
1. Take your food scale and measure 4 ounces of air dry clay and 1 ounce of potting soil.
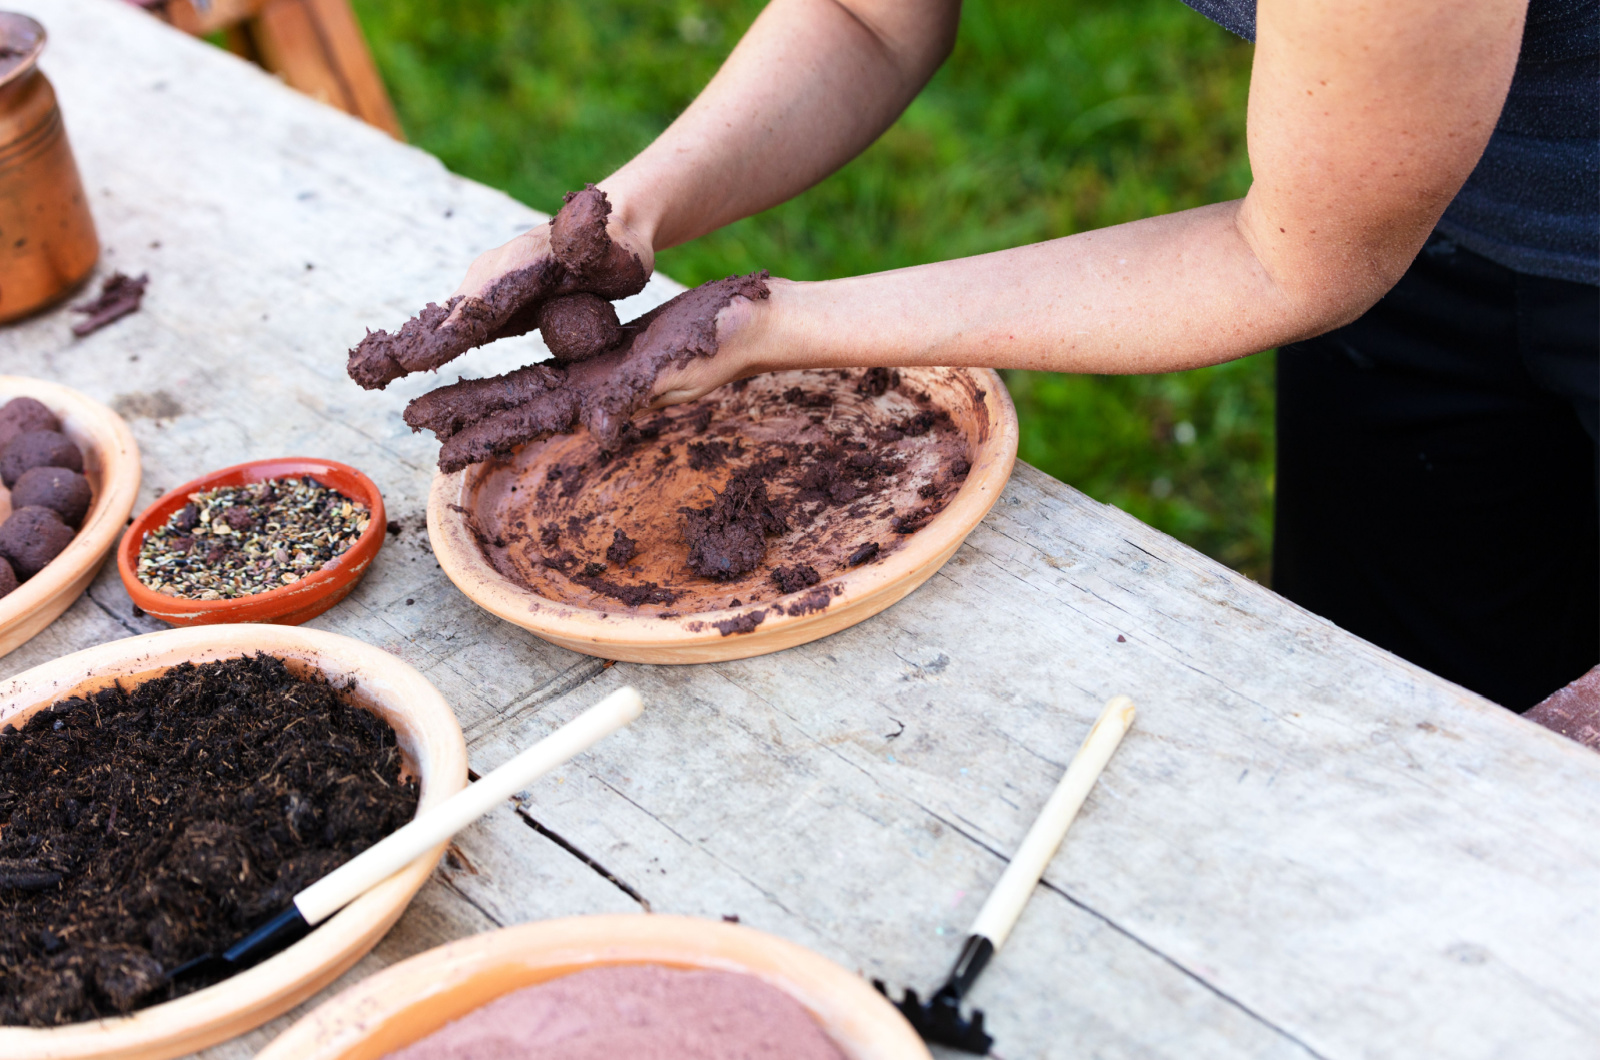
2. Mix the ingredients and sprinkle a few drops of water on the mixture. Knead well until everything is perfectly combined.
3. Roll the mixture of air dry clay and potting soil into a ball and put 1 ounce of flower seeds on the ball’s surface.
4. Press the flower seeds gently and make sure they aren’t too deep in the ball because they must release on the ground.
5. Put each ball on a baking sheet and repeat the procedure a few times for best results.
6. Leave your prepared seed bombs to dry for a couple of days.
Now the only thing left to do is to use your seed bombs. I recommend using them on spots that are hard to reach. Always use the seed bombs in sites that get approximately 6-8 hours of direct sunlight daily.
To create a perfect flower bed, add a few seed bombs in the same spot and enjoy the view!