How To Harvest Sunflower Seeds After Blooming
Sunflowers are a gardener’s favorite. They bring color and vibrancy to your garden, not to mention all the hummingbirds, finches, butterflies, bees, and other beneficial bugs.
They look amazing when added to bouquets and flower arrangements, and they can self-seed, so you won’t have to worry about planting them over and over again.
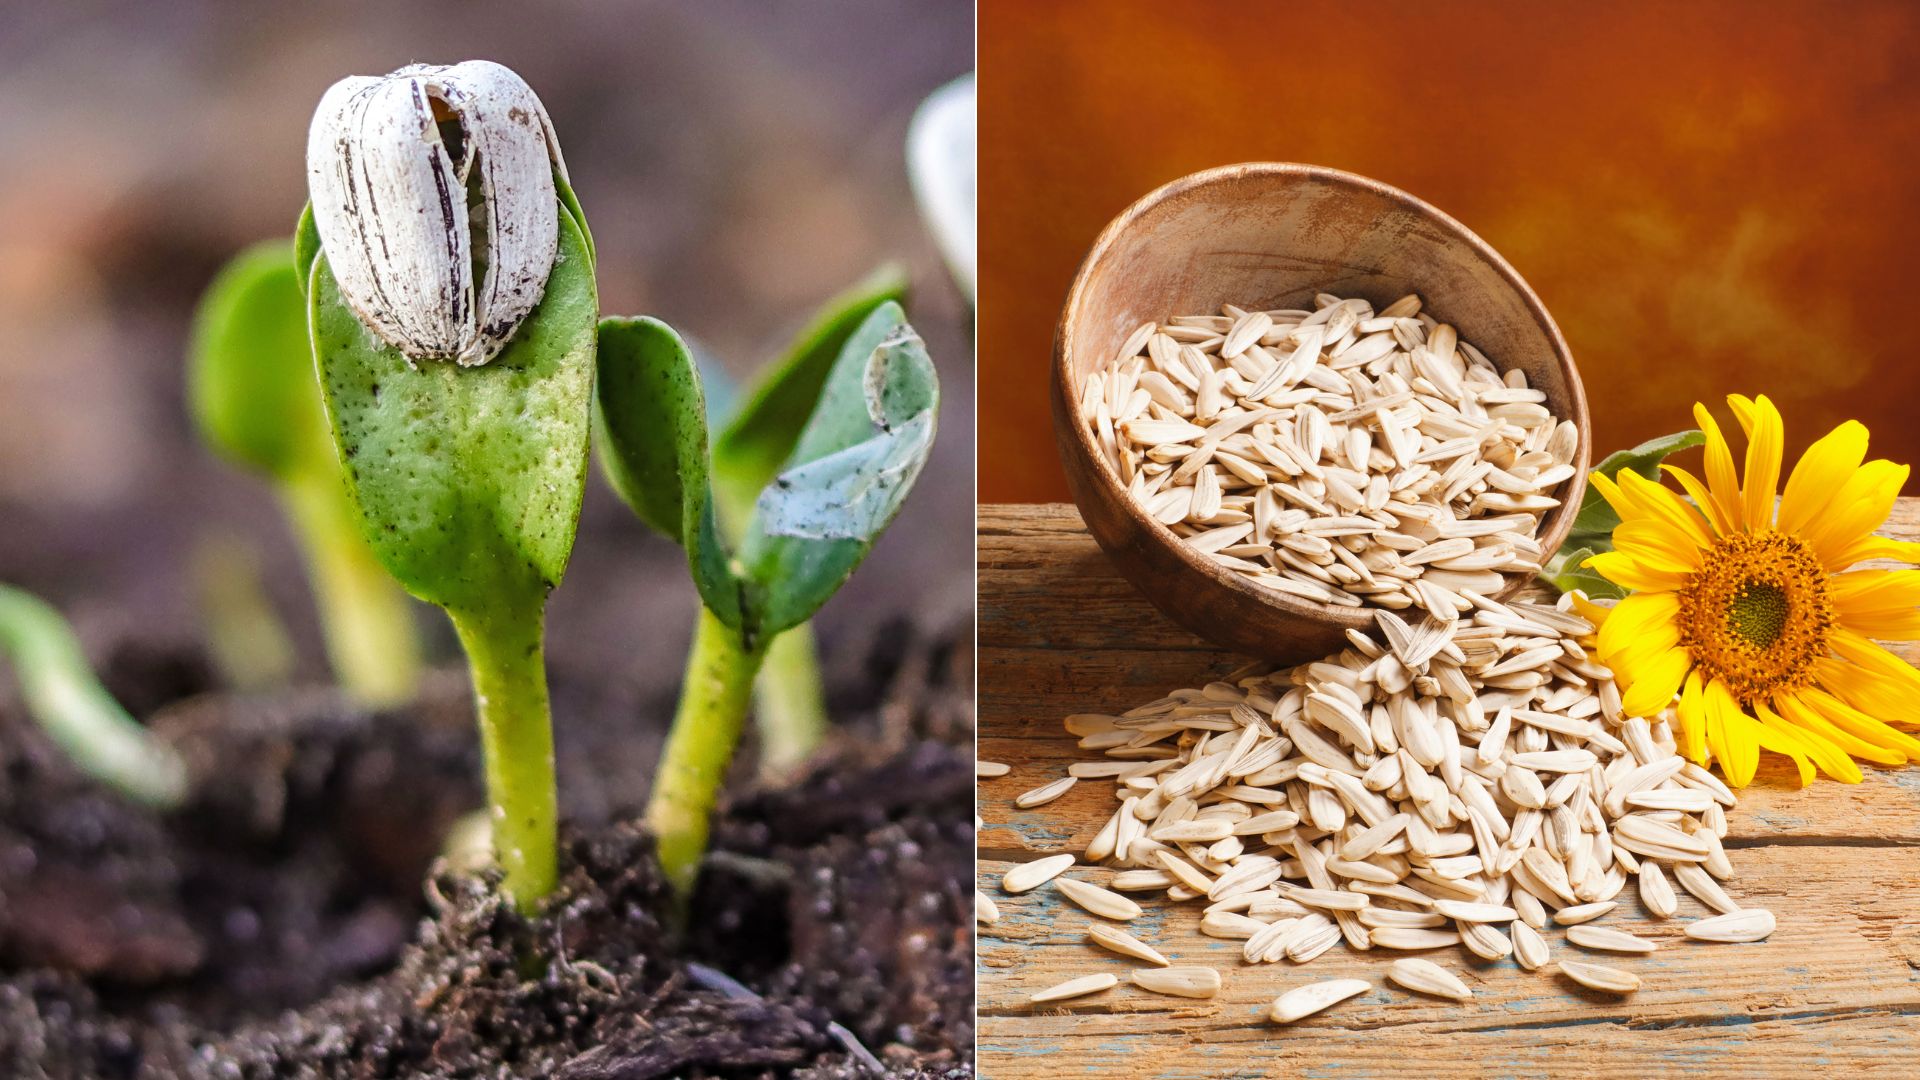
Speaking of seeds, you can harvest and store them for future planting or make delicious snacks out of them.
Here’s a detailed guide to help you harvest and store sunflower seeds, and you can later turn them into amazing plants or gifts to your loved ones!
Removing Sunflower Heads For The Seed Harvest
Here’s a step-by-step guide for removing sunflower heads and making the seed harvest easier:
Step 1. Take a large container or a bucket with you where you can dispose of collected sunflower heads and catch the seeds that might fall off in the process.
Step 2. Wait until all the plants have completely died back and the back of the flowers have obtained a brown color. The seeds should be kind of loose at this point and quite large.
Step 3. Use gardening scissors or secateurs to cut the flower stalk about a foot below the head.
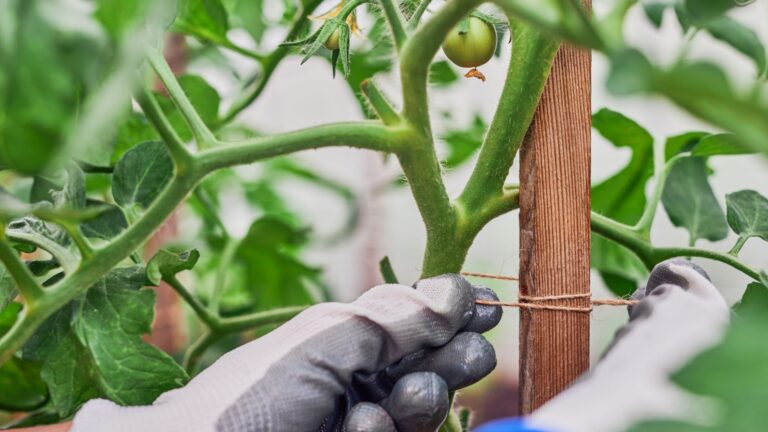
Step 4. If you notice that your seeds aren’t yet ready to be harvested, you can tie them together with a twine and hang them upside down in a warm and dry area for about five days.
P.S. If you’re worried that birds will eat all the seeds before you get the chance to harvest the flower heads, you can wrap a paper bag around them or cut them before they’re ready and dry them inside your home.
Harvesting The Seeds
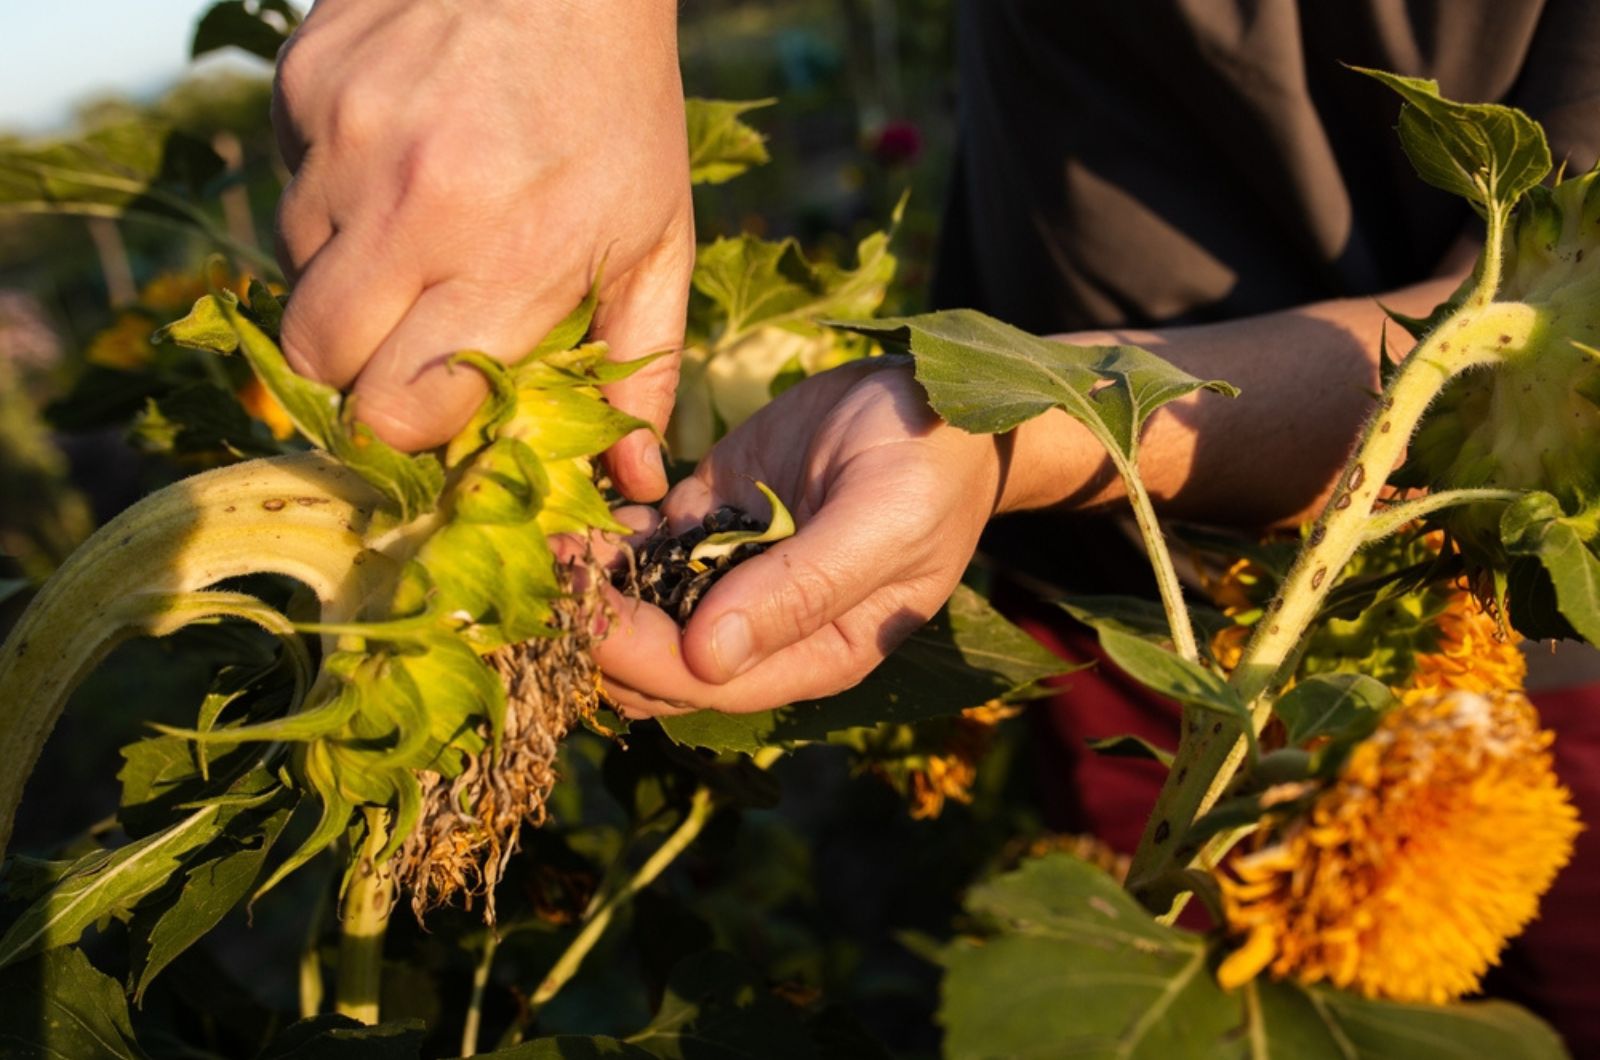
Now we come to harvesting the seeds. Take the bucketful of sunflower heads and put on some gloves if you don’t want your hands to get dirty.
Step 1. Rub the flower head between your hands and push the seeds out into the bucket or a container. They should come out pretty easily if the head is brown and dry enough.
Some smaller flower pieces will certainly find their way into the bucket, but that’s okay because you can remove them at a later time.
Step 2. After collecting all the sunflower seeds, move them to a strainer or a colander and rinse them thoroughly. This is a great time to remove those unwanted flower pieces that have mixed with your seeds.
Step 3. Grab a shallow tray, box, container, or baking sheet and line it with newspaper and paper towels.
Step 4. Place your wet sunflower seeds on the tray in a single layer and make sure they don’t lie on top of each other. (Touching is just fine.)
Step 5. Allow the seeds to completely dry out before storing them. It is best to keep them on a tray overnight to make sure they’re fully dry, but even a few hours could work if you don’t have more time than that.
Storing Sunflower Seeds
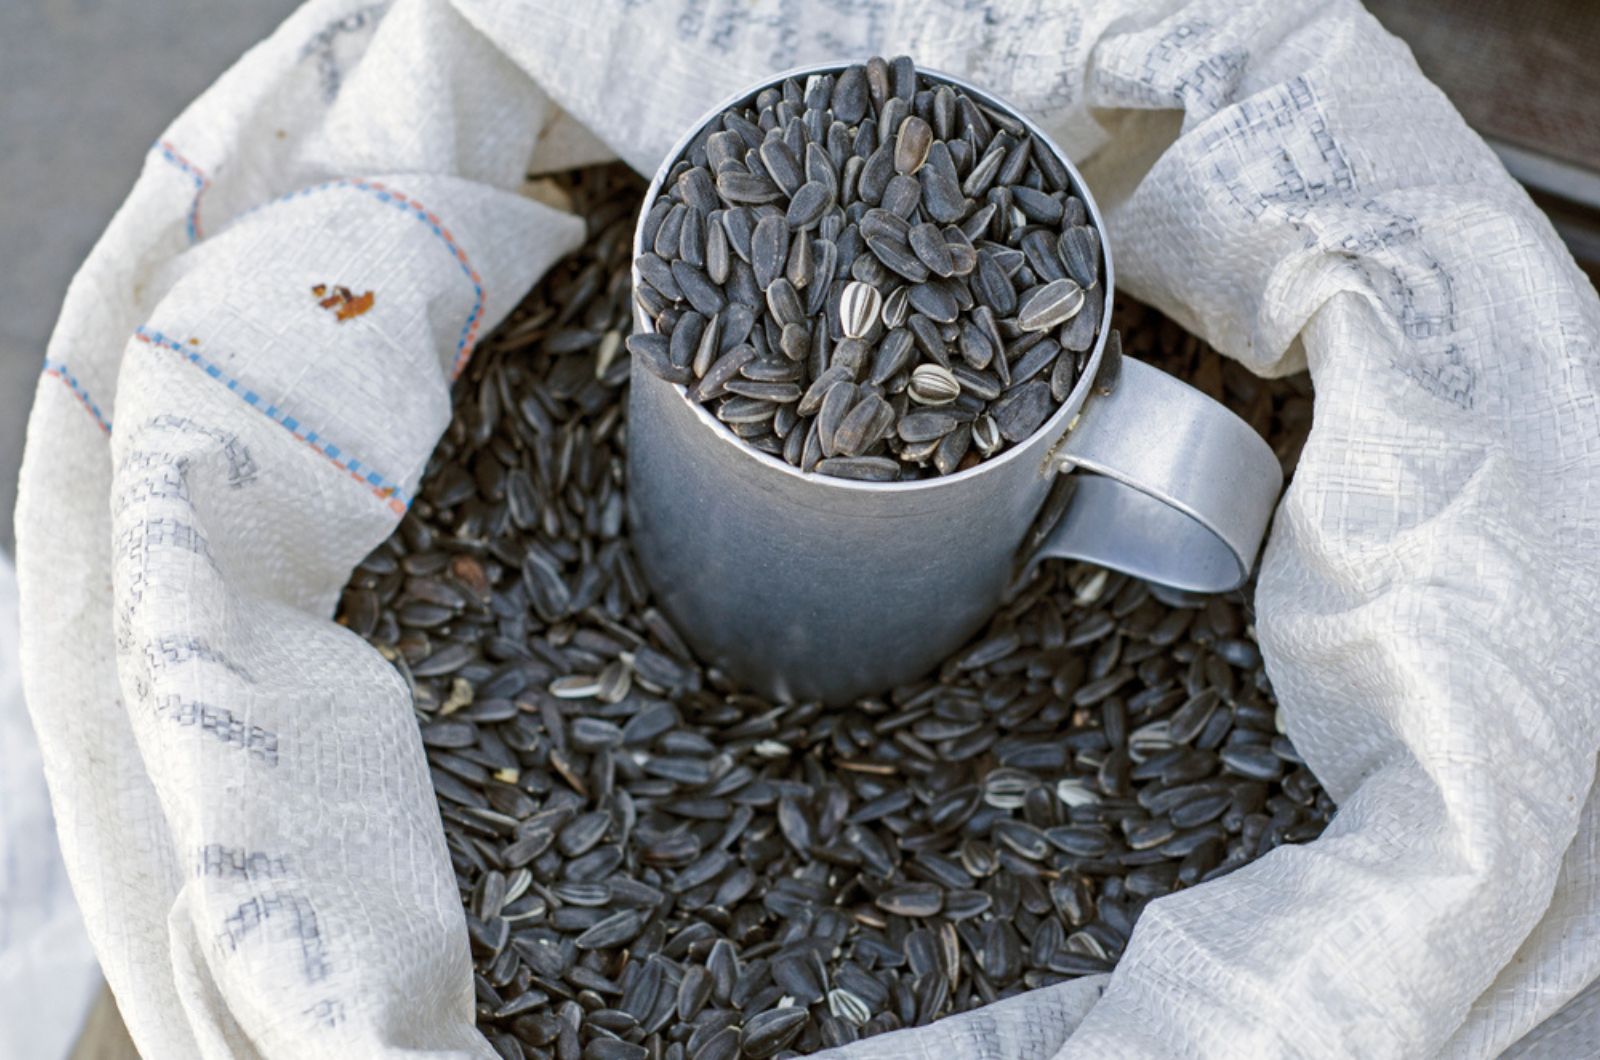
The final step of collecting sunflower seeds is storing them. Once the seeds are fully dry, you can place them in an airtight container and keep them in a cool and dark place, such as a basement or a garage.
You can keep them this way for a week or a year, and take them out once the planting season arrives. Push some into the ground or give them to your friends or family.
Or you can make delicious snacks out of them!
And if you don’t know what to do with all those sunflower seeds, know that they can last for years on end when stored properly.
When spring arrives and the soil is warmed up to at least 50°F without a chance of frost returning, you can plant the seeds directly into the ground or an outdoor planter.
Find a location that gets plenty of sunlight and make as many holes as you wish. Sow two seeds per hole, cover them with growing medium, water them, and wait.
Keep the soil moist and your breathtaking, golden, and vibrant sunflowers will sprout in no time.