Make This Amazing Potting Mix To Keep Your Orchids Exotic Flowers Thriving For Years

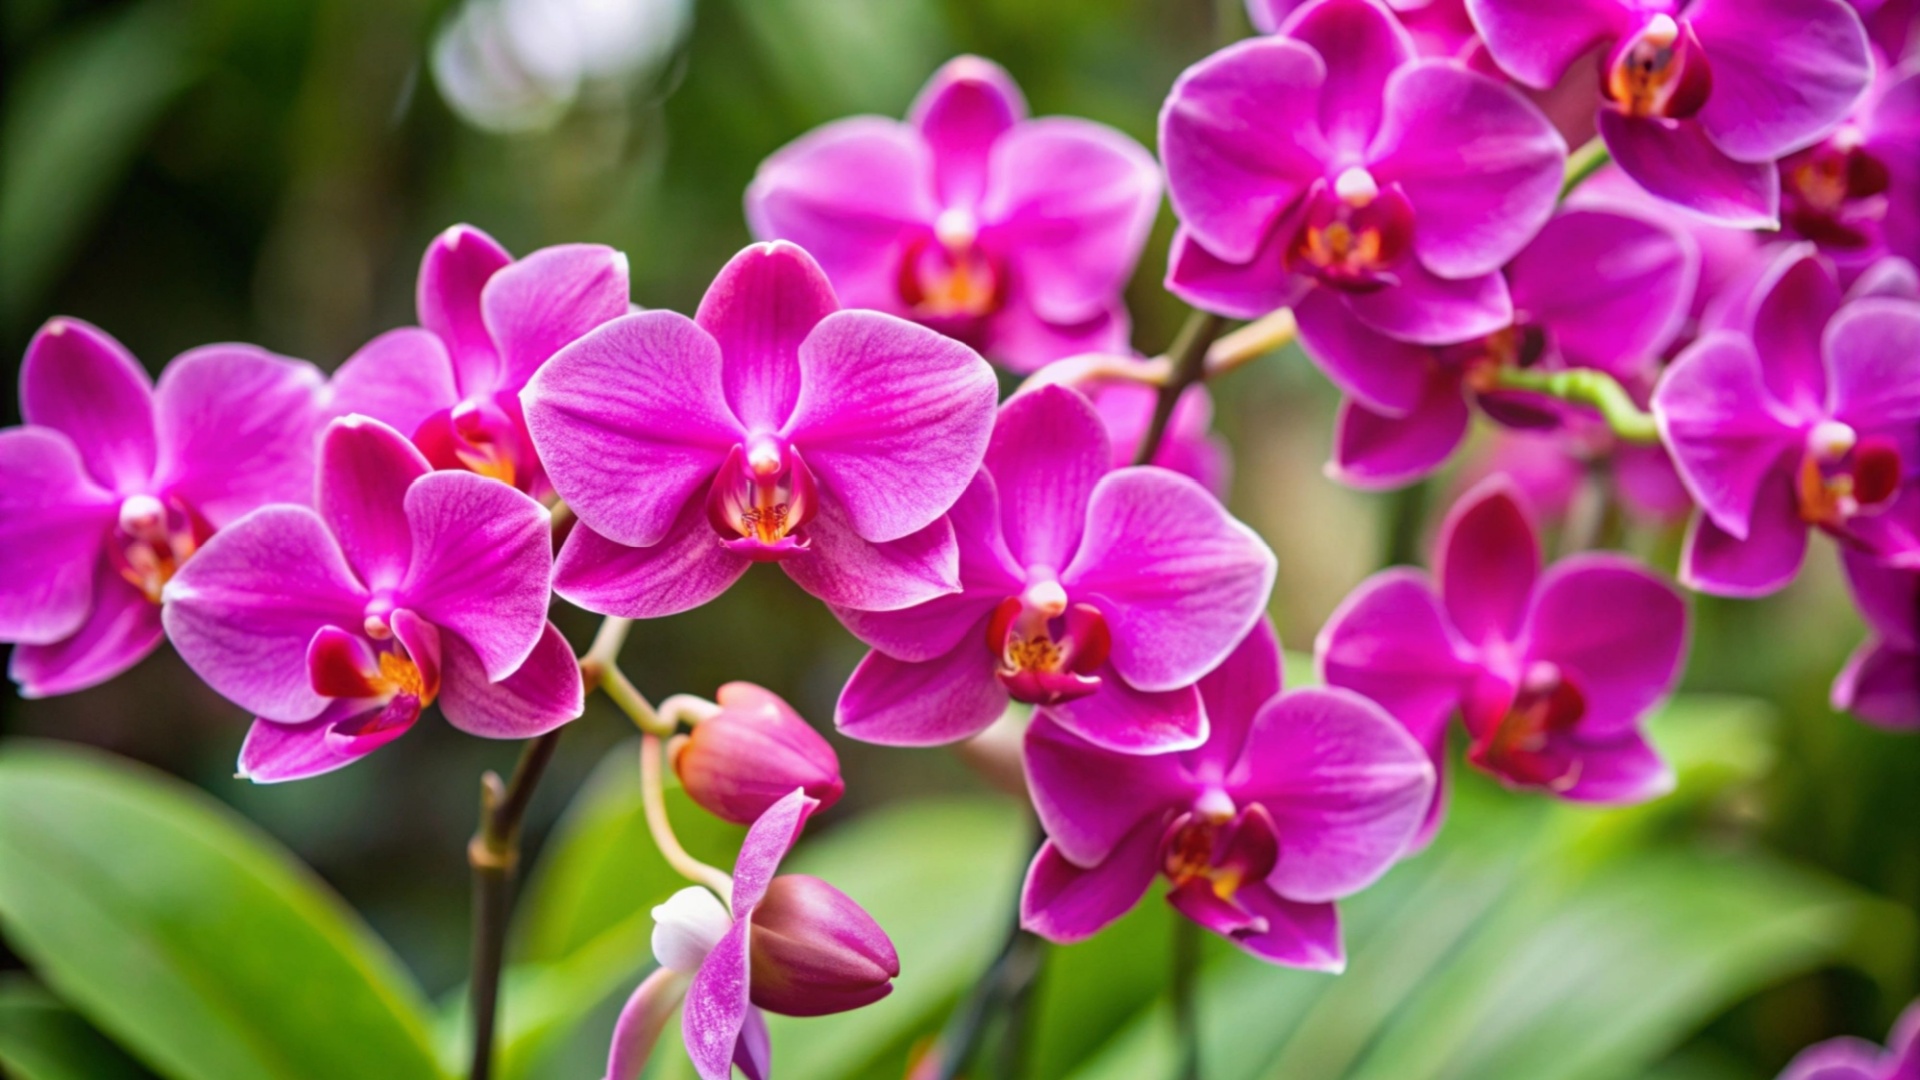
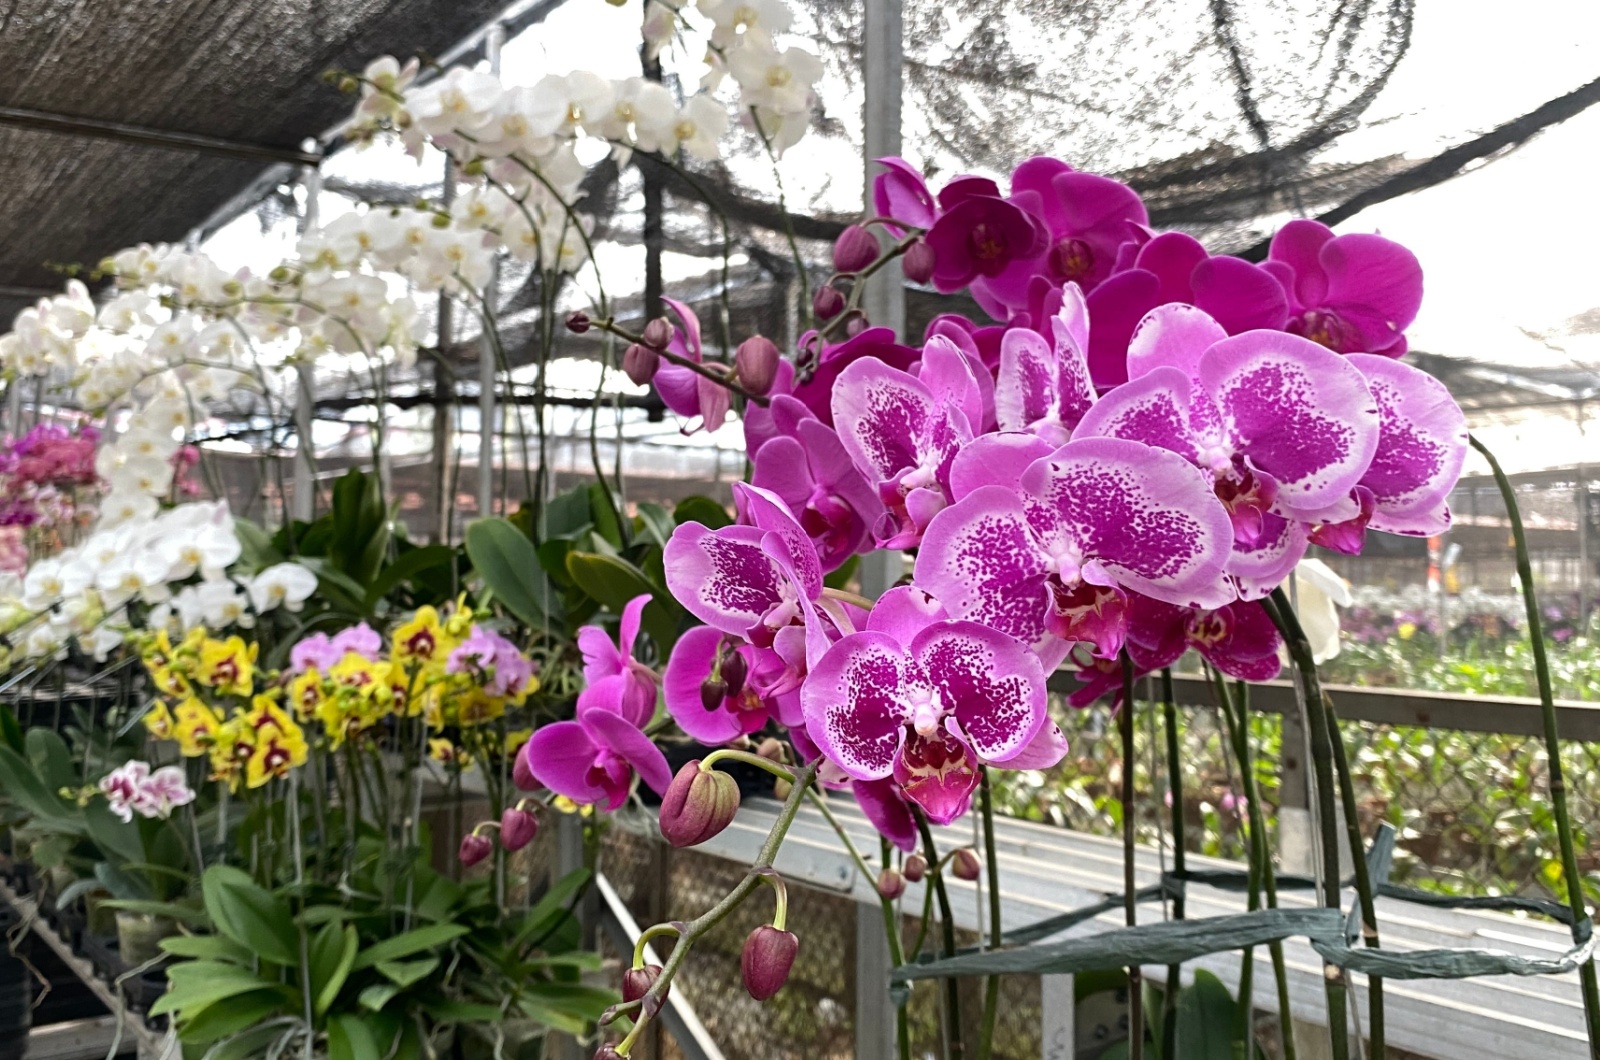
Today we are going to talk about another beautiful perennial – orchids! They have the most interesting palette of colors, including purple, orange, white, pink, red, green, and yellow.
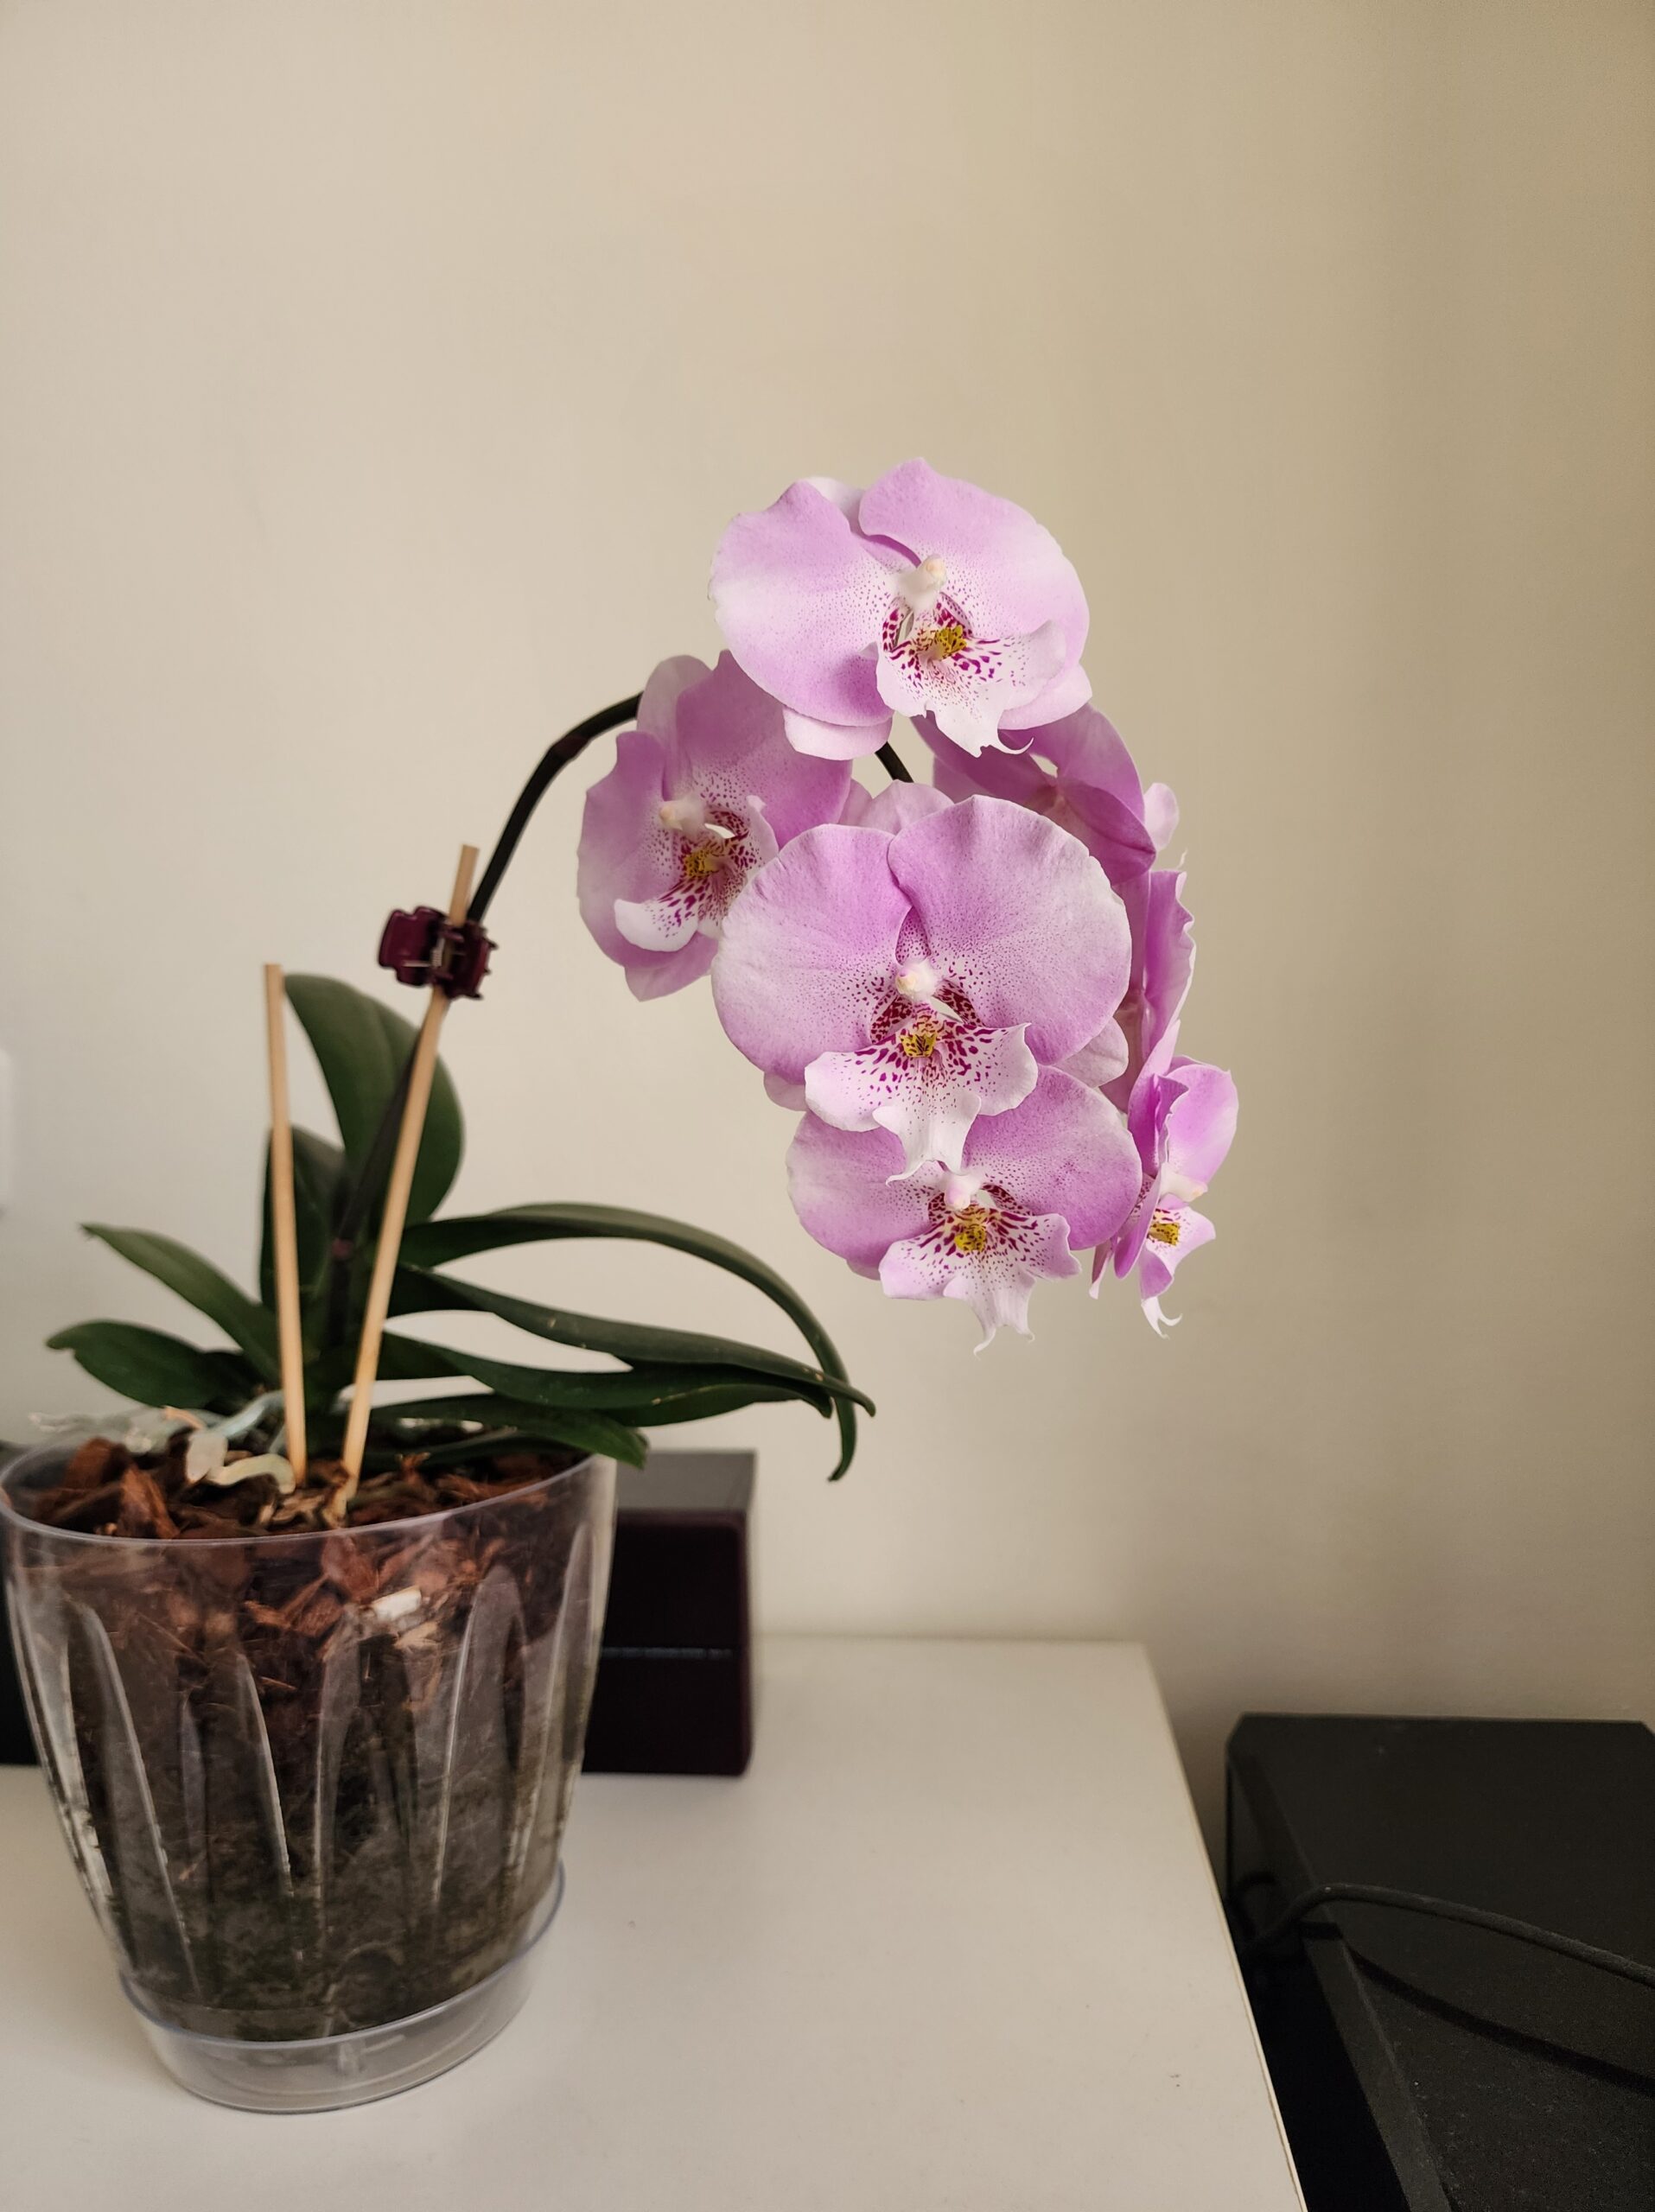
Whether you’re growing them in the garden or indoors, their glossy flowers will bring elegance and a classy style wherever they settle! But the road to making them thrive and come back every year can be a real challenge.
It’s true that these plants need a good amount of your time and patience! When I first got my orchids, I thought that these flowers were just like any other. Well, it turns out that orchids are way trickier to grow!
One time, I almost lost them because I didn’t provide enough care. At least that’s what I thought until I discovered some shocking information! When I saw that my orchids were getting worse, I immediately started searching for the best tips and tricks to keep them healthy.
That’s when I discovered one secret DIY method that transformed my pale orchids into incredibly colorful flowers in no time!
All this time, they actually needed some good homemade potting mix. If you also want to make your orchids bloom on another level and keep them healthy so they come back every year, this is what you’ll need to do!
Let’s See Which Ingredients Are Go-To When Making Potting Mix
Before we start with the process of making your potting mix, you’ll need to see which ingredients you should prepare! The best ingredients for this DIY mix are orchid bark, perlite, sphagnum moss, peat moss or coconut coir, and horticultural charcoal.
You’ll be able to find them in local garden shops or nurseries. These amazing ingredients are a must for your orchids’ growth. They will provide them with moisture, pH balance, and nutrients, and keep bacterial and fungal diseases away from your orchids!

Making your own potting mix has dozens of benefits, unlike store-bought ones. It’s true that commercial potting mix is easy to use. All you need to do is buy it from the store and apply it to your orchids.
It will save you some time, but it’s not the best option for your orchids. Some mixes don’t provide every nutrient and aren’t the best quality for orchids! Everything you make yourself is going to be ten times better than pre-made potting mixes.
Since we cleared this up, it’s finally time to see how you can make potting mix for your orchids and get happy blooms throughout the season!
It’s Time For The DIY Method That Will Make Your Orchids Thrive
First, take two small pieces of coconut coir and soak them in water for at least five days. After that, clean them well, and then you can use them.

Now grab a big bowl and add four parts orchid bark, two parts perlite, and one part sphagnum moss. Last but not least, add one part horticultural charcoal.
After you’ve done this part, it’s time to mix everything together. It will look like you’re making a delicious cheesecake! But instead of a delicious treat for yourself, you’re about to make the best recipe for your orchids to thrive.
Also, don’t forget to wear gloves while mixing these ingredients because I made a pretty big mess the last time I made it. Since we don’t want any bacteria or fungi, it’s best to store this mix for a few days to let it dry out.
After it’s dry, you can keep it in a dry place in a container for even six months! Now all you need to do is press your homemade mix lightly just to support the plant. Water your orchids well and let them soak up all the nutrients from the DIY you’ve made!
That was all for today! This DIY mix will do all of the work for you. After using it, you’ll be shocked by how amazingly your orchids thrive!
By making this mix, you’ll get the perfect nutrients for orchids and the tricky part of growing them will be solved.
I couldn’t believe that this homemade potting mix would work differently than store-bought ones, but I was mistaken! It did a fantastic job, saving my orchids from wilting away!
I think that is the perfect time to gather up all the ingredients you’re going to need and start making your own potting mix now!
Good luck!


