10 Easy Steps For Propagating Christmas Cactus
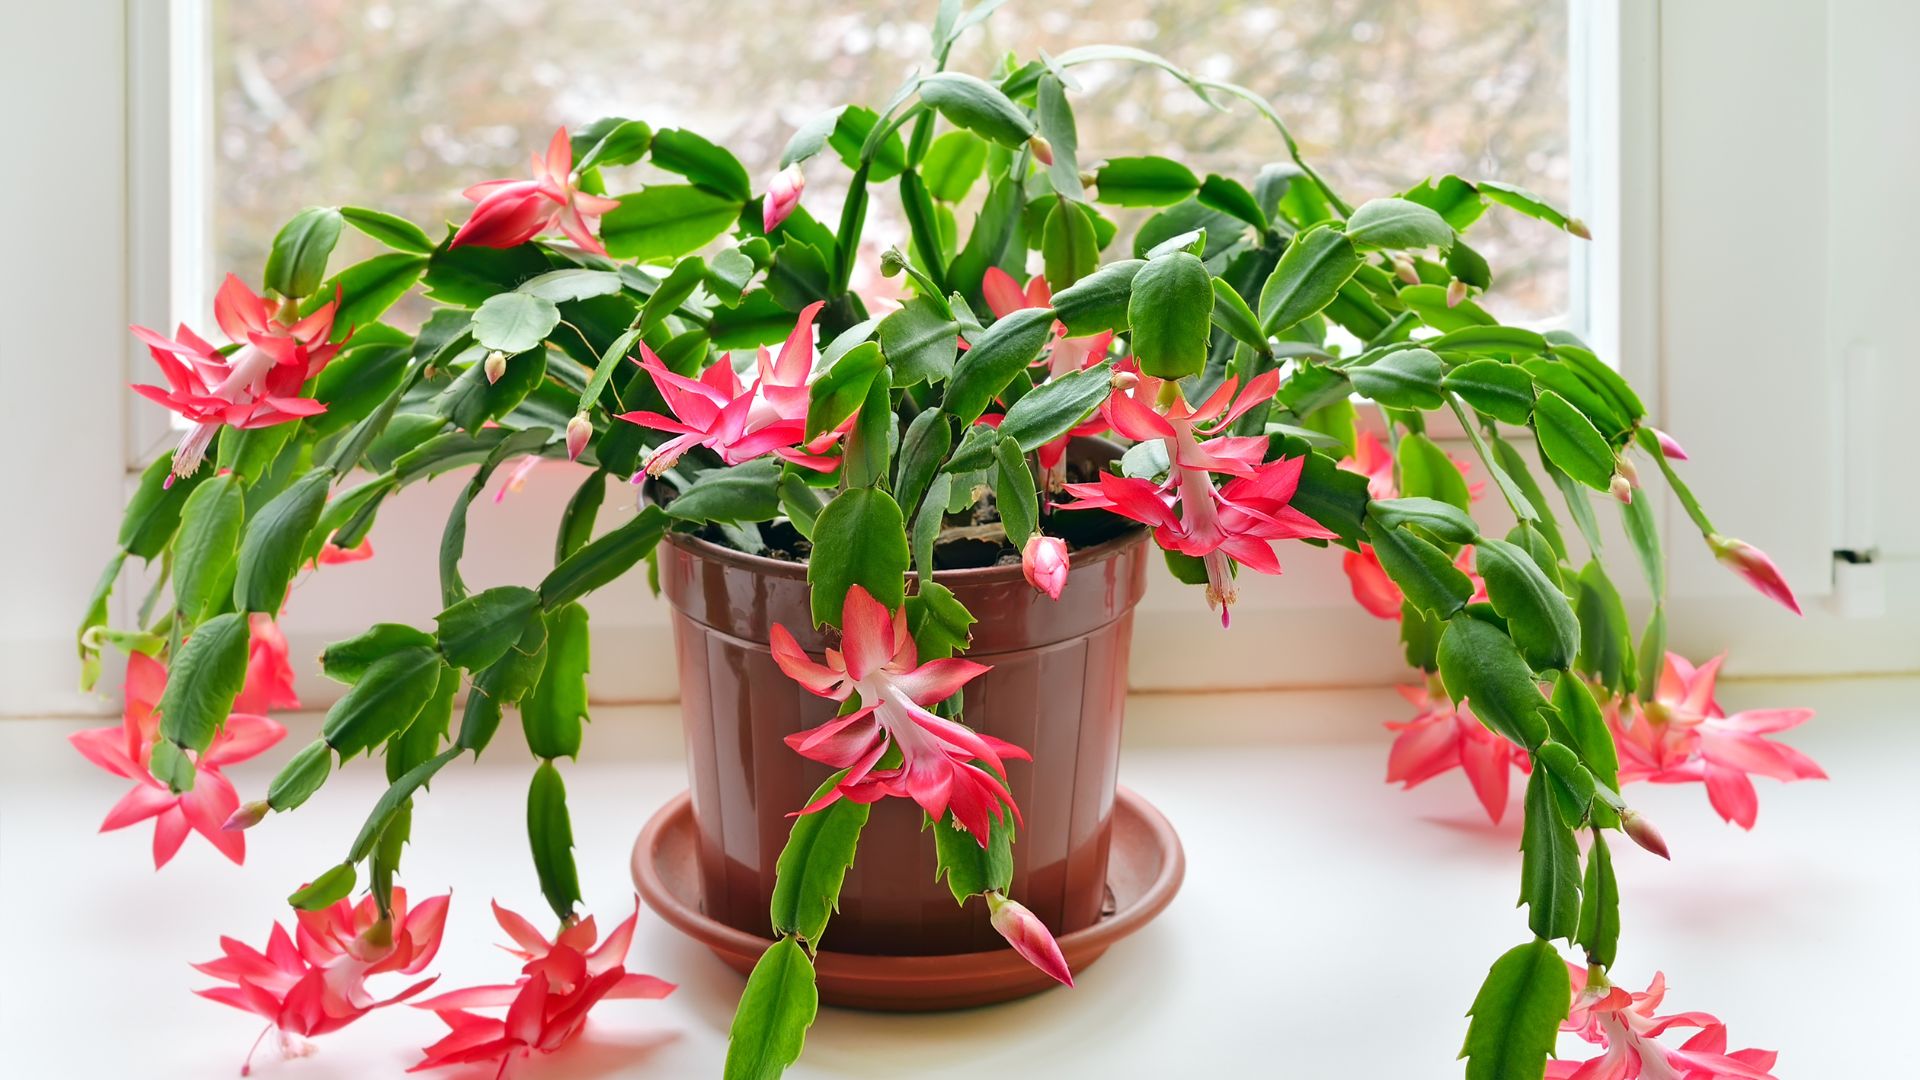
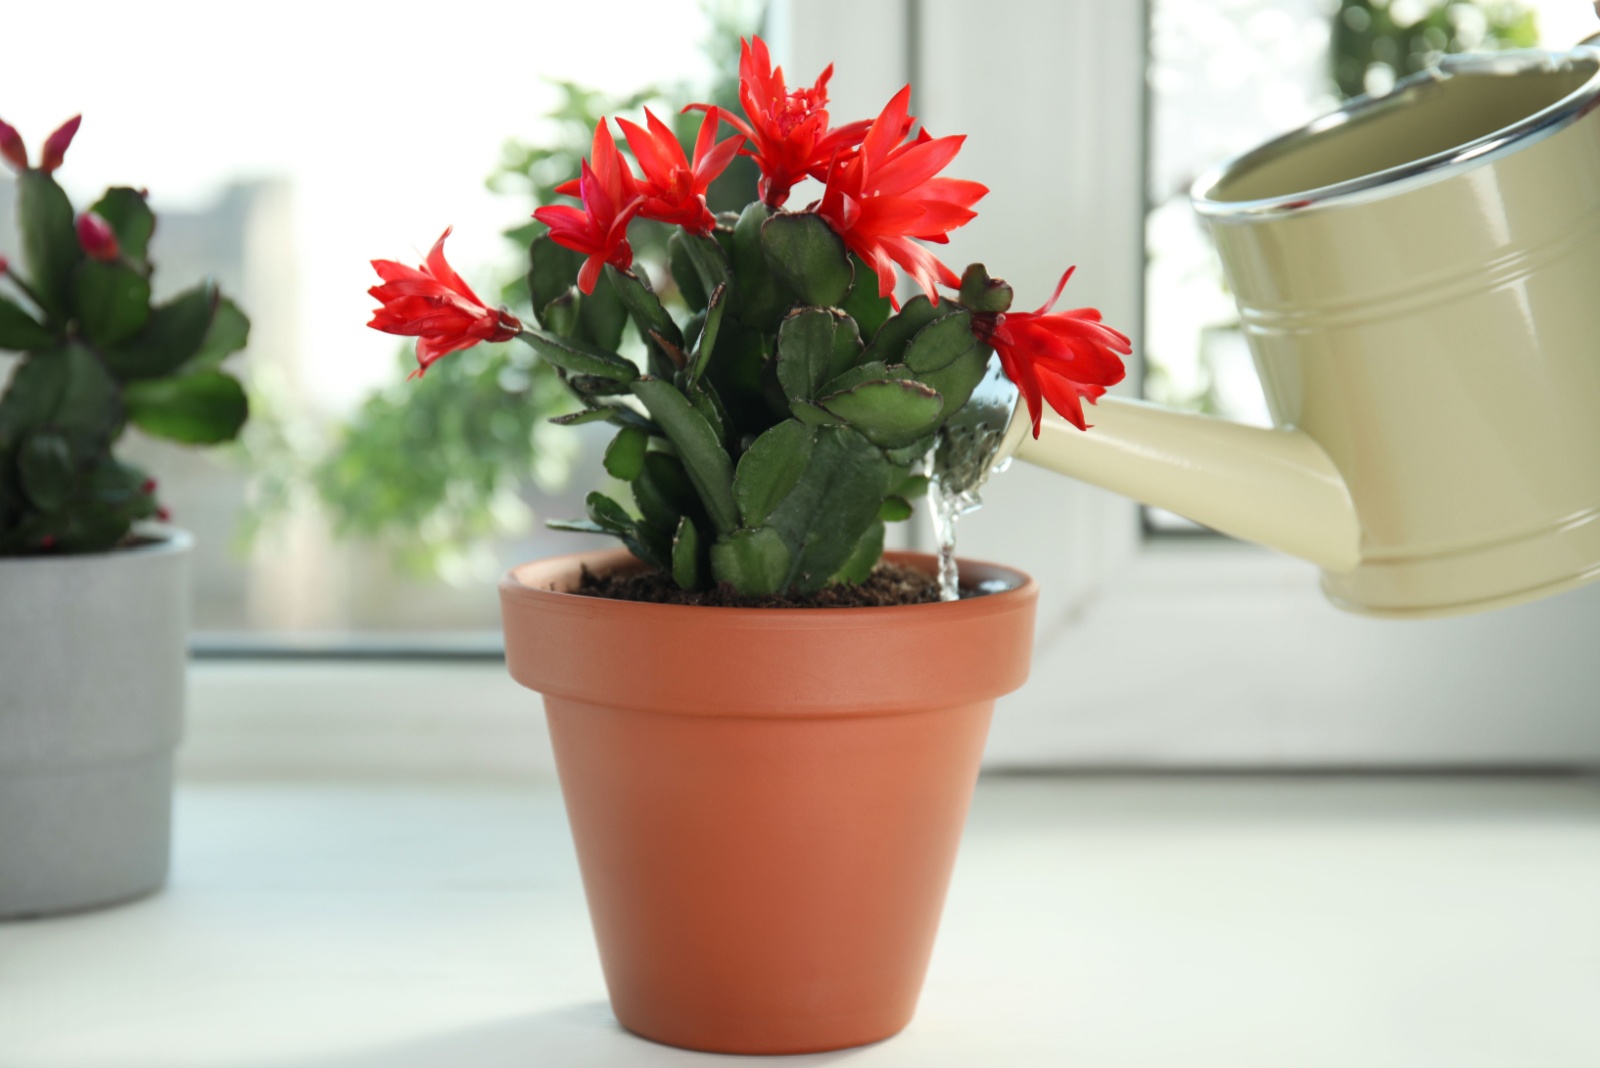
It’s the most beautiful time of the year – well, it’s just around the corner to be more precise, but the holiday euphoria starts early for me! The Christmas cactus flowering season is also coming closer, and each time I see their blossoms, it makes me want even more of these spectacular plants.
If you feel the same, I have great news for you – you can easily get more of these plants without spending a dime. You can expand your collection or gift them to your friends or family; both are fantastic options!
In this article, I’ll show you how to propagate Christmas cactus in a few easy steps and give you some tried-and-true tips for maintaining these captivating plants.
Let’s get started!
1. Prepare Equipment

The easiest way to propagate the holiday cactus is by stem tip cuttings, but never start propagating your plants until you prepare all the equipment.
You’ll still need to get your hands dirty but at least you won’t be constantly running for supplies.
Here’s a list of all the equipment you need to propagate the Christmas cactus, scientifically known as the Schlumbergera truncata S. × buckleyi.
• Sterilizing solution, such as bleach or rubbing alcohol
• A pair of scissors
• A small pot
• Soil mix
Are you ready? Let’s do it!
Bonus Tip: Have a clean workspace ready to make the process easier. A tray or mat can help collect soil and plant debris.
2. Sterilize Tools
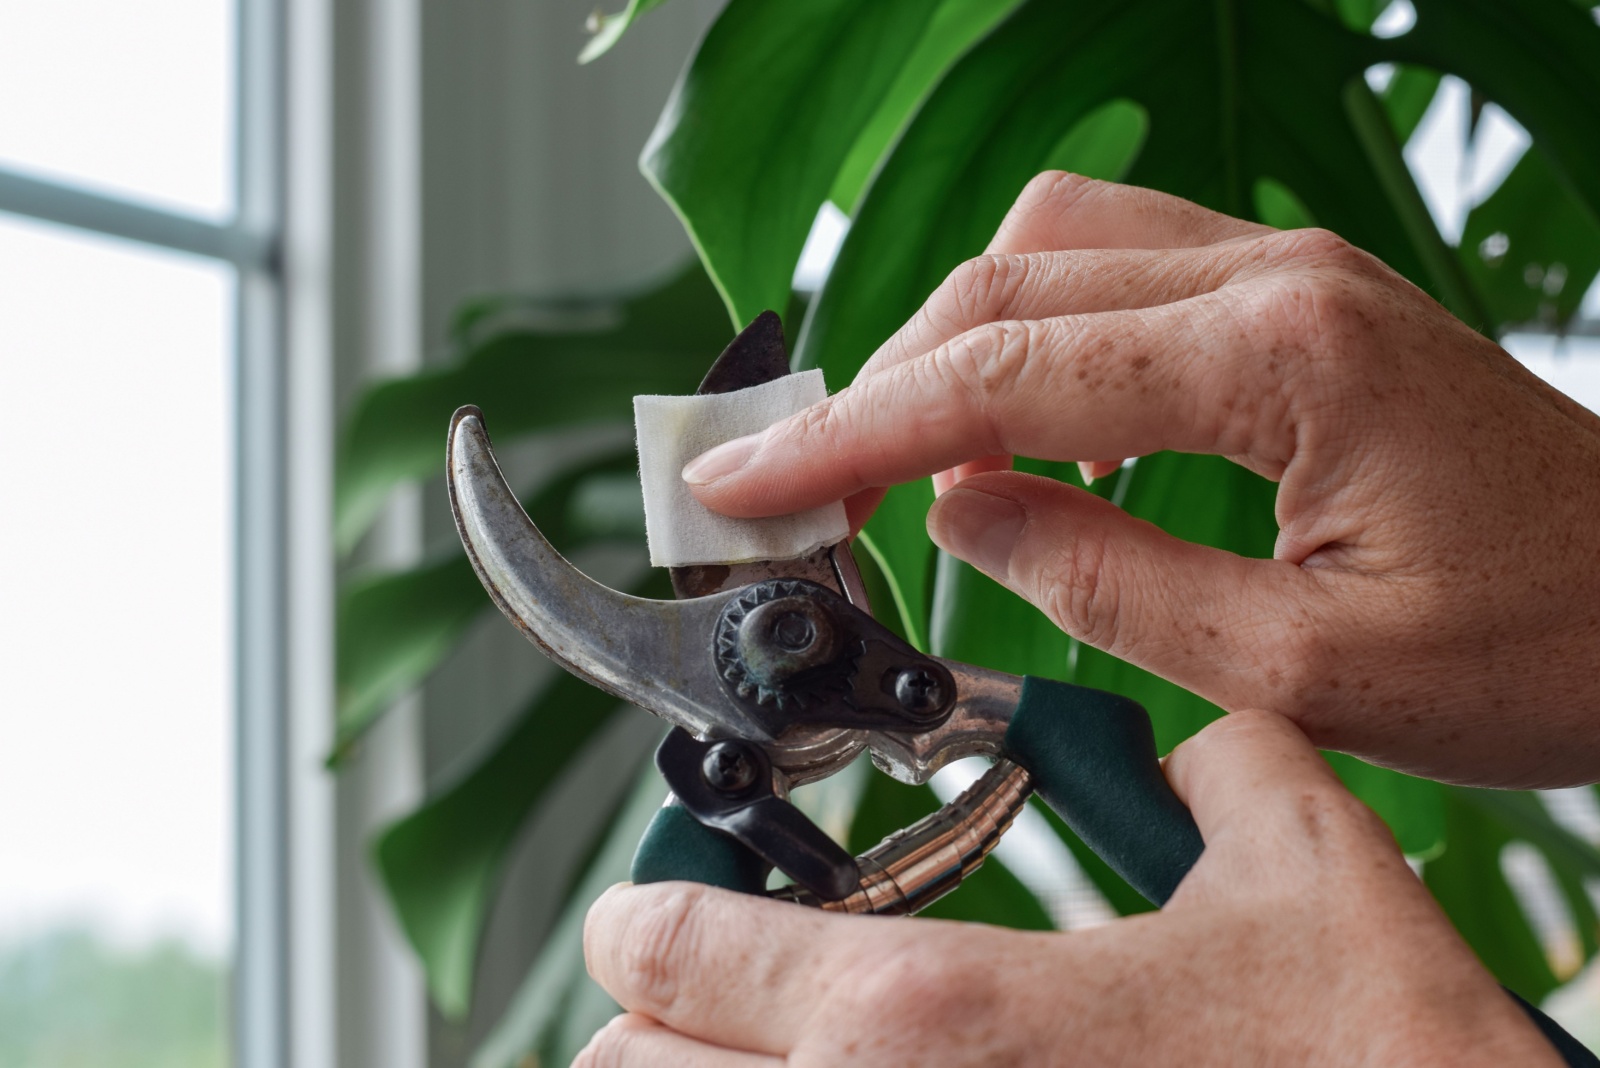
Unfortunately, our plants can be diseased or infested by pests and it’s hard to notice it if the condition isn’t severe.
When you start propagating, you can accidentally transmit disease or pests, and the easiest way to avoid this is by sterilizing the cutting tools.
Simply take a cotton ball, dip it in alcohol or bleach, and wipe the scissor blades with it.
If you’re working with multiple plants, clean your tools between each one to ensure no cross-contamination occurs.
Remember to repeat this process each time you take Christmas cactus cuttings.
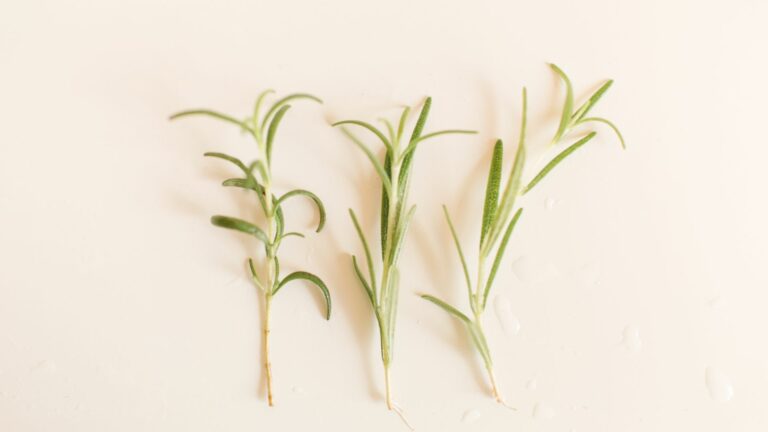
3. Take The Cutting
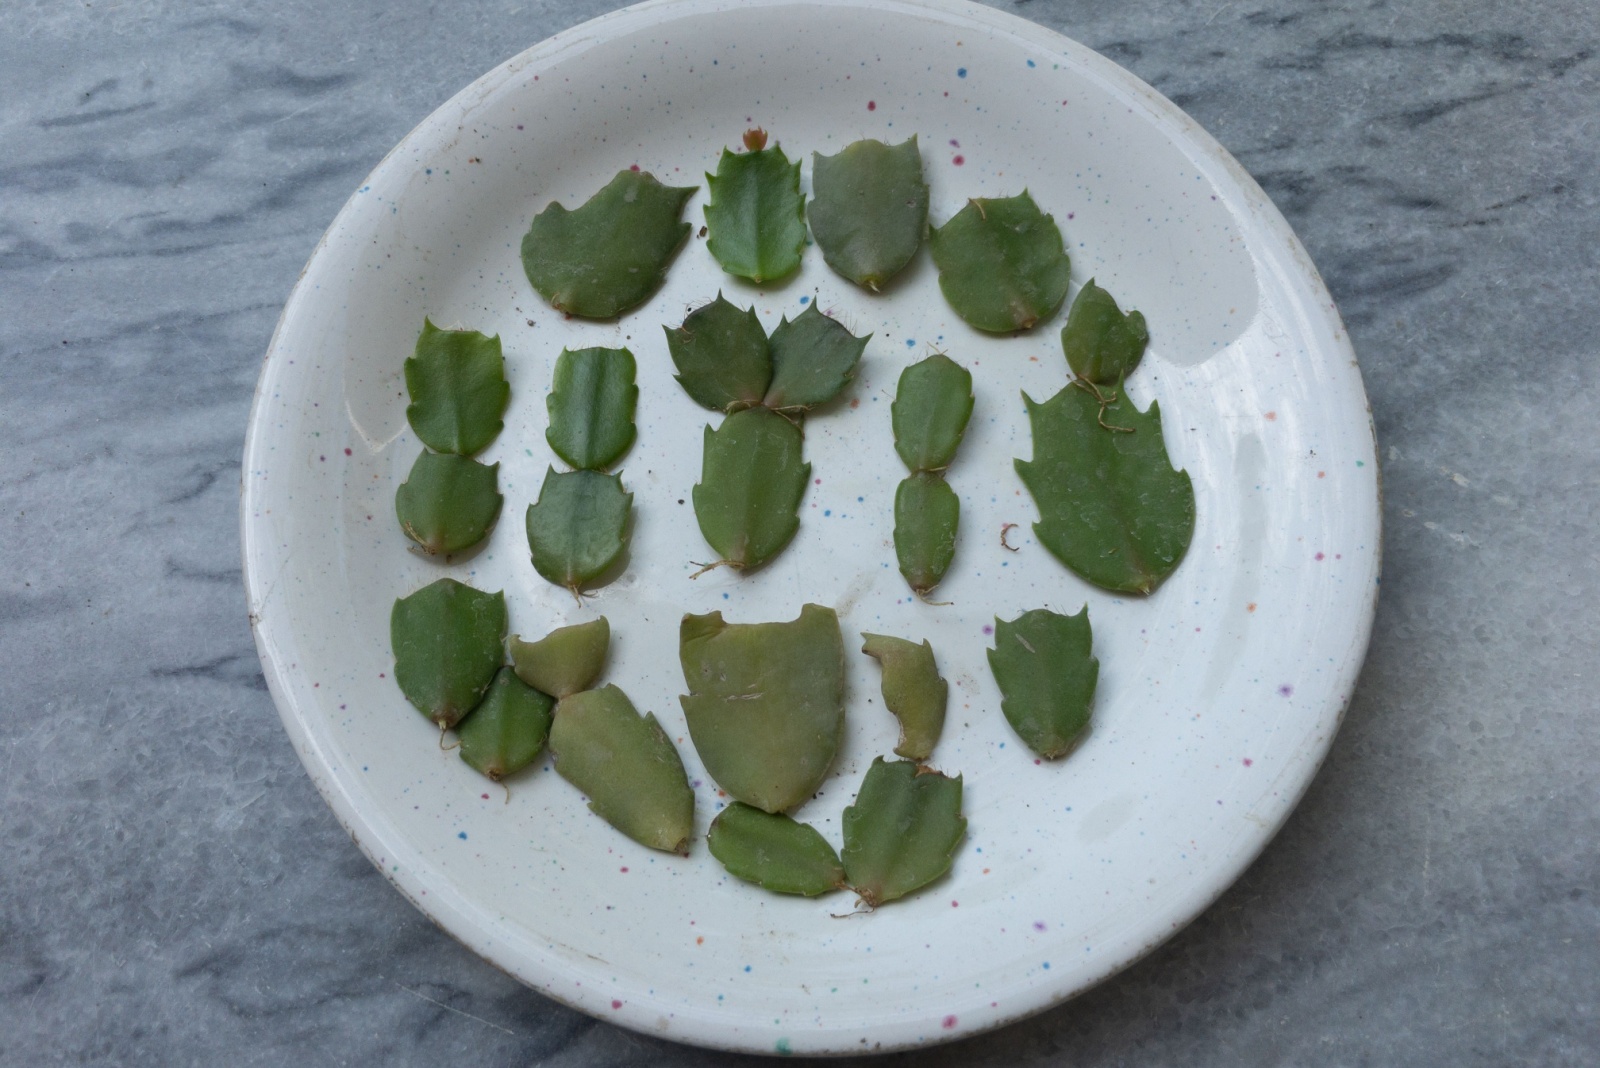
When propagating this type of holiday cactus, you need to take a healthy stem tip cutting which has a Y shape and about three leaf segments. These segments should be firm and vibrant in color, as this indicates the cutting is healthy and ready to root.
I highly recommend taking the largest portion possible because it will allow you to put more sections in the potting soil.
You need to make an incision where the two leaf segments meet; we refer to this plant part as a node. Your cactus will continue to display new growth once you remove this section, ensuring the parent plant remains lush and healthy.
Once you have a large portion you can divide it into a few parts, but make sure each part has about three segments. Cutting too small can weaken the chances of root development.
I always take cuttings when I prune my Christmas cactus because I don’t want to waste anything, and it’s a great way to make use of otherwise discarded pieces.
4. Allow It To Callus Over
It’s essential for the Christmas cactus cutting to callus over for a few days. All you need to do is find a dry spot with a lot of bright but indirect light and leave the cutting there.
Remember that the wounds on the cutting are sensitive to rotting, and that’s the main reason why we can’t plant them as soon as we take them.
The callus that forms on the cutting will prevent rotting and the roots will successfully form.
Keep the area dust-free to avoid any contamination during this process.
5. Prepare The Pot
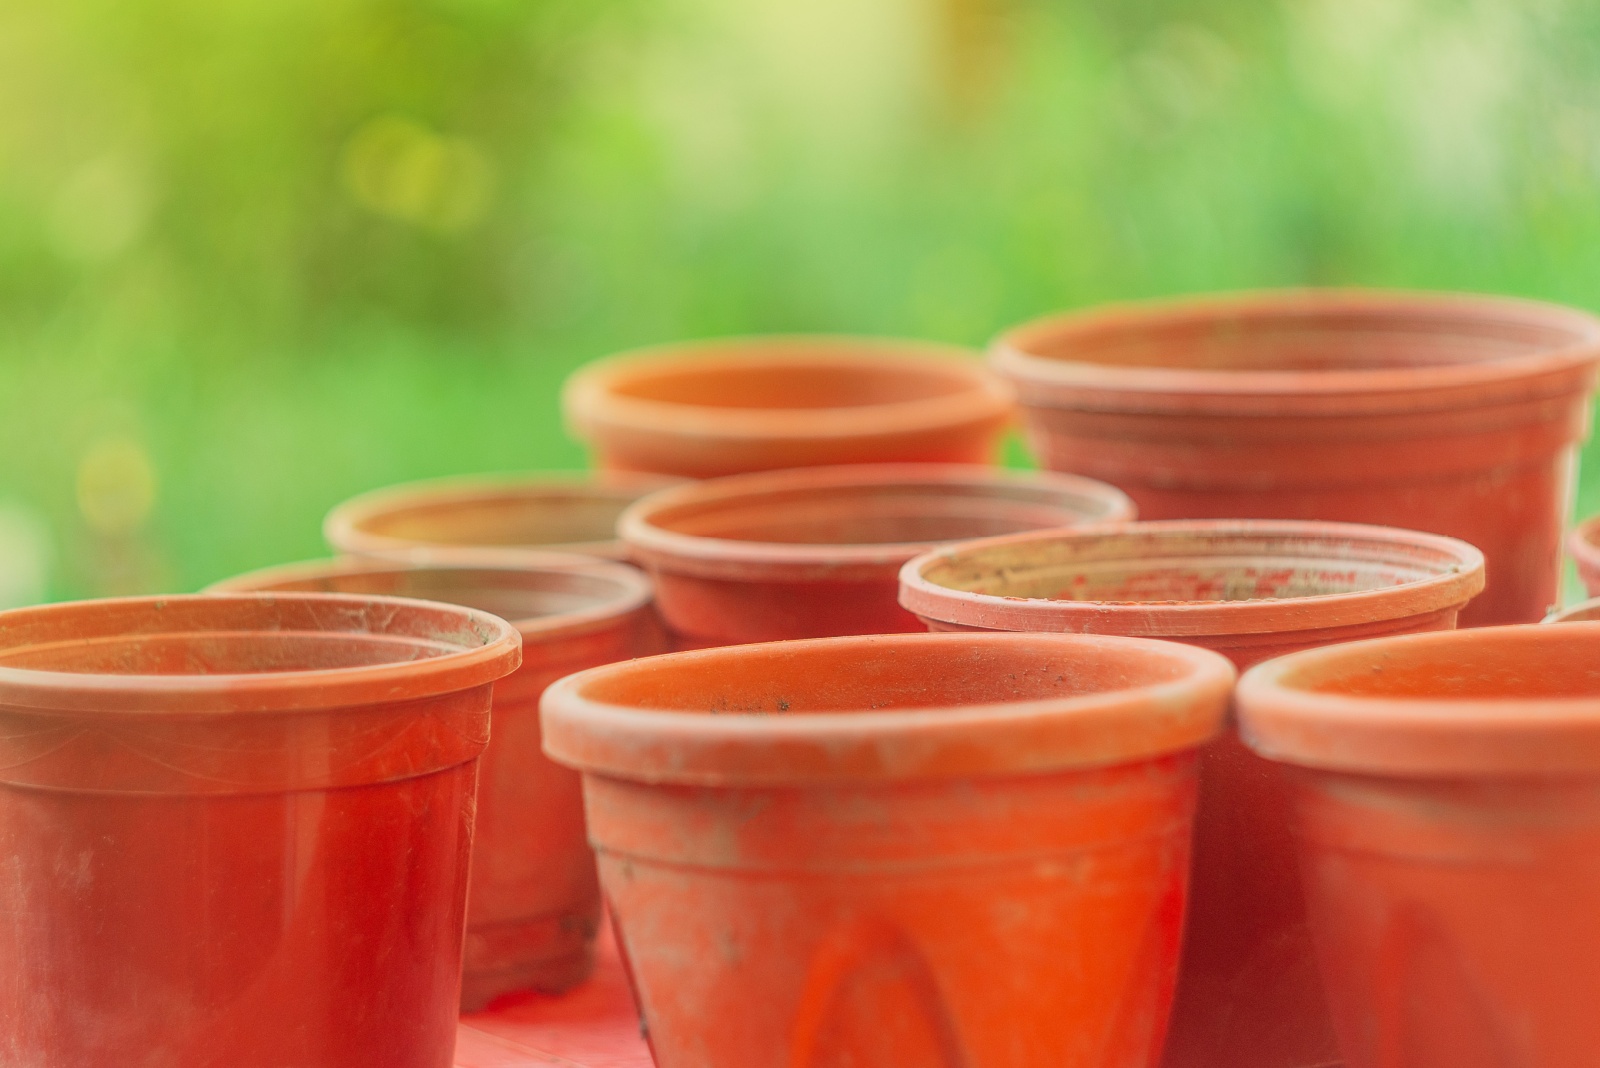
When choosing pots for cactuses, we need to select the ones that will fit the plant and they should be made of porous materials to prevent waterlogging. These materials allow for better airflow and help regulate soil moisture, which is crucial for healthy root development.
Christmas cactus cuttings are pretty small so it would be logical to select smaller pots. But, from my experience, you can go with full-size pots, especially if you’re aiming for long-term growth without the need for frequent repotting.
Many growers claim that the cuttings will have too much soil and be more sensitive to rotting. That is technically true but, in my opinion, it applies more to other plant species. The Christmas cactus is more forgiving and adapts well to having extra soil around its roots.
Cactuses don’t mind being rootbound and you’ll do them more harm than good if you disturb the roots. These plants have a hard time recovering from repotting, so purchase 6 to 8 inch pots to avoid this.
Your Christmas cactus will develop healthily and reach its full size in no time. You’ll also avoid the risk of breaking the cuttings when transferring them to other pots, which can be a common issue with delicate, newly rooted plants!
6. Add Soil Mix
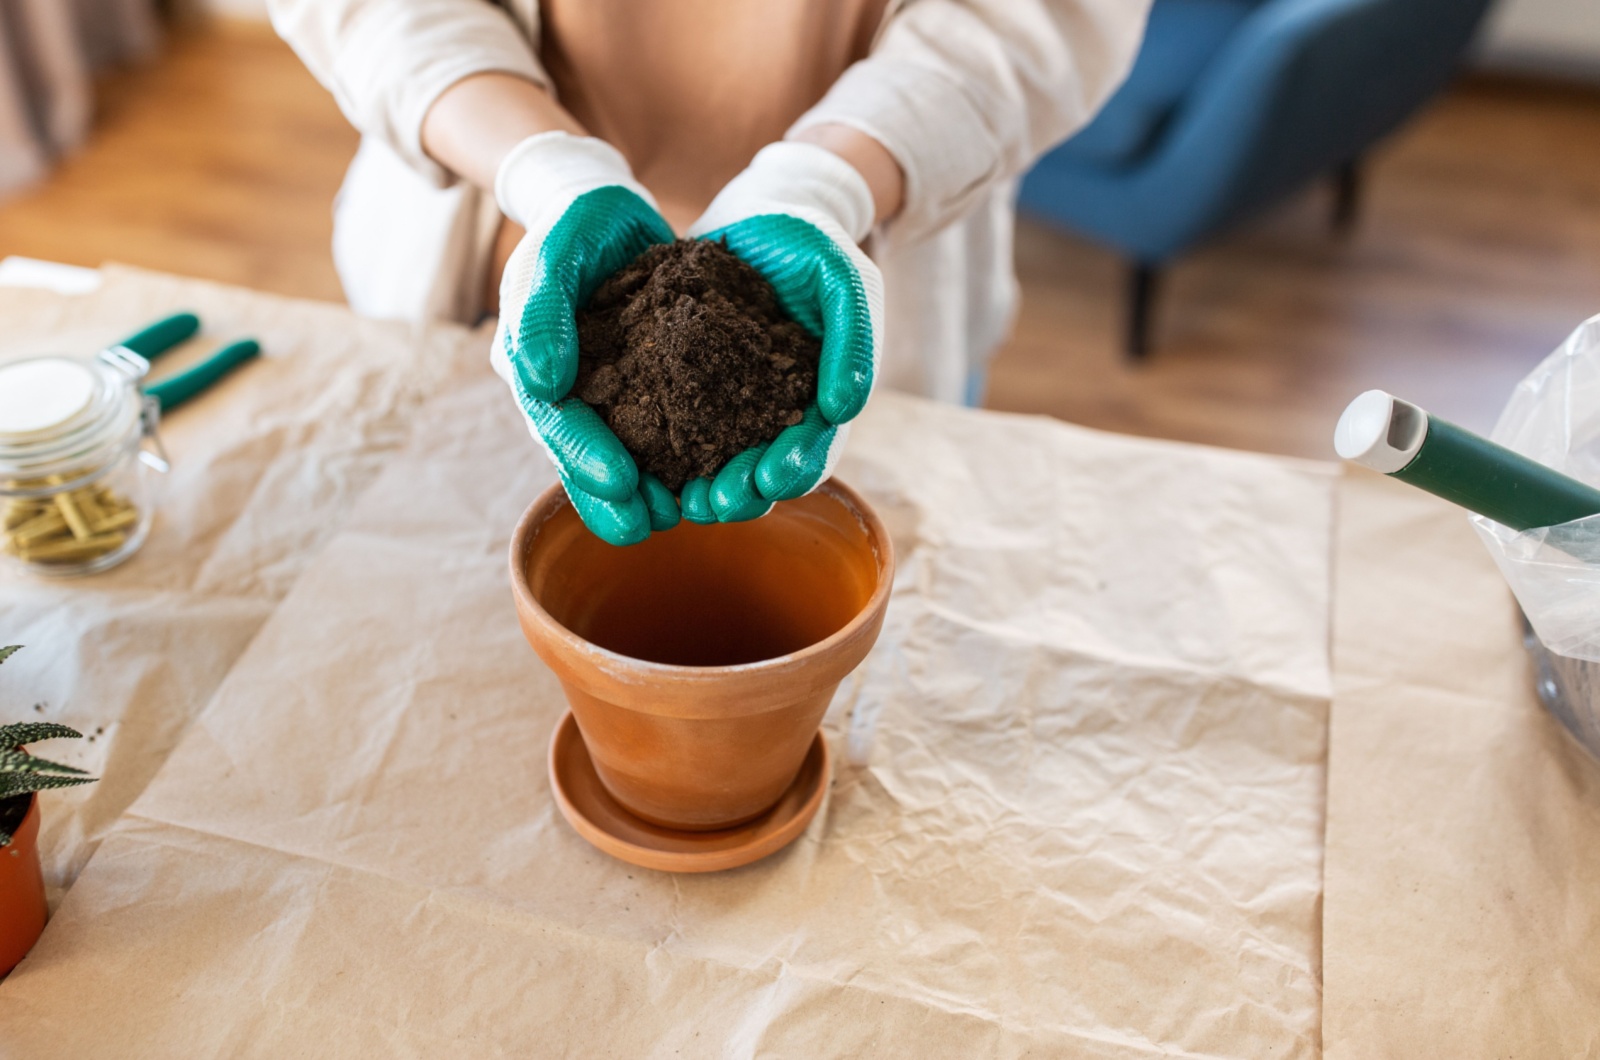
When choosing the soil mix for your cactus, you should consider two factors. First, make sure the potting soil is porous enough to allow the roots to breathe, as proper aeration is crucial to healthy root development.
Second, the soil must be free-draining to prevent water from accumulating and rotting the roots. Adding materials like sand, perlite, or small pebbles can enhance drainage and create the ideal environment for your Christmas cactus.
You can either purchase a ready-made soil mix designed specifically for succulent plants or make your own soil by mixing free-draining ingredients.
Take the pot, add about an inch of soil, and moisten it lightly; you don’t want it to get waterlogged! Ensure the soil is evenly moist but not soggy, as this will help the cuttings settle into their new home and encourage root growth.
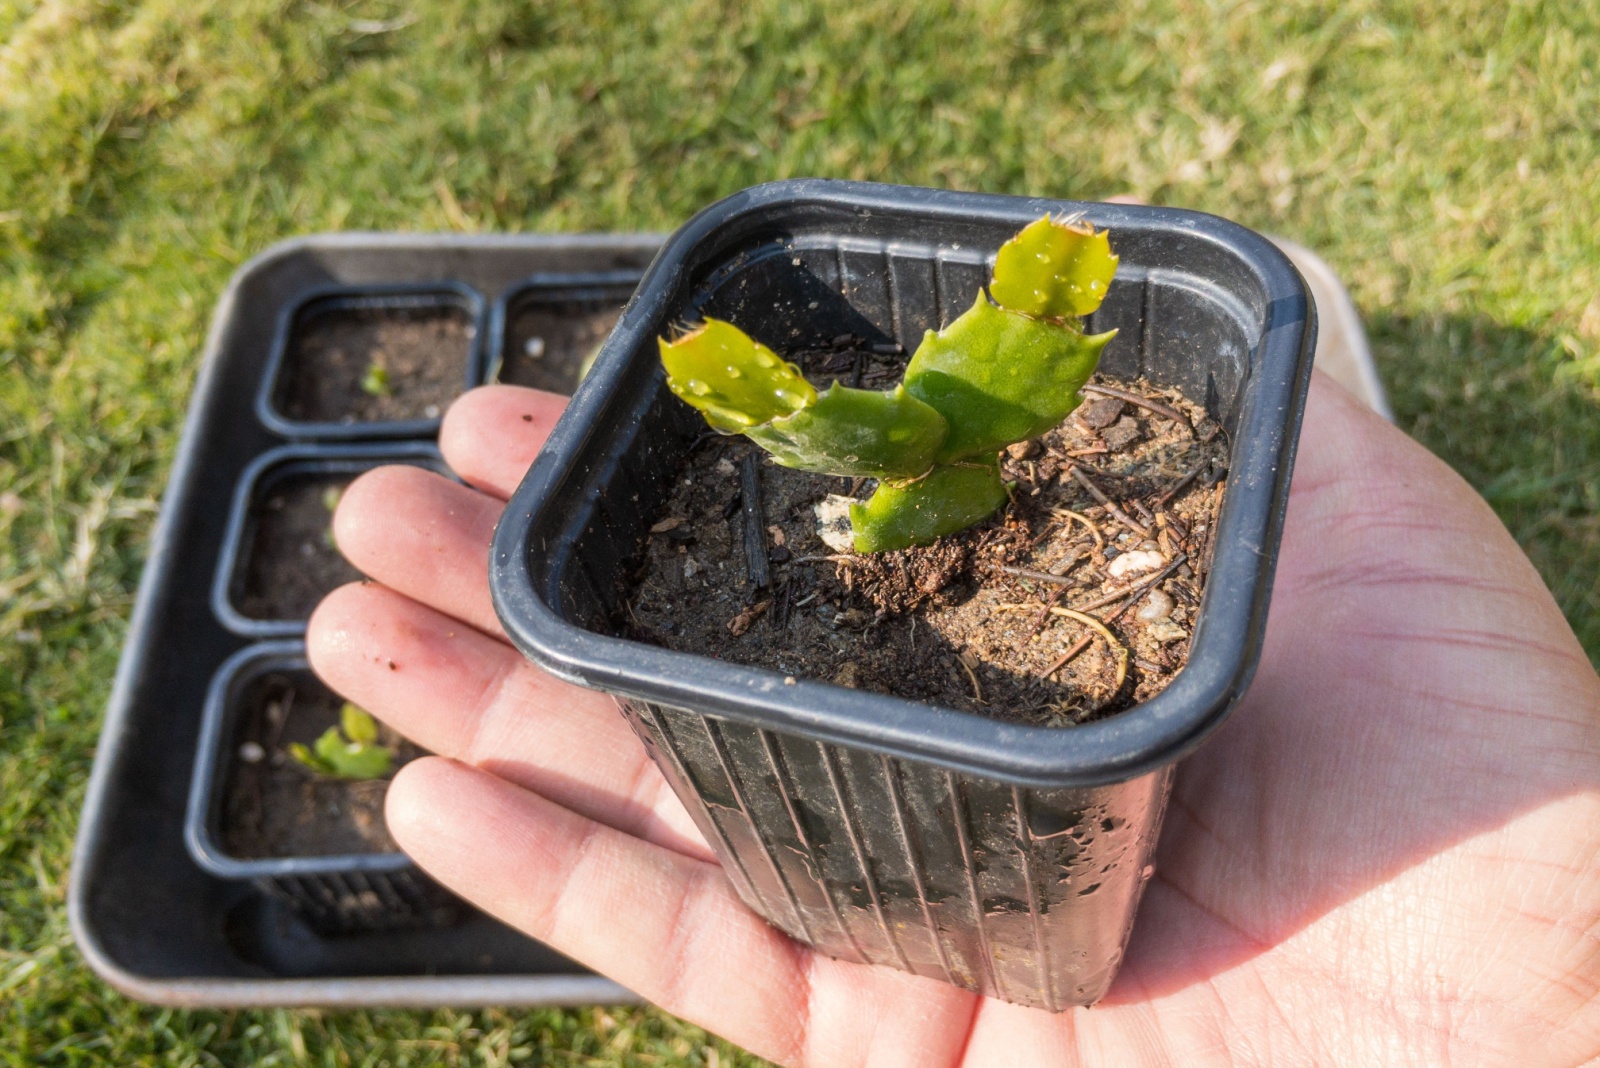
7. Plant The Cuttings
Now comes the final, and my favorite, part of Christmas cactus propagation: planting the cuttings!
Here’s one hack: plant multiple cuttings in a single pot to get a bushy plant! Christmas cactuses you see in supermarkets are grown this way.
Many gardeners choose to plant one cutting per pot; there’s nothing wrong with this method but you need to wait for the cutting to develop many branches and reach its full potential.
Put each cutting into the soil and make sure there’s no more than 2 inches of soil above the node.
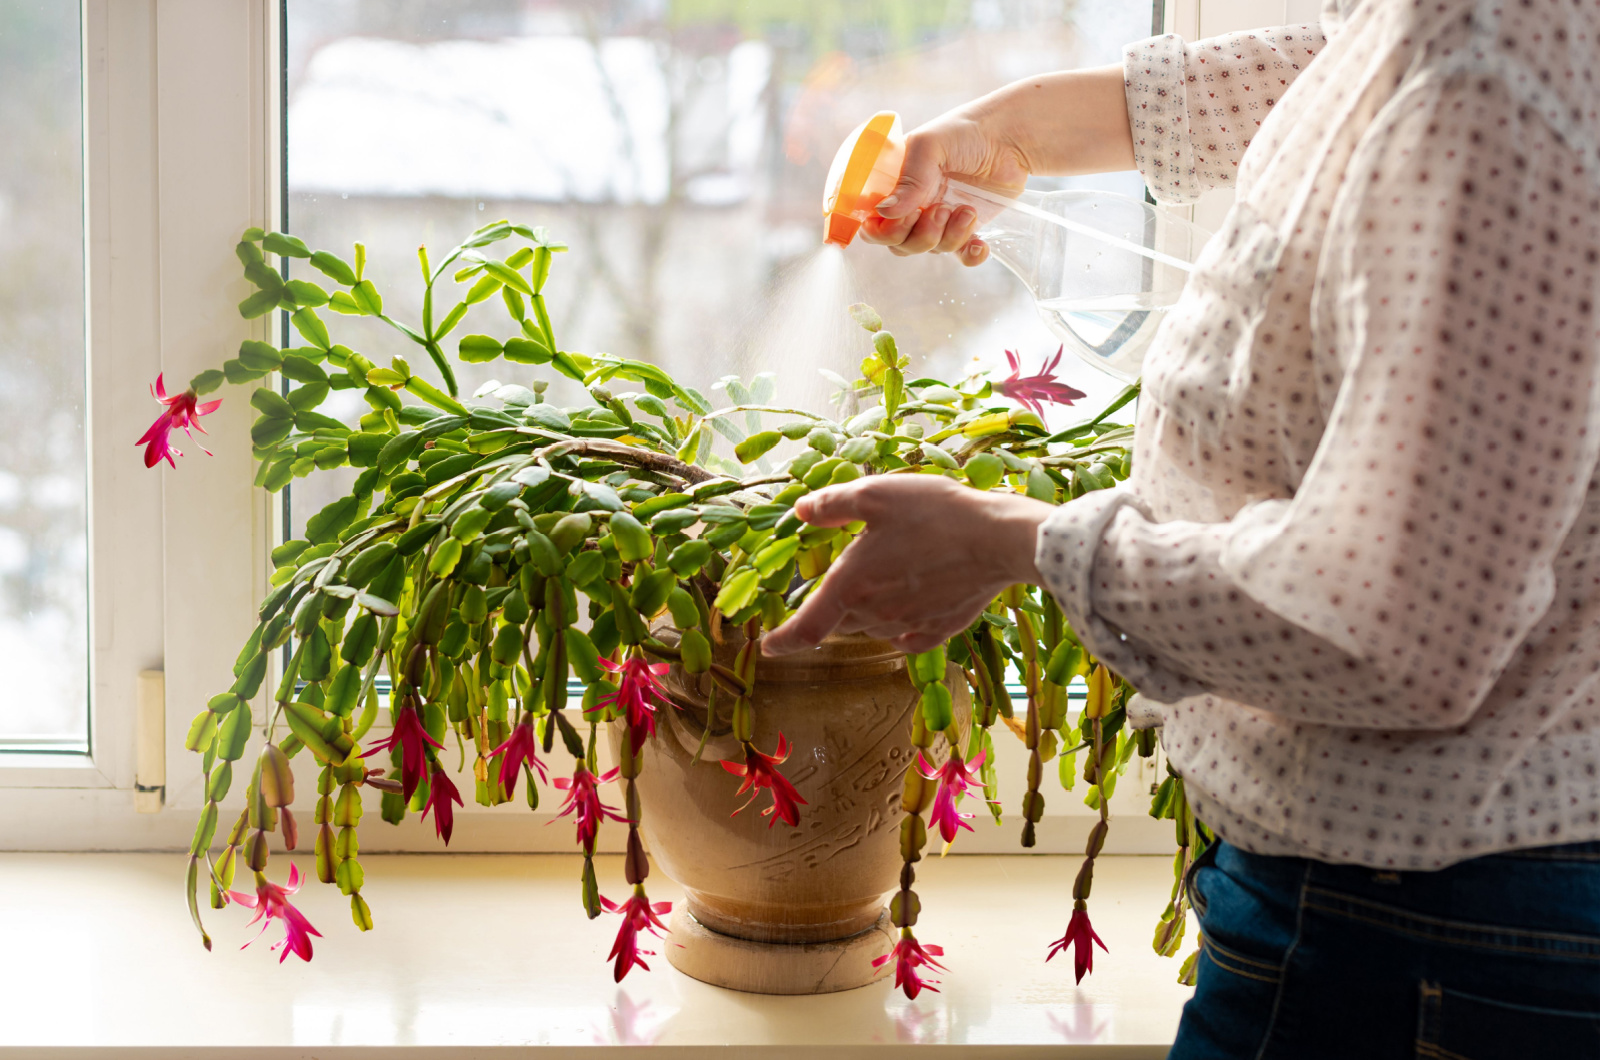
The next step is to find an ideal location for your Christmas cactus cuttings; make sure it’s somewhere they receive bright indirect light!
If your cuttings look wilted for the first couple of days, there’s no need to panic. Do not add water at this point because it will do more harm than good.
Water the cuttings only when the upper part of the soil dries out, and continue using this method even when the roots are formed.
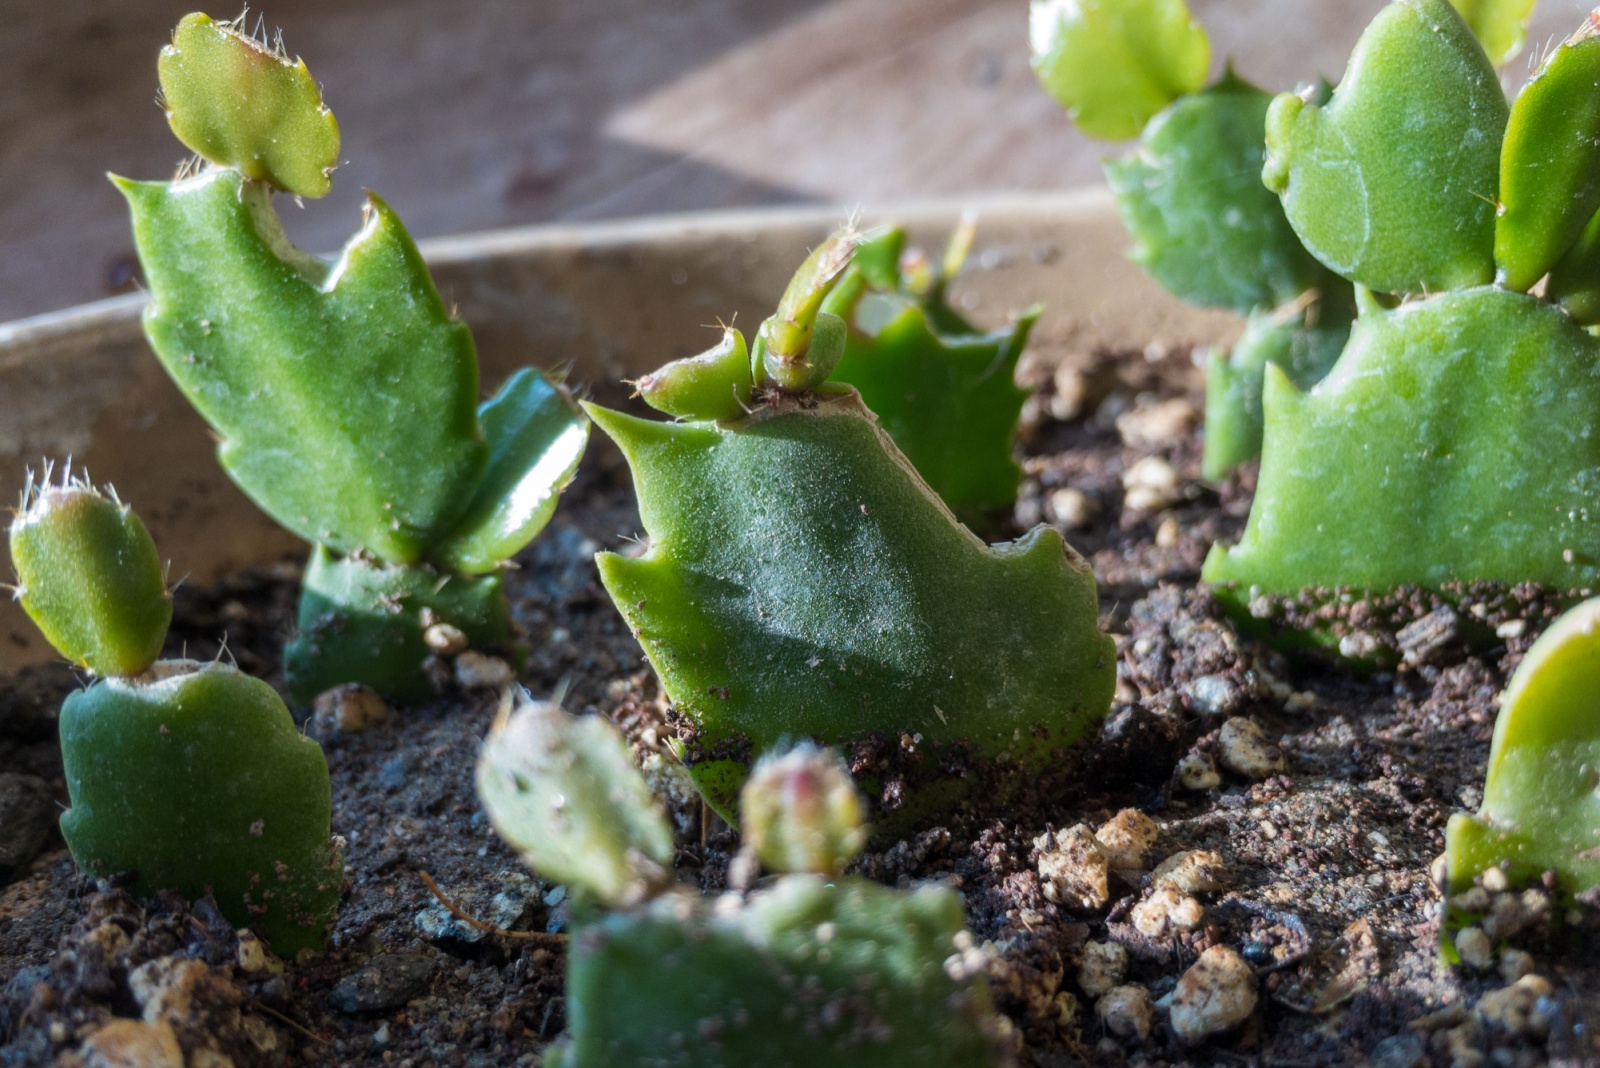
The Christmas cactus cuttings typically take 4 weeks to display new growth. Do not worry if the sections are red around the edges because this is a normal part of their life cycle.
That’s it! You’ve successfully propagated your cactus!
8. Maintain Ideal Humidity
Christmas cactus cuttings thrive in slightly humid environments.
Place a clear plastic bag over the pot to create a mini greenhouse effect, which helps maintain consistent moisture levels and encourages faster rooting.
Make sure the bag doesn’t touch the cuttings, as this can lead to damage or mold development. Use sticks or small supports to keep the bag elevated if necessary.
Additionally, remove the bag daily for a short time to allow air circulation and prevent mold growth, ensuring a healthy environment for your cuttings to flourish.
9. Monitor Growth Closely
For the first few weeks, pay close attention to the cuttings. Ensure they are not exposed to direct sunlight, as it can cause them to dry out or scorch.
Instead, provide bright but indirect light to support healthy growth. Check that the soil remains slightly moist but not soggy, as overwatering can lead to root rot.
If you notice any signs of wilting, discoloration, or shriveling, adjust the watering or light conditions accordingly.
Sometimes, reducing the frequency of watering or moving the cuttings to a slightly cooler spot can help them recover and continue thriving.
10. Gradual Transition
Once you see roots forming and new growth emerging, begin to slowly acclimate the cuttings to normal indoor conditions.
Remove the humidity cover permanently and introduce them to indirect light for longer periods, gradually increasing exposure.
This gradual transition allows the cuttings to adjust to the environment without stress, reducing the risk of shock.
As they become more accustomed to their new surroundings, their growth will continue to strengthen, setting the foundation for a healthy, thriving Christmas cactus.
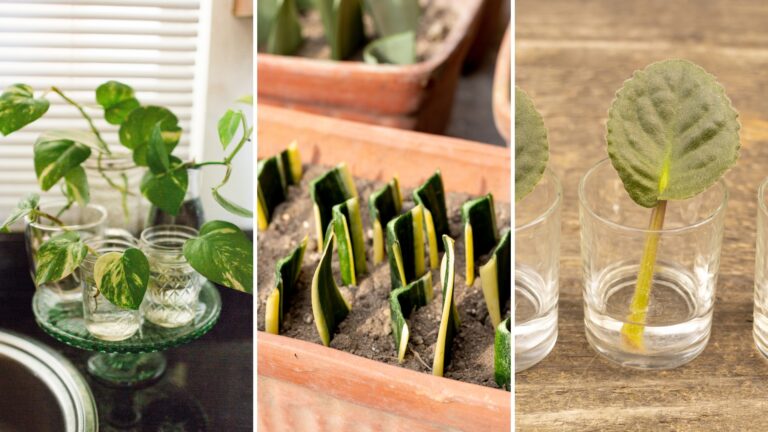
Can You Propagate Christmas Cactus Cuttings In Water?
Many fellow growers frequently ask me if it’s possible to propagate Christmas cactuses in water. Nothing is more fun than watching the cuttings grow their roots!
However, I don’t recommend water propagation for holiday cactuses. I’ve already mentioned that they don’t like to be disturbed and roots that develop in water are even more sensitive to rotting and breaking.
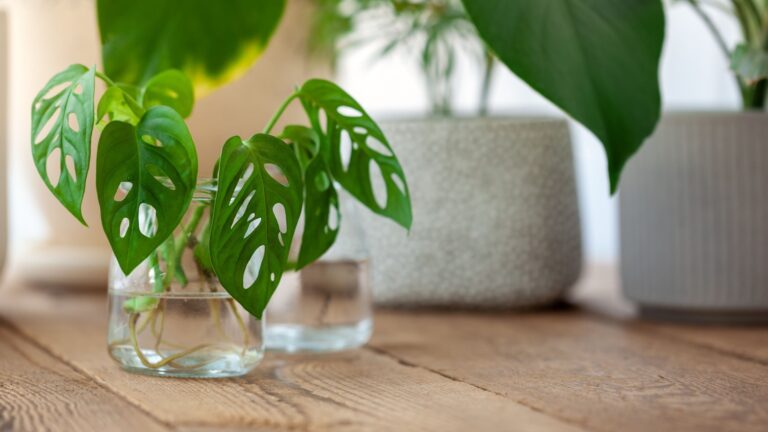
But if you do decide to propagate your Christmas cactus this way, I have a few tips. Fill a small transparent container with clean, room temperature water and insert the cutting, making sure the node is below the water line.
Find a spot with bright indirect light and inspect your cactus regularly. Change the water in the container every 2-3 days to prevent pathogens from spreading.
When propagated this way, it typically takes a month and a half for the cuttings to generate roots. Carefully plant them in a suitable soil mix and enjoy your new Christmas cactuses!
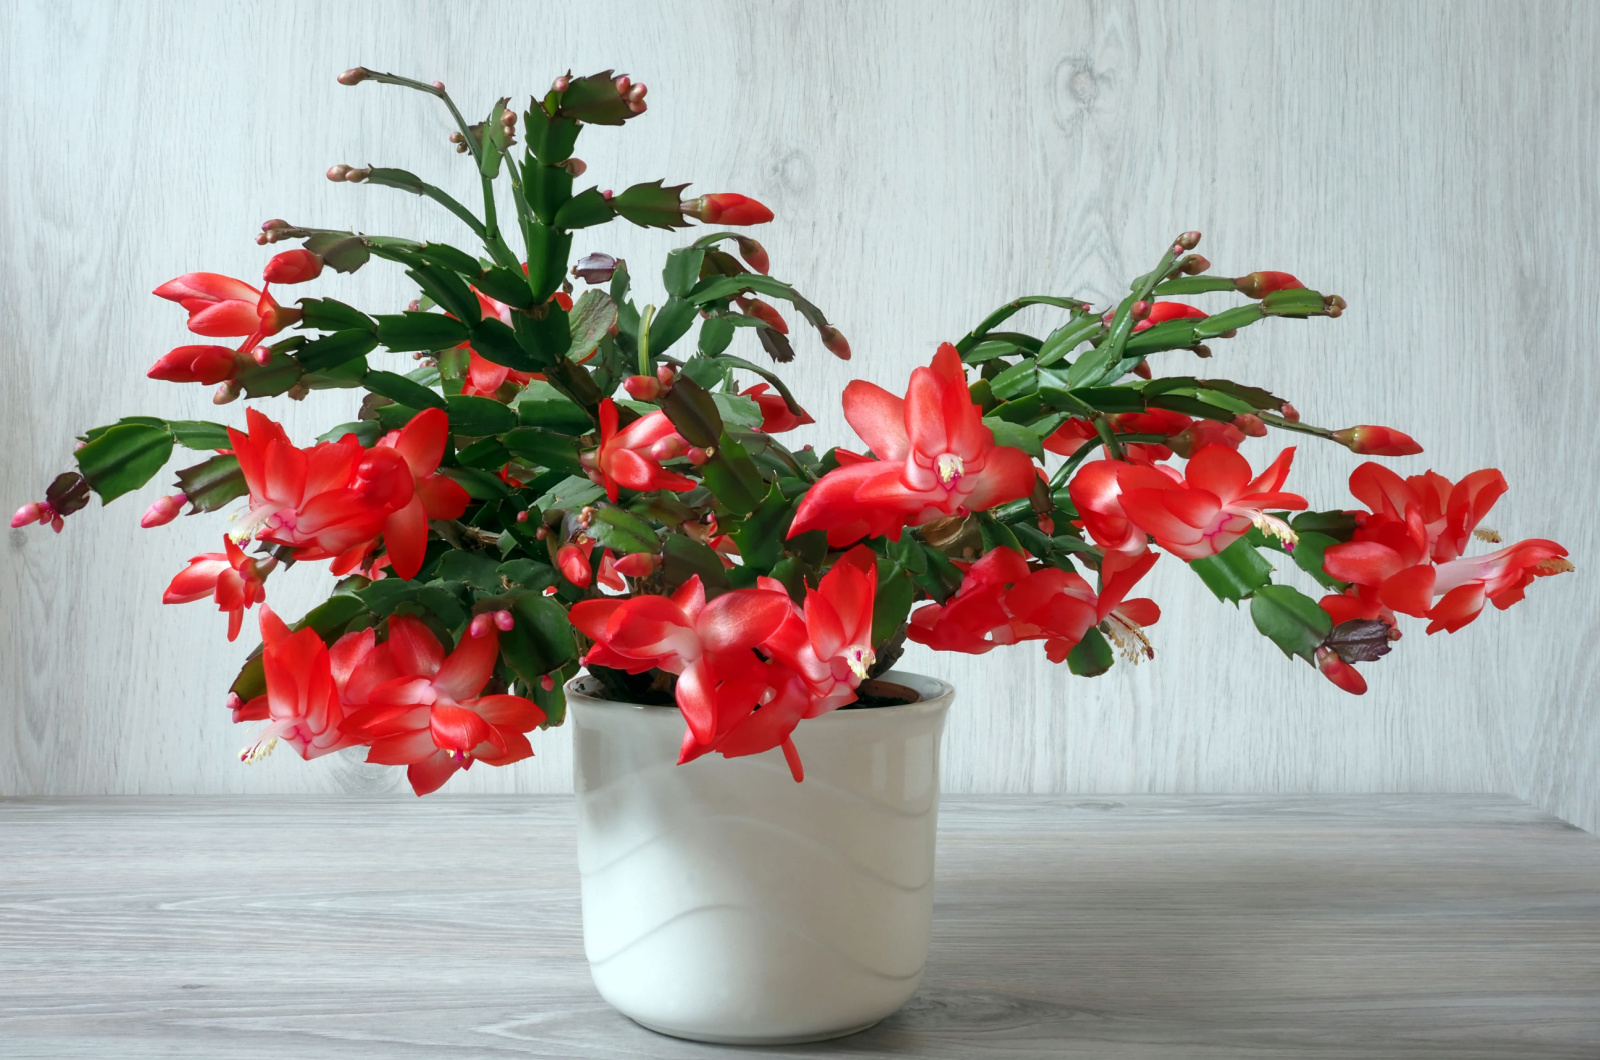
Propagating Christmas cactuses isn’t rocket science so don’t be afraid to try it if you’re a beginner. Just follow our guidelines and I’m sure your new plants will adorn your Christmas table next year! Good luck!