How To Propagate Hydrangeas In Oregon Without Much Fuss
Hydrangeas are one of the easiest Oregon garden favorites to multiply, and the best part is that they really do not need a big production.
With the right timing and a simple cutting, you can turn one healthy plant into several new ones without fancy tools, complicated steps, or a greenhouse setup that makes you feel like a full-time botanist.
Oregon’s mild temperatures and generally moist conditions give hydrangea cuttings a pretty nice advantage.
They are far less dramatic when the weather is not trying to roast them alive, which makes rooting them a lot less stressful for everyone involved. Love that.
The trick is keeping things simple. A soft stem, a little moisture, bright shade, and some patience usually go a long way.
Once you know the basic method, propagating hydrangeas starts to feel less like a gardening experiment and more like a very satisfying hack. More plants, less fuss, and a yard that gets fuller without a trip to the nursery.
1. Start With A Healthy Stem
Picking the right stem is the first and most important step when propagating hydrangeas in Oregon. Not every stem on the plant will give you good results.
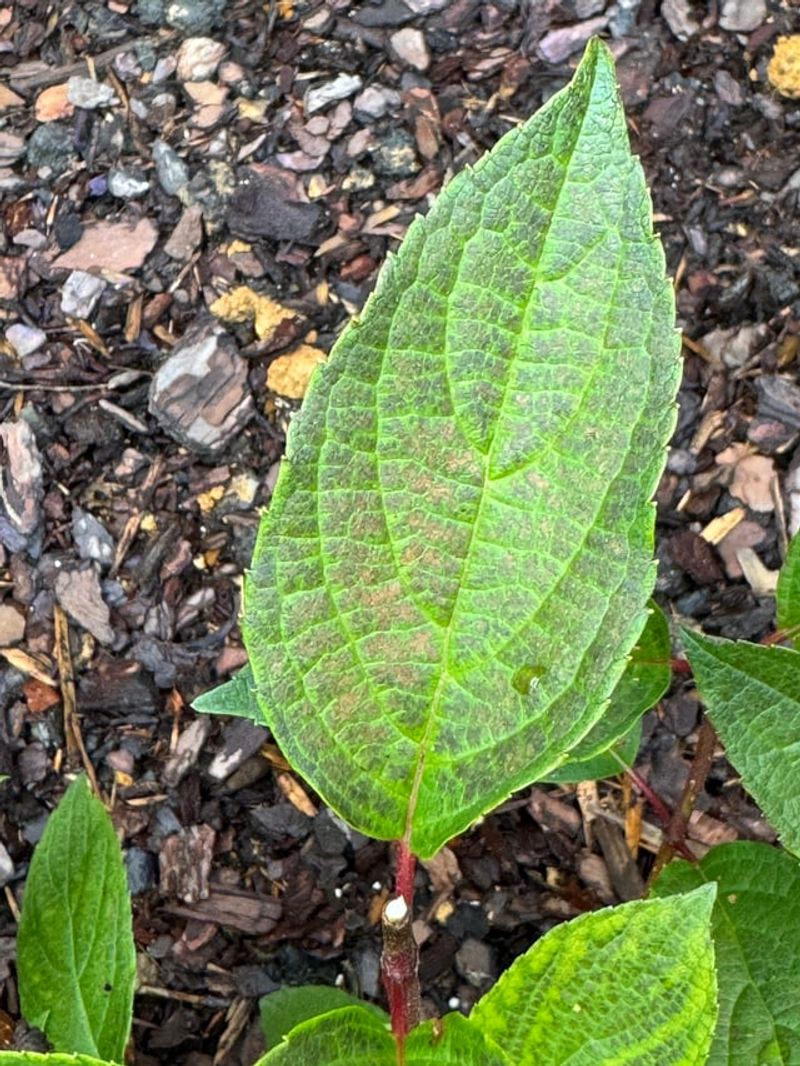
You want to look for a stem that is green, firm, and free from spots or damage.
A healthy stem is packed with energy and nutrients that help new roots form quickly. Avoid any stems that look yellow, wilted, or have signs of insect damage.
Stems from the current year’s growth tend to work best because they are still actively growing.
Walk around your hydrangea plant and take your time choosing. Look for a non-flowering stem, since flowering stems put their energy into blooms rather than roots.
A stem from the middle or outer part of the plant usually works well.
In Oregon, hydrangeas tend to produce lots of healthy new growth in spring and early summer. That makes it a great time to find strong, vigorous stems.
Starting with a healthy stem gives your cutting the best possible chance of growing into a full, beautiful plant. Think of it like picking the best apple from the tree.
2. Why Softwood Cuttings Work Best
Softwood cuttings come from the newer, greener parts of the hydrangea plant. These young stems have not yet hardened or turned woody, which means they root much faster and more easily.
Gardeners across Oregon swear by this method because it is simple and very effective.
The soft tissue in these cuttings absorbs water and nutrients quickly. That helps roots form in just three to four weeks under the right conditions.
Hardwood cuttings, on the other hand, can take months to root and require a lot more patience.
Timing matters a lot when it comes to softwood cuttings. Early spring and early summer are the sweet spots in Oregon.
The stems are young, flexible, and full of growing energy during these months.
You can tell a softwood stem by bending it gently. If it bends without snapping right away, it is still soft enough to use.
Your Oregon Garden Changes Every Week. Your Plan Should Too.
Gardening in Oregon changes quickly throughout the season. Every Friday you’ll receive a simple weekly plan showing exactly what to plant, prune, fertilize, harvest, and protect so you never miss the right timing.
A stem that snaps quickly is too mature and woody for easy rooting. Softwood cuttings give you a head start on the whole propagation process.
More of your cuttings will survive, and they will root faster, saving you both time and effort in your Oregon garden.
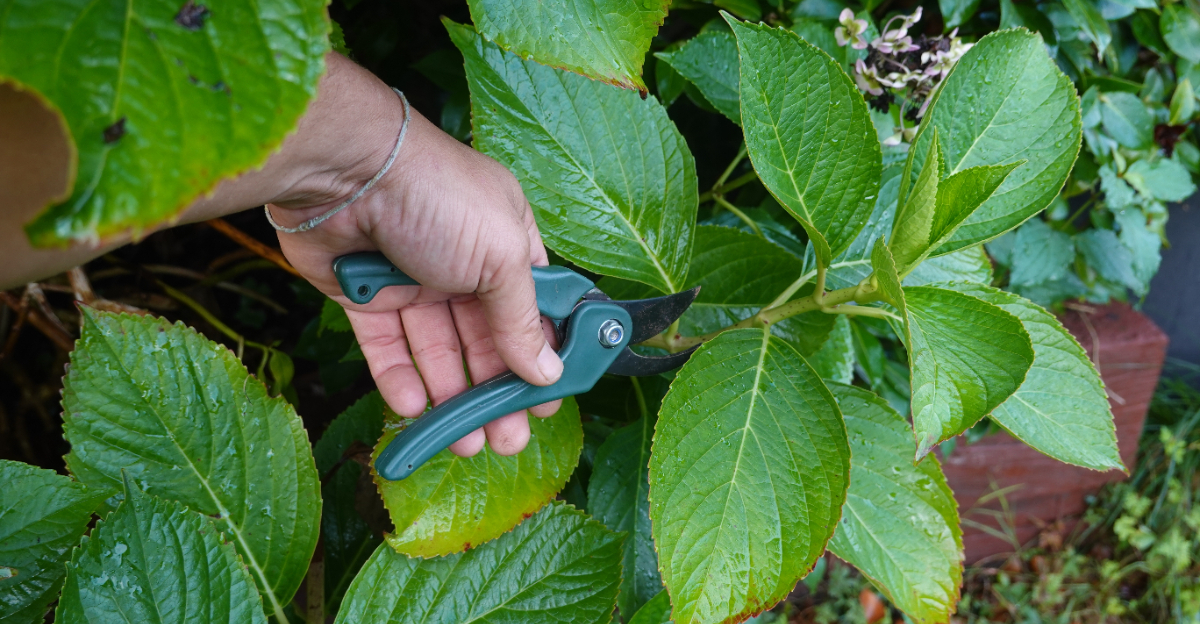
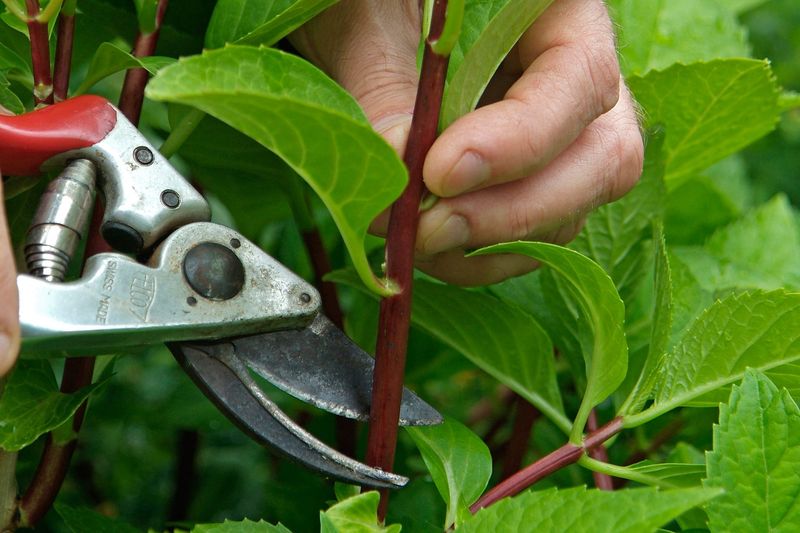
3. Keep Your Tools Clean
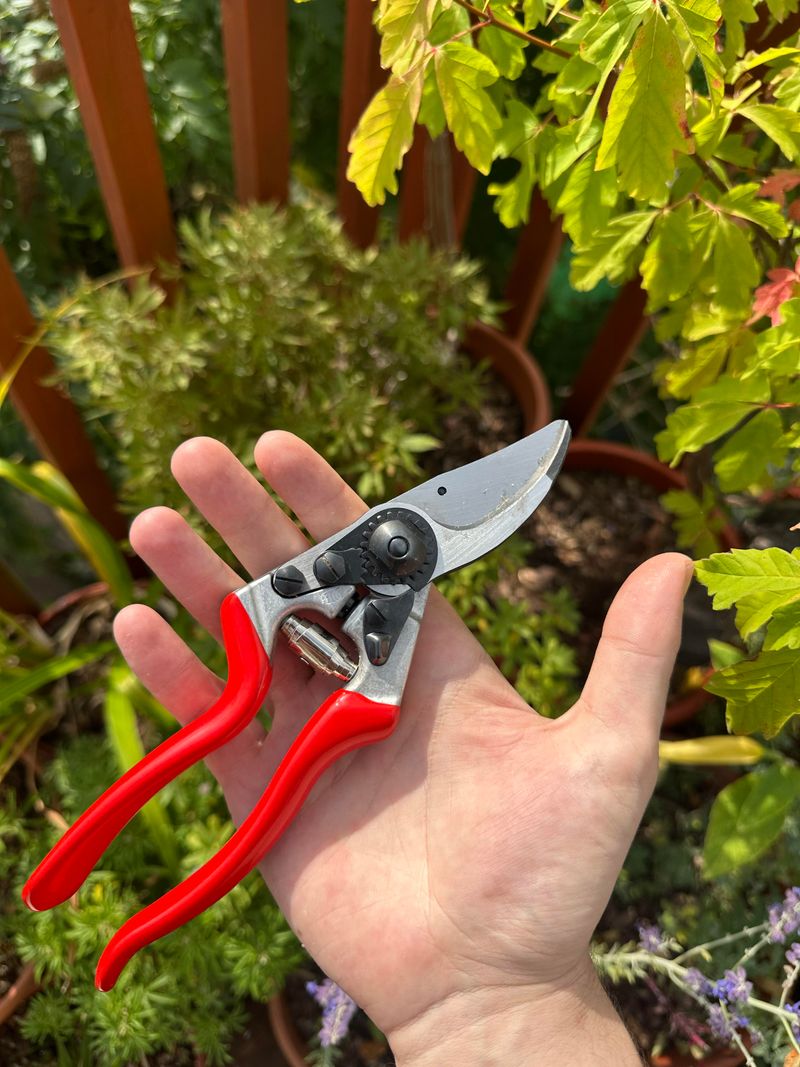
Dirty tools can spread disease from one plant to another without you even realizing it. Before you take any cuttings from your hydrangea, always clean your scissors or pruning shears first.
A quick wipe with rubbing alcohol or a diluted bleach solution does the job well.
Clean cuts also help the stem heal faster and reduce the chance of infection. A dull or dirty blade can crush the stem instead of cutting it cleanly.
That kind of damage makes it harder for the cutting to absorb water and form roots.
Oregon gardens can be damp, and moisture sometimes encourages mold and fungal problems. Keeping your tools clean is one of the easiest ways to protect your cuttings from these issues.
It only takes about thirty seconds to wipe down your tools, and it makes a real difference.
Get into the habit of cleaning tools before and after every use in the garden. Store them in a dry place so rust does not build up on the blades.
Sharp, clean tools make the whole propagation process smoother and more successful. Your hydrangeas will thank you for the extra care you put into this simple but important step.
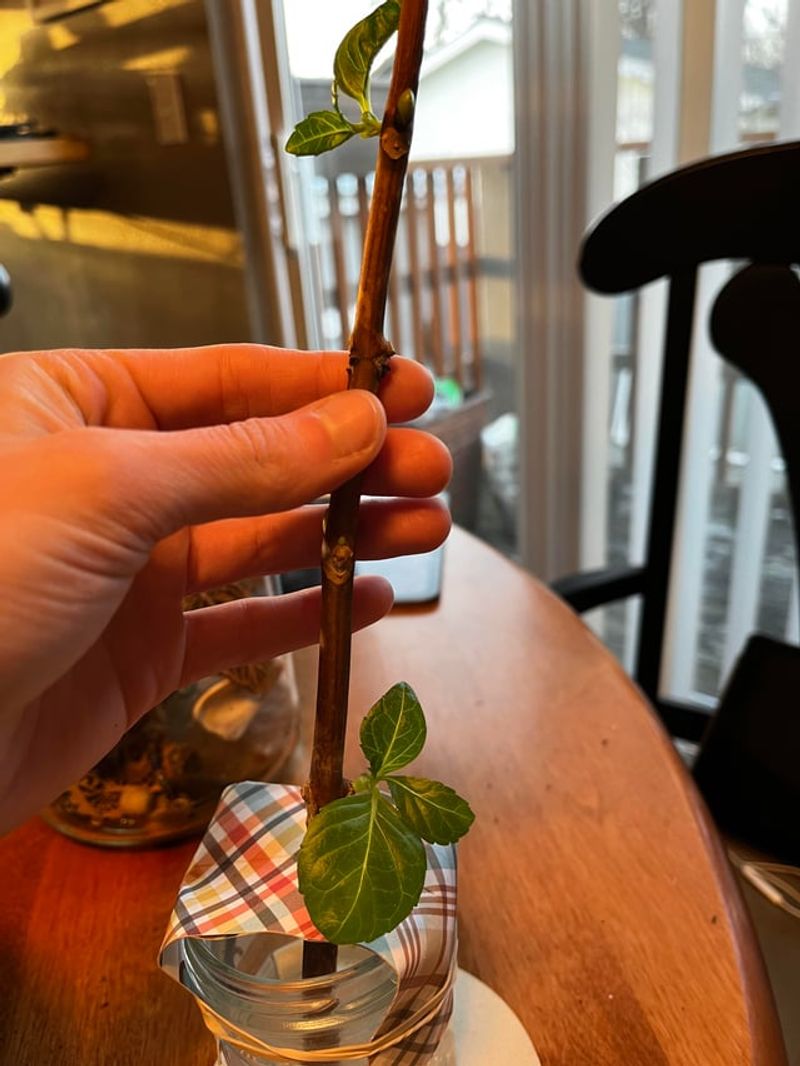
4. How To Take The Right Cutting
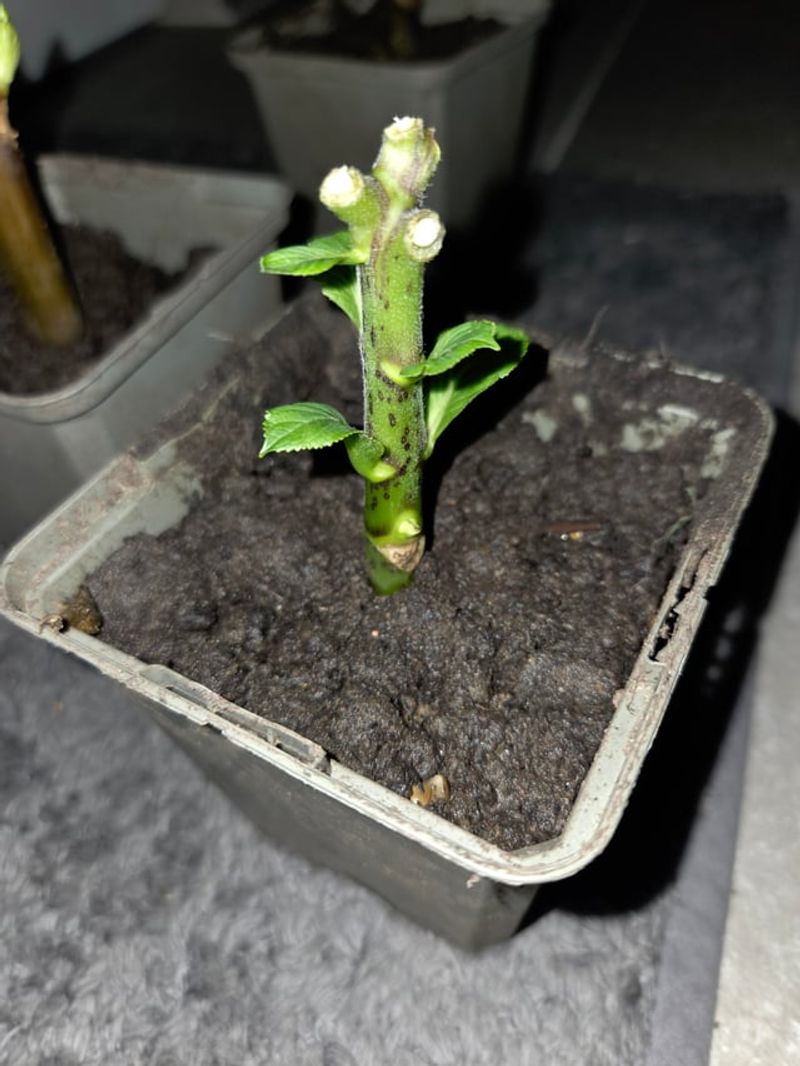
Once you have chosen a healthy stem and cleaned your tools, it is time to take the actual cutting. Aim for a stem that is about four to six inches long.
That length gives the cutting enough energy reserves without being too heavy to support itself.
Make your cut just below a leaf node, which is the small bump on the stem where leaves grow out. Cutting at this spot encourages roots to form right at that point.
A clean, angled cut helps the stem take in water more easily than a flat cut.
Try to take your cutting in the morning when the plant is well-hydrated. Oregon mornings are often cool and moist, which is perfect for keeping cuttings fresh right after they are taken.
Work quickly so the stem does not dry out between cutting and planting.
Place the cutting in a cup of water or wrap it in a damp paper towel right away if you are not planting it immediately. Every minute the cut end is exposed to dry air, it loses some of its rooting potential.
Taking the right cutting with care and speed sets the entire propagation process on a strong, confident path forward.
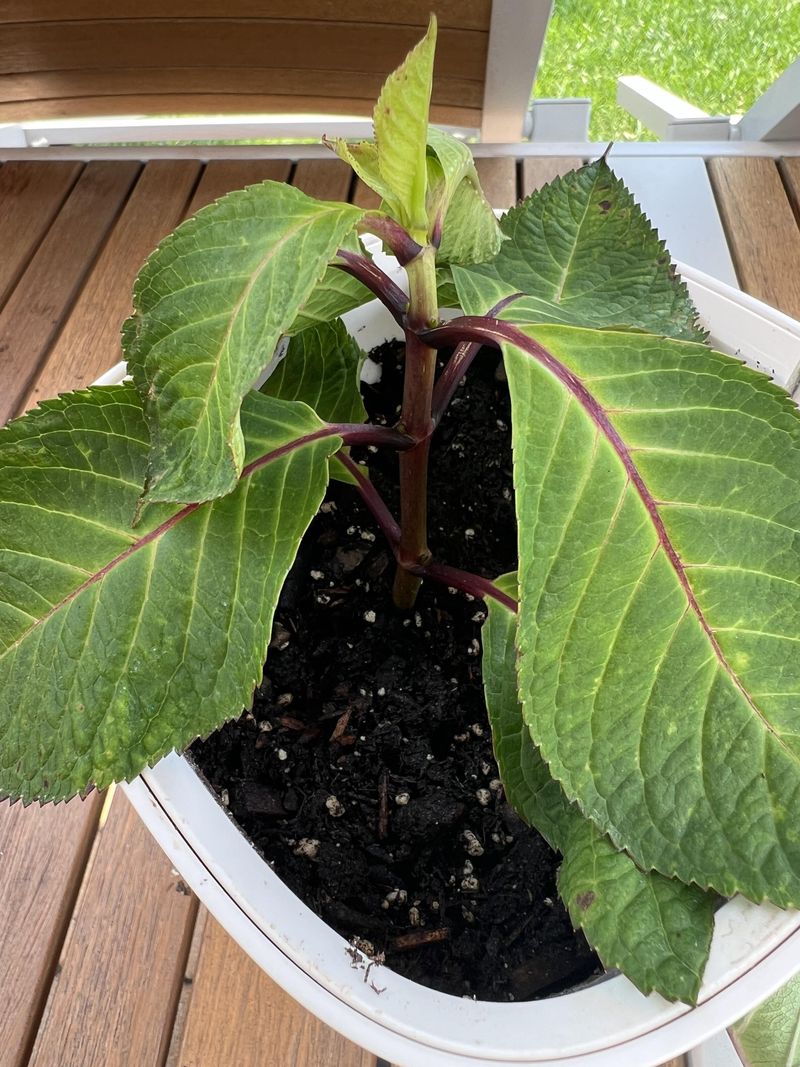
5. Remove Extra Leaves

After taking your cutting, the next step is to remove most of the leaves. Leaves pull moisture out of the stem through a process called transpiration.
When a cutting has too many leaves, it loses water faster than it can absorb it, which makes rooting much harder.
Strip away all the leaves from the bottom half of the stem. Leave only the top two or three leaves so the cutting can still do a small amount of photosynthesis.
This balance helps the cutting stay alive without using up too much of its stored energy.
If the remaining leaves are very large, you can cut them in half horizontally. This simple trick reduces water loss even further without removing the leaves entirely.
Many Oregon gardeners use this technique during warmer summer months when evaporation happens faster.
Be gentle when removing leaves so you do not damage the stem. A torn stem can introduce bacteria and make rooting less likely.
Use your fingers or clean scissors to snap or snip leaves off neatly. Removing extra leaves might seem like a small detail, but it has a big impact on how successfully your hydrangea cutting roots and grows into a healthy new plant.
6. Pick A Simple Potting Mix
Choosing the right potting mix makes a huge difference when rooting hydrangea cuttings. You do not need anything fancy or expensive.
A simple mix of perlite and peat moss works really well because it drains quickly and holds just enough moisture.
Perlite is the small white material you often see in bagged potting soil. It keeps the mix loose and airy so that oxygen can reach the developing roots.
Peat moss adds a bit of moisture retention, which helps the cutting stay hydrated between waterings.
Avoid using regular garden soil from your Oregon yard. Garden soil is often too heavy and compact for tender new roots to push through.
It can also carry bacteria or fungal spores that may harm your cutting before it even has a chance to root.
Fill a small pot or container with your mix and lightly moisten it before inserting the cutting. The mix should feel damp but not soaking wet.
Poke a small hole in the center with a pencil or stick before inserting the cutting so you do not scrape off any rooting hormone you may have applied. A good potting mix is the foundation of the whole rooting process.
7. Keep The Cutting Moist
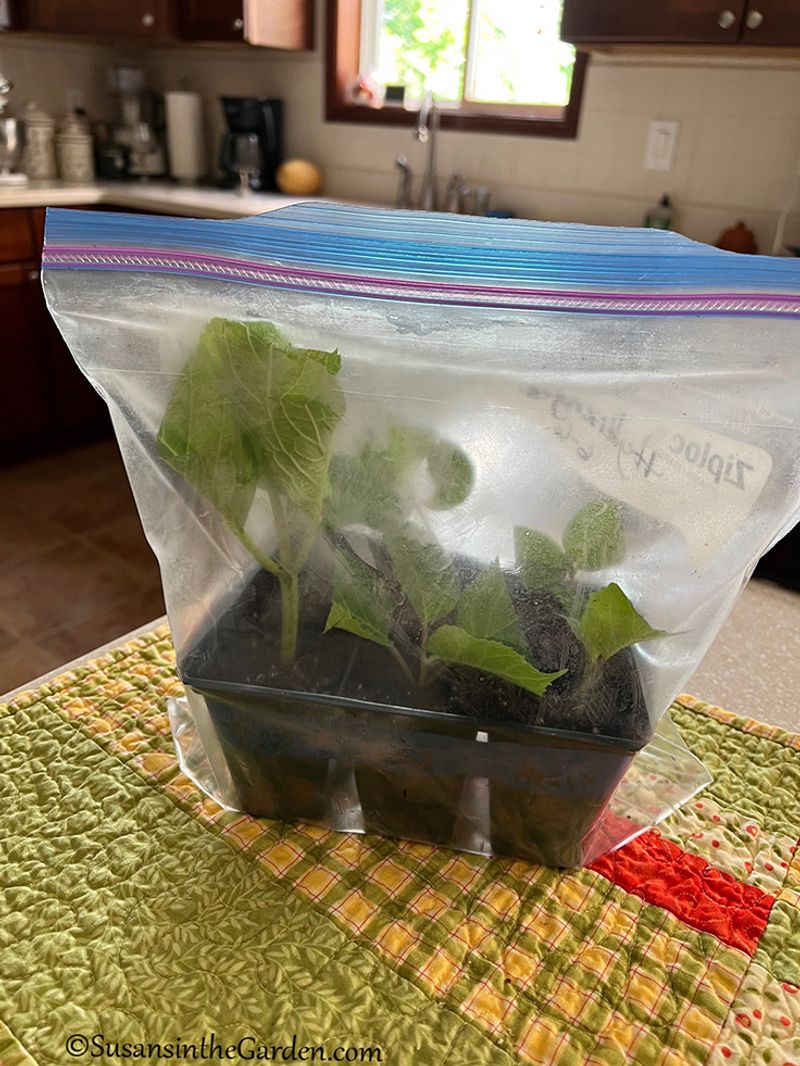
Moisture is absolutely critical during the rooting stage. Without consistent moisture, the cutting will shrivel before it ever gets a chance to grow roots.
Keeping the soil evenly damp, not soaking wet, is the goal throughout the entire rooting process.
One of the easiest tricks is to cover the pot with a clear plastic bag. This creates a mini greenhouse effect that traps humidity around the cutting.
Oregon’s naturally moist air helps, but a plastic bag gives you even more control over the environment.
Check the soil every day or two by pressing your finger about an inch into the mix. If it feels dry, add a little water.
If it still feels moist, leave it alone for another day. Overwatering is just as harmful as underwatering because soggy soil can cause the stem to rot before roots form.
Remove the plastic bag for about thirty minutes each day to let fresh air circulate. This prevents mold from building up inside the humid environment.
After two to three weeks, you can start reducing how often you cover the pot as the cutting becomes more established. Consistent moisture management is one of the simplest and most powerful things you can do to help your hydrangea cutting succeed.
8. Give It Bright, Gentle Light
Light plays a big role in helping your hydrangea cutting root successfully. However, too much direct sunlight can actually work against you at this stage.
Bright, indirect light is exactly what a freshly cut hydrangea stem needs to get started.
Direct afternoon sun can heat up the cutting and cause it to dry out very quickly. That puts stress on the stem before it has any roots to support it.
A spot near a window with filtered light, or under a shade cloth outside, is ideal for Oregon gardeners.
East-facing windows are a popular choice because they offer gentle morning light without the intense heat of afternoon sun. If you are keeping your cuttings outdoors in Oregon, a shaded porch or the north side of your home works wonderfully.
The goal is steady, consistent light without harsh heat.
As roots develop over the next few weeks, you can gradually introduce a little more light. Think of it like slowly turning up a dimmer switch rather than flipping it on all at once.
Once your cutting has rooted and started showing new leaf growth, it can handle brighter conditions. Getting the light balance right from the very beginning gives your new hydrangea the calm, steady environment it needs to grow strong roots and thrive beautifully.