How To Remove A Tree Stump With A Wedge – Simple Steps For Fast, Effective Results
At first glance, removing a tree stump might seem like biting off more than you can chew—but don’t be fooled. With the right know-how and a bit of elbow grease, it’s a task well within reach. One of the most effective tools in your arsenal is the wedge—a real workhorse when it comes to splitting stubborn wood.
Mastering the method turns a backbreaking chore into a step-by-step process that’s both safe and surprisingly straightforward. Break it down, take it slow, and you’ll have that stump out of the ground before you know it.
1. Assess the Stump and Area
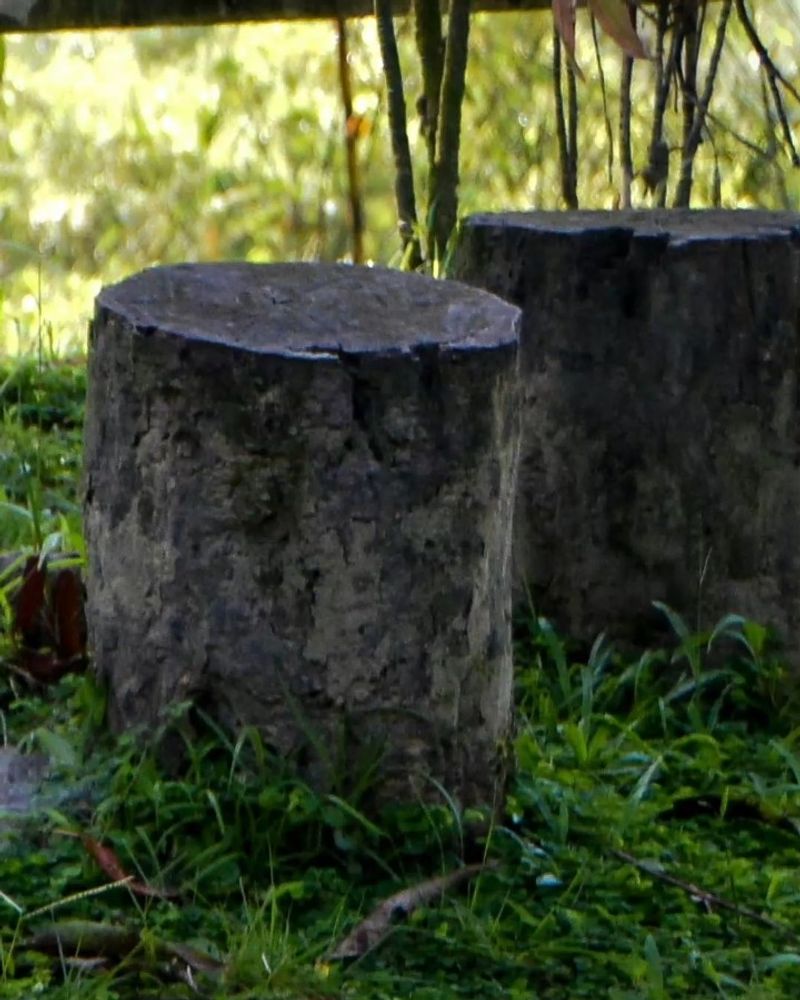
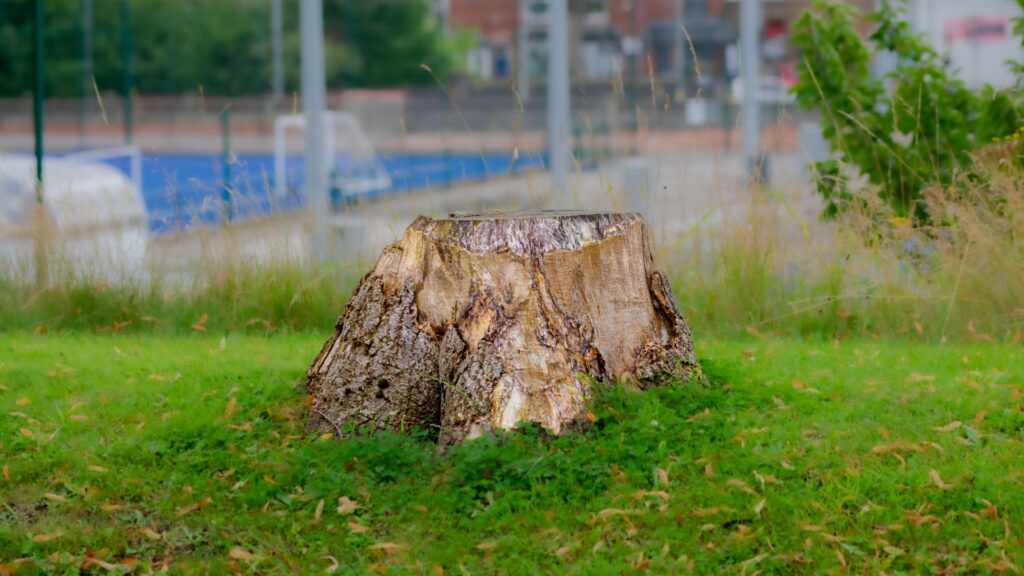
Before you grab your tools, take a good, close look at the stump. Assess its size, age, and condition—older, rotting stumps may be easier to tackle, while fresh ones can put up more of a fight.
Don’t forget to scan the surrounding area for obstacles like rocks, nearby roots, or structures that could get in the way or be damaged during removal.
Think of it as scoping out the battlefield—understanding your “enemy” helps you choose the right strategy and tools.
Pro tip: take note of which direction the stump leans or where the roots are most exposed—these clues can help you work smarter, not harder.
2. Gather Essential Tools
Before you dive in, make sure you’ve got all your tools and gear ready to go—this includes a sturdy wedge, a sharp axe, and a reliable chainsaw.
Just as important? Safety gear. Gloves, goggles, and even ear protection are a must when you’re dealing with heavy-duty tools.
Having your tools organized and within reach not only saves time but also keeps the process smooth and frustration-free.
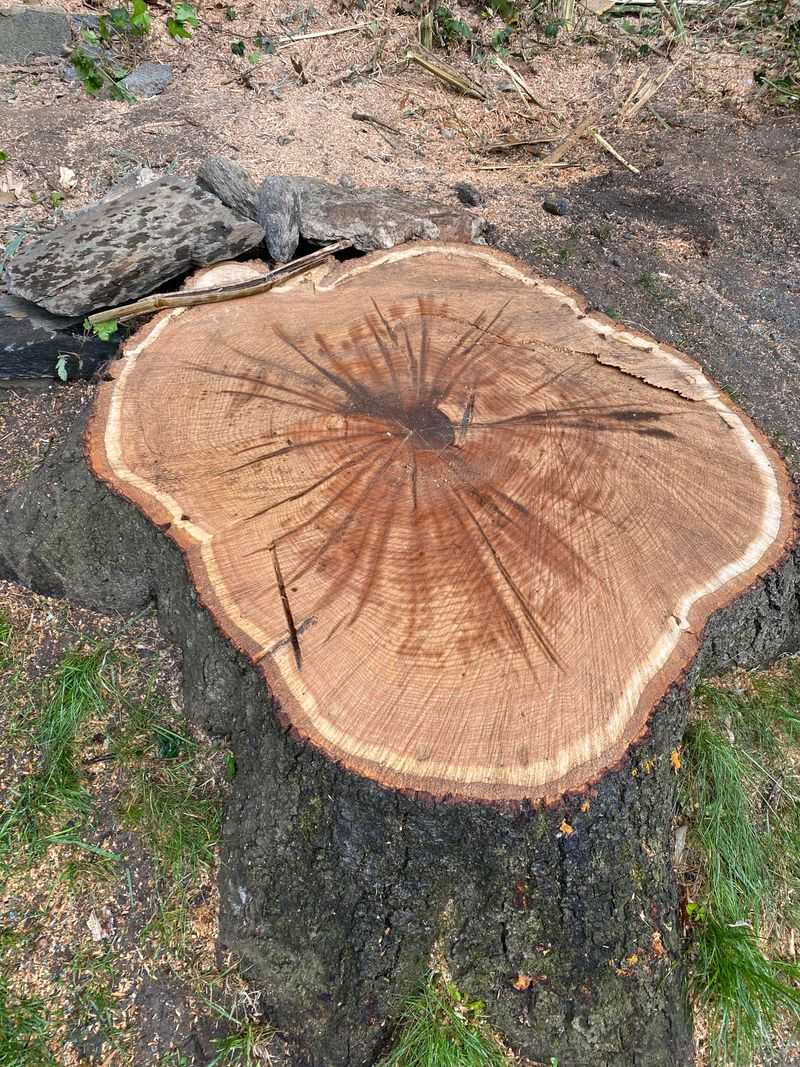
3. Prepare the Stump
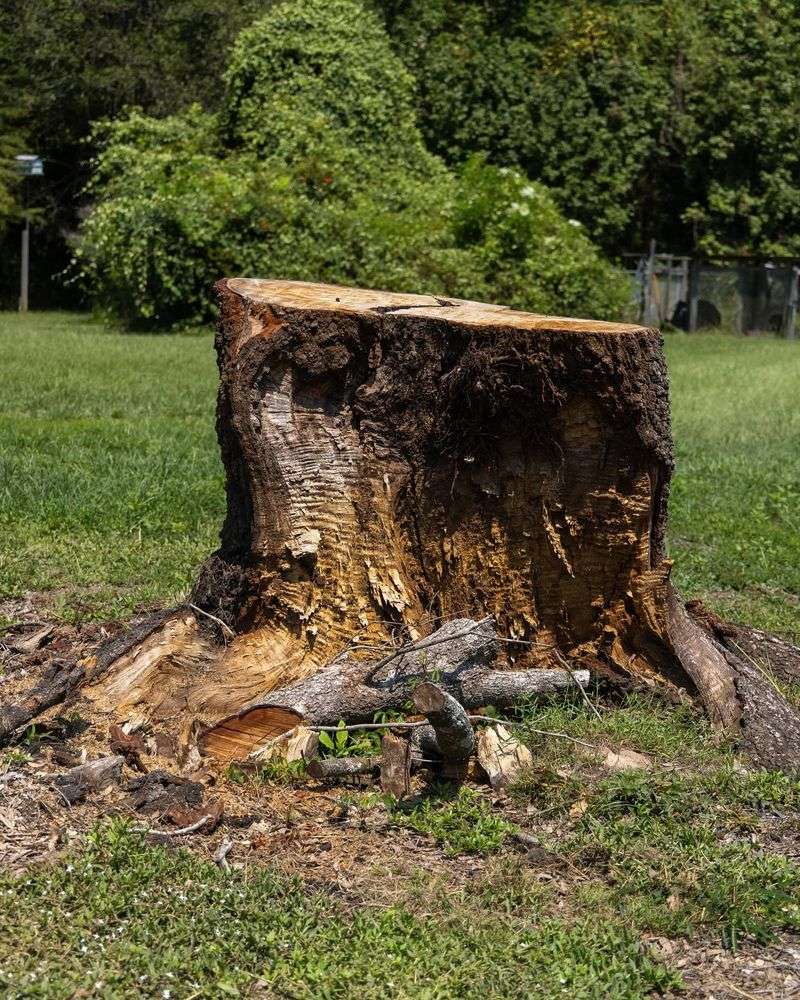
Start by cutting the stump down as close to the ground as you safely can using a chainsaw. The lower you go, the less material you’ll have to work through later—making the entire process faster and more manageable.
Just be sure to cut flat and level to keep your wedge strikes accurate. A clean, low cut sets the stage for a smoother, more effective removal with fewer surprises along the way.
4. Position the Wedge
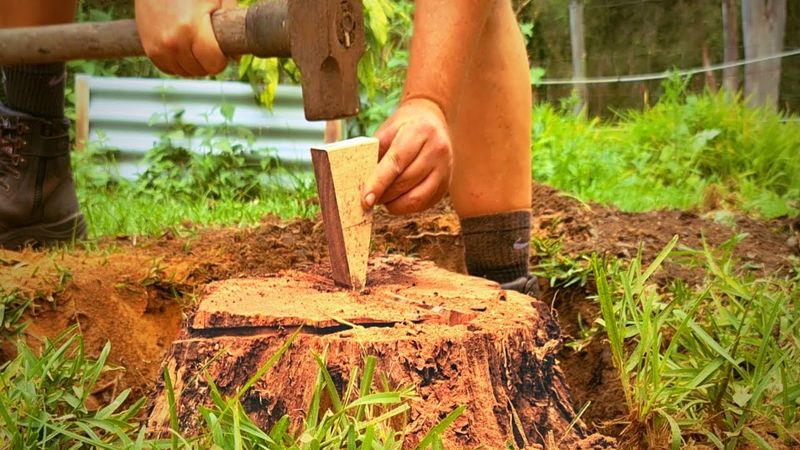
Place the wedge firmly at the center of the stump’s top surface. This position is key to directing force efficiently and breaking through the wood effectively.
Make sure it’s stable and aligned before striking. Proper placement ensures your effort goes exactly where it’s needed, helping to split the stump cleanly and making the rest of the job much easier.
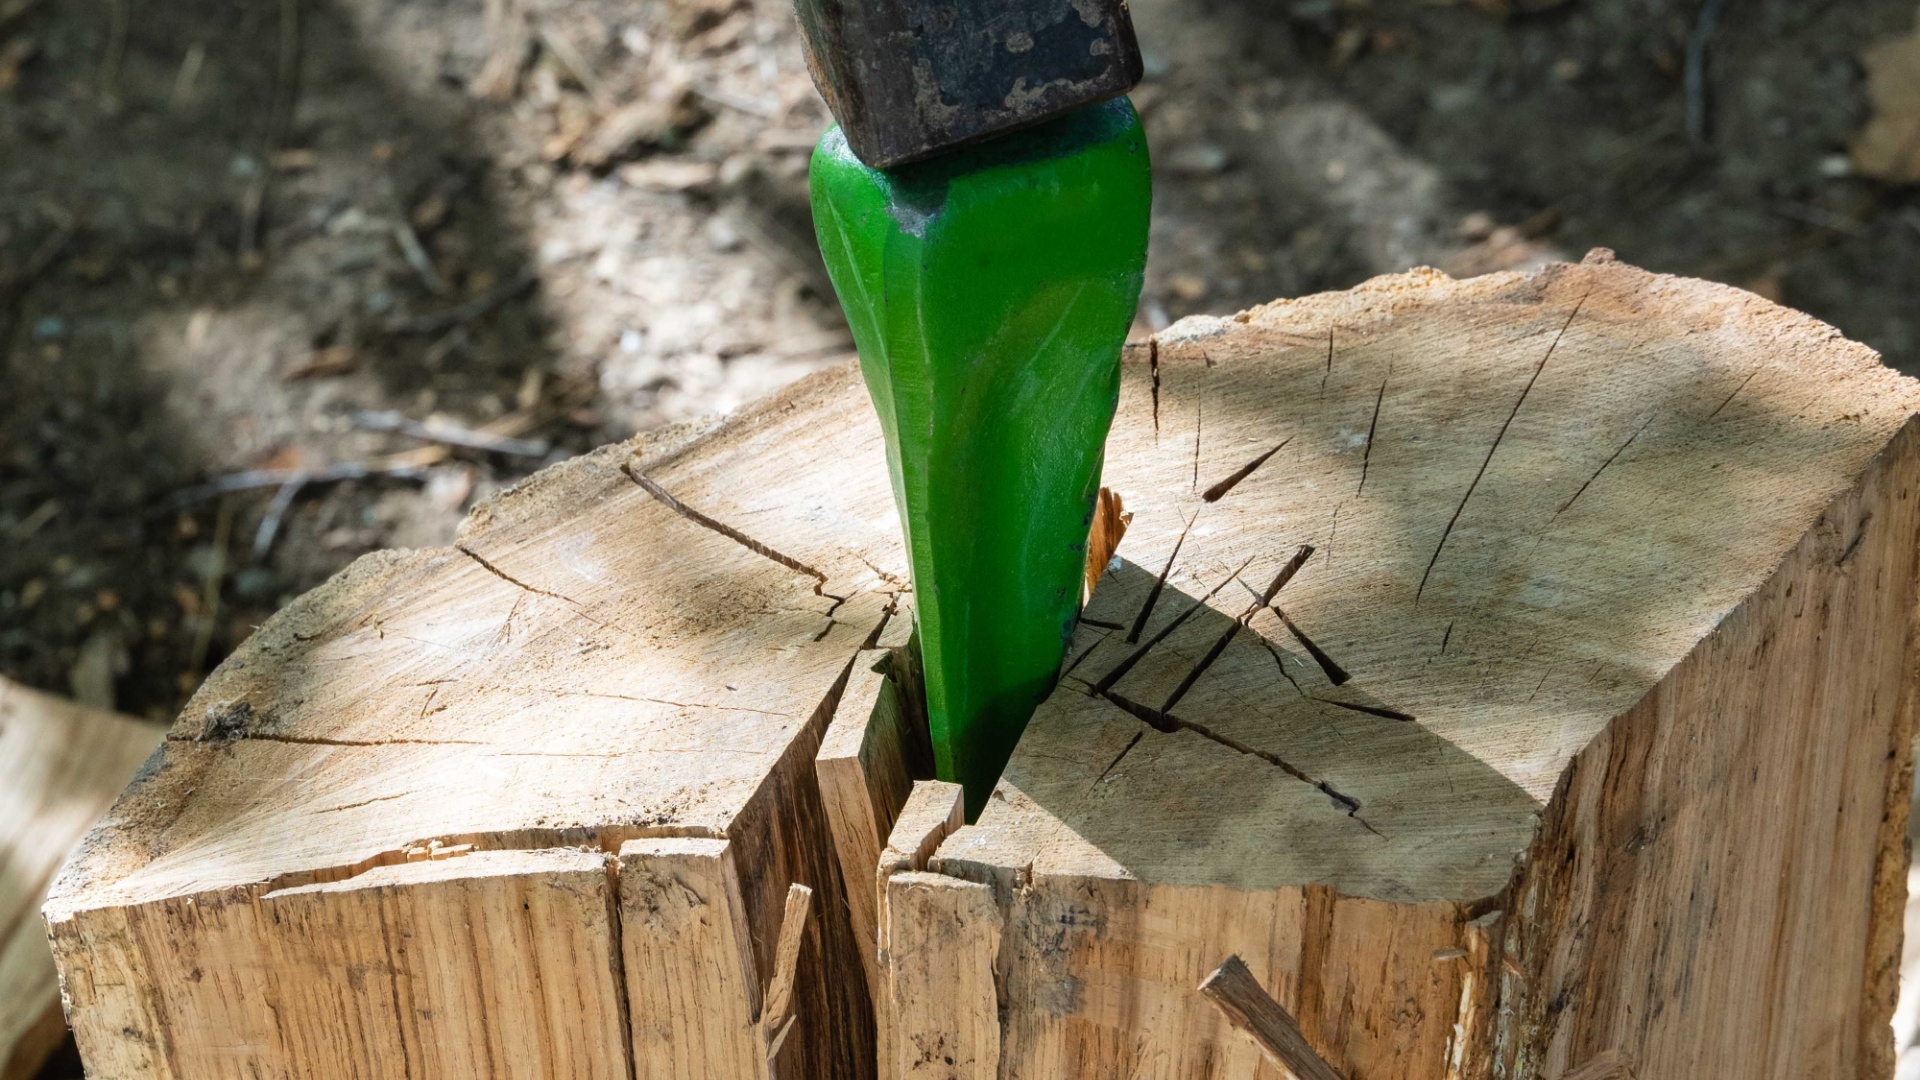
5. Drive the Wedge into the Stump
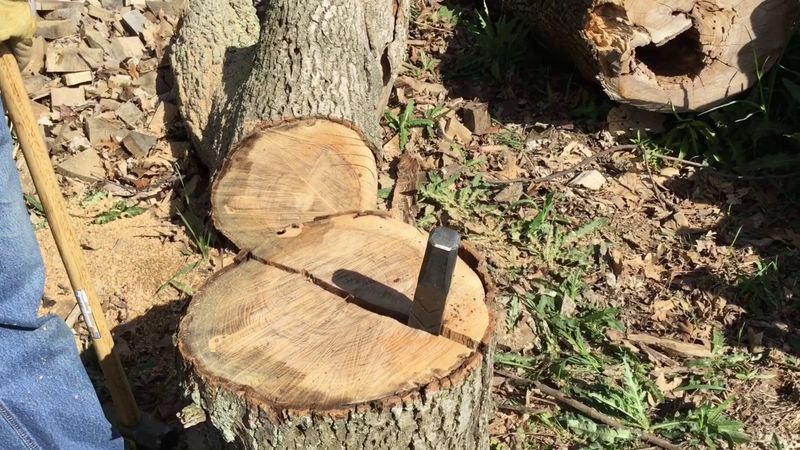
Using a sledgehammer, begin driving the wedge into the stump with steady, controlled strikes. The goal is to split the wood fibers and start breaking the stump apart.
It might take some time, so stay consistent—each swing brings you closer to loosening the stump. Apply firm pressure and watch for signs of splitting to guide your progress.
Patience and persistence will pay off as the wood gradually gives way.
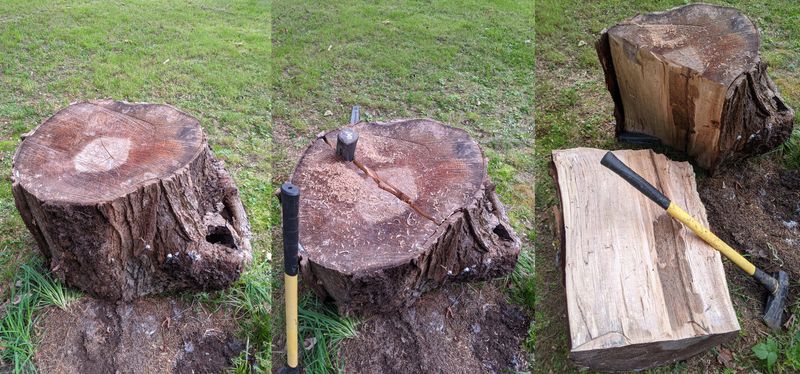
6. Repeat the Process
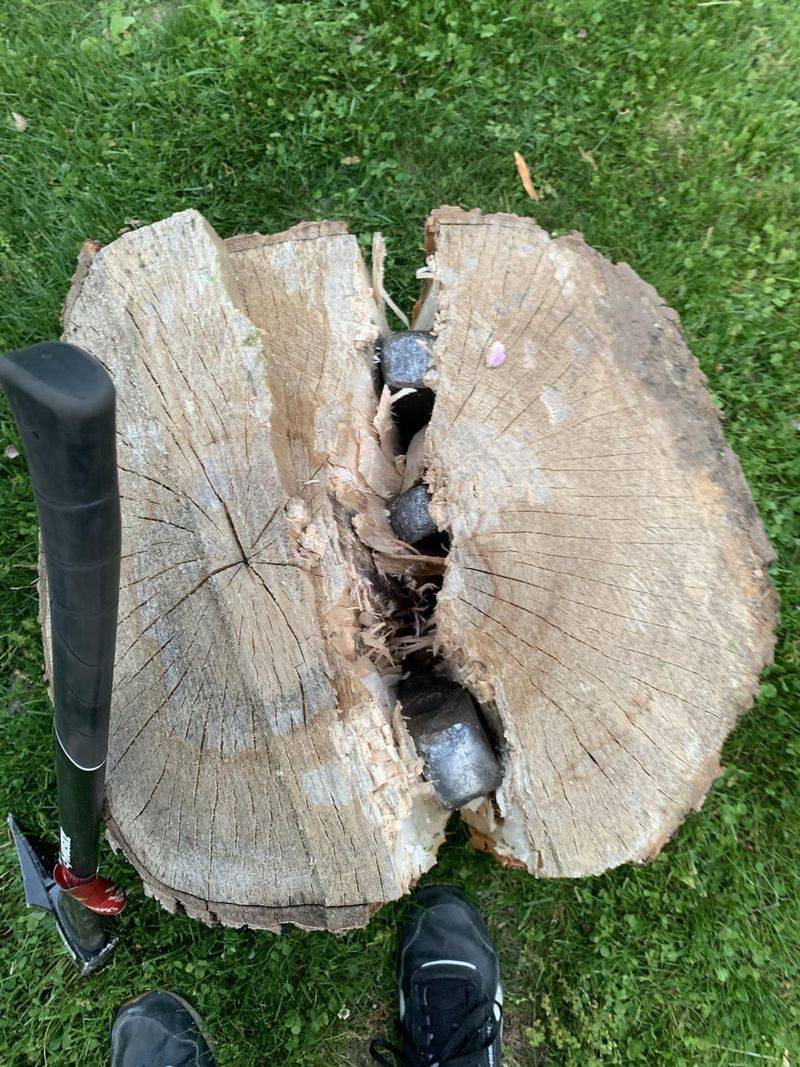
If the stump proves stubborn, don’t hesitate to use additional wedges. Position them in other parts of the stump to spread the force and encourage splitting.
Repeat the process as needed, driving each wedge in gradually. Tough stumps can take time, but steady effort will wear them down.
Stay patient and consistent—each piece you remove brings you closer to a clear, stump-free space.
7. Monitor Your Progress
Keep a close watch on how the stump is splitting as you work. This helps you stay on track and adjust your technique if needed.
If progress slows or the wood isn’t splitting evenly, reposition your wedges or change the angle of your strikes.
Regular monitoring allows you to catch issues early, avoid wasted effort, and make the removal process more efficient.
8. Use Additional Tools for Stubborn Areas
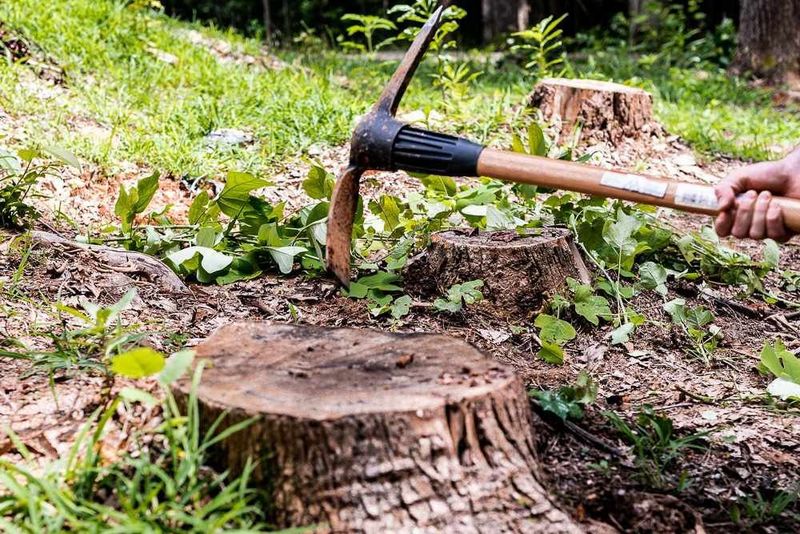
For tougher sections that resist splitting, use tools like a crowbar or axe to pry and break them apart. These tools are especially useful for getting into tight or stubborn spots where wedges alone aren’t enough.
Adjust your technique as needed to tackle each part of the stump effectively, ensuring nothing is left behind and the job stays on track.
9. Remove Debris and Clean the Area
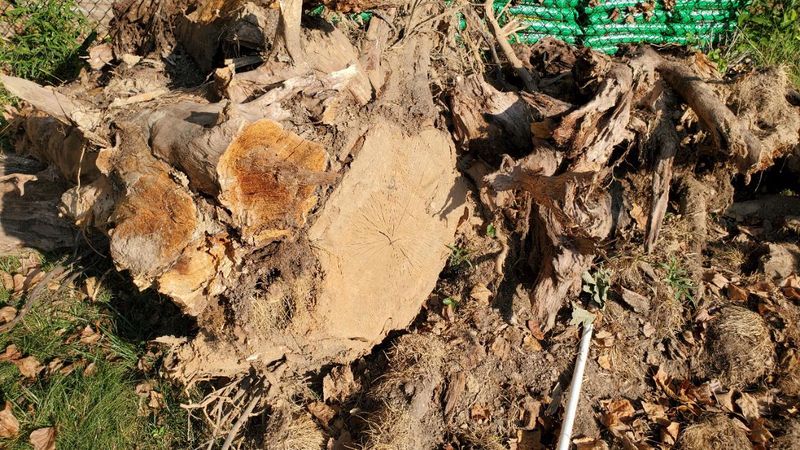
Once the stump is fully removed, take time to clear away all wood chips, roots, and debris. This cleanup step leaves your yard looking tidy and ready for whatever comes next—whether it’s replanting, landscaping, or simply enjoying the open space.
A clean finish not only improves appearance but also gives a sense of closure to the project.
10. Inspect the Ground for Safety

Finally, inspect the area where the stump was removed for any holes or uneven ground. Fill in any gaps with soil and level the surface to ensure safety and prevent trips or accidents later on.
Smoothing out the area also prepares it for future landscaping, planting, or any other outdoor projects you have in mind. A stable, even surface keeps your yard both functional and inviting.
11. Consider Natural Decomposition Aids
If you’re dealing with leftover root fragments or don’t want to remove every last piece manually, consider using natural stump decomposition aids. Products like nitrogen-rich fertilizers or stump remover powders can help accelerate the rotting process.
Apply the product according to instructions, usually by drilling holes into the remaining wood and filling them with the solution. Over time, this softens the stump material, making any future removal easier—or allowing it to break down naturally without further effort.
It’s a great way to wrap up the job with minimal extra labor, especially for hard-to-reach roots or when you’re not in a rush.