6 Simple Steps For Repotting Orchid Aerial Roots
Nothing will give your home an exotic vibe better than orchid plants. The delicate petals and broad foliage make orchids one of the most beautiful houseplants you’ll find.
There are various species of these plants but the most common ones grown indoors are Phalaenopsis aka Moth orchids. They’re renowned for their exquisite beauty and roots that grow above the soil line.
Once they start to tangle, you may wonder how to repot orchid aerial roots. Don’t worry, we’ve got you covered!
Let’s see all the steps and give your orchid a new beginning!
Step #1: Prepare The Equipment
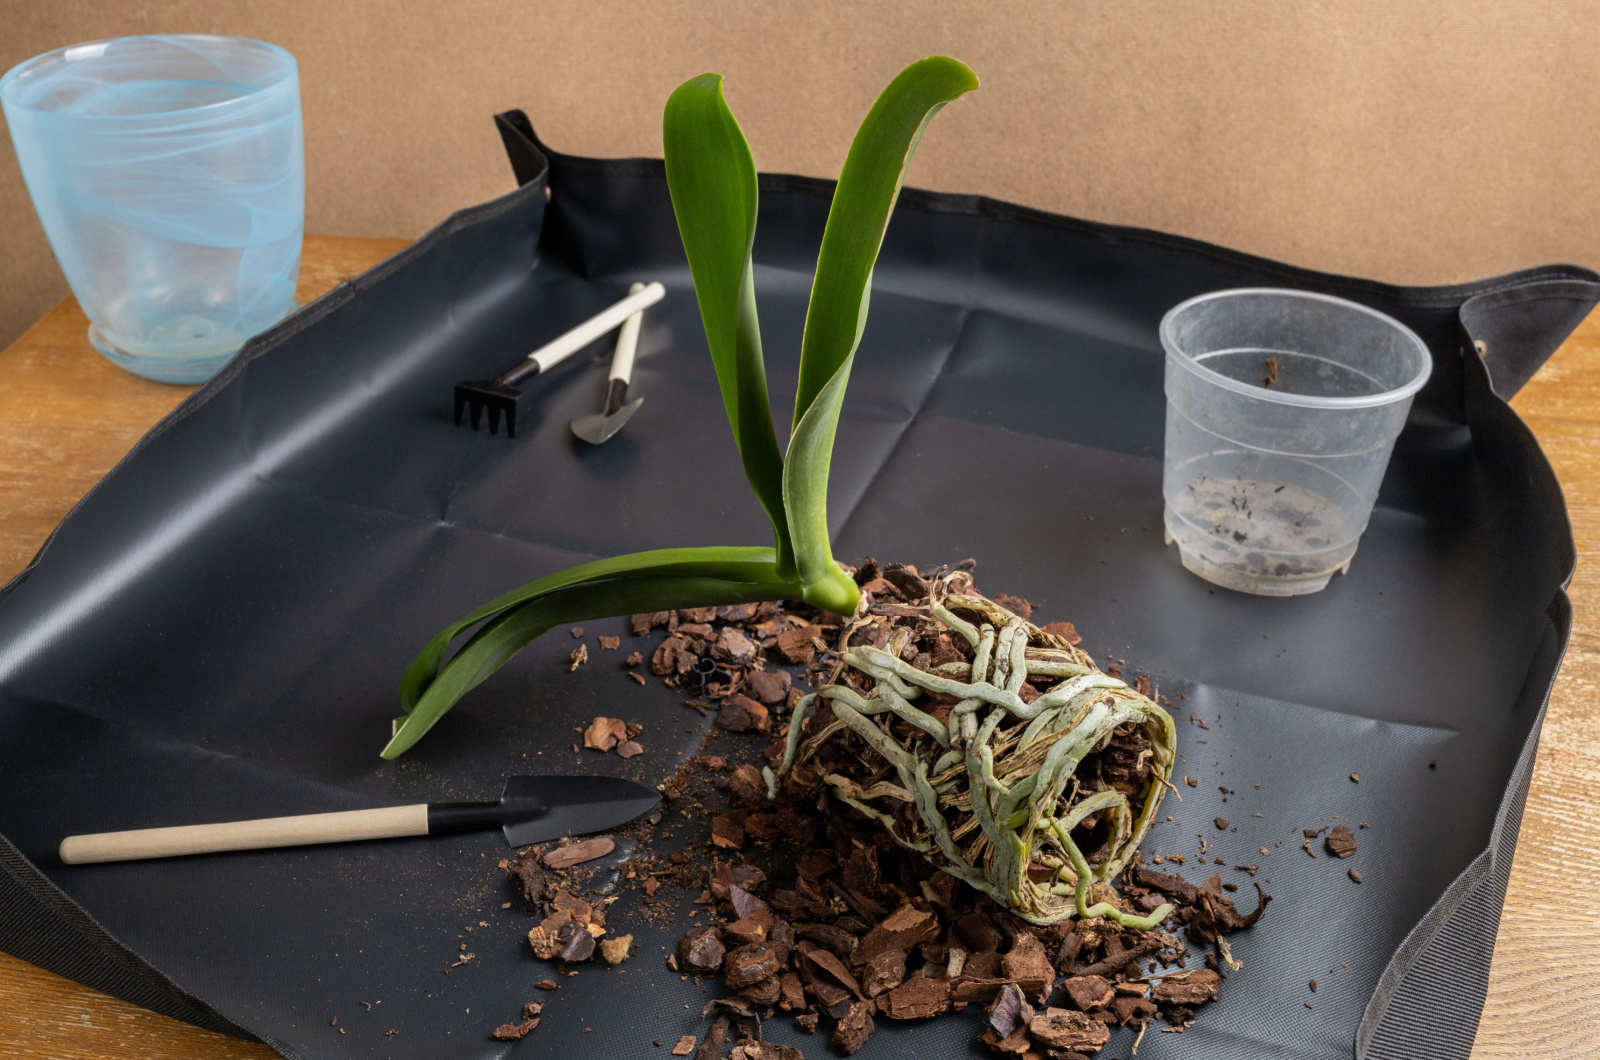
Repotting orchids gets way easier when you have all you need at hand. Luckily, the list of the necessary equipment isn’t very long.
The first thing to prepare is a new container, but make sure you select one with holes in the bottom for better drainage.
Orchids require a porous and quick-draining growing substrate, so I recommend bark or sphagnum moss.
This process may also include some cutting, so prepare sharp shears or scissors and some rubbing alcohol for sanitizing.
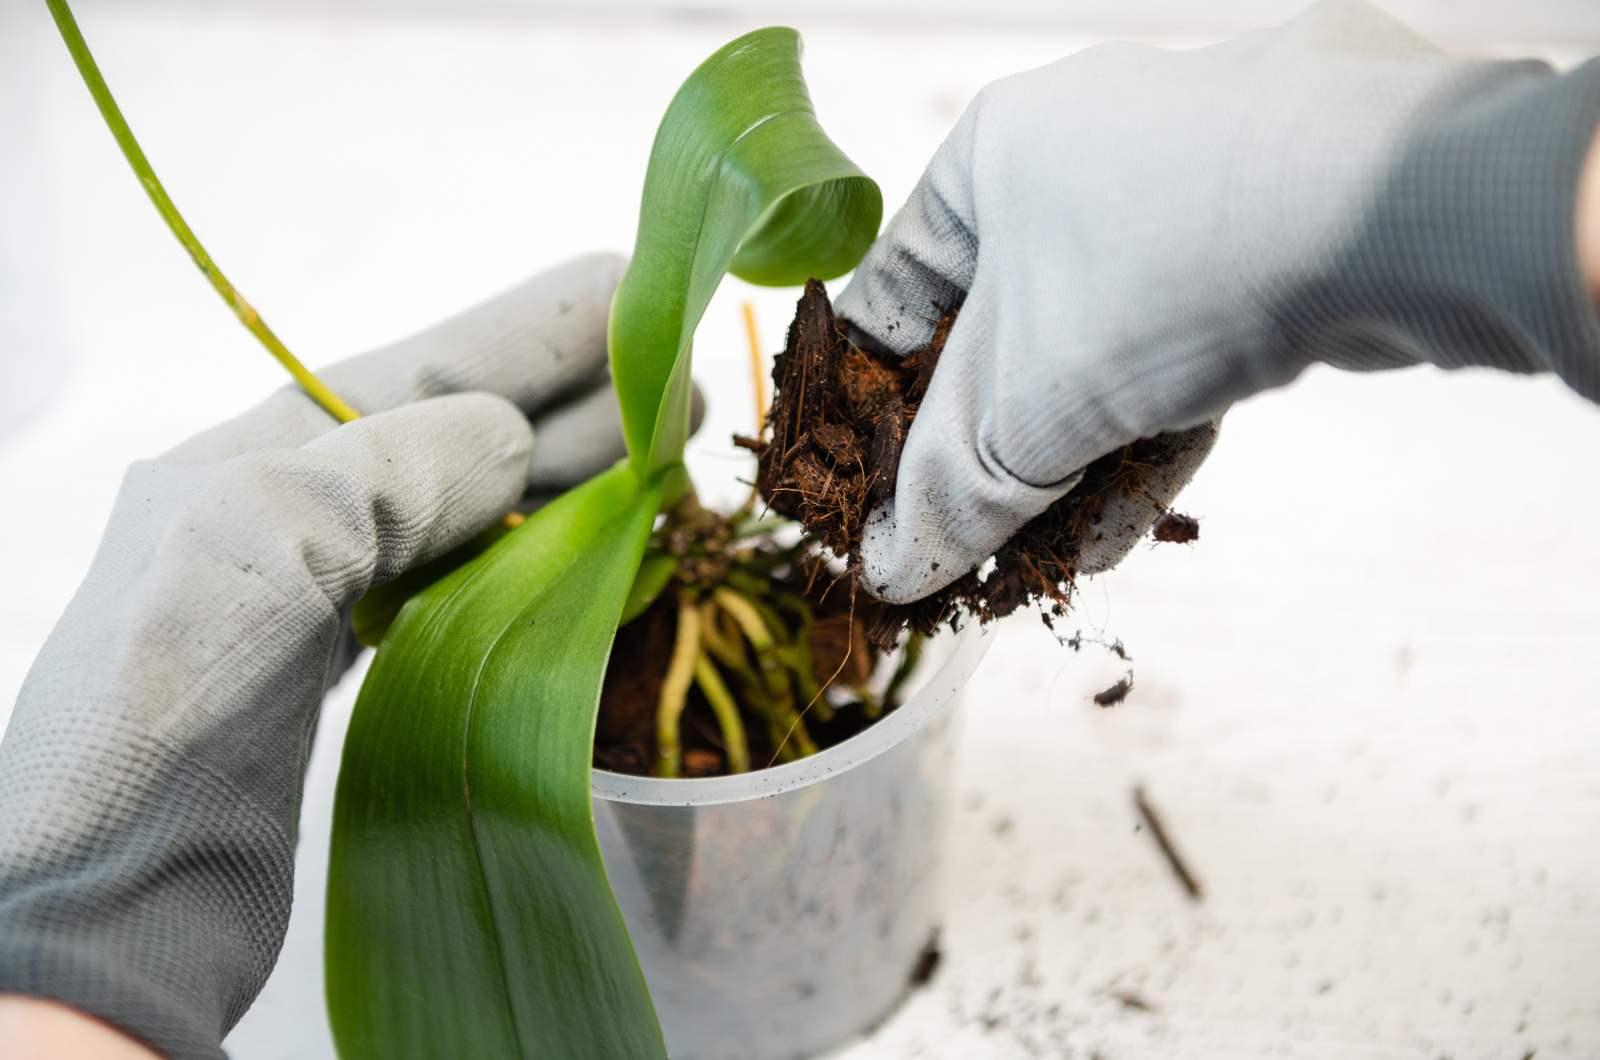
Step #2: Take Your Orchid Out Of The Pot
Once you have all your tools, your orchid needs to be removed from its current pot. You may notice the roots growing everywhere, so you should be very careful when handling them to avoid damage.
Orchids can become rootbound over time and it may be pretty tricky to take them out of their container.
What you can do is gently shake your orchid container and tap the sides. You can create some space between the growing substrate and the pot rim using a knife.
Please don’t use the same growing substrate for your repotted orchid. If it isn’t infected, you can add it to your homemade compost.
Step #3: Clean The Root System
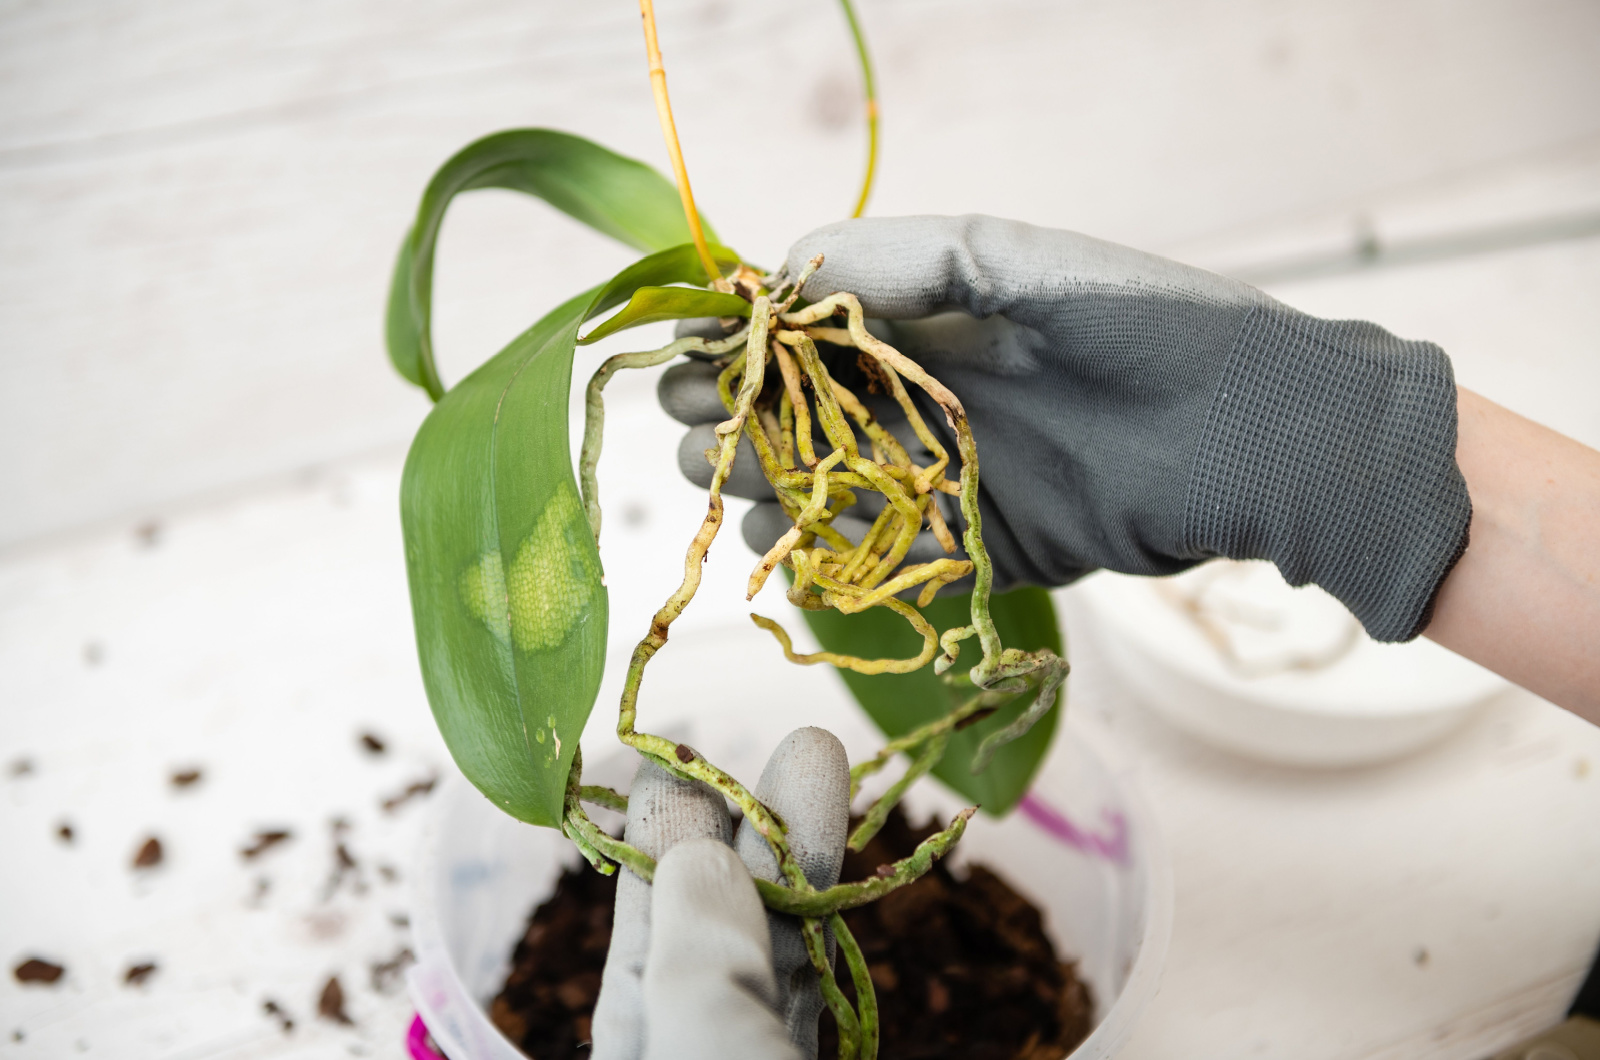
Your orchid may appear healthy but things could be different below the soil line. This doesn’t mean the roots are infected, but there may be a few dead roots and they’ll need to be removed.
Dip your shears or scissors in rubbing alcohol and carefully remove all the orchid roots that look unhealthy.
Remember that mushy, discolored, and smelly roots may be a sign of an infected orchid, so make sure to clean everything well.
White/grey and firm roots are healthy, so make sure you don’t remove them from your orchid.
Step #4: Prepare The Pot And The Growing Substrate
Your repotted orchid will need more space, so make sure you select a slightly larger container; a 2-inch larger pot will suffice.
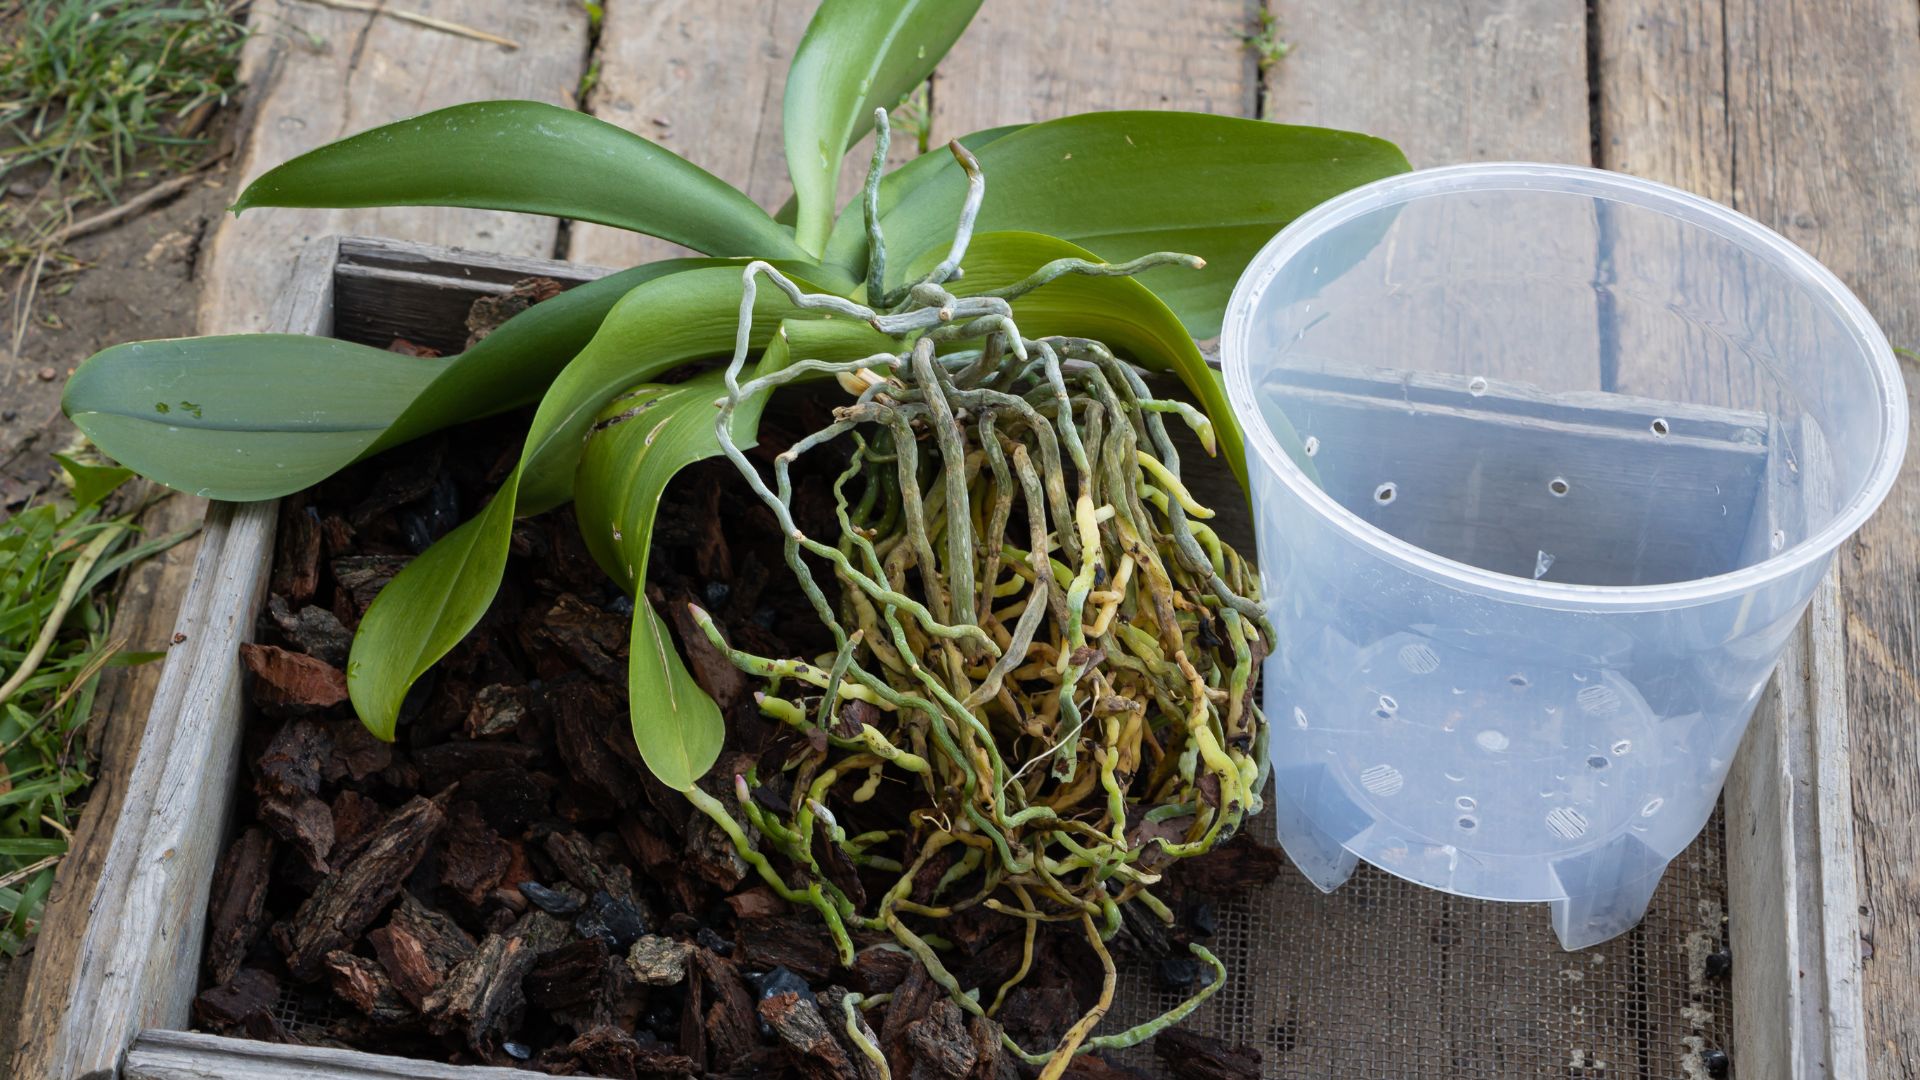
Using transparent pots has shown to be an excellent method because it allows you to see what’s going on in the root system as your orchids grow.
Now add some growing medium to the bottom of your pot and take your orchid. Hold it carefully in the center of the pot as you’re adding more soil around its root system.
Step #5: Guide Your Orchid Aerial Roots
Here comes the trickiest part, packing orchid aerial roots into the new container. Use your hands and carefully guide them to avoid any damage.
Add more growing medium until all the spaces between the roots are filled.
Remember that the roots should stay in contact with the growing substrate; tap the soil carefully to keep your orchid in place.
Step #6: Irrigate Well
And the last step for repotting orchid aerial roots is to water them well. The technique I typically use includes putting your orchid in a sink half filled with water.
If your plant grows in bark, I recommend leaving it in water for approximately half an hour so that it has enough time to absorb as much water as it needs.
Your orchid may fall into shock after you repot it, so it’s essential to ensure favorable conditions for easier adaptation.
First, ensure enough light for your orchids, i.e., provide them with about 6 hours of bright indirect light daily. These plants can’t develop if exposed to direct sunlight, so make sure to move them from sunny windows.
Another thing to be careful about is how often you water your orchids. The general rule is to irrigate them weekly or more often during the hot summer months.
Orchid watering needs during winter are way lower because the plants go through the dormant stage.
That’s it! Simply follow our guidelines and you’ll have happy and thriving orchids in no time! And remember, growing orchids is a super fun and highly rewarding experience.