Speed Up Potato Sprouting Using These Brilliant Methods
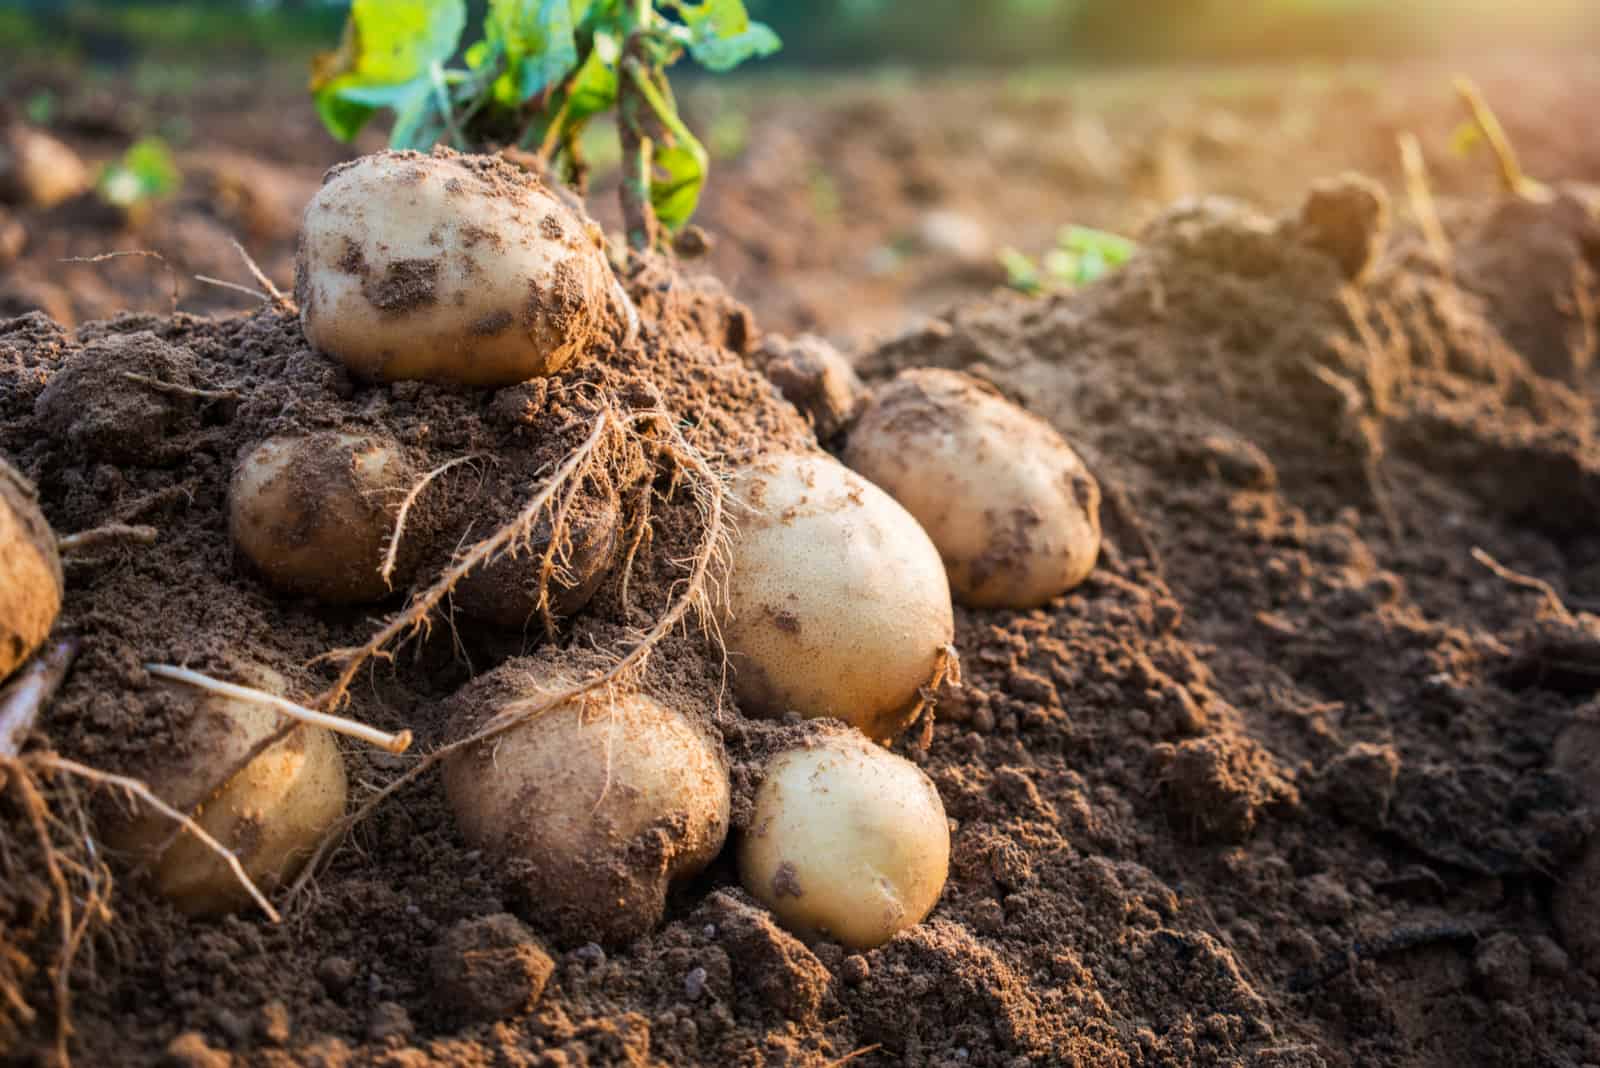
Potatoes are one of the most important veggies in the world, so it’s not a bad idea to learn more about them so you can grow some yourself.
You can find them in every grocery store, but organic food is much tastier and healthier!
We have decided to give you a helping hand and reveal a long-kept secret: How to speed up potato sprouting. It’s not mission impossible, I promise.
But before we get wrapped up in methods and techniques, let’s learn more about potatoes:
[table id=178 /]This section contains some interesting tips for speeding up sprouting, and you might be surprised how many different (and some would say, contradictory) tips we have in store. Some techniques are pretty logical, whereas others are a bit controversial.
But hey, if it works, who are we to judge?
We’ll also bring you some tips and tricks to help you grow your own potatoes and enjoy the organic taste of sweet potatoes or any other variety.
Let’s get started!
How To Speed Up Potato Sprouting
Vegetables sprout so they can produce new plants, and the same goes for potatoes. Once they sprout, enzymes turn starches into sugar, which provides the energy necessary for the sprouts to grow.
When sprouting potatoes, it’s important to know about the potatoes you’re using. The best ones are seed potatoes, which are specifically designed for that purpose.
You can use store potatoes, but they are usually sprayed with sprout inhibitors such as Clorpropham to inhibit sprouting during transportation. However, this chemical doesn’t just magically vanish when you buy non-organic potatoes, and it makes the sprouting process last much longer.
Even though it takes longer, you can still get a few sprouts from store potatoes, so don’t worry if you don’t have access to seed potatoes.
If you do get disease-free certified seed potatoes (or grocery store ones), it’s time to get them to sprout. In the following section, you will learn all about sprouting potatoes so you can choose the method ideal for you, whether you’re growing Yukon gold or some other potato variety.
Chitting Potatoes In Light
Chitting potatoes is just a fancy way of saying you’re doing everything you can to sprout them!
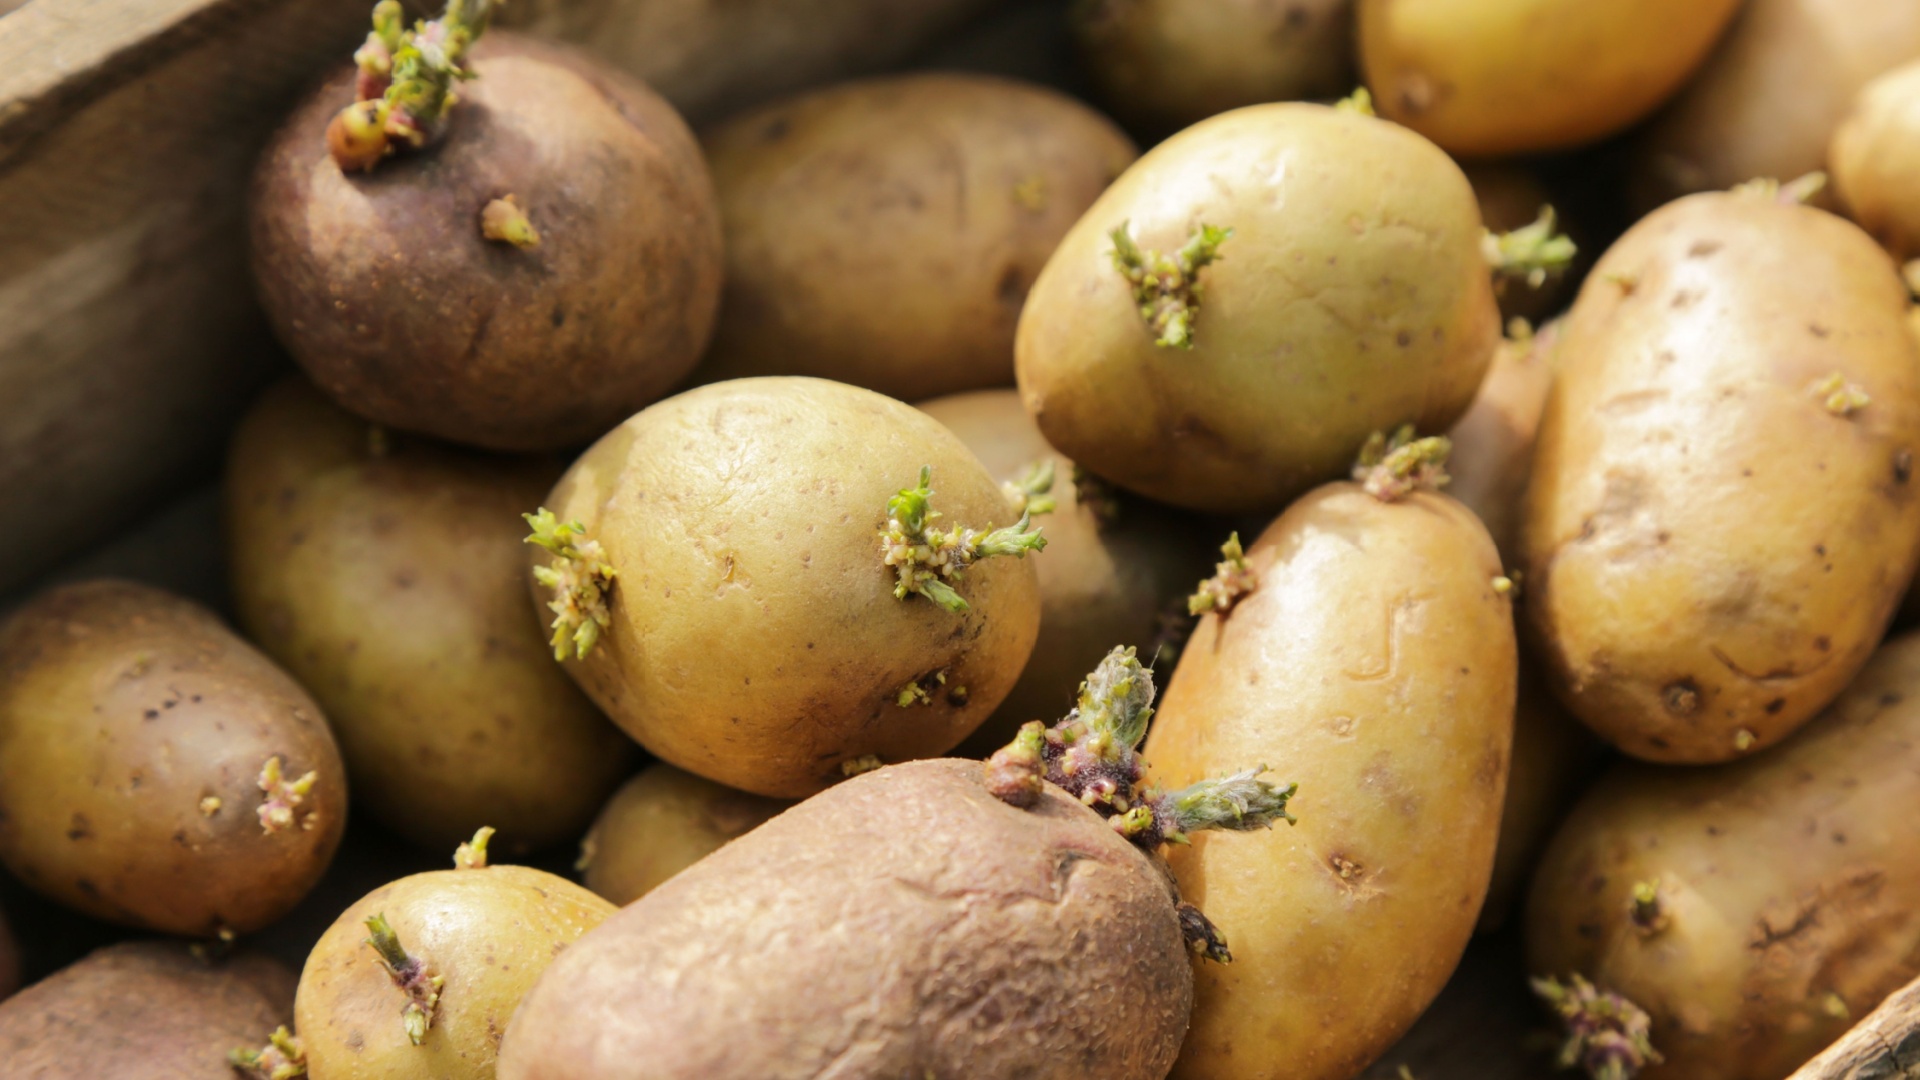
In this section, we’ll talk about green sprouting potatoes in a sunny spot. First things first, you have to examine your potato tuber and look for so-called “eyes”, which are just small dimples or stubs. They are the part of the tuber from which the sprouts will appear.
After you have located which side has the most eyes, place the potatoes upwards in an egg carton so that the side with the most stubs is facing up. Then place the potatoes in a sunny spot, but ensure that it isn’t too hot.
The ideal temperature for this method is somewhere between 50 and 70°F (15-21°C). After setting everything up, all that’s left to do is wait.
You should start sprouting your potatoes 3-5 weeks before planting them, and you’ll be able to harvest potatoes almost a month before all your neighbors this way!
Finally, it’s important to add that chitting potatoes isn’t necessary, but it can give you a head start and make that growing season feel shorter.
This short video can help you chit your potatoes for the first time:
Place Potatoes In A Dark Spot
Leaving your potatoes lying in a dark place won’t destroy them, and you’ll still be able to plant them. However, this method is the complete opposite of the one above, and it’s not just because of the light conditions.
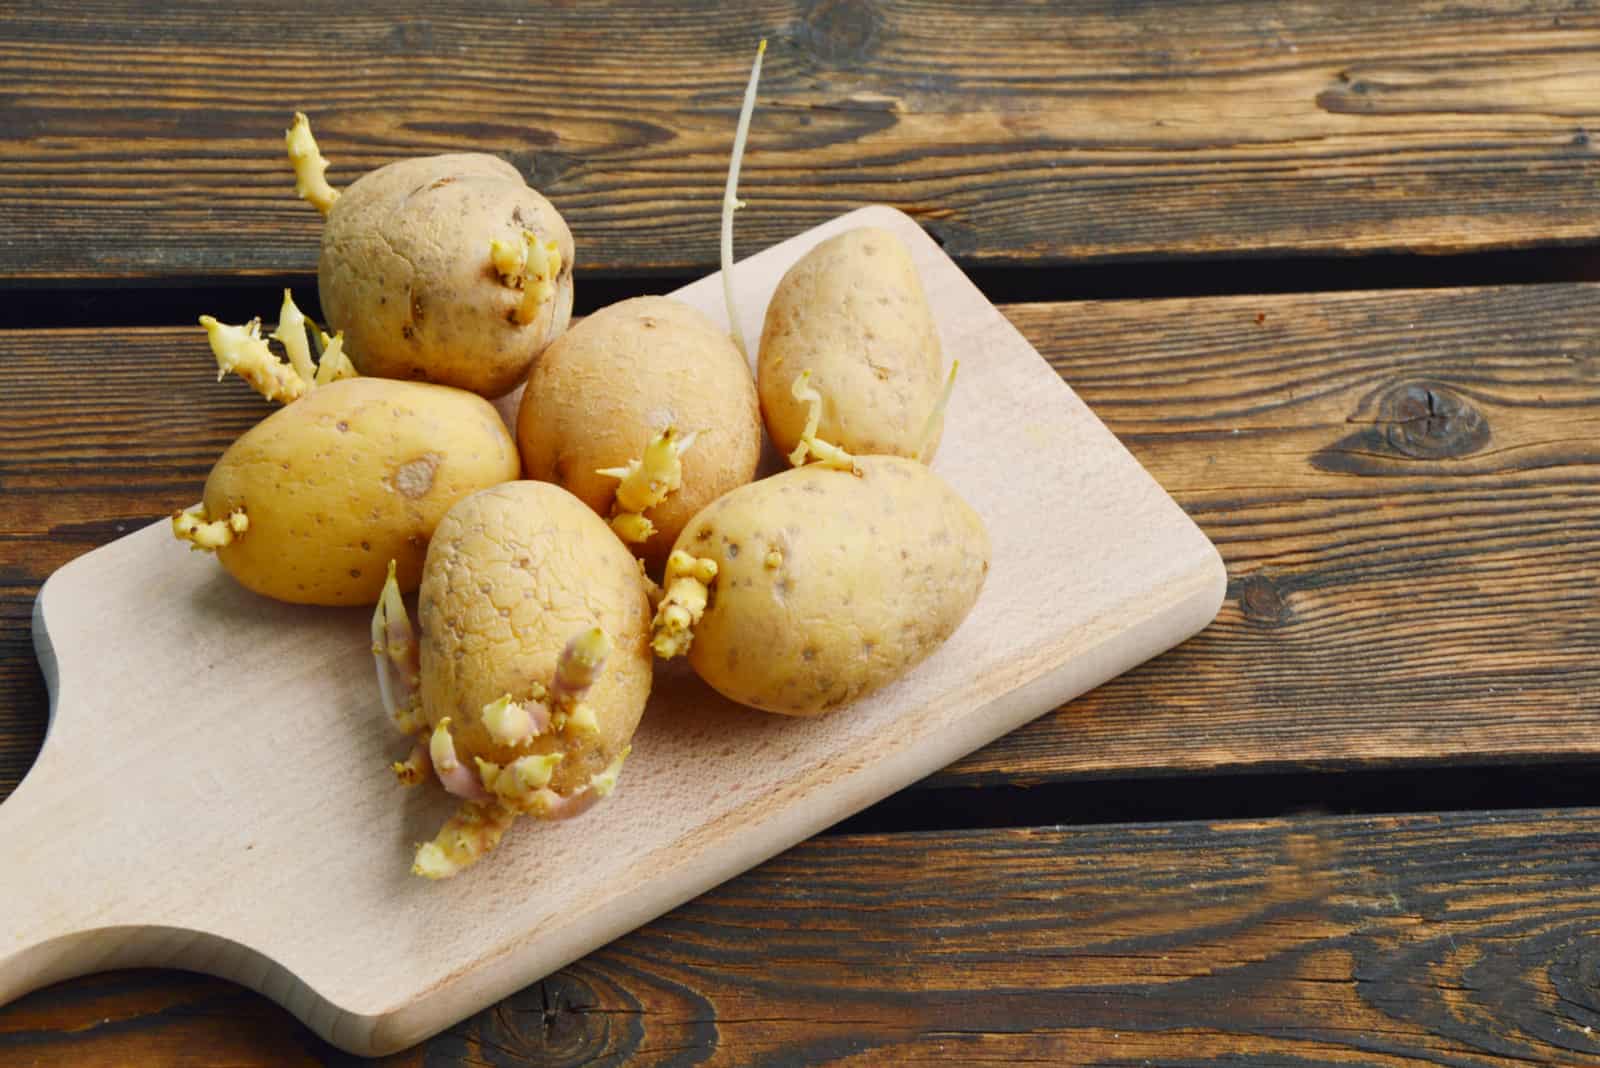
Placing potatoes in a dark spot results in long, pale shoots that are easy to break, whereas chitting in light produces short shoots that cannot be broken that easily.
Long potato shoots aren’t ideal as you never know whether they have broken under the weight of the soil. You also have to be extra careful when planting them.
However, if your potatoes have produced these shoots, it’s better to plant them than wait for them to produce the short shoots. You will only lose valuable time, and to be honest, we haven’t seen that much of a difference in the yield.
Using Ripening Produce
Placing potatoes near apples and onions is an excellent way of accelerating sprouting. Ripening produce releases a gas known as ethylene, to which potatoes are highly reactive.
Simply put the potatoes you have designated for planting in a paper bag along with some ripening produce. After time, you will notice tiny sprouts, and you can plant the tubers.
Now you know that you can stimulate sprouting with ripening fruits and vegetables, you can start planning what you’re going to do with next year’s potato crop!
Increasing Humidity
Raising the moisture level around your potatoes is a great way of inducing sprouting, and you can combine this method with some of the other techniques we’ve already discussed.
You can also spray an egg carton with water and place your potatoes in it, or dampen a paper towel and place it over the potatoes.
Another way to speed up sprouting is to keep your potatoes in the fridge. Even though the lighting conditions are far from ideal, the air moisture level is relatively high, which will stimulate sprouting.
Keeping your potatoes in the fridge will also help bring them back from their dormancy period, but you should keep them in a dark spot in your refrigerator for about 15 days.
When you notice sprouts protruding from the tubers, you can plant them and expect to see new plants very soon!
Place The Potatoes In Water
The last method of sprouting spuds is placing them in water. When preparing a meal, you can cut potato parts with eyes or dimples and put them in water.
The parts with dimples should be facing upward and the bottom part should be in water. Place the tray in a cool place and ensure that there’s indirect light to maximize your chances.
After a few days, you’ll notice small green sprouts that will grow rapidly. Once the sprouts appear, you should plant your potatoes in a pot or outside, whichever you prefer.
Are Sprouted Potatoes Safe To Eat?
Yes, sprouted potatoes are safe to eat as long as you cut off the sprouts and green skin and flesh. These parts are filled with toxic solanine. Even though small quantities won’t kill you, you can still experience solanine poisoning and its side effects, including headaches, diarrhea, fever, hypothermia, and vomiting.
If your potato tastes bitter, you should discard it because it isn’t edible. As long as you cut away all the green parts and sprouts, potatoes aren’t dangerous, but if the flesh is mostly green you shouldn’t eat it because not even cooking can remove the toxic substances.
Planting Potatoes
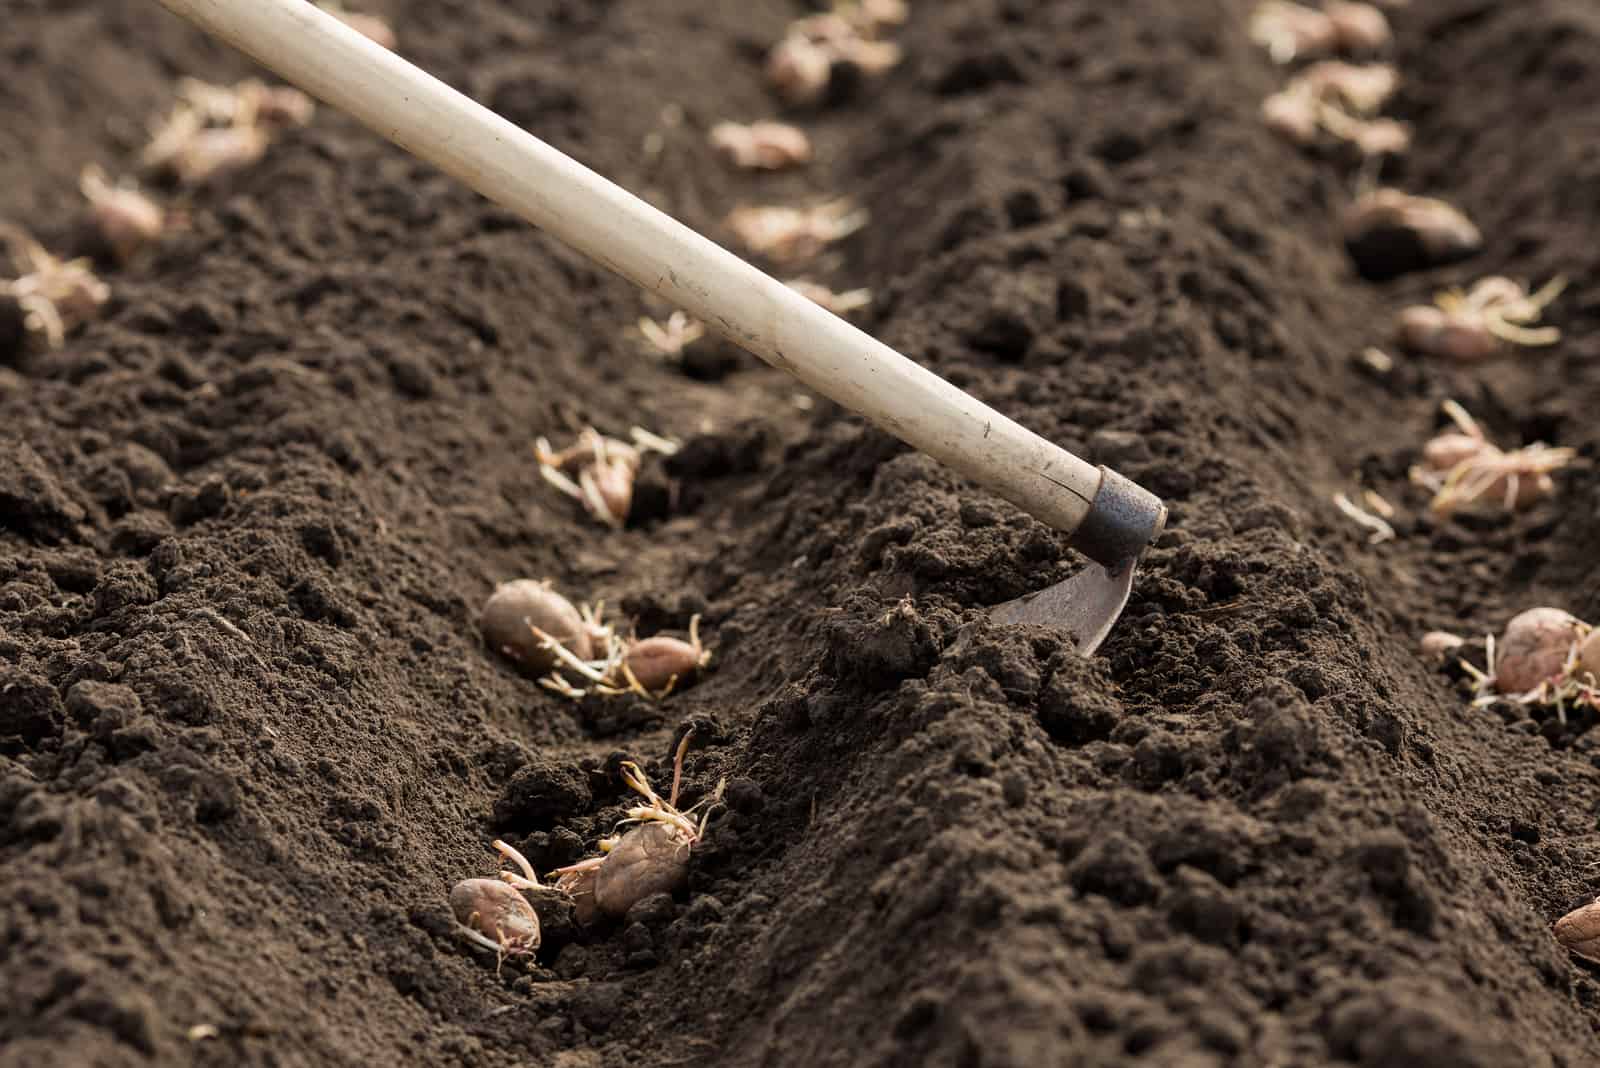
Potatoes are a cool-season crop, so you should plant them in early spring. You should wait until the soil temperature is around 45°F (7°C), but you can plant them sooner.
However, potatoes won’t grow if the temperature is lower than 45°F, but they also won’t die, so if you have spare time why not cross one chore off the list?
You can plant potatoes 2-3 weeks before the last frost date if you want to do everything by the book.
Plant the sprouted potatoes in a shallow hole or trench no deeper than 6 inches (15 cm). Ensure that the sprouted eyes are turned upwards and space them approximately 1 foot (30 cm) apart.
Cover the potatoes with 3 inches of soil (7.5 cm), and once they reach a height of about 8 inches (20 cm), you should hill them with mulch, straw, soil, or grass cuttings. It’s not a bad idea to investigate the pros and cons of grass clippings as mulch and all the other materials you’re using.
After the potato plant reaches another 8 inches (20 cm), hill it again. Stop with hilling once the plant flowers.
Here are some great prep and planting tips that guarantee a large yield:
Potato Care Guide
There’s no use in having sprouts if you don’t plant them to grow new potatoes, so we figured we’d introduce a short care guide for potatoes to teach you what to do after planting so that you can get more potatoes per plant.
You know how to sprout them, but what to do with them after planting remains to be seen.
Of course, you should water them and plant them in their preferred soil, but knowing how much water they need and what soil they like isn’t likely something you’d know without looking it up.
That’s why we decided to include everything you need to know about potatoes in this article. Follow everything you find here and you’ll be feasting on delicious tatties before you know it!
Light Requirements
Even though you bury potatoes in the ground and keep them covered with soil, it doesn’t mean they don’t need sunlight. Quite the opposite, in fact.
Potatoes need full sun to grow, which means at least eight hours of sunlight every day. The green parts of the plant need sunlight to photosynthesize and produce food and energy, but the tubers should be covered in soil or mulch.
If they get exposed to sunlight they will turn green, which is a sign that they have produced solanine, a toxin that can even be fatal if consumed in large amounts.
Water And Humidity
Potatoes have different water requirements in different growth stages. However, generally speaking they require 1-2 inches (2.5-5 cm) of water every week. If you live in a rainy region you might not have to water this vegetable, but if you live somewhere dry you should grab your hose and get to watering.
Water is also important because it keeps the soil cool, and if the temperatures are particularly high, don’t be afraid to slightly increase the amount of water. However, always check whether the top 2 inches (5 cm) of the soil are dry before watering.
Watering At Different Stages
If you want to keep this underground veg happy, here’s what you need to know about its watering habits.
30 days after planting potatoes, their water needs aren’t that high and you can water them every 4-5 days.
However, once the tubers start forming you should increase the watering frequency and start irrigating every 2-3 days. 30-60 days after planting, potatoes start growing leaves and stems and forming tubers, so water is highly critical at this stage.
After 60-90 days, the tubers start bulking, so you should continue with frequent watering to encourage uniform growth.
As the harvesting period approaches and you notice that the tops are yellowing and dying back, you should decrease the watering frequency so the tubers can toughen up and last when you store them.
Humidity
This vegetable doesn’t have any particular requirements when it comes to humidity. If you live in an arid climate, you should mulch it and water it more frequently, and if you live in a region with plenty of precipitation, you don’t have to water it at all.
However, humidity is essential when storing potatoes. You should keep this vegetable in a dark and cool place with high levels of moisture to prevent it from drying out.
Temperature
The ideal temperature for potatoes is between 60 and 70°F (15-21°C). Temperatures of 80°F (26°C) and above are too warm for this vegetable.
The potato variety is also essential, and you can choose between early, mid-season, and late-season varieties. Early season potatoes require 75-90 cool days in order to reach harvest, so they are perfect for places with warmer summers. Plant them early in the spring and you’ll have a potato harvest before your friends on the other side of the globe.
Mid-season potatoes require 90-135 cool days to reach harvest, and late-season potatoes 135-160, which makes them a perfect choice for northern regions with mild summer temperatures.
Soil And Fertilizer
The ideal soil pH level for potatoes is between 6.0-6.5, but they can survive in more acidic soils with pH levels as low as 5.0.
Potatoes also prefer well-draining soils, whether they’re growing in containers or the ground. If the soil doesn’t have proper drainage, the tubers will most likely be diseased.
Adding compost is an organic way of enriching the soil with nutrients and organic material, and compost based on loam soil is ideal for all kinds of vegetables, including potatoes. You can use this compost for potatoes grown in both containers and garden beds.
Fertilizer
Potatoes are a bit picky when it comes to fertilizer. When planting, they require a well-balanced fertilizer like triple 15. However, their needs quickly change within a month or two after planting, at which point they need high nitrogen fertilizer. 34-0-0 worked for us.
As the harvesting time approaches, you should reduce nitrogen and increase potassium. Nitrogen is responsible for vegetative growth, but we’re more interested in the tubers, which is what potassium affects.
Fertilizers such as 14-7-21 or 12-12-17 are ideal as they contain high potassium levels, but don’t lack nitrogen.
Pests And Diseases
Potatoes aren’t pest or disease-resistant plants, but there are some things you can do to help them.
Pests
Some of the most common pests that attack potatoes are the Colorado potato beetle, potato leafhopper, and wireworms.
Colorado Potato Beetle
The Colorado beetle will chew potato leaves, and both the larvae and adult beetles will eat your veg. These pests overwinter, so you can somewhat predict their presence.
However, overwintered adult insects only eat to get energy so they can lay eggs. Therefore, you should be focused on killing larvae.
An organic and economical way of getting rid of these pests is crop rotation. These bugs don’t fly, so planting your potatoes in a different place than the previous year will most likely solve your problem.
If you have a small garden or grow your potatoes in pots, you can always pick these beetles off one by one.
Finally, you can always turn to pesticides such as Spinosad, which kills these bugs within a fortnight.
Potato Leafhopper
This insect feeds on the sap and nutrients of the plant, so it’s got to go! You can remove it by introducing ladybugs or using pesticides, but that should be your last resort.
These bugs overwinter in debris and garden trash, so removing that can also help you with this problem.
Wireworms
These pests are the most annoying of all! They attack seed potatoes, roots, and tubers. However, you can remove them with pesticides, natural enemies, and crop rotation.
You can also set them a trap if you want to make things more interesting. Cut a potato in half and bury it an inch (2.5 cm) deep. Take the spud out within a day or two, and remove the wireworms you find in it.
Diseases
The two most infamous potato diseases are potato blight and potato scab. Potato blight thrives in warm weather and attacks tubers and leaves, which leads to rotting.
You should remove any infected potatoes and burn them, as composting them would only spread the disease. Early varieties are less likely to suffer this infection as it thrives in warm weather.
If the disease isn’t advanced you can remove the infected parts, but that will only slow down the spread and give you time to dig up the tubers if they’re mature.
Potato scab disfigures tubers and can also attack other root vegetables like radishes, carrots, beetroot, etc. However, this disease is not as nearly as dangerous as the one above.
Tubers infected with potato scab are edible, and you only have to peel the skin to be able to use it to eat. However, you should store the infected potatoes in a cool and dark place so the scab doesn’t spread and cause soft rot.
Common Questions

We’ve pretty much covered everything you needed to know about speeding up potato sprouting, but there are still some things that need to be addressed.
We decided to use this section as a Q&A to answer some of your questions.
How Long Does It Take For Potatoes To Sprout?
The average time it takes for potatoes to sprout is 1-3 weeks, depending on the variety of potatoes. After about four weeks, you can plant them in the soil as you should give sprouts some time to develop.
If you plant unsprouted potatoes in the soil, the sprouts might take four weeks or more to appear.
Why Are My Potatoes Taking So Long To Sprout?
Planting potato tubers in cold, wet, or dry soil may result in slow sprouting. If you’re planting cut potatoes, you should ensure that there’s enough oxygen and moisture in the soil and that the temperature is between 50 and 65°F (15-18°C).
Sometimes, planting medium doesn’t offer these conditions, so you as a grower should heal the cut potatoes prior to planting them.
What are the benefits of sprouted potatoes?
Planting sprouted potatoes results in a high yield, which is one of their main benefits. You can also eat sprouted potatoes if you remove the sprouts and all the green parts as they contain solanine, which is toxic.
However, there are doubts about whether sprouted potatoes are safe to eat, and if you don’t feel comfortable eating them, simply set them aside and plant them when the time comes.
Do potatoes need light to grow?
Yes, potatoes do need light to grow because the plant wouldn’t be able to photosynthesize and produce the necessary resources without it.
The vegetative growth of potatoes needs sunlight, but the tubers shouldn’t be exposed to the sun as it will turn potatoes green, and green parts of potatoes aren’t edible.
Summing Up
We’ve reached the end of our article, and now you know how to speed up potato sprouting! This article brought you some tips for sprouting and planting potatoes, and also a care guide that will lead you to a large harvest.
Now you know how to use sprouted potatoes and whether or not you should eat them. Even though only the green and sprouted parts are toxic, it’s probably for the best to just plant them and eat unsprouted ones.
Good luck with planting, and until next time!
Like this post? Share or pin it for later!