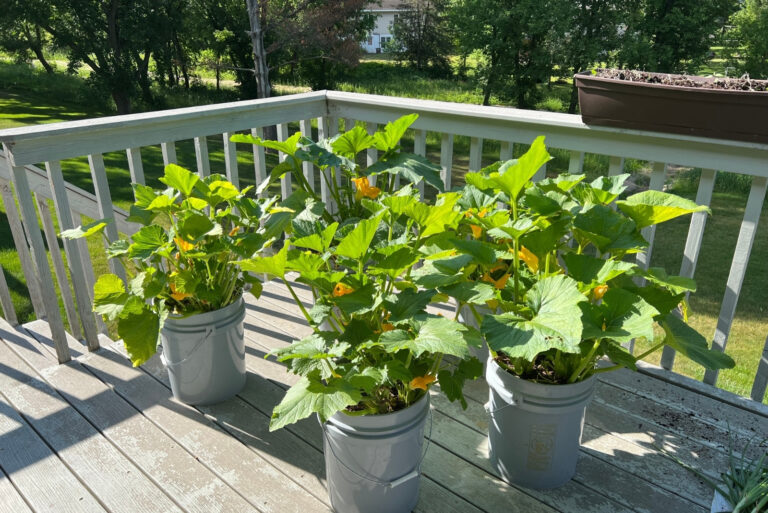
How To Start Organic Sweet Potatoes Indoors (And Get A Bigger Harvest Without Breaking A Sweat)
If you’re itching to get a jump on the season and grow sweet potatoes that are worth their weight in gold, starting indoors is the way to go. It’s not rocket science—just a few early moves that let you hit the ground running come planting time. By starting with organic roots and giving them the TLC they crave, you’ll be miles ahead of the game when spring rolls in. So let’s roll up our sleeves and turn those slips into spuds—because a little prep now means a bumper crop later.
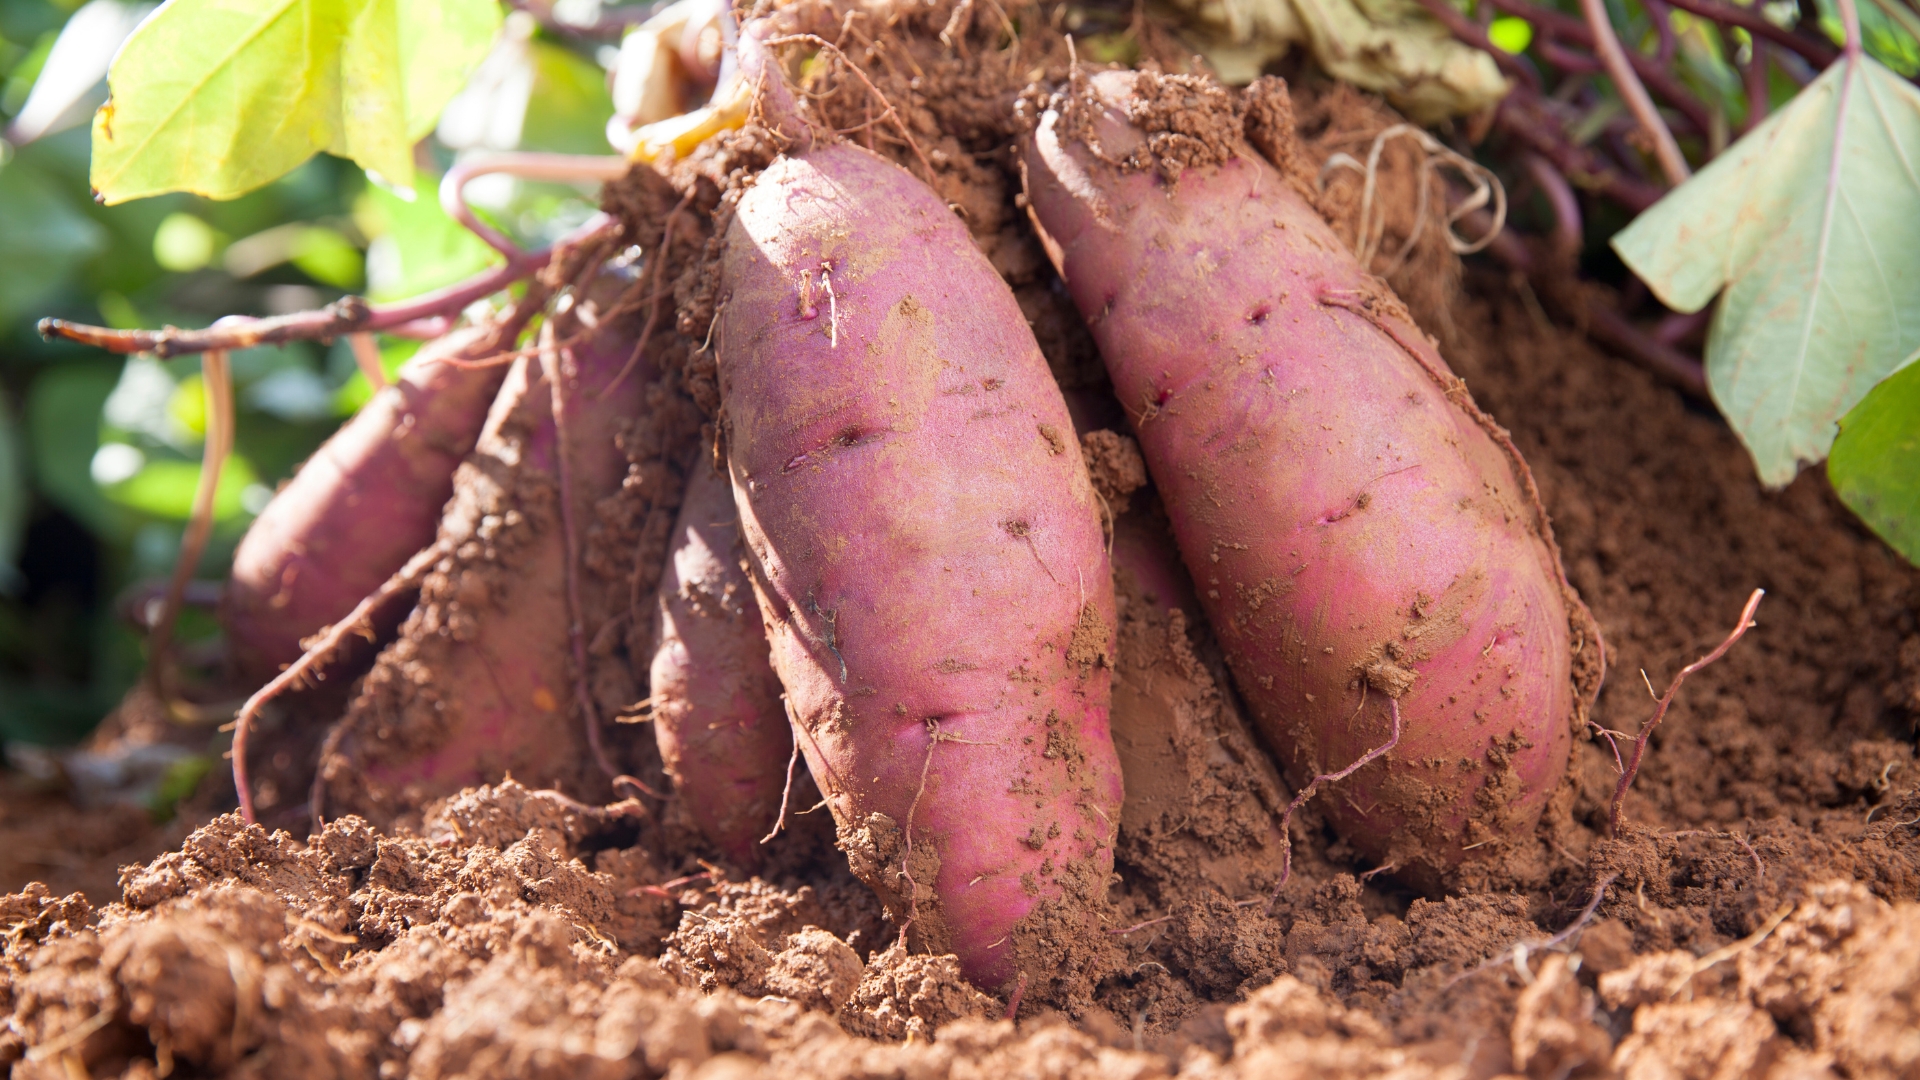
1. Choose Organic Tubers
Choosing organic tubers means you’re skipping the synthetic chemicals and going straight to nature. These untreated roots are more likely to produce healthy, vigorous slips.
You’re giving your crop a cleaner start and setting the stage for a lush harvest. It’s a small choice that makes a big impact.
Without growth inhibitors, the slips emerge naturally and reliably. Plus, organic choices support sustainable growing practices.
Think of it as investing in both your garden and your health. Quality roots today mean sweet rewards tomorrow!
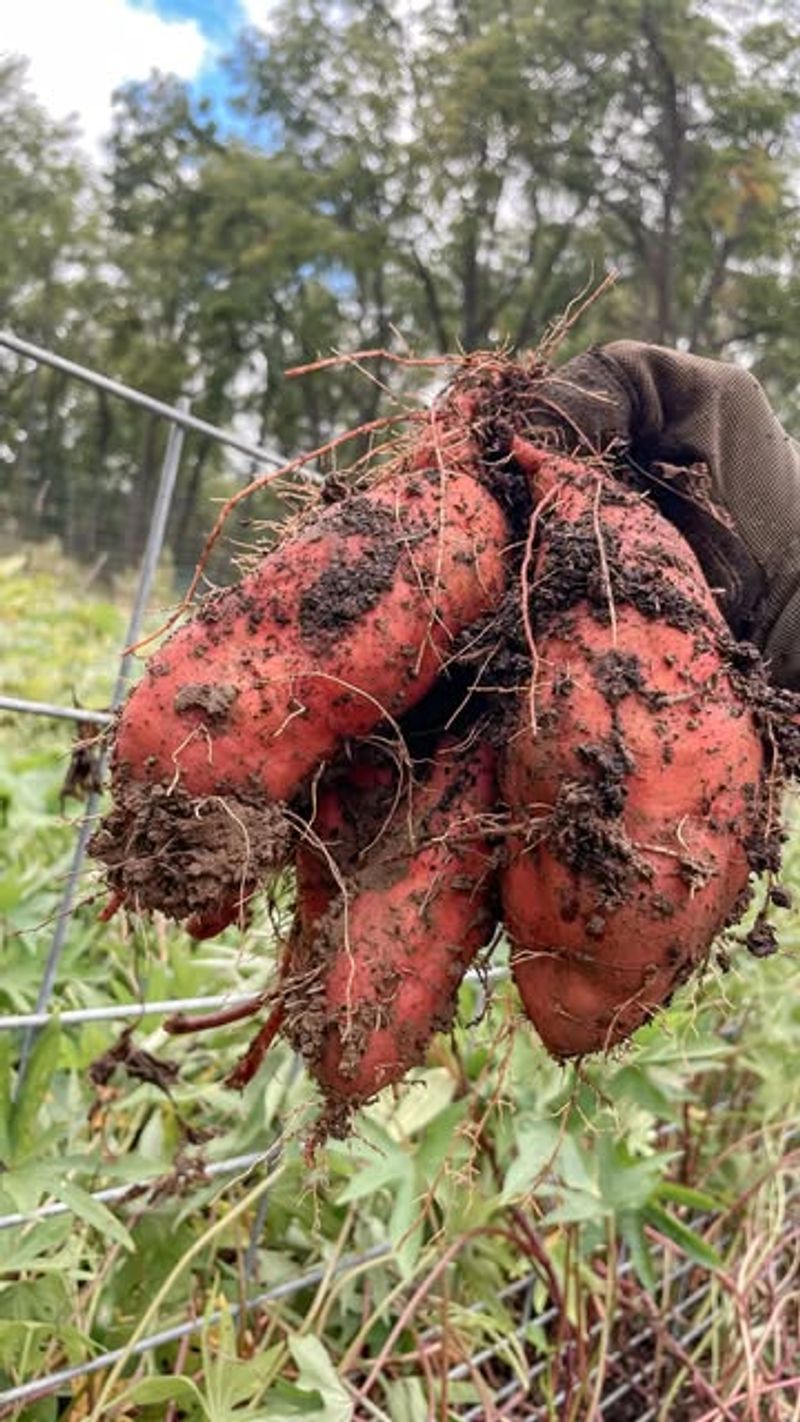
2. Pick Firm, Healthy Roots
Choose sweet potatoes that are firm to the touch, free of soft spots, mold, or any shriveling. These physical signs can indicate internal rot, which will keep them from producing viable slips. Healthy roots are your insurance policy for a good start.
Inspect the skin for any breaks or cuts. Smooth, plump roots are ideal—they hold the most energy to push out strong sprouts. Don’t be afraid to be picky here; your harvest depends on it.
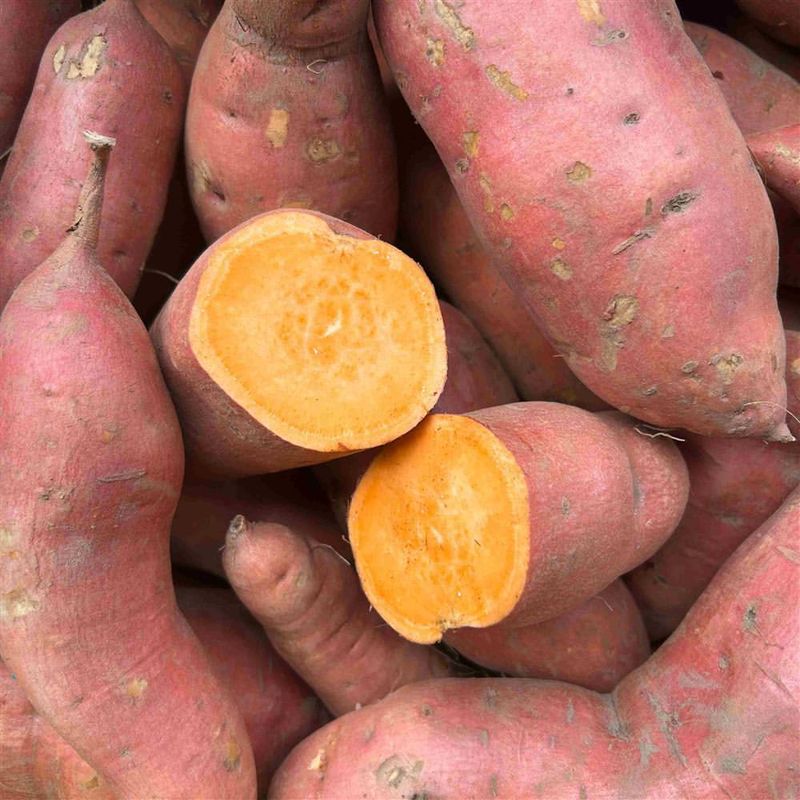
3. Use Regional Varieties

Pick a variety that’s known to thrive in your climate. Whether it’s Georgia Jet in the South or Centennial in cooler zones, region-specific varieties are better adapted to your soil and temperature patterns.
Local varieties are more likely to mature on time and resist pests naturally. Ask nearby growers or your local extension office for recommendations—they know what works best in your backyard.
4. Start 6–8 Weeks Early
Timing is everything when it comes to starting sweet potato slips. Begin the process indoors about 6 to 8 weeks before your last expected frost. This gives the tubers enough time to sprout slips that are ready to plant once the weather warms.
Use a calendar to work backward from your planting date. Starting early means your slips will be sturdy, rooted, and eager to take off when you move them outdoors.
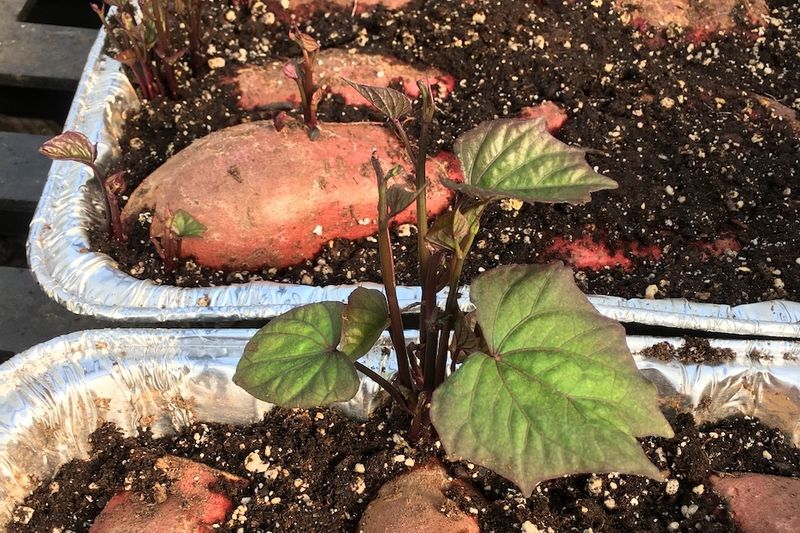
5. Cut Into Chunks
Rather than planting whole tubers, cut them into large chunks, each with at least one or two eyes. These are the budding points where slips will emerge.
After cutting, allow the pieces to air dry for a day so they form a protective skin, also known as a callus. This step reduces the risk of mold and rot once they’re placed in water or soil.
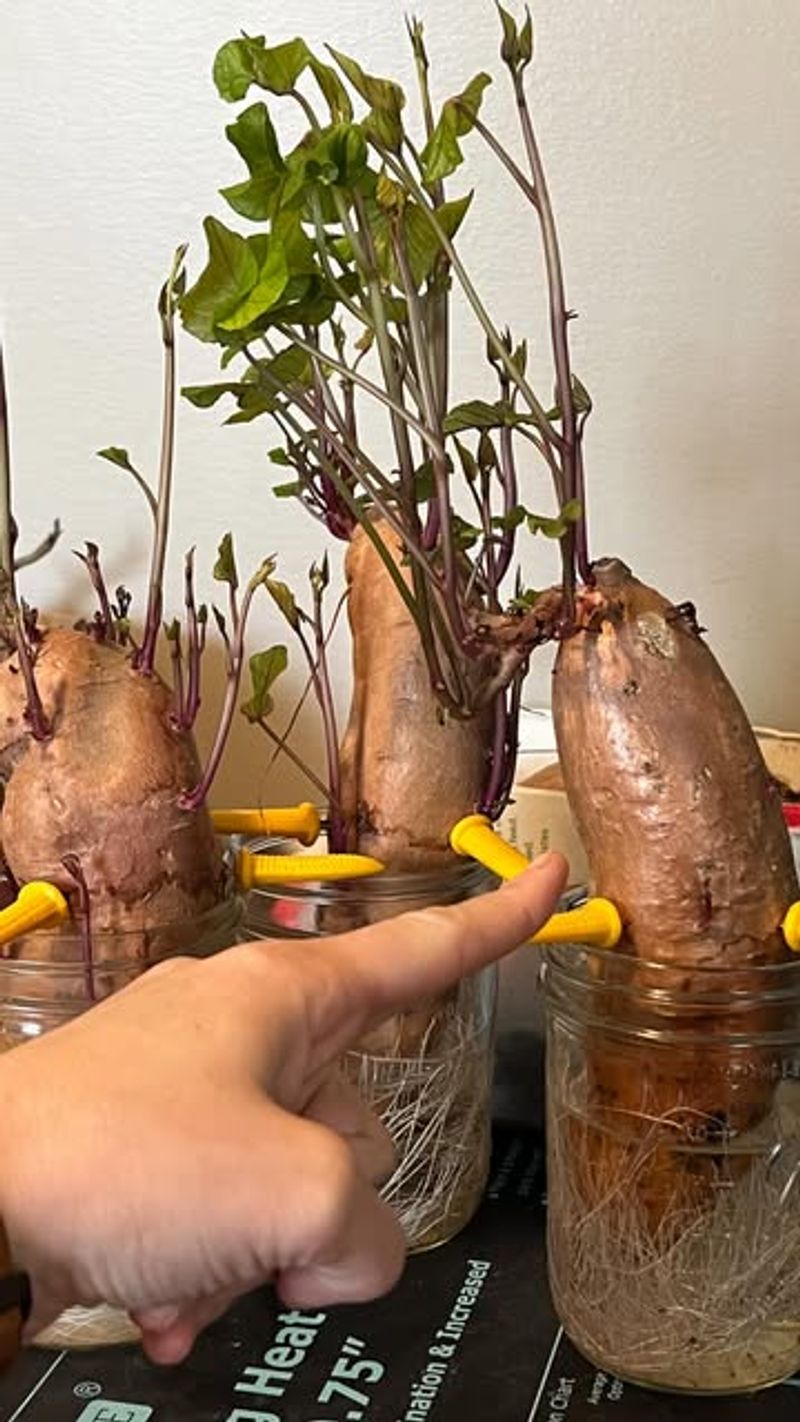
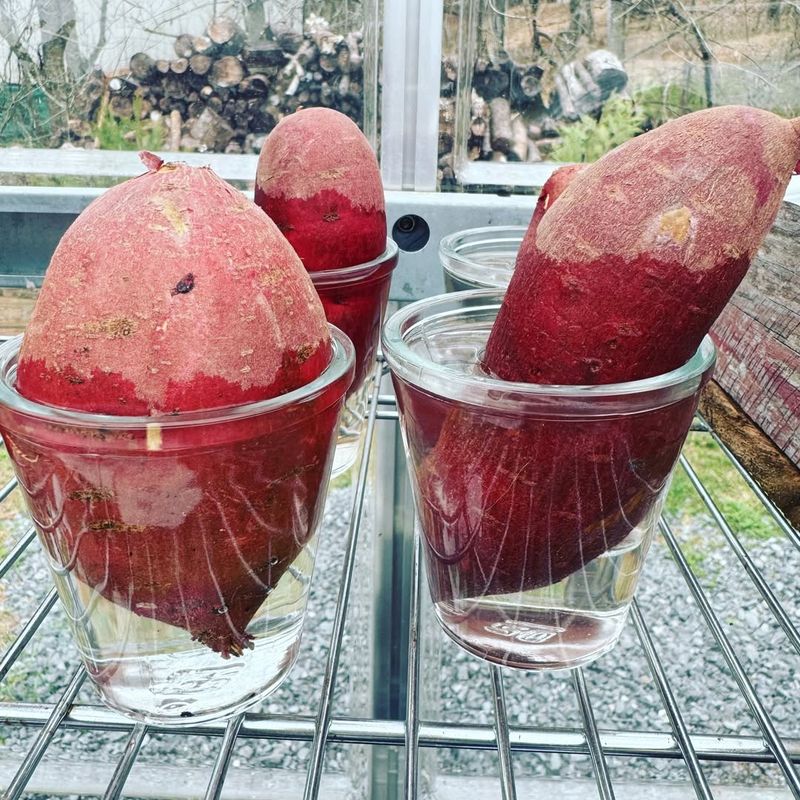
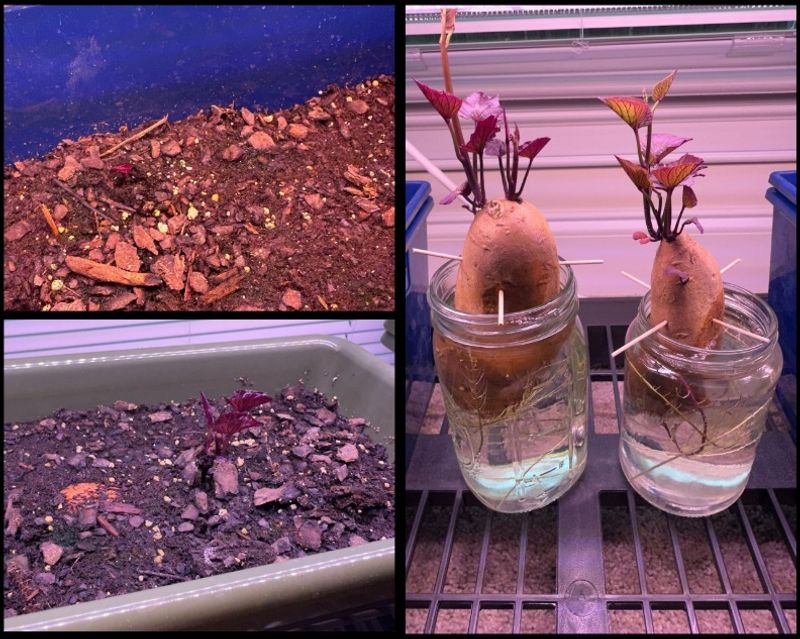
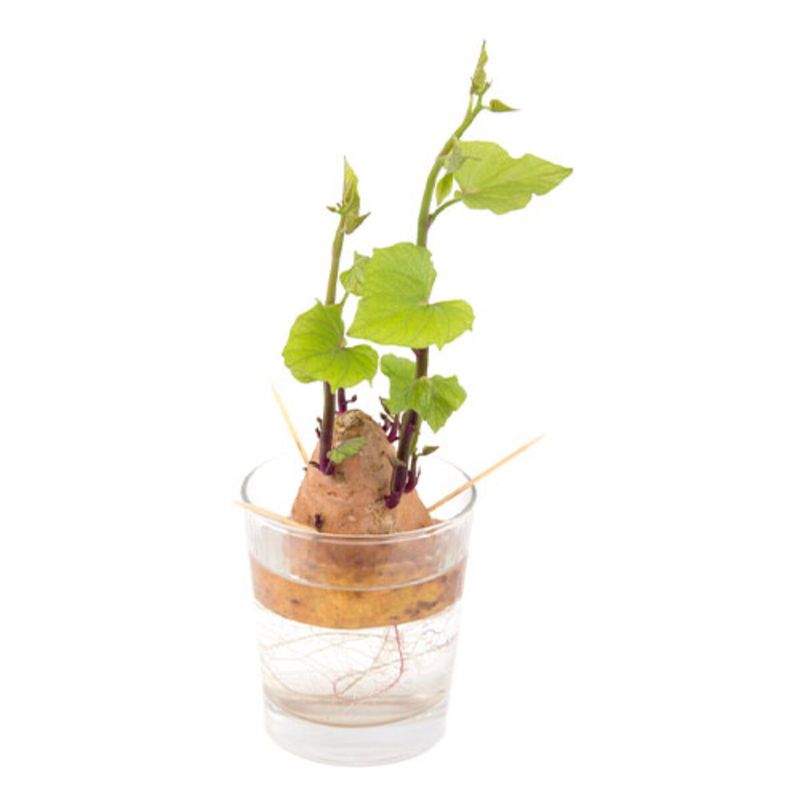
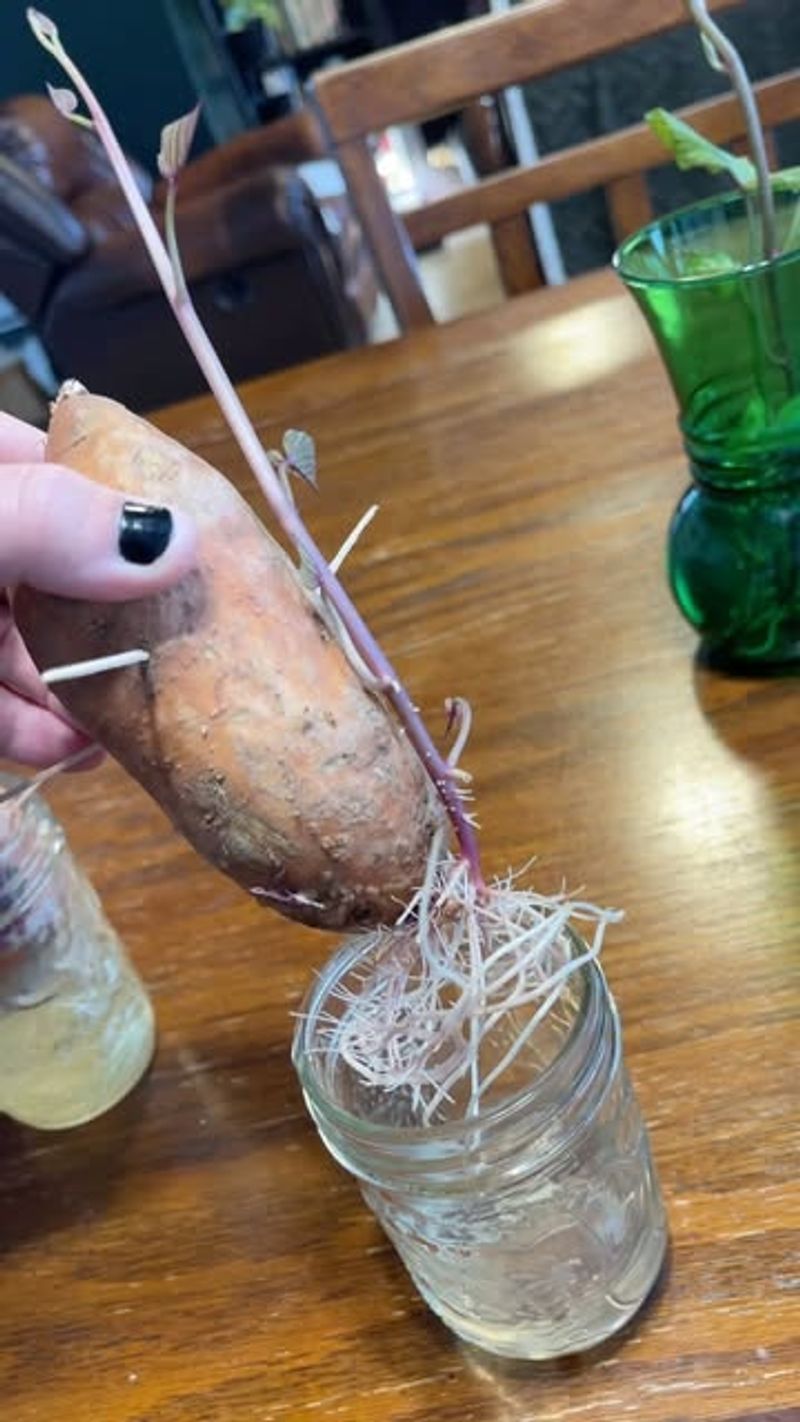
6. Suspend in Water
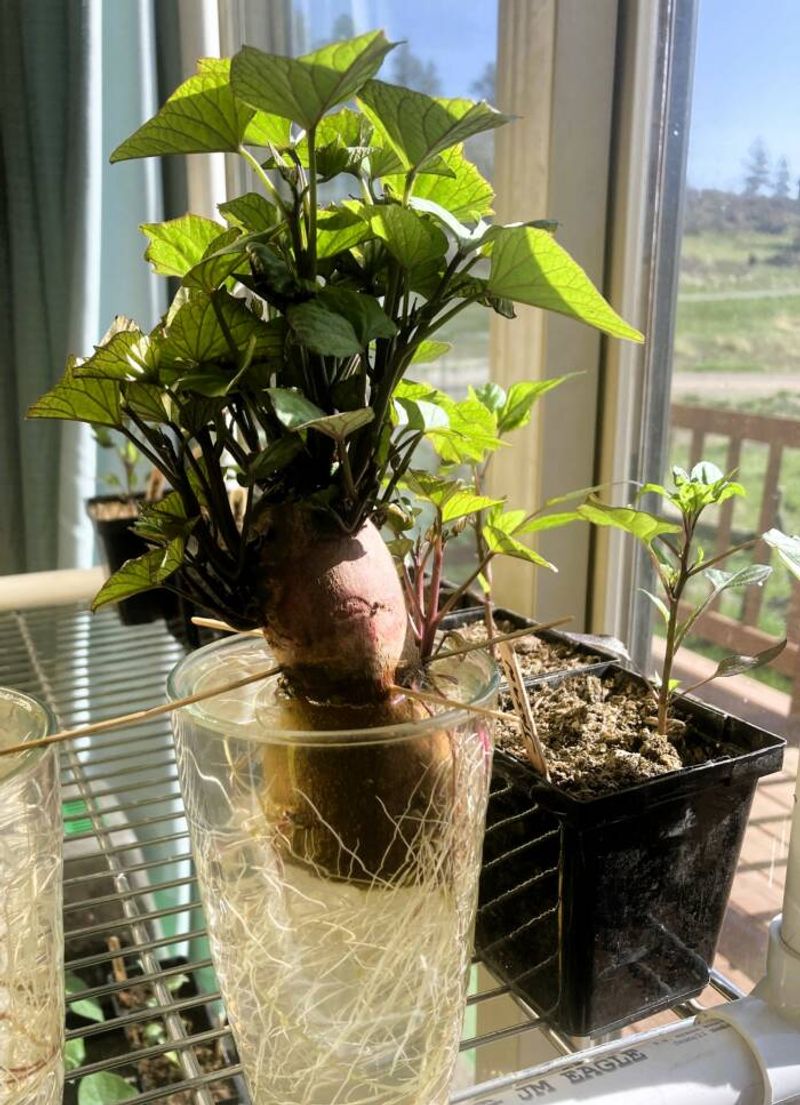
Use toothpicks to suspend each chunk over a jar of water, making sure the bottom half is submerged. The pointed end should go down, since that’s where the roots will form.
Keep the setup near a sunny window or under a grow light. In about a week or two, you’ll start to see sprouts forming from the top of the tuber.
7. Maintain Water Level
Check the water level in your jars daily and top them off as needed. The tuber’s base needs to stay submerged or it won’t root properly.
Fresh water helps prevent bacterial growth, so be sure to change it every few days. Clean water means healthier slips with fewer chances of rotting.
8. Use Sunny Window

Place your sprouting jars in a sunny window where they’ll get at least 6 hours of light per day. Sunlight jump-starts photosynthesis and encourages strong slip formation. Without enough light, slips can grow leggy and weak.
Rotate the jars every few days so each side gets even exposure. If natural light is scarce, a grow light positioned a few inches above the sweet potatoes will keep things moving. Bright, steady light is one of the most important ingredients for healthy indoor starts.
9. Keep Warm (75–80°F)
Sweet potatoes thrive in warmth, especially during the sprouting stage. Keep the indoor temperature between 75–80°F to encourage steady root and slip development.
A heating mat underneath the jars can help maintain consistent warmth if your space runs cool.
Avoid placing them near drafts or cold windowsills. Even a slight drop in temperature can slow growth dramatically. Think cozy—your sweet potatoes love warmth as much as you do
10. Change Water Often
Change the water in your jars every 2 to 3 days to keep things fresh.
Stagnant water encourages bacteria and mold, which can quickly ruin your slip progress. Clean water equals clean roots.
Rinse the jar thoroughly and inspect the tuber for any signs of rot during water changes. A healthy slip starts with a clean base. If it smells funky, it’s time for a refresh.
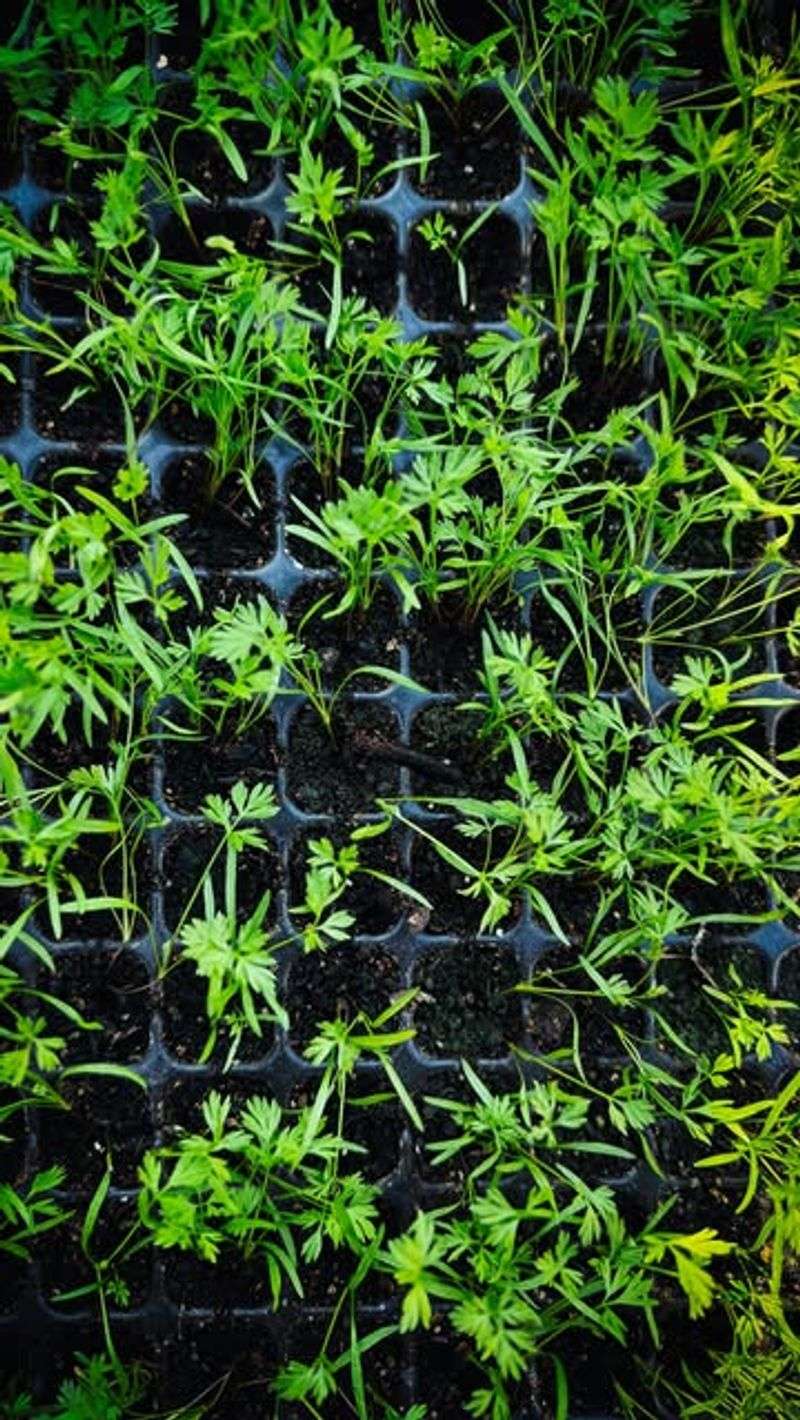
11. Grow 6–12″ Slips
Let the slips grow until they’re between 6 and 12 inches tall before removing them. At this size, they’ll have developed enough stem strength to transplant successfully. Smaller slips may not root as well outdoors.
Keep an eye out for at least 4–6 healthy leaves per slip. The more foliage, the more energy they’ll have to fuel early root growth. Patience here pays off in a stronger harvest later.
12. Twist Off Slips
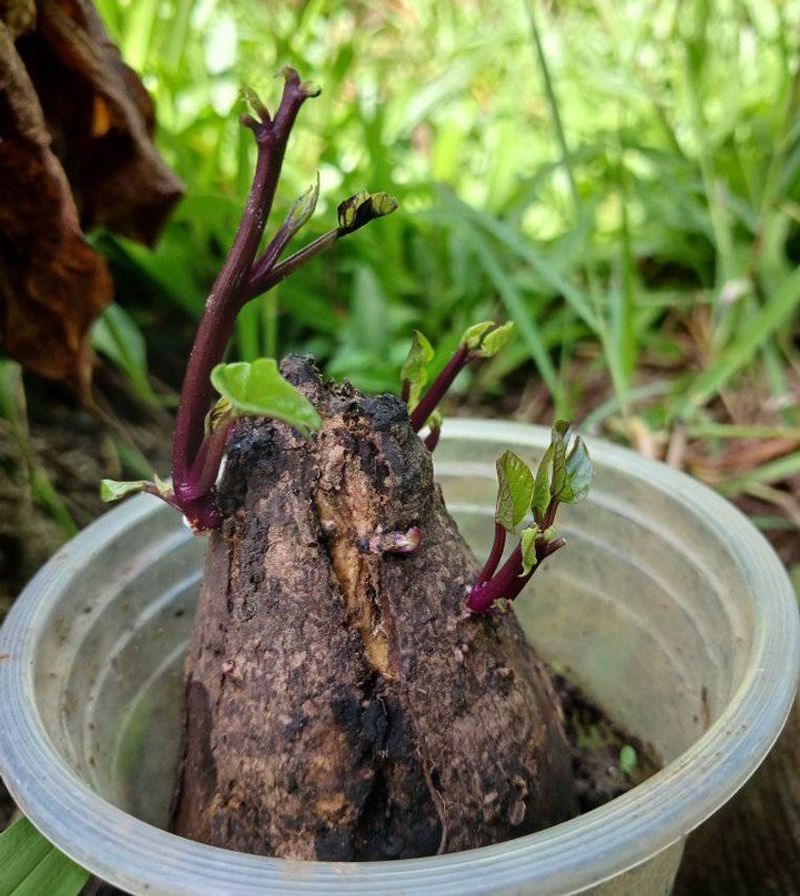
When slips reach the right size, gently twist them off the sweet potato where they meet the skin. Avoid pulling or tearing to keep the base intact for rooting.
You can also cut them off with a clean blade if twisting doesn’t work easily.
Each removed slip should have a few leaves and a sturdy stem. Handle them gently to avoid damaging the tender tissue. Now they’re ready to root and become your future sweet potato plants.
13. Root in Water
Place each slip in a glass of clean water with only the bottom inch submerged. This encourages roots to grow without rotting the stem. Line them up on a sunny windowsill and watch the transformation.
Within a few days to a week, you’ll notice roots emerging from the submerged stem.
Change the water regularly to keep it oxygenated. Once roots are 1–2 inches long, they’re ready for planting in soil.
14. Provide Bright Light

As your slips root in water, they still need bright light to stay healthy. A south-facing window works great, or use a full-spectrum grow light if sunlight is limited. Light helps keep the slips stocky and strong.
Without adequate lighting, the slips can become leggy and weak, struggling later in the garden. Make light a daily priority. Healthy slips now mean healthier plants later.
15. Transplant to Pots
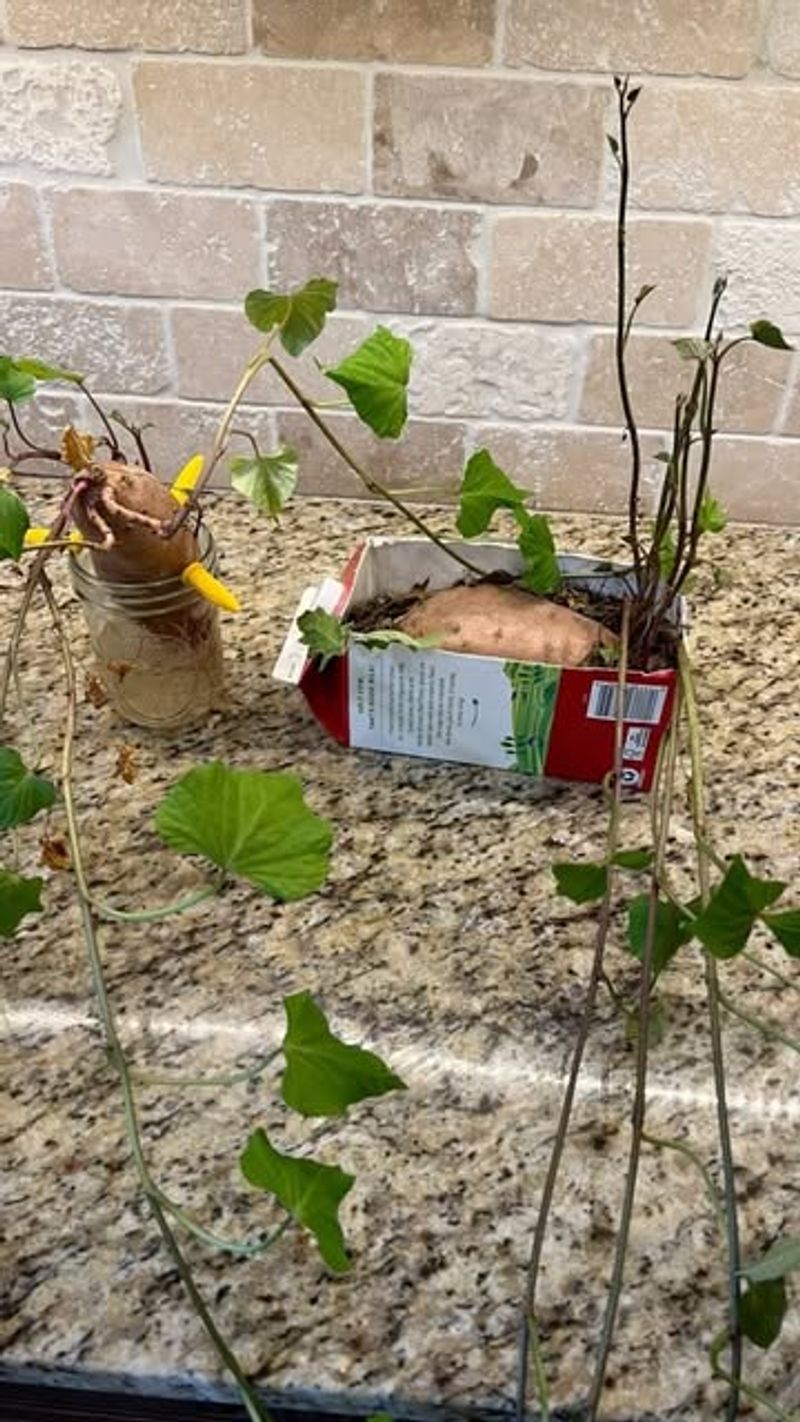
Once your slips have grown roots that are 1–2 inches long, it’s time to give them some soil love. Transplant each one into a small pot filled with moist, organic potting mix. Gently tuck the roots in and firm the soil around the base.
Keep the pots in a warm, sunny spot and water regularly to help them settle.
This step gives your plants a head start before they meet the big wide world of your garden. Think of it as sweet potato kindergarten—strong roots start here!
16. Use Drainage Soil
Sweet potatoes hate wet feet, so make sure your potting mix drains well. Use a loose, organic-rich mix with ingredients like coco coir, compost, and perlite or sand.
Good drainage keeps rot away and helps oxygen reach the roots. A healthy foundation underground means massive vines above. Don’t drown your dreams—let them breathe!
17. Keep Soil Moist
Water your potted slips consistently, keeping the soil moist but never soggy. They need hydration to develop roots, but too much can quickly cause rot.
Stick your finger an inch into the soil—if it’s dry, it’s time to water. Balanced moisture encourages strong early growth and happy, stress-free plants.
18. Add Organic Fertilizer
Once the slips are settled in their pots, feed them with a gentle organic fertilizer. Look for one rich in potassium and phosphorus for strong roots and vigorous growth.
Avoid high-nitrogen blends early on, or you’ll end up with lots of leaves and no tubers. Go easy, feed smart, and your harvest will thank you in pounds.
19. Harden Off Slips
About a week before transplanting outdoors, begin hardening off your plants. Gradually expose them to outdoor conditions—sun, wind, and temperature swings—by placing them outside for a few hours each day.
Increase the time daily until they can stay out full-time. This toughens them up and reduces shock when planted in the garden. Baby them now, and they’ll grow up strong.
20. Watch for Pests
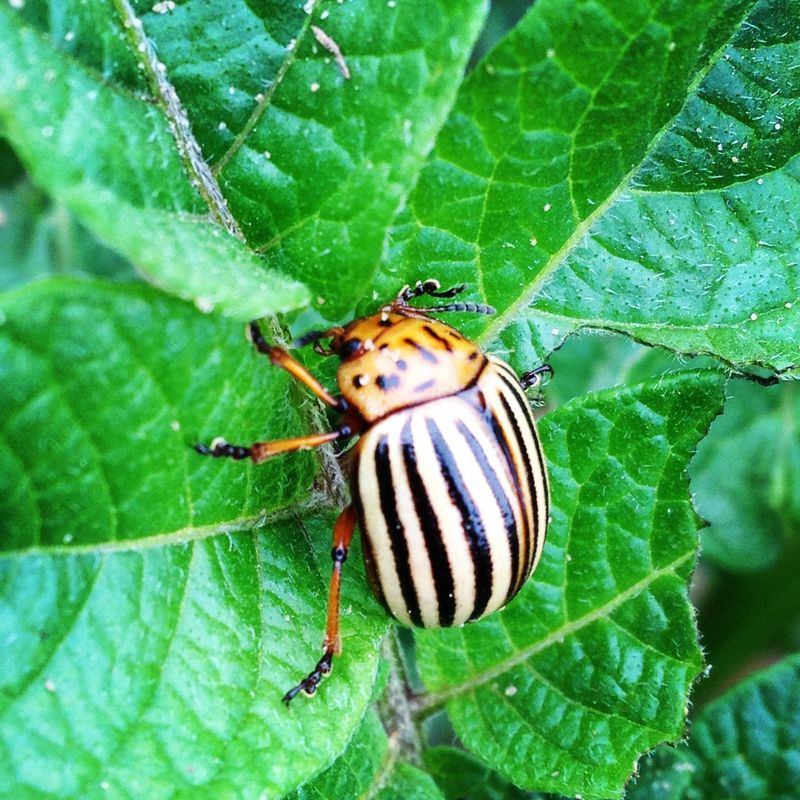
Even indoors, pests can show up—keep an eye out for aphids, fungus gnats, or mold. Catching issues early means fewer problems down the line.
Use organic pest control like neem oil if needed, and always keep your growing area clean. Healthy slips don’t just happen—they’re protected!