How To Turn Fallen Leaves Into Free Garden Gold
You are handing away a free soil booster with real impact. Leaf bags at the curb hold useful material your garden craves.
Shredded with a mower, they become crumbly humus that improves your beds. Worms arrive within weeks and pull the pieces underground.
Fungi follow, releasing minerals that tree roots pulled from the soil last summer. Those minerals include calcium, potassium, and magnesium, which plants need in small amounts.
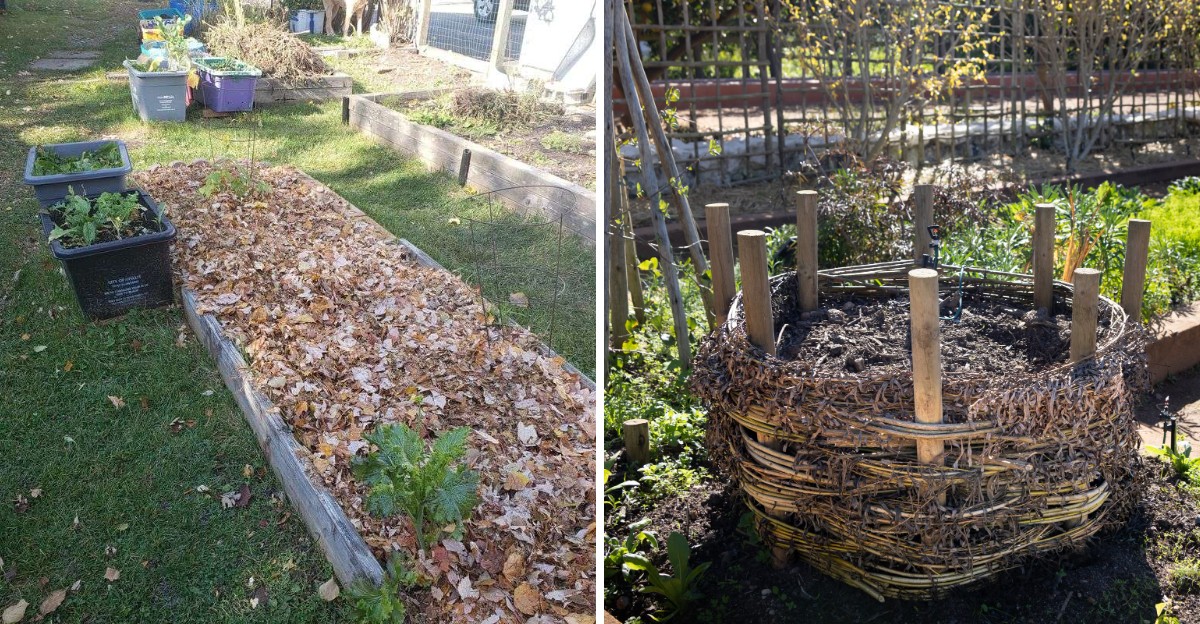
Leaves also block weeds when you spread them thick across bare soil. Mulch layers hold winter warmth, shielding roots when cold snaps arrive.
Pile them in a corner and you collect leaf mold next autumn. Soon you will cut your mulch budget and build richer, looser garden soil.
Chop them small, since smaller pieces break down faster in your beds. Mow this weekend and start building darker, springier, healthier garden soil.
1. Small Pieces Break Down Faster
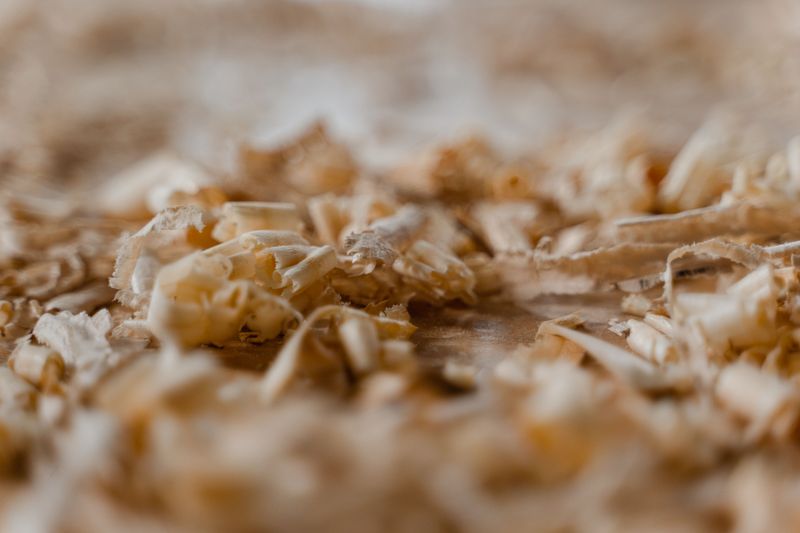
Whole maple leaves behave like soggy paper plates stacked in a sink. Left alone, they mat down, block air and water, and stay packed together for a year or two.
Chopping them into small bits changes how fast they break down in your garden. Smaller pieces give worms, fungi, and bacteria many more edges to munch on each day.
The easiest shredding tool might already be sitting in your garage right now. Run your lawn mower over a thin layer of leaves two or three times in a row.
A mower with a bagger attachment works even better because it collects the confetti for you. Without a bagger, simply rake the chopped bits into a pile afterward.
Some gardeners prefer an electric leaf mulcher, which looks like a giant kitchen blender on legs. Others drop leaves into a trash can and whirl a string trimmer inside.
If you try the trash can method, wear safety glasses and a dust mask. Flying bits of dry leaf can sting eyes and irritate your nose quickly.
Dry leaves shred far more easily than wet ones, so pick a sunny afternoon. Damp leaves clog mower decks and turn into a sticky brown mess.
Aim for pieces about the size of a quarter or smaller. A huge mountain of shredded leaves can shrink to roughly one tenth of its original size.
That means ten bags of crunchy leaves might squeeze down into just one. Your storage space, compost bin, and back muscles will all thank you later.
2. Winter Mulch That Protects Roots
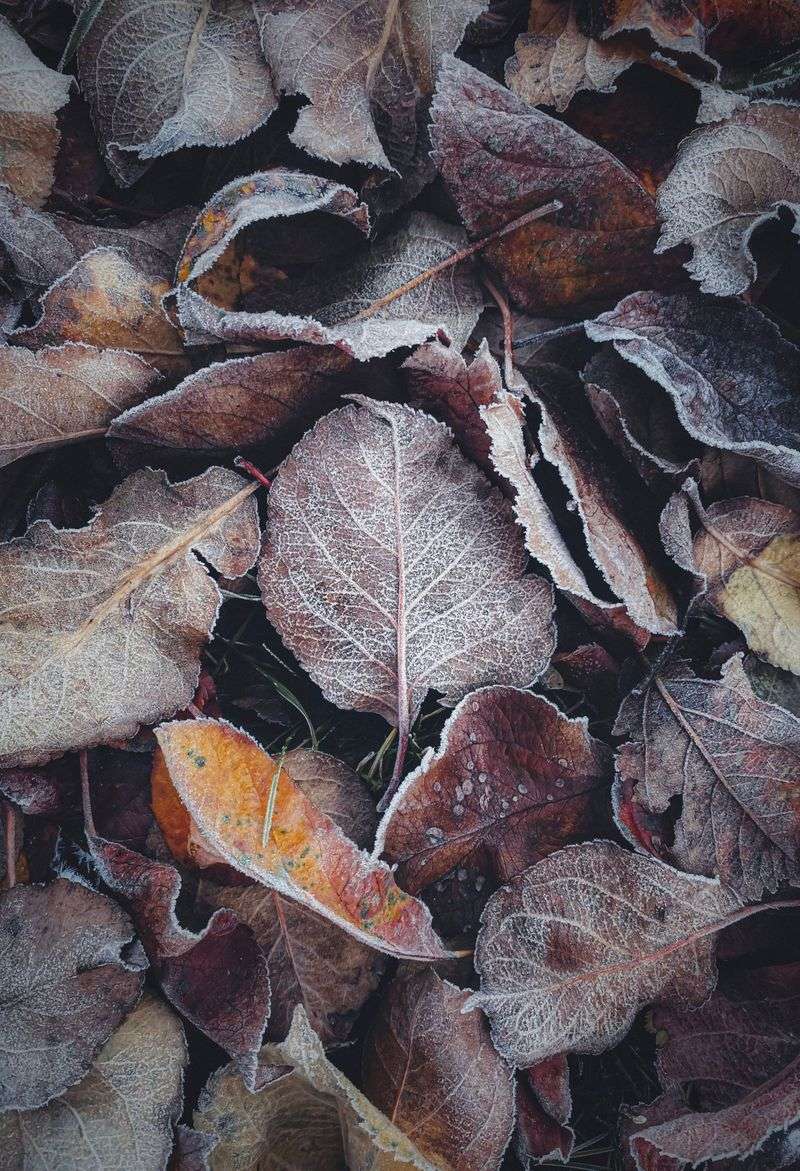
Picture your garden beds tucked under a fluffy brown quilt while snow swirls outside. Shredded leaves can do that job for free all winter long.
Bare soil faces real stress during the cold, wet months of late fall and early winter. Freezing and thawing heaves roots upward, while heavy rain washes away precious topsoil.
A two to three inch layer of chopped leaves acts like a warm coat. It keeps ground temperatures steadier and holds moisture right where plant roots need it.
Spread the leaves around perennials, shrubs, and berry bushes after the first hard frost. Keep them a few inches away from stems and tree trunks.
Piling leaves right against bark invites mice and rot to move in. Think of it like a donut, with a little open space in the middle.
Vegetable beds love this treatment too, especially spots where you plan to grow tomatoes or squash. The leaves suppress winter weeds before they ever get a chance to sprout.
Windy weather can scatter a fresh layer across the yard in minutes. A light sprinkle of water or a few sticks laid on top helps everything settle.
By spring, earthworms will have pulled lots of that leafy blanket down into the soil. They leave behind rich tunnels that let air and water travel deeper.
Whatever remains can stay as summer mulch or get gently raked aside for planting. Your soil will feel darker, softer, and crumblier than it did last fall.
3. Slow And Easy Leaf Mold For Better Soil
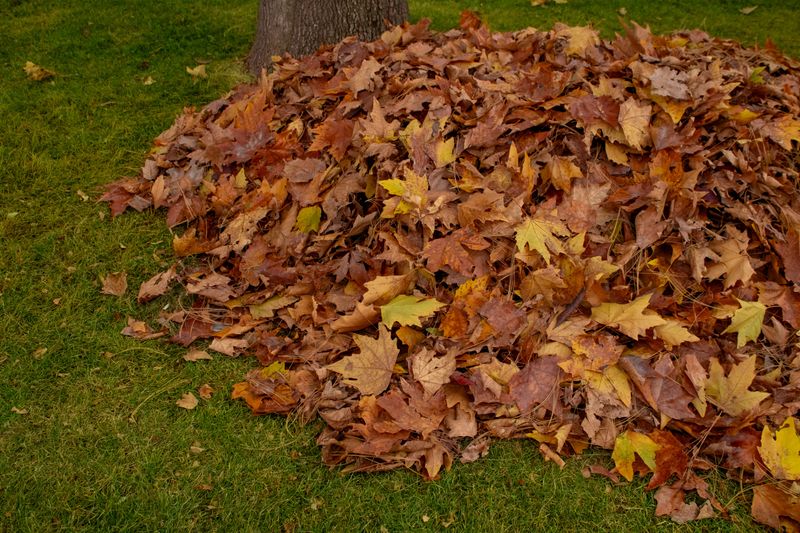
Old-time gardeners called it black gold, and they valued their leaf piles very highly. Leaf mold is simply leaves that fungi have slowly turned into crumbly, earthy goodness.
Unlike regular compost, leaf mold relies on slow, cool fungi instead of hot, busy bacteria. That means you can skip most of the turning, mixing, and fussing.
Start by making a simple ring of chicken wire about three or four feet wide. Fill it to the top with shredded leaves, pressing them down as you go.
Give the pile a good soaking with a hose until it feels like a wrung-out sponge. Moisture is the secret ingredient that wakes up those hardworking fungi.
No chicken wire lying around the garage? A hidden corner behind the shed works fine if the pile stays damp.
After that, your main job is simply waiting while nature does the heavy lifting. Shredded leaves usually become usable leaf mold in about twelve months, while whole leaves take two years.
Peek inside the pile now and then, especially during long, dry summer spells. Add a splash of water if the middle feels dusty, crunchy, or warm and dry.
Finished leaf mold smells like a forest after rain and feels soft in your hands. It can hold three to five times its weight in water.
Mix it into potting soil, spread it around seedlings, or work it into sandy beds. Your plants will drink better and your watering can will get a break.
4. Balance Your Compost With Plenty Of Browns
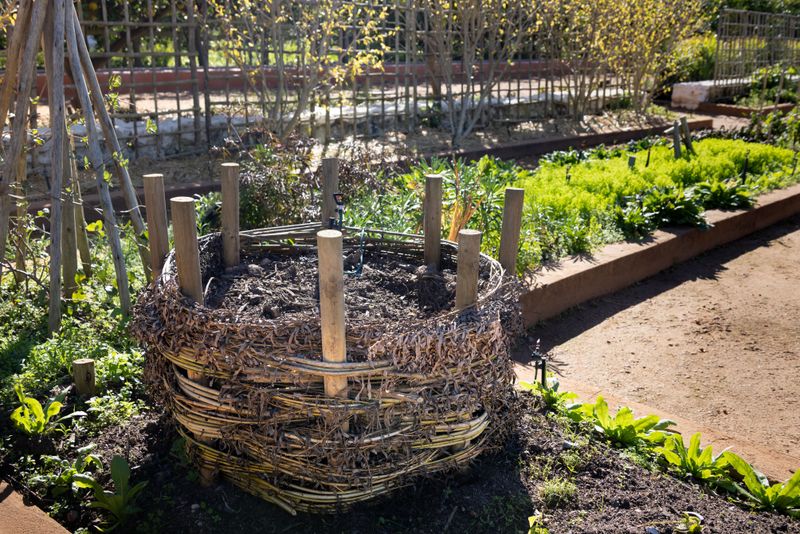
Ask any compost expert about their biggest struggle, and many will say the same thing. They often have far more green material than brown, especially in summer.
Greens are nitrogen-rich items like grass clippings, coffee grounds, and vegetable scraps. Browns are carbon-rich materials, and dry leaves are one of the best around.
A healthy compost pile likes about three parts brown to one part green. Too many greens turn the bin wet and smelly, and the whole pile slows down.
Fallen leaves fix that problem fast by soaking up extra moisture and balancing the mix. They also add minerals that trees pulled up from the soil during summer.
Shred them first so they mix in easily and break down quicker. Then build layers, alternating a few inches of leaves with kitchen scraps or fresh clippings.
Turn the pile with a pitchfork every week or two to add fresh oxygen. The microbes inside work harder when they can breathe, and the center heats up.
A busy pile can reach 130 to 160 degrees Fahrenheit in its core. That heat helps break down weed seeds and many plant diseases.
Keep a stash of bagged leaves beside your bin for the rest of the year. Every time you add scraps, toss in a big handful of leaves too.
In a few months, you will have dark, sweet-smelling compost ready for spring planting. Not bad for something many households simply put out for city collection.
5. Worm Bins Love Soft, Damp Bedding

Meet the tiniest employees you will ever hire, and they work for snacks. Red wiggler worms happily turn leaves and scraps into a highly valued soil amendment.
Worm castings, which is the polite name for worm poop, are packed with plant nutrients. Gardeners often pay a premium for small bags of the stuff at garden centers.
A worm bin can be as simple as a plastic tote with holes drilled in the lid. Shredded leaves make a perfect bedding that keeps the worms cozy and damp.
Soak the leaves in water, squeeze them out, and fluff them into the bin. Aim for the dampness of a wrung-out washcloth, not a soggy swamp.
Worms do not have teeth, so they love leaves that have already started to soften. Partly broken-down leaves from the bottom of an old pile are a real treat.
Add fruit and veggie scraps on top, then cover them with another handful of leaves. That leafy layer helps reduce fruit flies and sour smells.
Keep the bin somewhere shaded or indoors, like a garage or basement, as weather cools. Red wigglers prefer temperatures between about 55 and 77 degrees.
Store a few bags of dry leaves nearby so you can refresh the bedding monthly. Kids especially love checking on the bin and counting the wiggly crew.
After a few months, scoop out the dark castings and sprinkle them around your plants. Your worms get dinner, and your garden gets a noticeable improvement.
6. Enrich Empty Beds Before Spring
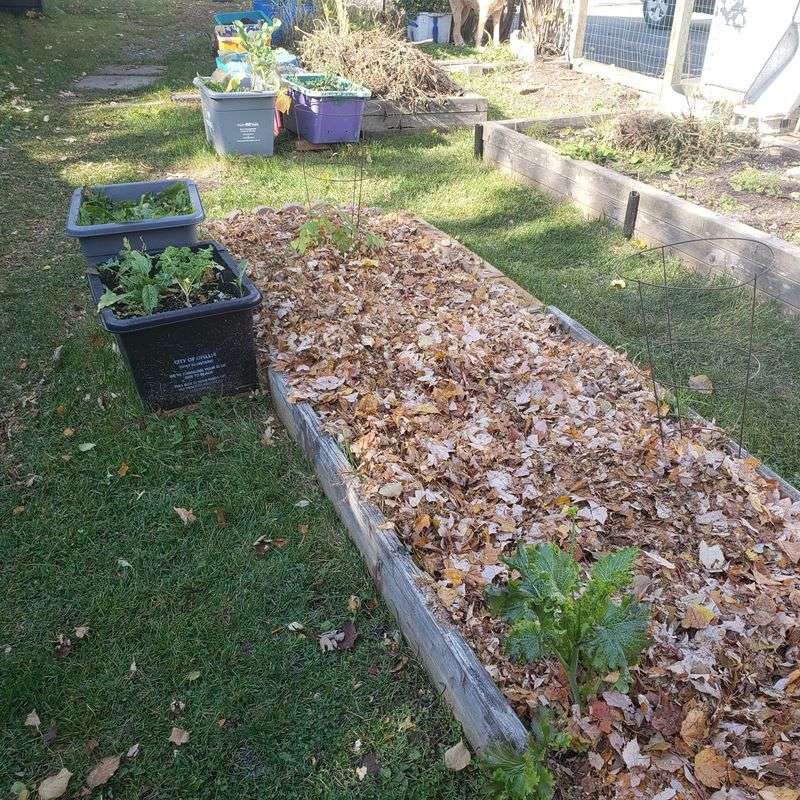
Some gardeners have a fall habit that the whole neighborhood finds a little odd. They collect leaves from yards on the block and bury them in their vegetable patches.
Come spring, their soil is often dark and crumbly, and loose enough to dig by hand. Neighbors who doubted the habit in October may ask for the secret by June.
Digging leaves directly into the soil is called incorporation, a cousin of sheet composting. It works best in empty beds where nothing will grow until next spring.
Spread about three to four inches of shredded leaves across the bed. Then use a spade or garden fork to turn them into the top eight inches of soil.
Clay soil benefits the most because leaves loosen those tight, sticky particles over time. Sandy soil gains the power to hold water and nutrients much longer.
Toss in a little nitrogen, like grass clippings or a sprinkle of blood meal, while you dig. Microbes need that boost to break down all the carbon in the leaves.
Without it, they may borrow nitrogen from the soil and leave early crops looking pale. Give the bed at least four to six months to mellow before planting.
Earthworms will feed whenever soil stays warm enough, mixing and tunneling as they eat. By planting time, many leaves will have softened into dark, sweet-smelling earth.
Loose soil enriched with leaves often helps carrots and root crops grow longer and straighter. That happens because loose soil gives roots room to push downward easily.
7. Building A Raised Bed The Lasagna Way
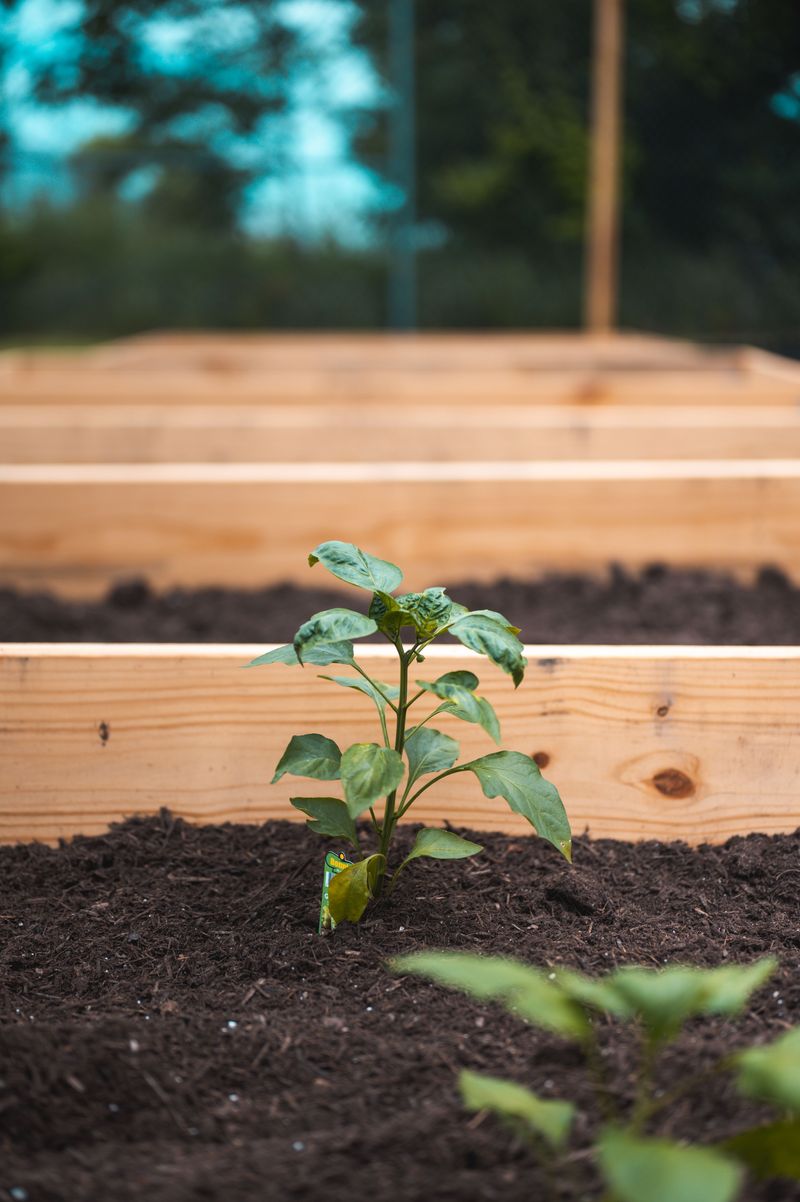
Filling a single raised bed with bagged soil can cost a hundred dollars or more. That price tag makes many beginners give up before they plant a single seed.
A clever method called lasagna gardening reduces that bill by stacking free materials in layers. Fallen leaves become one of the star ingredients in this budget-friendly recipe.
Start with a layer of plain cardboard on the bottom to suppress grass and weeds. Remove any tape or shiny labels first, since those will not break down.
Next, add a thick layer of shredded leaves, about six inches deep. Follow that with a thinner green layer, such as grass clippings, coffee grounds, or kitchen scraps.
Keep stacking browns and greens until the bed is nearly full, watering each layer as you go. Finish the top with two or three inches of compost or garden soil.
Cooler climates make October a good month to build one, since leaves are free and plentiful. By spring, the layers will have settled and softened into rich, planting-ready ground.
Expect the bed to sink several inches as everything breaks down over winter. Simply top it off with another layer of leaves or compost before planting.
Deep raised beds can also hide logs or thick branches at the very bottom. Those woody pieces soak up water like sponges and feed the soil for years.
With leaves doing most of the filling, your wallet stays happy. You might spend more on seed packets than on the actual bed.
8. A July Stockpile Worth Bagging Now
In the middle of July, brown materials become surprisingly hard to find. Grass clippings and garden scraps pile up fast, but crunchy leaves are long gone.
Smart gardeners stash extra leaves in October to stay ahead of that summer shortage. It is a little like saving Halloween candy for a gloomy day in March.
Large paper yard waste bags or old feed sacks work well for storage. Plastic bags are fine too, but poke a few holes so air can circulate.
Keep the bags somewhere dry, like behind the garage or under a tarp. Wet leaves stored in sealed plastic can turn slimy and sour in a hurry.
Some people build a simple wire bin and just pile leaves inside for the year. A tarp tied over the top keeps rain out and stops leaves from blowing away.
When summer arrives, pull out leaves as needed for your compost or worm bin. They also make a quick mulch around tomatoes, peppers, and cucumbers during hot spells.
A leafy mulch keeps soil cooler on scorching afternoons and cuts down on watering chores. It also stops soil from splashing onto lower leaves during heavy storms.
Ask neighbors if you can have their bagged leaves before trash pickup day. Many will gladly share, and some may even drop the bags off for you.
Just skip leaves from lawns treated with weed sprays, and any with visible disease. Use black walnut leaves sparingly, since juglone can harm some plants.