10 Steps For Installing Floating Row Covers To Prolong Your Growing Season
Floating row covers are an essential part of every garden, whether you want to protect your plants from frost or pesky pests.
Since they keep your crops safe during colder weather, you can use them to prolong your growing season, transplant your vegetables earlier, and harvest them until late in the season.
Therefore, they will easily increase your yield. And the best part is that they are super easy to install.
You can get pre-made floating row cover kits that come with everything you need, or you can DIY it and make a cover that fits your garden beds perfectly.
Let’s get started!
1. Plan In Advance
The key to easy installation is planning ahead. It is much easier to drive the floating row covers into the ground in summer than in late fall when the soil is almost completely frozen.
Now (in early fall) is the perfect time to do it. There is no summer heat to make this job a lot harder than it’s supposed to be and the ground is still easily workable.
Place them where you have space and you’ll be able to use them the following spring.
2. Use Proper Covers
Polypropylene and polyester are the most frequent row cover materials because they are (usually) translucent and lightweight. This makes it easy for the light and water to penetrate and keep your plants healthy and thriving.
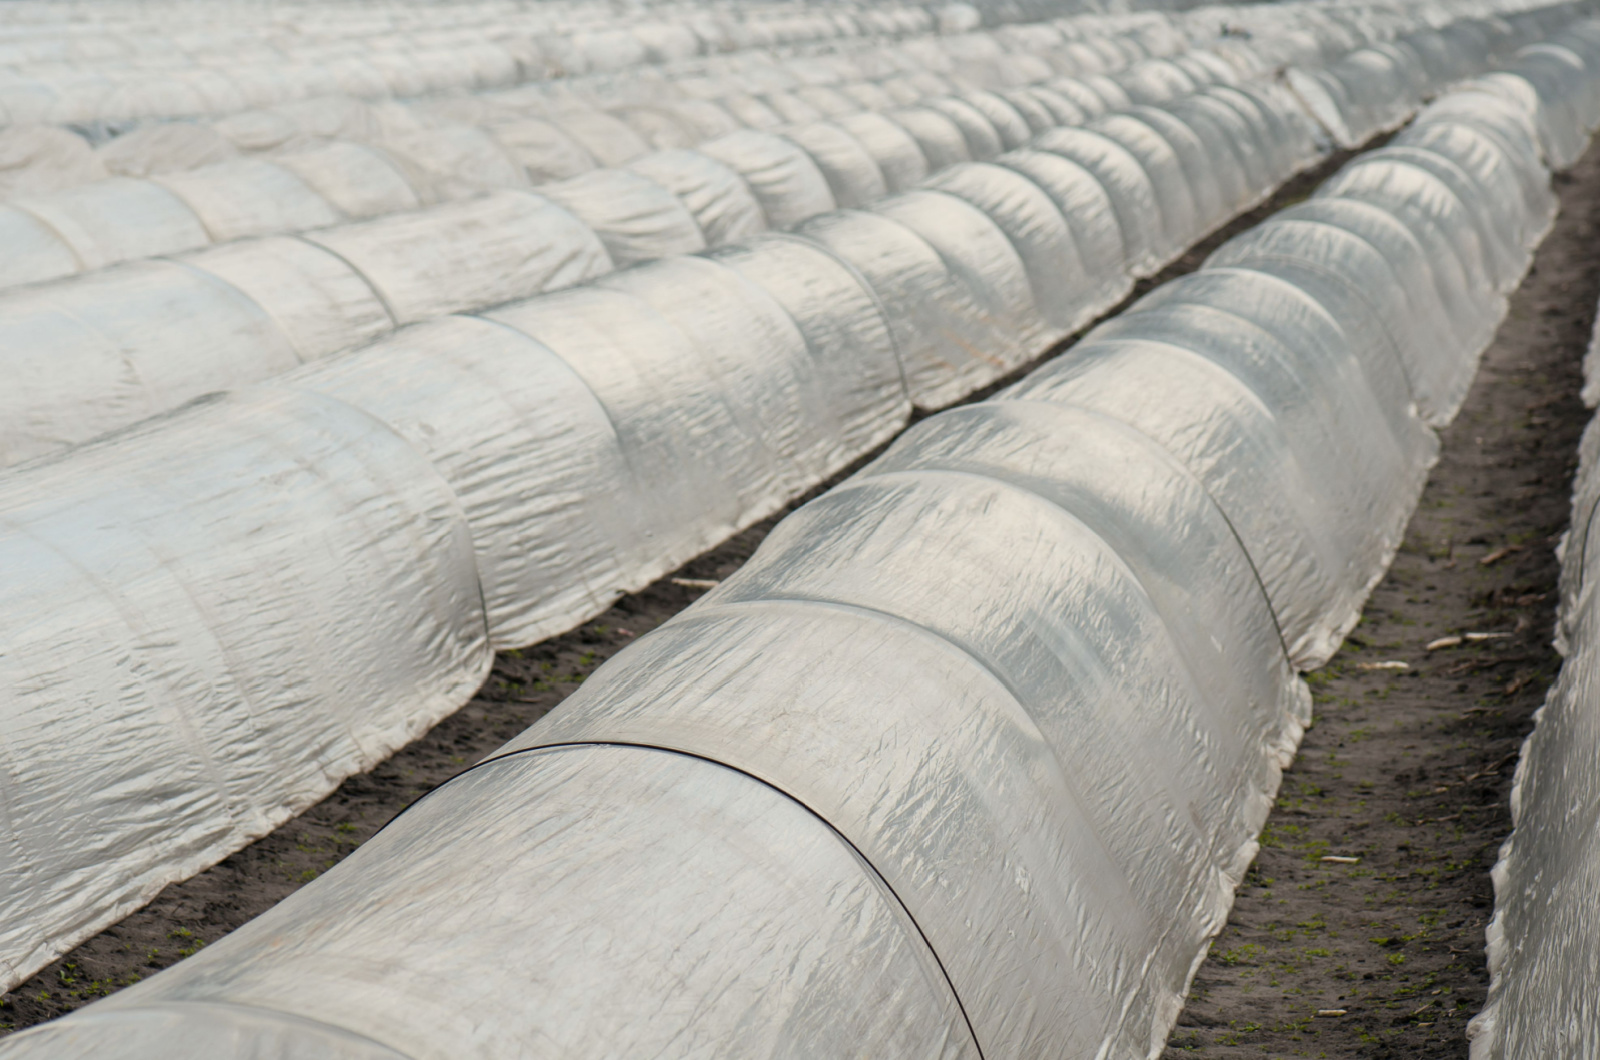
However, if you want to extend your season for several weeks and harvest your goods after frost, I’d recommend going for the thickest and heaviest covers available to you.
They are much better at insulating the inside of your “greenhouse” and will raise the temperatures between 6 and 10°F. This is more than enough to prolong your growing season and increase your overall yield.
3. Prepare Your Beds
It is always a good idea to do all the heavy lifting before installing row covers because it makes the job a lot easier.
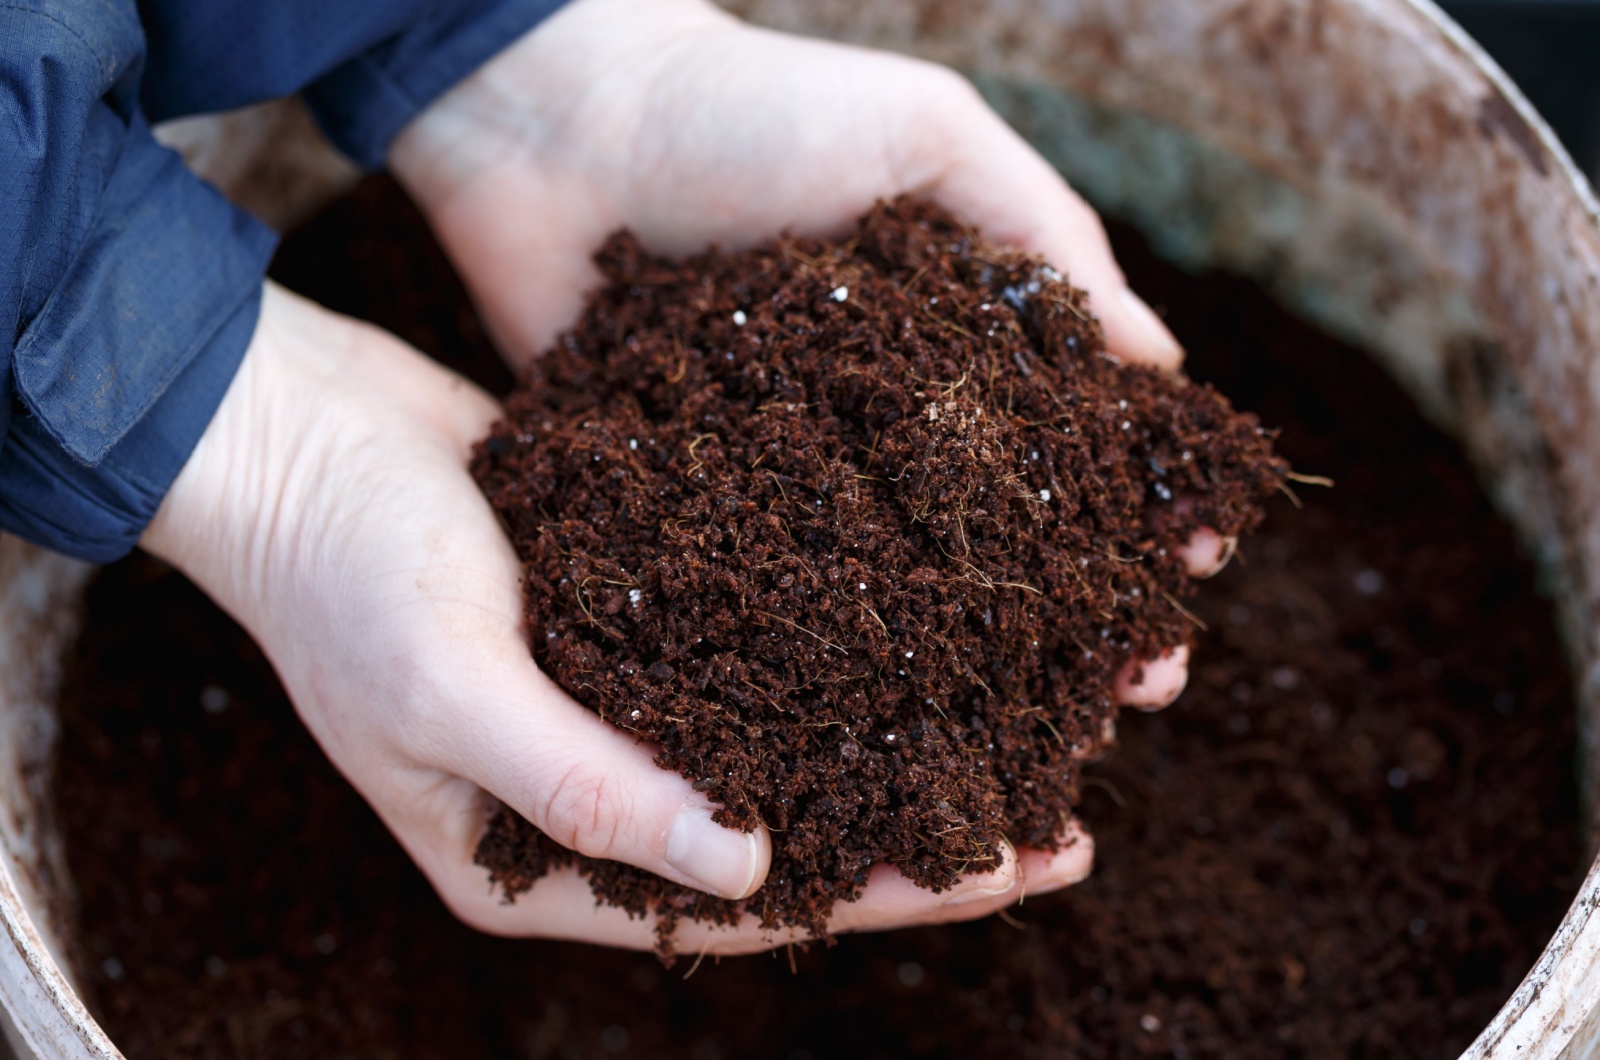
That means getting rid of weeds by making your own weed killer, amending the soil with compost or some organic fertilizer, and mulching it.
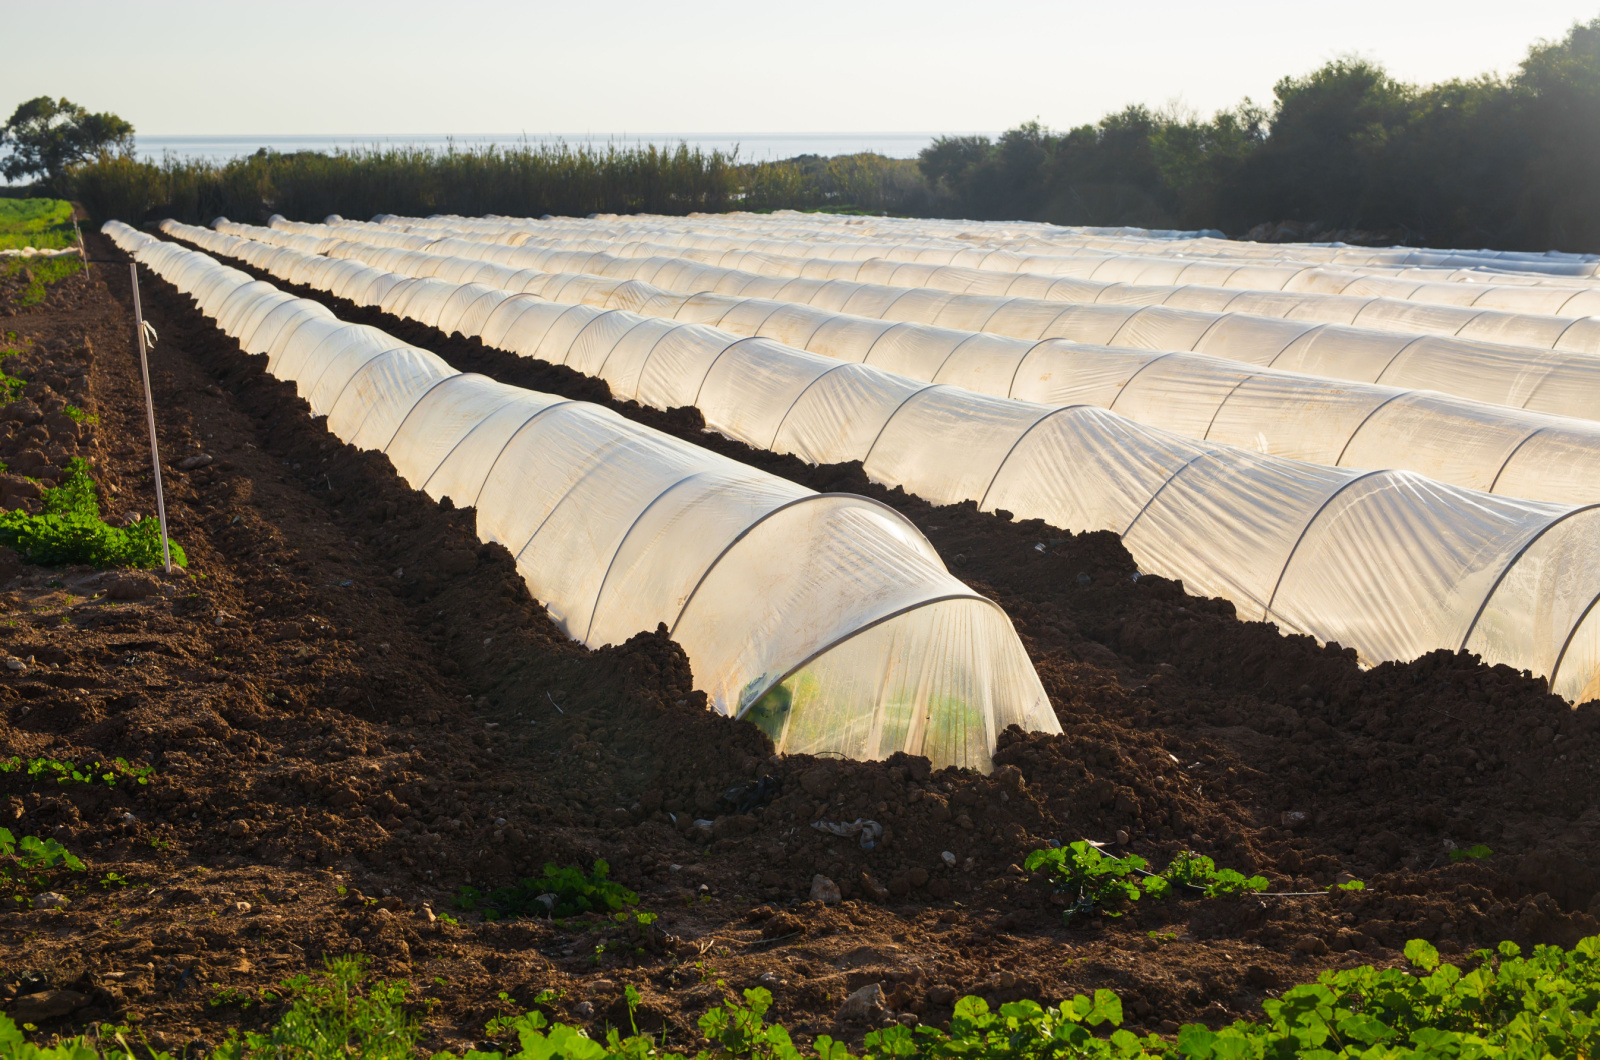
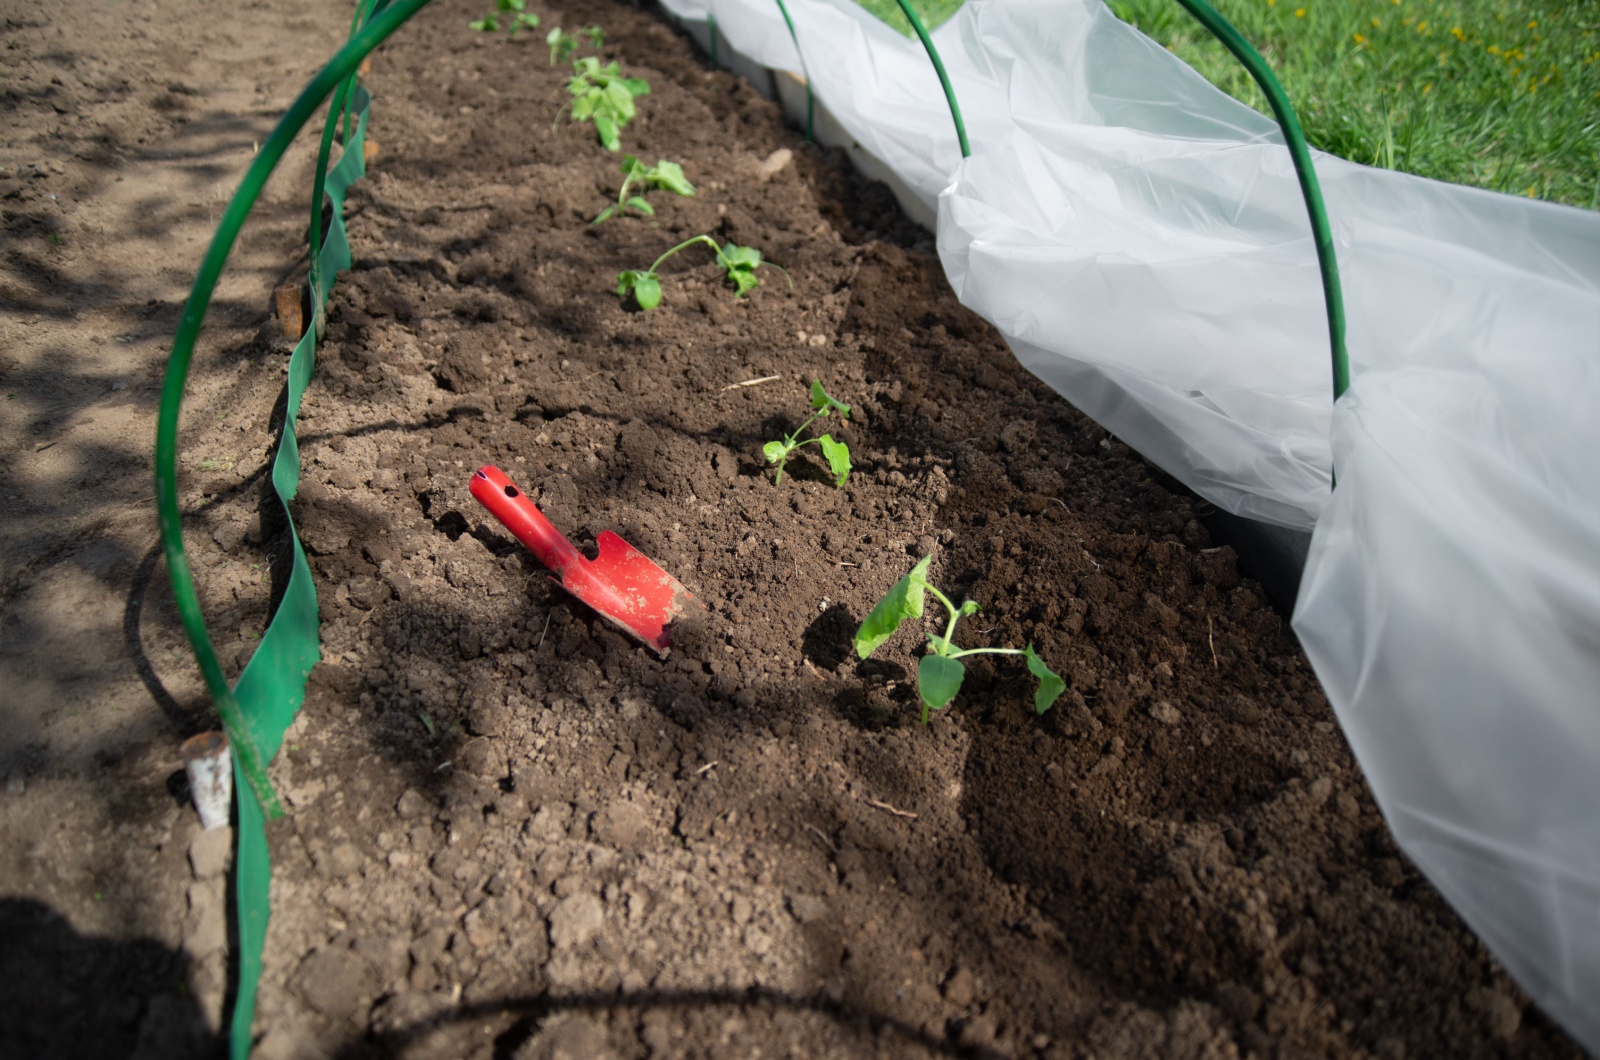
4. Install Support
If you want to use covers for just a short period, you can simply cloak the plants you want to protect from frost without additional support.
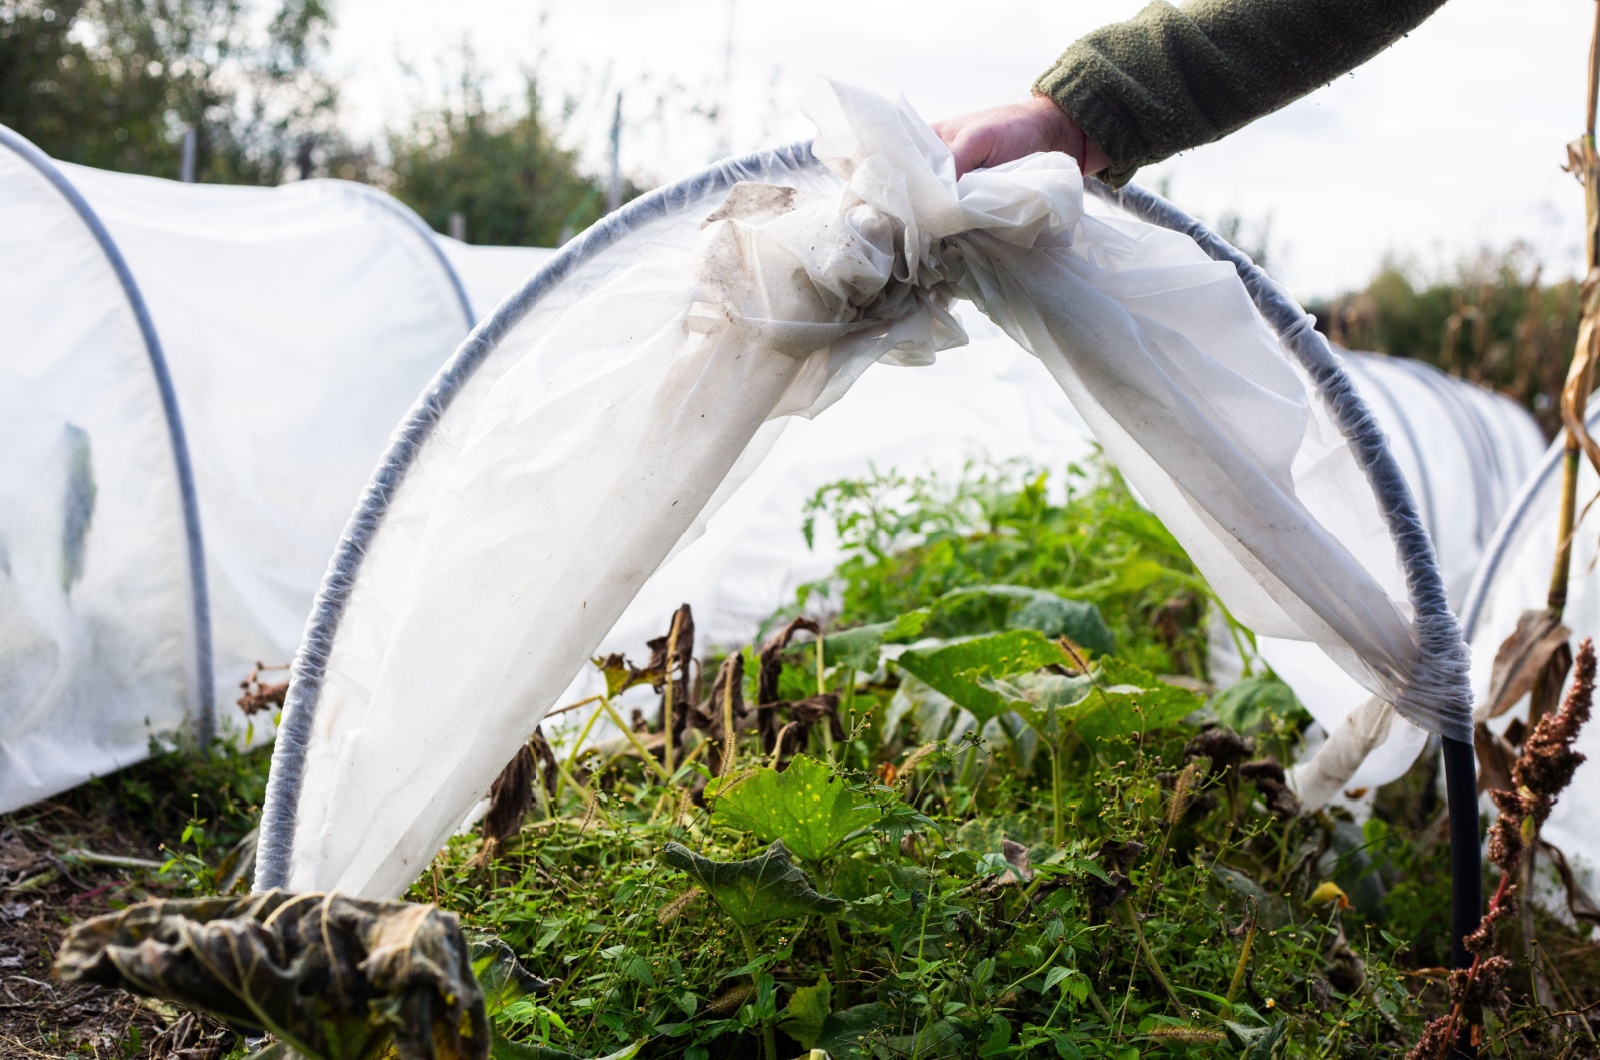
However, if you want them in a single place for a while, and to rid yourself of the trouble of having to set them up again, you should place them on garden hoops. This technique will ensure more air circulation and give your plants a place to breathe.
You can get pre-made floating row covers that come with their own hoops, or you can make them yourself with malleable PVC tubes or old hula hoops.
These DIY garden hoops are much more budget-friendly and can be sturdy enough if you make them correctly.
You can reinforce them and make them more durable by securing them to the ground with small portions of rebar and attaching a lengthy PVC tube along the upper part of the hoops using zip ties.
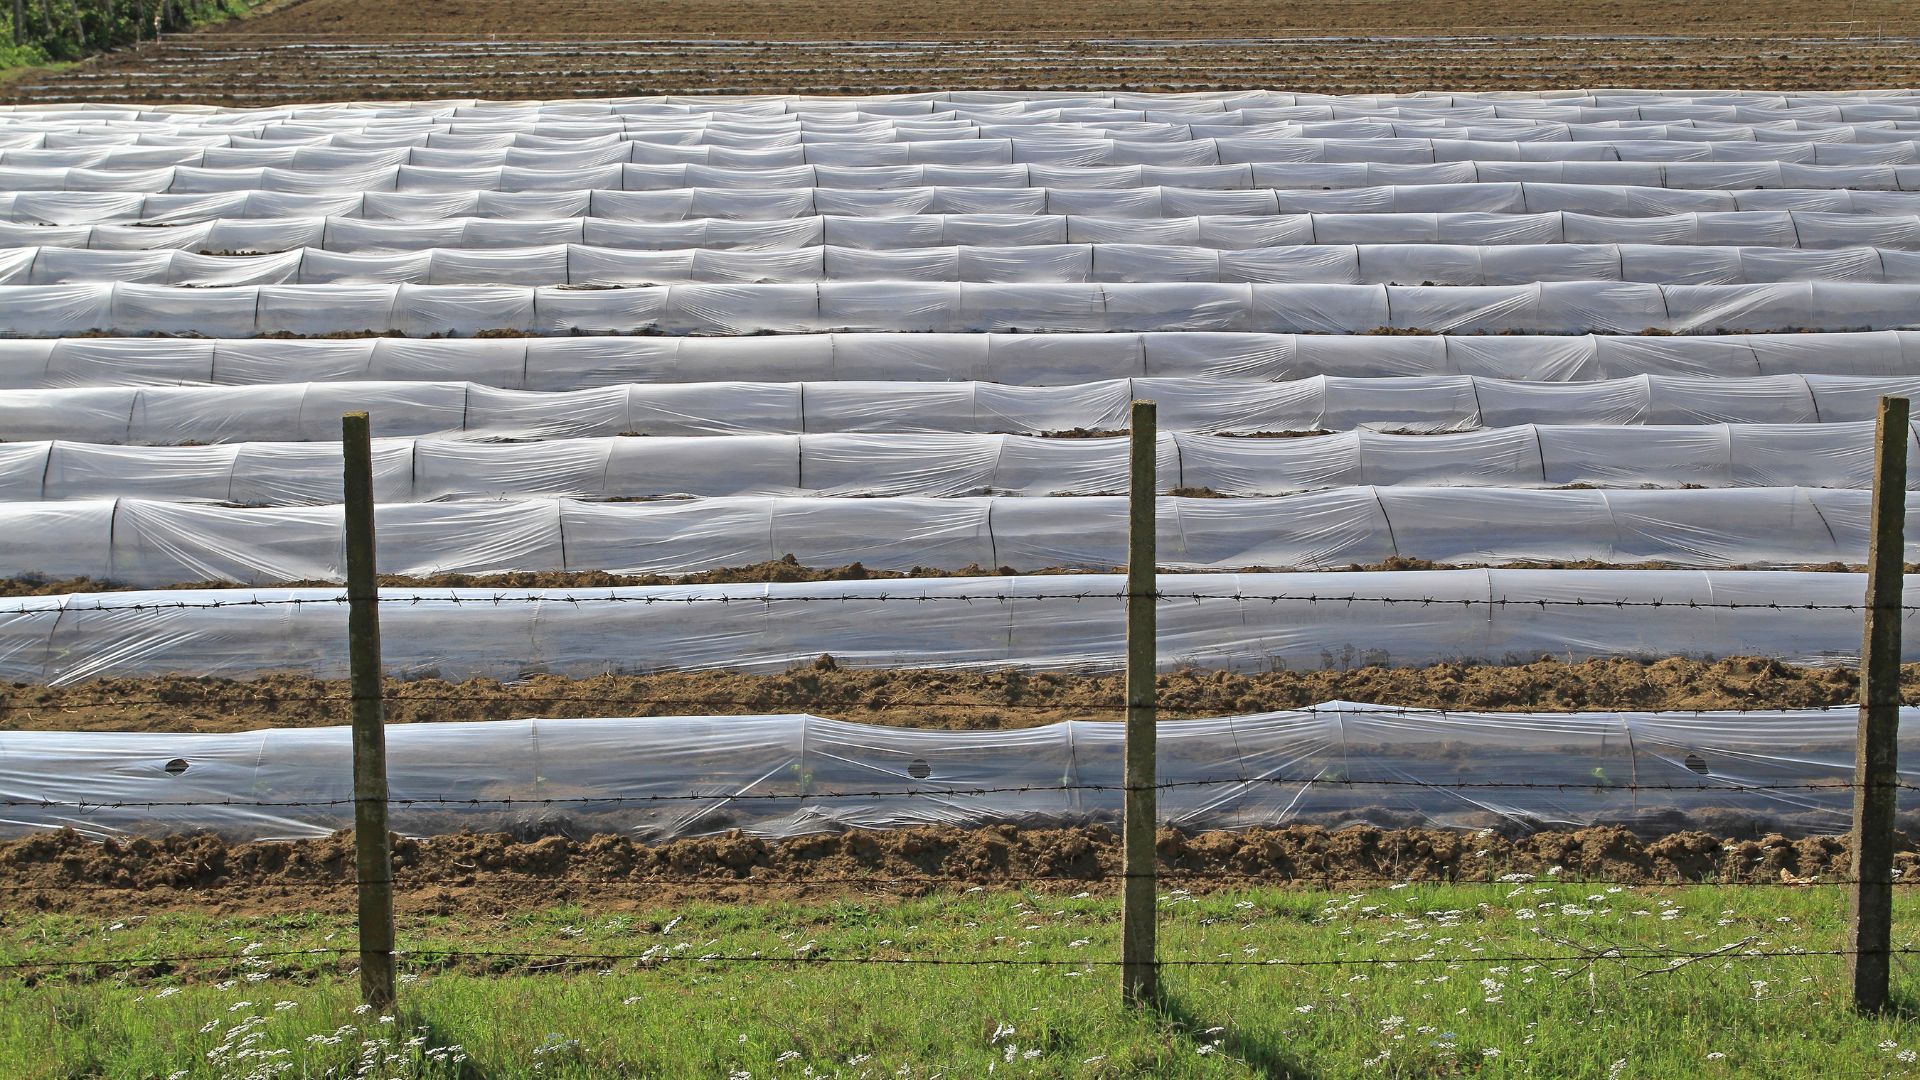
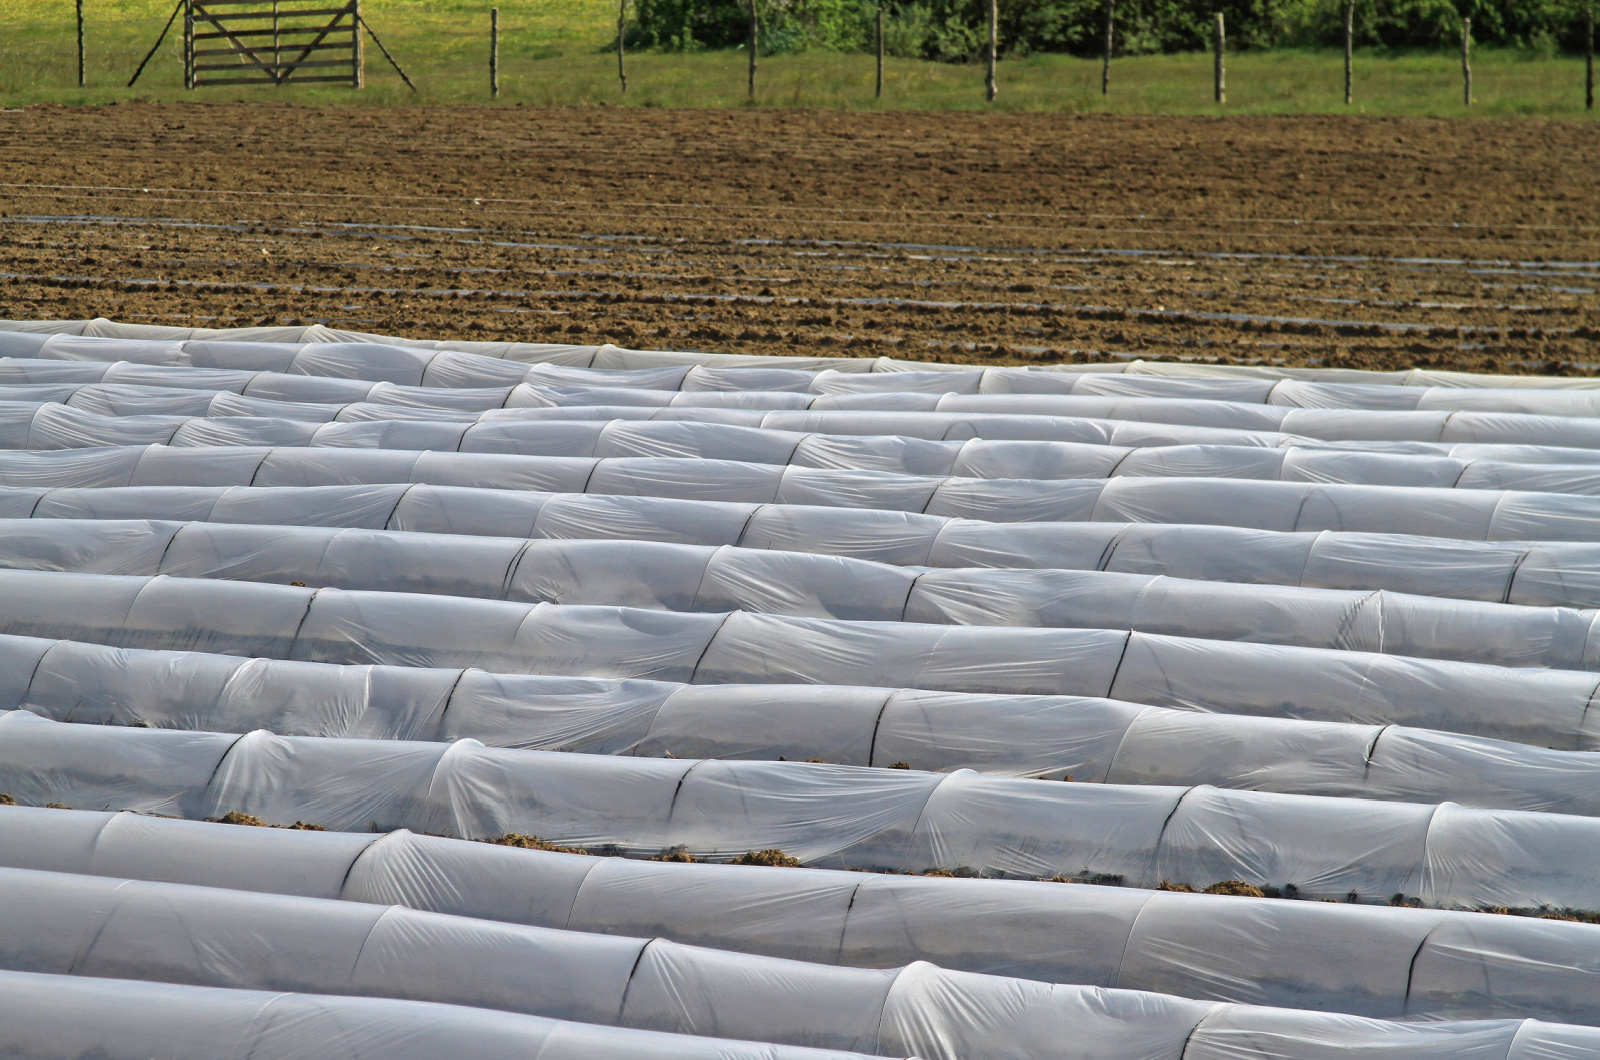
5. Add The Covers
Once your hoops, frames, or any other kind of support is in place, you can add the row covers on top of them.
Spread them, leaving plenty of fabric on both sides of the hoop. Install the covers slowly because the fabric may be quite thin and tear.
Now that your covers are in place, attach them to the frame using twine or garden clips.
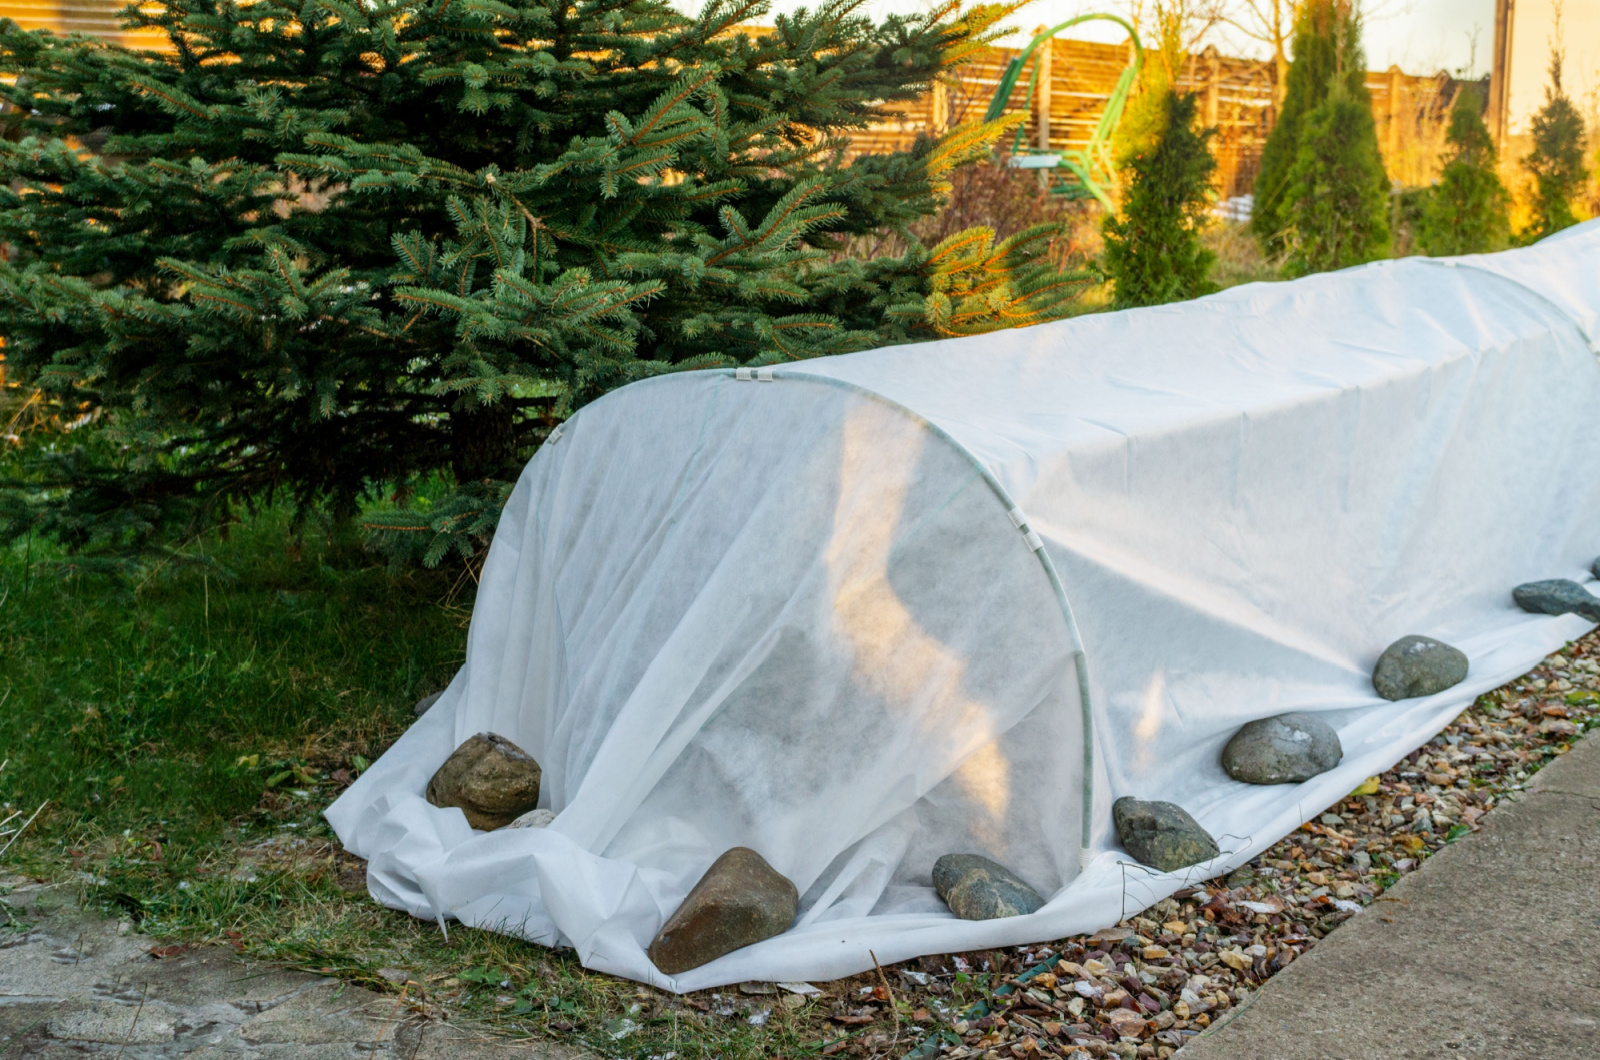
6. Secure The Edges
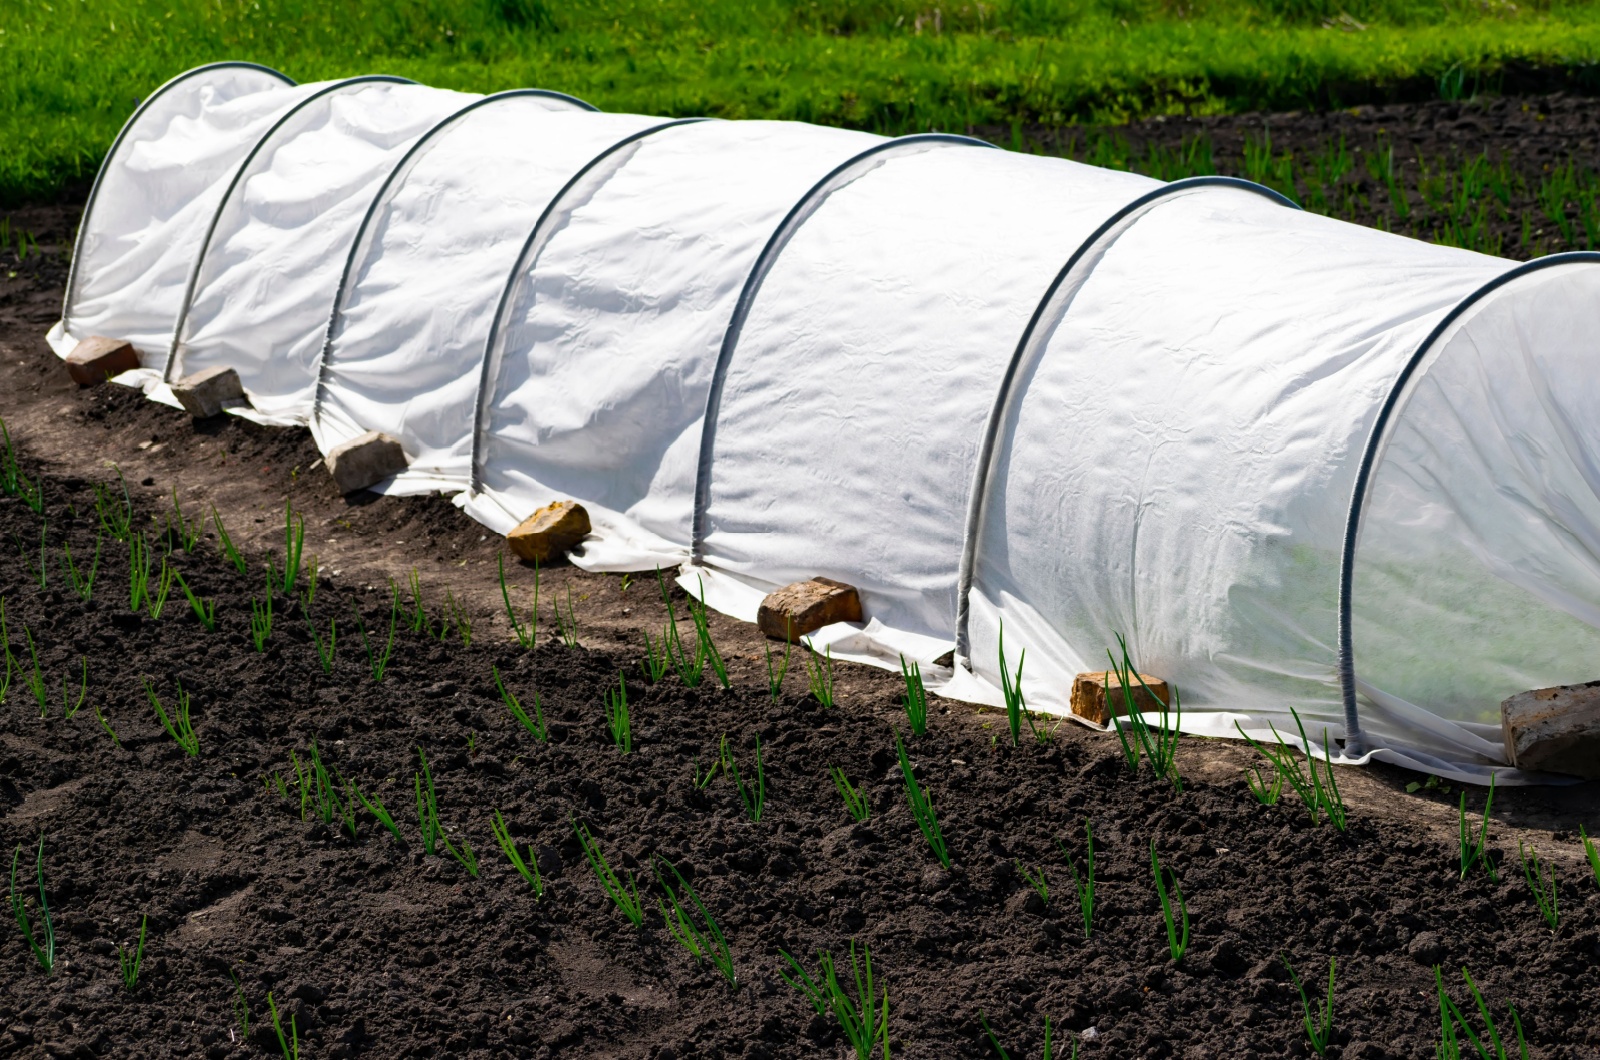
Even a slightly stronger wind can easily move the fabric off the plants you’re trying to protect from harsh frosts.
For that reason, you should secure the edges of your covers with anything you can find in your garden: small stones, bricks, scrap wood, or even a pile of garden soil.
7. Plant Cold Hardy Plants
Setting up row covers is an excellent way to beat pests in your garden, especially in summer.
But if you want this fabric to protect your plants from frost and extend your growing season, the best thing you can do is plant cold-tolerant crops.
Root crops, broccoli and other plants from the cabbage family, and leafy greens such as lettuce and spinach are just a few of the cool-season vegetables you can grow under these covers.
They flourish in the colder temperatures of spring and fall, but they cannot survive winter frosts. And yet, if you use row covers, you can prolong their season and have more greenery on your holiday table.
8. Get To Planting

One thing I love about row covers is that you can directly sow cool-season crops at the beginning of spring, as soon as the soil thaws.
And if you want to plant these bad boys in fall, then midsummer (or even early fall) is the perfect season to start.
I mean, there really are some plants you must sow in October to enjoy on autumnal nights.
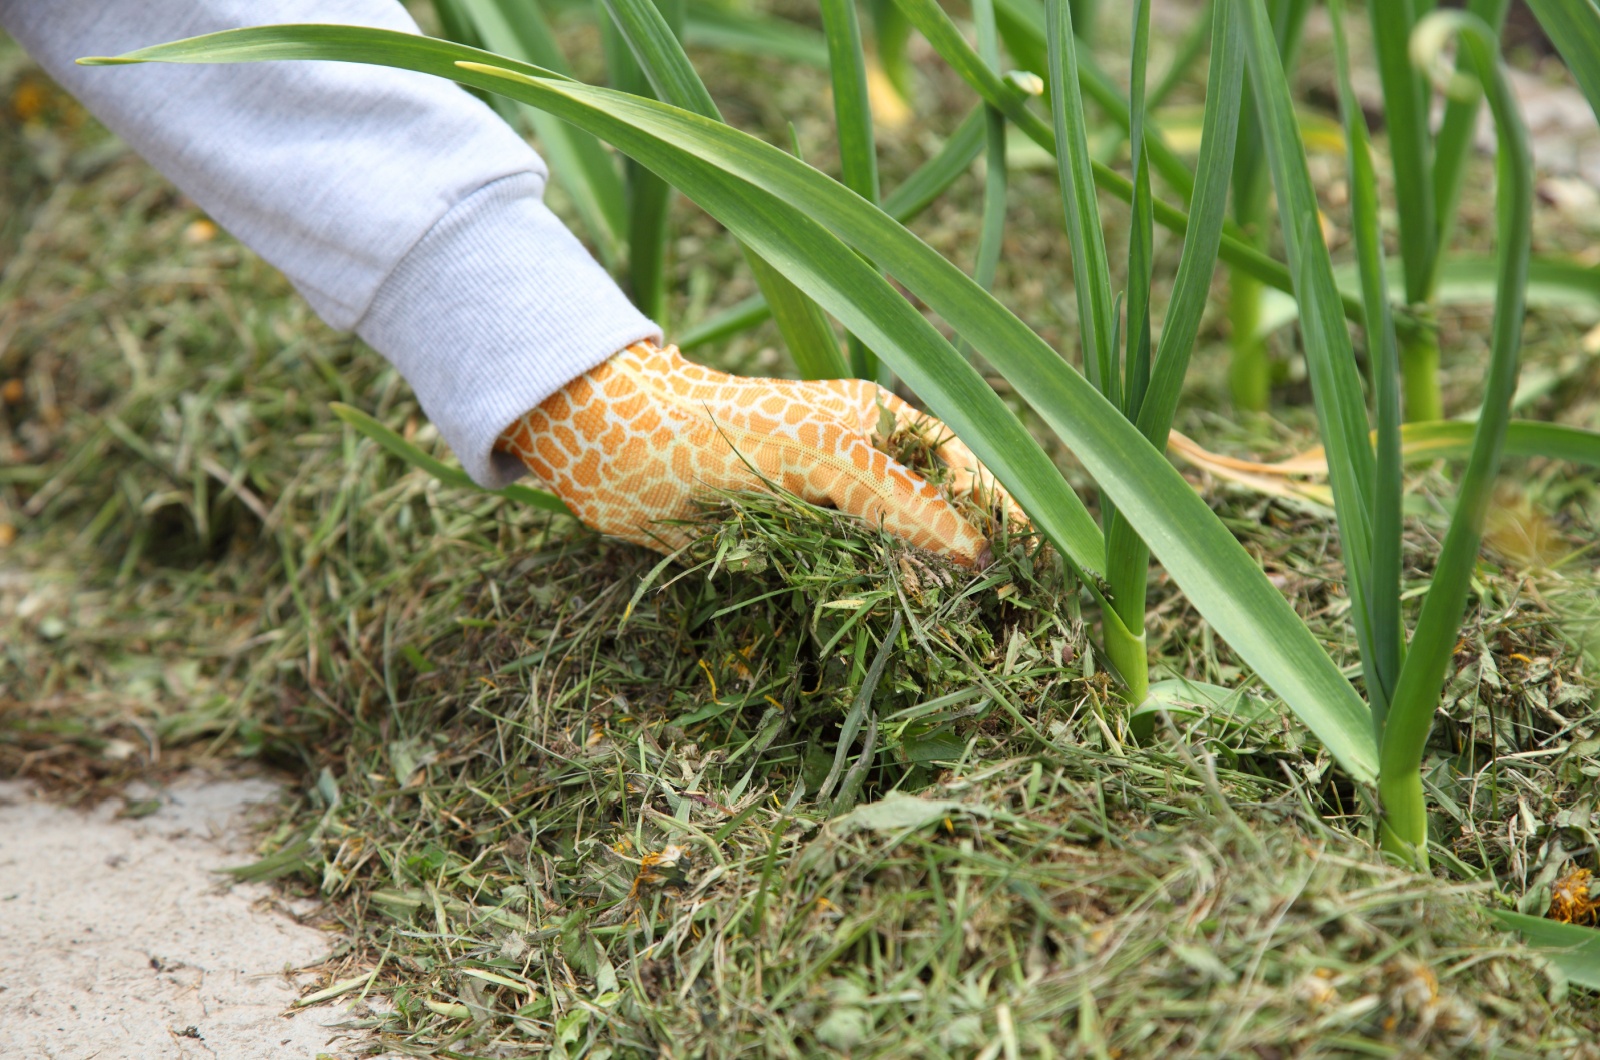
9. Apply Compost And Water
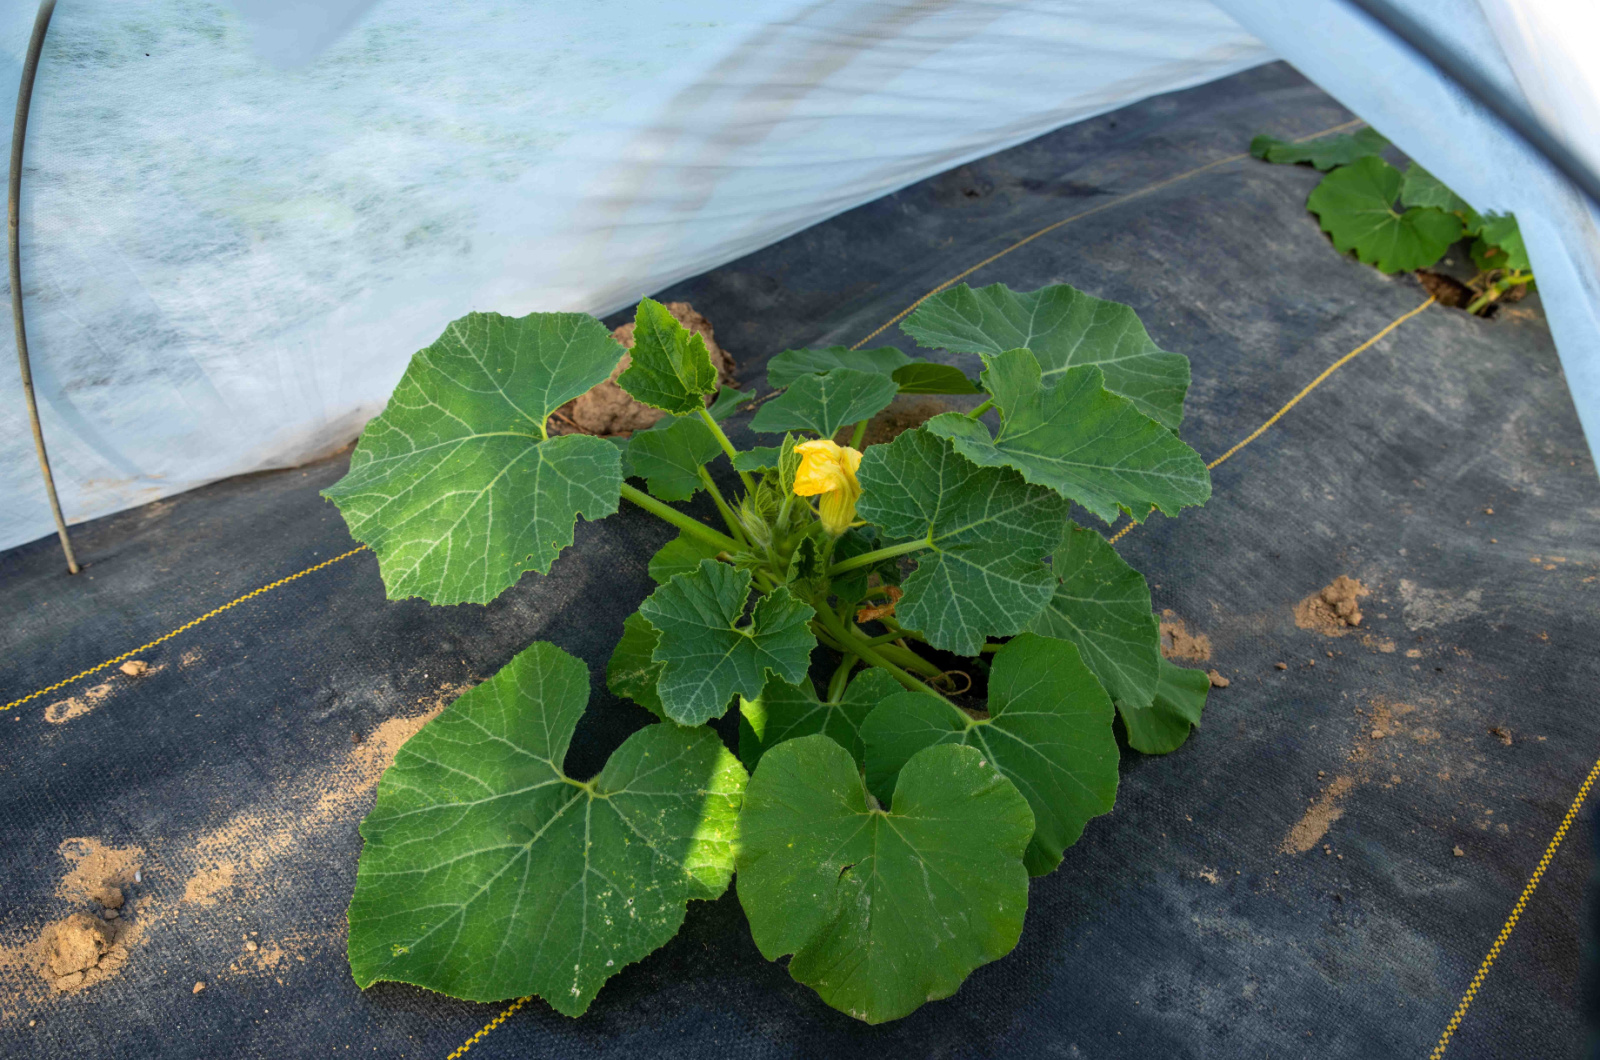
Floating row covers are excellent at insulating your plants from outdoor conditions and even increasing the temperature inside your makeshift greenhouse.
However, they can only do so much, so you have to make sure your plants are healthy and can tolerate colder conditions. Because, let’s face it, it’s not going to be super warm even under row covers.
That’s why you should add some aged manure or compost to your plants. Just make sure you know how much compost you should add to your soil because both lack and excess of either can be an issue.
And, of course, don’t forget to irrigate your plants before the ground freezes since that can offer some more frost protection.
10. Monitor The Covers
Even with the best anchor, strong winds can shift your row covers, so make sure to monitor and check on them regularly.
Also, if you’ve set up your covers in early spring or are growing plants at that time, make sure to remove them before summer comes because they can increase inside temperatures like crazy and cause a heat wave that affects your plants.
In late fall and early winter, row covers provide a good amount of protection, but even they cannot protect your plants from temperatures below zero. In fact, snow can lay heavily on them and cause the fabric to break and tear.
That’s why you should remove the row covers before it starts to snow, so that you don’t have to buy new ones the following season.
Of course, PVC hoops and frames are sturdy enough, so you can keep them in the ground throughout winter. But if you have support made of lighter and less durable material, it wouldn’t be a bad idea to take them to your shed or garage over winter and prolong their lives.
How Long Can Row Covers Last?
Row covers typically last about three years, while pre-made and PVC hoops can last longer.
You can prolong the life of your covers by handling them with care to prevent breakages and tears, and storing them indoors during summer and winter or whenever you’re not using them.
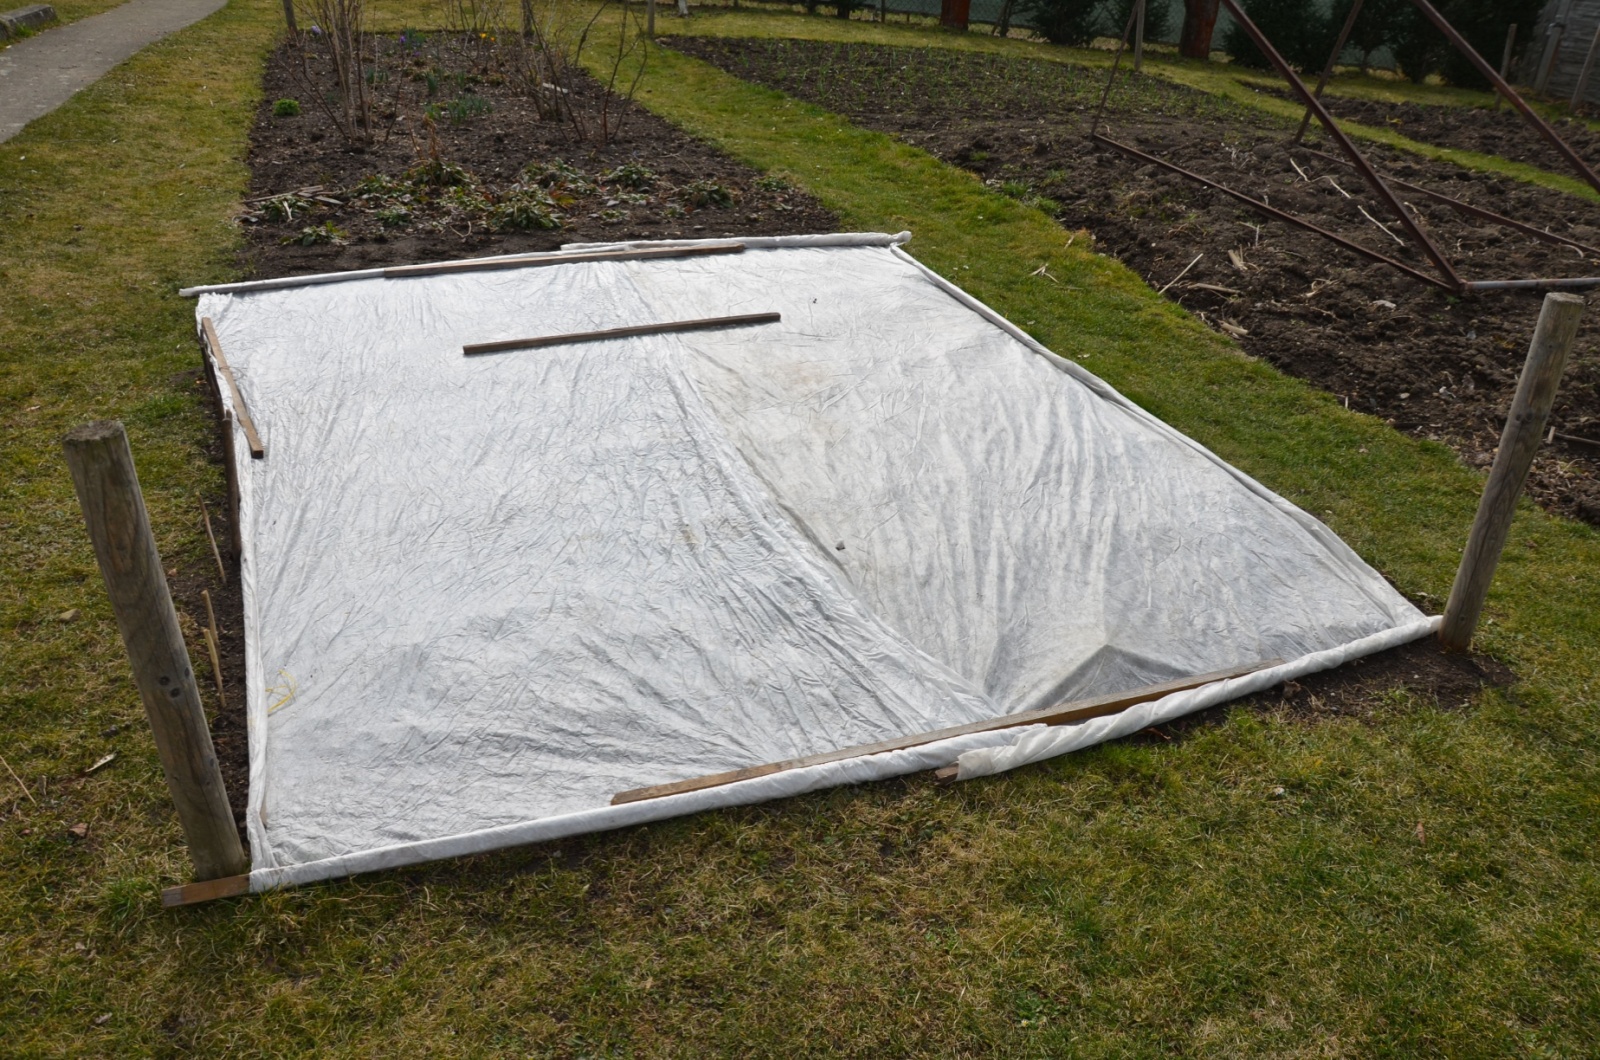
What To Use Instead Of Them To Keep Crops Safe From Frost
If you don’t want to buy row covers, there are always other things you can upcycle. For instance, you can use old lightweight sheets.
However, they’re not ideal because they don’t let enough sunlight through and your plants could be the worse for it. That’s why it would be a great idea to remove them whenever the frost passes to give your crops everything they need.
Cloches are another great way of protecting your plants from frost, or you can recycle old milk-jugs and other plastic bottles.
Finally, you can use plant insulators to make sure the temperature around your crops is suitable for proper growth.
Just bear in mind that translucent materials work best because they will allow plenty of sunlight to pass through.
How To Prevent Wind From Blowing Row Covers Away
The first thing you want to do to protect your row covers from wind is fasten them to the hoops with garden clips or twine.
Then, secure the ends of the covers with anything heavy you can find, be it rocks, brics, old planks, soil, etc.
These precautions should be enough to keep your row covers from shifting and exposing your plants to harsh temperatures.