Helpful Tips And Tricks On How To Grow Hydroponic Herbs
Owning a herb garden ensures you have fresh and organic herbs whenever you need them, which is why so many growers incorporate at least a small one in their indoor or outdoor settings.
But did you know that you can cultivate hydroponic herbs as well? Believe it or not, many gardeners opt for precisely this option as it’s cleaner and faster.
I know many people hate to step out of their comfort zones and do things they’re not so sure about, but hydroponic gardening shouldn’t scare you.
Growing herbs this way is quite simple as you only have to choose the variety and system, and then plant them. Their needs are usually the same, although you do have to feed them more frequently because there’s no potting soil to retain the nutrients.
In the article below, we’ll include everything you need to know about growing herbs hydroponically, and even present the simplest method of all – using a mason jar.
However, herbs grown in this way can experience some setbacks in terms of pest attacks and diseases, so we’ll include ways to deal with them so that you can look forward to your harvest.
Let’s begin!
How To Grow Hydroponic Herbs
When setting up a hydroponic herb garden, you first need to choose the variety you want to grow, as well as the system you’re going to use, before you do any real work.
Then, you only have to start your seeds or plant the transplants, and your indoor gardening adventure can begin.
Choose The Herb
The best hydroponic herbs include basil, oregano, thyme, cilantro, parsley, mint, sage, chamomile, etc.
Most of these plants thrive in moist conditions, which is why they do so well in hydro setups. However, you can grow almost any herb in these systems as long as you care for them properly.
Furthermore, the herb companion planting chart will tell you which of these types can do well together, so you can grow them in your hydro gardening kit and save some space.
Choose The Hydroponic System
Once you find which herbs you want to grow, it is time to choose the hydro system you’re going to use. There are many varieties you can try out, but most growers opt between aeroponics and hydroponics.
In the former, the roots of your herbs will be suspended in the air and misted with a nutrient-rich solution. With hydroponics, on the other hand, the herbs’ roots will be submerged in the solution either occasionally or all the time.
Aeroponics is technically better because it produces healthier, harvest-ready plants faster than hydroponics, and also uses less water.
On the other hand, hydro setups are cheaper and easier to use and maintain, especially if you’re a beginner.
Some of the best hydroponic systems for herbs include deep water culture, the Kratky method, the nutrient film technique, and the ebb-and-flow system.
You can build these yourself, have someone do it for you, or you can even order some indoor hydroponic systems from Amazon.
Deep Water Culture (DWC)
The DWC method eliminates the need for a water pump as the herb roots are continuously submerged in a nutrient-rich solution.
However, it does require an air pump and stone in order to oxygenate the liquid and ensure proper root development. (Lack of oxygen can lead to root rot.)
What we love about this method is that you don’t have to take too much care of your herbs or the setup; simply plant the herbs in mesh pots, suspend them with pebbles or marbles, and place them in the nutrient solution.
Kratky Method
The Kratky method is similar to DWC as neither of them require too much maintenance and are both passive methods, although this one is even simpler.
In this method, all you need to do is plant your herbs in mesh pots, support them with a material such as Rockwool or some similar inorganic substance, and place them in a solution enriched with the necessary nutrients.
As the plant develops and uses up the moisture and minerals, the level of the solution will lower and the amount of oxygen in the tank will increase.
Therefore, you don’t need any pumps to oxygenate the water; the plant’s need for hydration and nutrients will do that for you.
Nutrient Film Technique (NFT)
With this hydroponic growing method, you also need to place the herbs in a net pot and support it with something to keep the plant growing upright.
But unlike the two methods above, NFT is an active technique, which means it pumps the nutrient solution to the roots and then returns to the reservoir.
The liquid is always shallow, which prevents the roots from drowning and ensures optimal absorption of moisture, oxygen, and minerals.
Ebb-And-Flow System
Another active hydroponic setup is the ebb-and-flow system, also known as the flood and drain system.
It is simple to set up, and all you need are some cheap pumps, a deep tray, mesh pot, something to support the plants, and your herbs.
The pumps flood the deep tray with a nutrient solution and then drain it so that the roots can have oxygen as well.
This flooding and draining has to be repeated several times a day, which is why it’s not a bad idea to invest in an automated pump that will regulate it.
Starting And Planting The Herbs
Once you choose the herbs you want to grow and the hydro setup you want to use (or get a hydroponic garden kit), you can plant them.
If you’ve bought seeds, you first need to germinate them and then wait until they’ve developed about 4-5 sets of true leaves before transplanting them. This method will ensure they’re strong enough to survive in a hydro system.
If you’ve bought ready transplants, you can just place them in your setup and be done with it.
However, in both cases you have to ensure you remove all traces of the growing medium to keep your plants safe from root rot.
Caring For Hydroponic Herbs
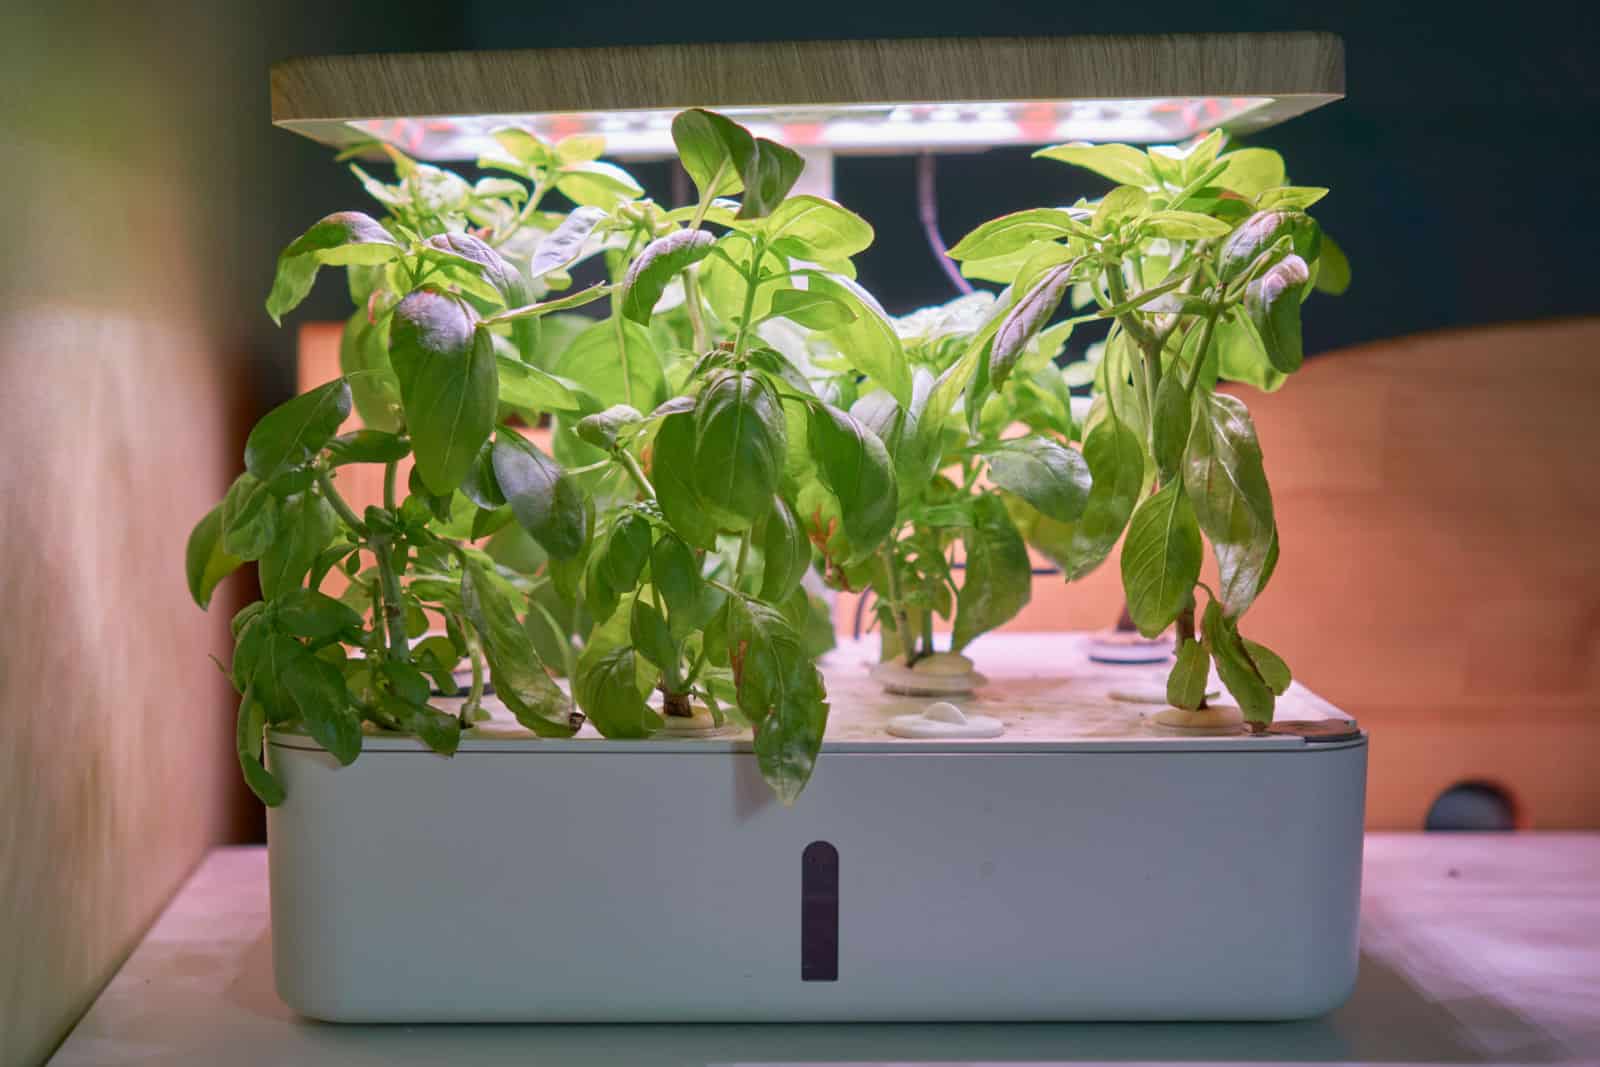
Growing herbs in a hydro garden is really not that difficult once you get the gist of it. Of course, you do need to monitor the nutrient solution to ensure the temperature, pH levels, and electrical conductivity are suitable for your plants.
You should also provide enough light for your herbs to grow properly.
Since electricity can be expensive if you use water pumps, you can opt for outdoor hydroponics that use solar energy and wind for proper airflow.
As for now, let’s learn how to care for hydroponically grown herbs.
Nutrients
When growing herbs in a hydroponic kit, you need to ensure that the pH level of the nutrient solution is between 5.0-6.0.
However, this depends on the plant you’re growing. For instance, basil prefers pH between 5.5-6.0, while the optimal pH level of liquid for parsley is 6.0-6.5.
Another thing about the solution is the preferred electrical conductivity, which also depends on the herb variety you wish to grow.
If the EC is too high, you can lower it by adding more water. If the pH level is too alkaline, you can lower it by adding vinegar or citric acid, or if it’s too acidic, you can raise it by adding potassium-hydroxide or potassium-carbonate.
Furthermore, you cannot “fertilize” the water with regular plant food. You have to use hydroponic nutrients specially designed for hydro systems.
Try to find one suitable for herbs and follow the instructions on the package. Later on, you can increase the dosage if you feel that your plants could use more nutrients.
Finally, you should replace the solution every 7-10 days to keep it at optimal levels. And if you practice this, you can add more water every day for your plants to drink. (Of course, you shouldn’t do this if you use passive hydroponic methods.)
Lighting
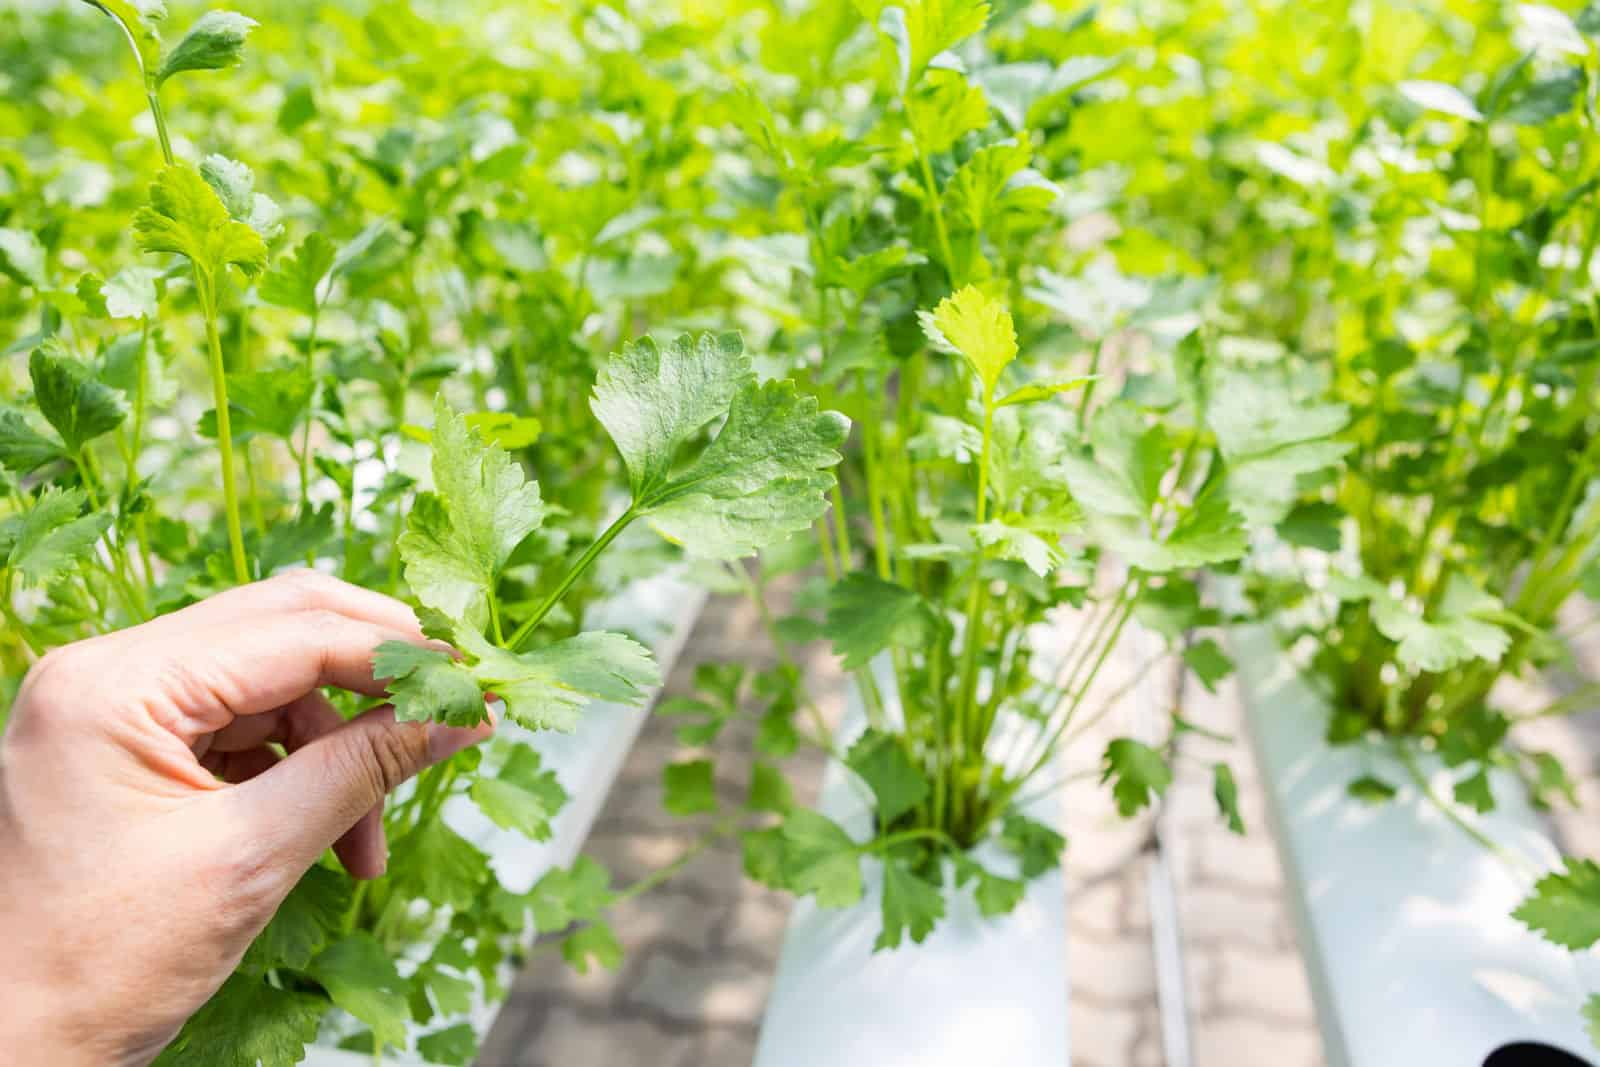
Herbs usually require full sun in order to thrive, and that means adjusting grow lights to provide them optimal growing conditions.
Of course, if you want to grow these plants in an outdoor hydroponic system, you can just find a sunny location, and that’s it.
But if you prefer indoor gardening, then you need to use grow lamps. Keep the lights on for at least 10-12 hours, and then turn them off to allow the plants to be in the dark.
This will mimic the outdoor day-and-night conditions, and have your herbs develop properly. But be careful because artificial lights can burn the foliage of your plants if you place them too close.
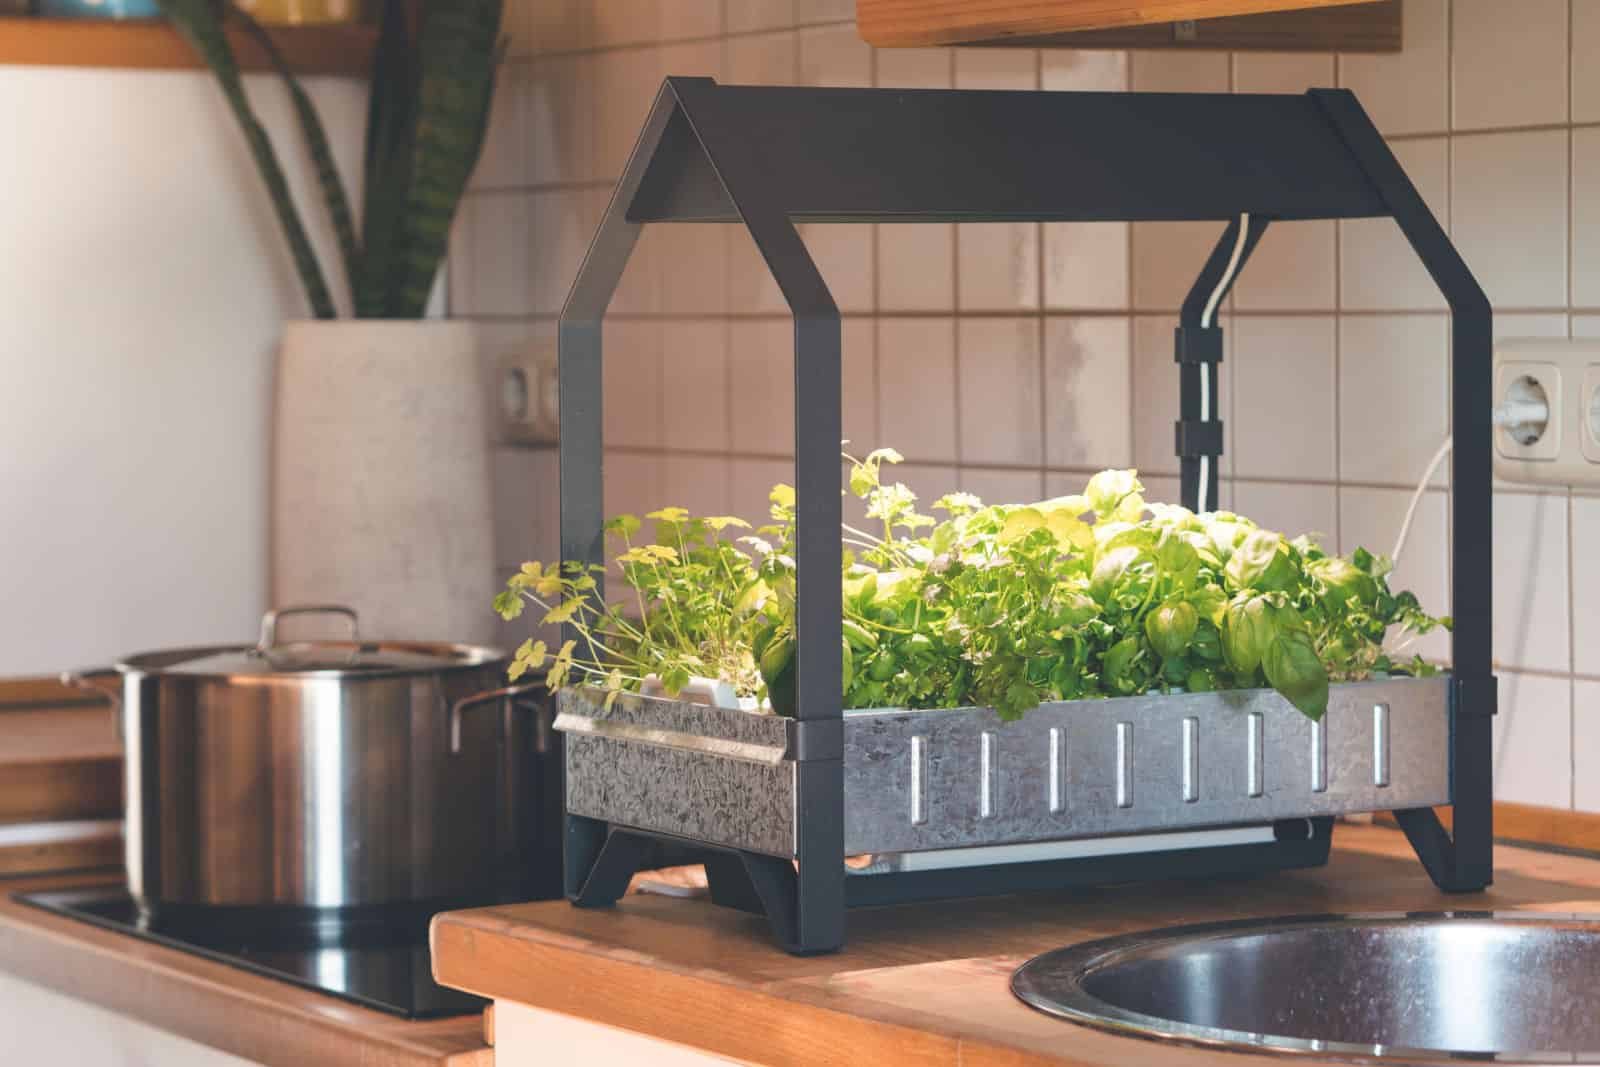
Generally, we aim to set them at least 12 inches away from our herbs, but if you’ve bought a hydroponic gardening kit with pre-installed LED lights, you don’t have to worry about this.
Temperature
Most herbs grown in hydro setups thrive when temperatures are between 65 and 70 degrees Fahrenheit.
Of course, temperatures a bit higher than this won’t destroy your plants, but you should be careful not to expose them to extremely hot conditions regardless.
Furthermore, temperatures of about 55-60 degrees Fahrenheit at night are ideal because this drop reflects the outdoor conditions perfectly.
Sometimes, maintaining cooler temperatures may be difficult, especially if you’ve moved your hydroponic system outdoors.
In this case, you can bury the water tank into the ground, use a chiller, or even add some ice cubes if the temperature is too hot.
Cleaning The Hydro System
Finally, if you want to keep your plants healthy and prevent the spread of water-borne diseases, you need to clean your hydroponic setups regularly.
The good news, though, is that you don’t need any special equipment to do this; water and a bit of dish soap are all it takes to clean the hydro system.
Of course, you need to rinse it thoroughly to remove all residue before placing your herbs in it.
How To Grow Hydroponic Herbs In Mason Jars
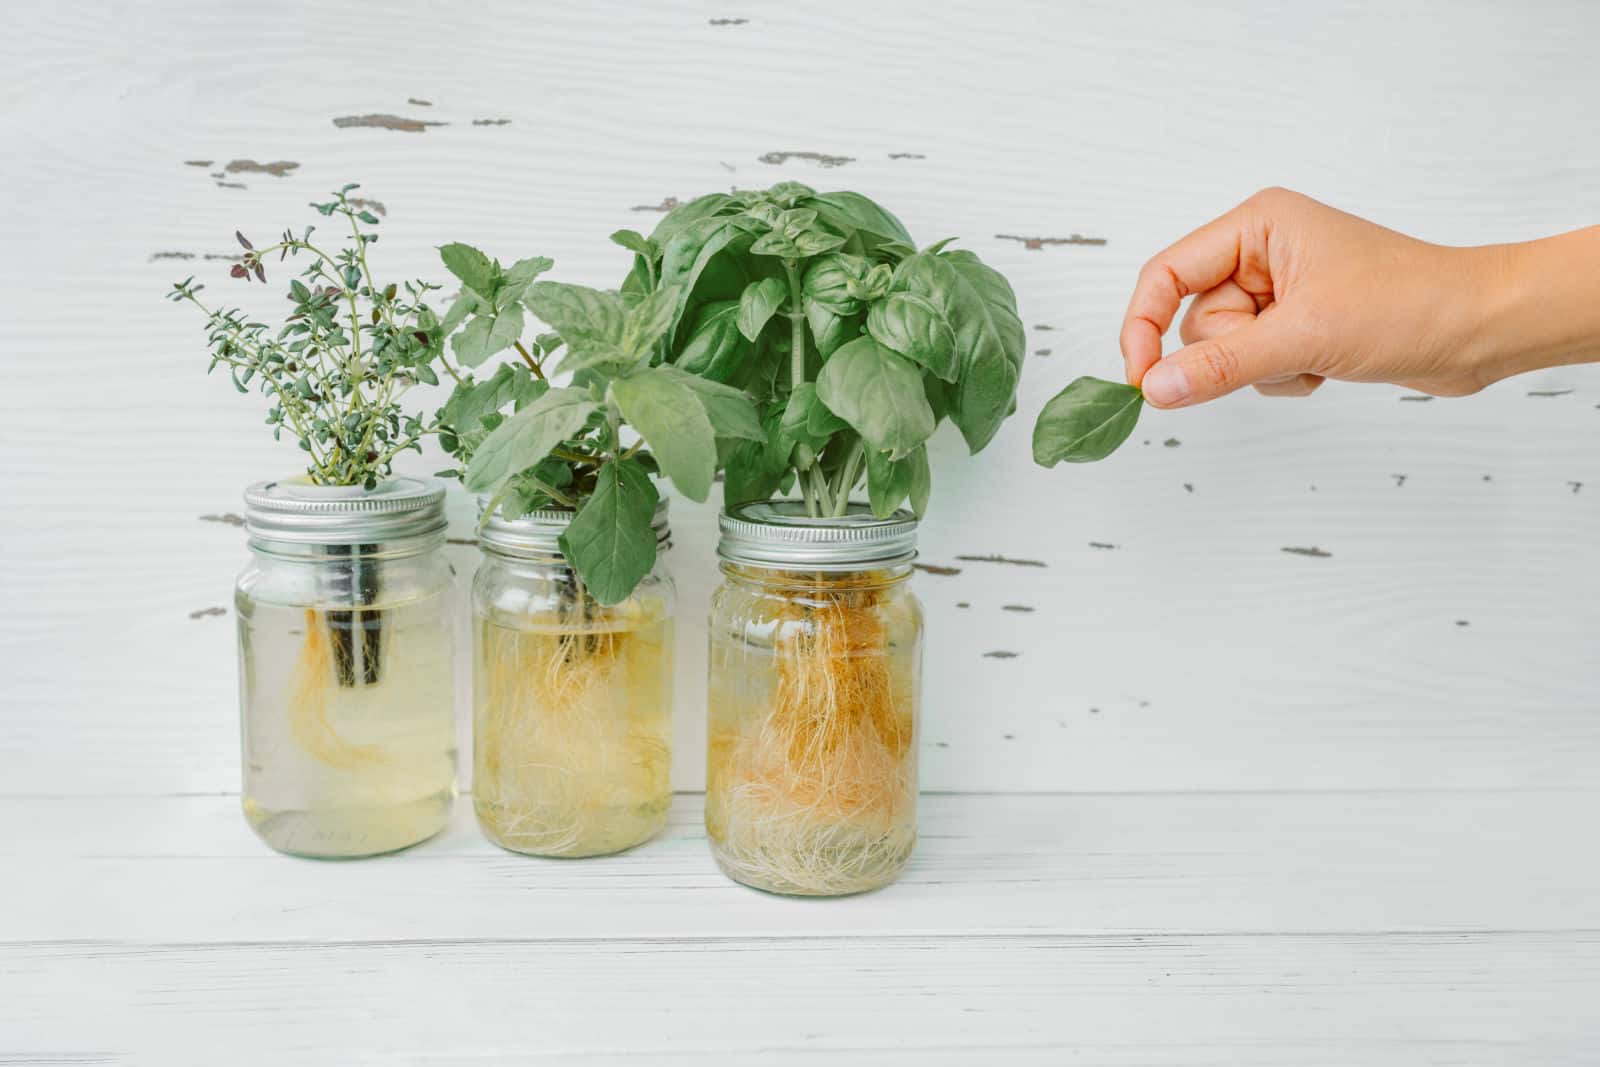
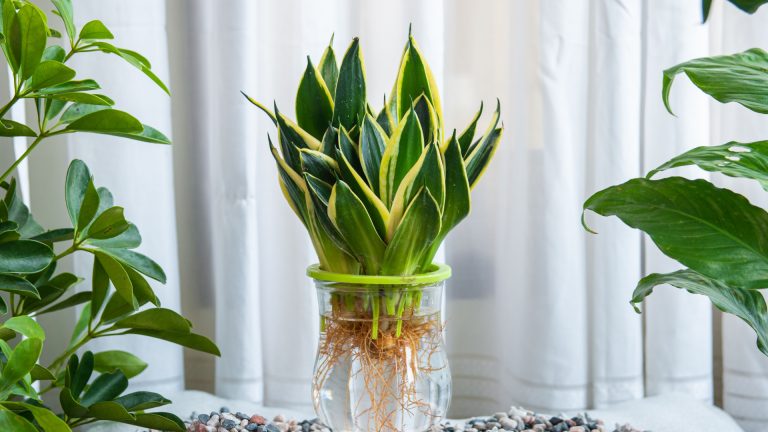
If you’re not willing to spend hundreds of dollars on huge hydroponics setups or indoor gardening kits, you don’t have to completely avoid this method; you can cultivate your herbs in mason jars instead.
Here’s how:
Step 1. Clean the mason jar thoroughly, and rinse and moisten the LECA pebbles you’ll need for later.
Step 2. Darken the glass by taping it, covering it with dark fabric, or spraying it black. You need to prevent the light from passing through the glass in order to reduce algae growth.
Step 3. Put the mesh pot in the jar and fasten it to keep it in place.
Step 4. Fill the jar with distilled water until it reaches up to a quarter of the net pot, and add the hydroponic nutrients.
Step 5. Place your herb in a pot and add LECA clay pebbles for support. (If you’ve germinated the seeds in Rockwool, you don’t have to remove it. Simply make sure that the roots are in the solution and add some pebbles for support.)
Step 6. Put the mason jar in a warm location with plenty of light or use grow lamps.
Pests & Diseases
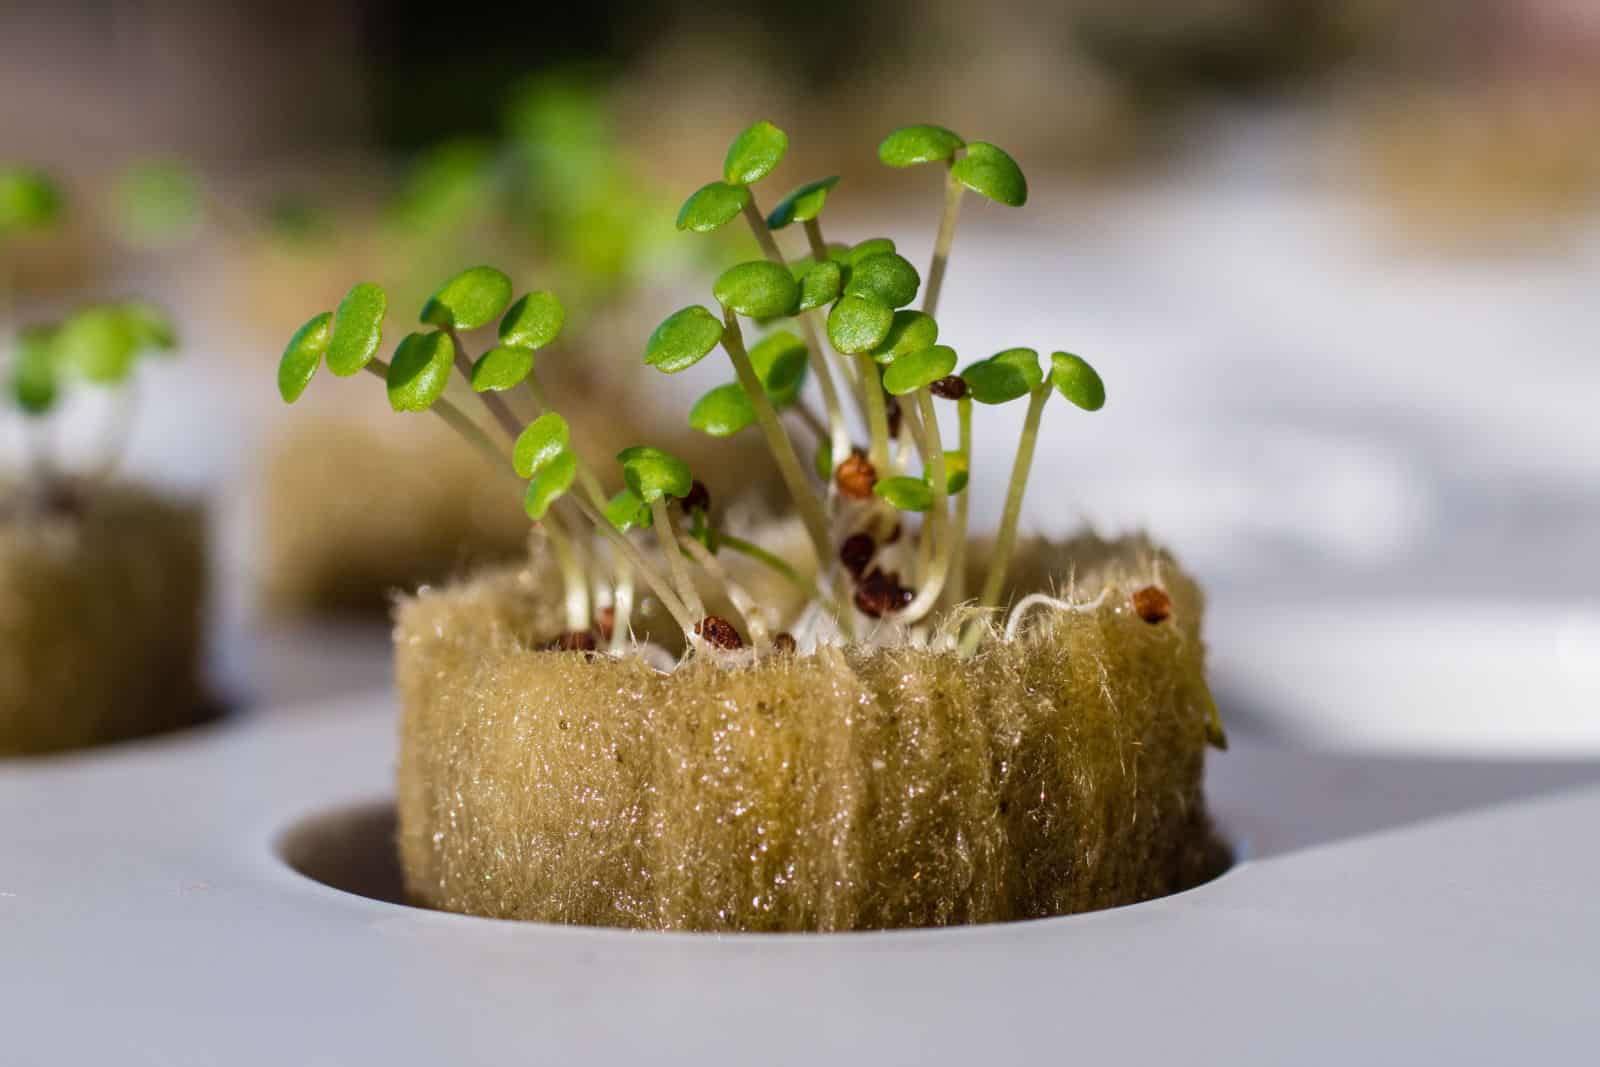
One of the reasons we all love hydroponics is the fact that your plants are much less susceptible to pests and diseases.
Of course, things can go wrong, but it is much easier to control these issues in hydroponics since many insects and infections live in the soil.
If your hydroponically grown herbs do get infested with mealybugs, aphids, spider mites, etc., you can always use horticultural oils because they’re organic solutions to this problem (neem oil, for instance).
However, neem oil can also burn the plant’s leaves, so be careful how you use it and always follow the instructions on the packaging.
The next thing we need to mention is the high resistance to diseases in hydro herbs. There’s no soil so the risk of root rot is highly unlikely, although not impossible.
You need to oxygenate the roots properly to prevent this disease, and remove any infected roots as soon as you notice them.
Other possible illnesses include powdery and downy mildew, but you can avoid them by keeping the plant leaves dry and ensuring proper air circulation.
Harvesting Hydroponic Herbs
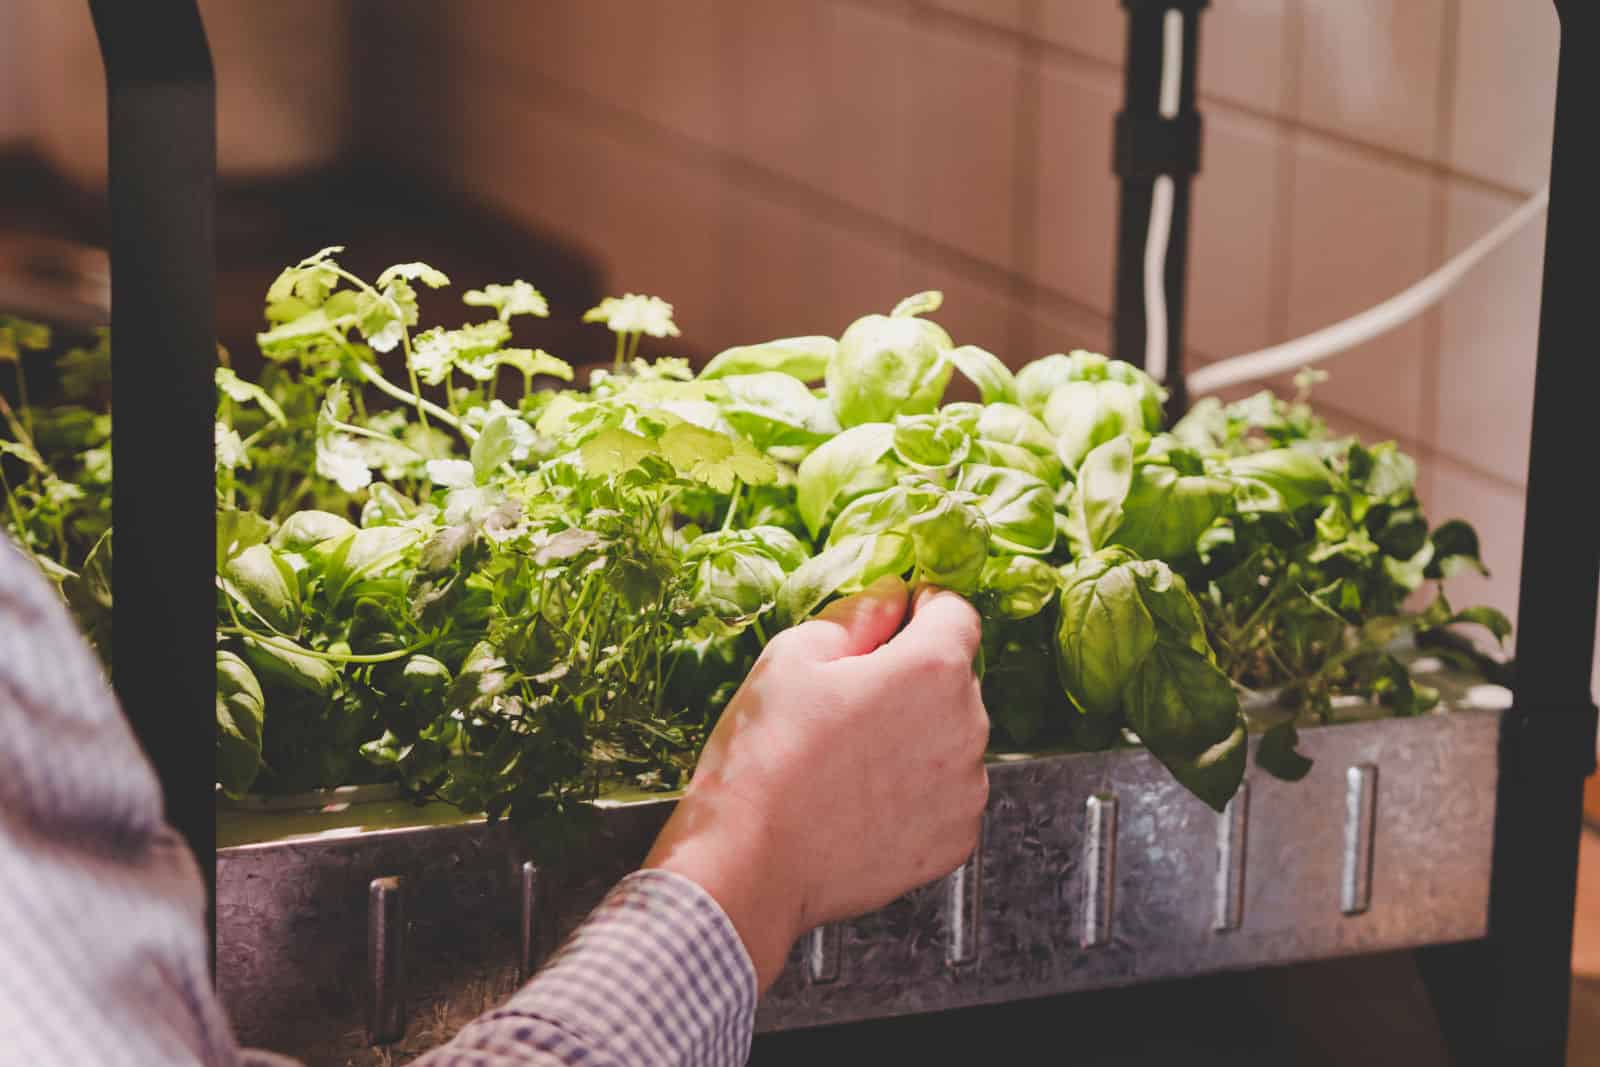
Harvesting herbs in hydroponic growing systems is not rocket science. If you just need a couple of leaves for your pasta or chicken dish, you can pinch your herbs with your hands.
If you want to harvest more of those aromatic leaves, you should use sterilized pruners to trim them.
The plant will produce new growth as long as you keep it in warm temperatures and provide enough light and nutrients, so don’t remove all the foliage at once.
This method always doubles the yield, so we can always have fresh herbs.
FAQ
How long do herbs take to grow in hydroponics?
Herbs can grow almost twice as fast in hydroponics as in soil, and you can start harvesting certain plants, such as basil, in less than a month.
Of course, it all depends on the type of plant you wish to grow, but you will be able to reap the fruits of your labor faster.
Do hydroponic herbs taste different?
No, the taste of herbs grown in hydroponics is the same as those of soil-grown plants. Hydroponic herbs can taste a bit better, but the underlying flavor is the same.
Some people say hydroponic veggies and herbs have a watery taste, but that’s simply not true.
Is a hydroponic herb garden worth it?
Yes, a hydroponic garden for herbs is definitely worth it because you can grow herbs indoors year-round and have a faster harvest.
There’s no mess caused by soil, the risk of pest infestations and disease infection is lower, and the plants are healthier (and, some would argue, tastier).
Finally, there’s much less maintenance when growing herbs hydroponically, especially if you opt for the mason-jar technique or Kratky method.
Final Thoughts
Growing hydroponic herbs isn’t as difficult as it sounds. It actually requires much less maintenance than traditional soil farming since you don’t have to worry about pests and diseases, which type of substrate to choose, how much water to use, etc.
However, you do have to find a suitable hydro system, such as the DWC or NFT, and ensure that your plant gets enough light (setting a grow lamp to 10-12 hours a day is quite enough).
It is a bit harder to maintain proper temperatures if you move your hydroponic system outdoors. But if you grow your herbs inside your home, all you need to do is ensure that the nutrient solution has the proper pH and EC values, and that you don’t add too much hydroponic fertilizer.
You can even plant your herbs in a jar, which is probably one of the simplest forms of hydroponics.
Harvesting these herbs is the same as picking those grown in the soil, so you won’t have to learn any new techniques.
Enjoy your delicious and aromatic plants!
Until next time!

