16 Iris-Inspired DIY Projects Gardeners And Crafters Will Love
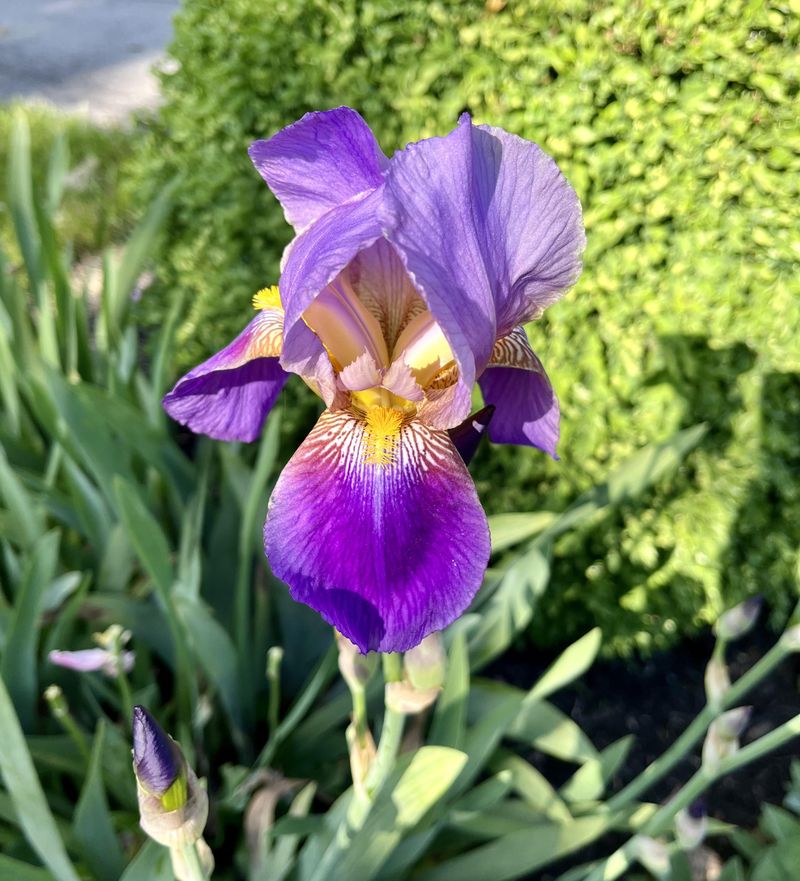
The elegant iris, with its bold colors and one-of-a-kind shape, has always sparked my creative side. Whether I’m cutting a fresh bloom from the garden or just admiring one in a photo, it’s hard not to feel inspired. There’s just something about them that begs to be turned into art.
Even if you don’t grow irises yourself, you can still bring their charm into your home in fun, crafty ways. From simple pressed flower art to DIY garden markers, there are so many ways to get hands-on. These little projects are a lovely way to enjoy irises long after their bloom fades.
I’ve gathered some of my favorite iris-inspired crafts that celebrate everything we love about this flower. Whether you’re in the mood for something quick and easy or a weekend project, there’s something here for every creative gardener.
1. Pressed Iris Bookmarks
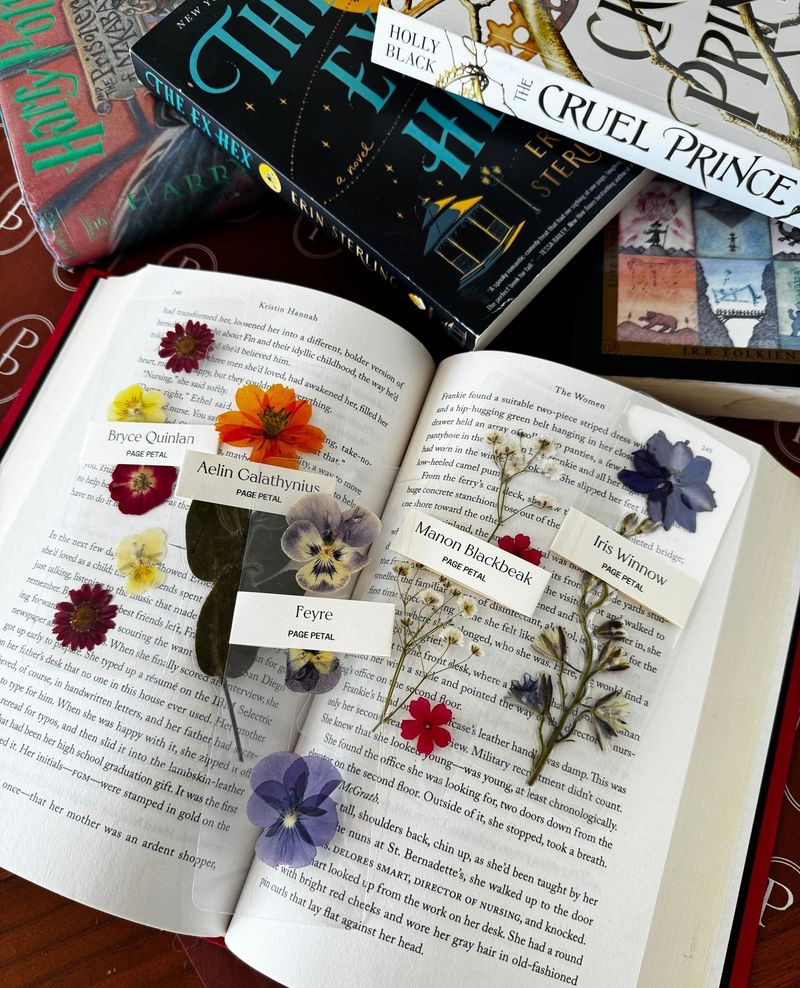
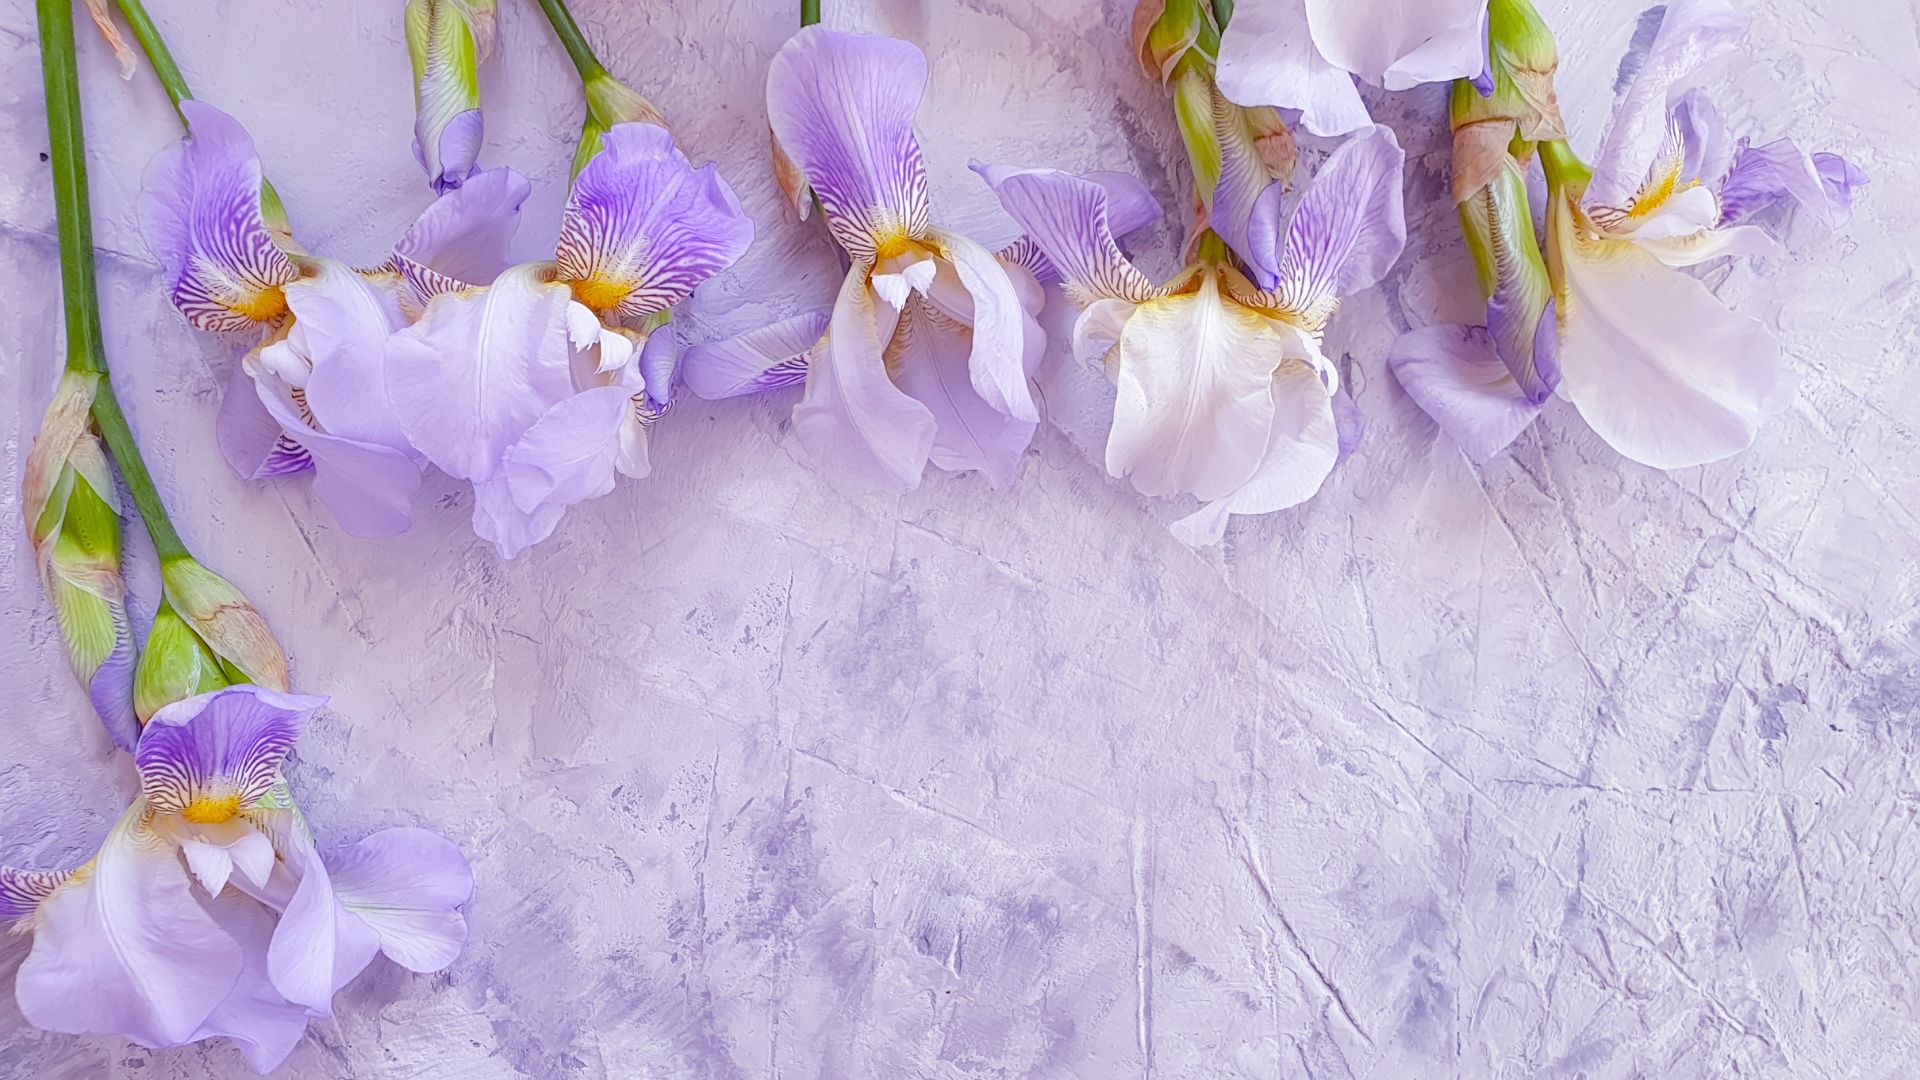
Grab those iris blooms before they fade and transform them into lasting keepsakes. Press the flowers between heavy books for two weeks, placing them between sheets of absorbent paper to draw out moisture.
Once completely dry, arrange them on heavyweight cardstock and seal with clear contact paper or laminate them. Punch a hole at the top and thread with ribbon or embroidery floss.
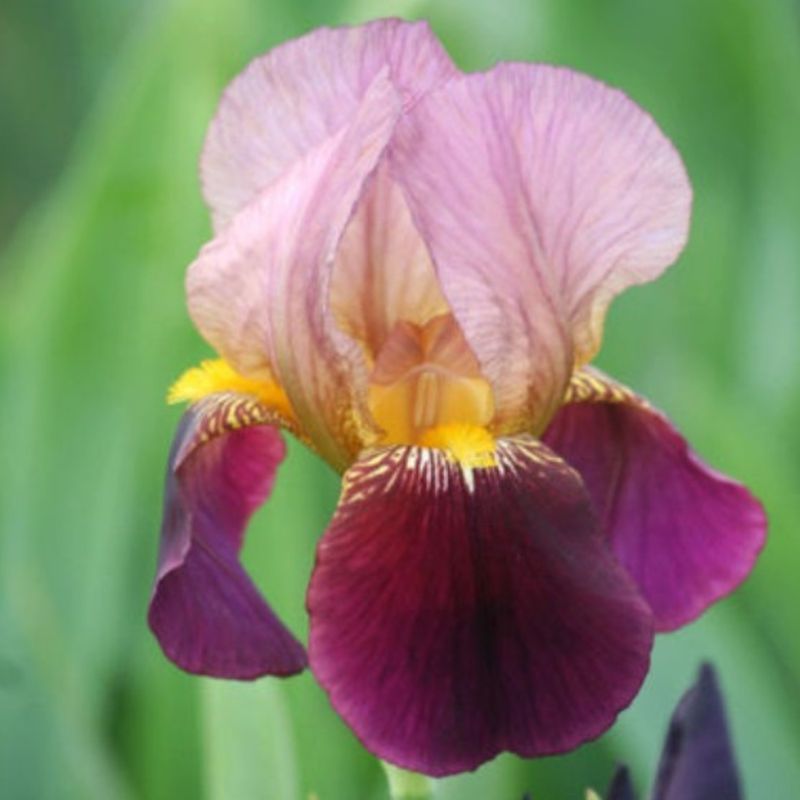
Last summer I made these with some light purple iris petals from my garden, and now I smile every time I open a book. They make thoughtful gifts for fellow gardeners or book lovers in your life.
2. Iris Petal Bath Bombs
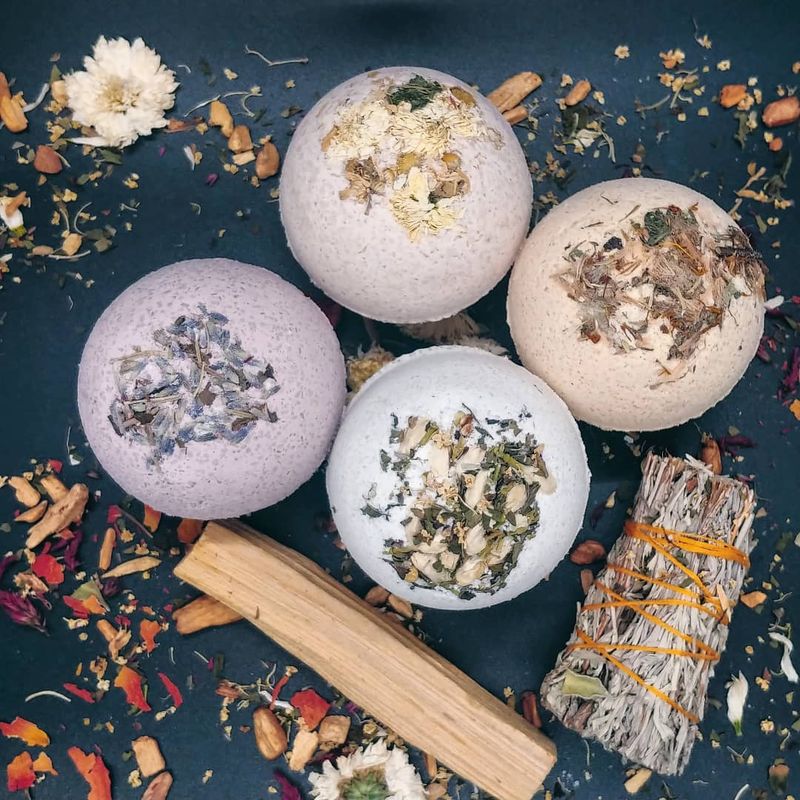
Mix 1 cup baking soda, 1/2 cup citric acid, 1/2 cup Epsom salts, and 1/2 cup cornstarch in a bowl. In another container, combine 2 tablespoons almond oil, 2 teaspoons water, 10-15 drops lavender essential oil, and a few dried iris petals.
Slowly add the liquid to the dry ingredients while stirring. When the mixture holds together when squeezed, press it into silicone molds. Let them dry overnight before popping them out.
The dried iris petals create beautiful blue and purple specks throughout the bath bombs, releasing a gentle floral scent when they dissolve in warm water.
3. Stained Glass Iris Suncatcher
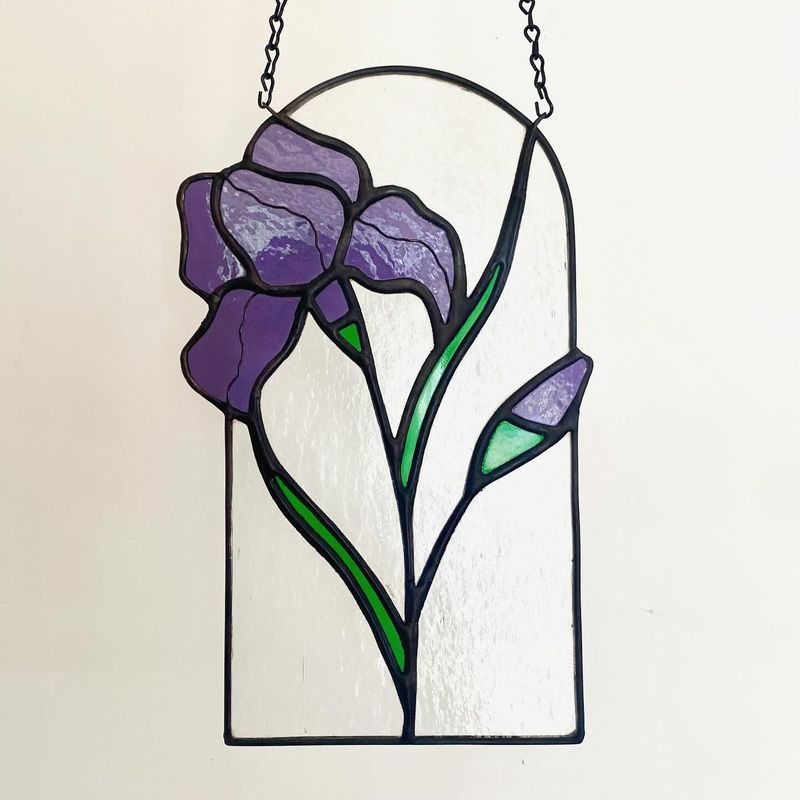
Found an old picture frame gathering dust in my garage last month and turned it into something magical. Clean a picture frame glass thoroughly and draw an iris outline using a permanent marker. Mix white glue with a few drops of food coloring to create ‘glass paint’ in classic iris hues.
Fill in your outline with the colored glue mixture, working one section at a time. Allow each section to dry before adding adjacent colors to prevent bleeding. Add details with a toothpick while the glue is still wet.
Hang your finished piece in a sunny window and watch how it transforms the light throughout the day, casting colorful shadows across your room.
4. Hand-Painted Iris Flower Pots
Terra cotta pots from the garden center become canvases for iris-inspired art with just a few supplies. Start by sealing your clean pot with a coat of white acrylic gesso or primer, which helps prevent the clay from absorbing paint and provides a smooth base.
Sketch your iris design lightly in pencil, focusing on the distinctive falls, standards, and beards that make these flowers so recognizable. Paint with acrylics in classic iris colors like purple, yellow, white, or blue.
After the paint dries completely, spray with clear sealer to protect your artwork from water and weather. My neighbor commissioned several after seeing the ones I made for my porch steps!
5. Iris Seed Collecting Envelopes
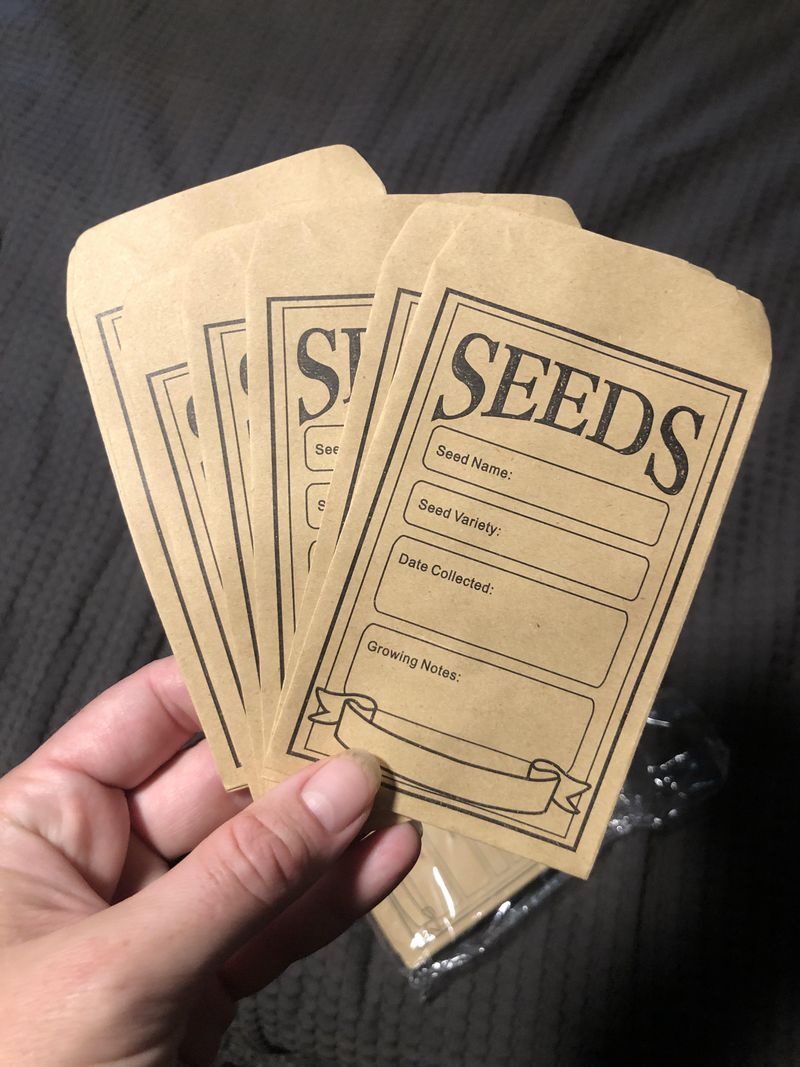
Create custom envelopes to store and share iris seeds from your garden. Cut decorative paper into 6-inch squares, fold the corners toward the center, and secure with glue to form small envelopes. Leave the top flap unglued for filling.
Use rubber stamps, pressed iris petals, or hand-drawn illustrations to decorate the fronts. Add important details like the iris variety, color, and the date collected on small labels.
When your iris seed pods turn brown and begin to split open in late summer, collect the seeds and store them in these personalized envelopes. They’re perfect for trading with other gardeners or giving as gifts to spread your favorite varieties.
6. Iris-Inspired Garden Stakes
Wooden paint stirrers from the hardware store transform into charming garden markers with minimal effort. Sand the edges smooth, then apply a base coat of outdoor paint in white or light blue.
Paint simplified iris silhouettes at the top of each stake using purple, yellow, and green acrylic paints. The distinctive iris shape is easy to recognize even when simplified to basic forms. Write the plant name below your illustration with a permanent marker.
Seal everything with two coats of clear outdoor polyurethane to protect against rain and sun. These stakes add personality to your garden beds while helping you remember what’s planted where after winter dormancy.
7. Iris Petal Confetti
When iris blooms begin to fade, don’t toss them in the compost just yet! Collect fallen petals and press them between sheets of wax paper inside heavy books for about a week until completely dry and flat.
Use small craft punches in various shapes to create natural confetti from the dried petals. Heart, circle, and star shapes work particularly well. The natural colors of iris petals—purples, blues, yellows, and whites—create a beautiful palette.
Store your petal confetti in a sealed container until needed. Scatter it on tables for garden parties, use in handmade cards, or toss at outdoor celebrations instead of plastic confetti that harms the environment.
8. Iris Watercolor Greeting Cards
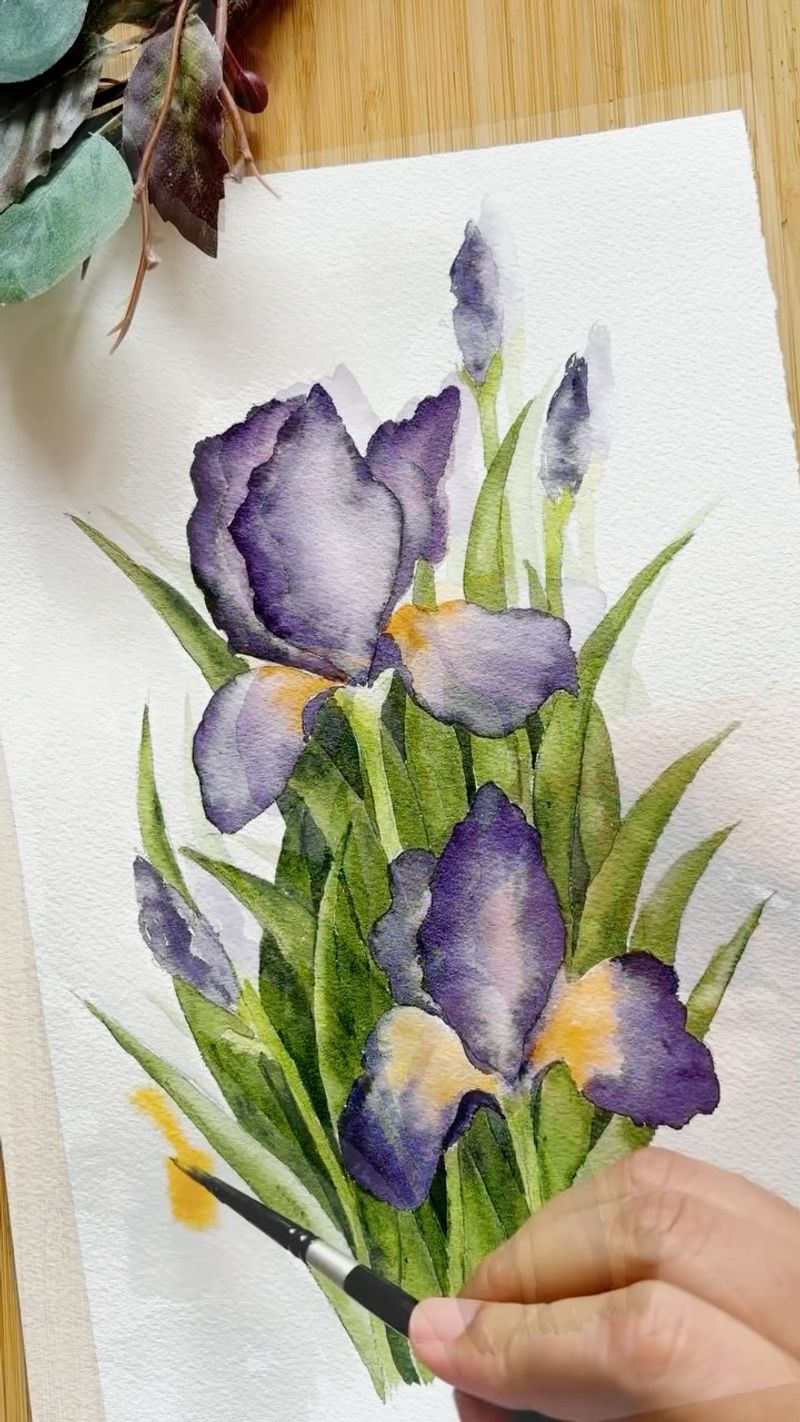
Blank watercolor cards provide the perfect canvas for creating personalized iris art. Begin with a light pencil sketch of a simple iris flower, focusing on the basic shape rather than intricate details.
Mix watercolors in traditional iris hues—deep purples, soft blues, sunny yellows—and apply with a wet-on-wet technique for a dreamy, impressionistic effect. The flowing nature of watercolors perfectly captures the delicate, flowing form of iris petals.
After the paint dries, add definition to a few areas with a fine-tipped pen if desired. My sister-in-law taught me this technique, and now I make a batch each spring to send notes throughout the year.
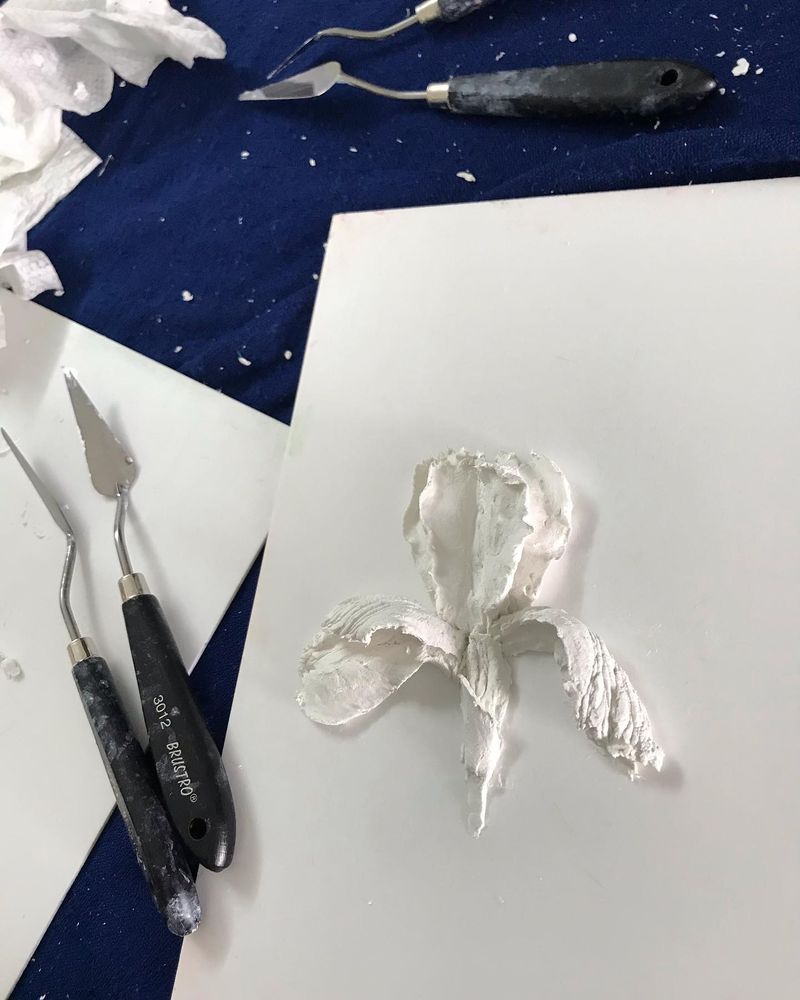
9. Iris-Inspired Mosaic Stepping Stones

Create garden stepping stones that capture the colors and shapes of your favorite iris varieties. Purchase a concrete stepping stone kit from your local garden center, or mix your own using quick-setting concrete and a mold.
Break ceramic tiles in iris colors—purples, blues, yellows, and whites—into small pieces using a hammer (wear safety glasses!). Arrange the pieces on top of your wet concrete in a simplified iris flower pattern.
Press tiles gently into the surface and allow to cure according to package directions. The finished stones create a permanent iris display in your garden path that lasts long after the blooming season ends.
10. Iris Tote Bag Stencil Print
Transform a plain canvas tote into an iris-themed shopping bag using a simple stencil technique. Cut an iris flower shape from freezer paper using a craft knife, then iron the shiny side onto your canvas bag to create a temporary seal.
Dab fabric paint over the stencil using a sponge brush, working from the outside edges toward the center to prevent bleeding under the stencil. Remove the paper while the paint is still slightly wet to avoid sticking.
Heat-set the design with an iron according to the fabric paint instructions. Made one for my garden club’s silent auction last year and ended up with orders for six more!
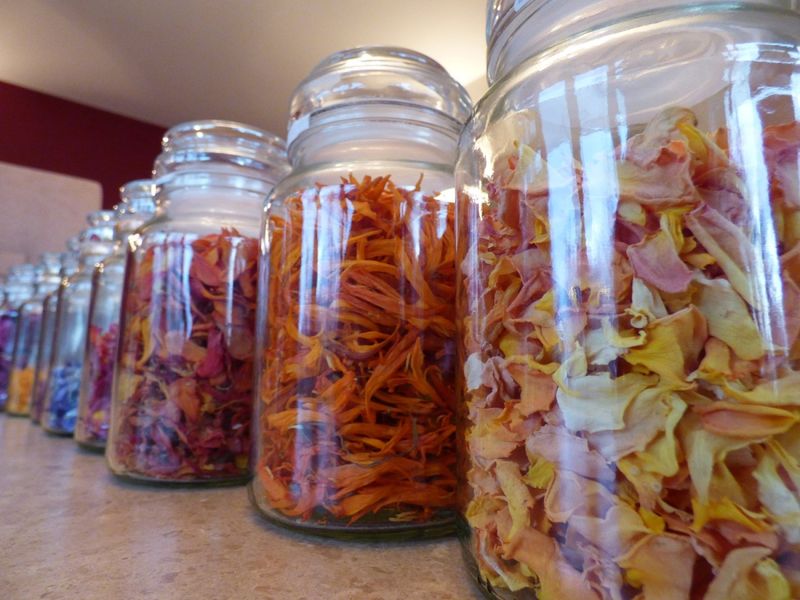
11. Iris Potpourri Sachets
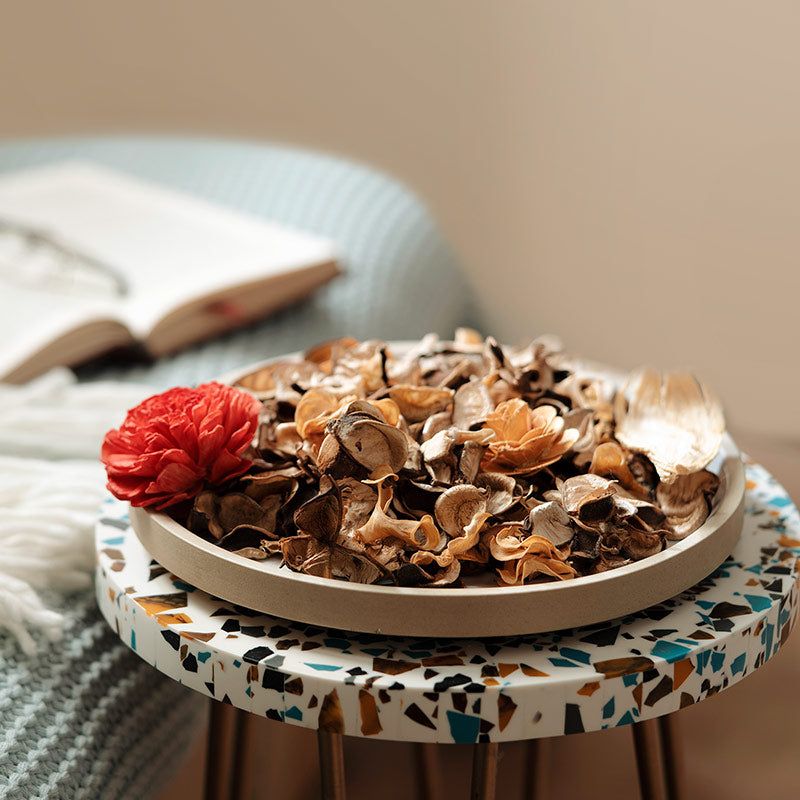
Collect spent iris blooms and dry them thoroughly on screens in a warm, dark place for several weeks. Once completely dry, break the petals into smaller pieces and mix with dried lavender buds, a few drops of essential oil, and a tablespoon of orris root powder as a fixative.
Cut 5-inch squares from cotton fabric with iris patterns or complementary colors. Place a handful of potpourri in the center of each square, gather the corners, and tie with ribbon or raffia.
These sachets freshen drawers and closets with a subtle floral scent. The natural colors of dried iris petals—faded purples, blues, and yellows—create an authentic garden-inspired look that commercial potpourri can’t match.
12. Iris Silhouette Wall Art
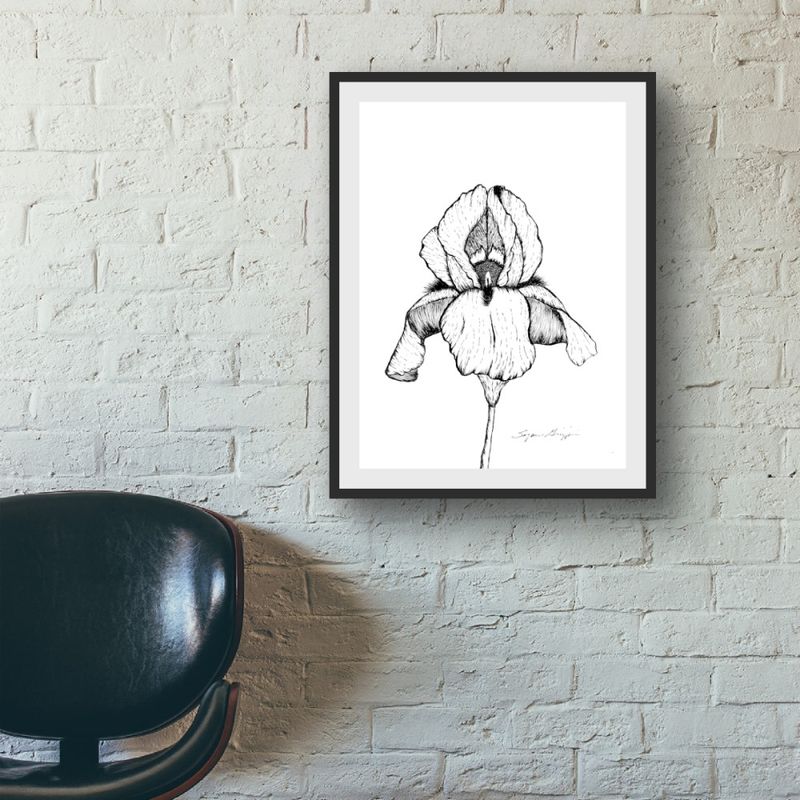
This project turns simple materials into sophisticated botanical art. Find iris silhouette images online or trace the outline from a real flower or photograph. Transfer the outline to black cardstock and carefully cut out with sharp scissors or a craft knife.
Mount your silhouette on watercolor paper that’s been washed with soft watercolor in iris hues—try a gradient from deep purple to pale blue. The contrast between the black silhouette and colored background creates dramatic wall art.
Frame in a simple white or natural wood frame to complete the look. A set of three different iris varieties makes a striking gallery wall in any room of your home.
13. Iris Leaf Woven Basket
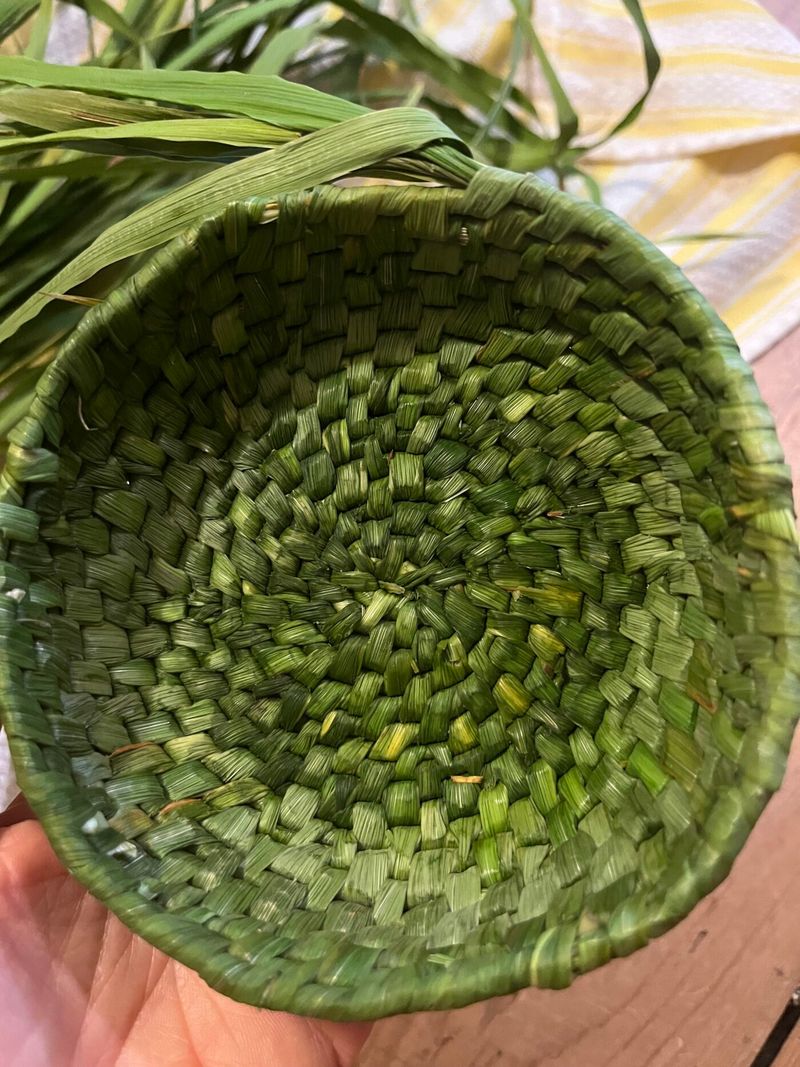
After your irises finish blooming, the sturdy sword-shaped leaves can be harvested and dried for basket weaving. Cut leaves at the base, remove any damaged portions, and hang in bundles to dry for two weeks until flexible but not brittle.
Soak dried leaves in warm water for 30 minutes before weaving to restore flexibility. Use basic basket-weaving techniques to create a simple round or oval basket, working around a cardboard form if you’re a beginner.
The natural variations in the green leaves create subtle stripes in your finished basket. Perfect for storing garden supplies, mail, or displaying collected pinecones and seed pods from your garden adventures.
14. Iris-Themed Garden Journal
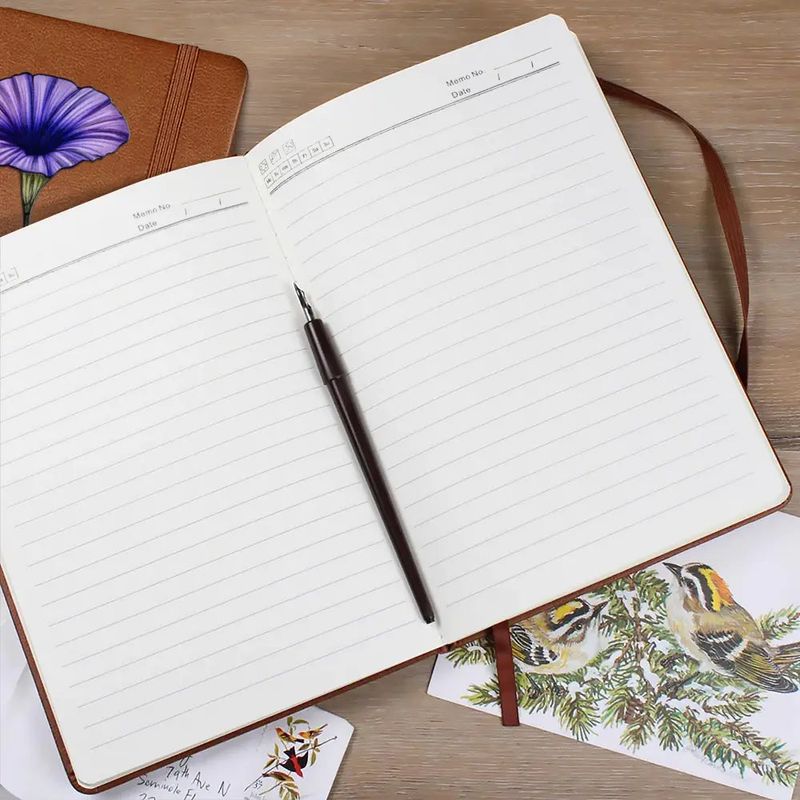
Start with a plain hardcover notebook and transform it into a personalized garden planner. Cover the front with fabric featuring iris prints, attaching it with bookbinding glue or heavy-duty double-sided tape.
Create dividers from cardstock labeled for different sections: bloom records, garden maps, wishlist varieties, care notes, and photo pages. Add pressed iris petals to the cover under a layer of clear contact paper for a special touch.
My journal helps track which iris varieties perform best in my garden and when they typically bloom. The fabric cover has held up for three years of regular use, developing a well-loved patina that adds to its charm.
15. Iris Petal Paper

Collect faded iris petals to create beautiful handmade paper with natural color and texture. Tear the petals into small pieces and simmer them in a pot of water for about 30 minutes to break down the fibers.
Blend the softened petals with recycled paper pulp and pour the mixture onto a paper-making screen. Press out excess water with sponges and allow to dry completely on the screen before carefully peeling off.
The resulting sheets have subtle flecks of iris colors and a wonderful organic texture. Use them for special handwritten notes, as backing for pressed flower art, or cut into gift tags for garden-themed presents.
16. Iris Root Stamped Tea Towels
When dividing iris rhizomes in late summer, save a few chunky pieces for this creative printing project. Clean the rhizomes thoroughly, then cut them into sections with interesting shapes and let them dry for a day or two.
Mix fabric paint on a paper plate and dip the cut end of the rhizome into the paint. Press firmly onto plain cotton tea towels to create organic, iris-inspired patterns. The natural texture of the cut rhizome creates interesting details in each print.
After the paint dries, heat-set according to the fabric paint instructions. These unique kitchen linens make conversation-starting hostess gifts that tell a story from your garden.