Jade Plant Propagation Methods For Beginners & Pros
Jade plants are beautiful and easy-to-maintain, and they adorn households all around the world. All jade plant parents agree that having only one jade plant in their collection isn’t enough!
But I have good news for you! Jade plant propagation is easy and you can use three different techniques. If you are propagating a Crassula for the first time, the stem and leaf cutting methods are perfect for you.
And for those who like a challenge, I’ll show you how to propagate the Crassula plant through seeds.
Let’s get started!
Beginner-Friendly Propagation Methods For The Jade Plant
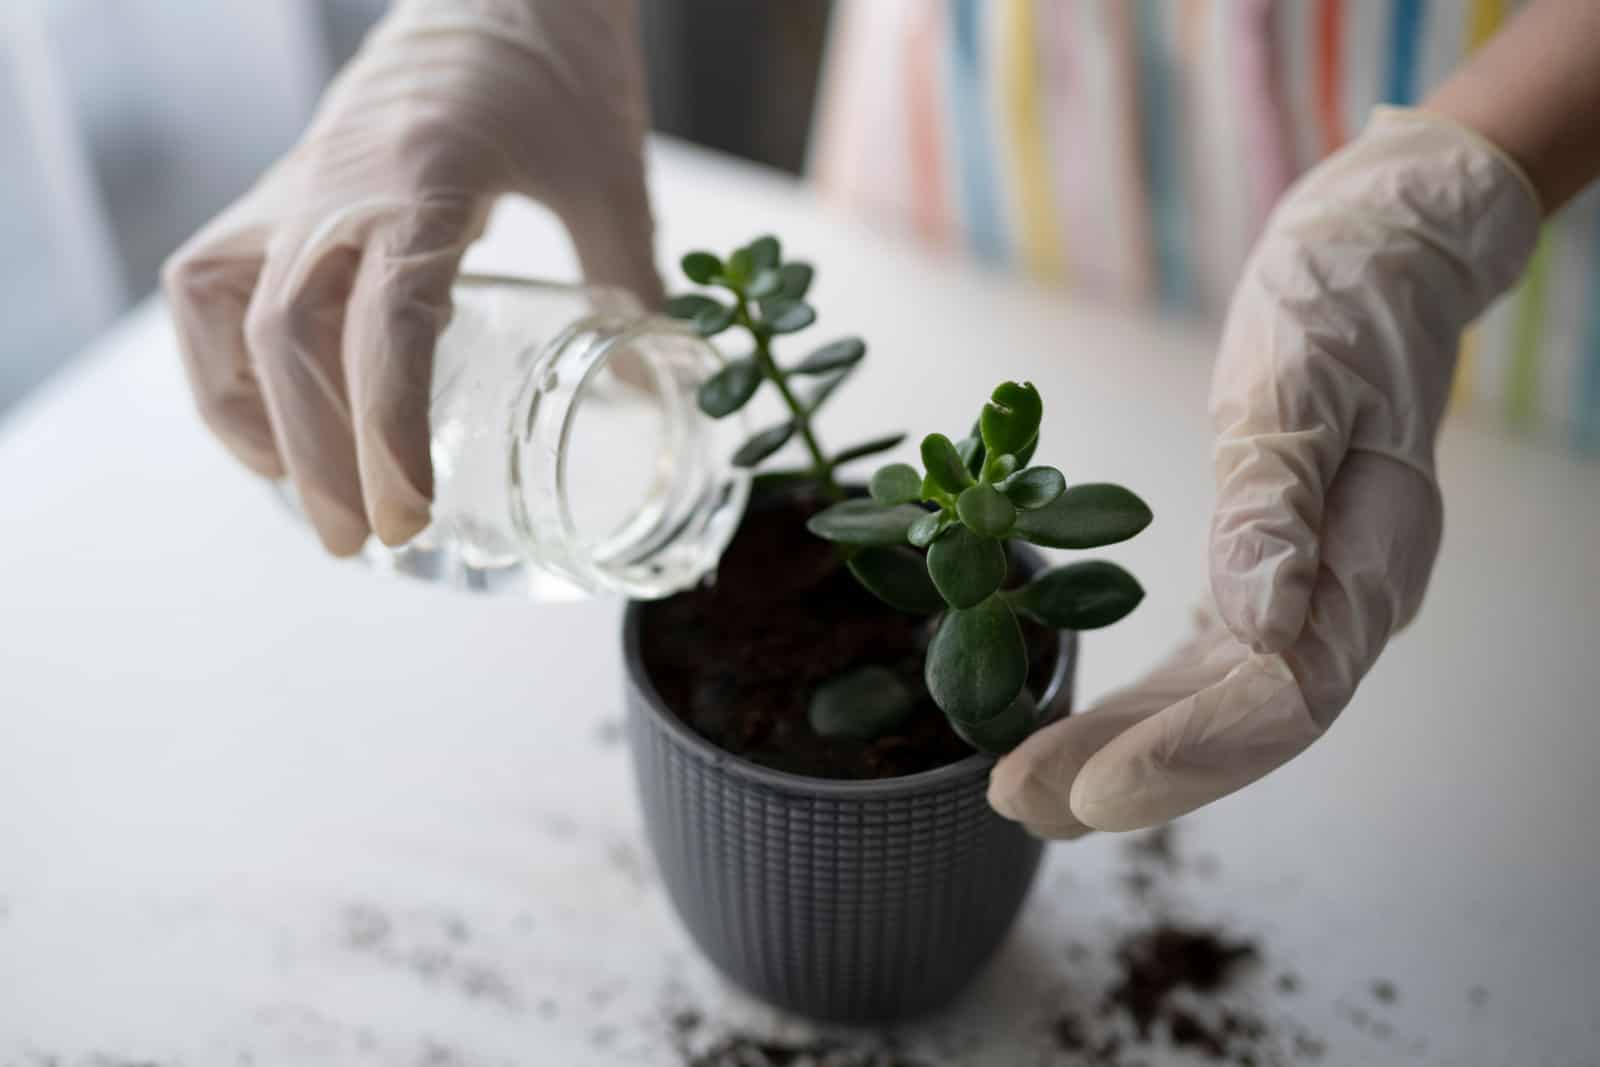
I use the stem and leaf cutting methods, so I will demonstrate the procedure and some tips and tricks that work every time.
If you are a novice at propagation, I recommend choosing one of the two methods shown below.
Both have a high success rate and won’t take much of your time.
The procedure will be many times easier if you prepare everything before you start.
You’re gonna need a few gardening tools for propagation, but before you gather anything, there’s one essential thing to do.
Your jade plant must be completely healthy if you want the propagation to succeed. Therefore, you need to inspect your Crassula carefully.
If the plant (or even a single leaf) is discolored or deformed, don’t start propagating until you fix the issue.
Once your jade plant is healthy, it’s time to gather the tools and supplies.
Here’s a list of equipment necessary for Crassula ovata plant propagation:
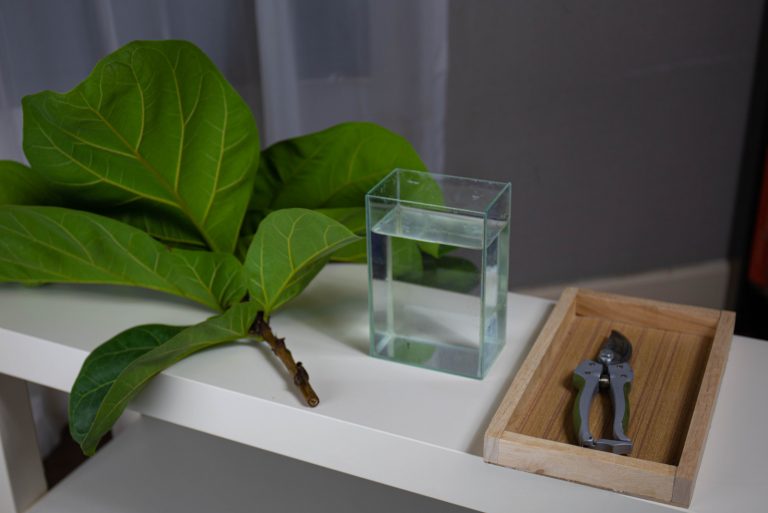
• Sharp cutting tools (a pair of scissors/shears/pruners or a knife)
• Sanitizing solution (bleach or isopropyl alcohol)
• Root hormone
• Nursery pot with drainage holes
• Free-draining potting mix
4 Steps Of The Stem Cutting Propagation Method
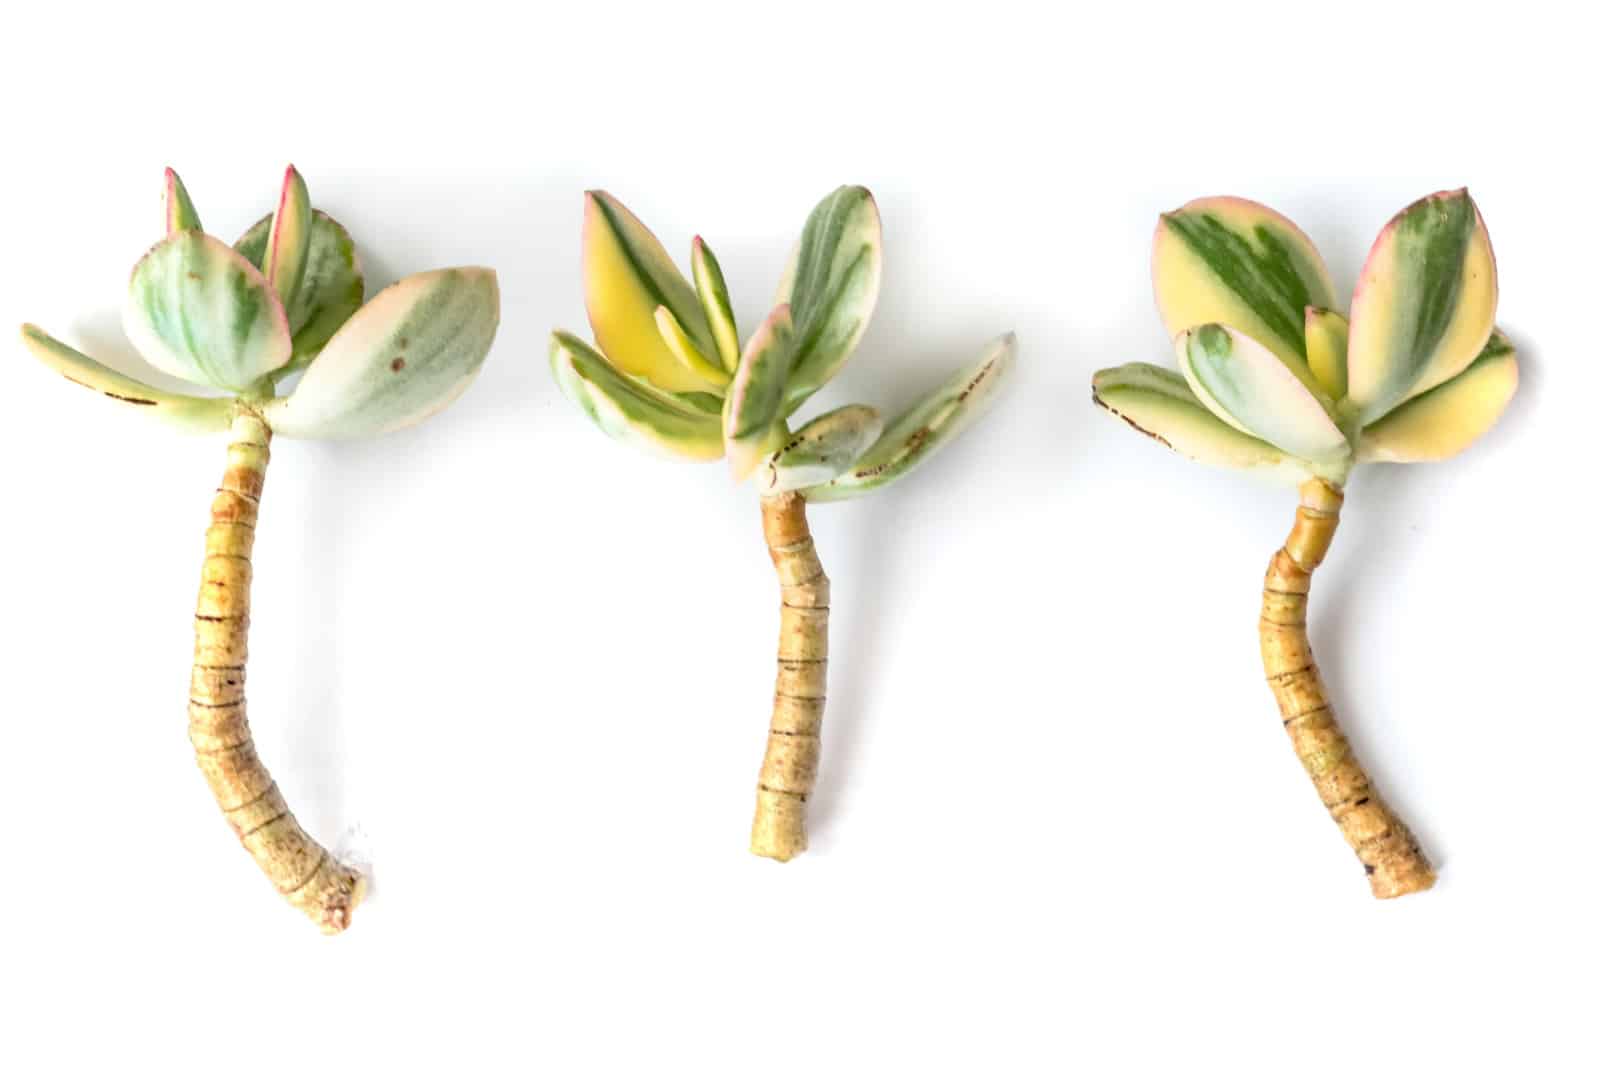
The first technique for getting a new Crassula plant is with stem cuttings.
I used this method for my mature jade plant. It’s approximately 4 feet tall and has developed multiple stems.
Let’s propagate!
1. Take The Stem Cutting
Your first goal is to find a healthy 4-inch long stem on your Crassula plant. This is why this method is more suitable for mature jade plants. Juvenile plants don’t have long stems, so you need to use the leaves.
Another essential thing for the ovata plant cutting is to have the nodes. (1) New growth can only occur if the cutting has these parts.
Now you need to cut the Crassula stem just above the node.
Speaking of which, I have to share something with you. When I first started propagating, I was afraid of cutting. I used to cut the stem straight and wounds appeared without looking like they’ll heal.
You’ll want to avoid my mistakes, so make sure you cut at an angle of about 45°. This will help you avoid breaking your jade plant and causing unnecessary damage.
2. Allow The Cutting To Dry
When you remove the portion of the stem, you’ll notice the cut end is pretty wet. If you root at this point, it will most likely rot.
The wound on the cut end of the Crassula cutting needs to develop a callus. (2) This process will help the cutting to heal and prevent fungal growth.
Remove the bottom leaves on the cutting as they could rot if put in water or planted in soil.
Lay the cutting on a paper towel and put it in a warm, well-lit, and well-ventilated area. It takes approximately 7 days for the cutting to develop a callus.
3. Rooting The Cutting In Potting Mix
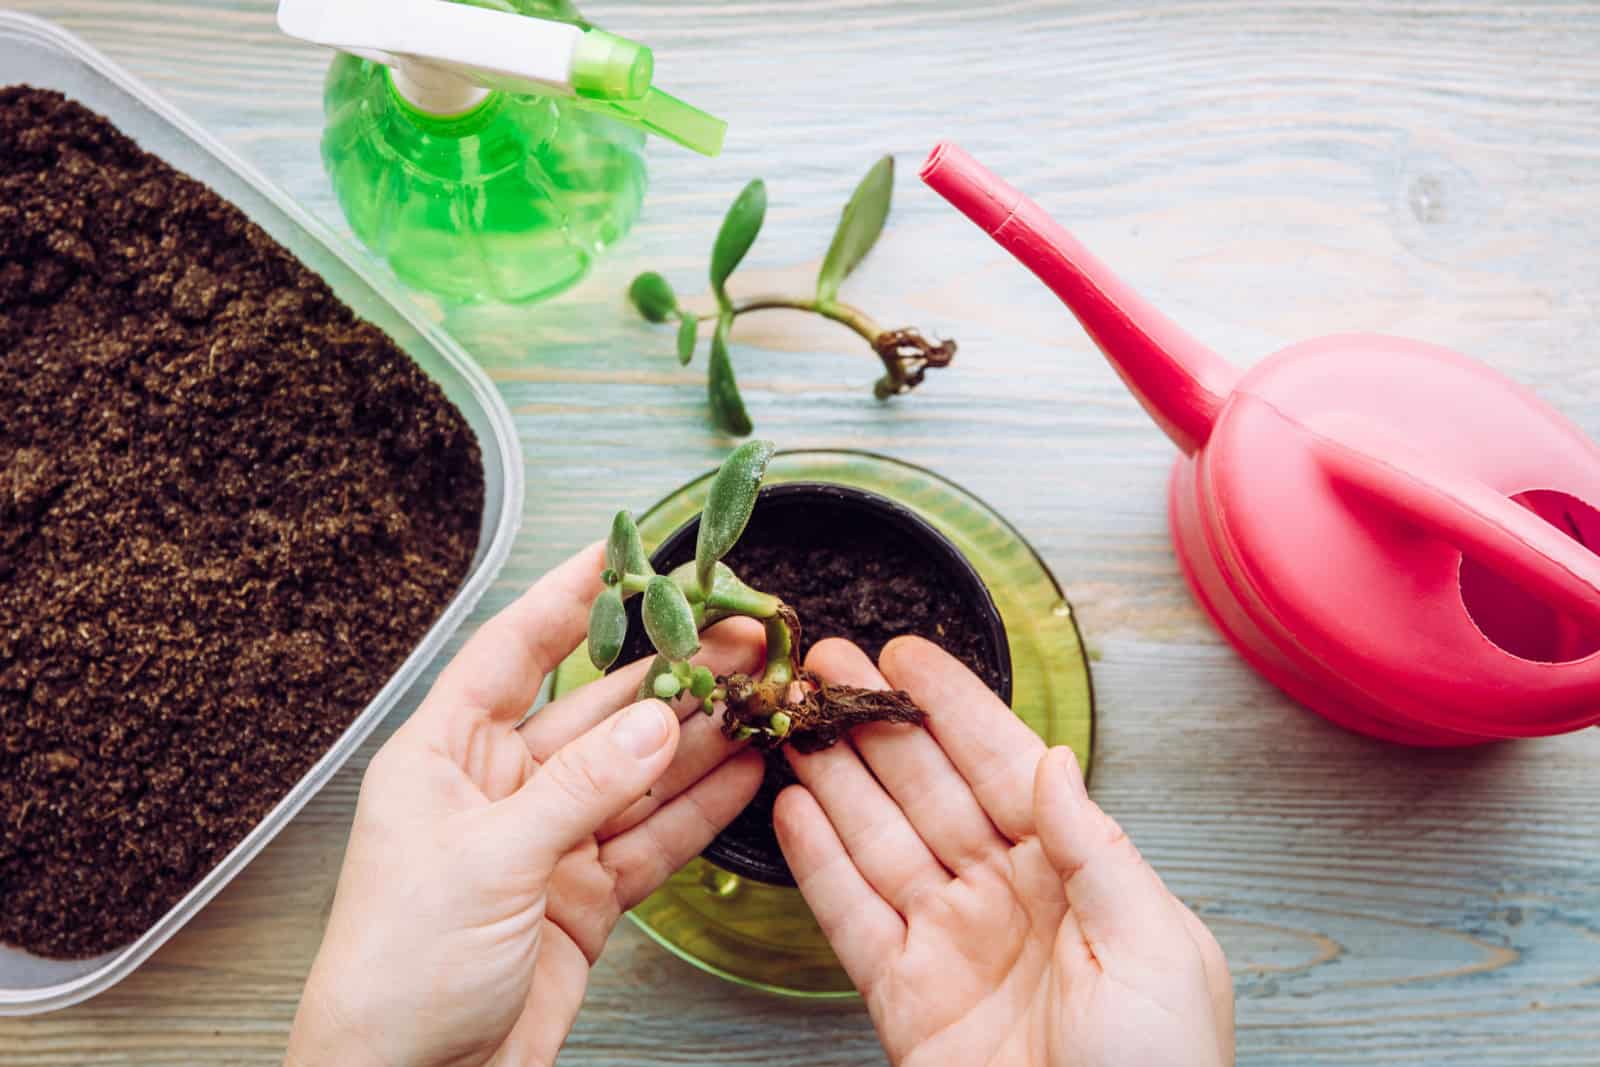
Here comes my favorite part, rooting the Crassula plant cutting!
It’s essential to plant the cutting in a free-draining and porous soil type. I use a combination of standard potting soil and perlite at a ratio of 1:1.
Now prepare a suitable container. If you are propagating only one cutting, a standard nursery pot will do the job. You can also use a larger pot and root more than one cutting.
Add the growing substrate to the pot.
At this point, I dip my Crassula plant cutting in a rooting hormone. This is an optional step; your cutting will develop roots without using the hormone. However, the hormone will speed it up.
Put the cutting(s) in the growing medium and mist regularly until it develops the roots.
Here’s a video on rooting the Crassula plant in the soil after the cutting develops a callus:
3.2 Rooting The Cutting In Water
You have another option for a rooting medium; all you need is a transparent jar and clean, fresh water.
I find this method excellent for beginners. You can see how root development progresses, which is both enjoyable and beneficial.
There’s no need to apply rooting hormone if using water as a rooting medium.
You simply put the Crassula stem cutting in water, making sure the leaves are above the soil line.
Change the water every three days to avoid contamination as fungus thrives in standing water.
4. Transplantation And Care
I am often asked about how to tell if the cutting has developed roots.
If you used water as a medium, this isn’t a problem, but for soil propagation it’s another story entirely.
I have a simple method; just pull the cutting gently, and if it shows resistance, the roots are formed and strong enough to be transplanted.
Take a porous pot with drainage holes, add substrate for jade plants, and transplant the cuttings.
One of the benefits of a jade plant is its low care requirements. Your new succulent plant needs a lot of bright indirect light, temperatures of about 70 degrees Fahrenheit, and moist but not waterlogged soil.
3 Steps Of The Leaf Cutting Propagation Method
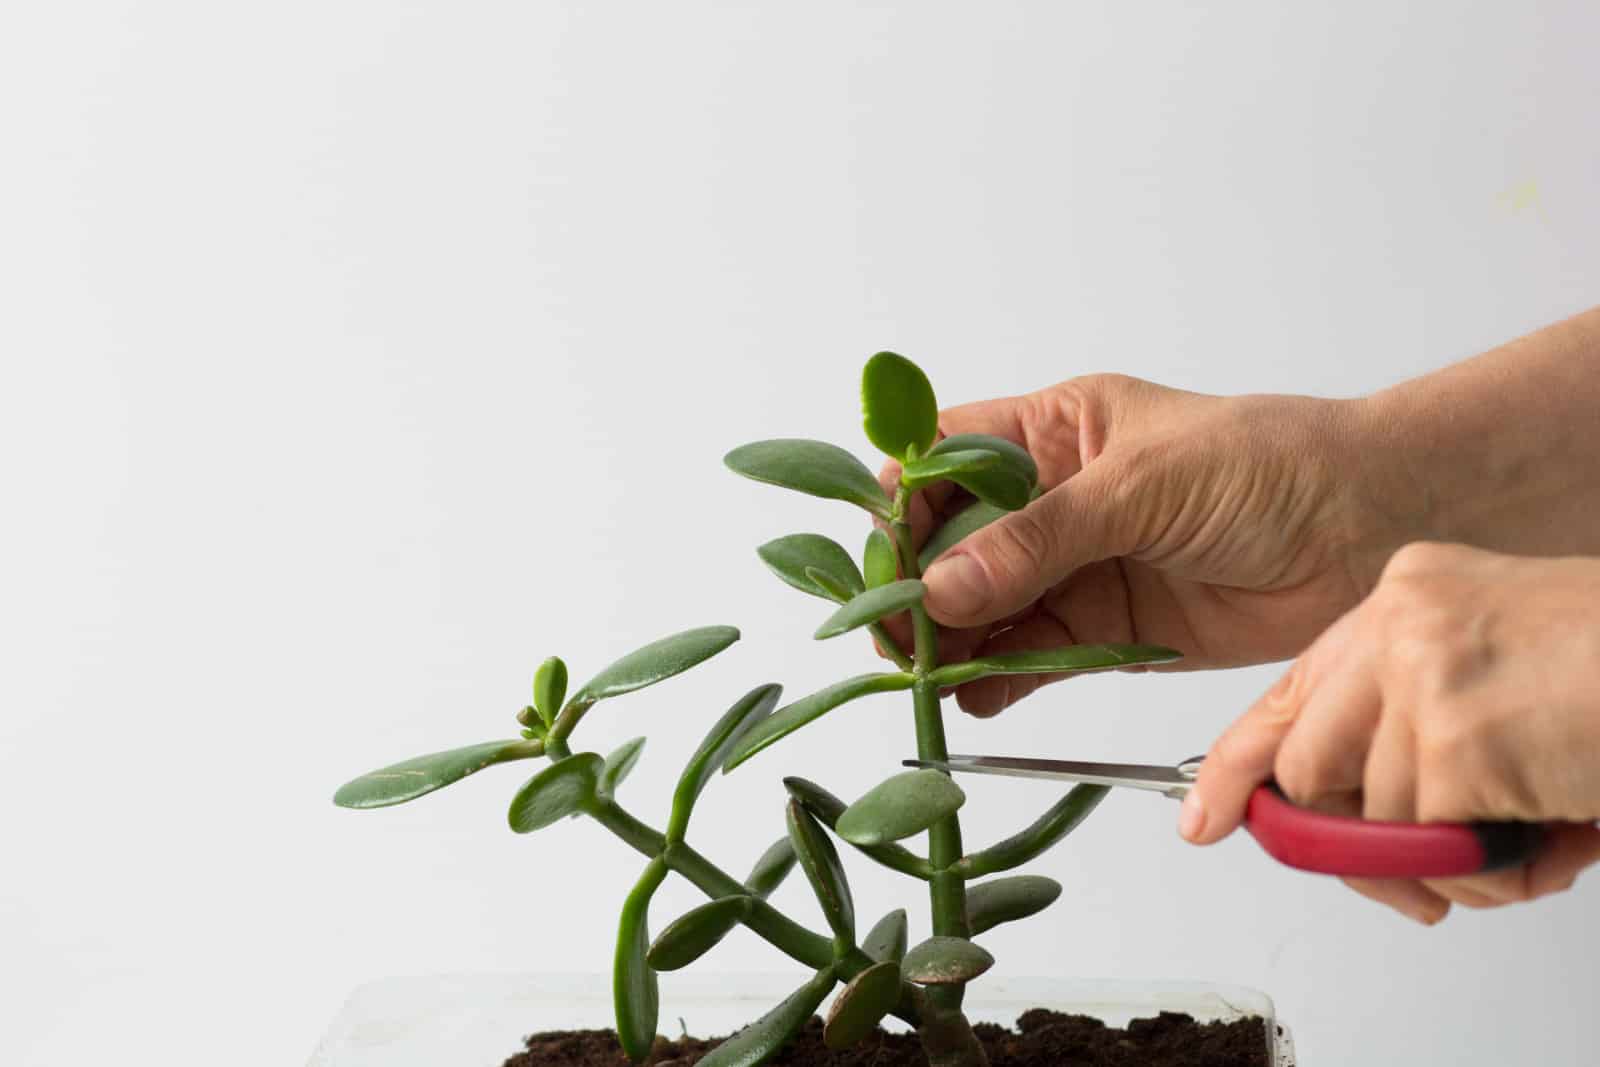
A very common and straightforward jade plant propagation method is with leaf cuttings.
As I said, this method is perfect if you have juvenile plants that haven’t developed long and sturdy branches.
Let’s look at the easiest way.
1. Taking The Leaf Cutting
You can take a jade plant leaf cutting using your hand or a clean and sharp pair of scissors.
I highly recommend using scissors, especially if you are propagating for the first time.
All you need to do is cut the Crassula ovata leaf at the base. I always cut 6-7 leaves in case some fail to root.
2. Root The Cutting
Prepare the container by filling it with a potting mix. I use the good old combination of perlite and potting soil.
A succulent or cacti soil mix is a perfect choice if you don’t feel comfortable making your own soil.
Put the leaves in the soil, and make sure the entire leaf base is below the soil line.
Water and leaf cuttings aren’t a good combination. Leaves can quickly rot if submerged in water, and it’s really tricky to keep only the leaf base below the water line.
3. Transplantation And Care
The leaf cutting needs a lot of bright indirect sunlight to form robust and healthy roots.
Mist the growing medium regularly and keep temperatures at around 70 degrees Fahrenheit.
The leaf cuttings usually take a month to develop new roots. However, that’s not where the story ends.
You will only have successfully propagated your Crassula from the leaves if new shoots have developed around the base. This process may take months, so be patient and inspect regularly.
I transplant the rooted cuttings with shoots when they reach about 9 inches long.
Here’s a video on the leaf cutting propagation method for jade plants:
Jade Plant Propagation Through Seeds: Method For Pros
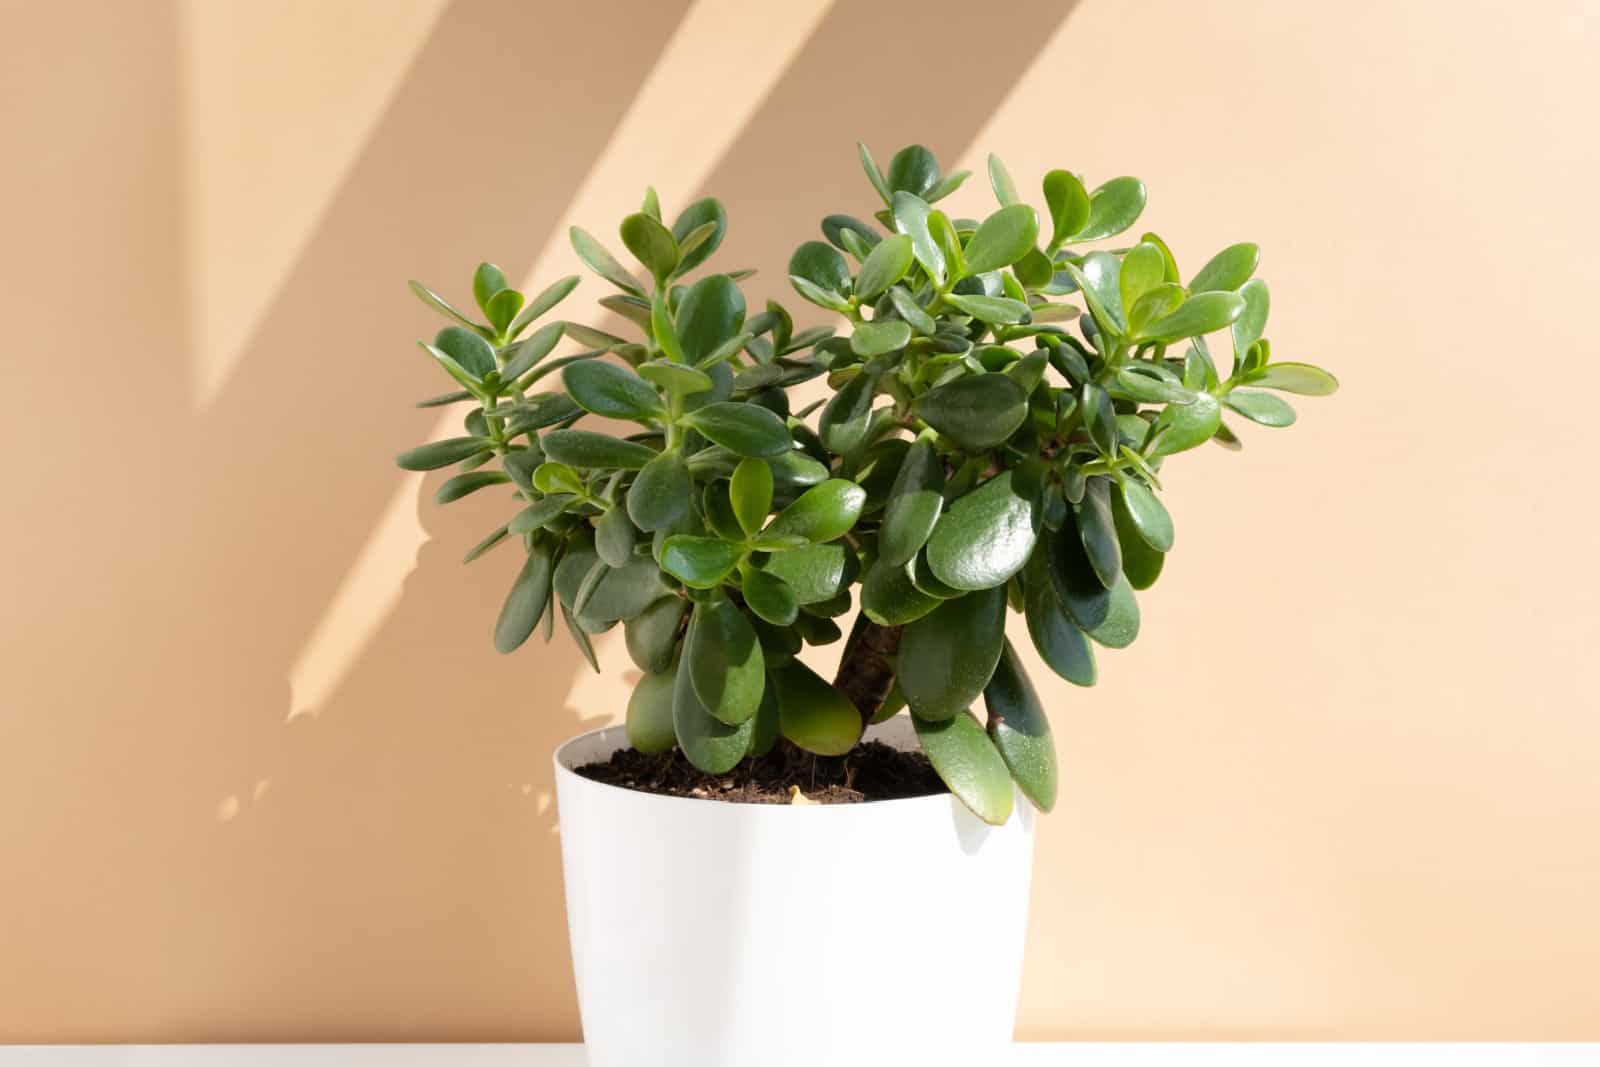
Now I want to show you a very rare propagation technique when it comes to jade plants; the Crassula ovata can be propagated through seeds.
You’ll rarely find growers that use this technique. Why? For starters, it takes a lot of time from sowing the seeds to plant establishment, so the first requirement is patience.
You also need to find a trustworthy seller because the seeds need to be viable and of a jade plant.
Why would anyone use this technique? Well, there’s no bigger satisfaction for a plant parent than to watch the plant growing process from the very beginning.
If you like a challenge, prepare the following to get started!
• Viable jade plant seeds
• A plastic container with a lid
• A knife
• Sand, pumice, and succulent soil mix
• A baking tray and stirring utensils
• Spray bottle with water
• Pots
Sterilize The Potting Mix
We’re gonna start with baking. Yes, you read that right!
You need to sterilize the growing medium before sowing the seeds to avoid contamination. Seeds need a lot of humidity to germinate and are susceptible to fungus at that time.
I propagated my jade plant twice and failed the first time. This happened because I didn’t sterilize my potting mix, so my seeds got infected and didn’t germinate.
Here’s a step-by-step guide for potting mix sterilization:
1. Add 2 parts sand, one part succulent mix, and one part perlite to the baking tray. Mix everything well using your hands.
2. Turn on the oven to 200 degrees and put the tray in it.
3. Bake for about 40 minutes; stir every 15 minutes.
4. Set aside and allow it to cool off.
Here’s how to use a microwave for potting mix sterilization:
Sowing The Seeds
Now it’s time for sowing jade plant seeds in the sterilized potting mix. Here’s how:
1. Make a few slices at the bottom of the plastic container to enable air circulation. Don’t make any holes since the potting mix is loose and can escape through them.
2. Add a layer of potting mix to the pot (an inch will suffice).
3. Sprinkle jade plant seeds over the top of the potting mix.
4. Mist the growing medium using a spray bottle to allow the seeds to settle into the soil.
5. Cover the lid and place the container in a spot with bright indirect sunlight. The ideal temperature is around 70 degrees.
Transplantation
The essential thing is to keep the growing conditions in a perfect range. This is one of the biggest challenges of this propagation technique.
The lid will trap humidity so you only need to pay attention to temperatures and light.
The seedlings should be a few inches long before transplantation. Don’t rush because densely planted succulents are the best view ever!
When repotting your jade plant seedlings, use a succulent mix and mist regularly until the plant is established.
The process is really long, but remember that you can have any jade plant variety with this technique.
Wrapping Up
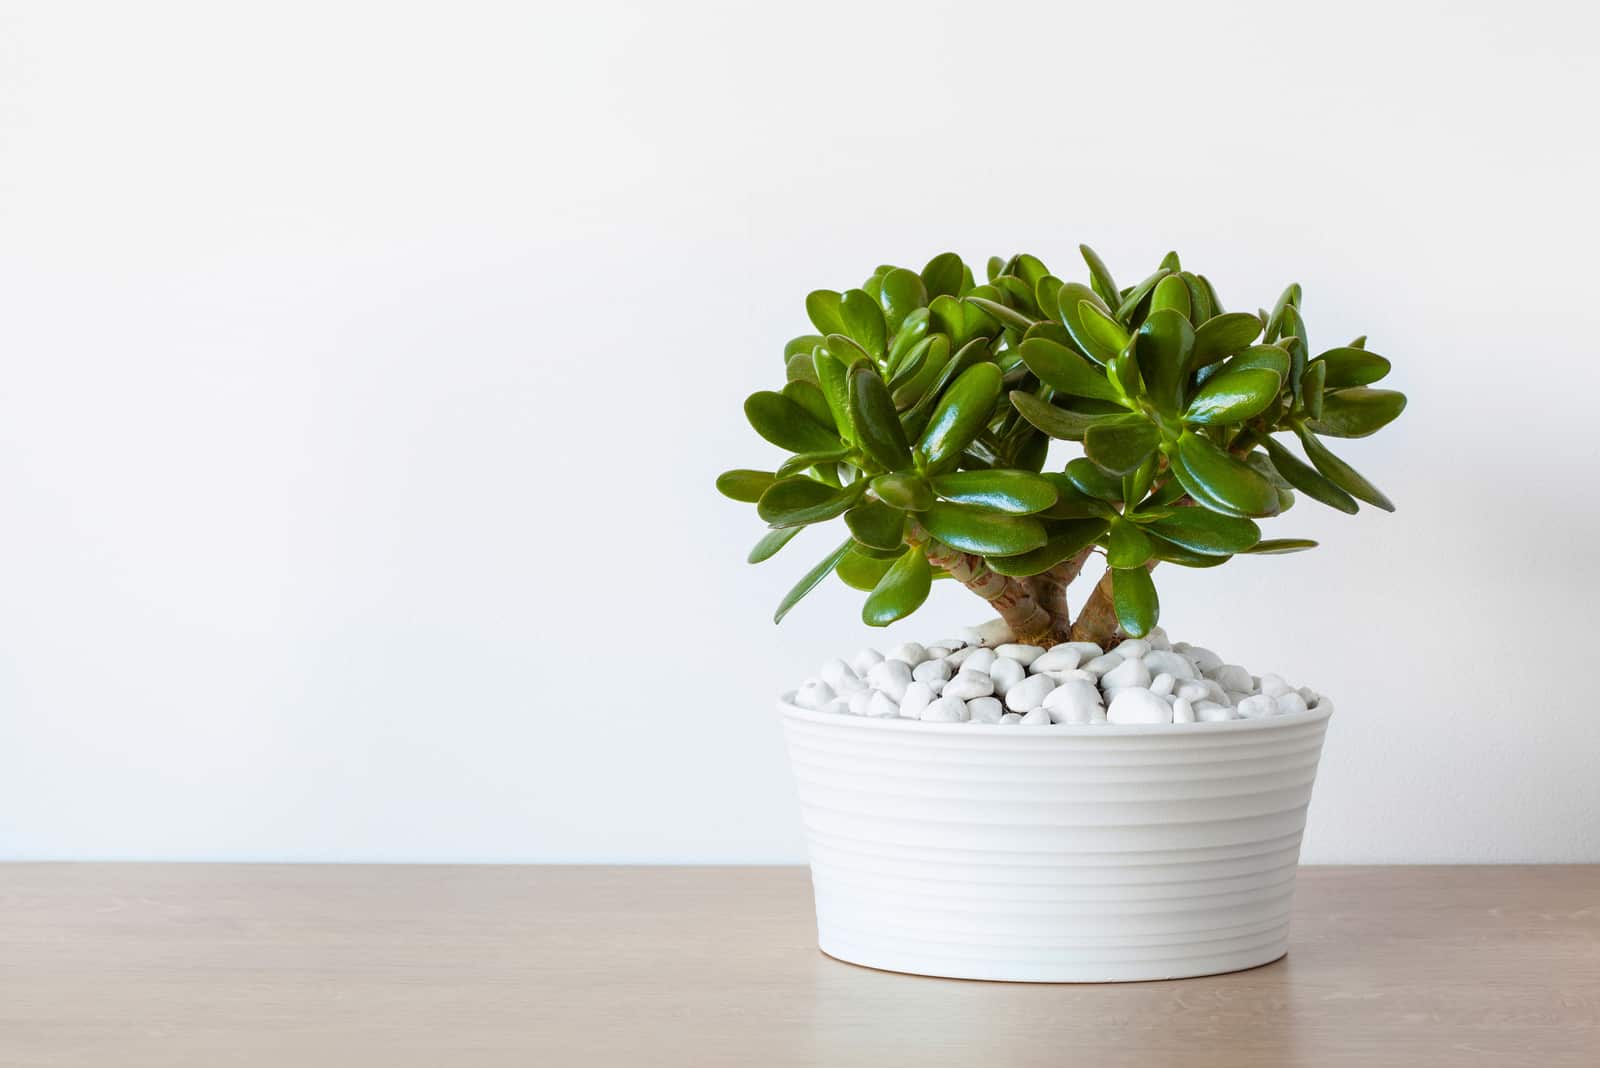
Propagating a jade plant is a rewarding experience. The fact that the stem-cutting and leaf propagation methods work almost every time makes it even better.
Seed propagation of the Crassula plant is challenging and not really beginner friendly.
But if you find the seeds of some rare variety, just follow the guidelines and I’m sure you’re gonna make it
Until next time!
[sp_easyaccordion id=”18959″]

