6 Jobs You Should Do With Daylilies Before Winter (And 2 To Avoid)
Cooler mornings arrive with crunchy leaves underfoot, and the garden starts to look a little tired. Those tall, arching leaves that held bright blooms all summer now flop over like sleepy kids at bedtime.
You might wonder if it is time to snip, dig, feed, or simply walk away and let nature handle the cleanup. A few smart moves now can mean thicker clumps and more flowers when warm weather returns.
On the other hand, a couple of well-meaning habits can quietly cause more trouble than they are worth. Gardeners often learn this the hard way, by spotting mushy crowns or skimpy blooms next season.
The real question is which chores truly help and which ones are better skipped this fall. Grab your gloves, a sturdy spade, and a warm mug of cocoa while the sun lingers.
Divide Overcrowded Clumps Early In Fall
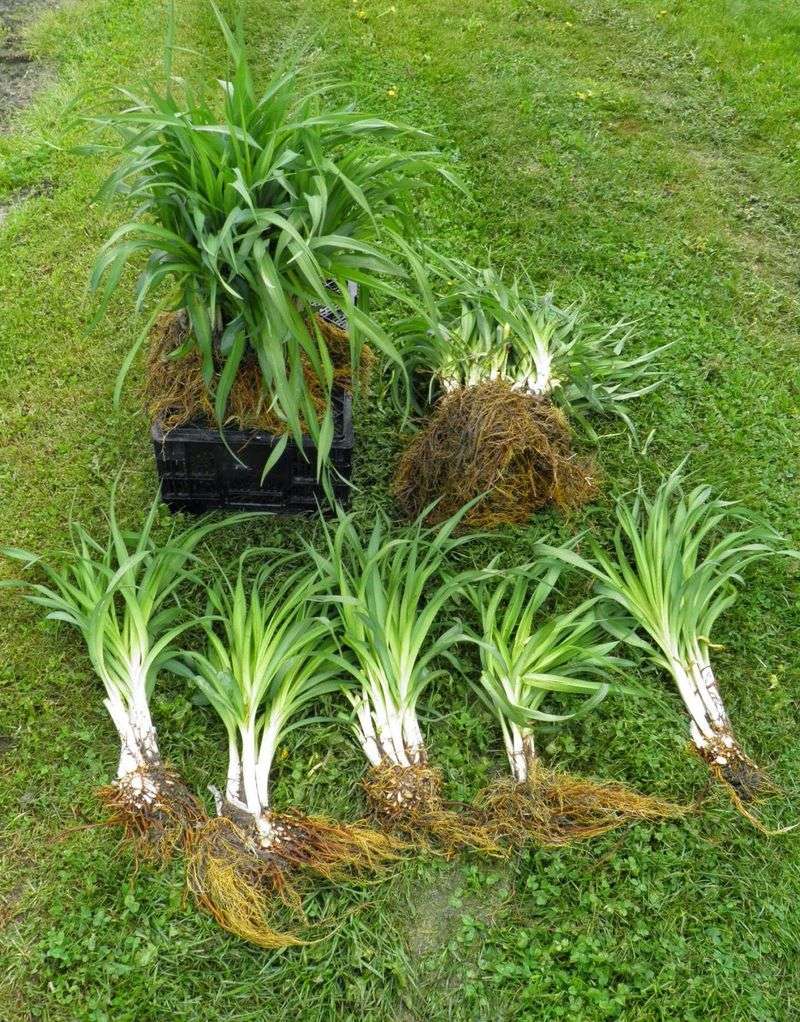
Picture a crowded school bus where every kid is squished against the window and nobody has room to breathe. Old daylily clumps feel much the same way after three to five years of steady, happy growth in one spot.
You will often notice fewer flowers, smaller leaves, and a bare, hollow center in the middle of the clump. Those are clear signals that the roots are competing with each other for water, food, and space underground.
Early fall is a sweet spot for dividing, since the soil is still warm enough for fresh roots to grow. Aim to finish the job about four to six weeks before your ground usually freezes hard.
Start by cutting the leaves back to roughly six inches, which makes the clump much easier to handle. Then dig a wide circle around the plant with a sharp spade and lift the whole mass out gently.
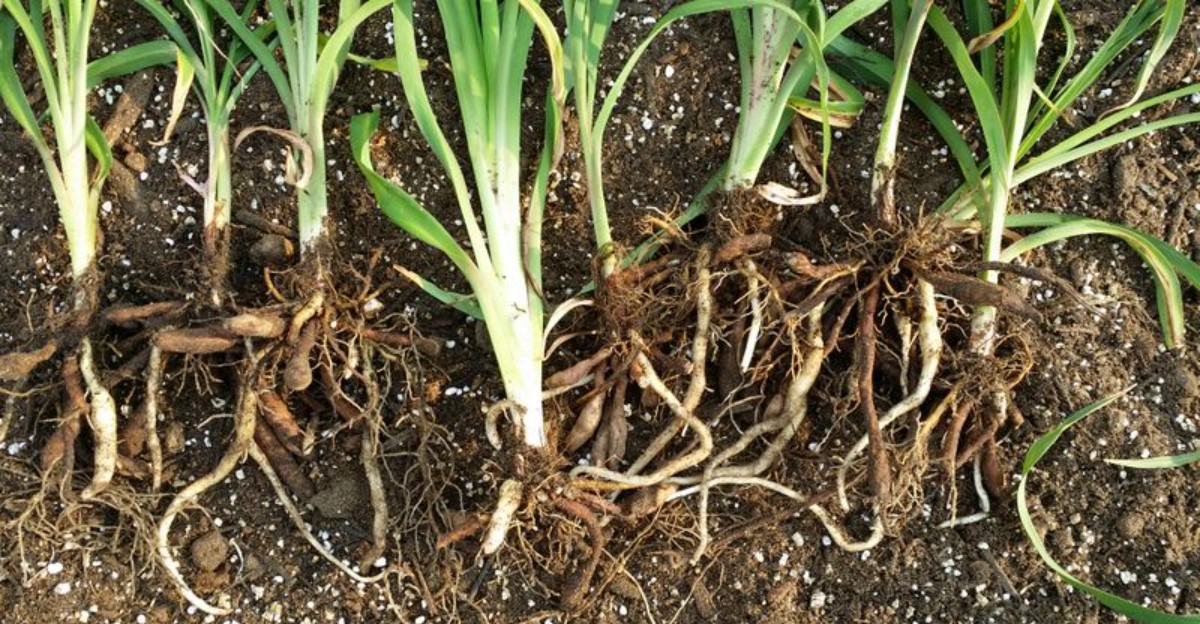
Shake or hose off the loose soil so you can actually see where the separate fans naturally connect. Pull them apart by hand, or use two garden forks back to back to pry stubborn sections loose.
Each new piece should have at least two or three fans and a healthy bundle of chunky roots attached. Replant them at the same depth they grew before, spacing them about eighteen inches apart for breathing room.
Extra divisions make wonderful gifts for neighbors, friends, or the plant swap table at your local library. One tired clump can often turn into several fresh plants, ready to bloom again next summer.
Trim Faded Foliage To A Few Inches Above The Soil
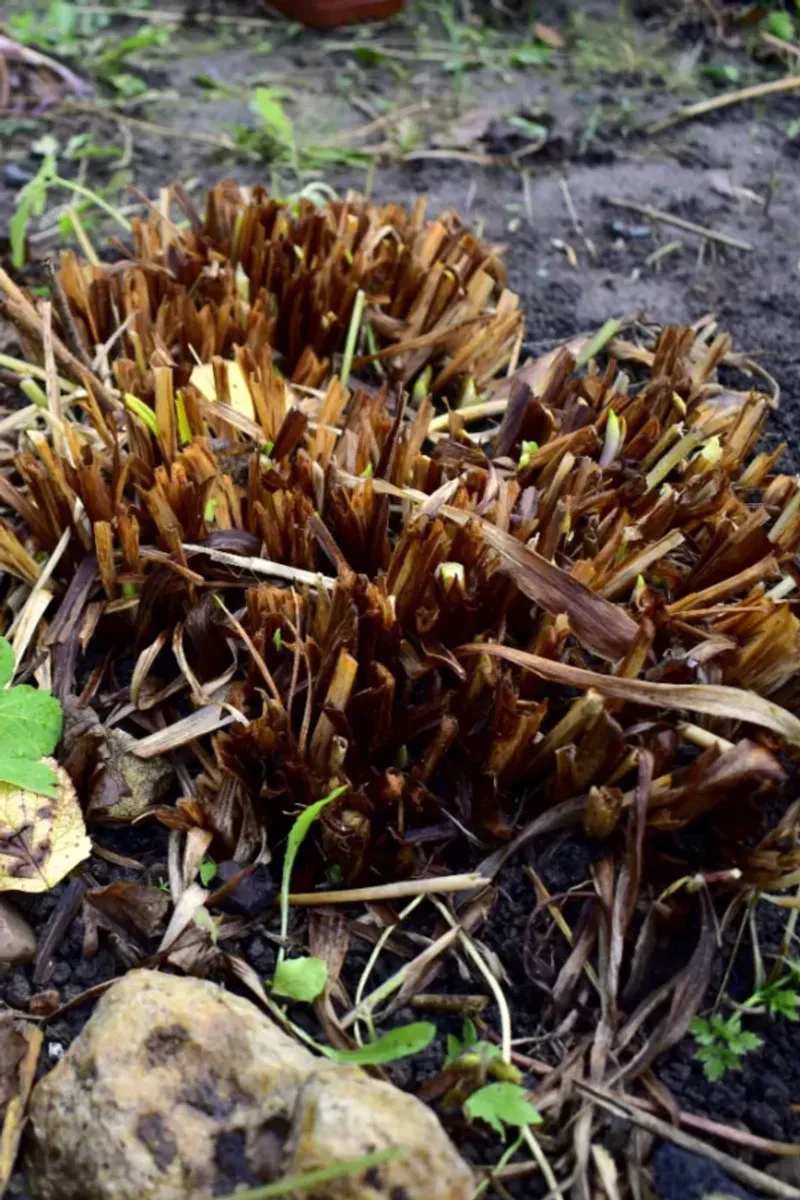
Think of this chore as an end-of-season haircut, minus the fancy salon chair and the awkward small talk. Once daylily leaves turn yellow, brown, and floppy, they have finished their job of feeding the roots below.
Leaving that soggy foliage in place over winter can create a damp hideout for slugs and a breeding ground for fungal problems. Trimming it back keeps the bed tidy and helps sunlight reach the soil on chilly, gray afternoons.
Wait until most of the leaves have faded, which often happens after the first light frost, usually in October or November depending on your area. Cutting green, healthy leaves too early robs the plant of energy it still needs to store underground.
Grab a clean pair of sharp shears and gather the leaves into one bunch, like a loose ponytail. Snip straight across at about three to four inches above the crown, where leaves meet the roots.
Going lower than that can expose the tender crown to icy water and hungry critters during cold snaps. A short stub of leaves acts like a tiny umbrella, shedding rain away from the sensitive center.
Some evergreen and semi-evergreen types stay green much longer, especially in warmer southern gardens with mild winters. For those, simply pull off the brown outer leaves and leave the fresh green ones alone until spring.
Toss healthy trimmings into your compost pile, where they will break down into rich, crumbly food. Any leaves with streaks or spots should go in the trash instead, so problems do not spread.
Clear Fallen Debris From Around Each Plant
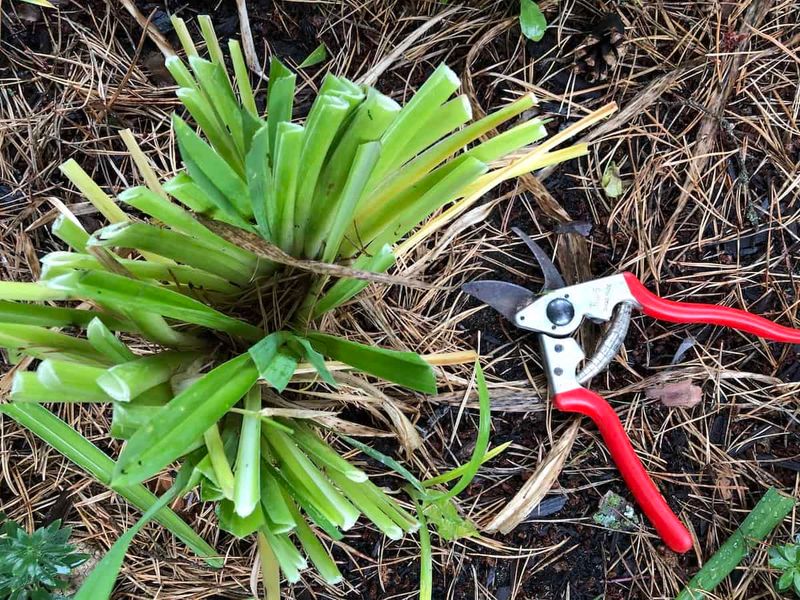
Slugs, snails, and tiny beetles often shelter under soggy piles of leaves through the winter. Your daylily bed can quietly become their cozy hotel if fallen debris piles up around each plant.
Maple leaves, acorns, old flower stalks, and windblown twigs all collect around the base of clumps in October. Once wet, that layer traps moisture right against the crown and invites rot to settle in.
A leaf rake with flexible tines works well for open spaces between plants without scraping up the soil. Close to the clumps, your gloved hands are the gentlest tool for pulling debris away from tender stems.
Snap off any leftover flower scapes, those tall bare stalks that once held the blooms in midsummer. They usually pull free with a gentle tug once they turn brown and dry at the base.
Keep an eye out for weeds hiding in the mess, since fall is a great time to pull them. Roots of many weeds loosen up after a rain, making the job quicker and much less frustrating.
Fun fact: daylilies earned their name because each flower opens for just one day and then closes. Their Greek name, Hemerocallis, roughly means beauty for a day, which fits these cheerful plants rather well.
Healthy leaves you rake up can go straight into the compost bin or get shredded for future mulch. A clean bed in October can mean fewer pests waking up hungry and ready to munch next spring.
Soak The Roots During Dry Autumn Weeks
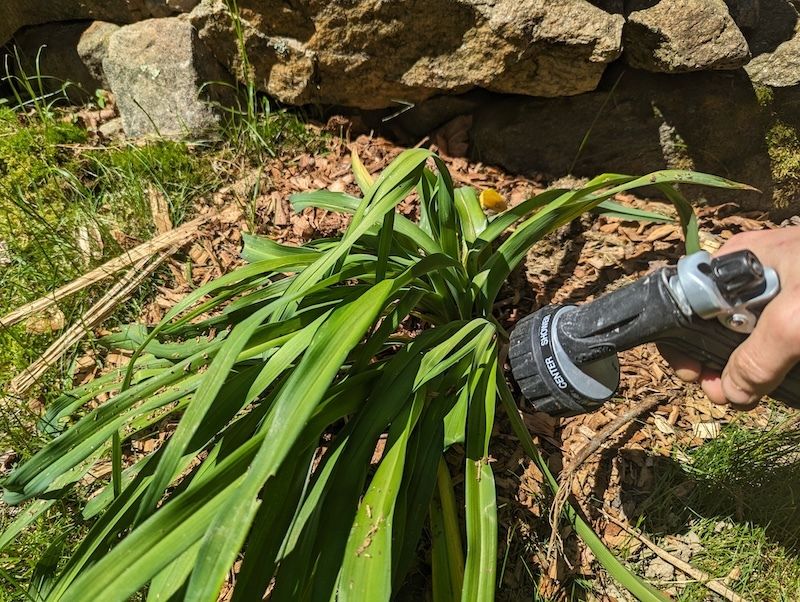
Who knew a plant could get thirsty while the air feels crisp and sweaters come out of the closet? Autumn often brings long stretches without rain, and daylily roots keep working hard underground the whole time.
Those thick, fleshy roots store water and energy that help the plant survive the cold months ahead. When the soil turns dusty and dry, the roots shrink and head into winter weak and stressed.
A simple finger test tells you a lot, so poke your finger about two inches into the soil. If it feels dry at that depth, your plants would welcome a long, slow drink soon.
Deep watering once a week works much better than a quick splash every day from the hose. Aim for about one inch of water, which soaks down to where the roots actually live and grow.
A soaker hose or drip line delivers water slowly at ground level and keeps the leaves dry. Morning is the best time to water, giving the soil all day to absorb moisture before chilly nights.
Freshly divided plants need extra attention, since their roots are still settling into their new homes. Check on them every few days for the first month, especially when the wind blows warm and dry.
Once the ground starts to freeze, you can roll up the hose and give your watering can a rest. Well-watered roots head into winter plump and ready, a bit like a bear after a big autumn feast.
Protect Fresh Transplants With A Loose Winter Layer
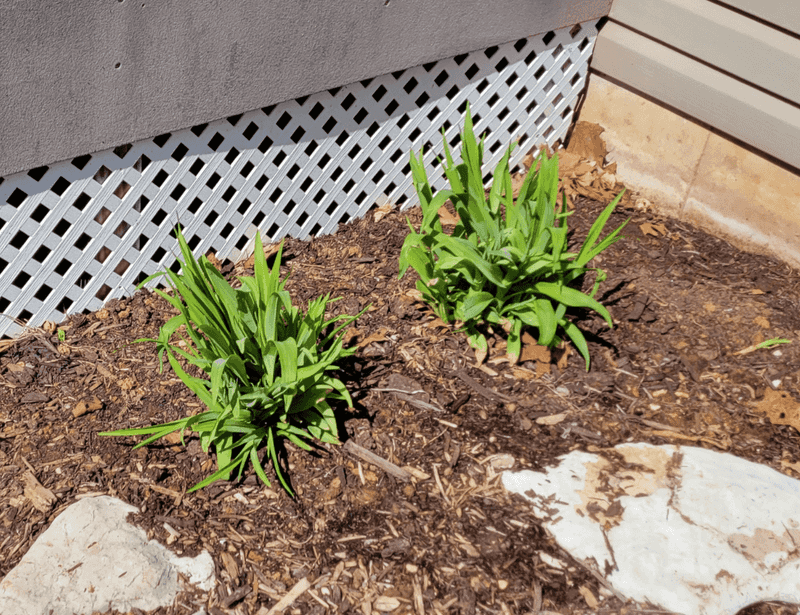
Remember how good a thick quilt felt on a frosty night when you were little and the house was chilly? New daylily divisions crave that same snug feeling as they settle into fresh soil before the cold arrives.
Young transplants have not grown deep roots yet, so freezing and thawing can push them right out of the ground. Gardeners call this frost heaving, and it leaves tender roots exposed to drying winds and icy air.
A layer of mulch keeps the soil temperature steady, so the ground stays frozen instead of bouncing around. Shredded leaves, pine straw, and clean straw all work nicely and cost little or nothing at all.
Wait until the ground has cooled and the first hard frost has passed, usually in late fall. Mulching too early can keep the soil warm and attract mice looking for a snug winter burrow.
Spread about two to four inches of loose material across the bed, fluffing it up like pillow stuffing. Keep a small gap right around each crown so air can still move and water can drain.
Shredded leaves from your own yard are a smart choice, since they break down into rich soil over time. Run a lawn mower over a pile a few times to chop them small, so they rarely mat down.
Established clumps in milder areas usually do fine without extra cover, so focus your mulch on the newcomers. Pull some of it back in spring when green shoots start poking up through the cozy layer.
Label Each Variety Before The Leaves Disappear
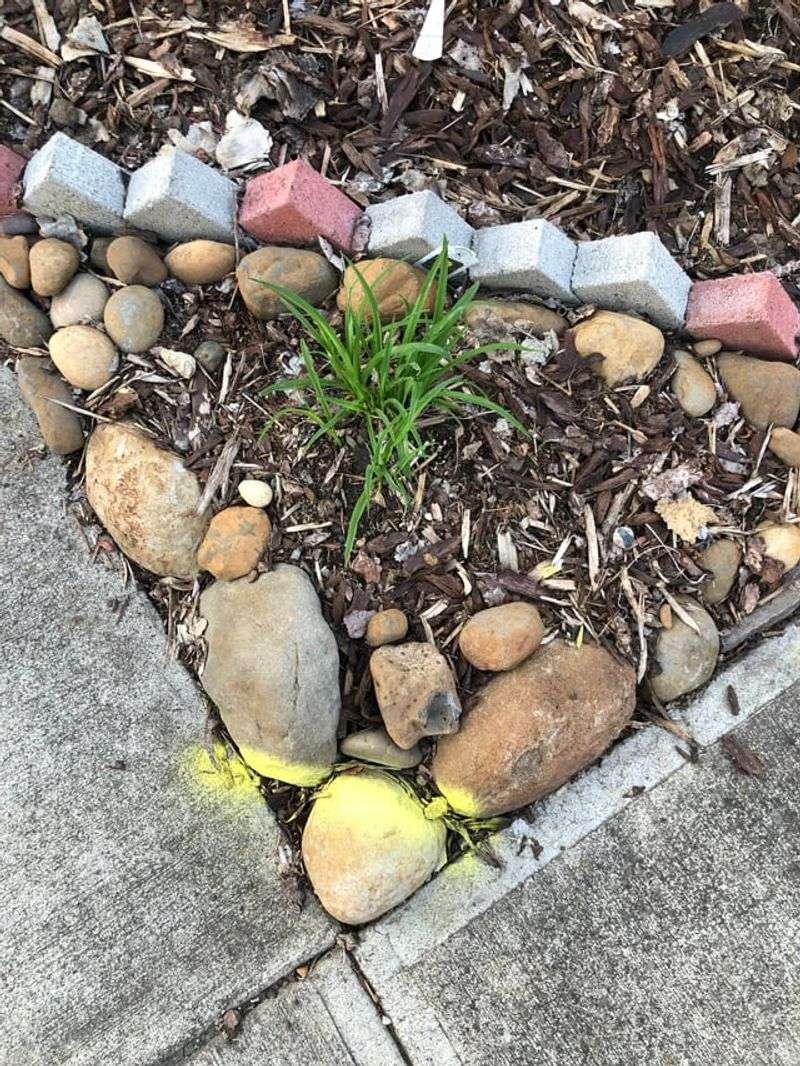
Each spring, many gardeners stand over a patch of green shoots and wonder which plant was which. Was that the ruffled peach beauty or the deep red one your grandmother shared from her backyard?
With tens of thousands of registered daylily varieties, keeping track by memory alone gets tricky pretty fast. Once the leaves are trimmed or faded, most clumps look nearly identical, like brown tufts of hair.
Labeling now, while you still remember colors and bloom times, saves a lot of guesswork later on. Correct names also matter if you plan to trade or sell divisions with other plant lovers nearby.
Sturdy metal or plastic stakes work best, since thin wooden sticks often rot or snap over winter. Push each marker deep into the soil, so frost heaving and curious squirrels cannot easily pull it out.
Use a pencil or a fade-resistant garden marker, because regular ink often washes away after a few rains. Write the variety name, flower color, and the year you planted it if you have the room.
A simple garden map makes a great backup in case a label goes missing over the cold months. Sketch your beds on paper or snap a few phone photos with the labels clearly visible in each shot.
Some gardeners even keep a little notebook with bloom dates, heights, and notes about which plants performed best. That record turns into a handy reference when you plan new beds or choose plants to divide.
Skip Heavy Nitrogen Feeding This Late In The Season
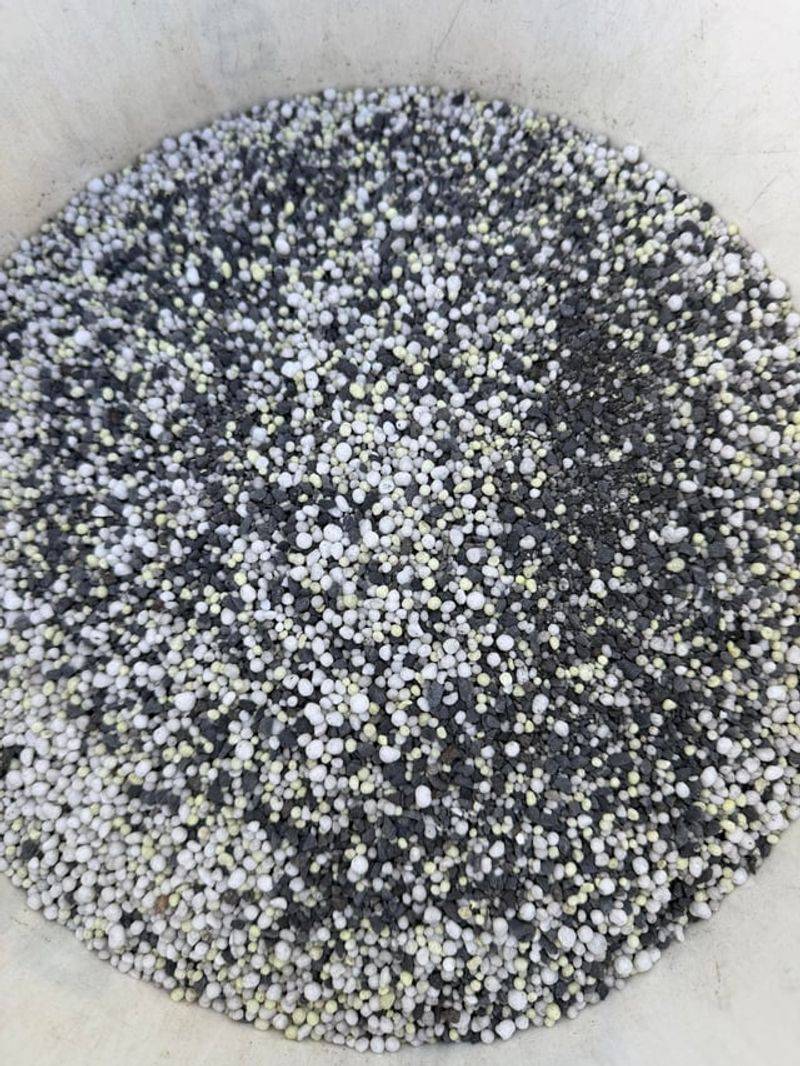
Feeding a plant heavy nitrogen in October is a bit like handing a sleepy kid a candy bar at bedtime. You get a sudden burst of energy at exactly the wrong time, and nobody rests well afterward.
Nitrogen pushes plants to grow soft, leafy shoots, which is great in spring but risky this late. Those tender new leaves have little time to toughen up before the first hard freeze arrives.
Frost can damage that fresh growth quickly, leaving mushy tissue that may invite rot into the crown. Meanwhile, the plant wastes stored energy it should be saving for strong blooms next summer and beyond.
Daylilies are famously tough and rarely need much fertilizer at all, especially in decent garden soil. In fact, too much feeding over the years often leads to floppy leaves and fewer flowers each summer.
If a soil test shows low phosphorus, a light sprinkle of bone meal is a gentler option now. Phosphorus supports root growth without forcing out a flush of tender green leaves.
Compost is another friendly option, since it feeds the soil slowly and improves drainage over time. Spread a thin layer around the clumps and let worms and winter weather work it into the ground.
Save the balanced fertilizer for early spring, when new shoots are just starting to poke through the soil. Timing your feeding this way gives plants the fuel they need right when they can actually use it.
Avoid Piling Mulch Directly On The Crowns
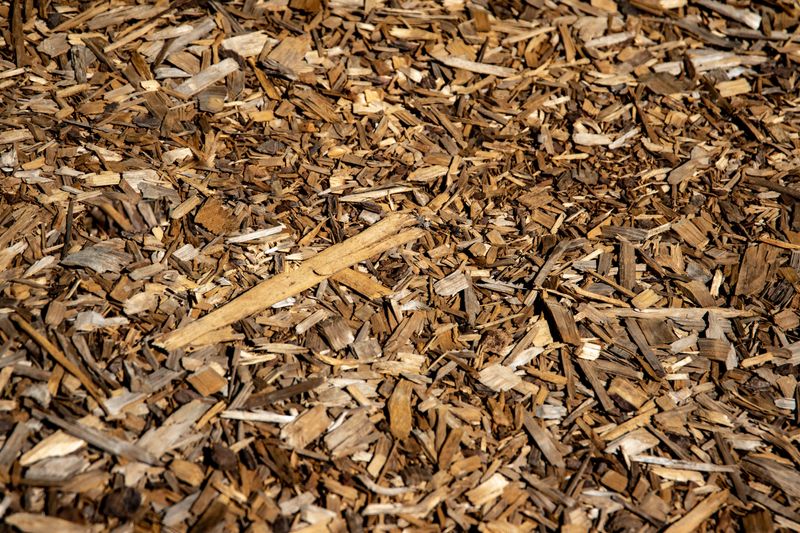
More is not better when it comes to mulch, even though piling it high feels generous and protective. Plenty of kind-hearted gardeners heap a big mound right over each crown, hoping to keep plants extra warm.
Unfortunately, a thick blanket sitting directly on the crown holds moisture against it for weeks at a time. That soggy, airless spot becomes a perfect home for crown rot, a fungal problem that spreads quietly.
You might not notice any trouble until spring, when some fans stay mushy and fail to sprout. Pull one of those soft fans and it may slip right out, smelling sour and looking brown inside.
Mice and voles also love a deep pile of mulch, since it gives them shelter right next to a snack. Those fleshy daylily roots look like a winter buffet to hungry critters tunneling through the soft layer.
A better approach is to pull mulch back two or three inches from the center of each clump. Picture a donut shape, with a cozy ring of cover and a small open hole in the middle.
That little gap lets air circulate and rainwater drain away instead of puddling around the tender growing point. Heavy, wet materials like grass clippings or whole leaves are the worst offenders, so skip those near crowns.
Check your beds after big storms, since wind and rain can shift mulch back over the plants. A quick sweep with your hand or a small rake keeps each crown breathing easy until spring.