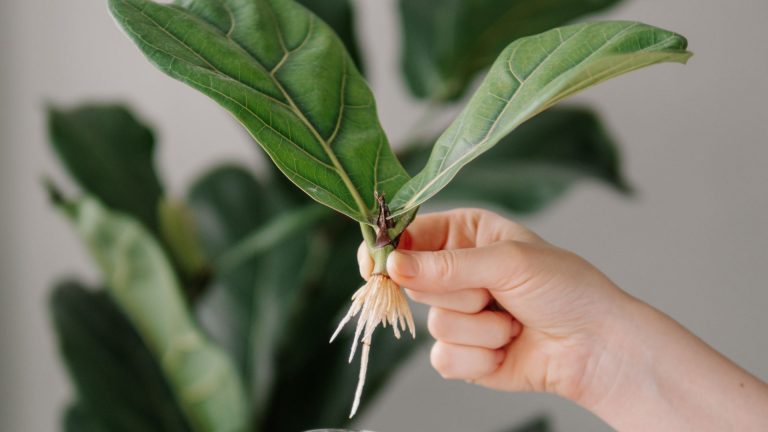
How To Propagate Lavender From Cuttings This Fall
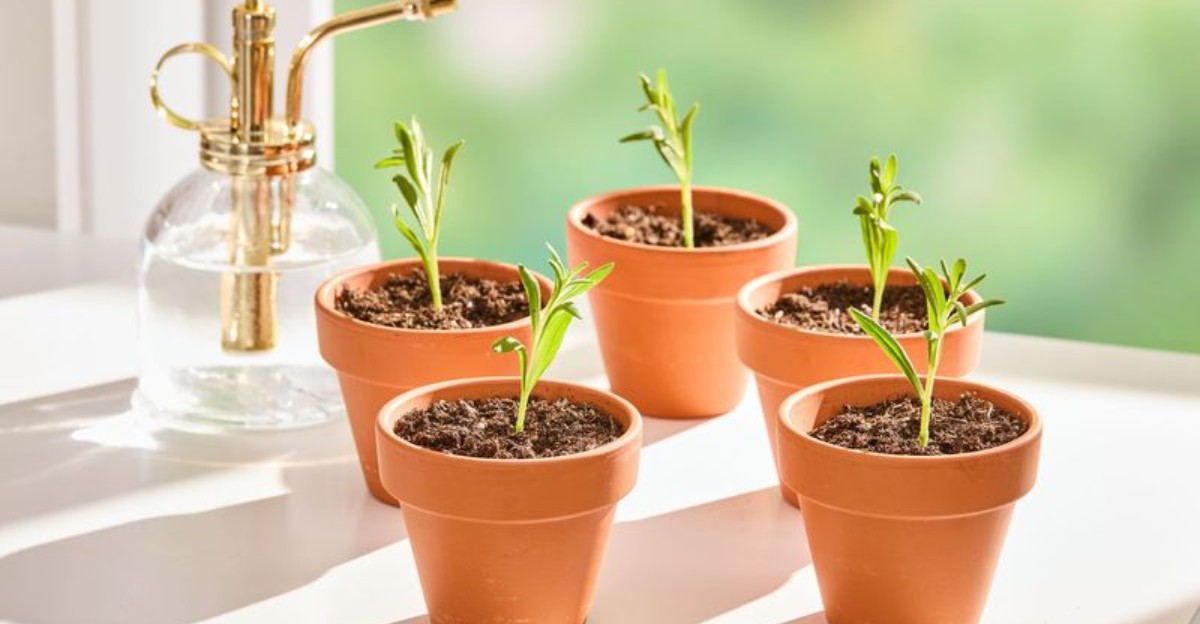
Some garden scents can stop you in your tracks on a cool morning, like a purple hug for your nose. Imagine growing a whole row of that fragrance while spending very little at the busy garden center.
Fall brings softer sunlight and cooler air, and the parent plant is past its busiest growing season, which makes it a handy time to take cuttings. Many gardeners overlook this season, yet it often rewards patient hands with sturdy roots by the following year.
All you really need is a sharp pair of snips, a few small pots, and a sunny windowsill. Your kitchen may pick up a light herbal scent while the cuttings root, which is a pretty sweet bonus.
Kids, grandparents, and first-time growers can all join in, since the steps feel more like a craft project. Watching tiny white roots poke through the soil feels a bit like uncovering buried treasure in your own backyard.
One healthy parent plant can quietly turn into a dozen new ones, each carrying that same dreamy perfume. Your garden is about to get a lot more crowded, and honestly, your nose will thank you for it.
1. Choose The Right Lavender Stems In Early Fall
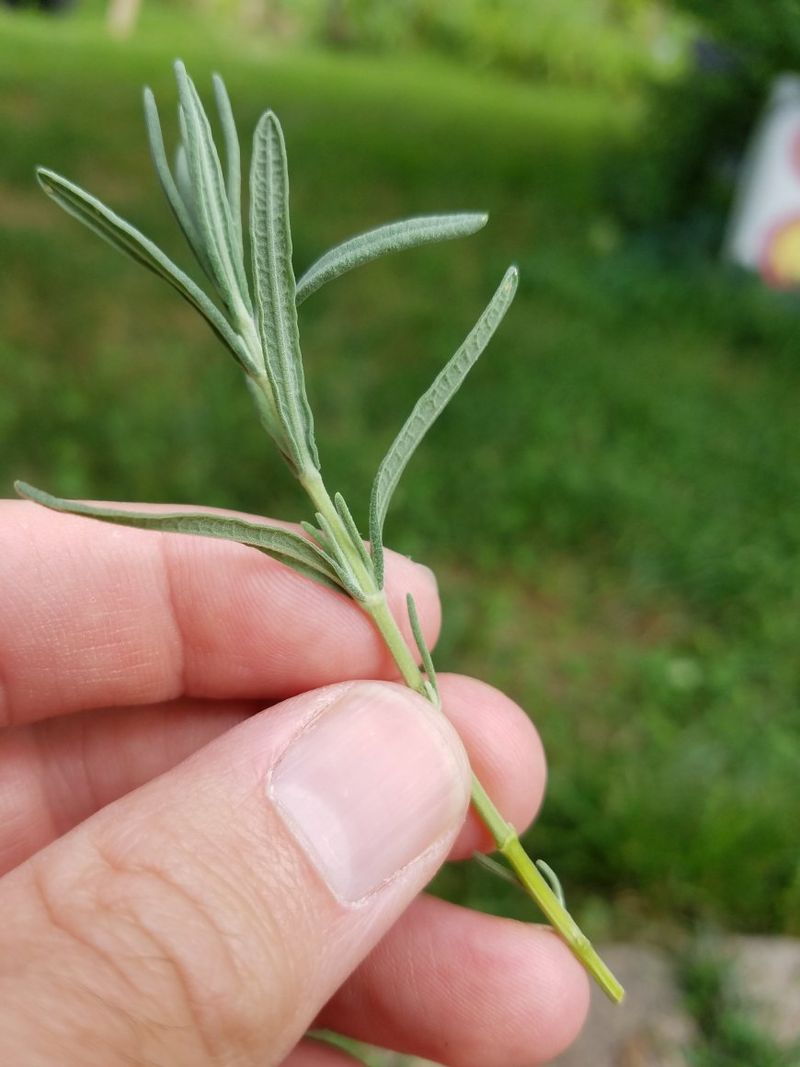
Picture a lavender bush in early October, still buzzing with a few lazy bees and covered in silvery leaves. That plant is a living gift shop, and your job is to pick the best stems from it.
Look for shoots that grew this year and still feel bendy, with soft green tips and firmer bases. Gardeners call these semi-hardwood cuttings, and they often root better in fall than brand new floppy growth does.
Skip any stems with flowers or fat buds, because the plant spends energy on blooms instead of roots. If you only find flowering stems, simply pinch off the purple tops before you start the rest of the process.
Healthy color matters a lot, so choose stems with bright gray-green leaves and no brown or yellow patches. Spotty or mushy stems usually carry problems that will follow them into their new pots and spread around.
Morning is a good time to collect cuttings, since the plant is full of water after a cool night. Afternoon sun can leave stems a little limp and thirsty, which makes them slower to recover and root.
Take a few more cuttings than you think you need, since success rates vary by variety and conditions and not every stem will form strong roots. Success rates vary by variety and conditions, so a few cuttings may not root.
English lavender types like Hidcote and Munstead tend to root well, making them friendly choices for beginners. Fun fact, the name lavender may come from the Latin word lavare, which means to wash or bathe.
2. Gather Simple Tools For A Smooth Start
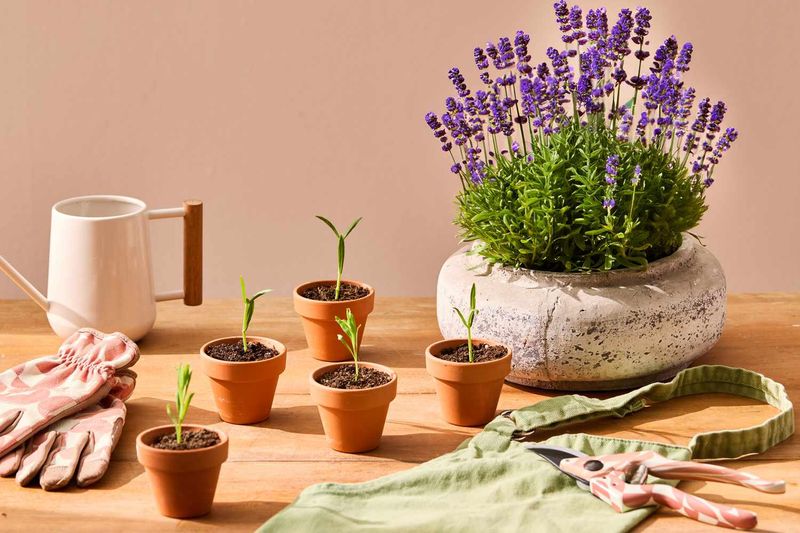
Nobody needs a fancy greenhouse for this project, just a handful of simple items you probably already own. Think of it as packing a tiny backpack for a short and very leafy adventure in your home.
Start with a pair of sharp, clean pruning snips that cut cleanly without crushing the stem. Dull blades squash the tiny tubes inside the stem, which makes it harder for water to move upward.
Wipe the blades with hot soapy water before you begin, then dry them with a clean paper towel. Clean tools help keep sneaky germs away from fresh cuts, which are like little open doors on the plant.
Next, grab a few small pots about three or four inches wide, each with holes in the bottom. Old yogurt cups work fine too, as long as you poke several drainage holes with a sharp pencil.
You will also want rooting hormone powder or gel, a pencil for poking holes, and a spray bottle. A clear plastic bag or an old clear container can act as a mini greenhouse dome over the pots.
Labels are easy to forget, but they save you from guessing which variety sits in which little pot. Popsicle sticks and a waterproof marker do the trick, and kids usually love decorating them with tiny doodles.
Set everything on a tray or old baking sheet so spills and loose soil stay off your table. Having your supplies ready before cutting means the stems spend less time drying out on the counter.
3. Snip And Strip Your Cuttings With Care
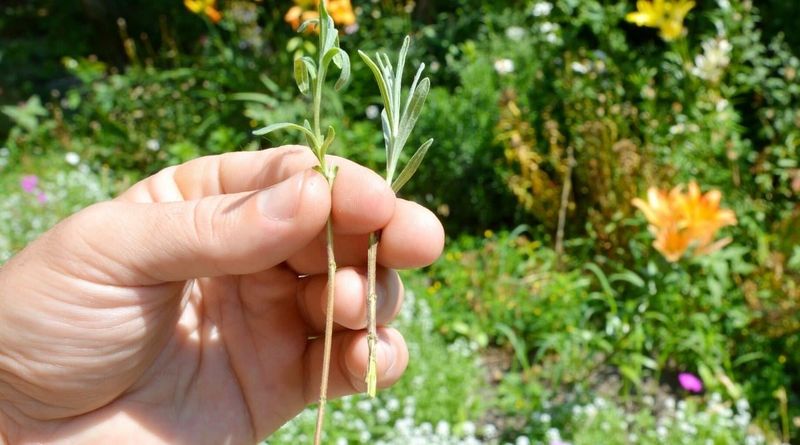
A clean cut is the quiet secret behind most successful cuttings, even though it only takes a second. Slow down here, because careful hands now save you a lot of disappointment a few weeks later.
Measure each stem to about three or four inches long, which is roughly the length of your finger. Make the cut just below a leaf node, the little bump where leaves grow out from the stem.
Nodes hold special cells that are ready to turn into roots, so cutting there gives each piece a head start. Some gardeners also like a heel cutting, gently tearing a side shoot away with a small strip of bark.
After cutting, strip the leaves from the bottom half of the stem by running your fingers downward. Your hands will smell amazing afterward, so you might want to keep a few leaves for a sachet.
Leaves left below the soil line tend to rot, which can invite mold and spoil the whole cutting. Keep the top few leaves in place, because they still make food for the stem while roots form.
Some growers lightly scrape a thin layer of skin from one side of the bottom inch of stem. That small scrape exposes more growing tissue, which may help roots form.
Work in a shady spot and lay finished cuttings on a damp paper towel so they stay fresh. Try to plant them within an hour, while the stems are still crisp and full of moisture.
4. Dip The Ends In Rooting Hormone For A Boost
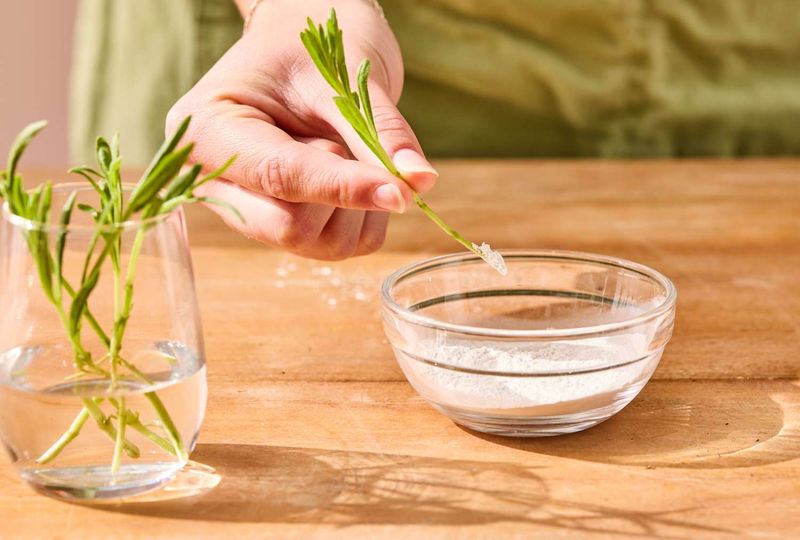
Plants make their own natural rooting chemicals, called auxins, but a little extra help can speed things along. Rooting hormone is basically a boosted version of that plant signal, sold as powder, gel, or liquid.
Pour a small amount into a separate dish instead of dipping straight into the original container. Dipping directly can spread moisture and germs into the whole jar, which shortens its useful life on your shelf.
Moisten the bottom inch of each cutting with water, then roll it gently in the powder. Tap off the extra dust, since a thin coat often works better than a thick, clumpy layer.
Gel products cling nicely and are less messy, which makes them handy if young helpers are joining you. Read the label carefully, and wear gloves if the instructions recommend them for protecting your skin.
Gardeners who prefer a natural route sometimes dab the cut ends in a little raw honey instead. Honey does not contain hormones, but it may help keep germs away while the stem starts healing.
Willow water is another old trick, made by soaking chopped willow twigs in a jar for a day. Willow naturally contains rooting compounds, so the water may offer a mild boost to your lavender stems.
Lavender can root without any hormone at all, so think of this step as helpful rather than required. In cooler fall weather, though, that extra nudge may help roots appear a bit sooner.
5. Mix A Gritty Soil That Drains Fast
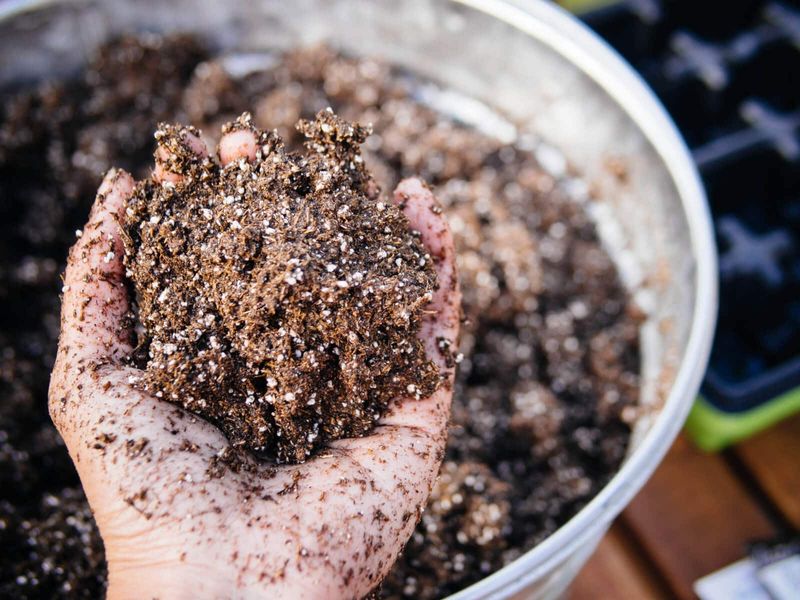
Lavender has the personality of a beach lover, happiest when its feet stay dry and sandy. The plant first grew wild on rocky Mediterranean hillsides, where the soil drains quickly.
Regular potting soil holds too much water for cuttings, and soggy stems often turn black and mushy. A gritty, airy mix lets roots breathe while still holding just enough moisture to keep them growing.
A simple recipe uses equal parts seed starting mix and perlite, those little white crunchy bits that look like popcorn. Coarse sand works too, but skip fine play sand because it packs down tightly and holds too much water.
Some gardeners add a scoop of vermiculite, which holds a bit more water during dry indoor heating months. Mix everything in a bucket and add water slowly until the blend feels like a wrung-out sponge.
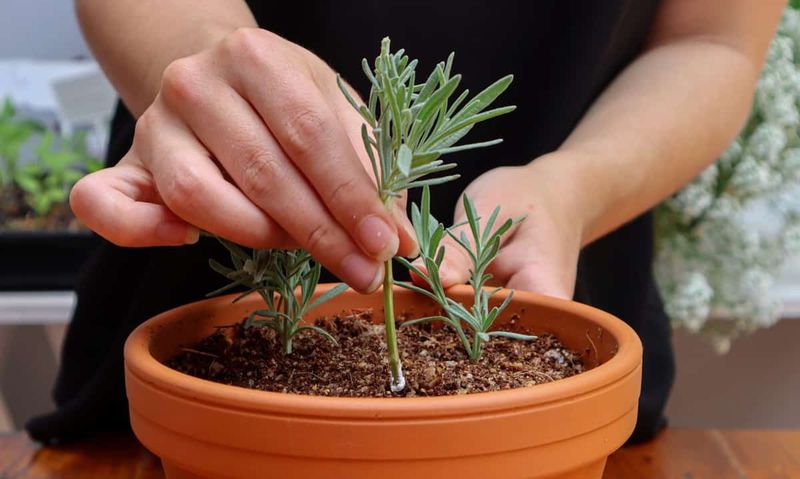
Fill each pot almost to the top, then tap it on the table so the mix settles evenly. Use a pencil to poke a hole about two inches deep for each cutting you plan to plant.
Pre-made holes keep the rooting powder from rubbing off as the stem slides gently into the soil. Press the mix lightly around each stem so it stands upright without wobbling like a loose tooth.
You can tuck three or four cuttings around the edge of one pot to save space on the windowsill. Edges tend to dry slightly faster and stay warmer, which many growers believe encourages quicker root growth.
6. Find A Bright And Cozy Spot Indoors
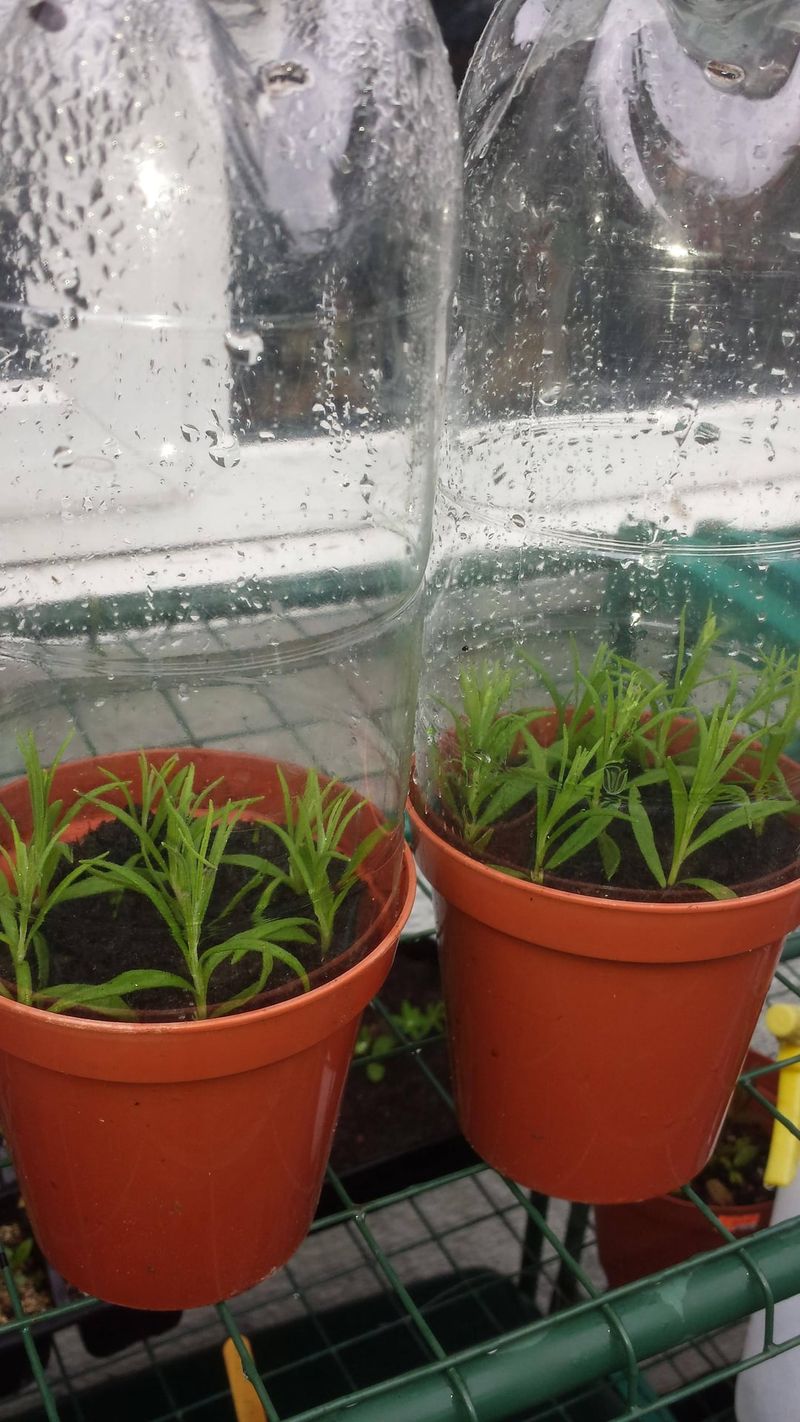
Early October nights can turn chilly fast, so most fall cuttings feel happiest tucked inside your home. Think of the setup as a cozy nursery, warm enough for growth but bright enough for steady energy.
A bright windowsill facing south or east usually works well, giving the stems gentle light for several hours. Harsh direct sun through glass can scorch young leaves, so a sheer curtain helps soften the afternoon glow.
Room temperatures between sixty-five and seventy degrees tend to suit rooting stems, much like a comfy sweater day. Keep pots away from heating vents and drafty doors, since sudden temperature swings can stress the tender cuttings.
Short fall days sometimes leave windowsills a little dim, especially if you live under cloudy northern skies. A simple LED grow light placed a few inches above the pots can fill in those gloomy gaps nicely.
Set the light on a timer for about twelve to fourteen hours a day to mimic longer days. Cuttings respond to steady routines, and a timer means you will not forget on busy school mornings.
Covering pots with a clear bag or dome holds in humidity, which keeps leaves from drying out too quickly. Lift the cover for a few minutes each day so fresh air moves around and mold stays away.
Bottom heat from a seedling mat can speed rooting, especially when your house runs cool at night. Your cuttings will quietly settle in, and the room may pick up a soft, herbal scent as well.
7. Water Lightly And Watch For Roots
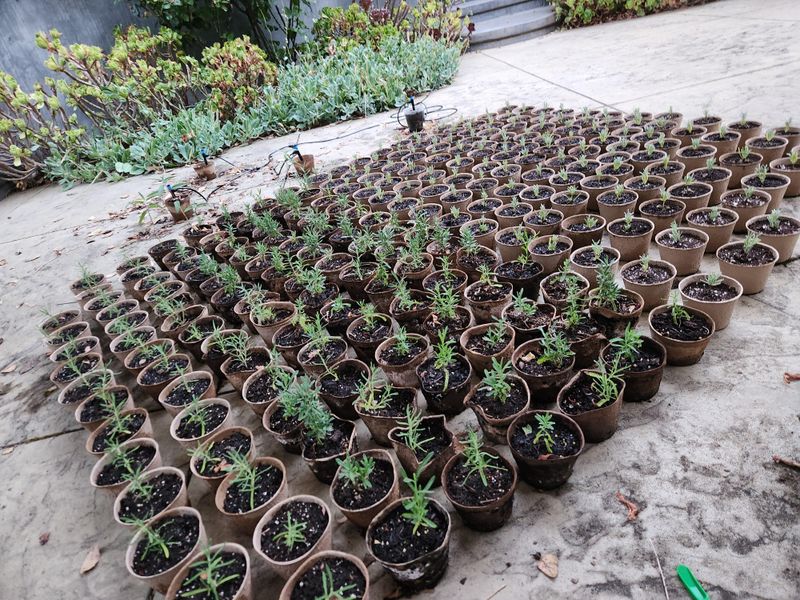
Patience is the hardest ingredient in this whole project, and nobody sells it at the garden store. Lavender cuttings often take four to eight weeks to grow roots, and cooler fall air can stretch that timeline.
Water gently right after planting, letting the extra drain out of the bottom holes into a saucer. After that first drink, wait until the top half inch of soil feels dry before watering again.
Too much water is a common reason cuttings fail, since soggy soil can lead to rot. A spray bottle works great for misting leaves, giving them moisture without flooding the tender stem below.
Around week four, give one cutting a very gentle tug to test whether anything is holding on underground. Feeling slight resistance is a happy sign, because it means tiny roots are gripping the gritty soil mix.
Fresh green growth at the tips is another clue that roots have formed and the cutting feels settled. Clear plastic cups make the waiting more fun, letting you spot white roots creeping along the sides.
Some cuttings will turn brown or droop, and that is normal even for experienced gardeners with green thumbs. Remove struggling stems promptly so mold or fungus does not spread to the healthy neighbors in the pot.
Keep a simple notebook with dates and observations, which helps you learn what works best in your home. Next fall, those notes will feel like a personal guidebook written by the smartest gardener you know.
8. Move Rooted Babies Into Bigger Pots Before Winter
Roots peeking out of drainage holes are the plant version of a toddler outgrowing last year’s sneakers. Once that happens, often by mid to late November, your young lavender is ready for a roomier home.
Choose pots about four to six inches wide, and fill them with the same gritty mix used earlier. Terracotta works especially well, since the clay breathes and helps extra moisture escape from the soil.
Gently tip the old pot sideways and slide the cutting out, keeping as much soil around the roots as possible. If several cuttings share a pot, tease them apart slowly, like untangling a necklace that got knotted up.
Plant each one at the same depth it grew before, then water lightly to help the soil settle. Most young plants spend their first winter indoors or in a cold frame, safe from heavy frost and snow.
Indoor plants like a cool, bright room during winter, and they need water only when the soil has dried out, which may be every couple of weeks. Lavender naturally slows down in the colder months, so do not worry if growth seems sleepy for a while.
Gardeners in mild areas can sometimes leave pots outside against a sunny south wall with a little protection. A layer of straw or burlap wrapped around the pots helps shield roots from sharp temperature drops overnight.
When spring warmth finally returns, your little plants can move into the garden and start their fragrant careers. Each one began as a simple snip this fall, and that is a pretty magical thing to share.