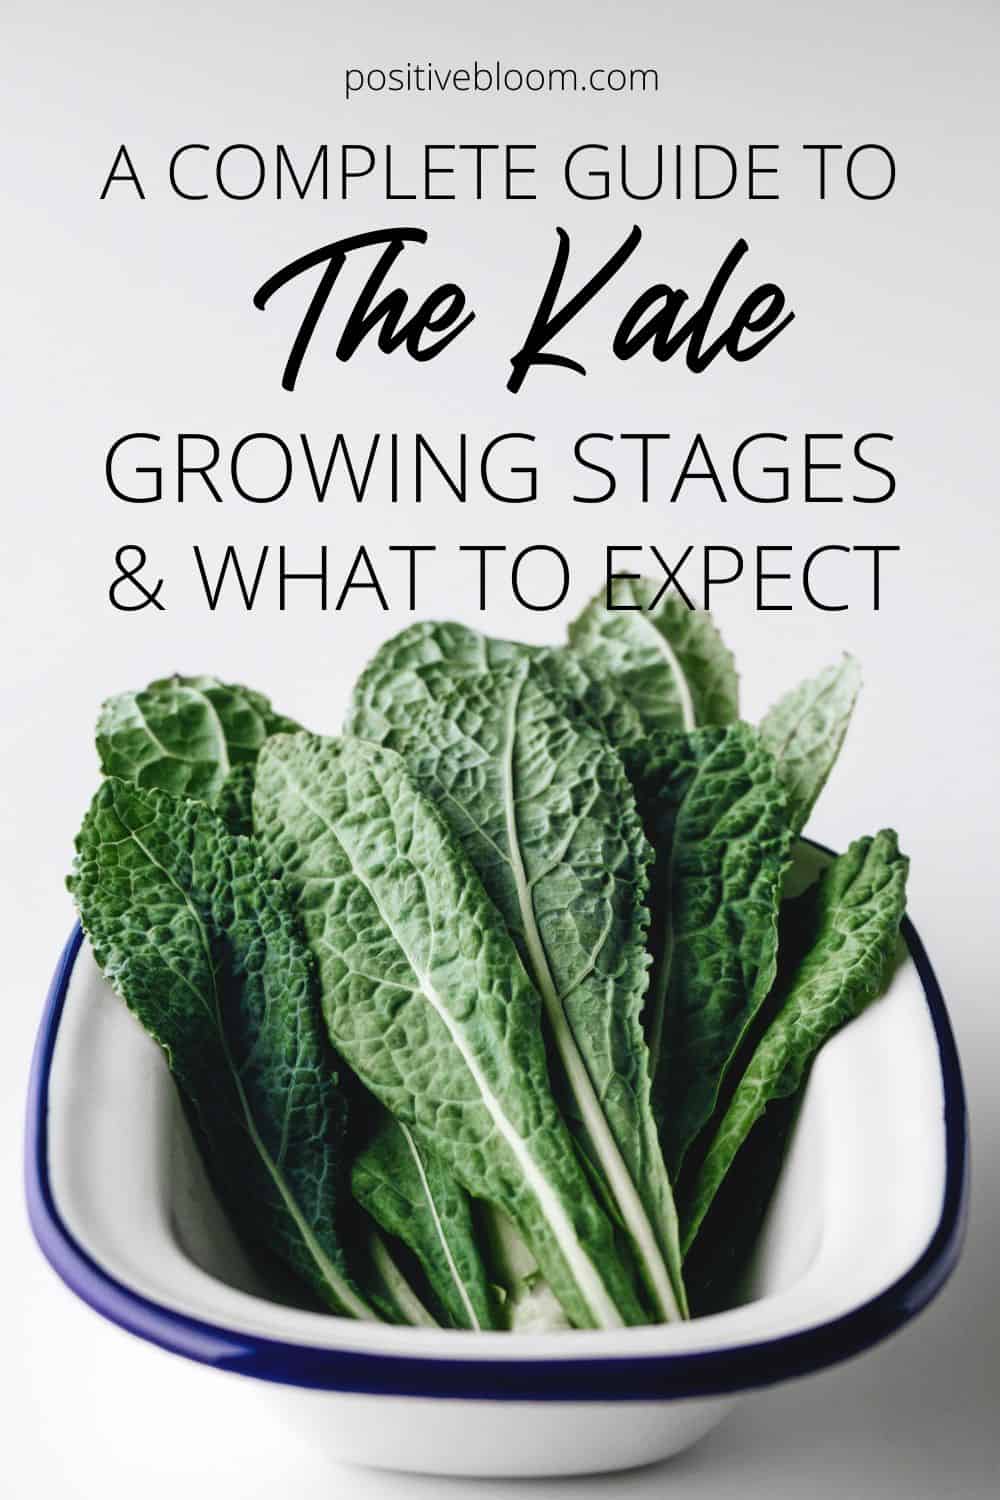
A Complete Guide To The Kale Growing Stages & What To Expect
Kale is definitely a veggie worth growing in your vegetable garden if you enjoy delicious salads, casseroles, and smoothies. Another reason you should eat kale regularly is that it is considered to be a superfood. Superfood kale is good for bones, eyes, and the immune system. It supports weight loss, decreases cholesterol, and prevents heart disease.
Kale, otherwise known as leaf cabbage or Brassica oleracea, is a vegetable that belongs to the Cabbage family. It is a cold-weather crop, which means that this veggie thrives in regions with cool temperatures.
Growing kale all on your own is relatively easy as it is a hardy plant that can adapt to various growing conditions. If you are considering growing kale, then keep reading to see what you can expect during the kale growing stages.
Kale Growing Stages
Kale is a cool-weather crop grown as a biennial plant, which means that it needs two years to complete its life cycle. However, there are still some varieties of kale that are grown as annuals.
The kale growing stages include planting the seeds and seed germination, along with sprouting and growing into little seedlings, then developing until the plant has reached maturity and is ready for harvesting and making delicious salads!
Let’s take a closer look.
1. Planting The Seeds
As they can make it through the cool season weather, you can sow kale seeds directly in the ground instead of starting them inside or growing your kale in a greenhouse. However, it’s always better to start the seeds indoors in order to prevent frost damage, and then transplant your little kale plants to a different location.
What’s also great is that you can plant kale seeds both in early spring and early fall. If you are planting the seeds in the early spring, you can start them indoors a few weeks before the last frost date and then transplant them once the soil temperatures have risen because the seeds germinate the best in warm soil.
The seeds can germinate in cool soil as well, so you can also sow them directly in the ground. However, I would suggest you do it a week or two after the frost or ten weeks before the first frost of the next season if you are planting fall crops. Use row covers to protect your veggies from light frost damage.
Please note that spring crops should be planted in a location where they are exposed to full sun, while crops planted in warm weather should be kept in partial shade. You can also consider planting them near sunflowers because they are great companion plants!
2. Seed Germination
We mentioned that the seeds germinate better in warm soil, which means that seeds started indoors will germinate a lot quicker. They need around 8 days to germinate. However, if the growing conditions are optimal — that is, if you have well-draining, loamy soil rich in organic nutrients, then the seeds will probably need around 5 days to germinate.
Before planting the seeds, you can immerse them in tepid water for about 24 hours to speed up the process.
Seeds sown directly in the ground will need 55 to 75 days to mature, while those started indoors need to be ready for harvesting in about 30 to 40 days, though this can vary between different kale varieties.
If there is no growth after two weeks of planting the seeds, there is something wrong so you should repeat the process.
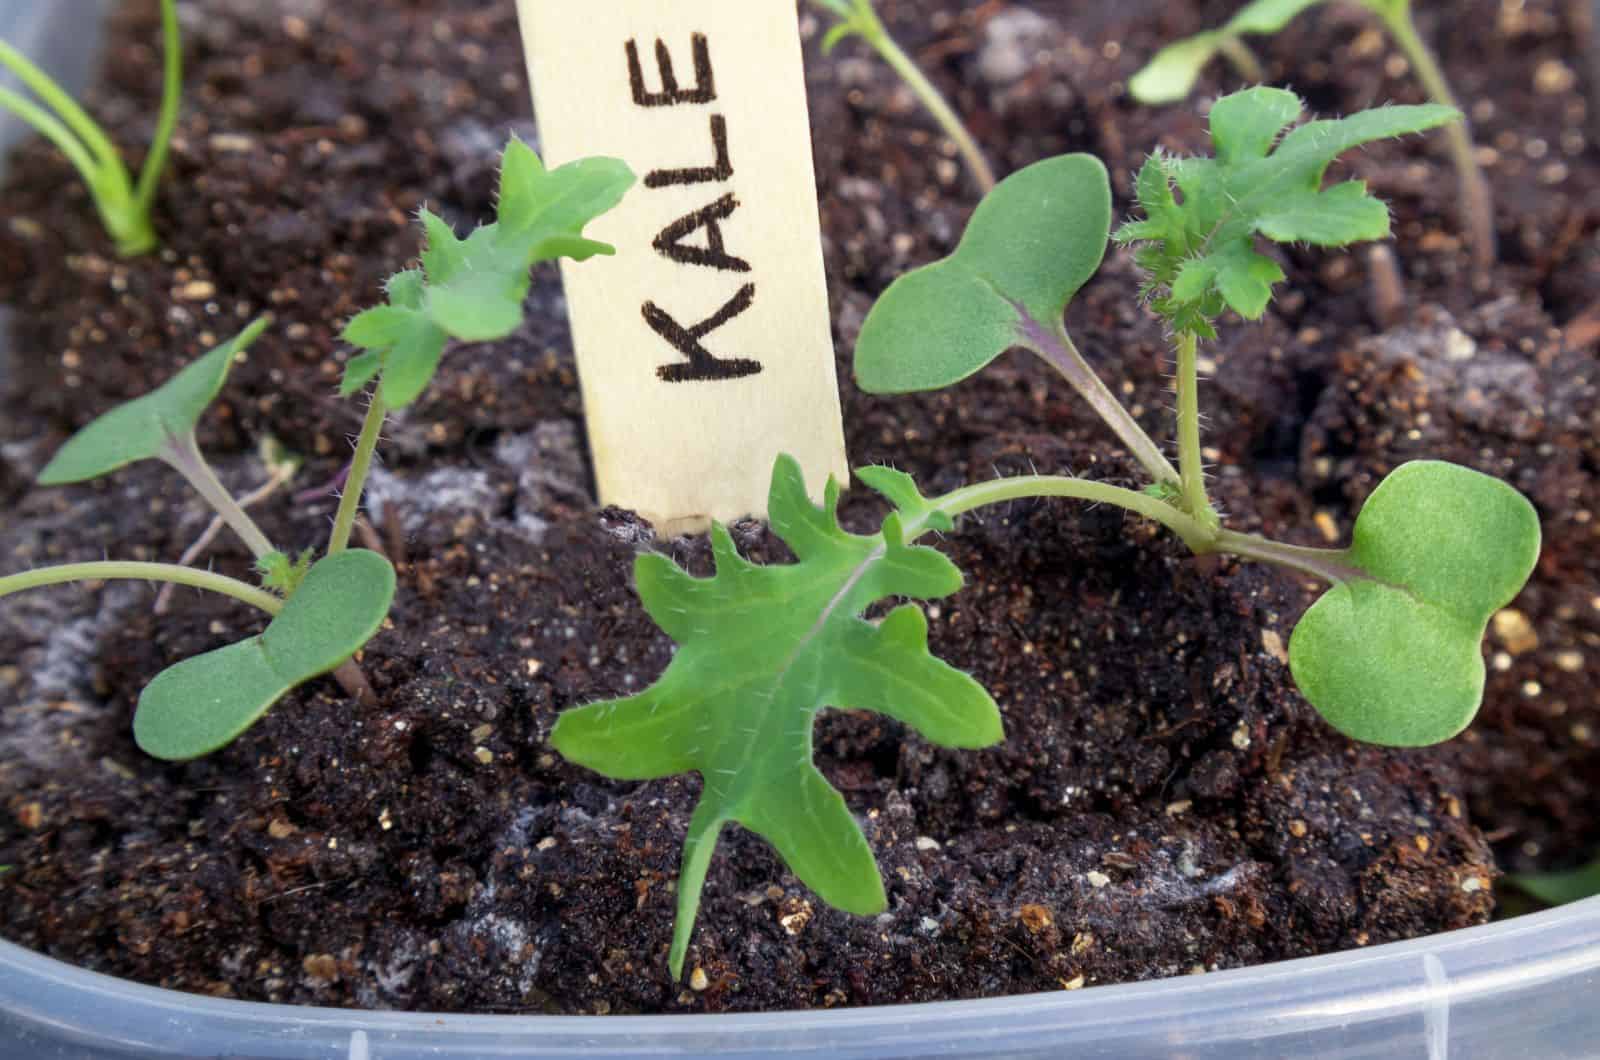
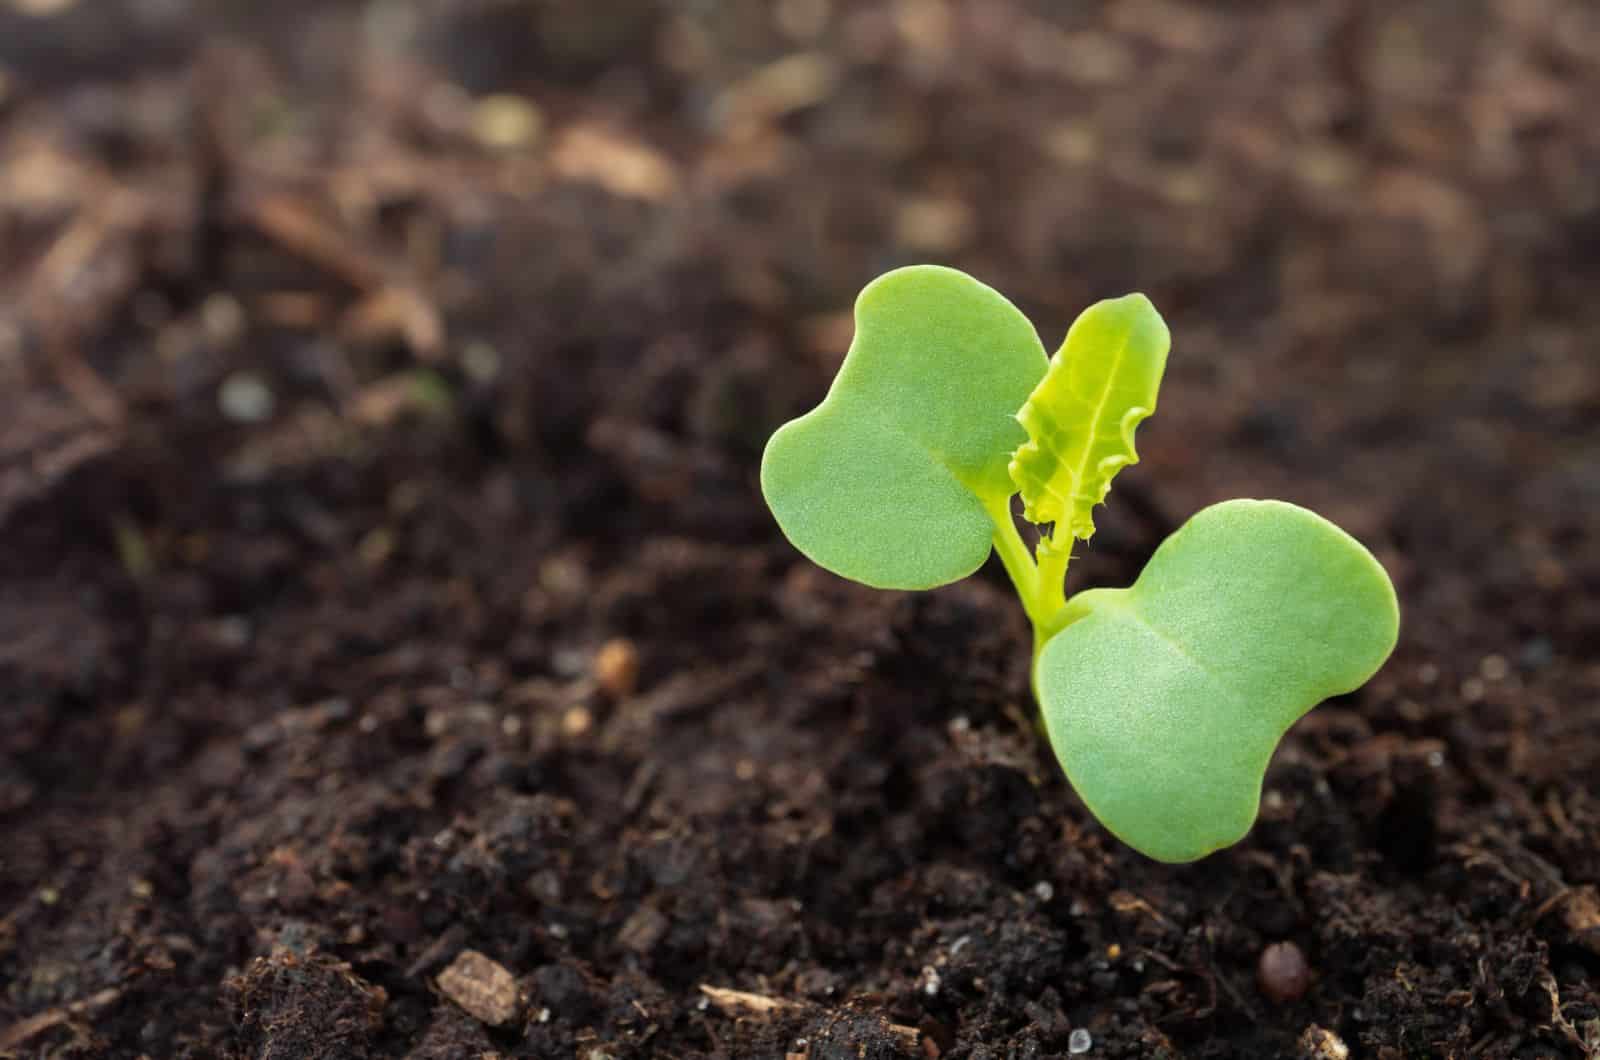
3. Kale Seedling Stage
Your seeds will begin to sprout after 5 to 8 days, and you will soon see the first leaves (also referred to as cotyledons) that will eventually turn into true leaves on your new plant. You will notice that the center of the plant has smaller new leaves, while there are larger kale leaves on the outside.
You’ll know germination has been successful once the small leaves start to emerge above the soil’s surface.
Your little kale plant will now use photosynthesis to absorb as much energy from the sun as it can to continue growing and developing.
During this stage, the little seedlings need moist soil to develop high and strong roots. You can add mulch around the base of the plant as well.
Once the seedling is several inches tall and it has around 5 leaves, you can begin the transplanting process. Bear in mind that the seedlings need to be hardened first so that they can continue growing perfectly fine outdoors as well.
Find the ideal location, which we mentioned previously, and add nitrogen-rich fertilizers to encourage leaf production.
5. Vegetative Growth
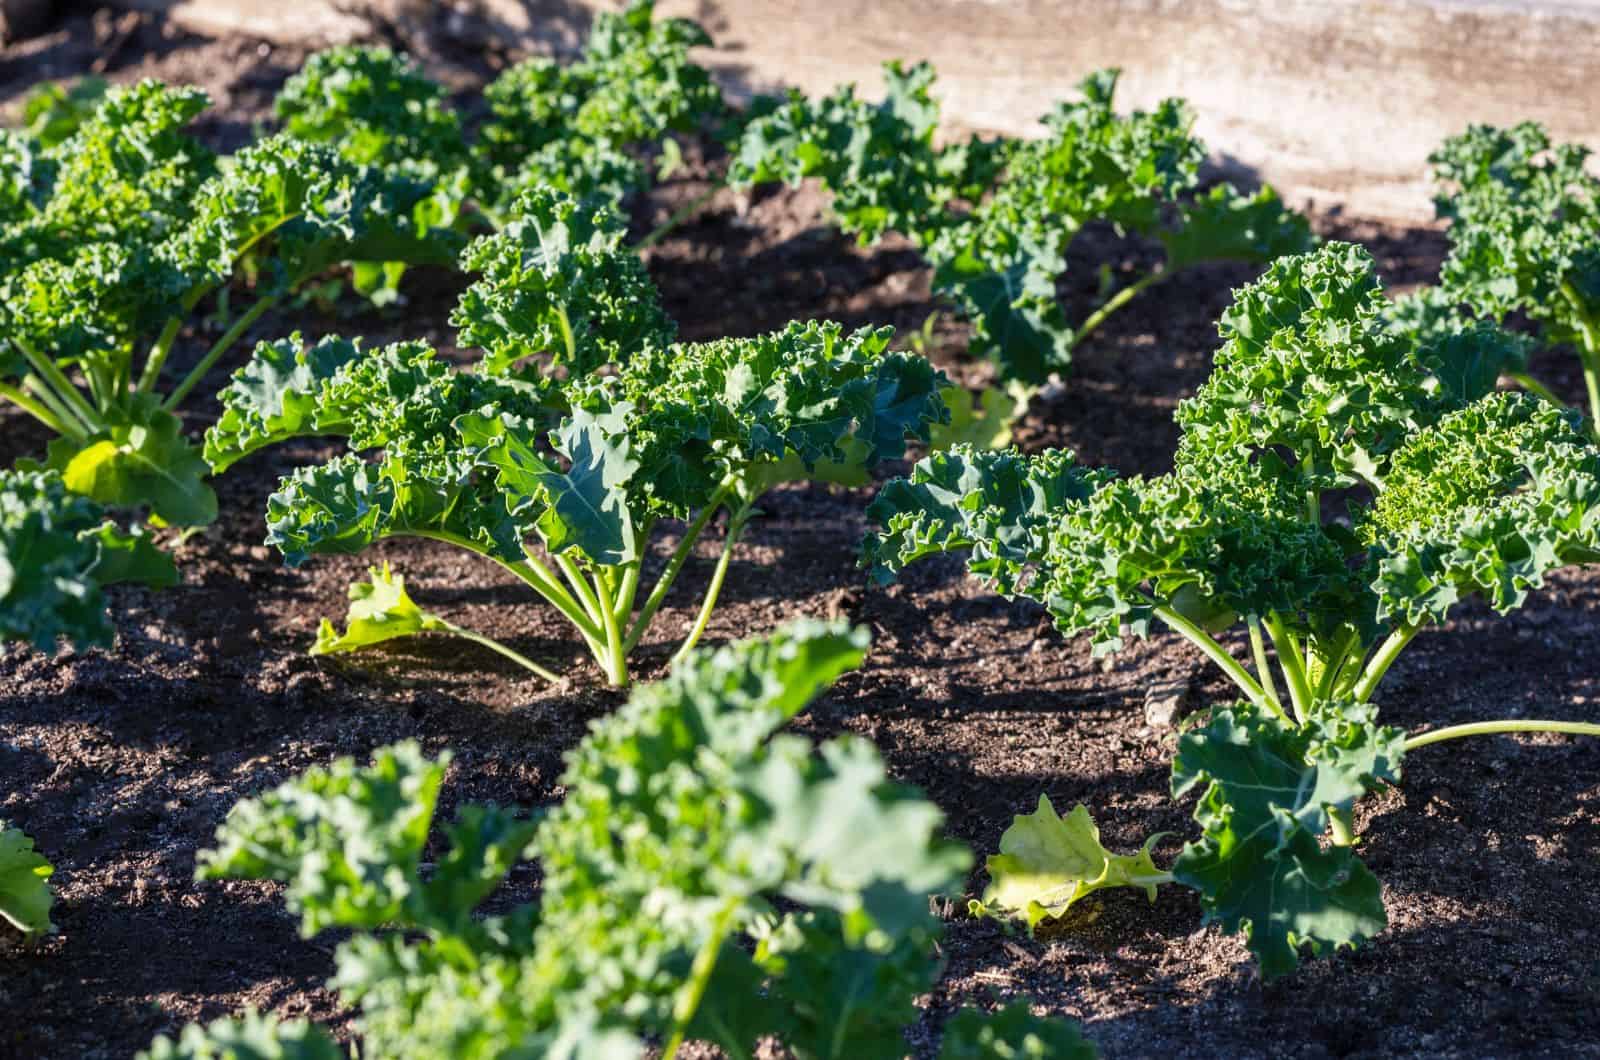
Your Kale plant will now develop roots and enough leaves for photosynthesis, allowing it to grow taller and wider.
You’ll see that the plant now occupies a lot more room than it did previously, proving that you are taking excellent care of it! Leaf formation will continue, but you’ll need to start fertilizing to provide your plant with enough nutrition for new leaf production.
Your kale plants will typically continue to grow more leaves during their first year of development if you regularly harvest the outer leaves, especially if you are in USDA zones 7 and above.
You will get the most out of your kale during the first growing season, and then the kale will go into the reproductive stage during the winter season.
Overwintering
Growers don’t usually let the kale overwinter because the next season’s leaves will be somewhat bitter and not as tasty as a result. In colder regions, the oldest leaves will probably just die off.
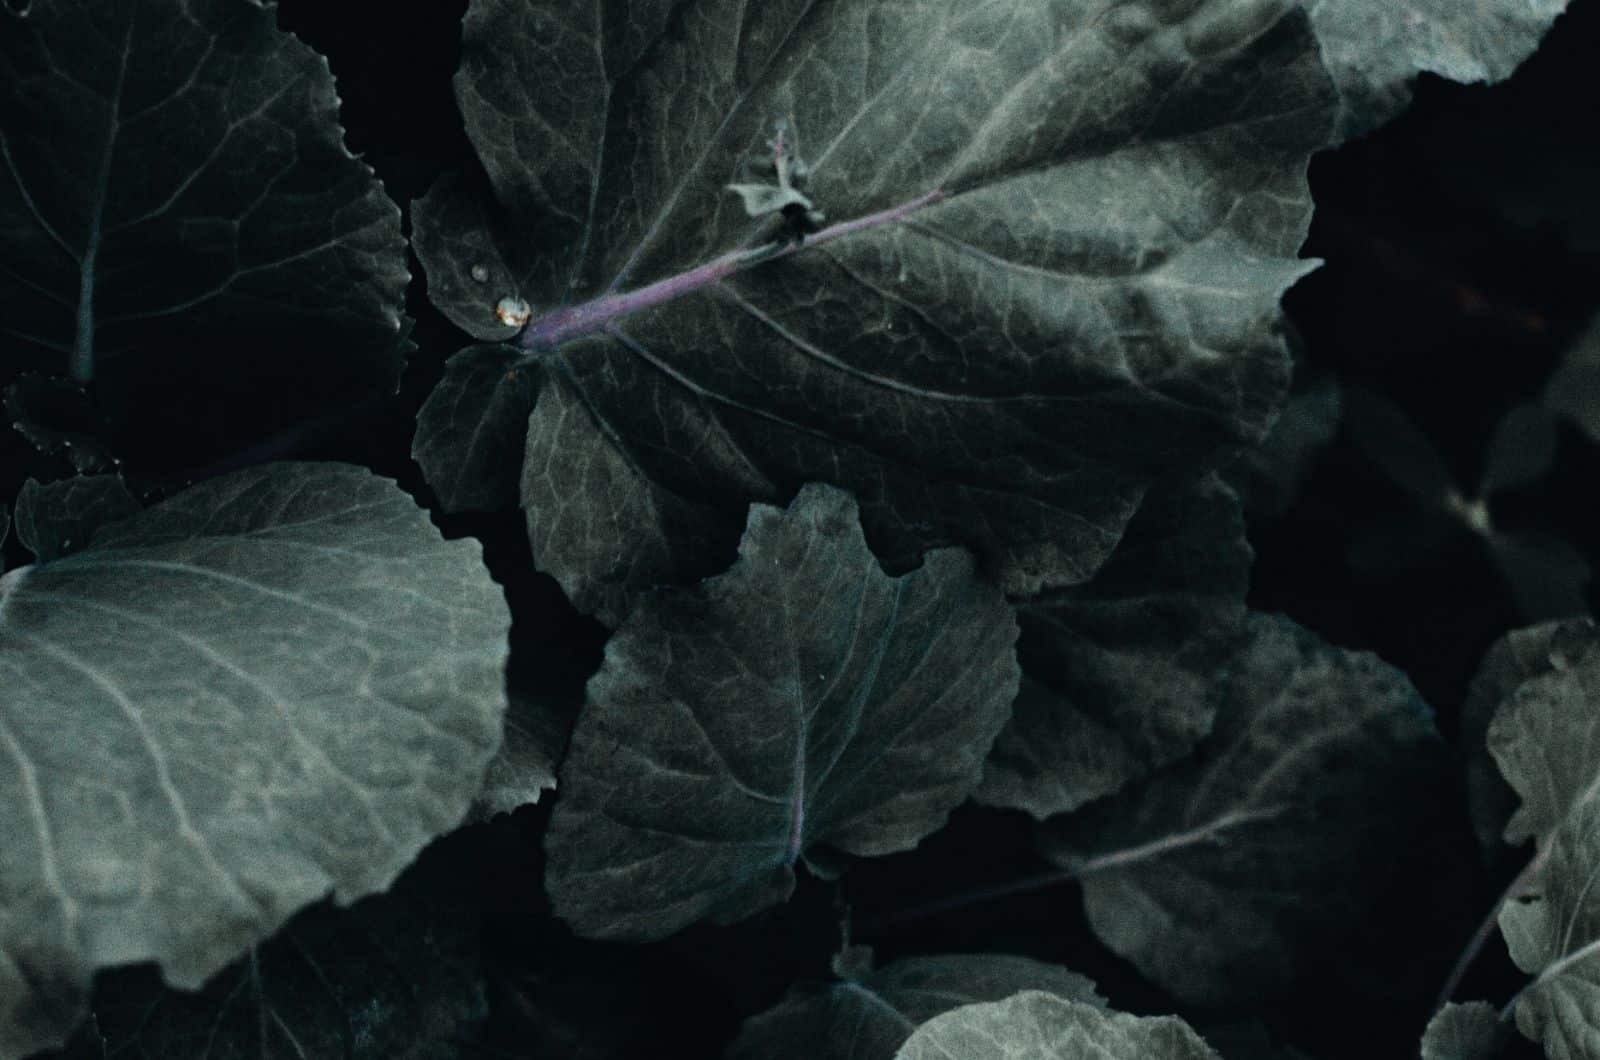
After they are done producing leaves, they will go into the reproductive stage where the plant will focus on producing flowers and seeds. In the spring, the kale plant will produce big stalks with yellow flowers on top for attracting pollinators, which is why kale makes a great companion plant.
While these flowers make the garden look much nicer, they make the kale leaves tougher and more bitter. You can still eat them in dishes and meals. The Siberian and Russian kale cultivars also have edible flower buds.
You will soon notice the development of long, thin, green seed pods as the plant continues to expand. Each kale plant’s life cycle will be finished by the seeds found inside these pods. Wait until the seed pods are dry before removing them to reveal the small seeds within if you want to collect the seeds to grow more kale.
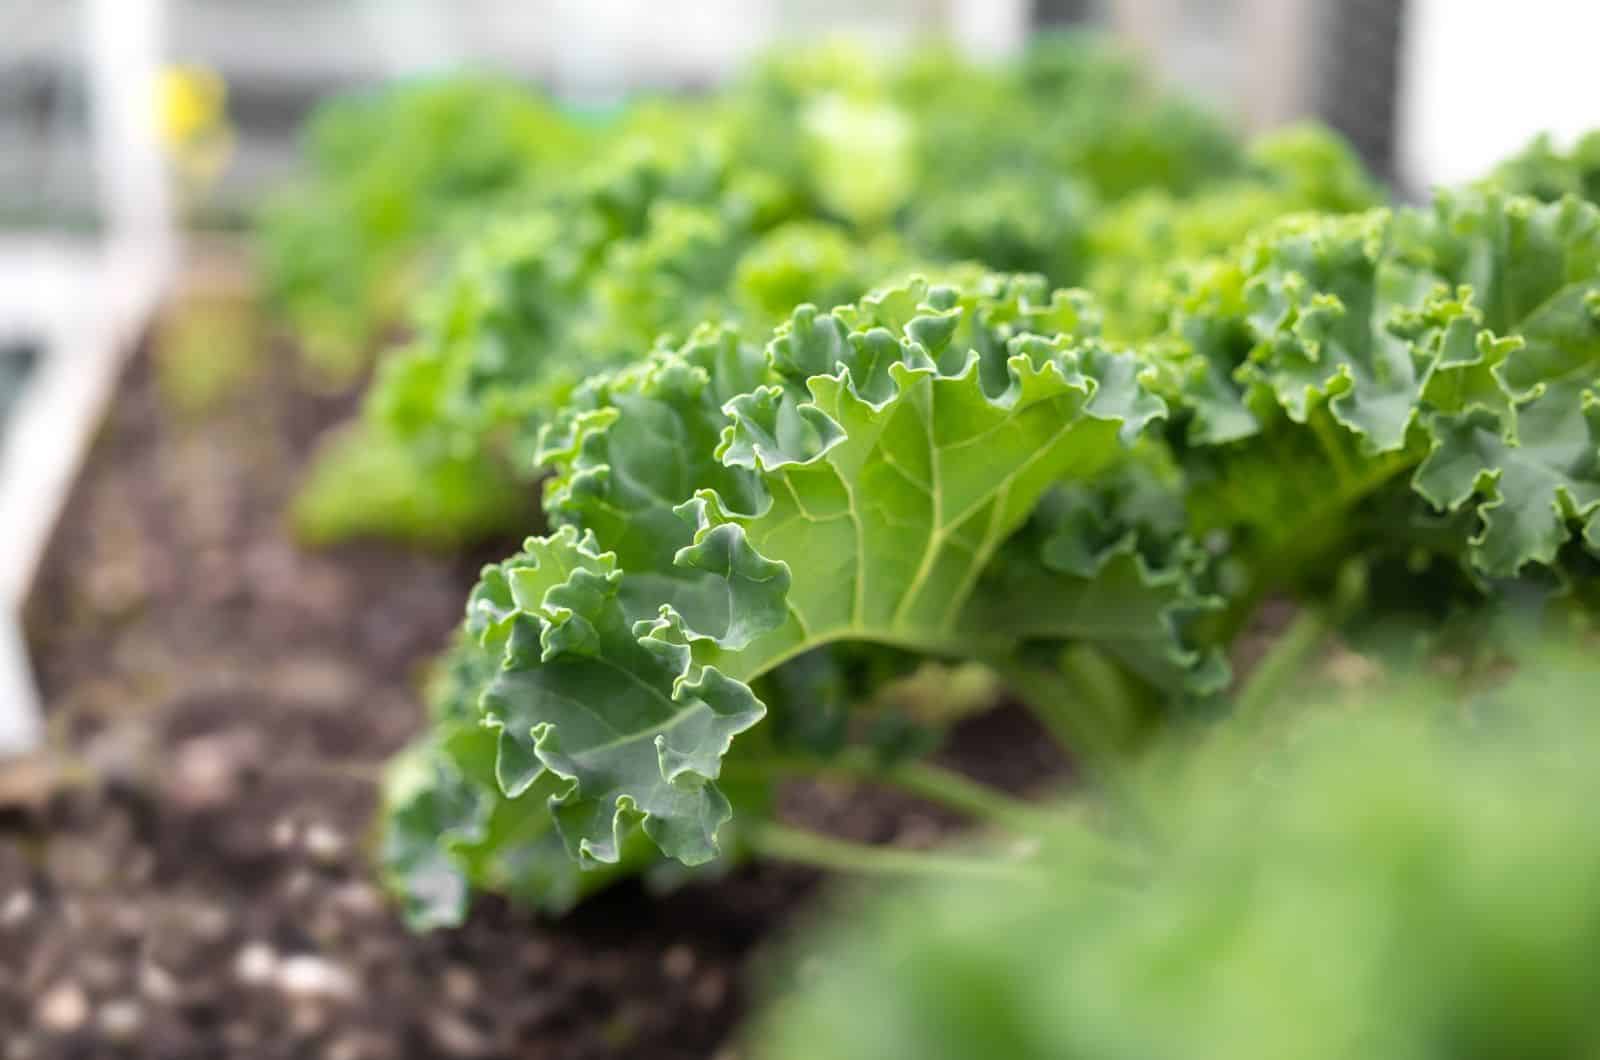
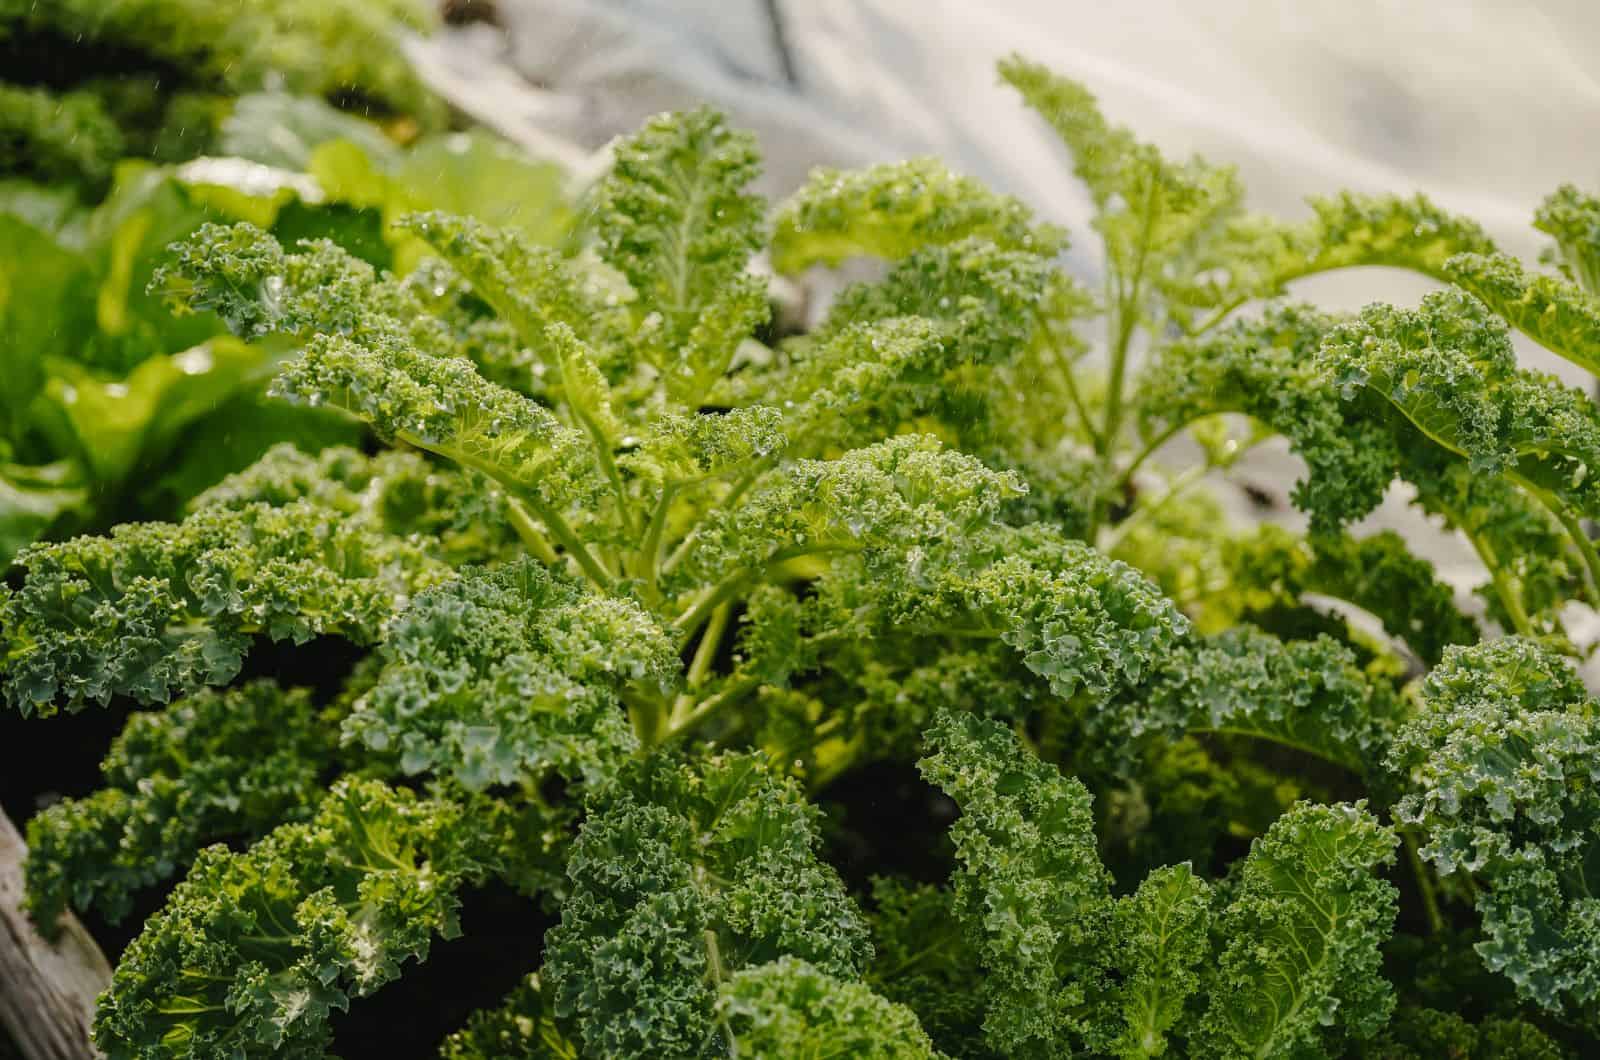
6. Harvesting Kale
If you’ve been wondering how to harvest kale, you’ll be glad to hear that it is easy peasy!
All you have to do is gently cut or pull the outer leaves, and that’s it — you won’t even break a sweat!
You can begin harvesting once the plant is 8 to 10 inches tall. If you keep harvesting throughout the growing season, the plant will just keep on producing new leaves that can be harvested again in just two weeks!
How To Grow Kale
We mentioned that kale plants need well-draining and nutrient-rich soil in order to thrive and grow. The soil pH should be between 6.5 and 6.8. You can even grow this vegetable in coco coir!
You can grow them in full sun or partial shade, just keep them protected from the scorching sun during hot summer days. Kale needs to be fertilized and watered constantly. It will require approximately 1 gallon per square foot if rain is scarce.
The fertilizer needs to have a lot of nitrogen. Ensure that you adhere to the directions on the package.
Mulch the soil to prevent weed growth, retain moisture, and reduce soil temperature. Pay close attention to the plant’s growth by monitoring the soil’s temperature, hydration, and pests.
Common pests are cabbage worms and aphids, and the plant is also susceptible to clubroot and root rot. However, if you keep your plant happy and healthy, it is highly unlikely that these critters will pay you a visit!
After the first frost, mulch heavily to guarantee a consistent supply of ripe leaves all winter long.
As we mentioned, kale is a great companion to yarrow, beets, chard, collards, onions, cucumbers, and the list goes on and on!
Read also: 40 Plant Herb Companion Planting Chart And Their Benefits
Frequently Asked Questions
1. How long does kale take to fully grow?
If the seeds are planted directly in the soil, it will take from 55 to 75 days for the kale plant to mature. However, if the seeds have been started indoors, then the plant will need 30 to 40 days to fully develop.
2. Does kale regrow after cutting?
Yes, kale will continue growing during the growing season. In fact, it is better to cut the outer leaves because it will encourage the plant to produce new leaves. This way, you will get the most out of your kale plant!
3. What is the best fertilizer for kale?
Kale is all about leaves, so nitrogen-rich fertilizer is the best for kale plants! Nitrogen is a crucial nutrient for new leaf production, and fertilizers should be added during the seedling stage and then continuously during the growing season.
Conclusion
Congratulations, now you know what to expect from all the kale growing stages!
It is quite easy to grow kale — all you have to do is make sure that it gets plenty of water and nitrogen in order to grow and thrive. Don’t forget to find it a perfect spot with lots of sunshine in your garden.
Soon you will be able to make delicious salads and smoothies with fresh kale from your own garden!
I hope this article was helpful.
Until next time!
Like this post? Share or pin it for later!