10 Tips For Planting A Lemon In A Cup And Freshening Up Your Home
With summer just around the corner, it’s time to start thinking about fruit to fill our orchards. And one popular choice is lemons.
These trees don’t require too much attention, so they’re perfect for beginners. And the best thing about them is that you can start them from seeds and save some money along the way.
If you want to start a lemon tree in a cup, you will have to use proper potting soil, give it enough sunlight, and keep moisture and temperature consistent.
We’ll discuss all this and some other tips in more detail in this article, so let’s dive right in!
1. Moisten The Growing Medium
Seed-starting mixes and soils with excellent drainage are perfect for starting lemons in cups. Just make sure you moisten them before planting your seeds.
This will allow them to start the germination process at once and reduce the risk of them drying out and dying.
2. Add It To The Pot
The next step is to fill your pot (or a cup) with some growing medium. This is fairly simple because all you’ve got to do is add the growing medium to the planter.
Just make sure to leave the top inch free from soil. This will make watering much simpler as it won’t flow over the edge that easily.

3. Prepare Your Seeds
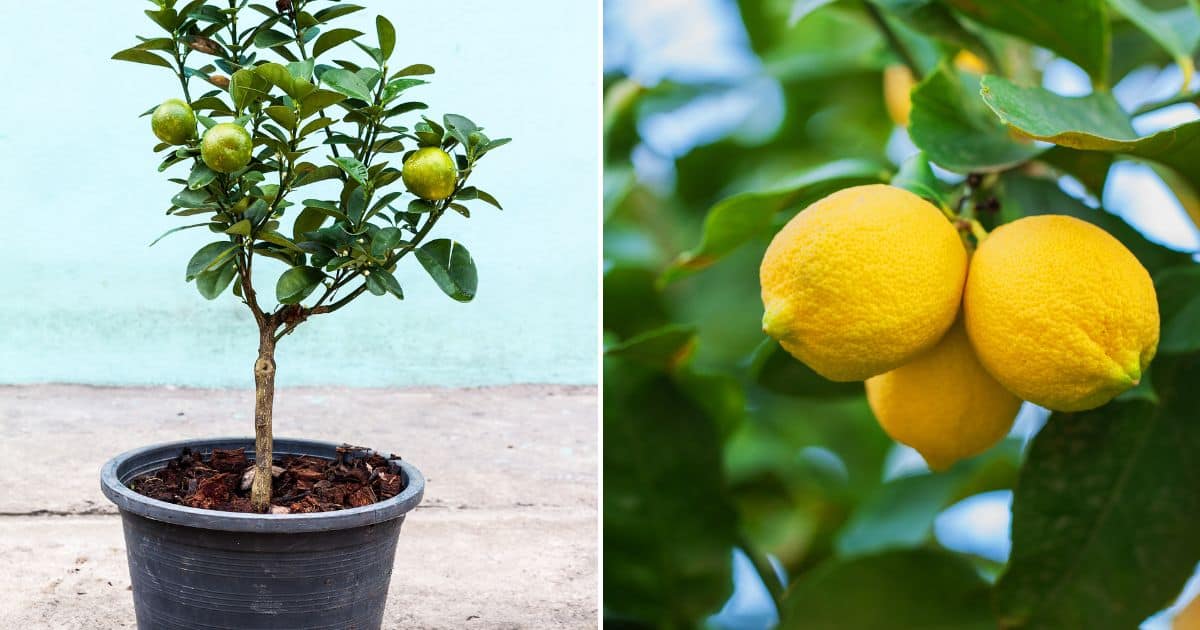
Once you’ve prepared everything, it is time to plant the seeds. There are many lemon types out there, so choose the one that will thrive in your climate. For instance, Meyer lemons tolerate cold better than many other species and are perfect to grow all over Florida.
Now that you have your seeds, it’s time to prepare them for planting.
Peel off their skin, place them on a moist paper towel, and seal them in a ziplock bag. Put them in a warm location or on a heating mat. They don’t require light at this stage.
Once you see the tiny roots, you can either plant the seeds or skip this step entirely and plant the seeds directly in the growing medium.
4. Get To Planting
If you’ve germinated the seeds on a paper towel, you’ll have to account for the root length and make a deeper hole to fit them in.
If you have ungerminated seeds, the hole should be just shallow enough for them to fit in.
Sprinkle all the seeds with just a bit of moist soil, and you’re done!
5. Cover The Container
The next thing you should do is cover the planter with a plastic bag or a humidity dome.
This will prevent the soil and the seeds from drying out, and you won’t have to deal with the disappointment of an unsuccessful germination like I did.
Now I know that covering the seeds will keep them moist and alive!
Additionally, the plastic bag will keep them warm enough and help with germination, so don’t skip this step.
6. Watch For Sprouting
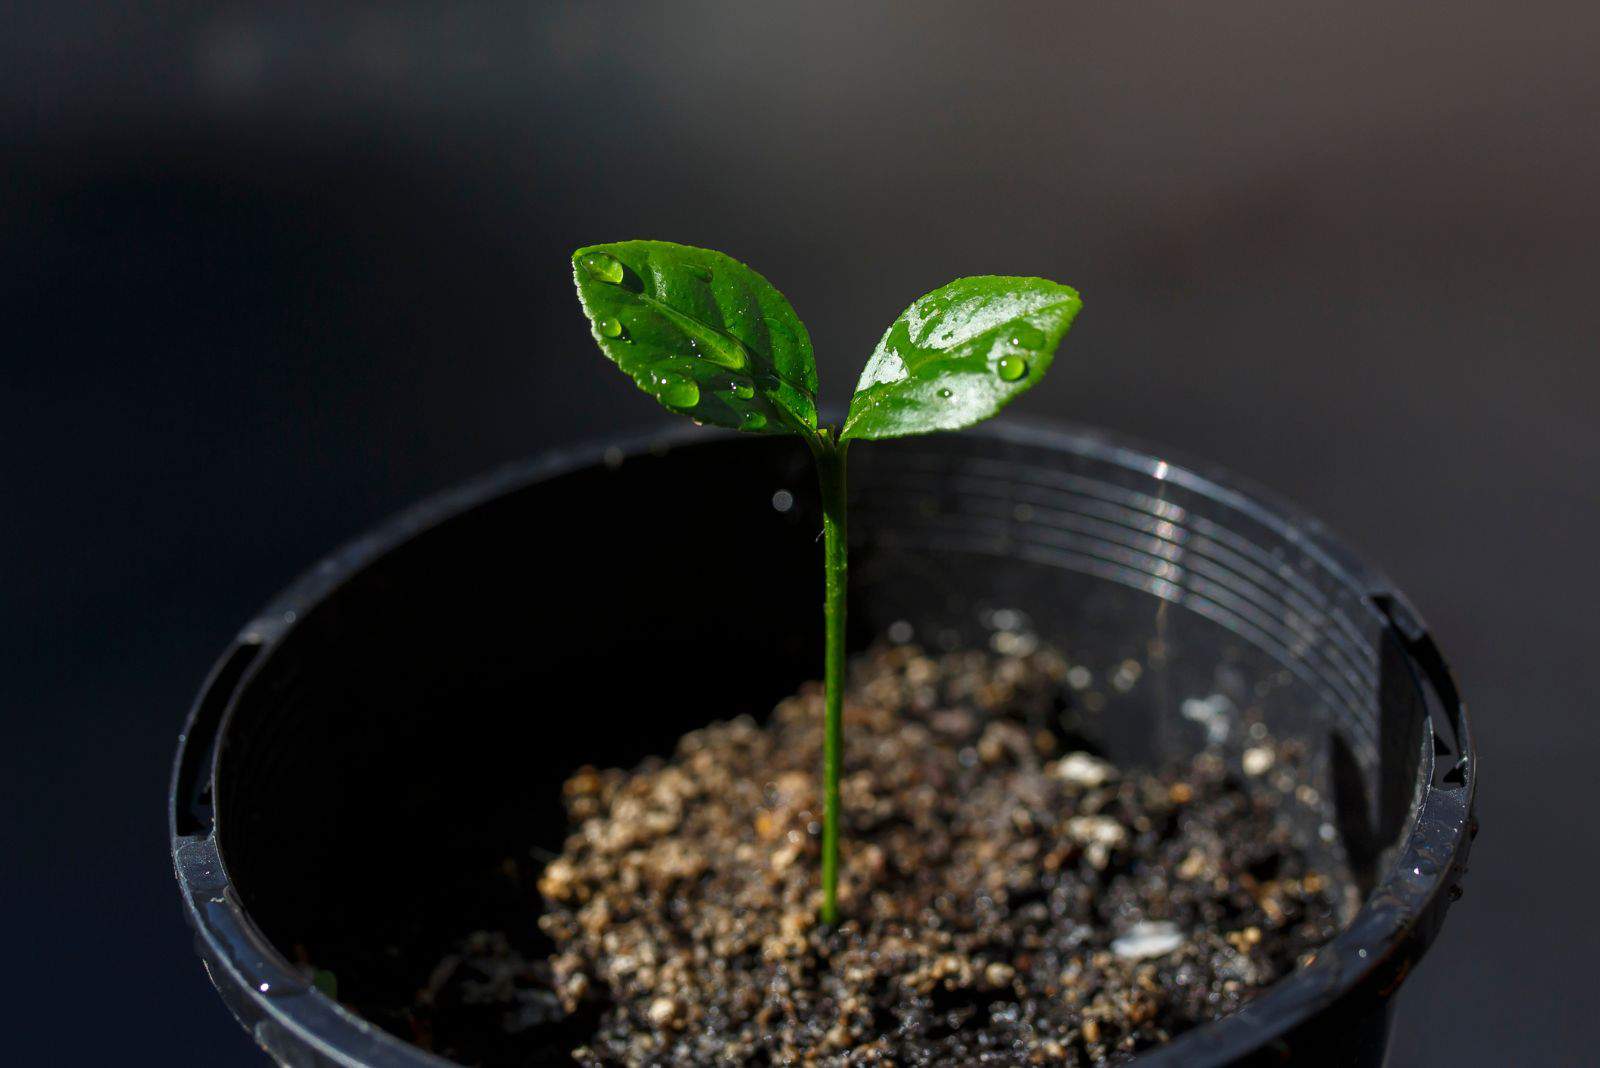
One of the benefits of growing lemons from seeds is that you’ll be able to witness all the lemon growth stages, document them, and care for your plants the right way.
The first stage after germination is sprouting, and it usually takes about 7-14 days when soil temperatures are in the low 70s.
When this happens, you’ll know it’s time to move your seedlings to a location with indirect light, such as a south-facing windowsill. The plant will start slowly photosynthesizing and producing its own energy, increasing its growth rate.
At this stage, you don’t have to remove the plastic bag or wrap entirely, but be prepared to do so in the near future.
4 Beginner-Friendly Tips

Lemon trees are a perfect way to freshen up your indoors and improve your mood, and they’re not too fussy either.
You can improve their odds of surviving and bearing plenty of fruit by adopting a few simple routine steps.
Here they are!
1. Move The Lemon Tree Outdoors
The first thing you need to do is move your lemon tree outside so that the bees and butterflies can pollinate it and it bears plenty of fruit.
Outdoor sunshine will make it grow big and strong.
Just make sure to move it outdoors once the nighttime temperatures are above 40-50°F to prevent it from freezing.
2. Choose The Appropriate Location
When moving your lemon tree outside, choose a full sun location that gets at least 6-8 hours of direct light each day.
This fruit will tolerate some shade, but it’ll yield less lemons, which isn’t what we want at all.
If you want to keep it indoors for the time being, place it near a south-facing window and maintain the room temperature, and it’ll thrive.
3. Water Your Lemon Tree Regularly

If you notice your lemon tree leaves curling, the usual cause is either inadequate watering or temperatures.
The best way to know when to irrigate this plant is by checking the topsoil. If it’s dry, you can hydrate your lemon tree.
In-ground trees need water about once a week if there’s not plenty of rainfall, while potted ones need more frequent irrigation.
4. Be Aware Of Outdoor Temperatures
Lemon trees thrive when nighttime temperatures are above 50°F and daytime is between 70 and 80°F.
But if daily temperatures gradually drop, it can cause trees to go dormant. If they get to the point of freezing, you might have to deal with cold damage. (1)
I hope this article was helpful.
Good luck with your lemon in a cup!
References:1. Futch, S. H. (2021). Recovering from Freeze Damage. Horticultural Sciences, UF/IFAS Extension Citrus Research and Education Center.