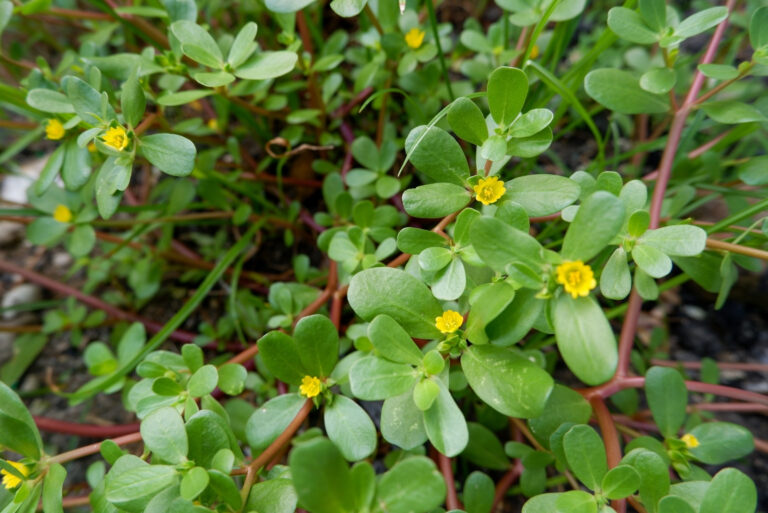
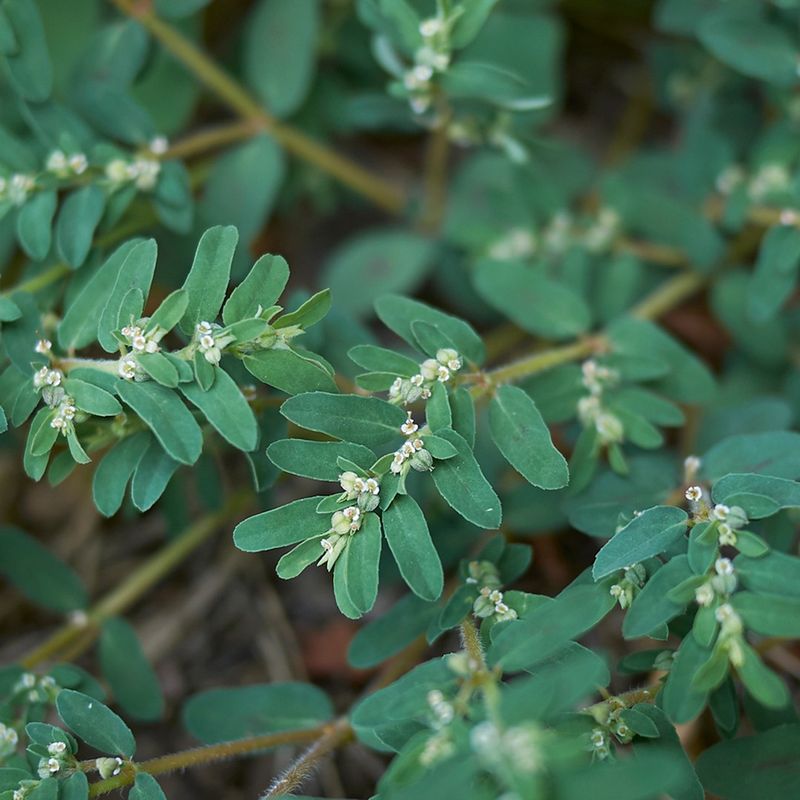
10 Mistakes To Avoid When Dealing With Spurge Weed (And 5 Fixes That Actually Work)
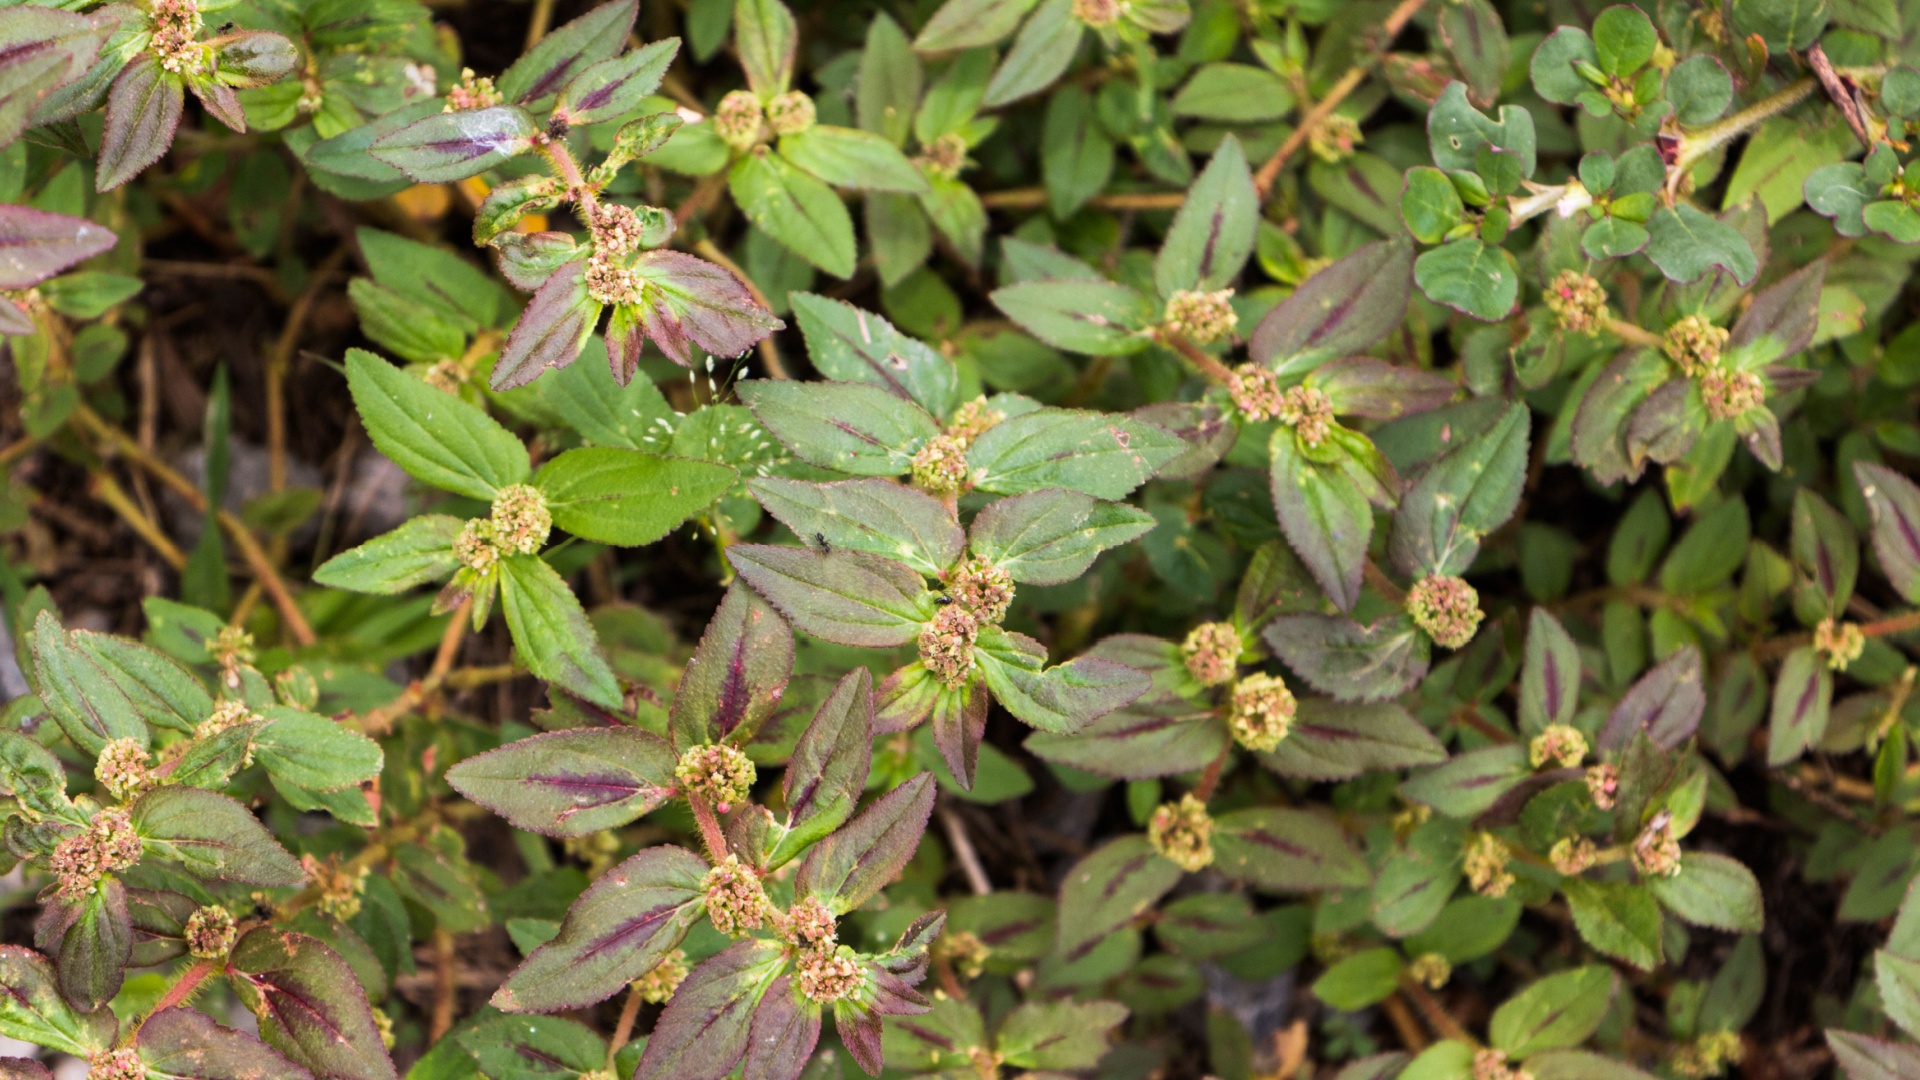
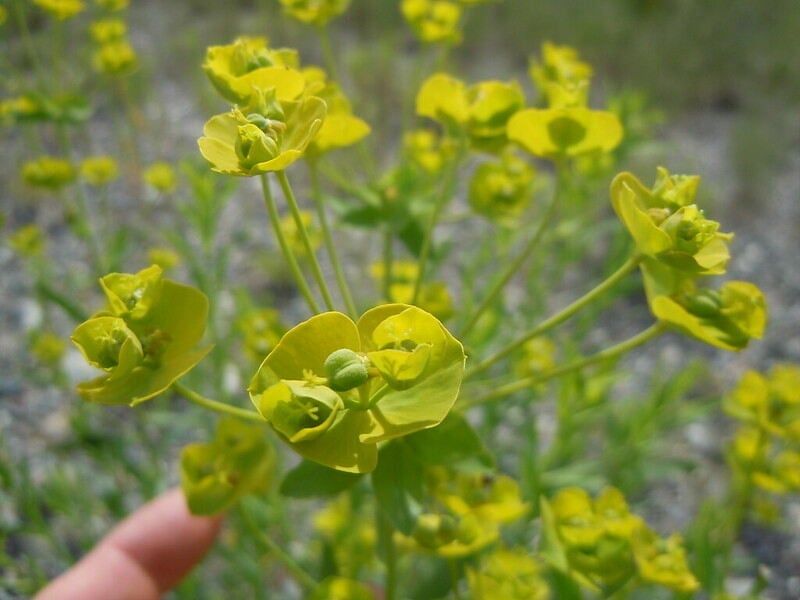
Spurge may look harmless, but don’t be fooled—it’s a garden invader that spreads like wildfire and is tough to tame. If you’ve been battling this stubborn weed and getting nowhere, chances are you’re making one (or more) of these common mistakes.
But don’t throw in the towel! We’ve rounded up the 10 biggest missteps people make when dealing with spurge—plus 5 smart, proven fixes that actually work. Your garden doesn’t have to be held hostage by this aggressive green pest. Let’s show spurge the door—once and for all.
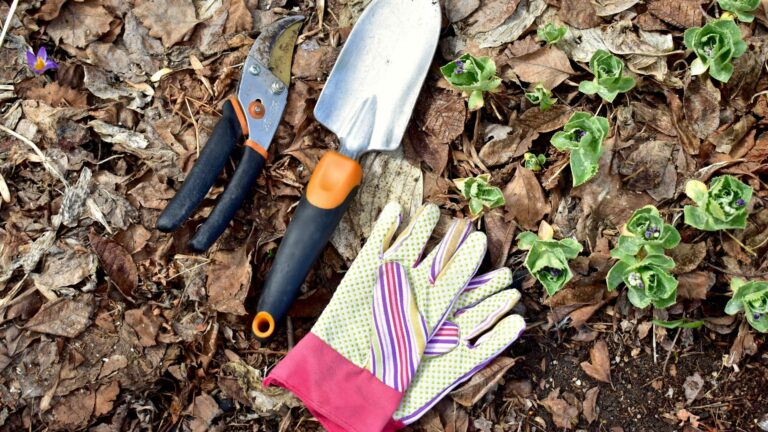
1. Pulling Spurge Without Gloves
The milky sap inside spurge plants isn’t just sticky—it’s actually toxic and can cause skin irritation or rashes. Many gardeners grab these weeds barehanded, then end up with itchy, red hands hours later.
Always wear waterproof gloves when handling spurge. The sap can seep through fabric gloves, so rubber or nitrile options work best. If you do get sap on your skin, wash immediately with soap and water to prevent a reaction.
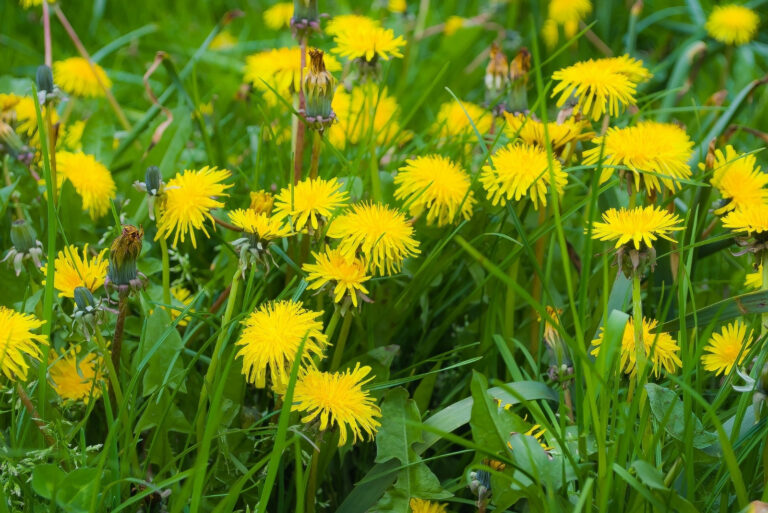
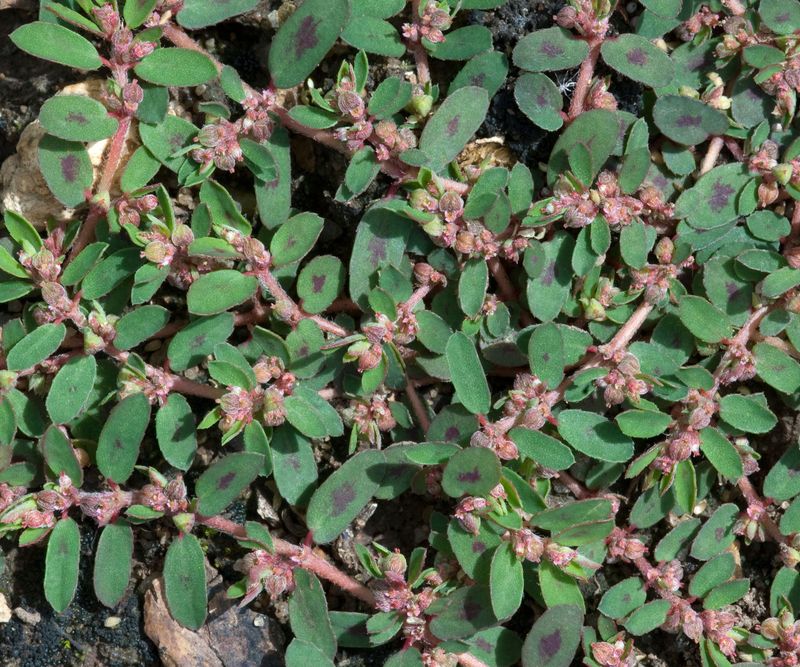
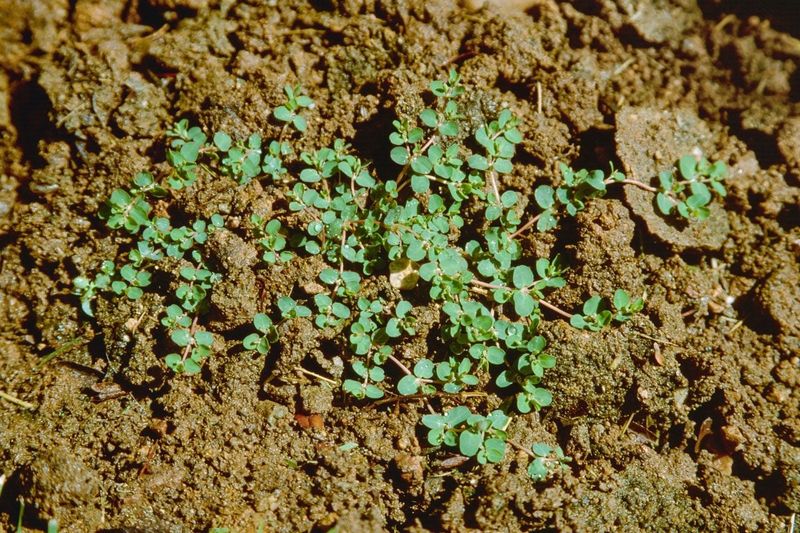
2. Waiting Until Spurge Mats Form
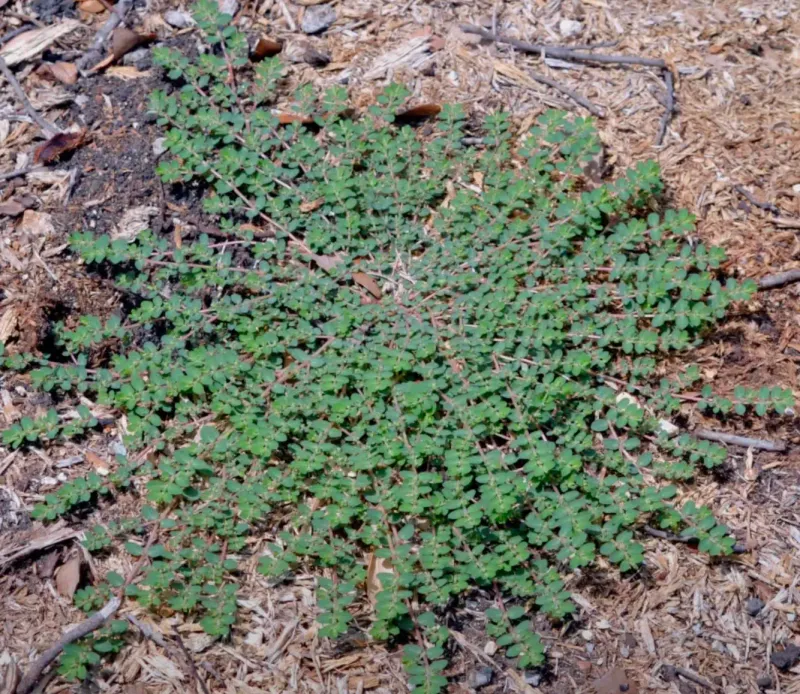
Spotting a few tiny spurge plants and thinking “I’ll deal with that next weekend” is a recipe for disaster. Within days, those few specimens can explode into sprawling mats that are much harder to remove completely.
Spurge multiplies at lightning speed, especially in hot weather. A single plant can produce up to 5,000 seeds! Attack spurge when plants are small and isolated. Regular garden inspections, especially after rain, help catch these invaders before they establish colonies.
3. Leaving Roots Behind
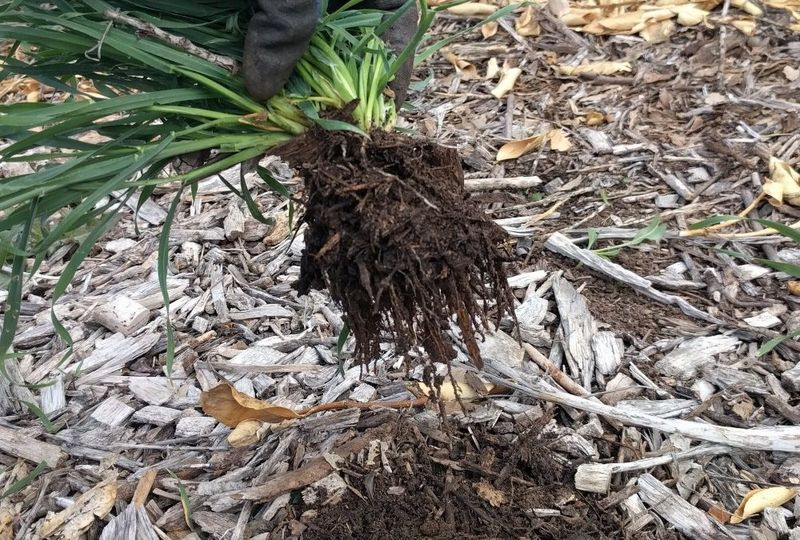
Yanking spurge stems might feel satisfying, but if you’re leaving the taproot in the soil, you’re wasting your time. The plant will simply regrow from any root fragments left behind.
Use a weeding tool with a forked end to get under the entire root system. The soil should be slightly damp—not soaking wet or bone dry—for easiest removal. Gently work the tool under the plant and lift the entire root structure intact for complete elimination.
4. Composting Pulled Spurge Plants
Tossing pulled spurge into your compost pile seems eco-friendly but creates future headaches. Most home compost piles don’t reach temperatures high enough to kill spurge seeds, which remain viable for years.
Even flowering spurge plants can continue developing seeds after being pulled. Bag all spurge plants in plastic and throw them in the trash. Never add them to municipal yard waste either, as this can spread the problem throughout your community.
5. Mowing Over Spurge
Running your lawnmower over spurge patches seems like a quick fix but actually turbocharges the problem. Mower blades spread seeds and plant fragments across your entire yard, turning one patch into dozens.
The mower’s wheels can also crush seeds into the soil, ensuring germination. If you must mow an area with spurge, bag the clippings and dispose of them in the trash. Better yet, hand-pull the spurge before mowing to prevent this widespread dispersal.
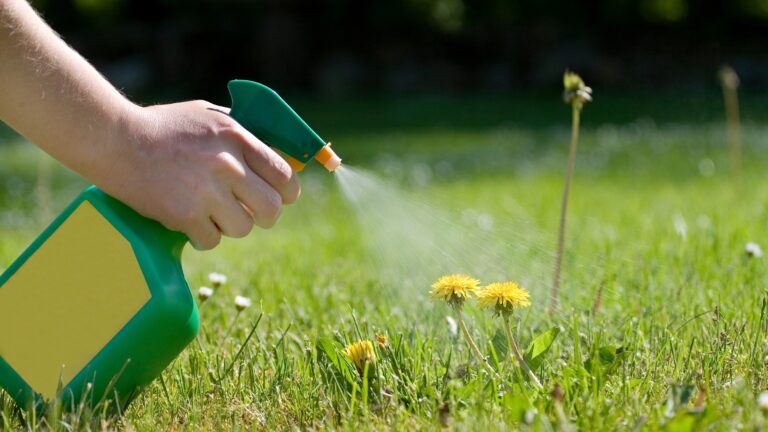
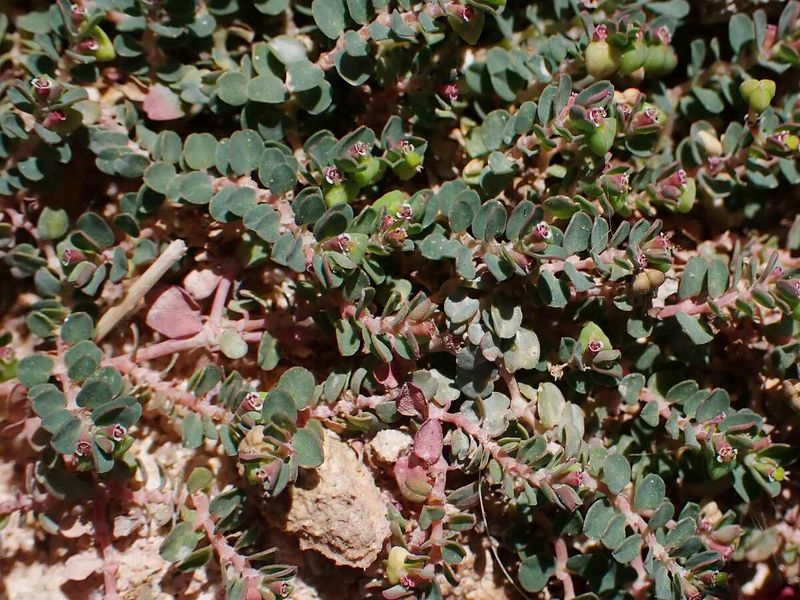
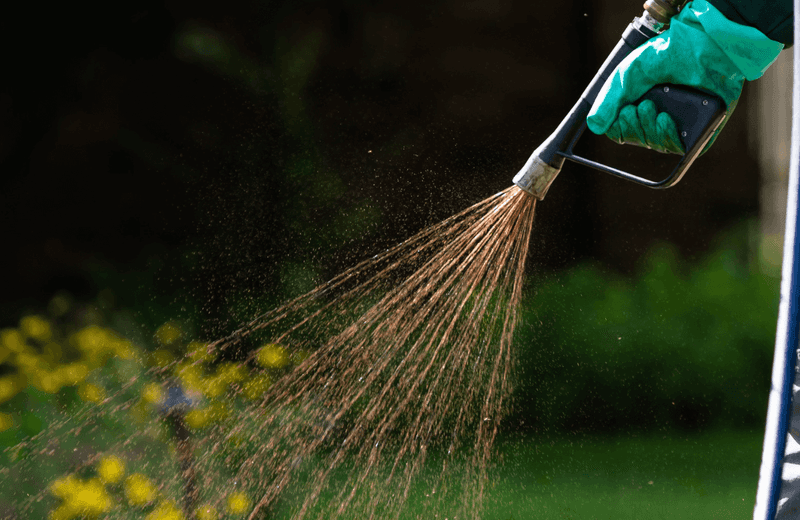
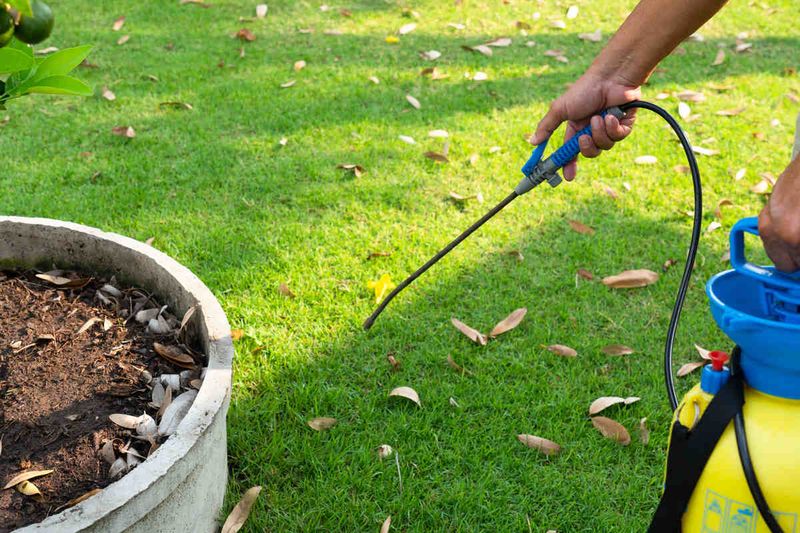
6. Using the Wrong Herbicide
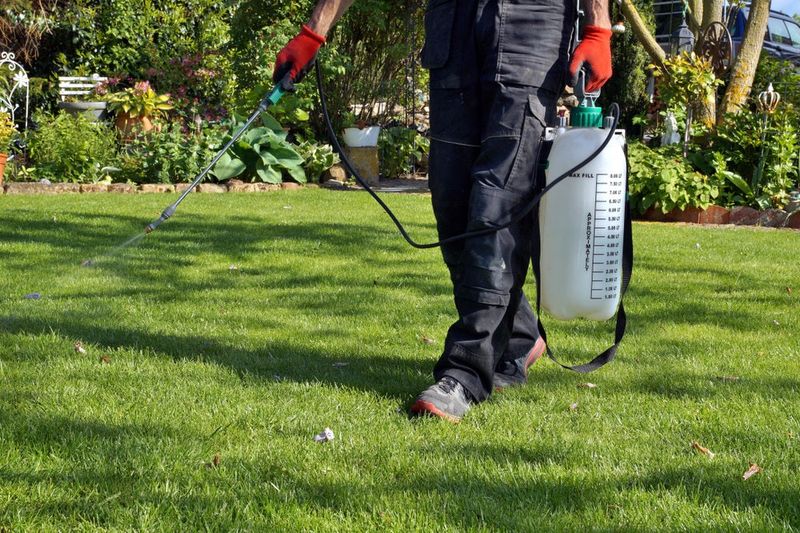
Grabbing any weed killer off the shelf often leads to disappointment with spurge. Regular herbicides might brown the leaves temporarily, but the plant quickly recovers because the chemicals don’t penetrate its waxy surface effectively.
Look specifically for herbicides containing triclopyr, 2,4-D, or dicamba, which are more effective against spurge. Adding a surfactant (or a tiny drop of dish soap) helps the herbicide stick to the waxy leaves. Always apply on windless days to prevent drift onto desirable plants.
7. Neglecting Preventative Mulching
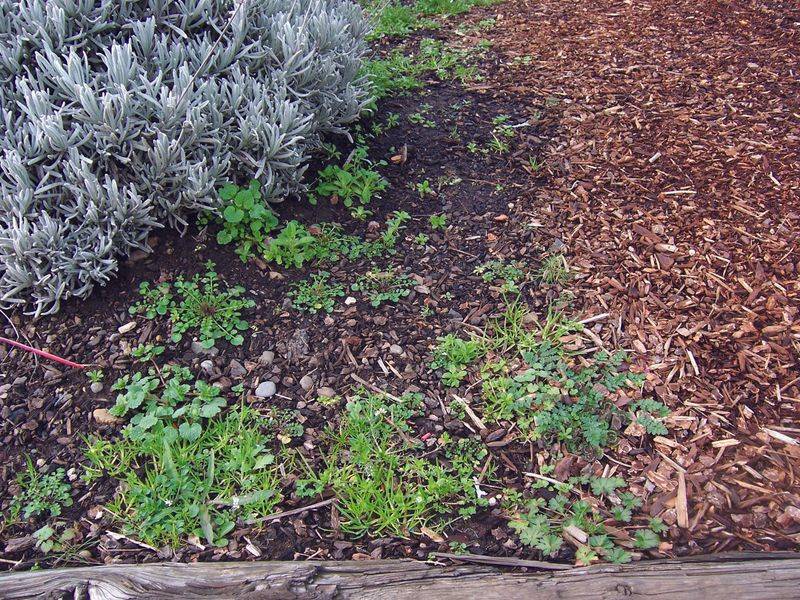
Bare soil is basically a welcome mat for spurge seeds. Many gardeners leave gaps between plants or have thin mulch layers that allow sunlight to reach the soil—perfect conditions for spurge germination.
Apply mulch 2-3 inches thick in all garden beds and around landscape plants. Use newspaper or cardboard underneath wood chips or bark mulch for extra protection. This blocks light from reaching spurge seeds and creates a physical barrier they can’t push through.
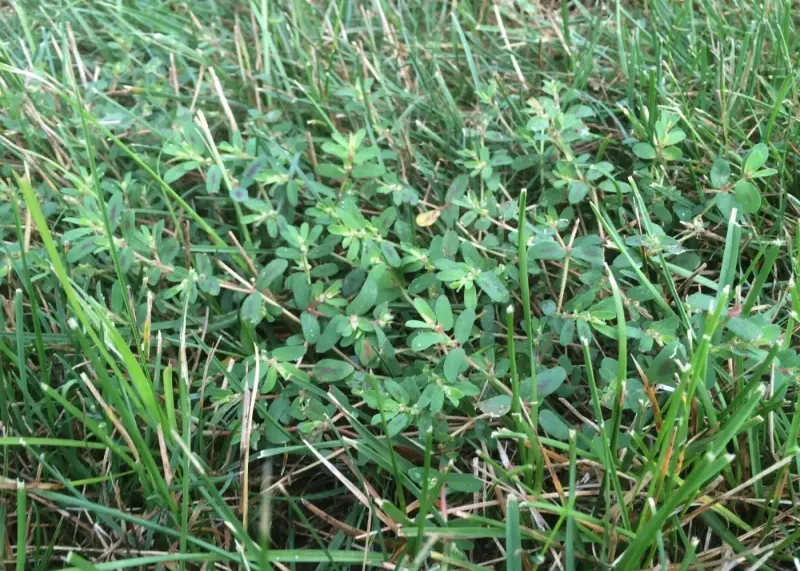
8. Overwatering Your Lawn
Frequent shallow watering creates ideal conditions for spurge to thrive while weakening your grass. The moist top layer of soil is perfect for spurge seedlings, while your grass roots remain shallow and unable to compete.
Water deeply but infrequently to encourage grass roots to grow deeper than spurge can reach. Aim for 1-1.5 inches of water per week in fewer sessions. Healthy, deeply-rooted grass naturally crowds out spurge by competing for resources and shading the soil.
9. Ignoring Soil Compaction
Compacted soil is spurge paradise but grass nightmare. When soil becomes hard and dense from foot traffic or heavy equipment, grass struggles while spurge—with its aggressive taproot—powers through these tough conditions.
Aerate your lawn annually to relieve compaction. Core aeration, which removes small plugs of soil, works best. Follow with overseeding to fill in thin areas with desirable grass. The improved soil structure helps grass thrive and outcompete spurge seedlings.
10. Fertilizing at the Wrong Time
Applying high-nitrogen fertilizer during hot summer months feeds spurge more than your lawn. Spurge grows explosively with extra nitrogen while heat-stressed grass can’t utilize it effectively.
Schedule your heaviest fertilizer applications for spring and fall when grass is actively growing. Use slow-release formulations that won’t create sudden nutrient spikes. During summer, consider iron-only treatments which green up grass without promoting spurge growth.
11. SOLUTION: Pre-Emergent Barrier Application
Pre-emergent herbicides create an invisible shield that stops spurge seeds from developing into plants. Many gardeners miss this critical prevention window, typically in early spring when soil temperatures reach 55°F.
Apply products containing dithiopyr or pendimethalin before spurge germinates. Water lightly afterward to activate the barrier. A second application in late spring provides season-long protection. Mark your calendar based on your climate zone to never miss this crucial treatment window.
12. SOLUTION: Vinegar-Salt Spot Treatment
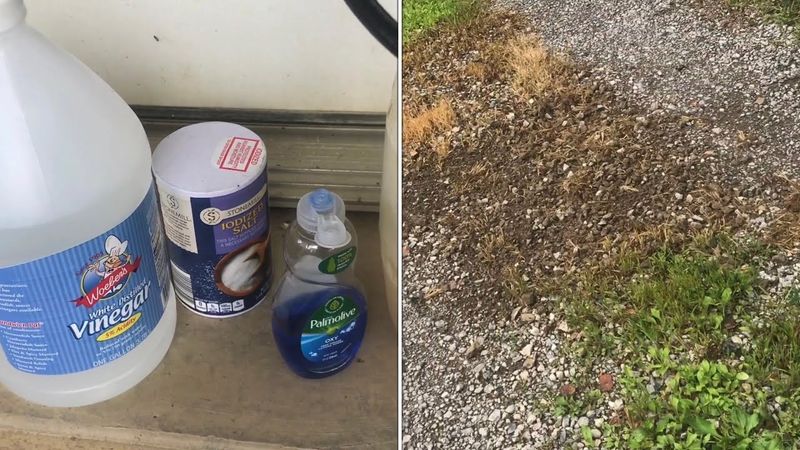
For those avoiding synthetic chemicals, a powerful natural solution awaits in your kitchen. Household vinegar alone isn’t strong enough, but when properly formulated, it can destroy spurge effectively.
Mix 1 gallon of 30% horticultural vinegar with 2 cups of salt and 1 tablespoon of dish soap. Apply with a spray bottle directly to spurge plants on sunny days. The acidity burns foliage while salt disrupts water uptake. Caution: this mixture kills all plants it touches, so apply carefully!
13. SOLUTION: Solarization for Severe Infestations
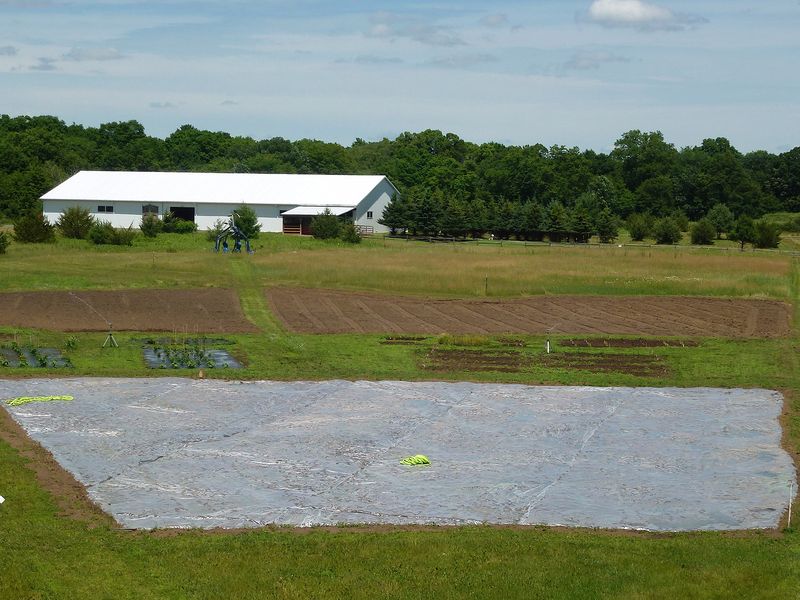
When spurge has completely taken over an area, solarization offers a reset button. This technique uses the sun’s energy to essentially cook weed seeds and plants beneath clear plastic.
Clear the area of all vegetation, water thoroughly, then cover with clear (not black) plastic sheeting. Secure edges with rocks or soil. Leave in place for 6-8 weeks during the hottest part of summer. Soil temperatures under the plastic will reach 140°F, killing spurge plants and seeds.
14. SOLUTION: Corn Gluten Meal Application
Corn gluten meal serves double duty as both a natural pre-emergent herbicide and a nitrogen source for existing plants. This byproduct of corn processing inhibits root formation in germinating seeds while feeding established plants.
Apply at a rate of 20 pounds per 1,000 square feet in early spring. Water once to activate, then keep the area dry for several days afterward. The protein compounds in corn gluten prevent spurge seedlings from forming normal roots, causing them to die before establishing.
15. SOLUTION: Competitive Groundcover Planting
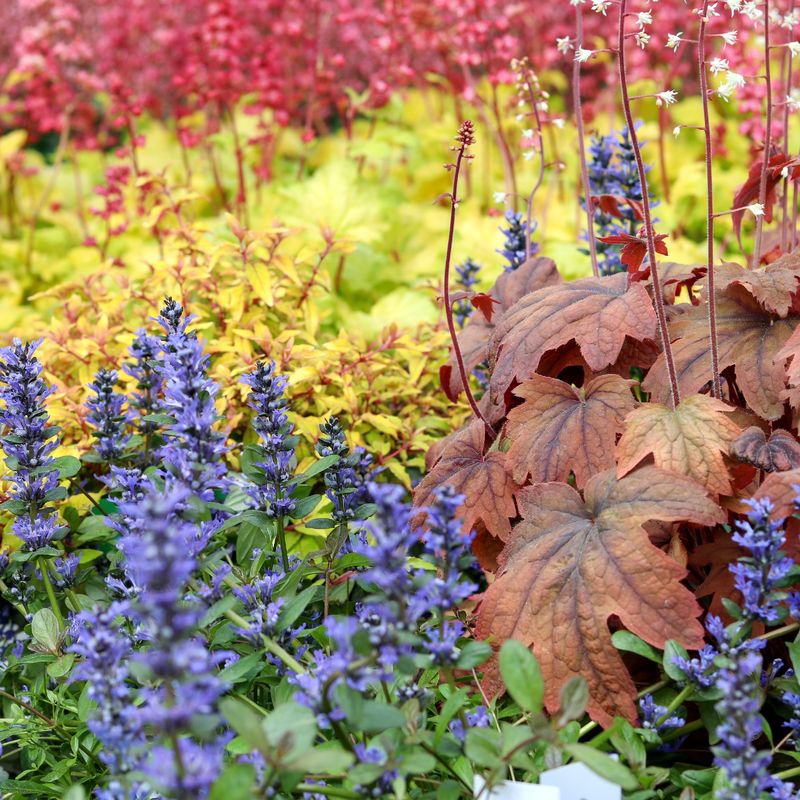
Nature abhors a vacuum, and bare soil will always be filled with something—either plants you choose or weeds like spurge. Smart gardeners use this principle by intentionally planting aggressive groundcovers.
Select dense, spreading plants like creeping thyme, sedum, or ajuga for sunny spots where spurge typically invades. Plant them closely together so they quickly form a living mulch. These competitive plants shade the soil and use available resources, making it nearly impossible for spurge seeds to establish.