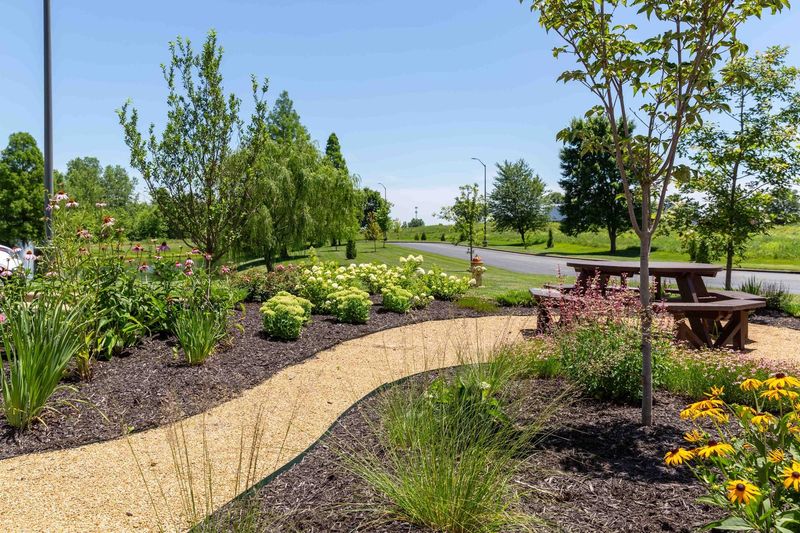
17 Mulching Tips That Actually Help Your Plants Thrive (No More Guesswork)
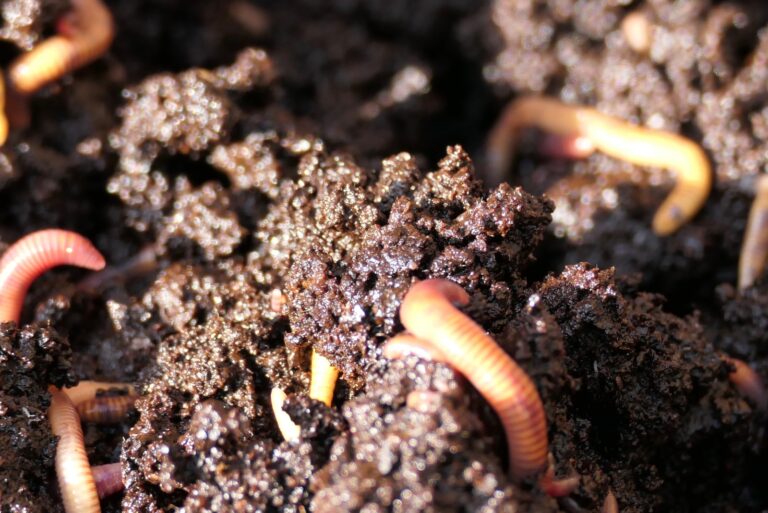
Mulching is like tucking your plants into a cozy, protective blanket that keeps them happy and healthy. Good mulching practices help retain soil moisture, suppress weeds, and add nutrients to your garden. Whether you’re a beginner or seasoned gardener, these proven mulching tips will transform your plant care routine and boost your garden’s success.
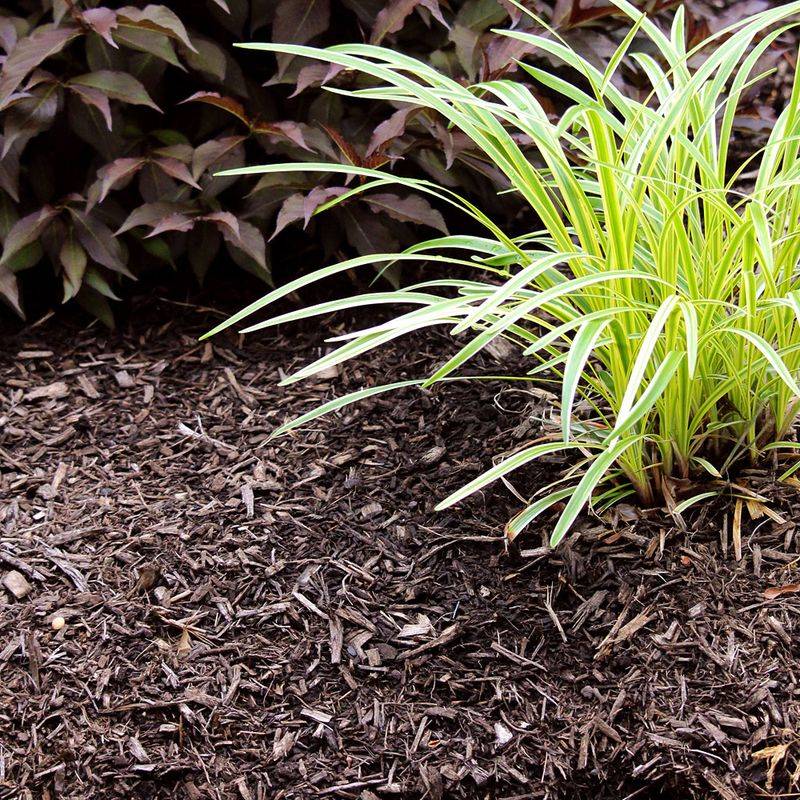
1. Choose the Right Mulch for Your Plants

Not all mulches work the same way in your garden. Woody mulches like bark chips are perfect for trees and shrubs, while straw works wonders for vegetable gardens. Leaf mold enriches flower beds naturally.
Match your mulch to your plants’ specific needs. Acid-loving plants like blueberries thrive with pine needles, while roses prefer composted manure mulch. Your plant’s natural habitat offers clues about which mulch will make it happiest.
Consider your climate too – lighter mulches for wet areas prevent fungal problems, while heavier options work better in windy spots.
2. Apply the Perfect Mulch Depth
Spreading mulch too thin won’t protect your soil properly, but piling it too deep suffocates plant roots. Aim for the goldilocks zone – typically 2-4 inches for most garden beds.
Woody mulches like bark can go deeper (3-4 inches) since they compress over time. For lighter materials like straw or leaves, stick to 2-3 inches. Remember that mulch settles, so check depths occasionally and replenish when needed.
Keep mulch pulled back slightly (about 1-2 inches) from stems and trunks to prevent rot and pest problems.
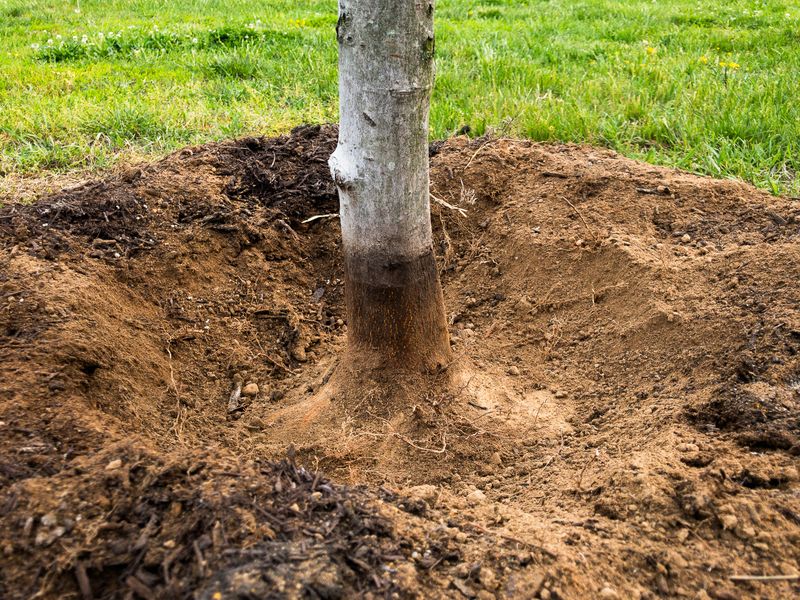
3. Create a Mulch-Free Zone Around Tree Trunks
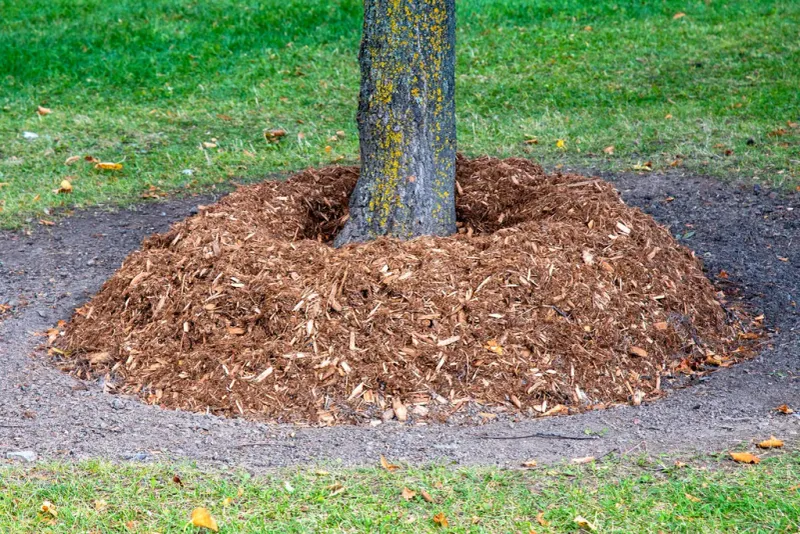
Volcano mulching – the common practice of piling mulch against tree trunks – is actually harmful! It traps moisture against bark, inviting decay, disease, and pest invasions that can kill trees.
Pull mulch back 3-6 inches from tree trunks, creating a donut-shaped ring rather than a volcano. This simple adjustment allows proper air circulation while still protecting roots.
For young trees, extend your mulch ring to the drip line (where rain falls from outer branches) to encourage strong root development in those crucial early years.
4. Time Your Mulching for Maximum Benefits
Spring mulching shields soil from summer heat and drought, while fall applications insulate roots from winter freezes. Many gardeners mulch twice yearly for year-round protection.
Wait until soil warms in spring before applying mulch – typically when your spring flowers are blooming. Mulching cold, wet soil keeps it chilly and delays plant growth. For winter protection, apply after the first light frost but before ground freezes solid.
Rainy days make perfect mulching opportunities since moist soil beneath mulch helps retain water better than dry soil does.
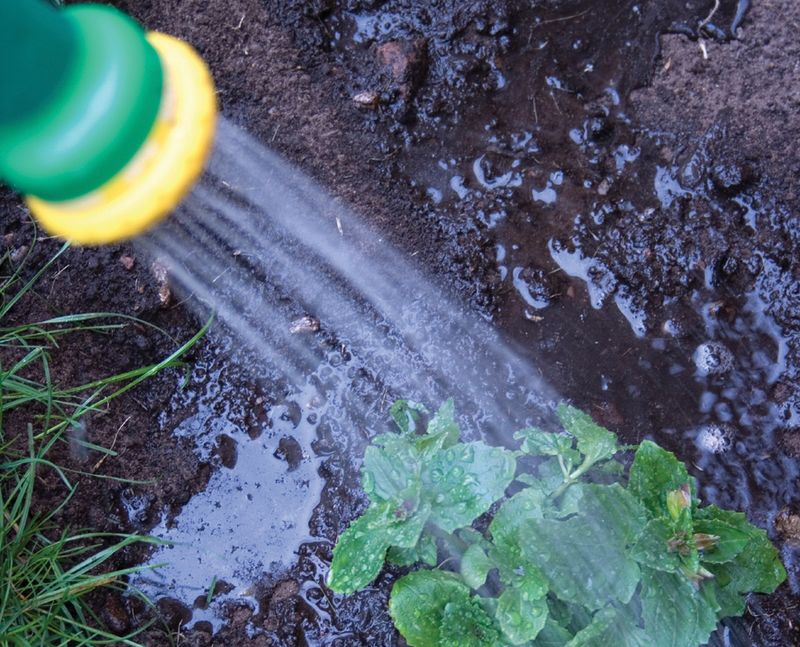
5. Pre-Wet Your Soil Before Mulching
Laying mulch over parched soil locks in dryness rather than moisture. Always water thoroughly before spreading mulch, especially during hot weather.
A good soaking creates a moisture reservoir that mulch then helps maintain. This pre-mulch watering session should be deeper than your regular waterings – aim to dampen the soil to about 6-8 inches deep.
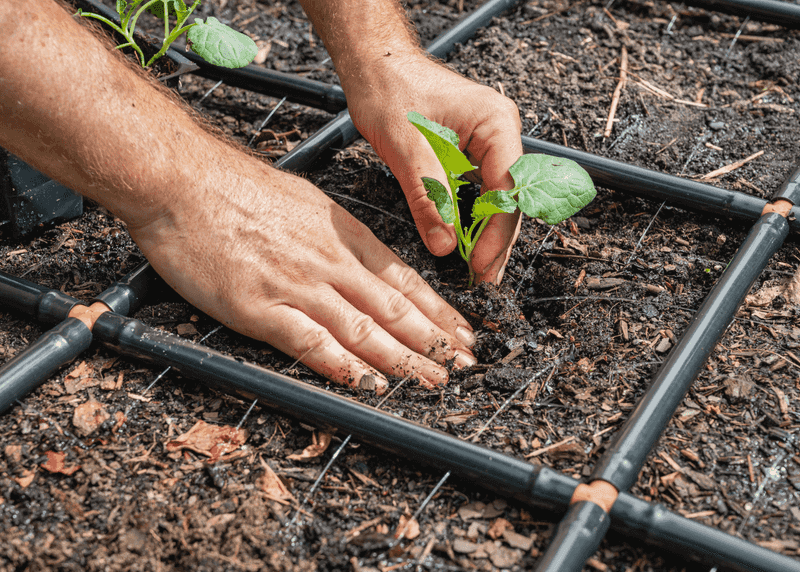
For established gardens, consider installing soaker hoses or drip irrigation under your mulch layer. This setup delivers water directly to roots without disturbing your protective mulch blanket.
6. Newspaper or Cardboard Layer First
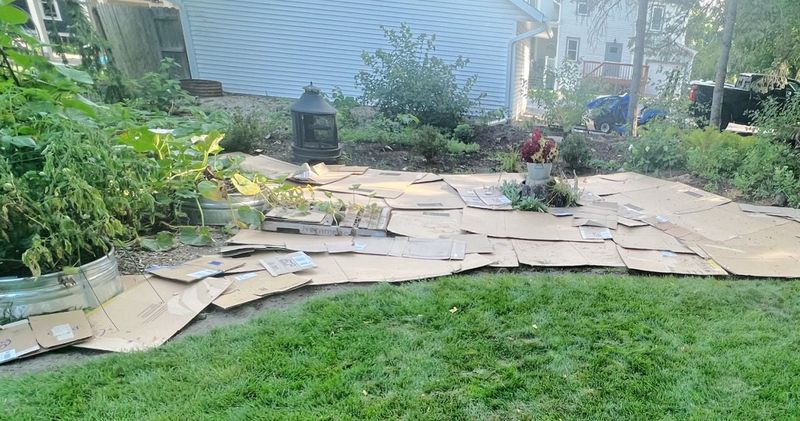
Supercharge your mulch’s weed-fighting power with a biodegradable barrier underneath. Lay down 4-5 sheets of newspaper or a single layer of cardboard before adding your regular mulch.
This extra step blocks sunlight completely, smothering existing weeds and preventing new seeds from sprouting. Wet the paper/cardboard thoroughly as you go to keep it from blowing away and speed decomposition.
Overlap edges by at least 6 inches to prevent determined weeds from finding gaps. Within a season, these materials break down, adding organic matter to your soil.
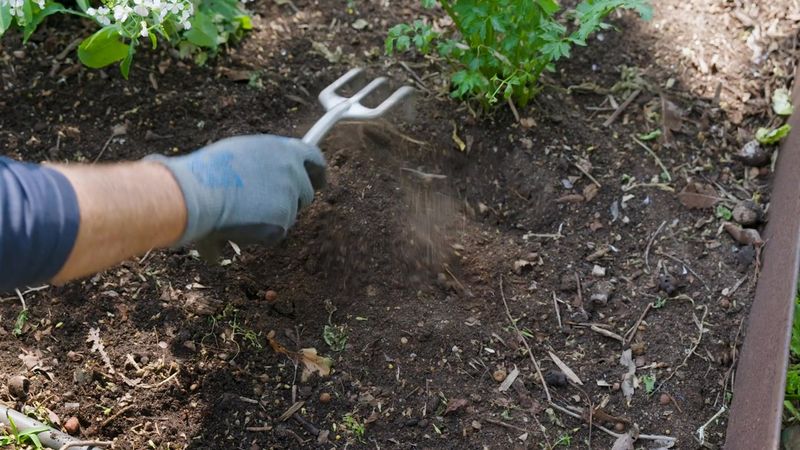
7. Refresh Mulch Without Overdoing It

Old mulch doesn’t need complete replacement every year. Instead, fluff existing mulch with a garden fork to improve air circulation and break up compacted layers. This simple task revitalizes your garden beds instantly.
Add thin layers of fresh mulch (1-2 inches) on top of old mulch only when necessary – when the layer has thinned to less than an inch or decomposed significantly. Excessive mulch buildup creates a water-repelling thatch that harms plants.
Consider removing and composting some old mulch before adding new if total depth exceeds 4 inches.
8. Mulch Vegetable Gardens Differently
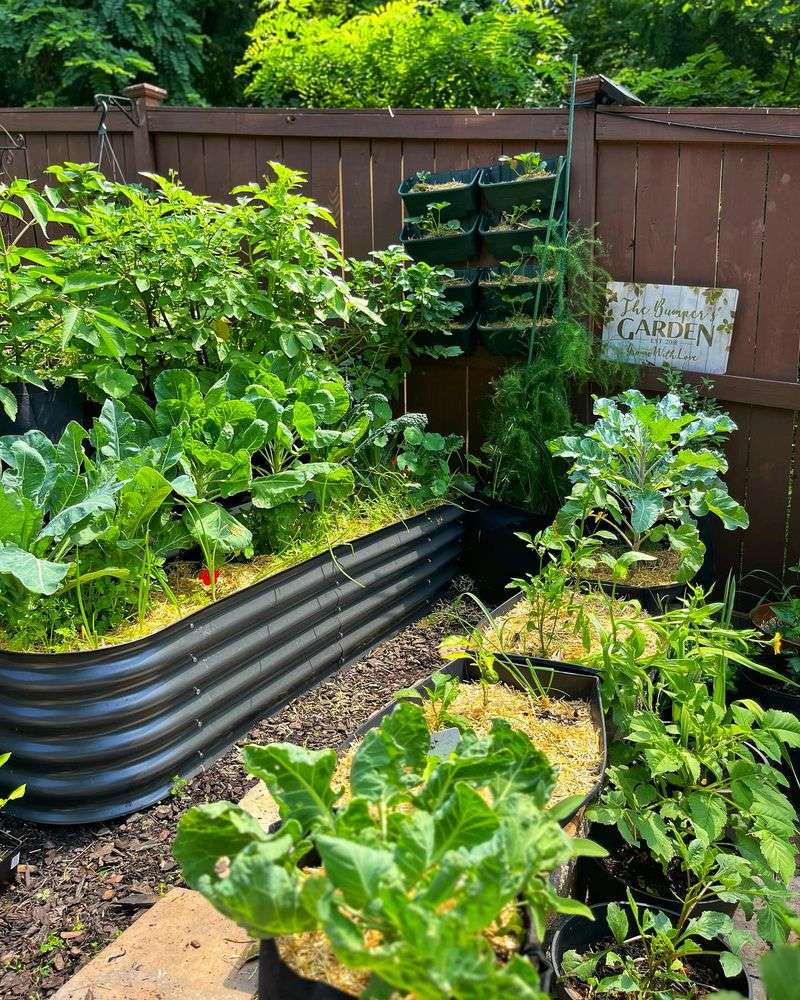
Vegetable gardens benefit from lighter, faster-decomposing mulches like straw, shredded leaves, or grass clippings. These materials warm up quickly in spring and add nutrients as they break down throughout the growing season.
Apply thinner layers (1-2 inches) around vegetables since they’re typically short-term plantings. For heat-loving crops like tomatoes and peppers, consider black plastic mulch early in the season to warm soil faster.
Switch mulch types seasonally – use plastic or lightweight mulch in spring, then switch to organic materials like straw once summer heat arrives.
9. Use Living Mulches in Established Gardens
Ground cover plants create living mulch that offers unique benefits conventional mulches can’t match. Creeping thyme, sweet woodruff, or clover spread to form weed-suppressing carpets that also produce flowers for pollinators.
Living mulches actively improve soil through root activity and natural leaf drop. They’re particularly valuable in perennial beds where regular mulch disrupts self-sowing flowers.
Choose ground covers matched to your garden conditions – sun-loving sedums for dry spots, ajuga for shade. Allow space around larger plants initially until your living mulch establishes itself.
10. Avoid the Mulch-Touching-Plants Mistake
Mulch snuggled against plant stems creates the perfect hiding spot for slugs, snails, and rodents to attack your plants. It also traps moisture against stems, leading to rot and fungal diseases.
Create a small mulch-free circle (2-3 inches) around perennials, vegetables, and shrubs. For larger plants, the mulch-free zone should expand proportionally – up to 6 inches for shrubs.
Use a trowel handle or stick to gently pull back mulch that’s crept too close to plants during rain or maintenance. This simple habit prevents countless plant health problems.
11. Mulch Newly Planted Areas Immediately
Fresh transplants experience less transplant shock when mulched right away. The protective layer stabilizes soil temperature and moisture, giving delicate roots time to establish without stress.
For new plantings, apply slightly less mulch initially (1-2 inches) to allow water to reach roots easily. Increase to normal depth after plants show signs of new growth, usually within 2-3 weeks.
When planting in groups, mulch the entire bed rather than individual plants. This approach saves time and creates a more unified look while still providing all the benefits to your new garden additions.
12. Capitalize on Mulch’s Pest Control Powers
Cedar mulch naturally repels many insects with its aromatic oils – perfect near patios and outdoor living areas. Coffee grounds deter slugs and snails while adding nitrogen to soil around acid-loving plants.
Coarse-textured mulches like crushed shells or rough bark discourage soft-bodied pests from crossing them to reach plants. These materials scratch delicate pest bodies, creating natural barriers.
Pine needle mulch (also called pine straw) reduces splashing during rain, preventing soil-borne diseases from reaching plant leaves. This makes it especially valuable around tomatoes and other disease-prone vegetables.
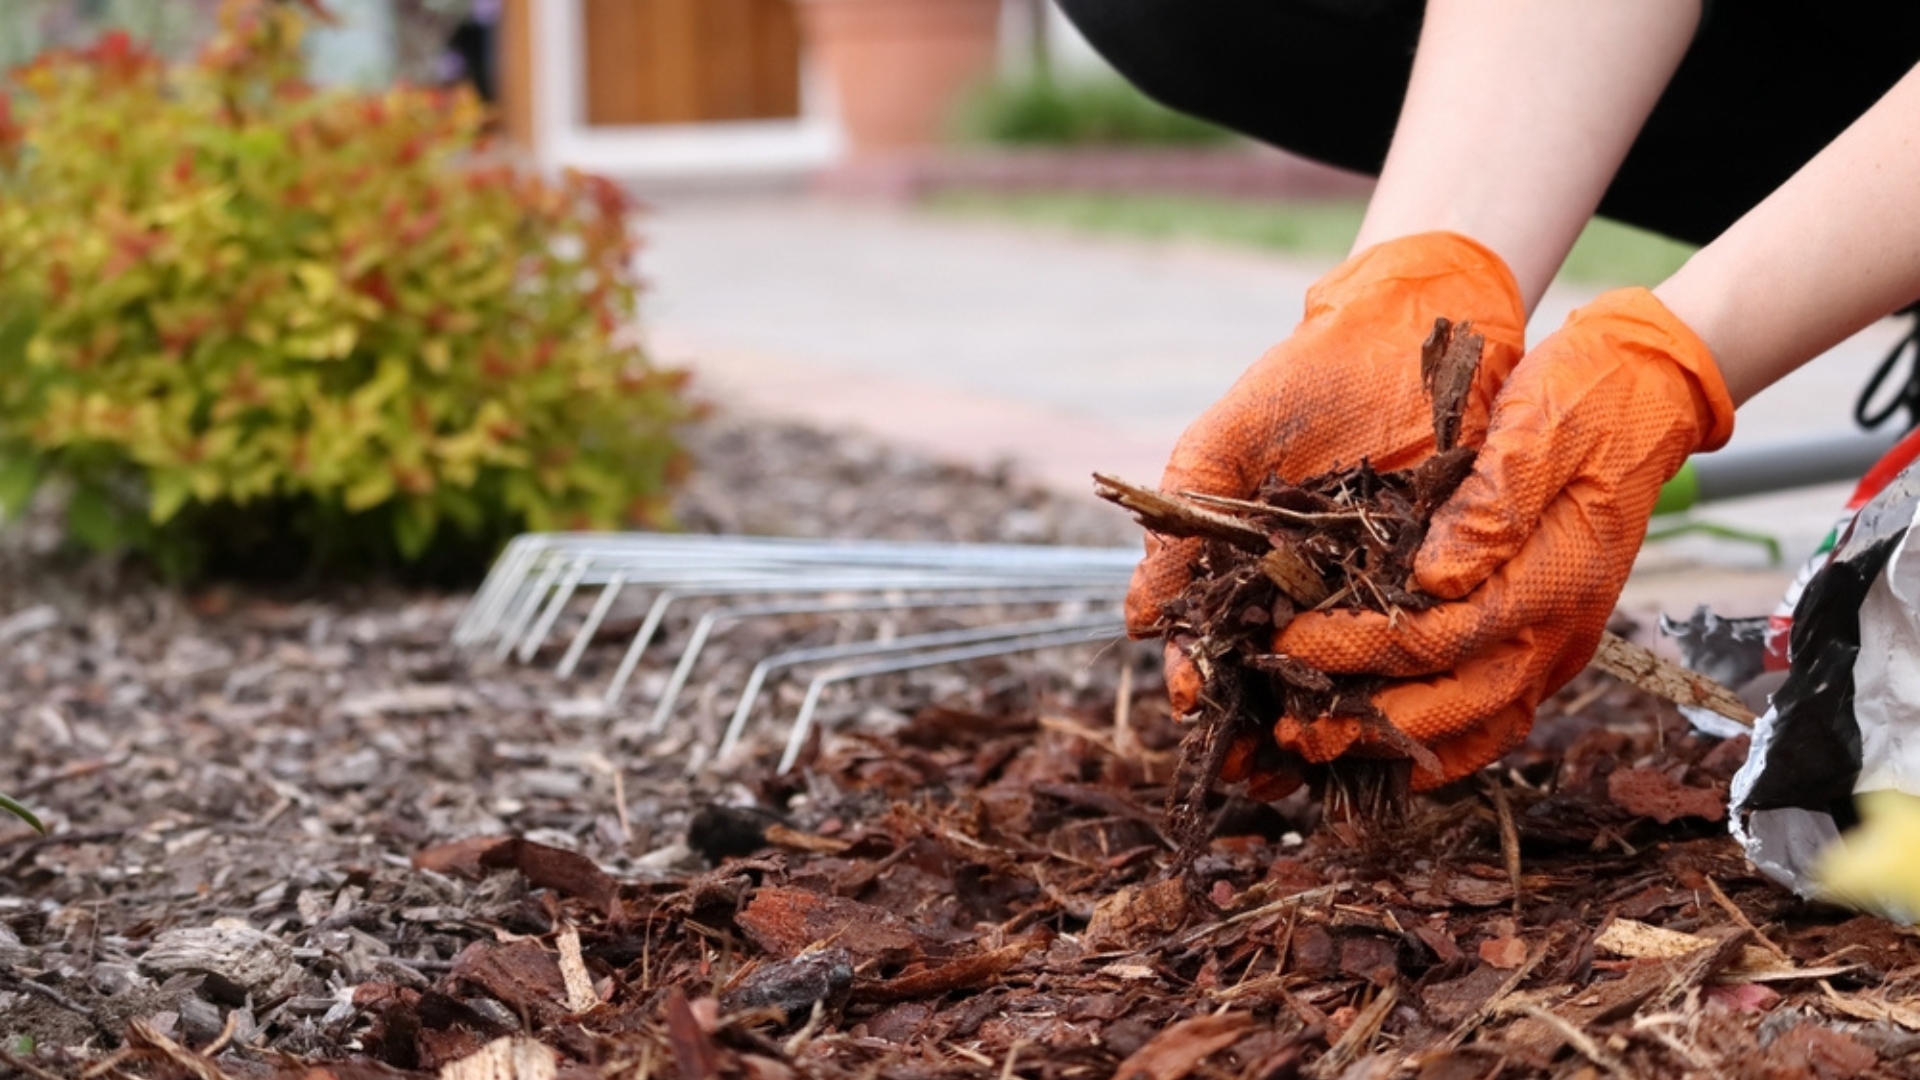
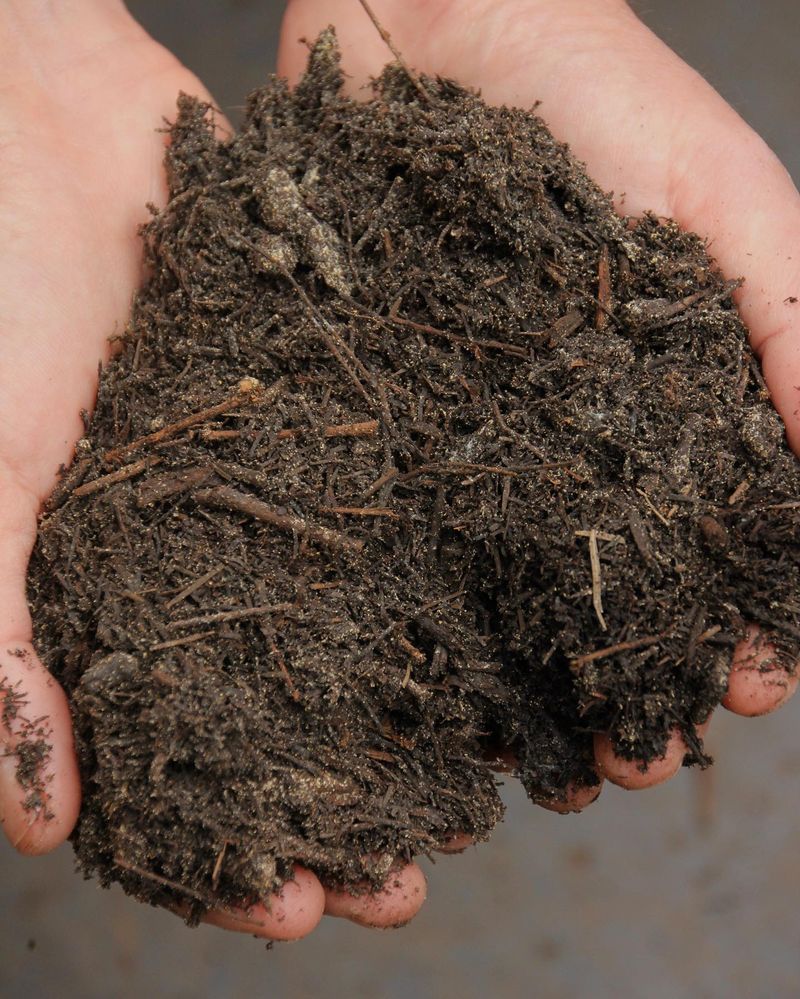
13. Make Your Own Mulch for Free
Fallen leaves transform into premium mulch after shredding with a lawn mower or leaf shredder. Collect them in fall, shred, and store in bags or bins until needed. They’ll partially decompose during storage, becoming even more valuable.
Grass clippings make excellent mulch when dried first (fresh clippings can mat down and create smelly, slimy patches). Spread them thinly to dry for a day before using around plants.
Tree trimmers often give away wood chips for free. These fresh chips work best around trees and shrubs or composted for 3-6 months before using in vegetable gardens.
14. Test pH Before Using Specialty Mulches
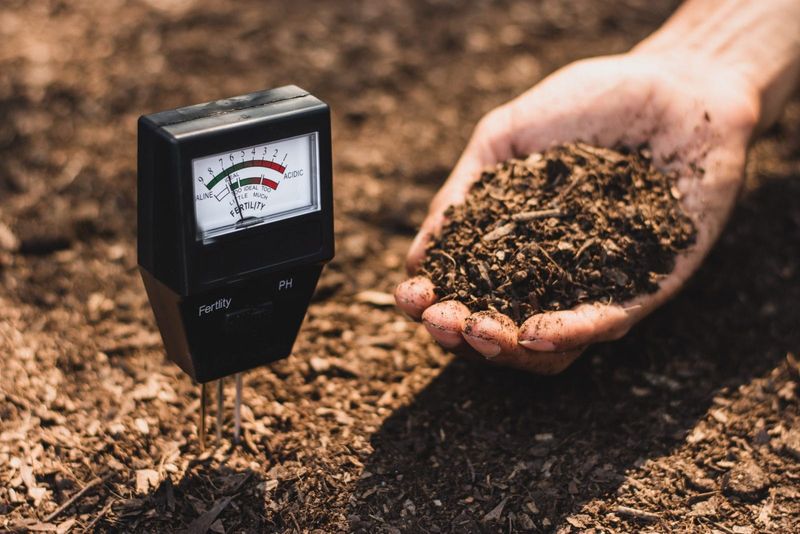
Some mulches significantly alter soil pH, which affects plant health and nutrient availability. Pine needles and pine bark gradually acidify soil – great for azaleas and blueberries, but potentially harmful to pH-sensitive plants like clematis.
Wood ash used as mulch raises pH (makes soil more alkaline), benefiting vegetables like brassicas but potentially causing nutrient deficiencies in acid-loving plants. Home soil test kits help monitor these changes.
Mulches containing black walnut (including chips from walnut trees) contain juglone, a natural chemical toxic to many plants. Avoid these around sensitive species like tomatoes and apples.
15. Irrigate Properly Through Mulch
Mulched gardens need less frequent but deeper watering than unmulched ones. Water thoroughly until moisture penetrates the mulch layer completely and reaches the soil beneath.
Drip irrigation or soaker hoses placed under mulch deliver water directly to roots with minimal evaporation loss. This setup can reduce water usage by up to 50% compared to overhead sprinklers on unmulched gardens.
Check soil moisture under mulch regularly by pushing aside the mulch and inserting your finger 2-3 inches into the soil. If it feels dry at that depth, it’s time to water, regardless of how the surface looks.
16. Understand Mulch Decomposition Timing
Different mulches break down at different rates, affecting how often you’ll need to replenish them. Fine-textured mulches like shredded leaves decompose within a season, enriching soil quickly but requiring more frequent replacement.
Chunky bark nuggets might last 2-3 years before significant breakdown occurs. They protect soil longer but add fewer nutrients. Plan your garden budget and maintenance schedule around these decomposition timelines.
Faster decomposition isn’t always better – long-lasting mulches work well for permanent plantings like trees, while quick-decomposing options better suit vegetable gardens where soil enrichment is a priority.
17. Prevent Mulch from Becoming Hydrophobic
Old mulch sometimes develops water-repellent properties, especially during drought. When water beads up and rolls off instead of soaking in, your mulch has become hydrophobic and needs attention.
Break up crusted mulch surfaces with a garden fork or rake. Adding a drop of dish soap to your watering can (just a drop per gallon) temporarily reduces water tension, helping moisture penetrate resistant mulch layers.
For severely water-repellent mulch, consider removing the top inch and replacing it with fresh material. Compost the old stuff – the decomposition process will eventually break down the waxy substances causing the problem.