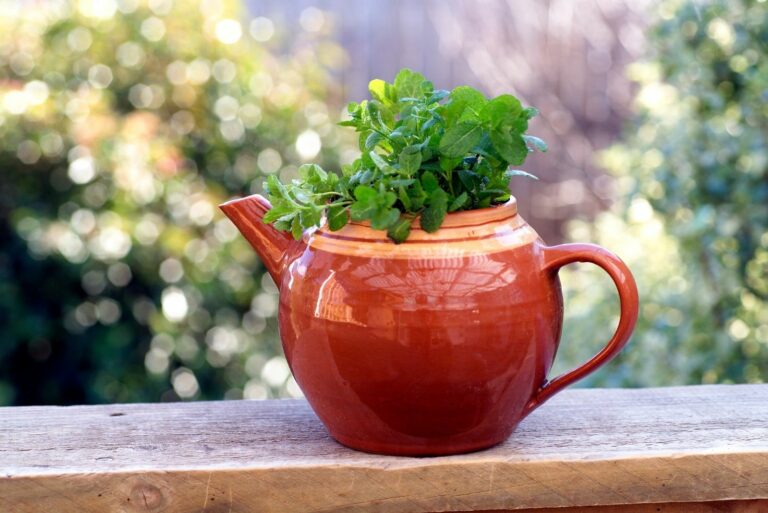
18 Must-Know Tips To Successfully Grow Lemon Balm From Seed
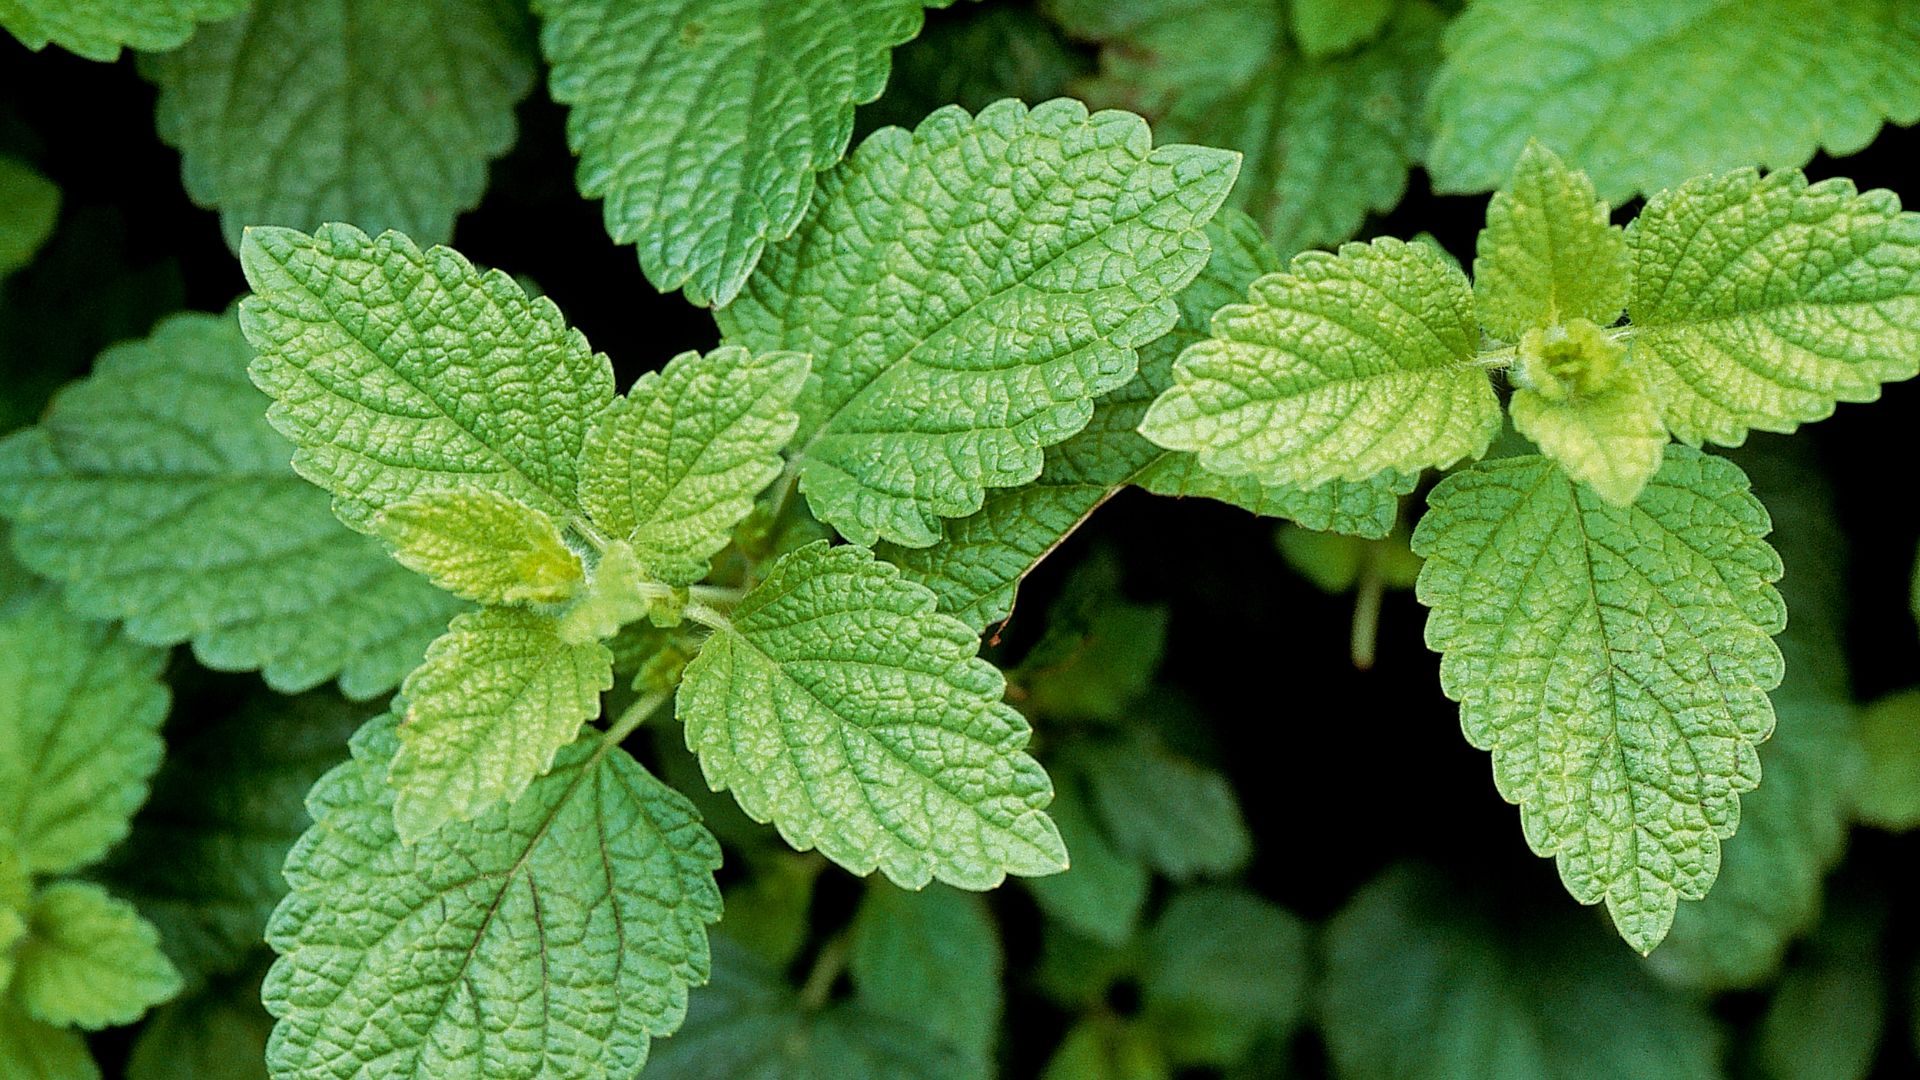
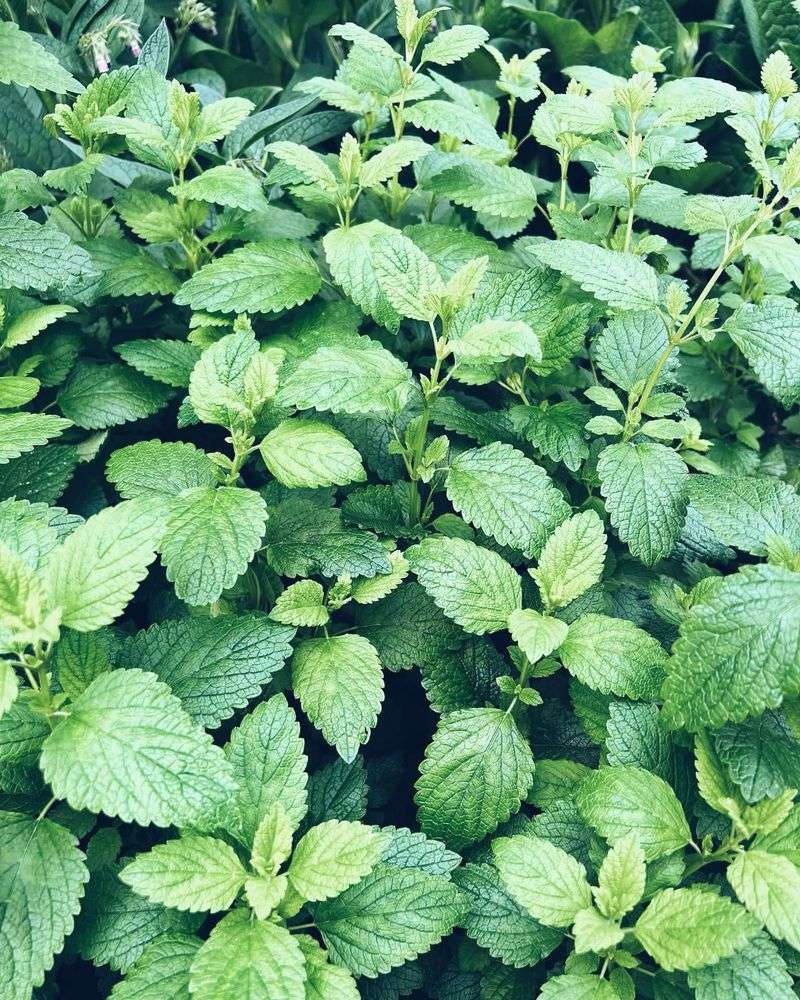
Growing lemon balm from seed is one of those garden wins that’s simple, satisfying, and surprisingly fragrant. With its fresh citrus scent and mellow flavor, it’s a perfect herb for teas, recipes, and even relaxing evening breezes from your windowsill.
Start with moist, well-draining soil and lightly press the tiny seeds onto the surface—they need light to germinate. Keep the soil consistently damp (not soggy), and you’ll usually see sprouts within 1–2 weeks. Once they’re up, give them bright light and thin out any overcrowded seedlings.
Regular trimming helps them stay compact and bushy, and you’ll have plenty of leaves to harvest without letting things get unruly.
1. Choose Fresh, High-Quality Seeds
Fresh seeds make all the difference in your germination success rate. Look for seeds that were packaged for the current growing season from reputable suppliers.
Older seeds may still grow, but expect lower germination rates. I once tried using 3-year-old seeds from my drawer and only about 30% sprouted compared to nearly 90% with fresh ones.
Store unused seeds in a cool, dry place in an airtight container to maintain viability for future plantings.
2. Start Seeds Indoors 6-8 Weeks Before Last Frost
Getting a head start indoors gives your seedlings time to develop before outdoor planting. Mark your calendar based on your local frost dates to time this perfectly.
Starting too early can result in leggy, weak plants. My first attempt had me starting seeds in January – way too soon! The seedlings became stretched and never performed well once transplanted.
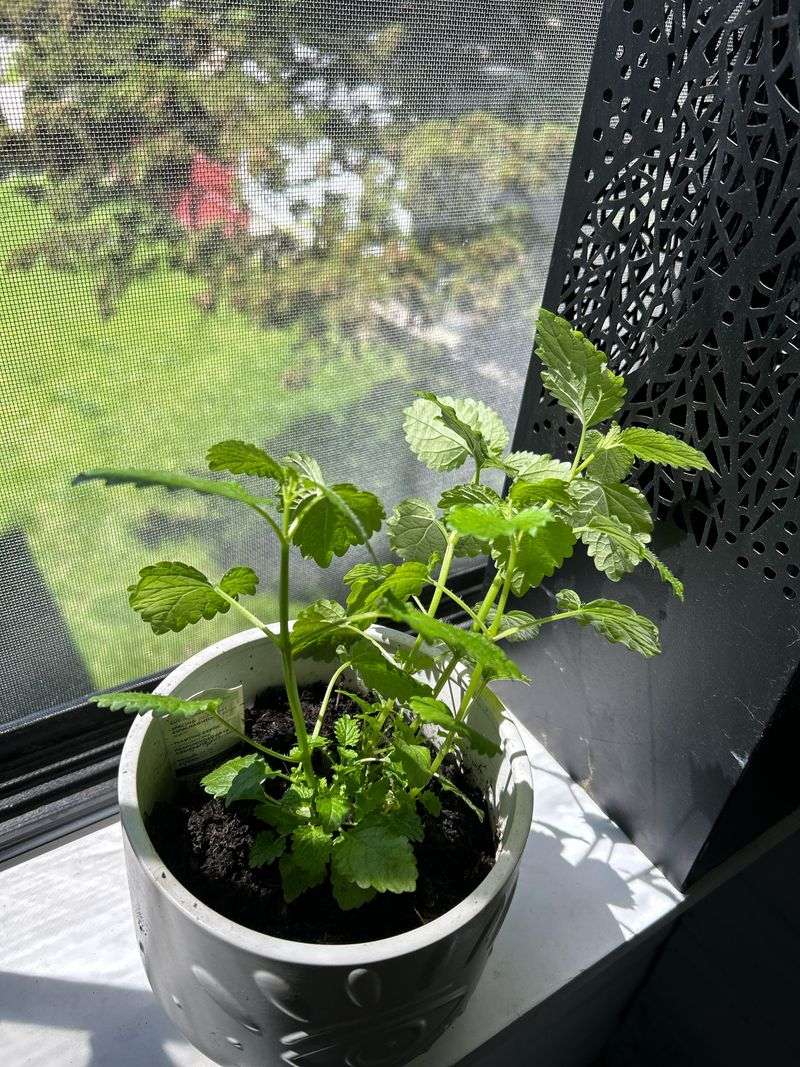
A sunny windowsill or grow light setup works great during this indoor phase.
3. Use The Right Soil Mix
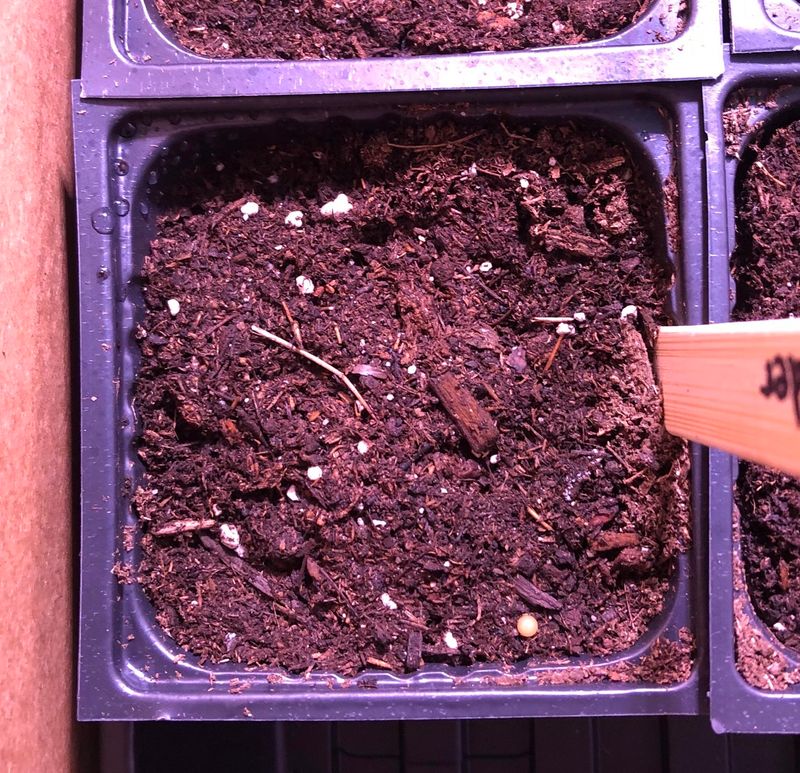
Standard garden soil is too heavy for starting seeds. Instead, use a lightweight seed-starting mix that allows roots to easily penetrate while retaining moisture.
Commercial seed-starting mixes work well, but you can make your own by combining equal parts peat moss, vermiculite, and perlite. I’ve found this homemade mix produces stronger seedlings than many store-bought options.
Avoid using straight potting soil, as it often compacts and doesn’t drain properly for delicate new roots.
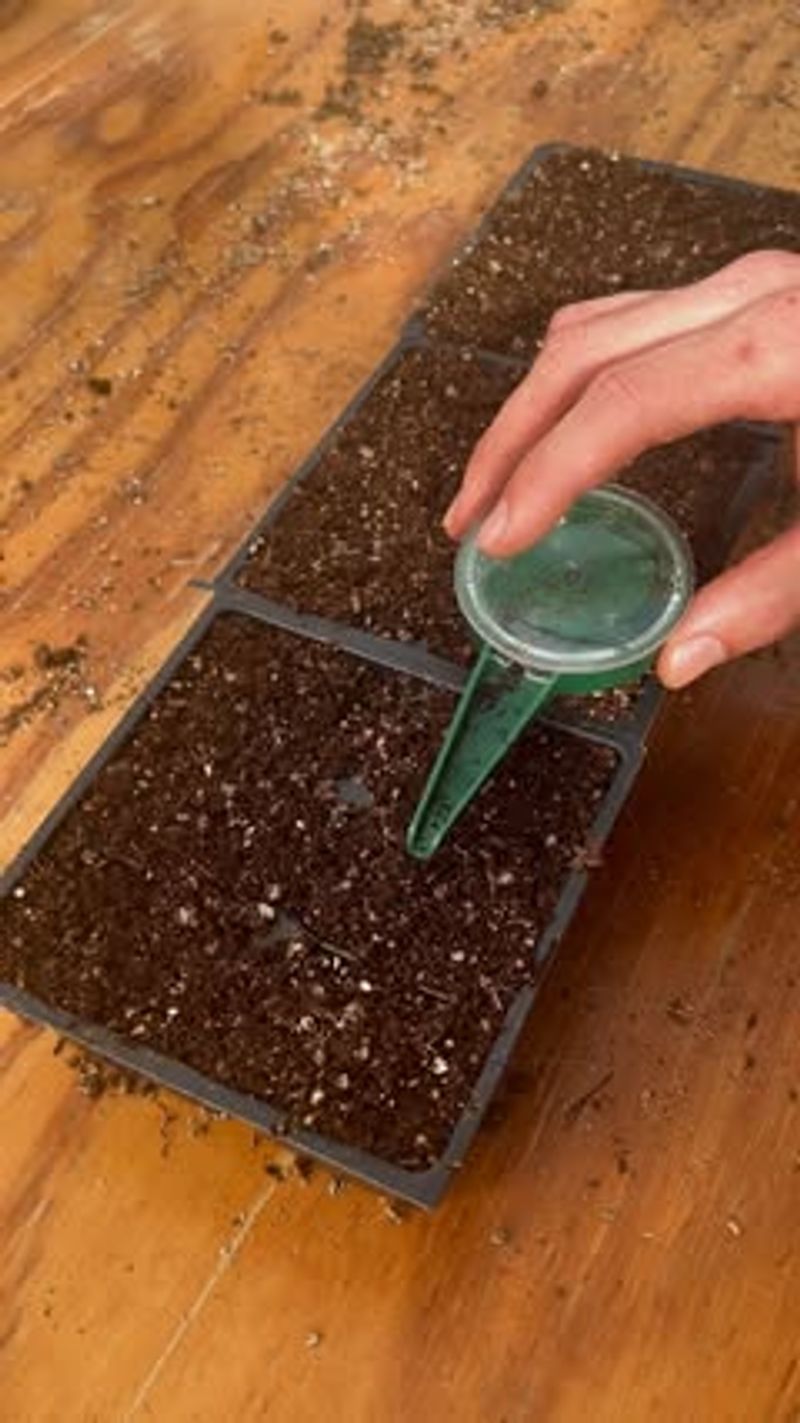
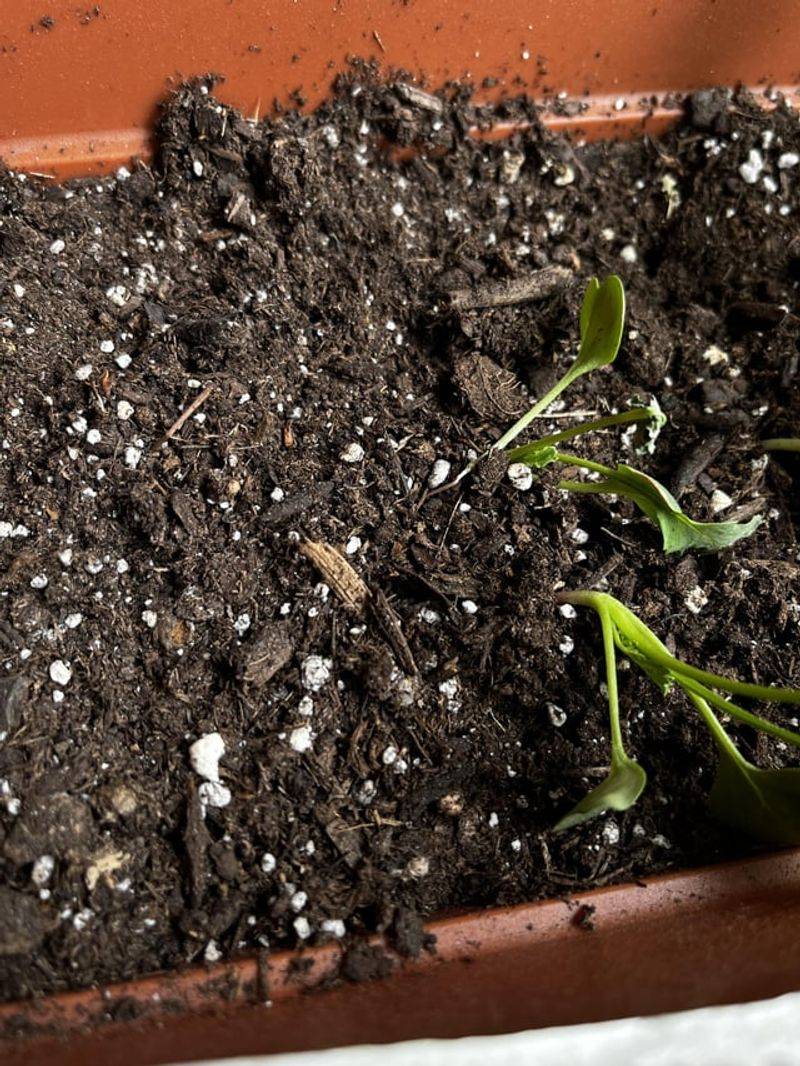
4. Sow Seeds At The Correct Depth
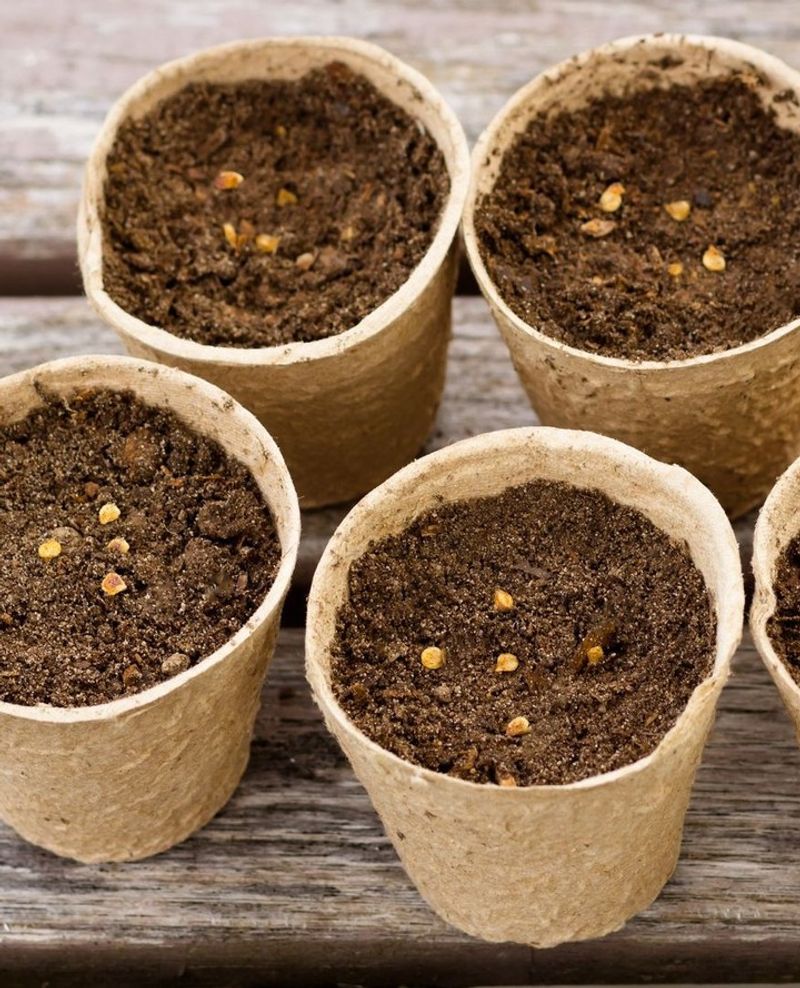
Tiny seeds need minimal covering to germinate successfully. Sprinkle seeds on the surface of moist soil, then barely cover with a thin layer of soil – no more than 1/8 inch deep.
Pressing seeds gently into the soil with your finger creates good seed-to-soil contact without burying them too deeply. The first time I planted, I buried them too deep and waited weeks with no sprouts.
Remember that light helps these small seeds germinate, so don’t bury them completely out of sight.
5. Maintain Consistent Moisture During Germination
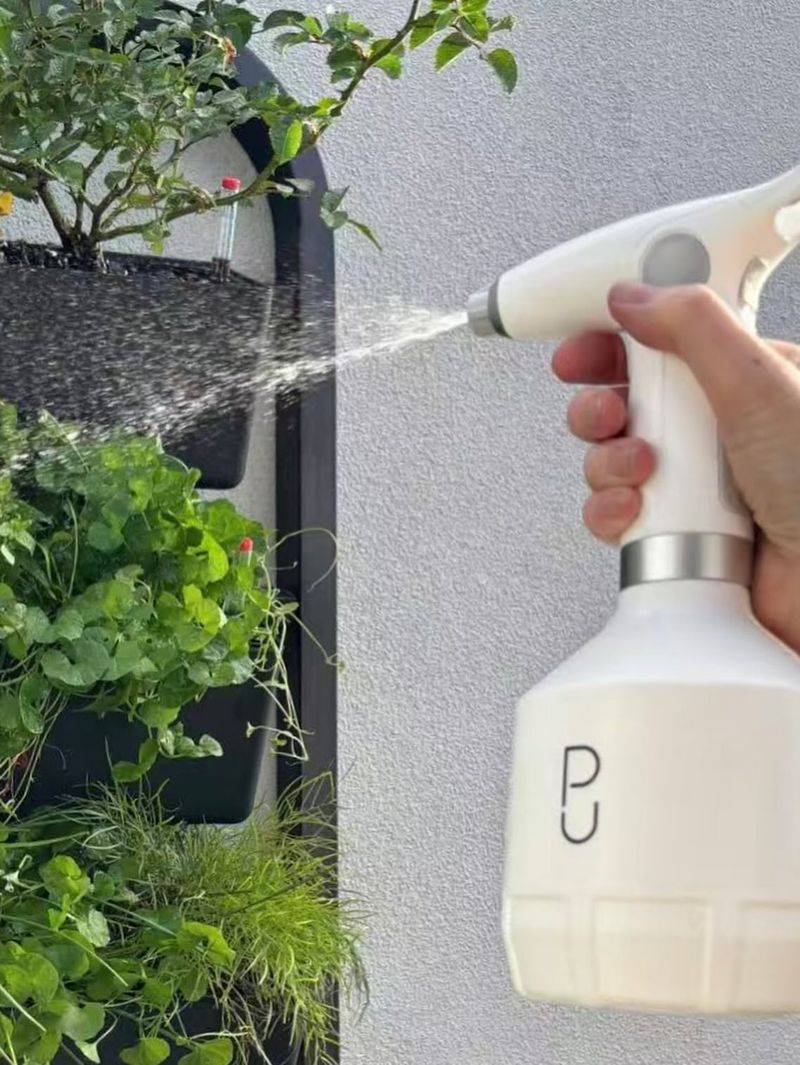
Keeping the soil evenly moist (never soggy) is crucial during the germination period. A spray bottle works perfectly for gentle watering that won’t disturb the tiny seeds.
Covering seed trays with clear plastic wrap creates a mini-greenhouse effect that maintains humidity. Just be sure to remove it once seedlings emerge to prevent damping off disease.
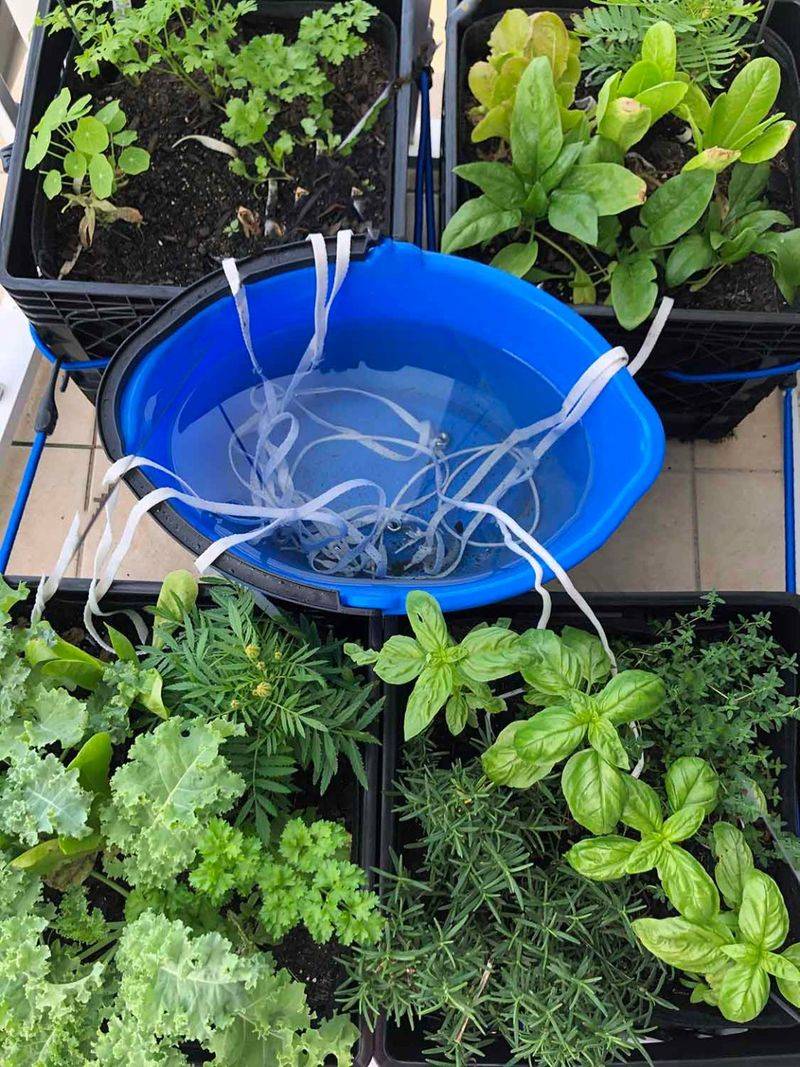
For me, bottom watering made a huge difference in germination rates – placing trays in shallow water allows soil to absorb moisture from below without disturbing seeds.
6. Provide Adequate Light After Germination
Seedlings need 12-16 hours of bright light daily to prevent legginess. A south-facing window might work, but grow lights positioned just a few inches above plants provide more consistent results.
Rotate trays regularly if using natural light since seedlings will lean toward light sources. My windowsill plants always ended up bent until I started turning them daily.
Adjusting grow lights upward as plants grow taller ensures they stay at the optimal distance – too far and plants stretch, too close and leaves may burn.
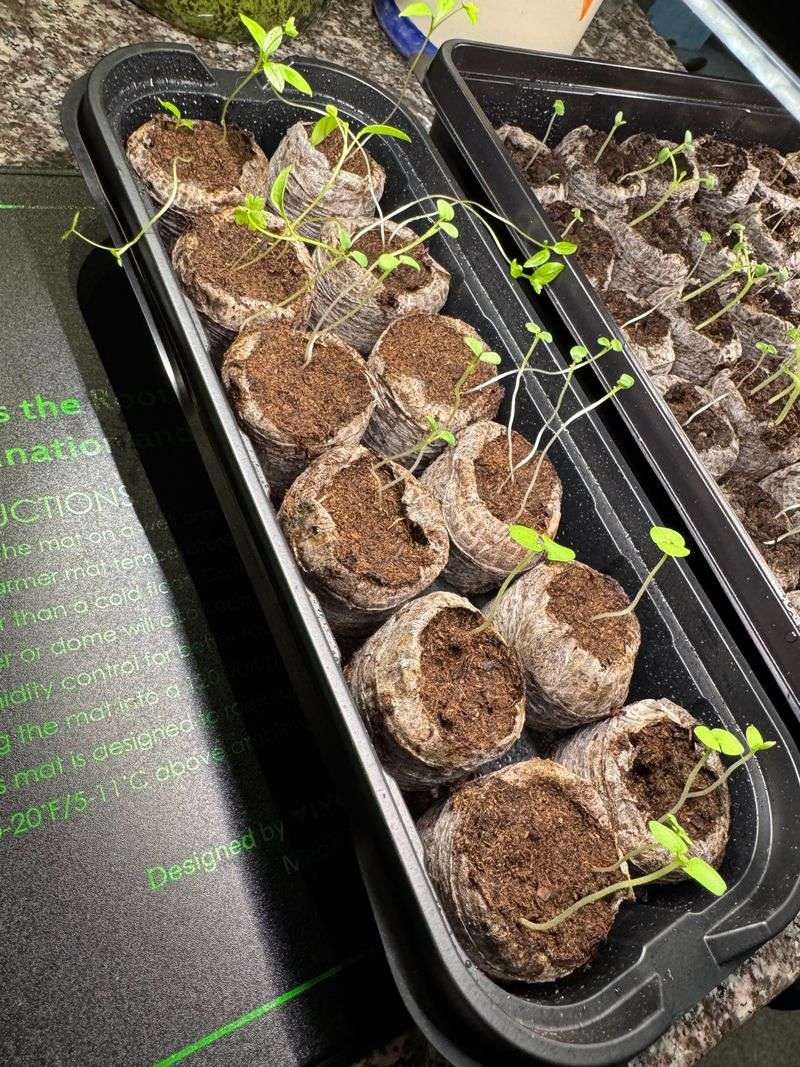
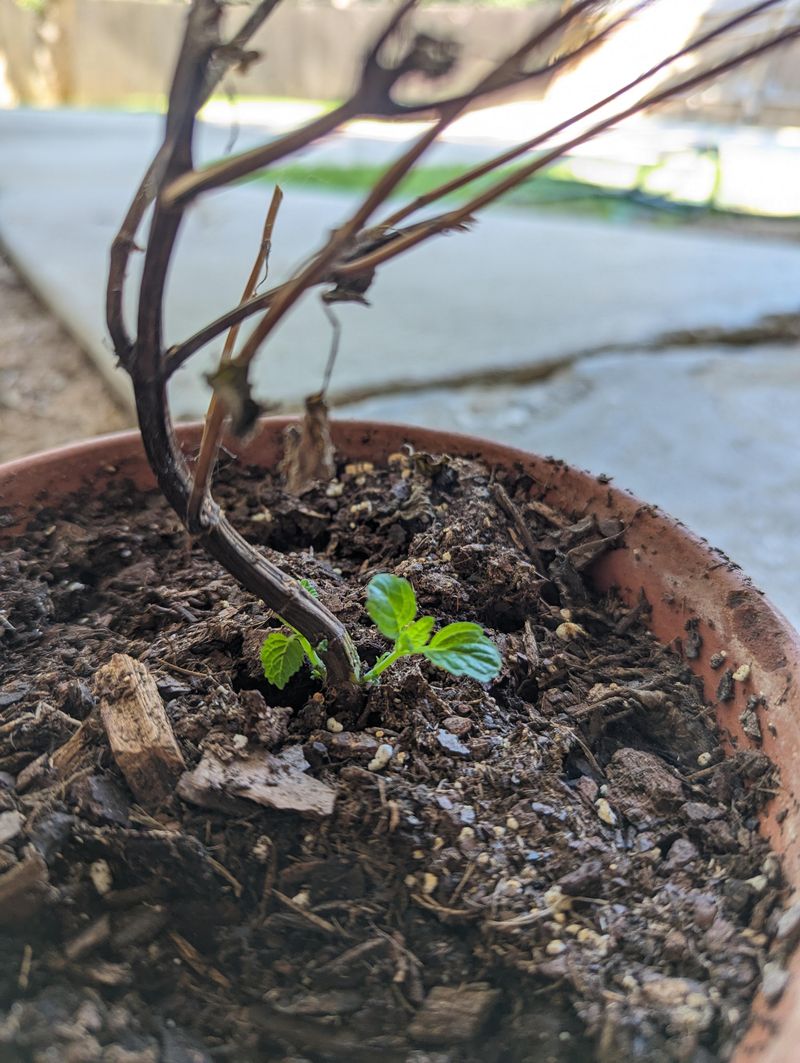
7. Thin Seedlings For Proper Growth
Once seedlings develop their first true leaves (not the initial seed leaves), it’s time to thin them. Keep the strongest seedling in each cell or pot, snipping others at soil level with scissors.
Avoid pulling unwanted seedlings as this can disturb roots of neighboring plants. Years ago, I yanked extras and accidentally uprooted my keepers too!
Proper spacing prevents competition for nutrients and light, allowing remaining plants to develop strong root systems and lush foliage.
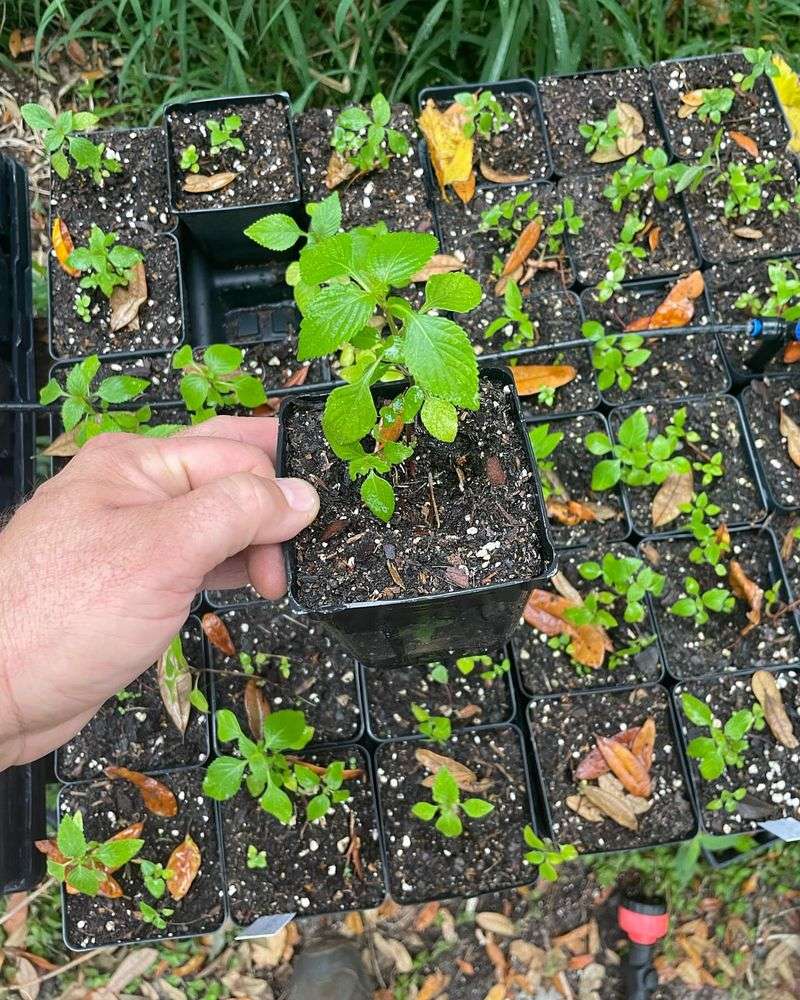
8. Harden Off Seedlings Before Transplanting
Gradually acclimate indoor-grown seedlings to outdoor conditions over 7-10 days. Start with just an hour in dappled shade, increasing exposure daily.
Skipping this crucial step can shock plants, causing wilting or even death. My first batch went straight from windowsill to garden and nearly all perished from the sudden change.
During hardening off, bring plants back indoors at night until they’re ready for full outdoor living, especially if temperatures might drop below 50°F.
9. Transplant At The Right Time
Wait until all danger of frost has passed and seedlings have at least two sets of true leaves before moving them to the garden. Lemon balm prefers soil temperatures of at least 60°F.
Choose an overcast day or evening for transplanting to reduce transplant shock. My plants always establish faster when I plant on cloudy days rather than bright sunny ones.
Water thoroughly before and after transplanting to ease the transition and help roots make good contact with new soil.
10. Space Plants Properly
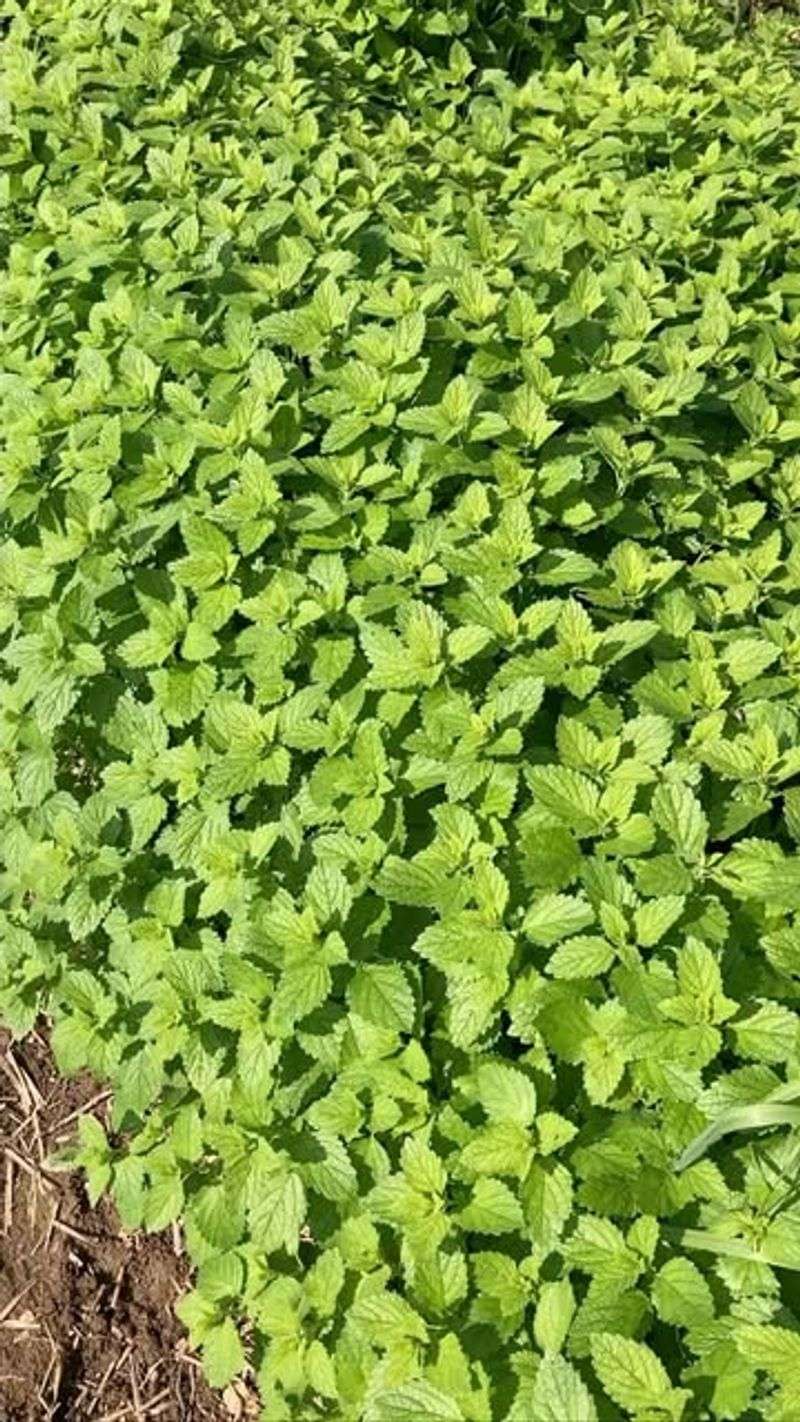
Allow 12-18 inches between plants when setting them in their permanent location. Lemon balm grows vigorously and will quickly fill available space.
Proper spacing improves air circulation, reducing disease problems like powdery mildew. I once overcrowded mine thinking more plants equals more harvest, but that backfired with weak, spindly growth.
Consider future size when planting – those tiny seedlings will become bushy 2-foot plants before you know it!
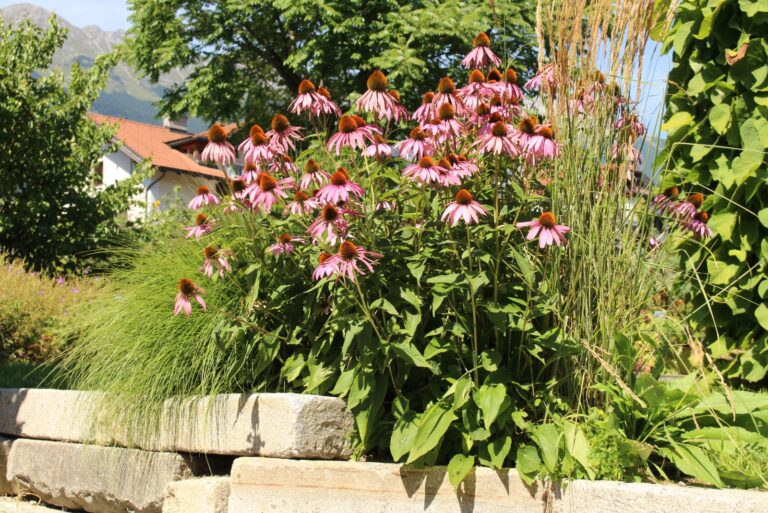
11. Choose The Right Garden Location
Select a spot with morning sun and afternoon shade in hot climates, or full sun in cooler regions. Lemon balm appreciates protection from intense afternoon heat.
Good air circulation helps prevent fungal issues, so avoid cramped corners. My plants in the breezy side yard always outperform those tucked against the house.
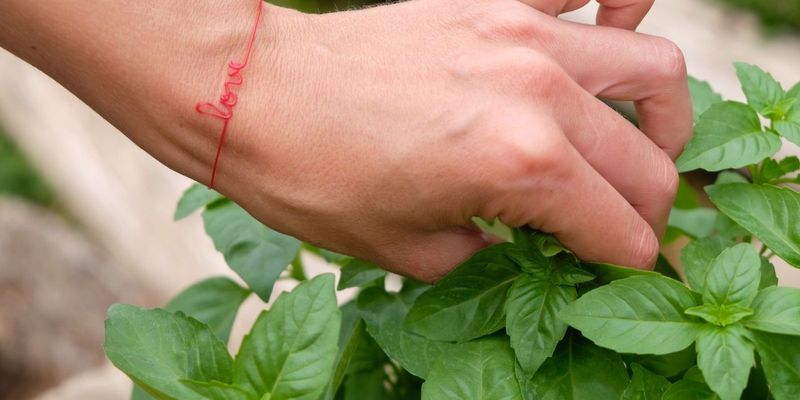
Consider planting near patios or walkways where brushing against leaves will release their lemony scent for you to enjoy throughout the season.
12. Prepare Soil Before Transplanting
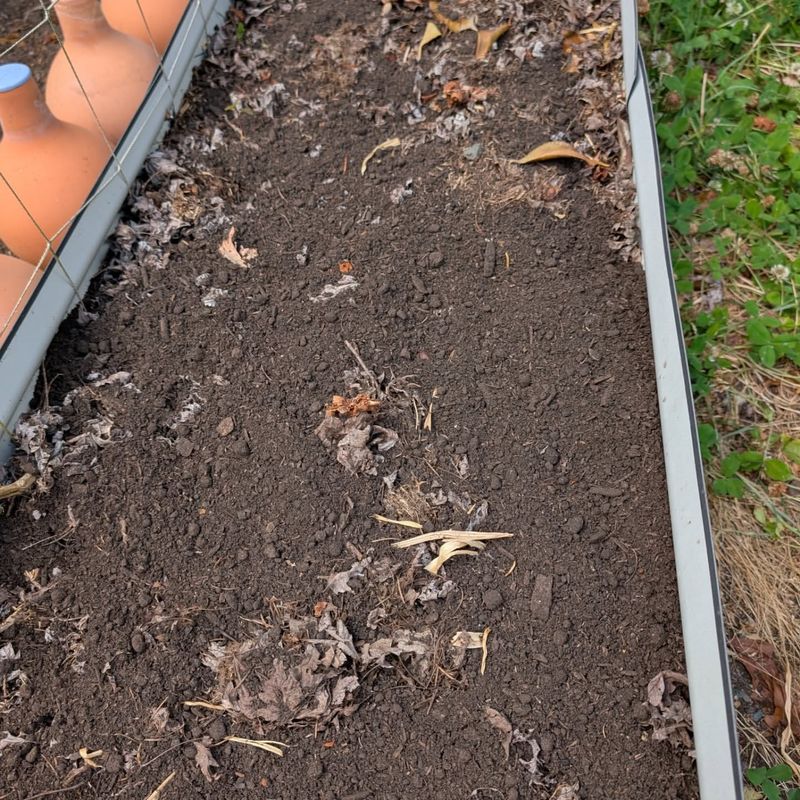
Work in 2-3 inches of compost to improve soil structure and provide nutrients. Lemon balm isn’t fussy but performs best in well-draining, moderately fertile soil.
Avoid over-fertilizing, which produces excessive foliage with reduced essential oils and flavor. My most aromatic plants grow in average soil amended just once yearly with compost.
Aim for a neutral to slightly acidic pH between 6.0 and 7.0 for optimal growth and flavor development.
13. Water Newly Planted Seedlings Correctly
Keep soil consistently moist but never waterlogged during the establishment period. Deep, infrequent watering encourages roots to grow downward for better drought resistance.
Apply water at the base of plants rather than overhead to prevent foliar diseases. After learning this the hard way, I switched to drip irrigation and saw dramatically healthier growth.
Reduce watering frequency once plants are established, allowing soil to dry slightly between waterings.
14. Apply Mulch To Retain Moisture
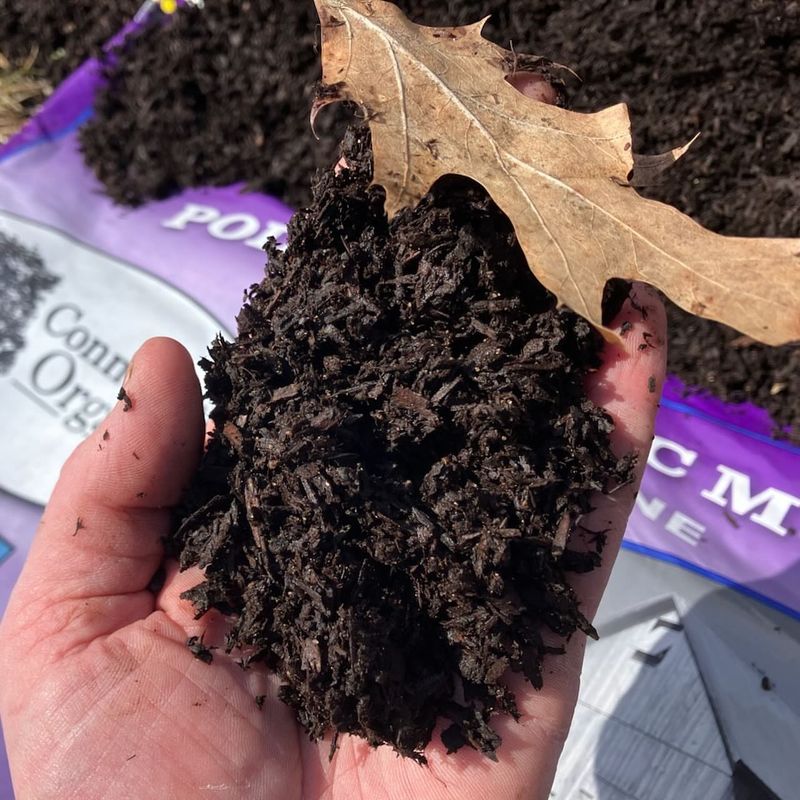
Spread 2-3 inches of organic mulch around plants after transplanting to conserve moisture and suppress weeds. Keep mulch slightly away from stems to prevent rot.
Straw, shredded leaves, or fine wood chips work well as mulch materials. After experimenting with several types, I’ve found that partially decomposed leaves provide the perfect balance of moisture retention and soil improvement.
Refresh mulch midseason as it breaks down to maintain its benefits throughout the growing period.
15. Pinch Back For Bushier Growth
Regular pinching encourages lateral branching, resulting in fuller, more productive plants. Begin when seedlings are 6-8 inches tall by removing the top inch of growth.
Continue pinching throughout the season, especially after harvesting. The bushiest lemon balm I’ve ever grown came from plants I regularly pinched – they had twice the yield of unpinched plants.
Use harvested tips in tea or cooking rather than discarding them – even small amounts add wonderful lemony flavor to dishes.
16. Prevent Unwanted Self-Seeding
Remove flower stalks before they set seed unless you want volunteer plants everywhere. Lemon balm is notorious for spreading through prolific self-seeding.
Flowering also reduces leaf production and flavor, so pinching flower buds benefits your harvest. I learned about its spreading habit after ignoring one flowering plant – the next spring I had dozens of seedlings throughout my garden!
If you do allow some plants to flower, pollinators will thank you – bees absolutely love lemon balm blossoms.
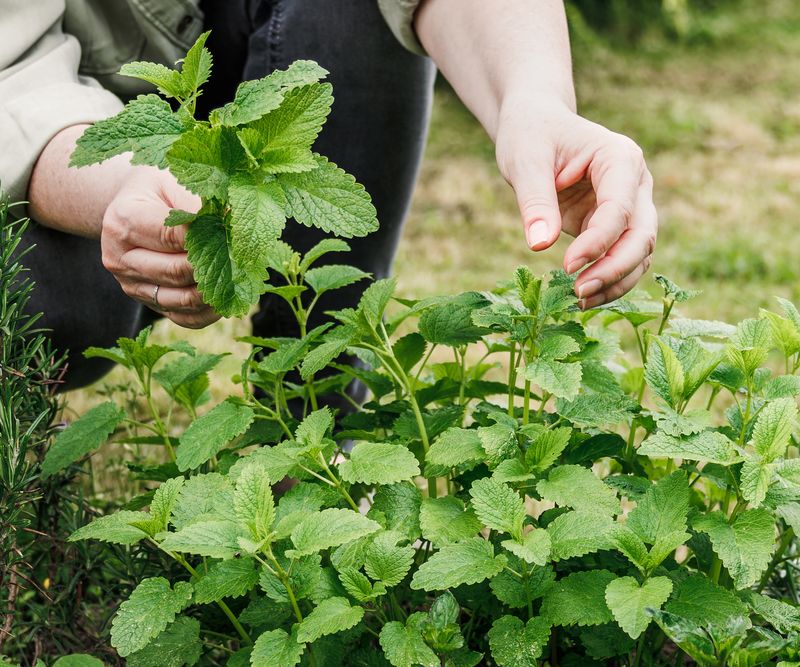
17. Harvest Regularly For Continued Production
Begin harvesting once plants reach 6-8 inches tall, taking no more than one-third of the plant at once. Morning harvesting yields the highest essential oil content.
Cut stems just above a leaf node to encourage branching and new growth. My most productive plants are those I harvest from regularly rather than occasionally taking large cuttings.
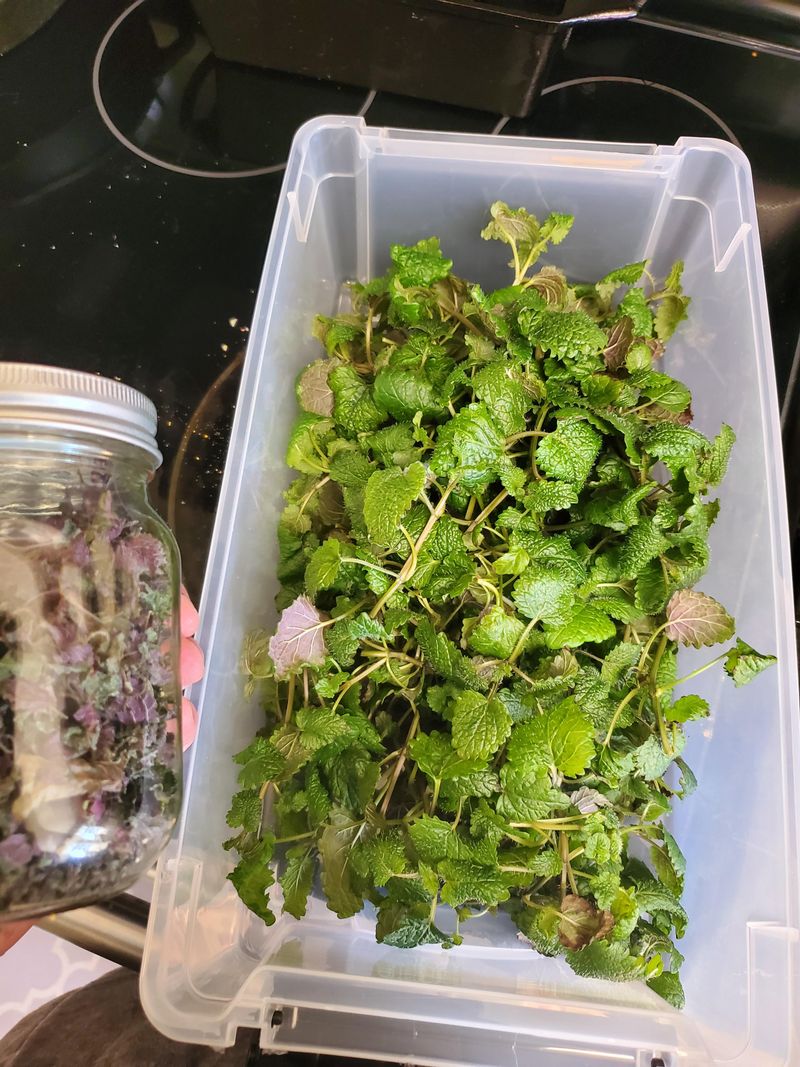
Fresh leaves have the best flavor, but you can also dry or freeze excess harvest for year-round use.
18. Save Seeds For Next Season
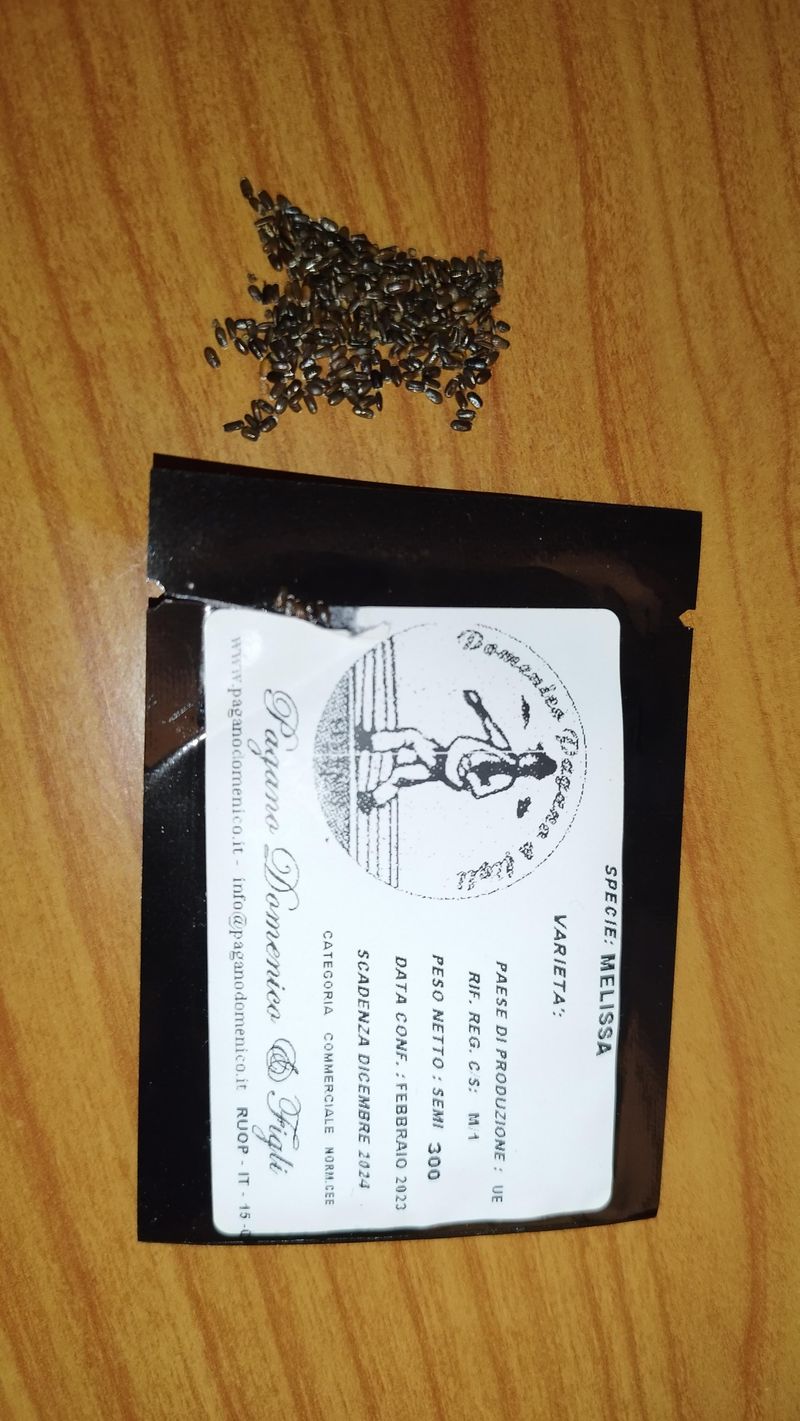
Allow a few healthy plants to flower and set seed at season’s end if you want to collect your own seeds. Tiny brown seeds form in small clusters that turn dark when mature.
Harvest seed heads by cutting stems and placing them upside down in paper bags to catch falling seeds. The first time I saved seeds, I waited too long and lost most to self-sowing before collection!
Store dried seeds in labeled paper envelopes in a cool, dry place until next planting season.