6 Reasons To Use Olla For Easy Garden Irrigation And How To Set It Up
It’s that time of year when we’re all looking forward to spending a couple of weeks by an unpopulated beach. But that also means finding a way to care for your garden while you’re away.
And what if this summer is particularly dry? Try olla!
It’s an ancient technique of delivering moisture right to the plants’ roots without over or underwatering them.
Let’s check it out!
What Is Olla?
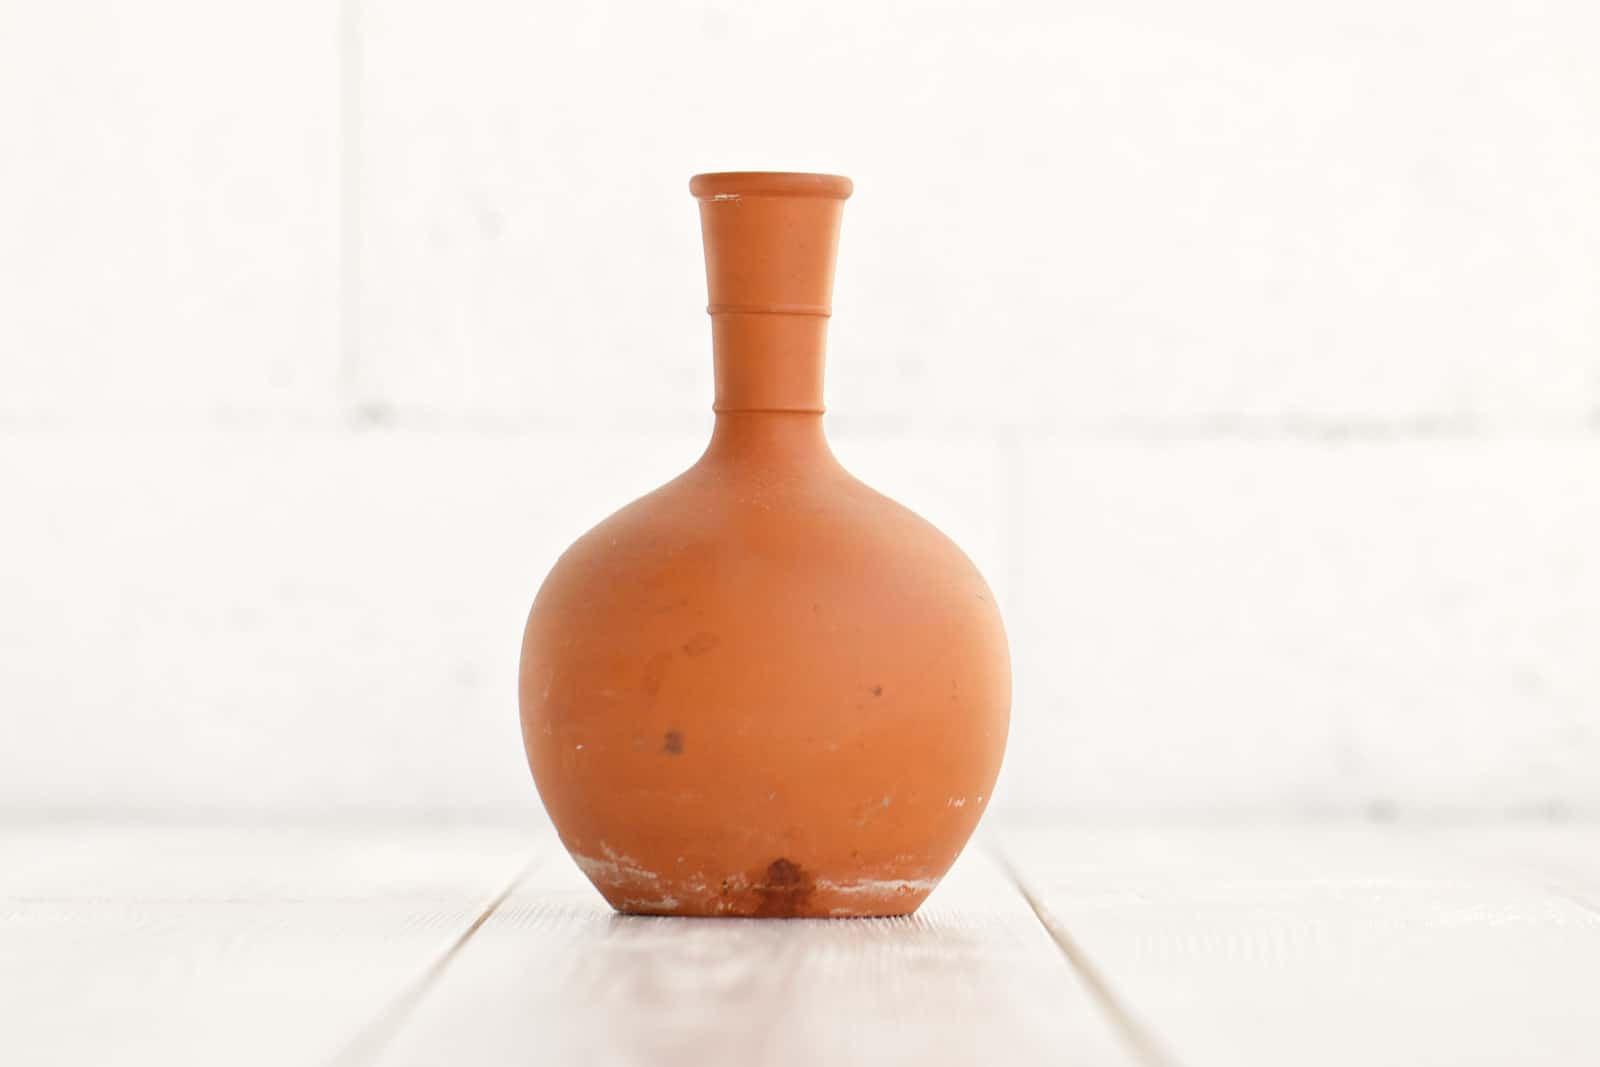
Olla is a terracotta or ceramic unglazed vessel that you place in the soil and fill with water. Since the walls of these pots are porous, moisture will leach through them, irrigating your plants when needed.
This method delivers moisture straight to the plants’ roots, so there’s no risk of having them underwatered or water splashing on their foliage, which results in fungal infections.
In time, the roots will grow toward the water source.
Unfortunately, olla vessels aren’t that cheap and even the small ones meant for houseplants cost about $20. And those for your outdoor plants could easily go for $60.
But did you know that you can make your own?
How To Build Olla
You can make your own olla irrigation system and thus save a pretty penny. All you need is a terracotta pot, a seal, a cover, and craft.
Here’s how to build it!
Collect The Material
You only need three ingredients to build your own olla.
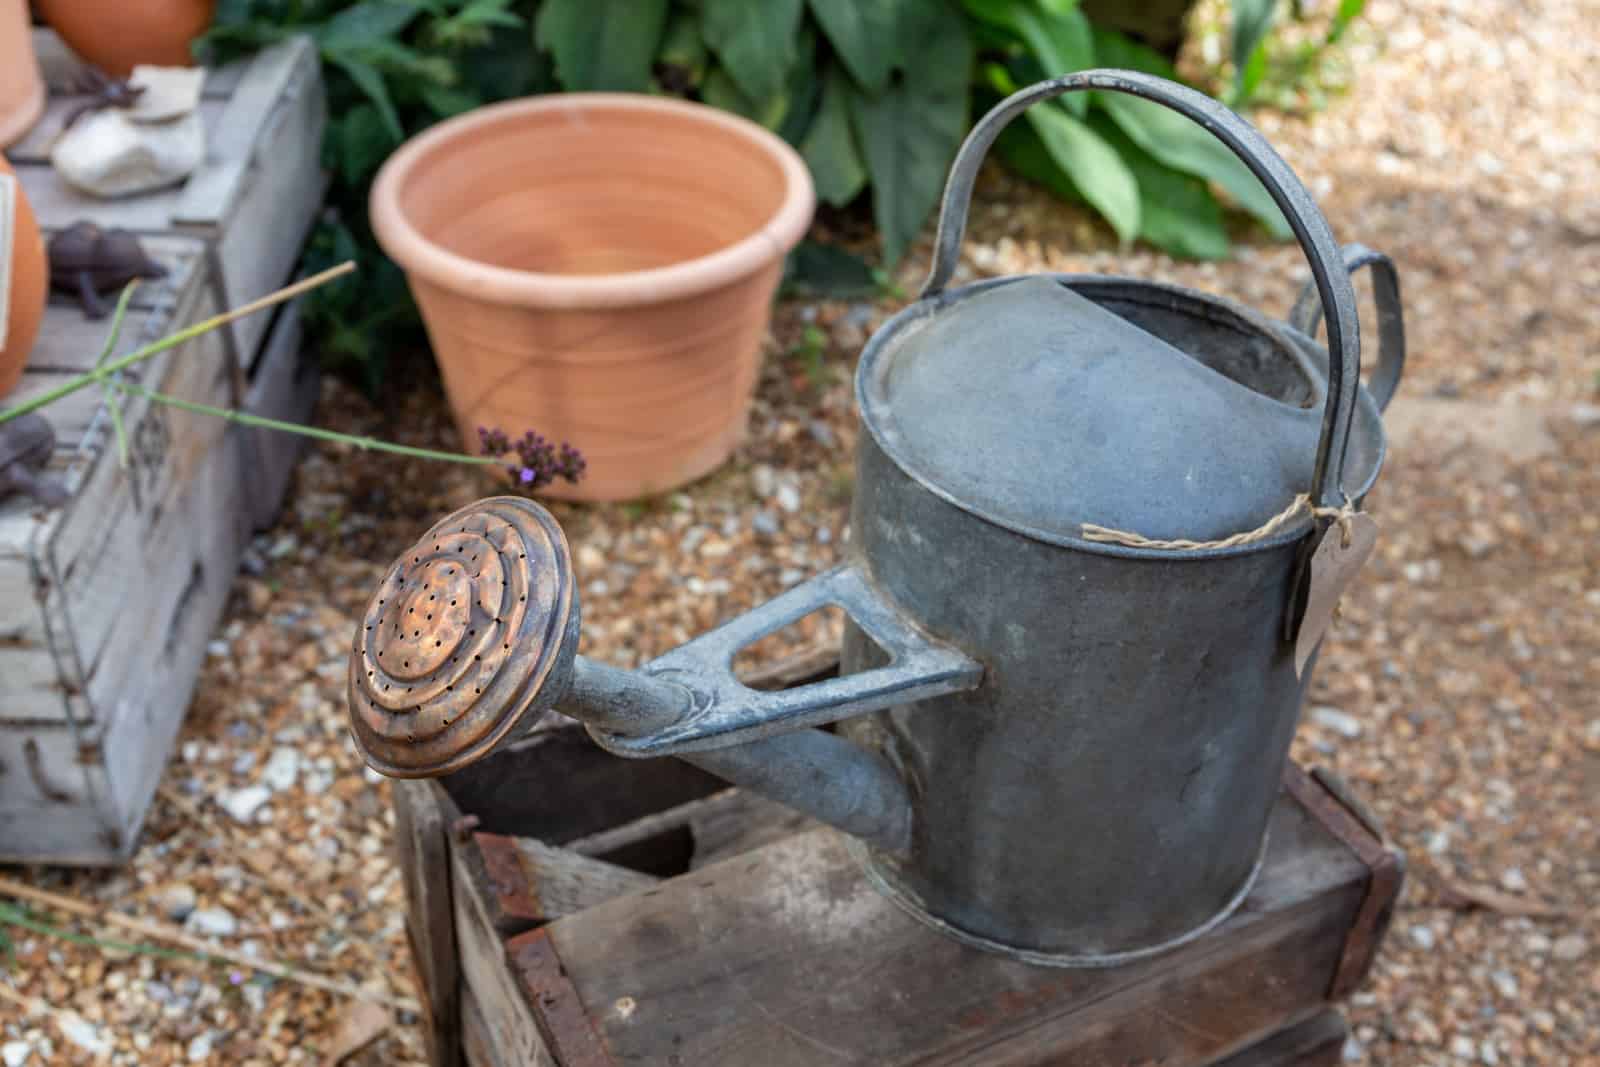
Terracotta pot – You need unglazed clay to make this work since it is porous and will water your plants. Glazed clay doesn’t have this property and will do nothing for your plants. If you can find one without drainage holes – great – but if not, you’ll have to use the cork.
If you plan to use olla as an irrigation system for your entire garden, you’ll have to place one every 4 feet or so. Of course, you will have to adjust the spacing based on the size of the vessels. Larger pots need larger spacing.
Seal – Once you plan where you want to place your olla, it is time to seal the bottom. A simple wine cork should do the trick and prevent water from draining out too quickly. Also, you can use wax seals, non-toxic sealants for aquariums, etc.
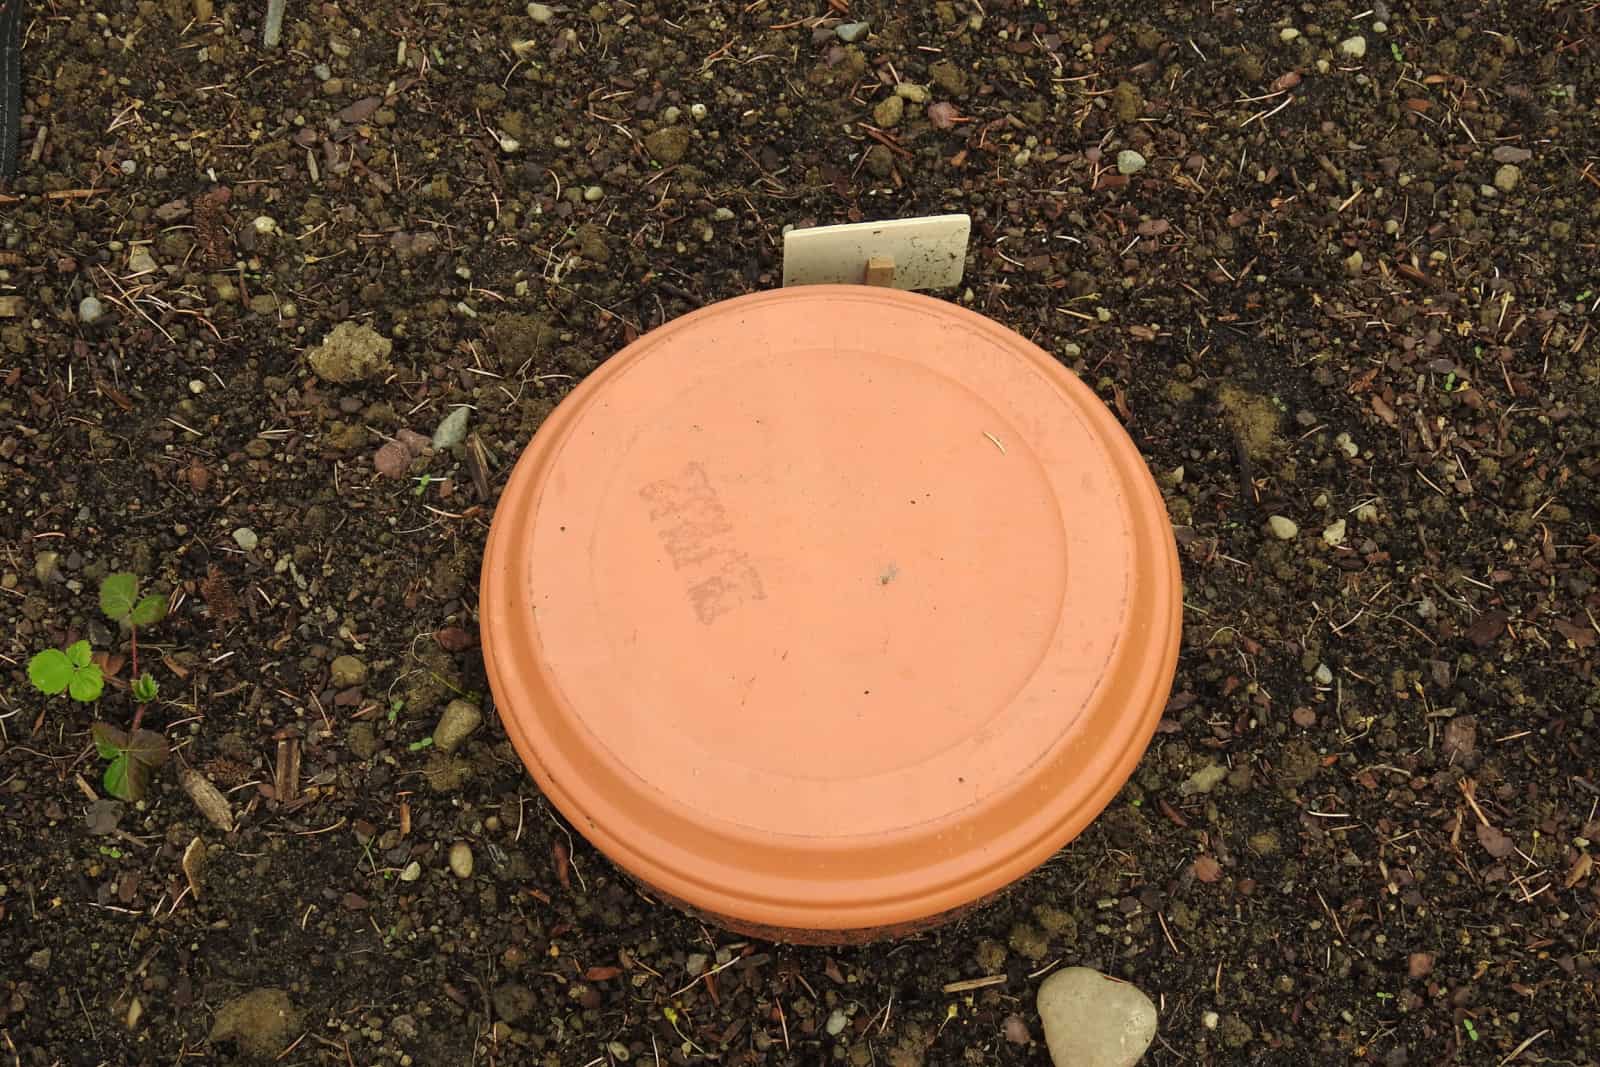
Cover – After you get everything done and fill the terracotta pot with water, you can cover it up and slow down evaporation. This will make sure you have to refill it less frequently and the water inside it won’t harbor insects or be a breeding ground for mosquitoes.
And the best part about it is that you can use pretty much anything to cover it up as long as it suits well. Terracotta saucers and bottles for smaller pots are great options. Just know that if you’re going with saucers, you’ll have to use larger ones to fit the top, not the bottom.
Cover The Drainage Hole

My favorite stopper is a real wine cork instead of a plastic one. This one fits right in and will expand over time, as it gets more saturated.
You don’t have to worry about it degrading because you won’t leave the terracotta olla in the ground for all eternity.
The pot can break or get damaged due to freezing temperatures and you will have to take it out during winter if you don’t want to buy a new one the following year.
Also, this can be a great opportunity to clean the pot from all debris and salt build-up, which may reduce its porosity.
Another thing you can use is a wax seal, especially if you don’t have a cork plug and don’t feel like buying one just for this project. Melt the wax, place the vessel on some wax paper, and pour the melted wax from inside. Cover the hole and a tiny area around it.
Let it dry and gently remove the paper using a knife. Turn the pot upside-down and let the bottom side dry out.
Test It
Once the seal is in place, it is time to test it. This way you’ll know whether water is seeping through and you’ll have an easier time fixing it.
Simply add some water to the olla as you would if it were underground. If you have a wax seal, place the pot on a level surface and look for water leakage.
And if you have a wine cork seal, hold it in your hands and look for water droplets. If everything is in order, you can bury your olla, but if not, look for the underlying issue. Perhaps you need to just level your seal, not pop it out and start anew.
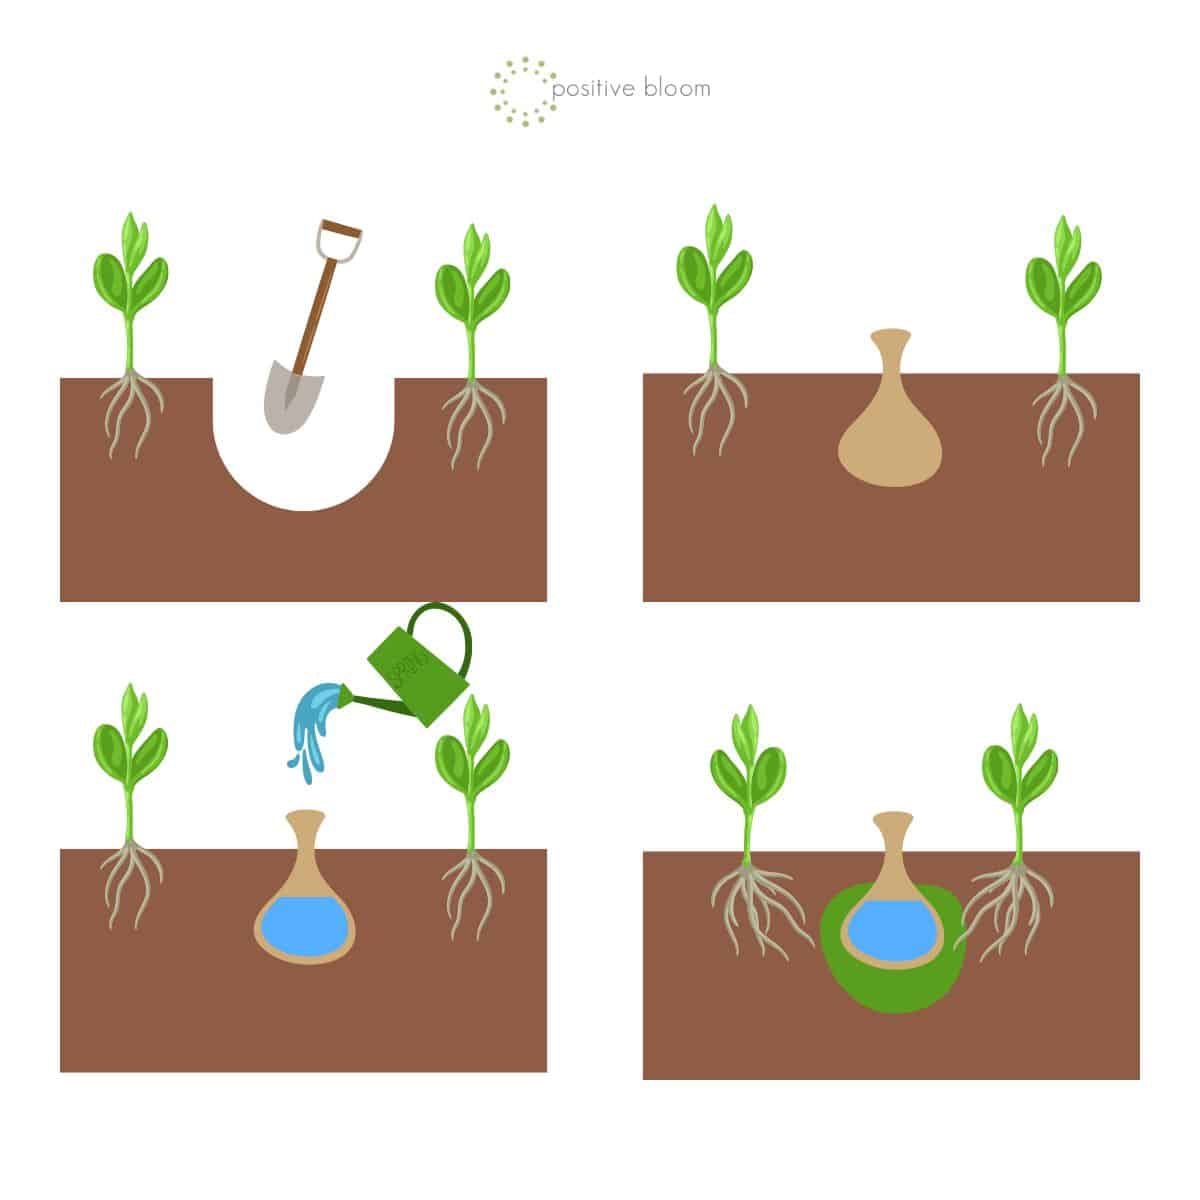
Bury A Terracotta Olla
Now’s the time to bury that olla. Dig a hole as deep as the terracotta pot, but not deeper than that and leave the top rim sticking out of the ground a bit.
This will make it easier to take out once the time comes to replenish water.
Place the pot tightly in the hole and tuck in the edges so that not a single drop evaporates.
Fill It Up And Cover It
The only thing left is to fill the pot up to the rim and cover it up with a saucer or a bottle.
If your cover isn’t heavy enough, you can always weigh it down with a rock, dirt, or even a garden decoration.
Just know that this cover won’t be there all the time. You’ll have to remove it every time you want to replenish water, so don’t fasten it too tightly.
Finally, you’ll have to observe your system for a couple of weeks before you learn how often you should refill it. It depends on the plants you grow and their size, the type of soil you have, and precipitation.
6 Reasons To Use Terracotta Olla
There are a couple of things you need to know before buying terracotta pots, and one of them is that these things are highly porous.
But when it comes to the olla irrigation system, it’s exactly what you need.
Here’s why they’re such a great solution to your watering troubles!
1. It’s A Low-Tech Option
One of the benefits of an olla is that it’s so simple to make. You only need three materials:
1. A terracotta or unglazed clay vessel
2. A cork or something similar to shut the drainage hole
3. And something to cover it with
Believe me, a couple of ollas dispersed here and there are all it takes to keep your thirsty veggies hydrated. And if you have a small garden, that’s all you’ll need. For larger ones, you could connect them into a unified irrigation system.
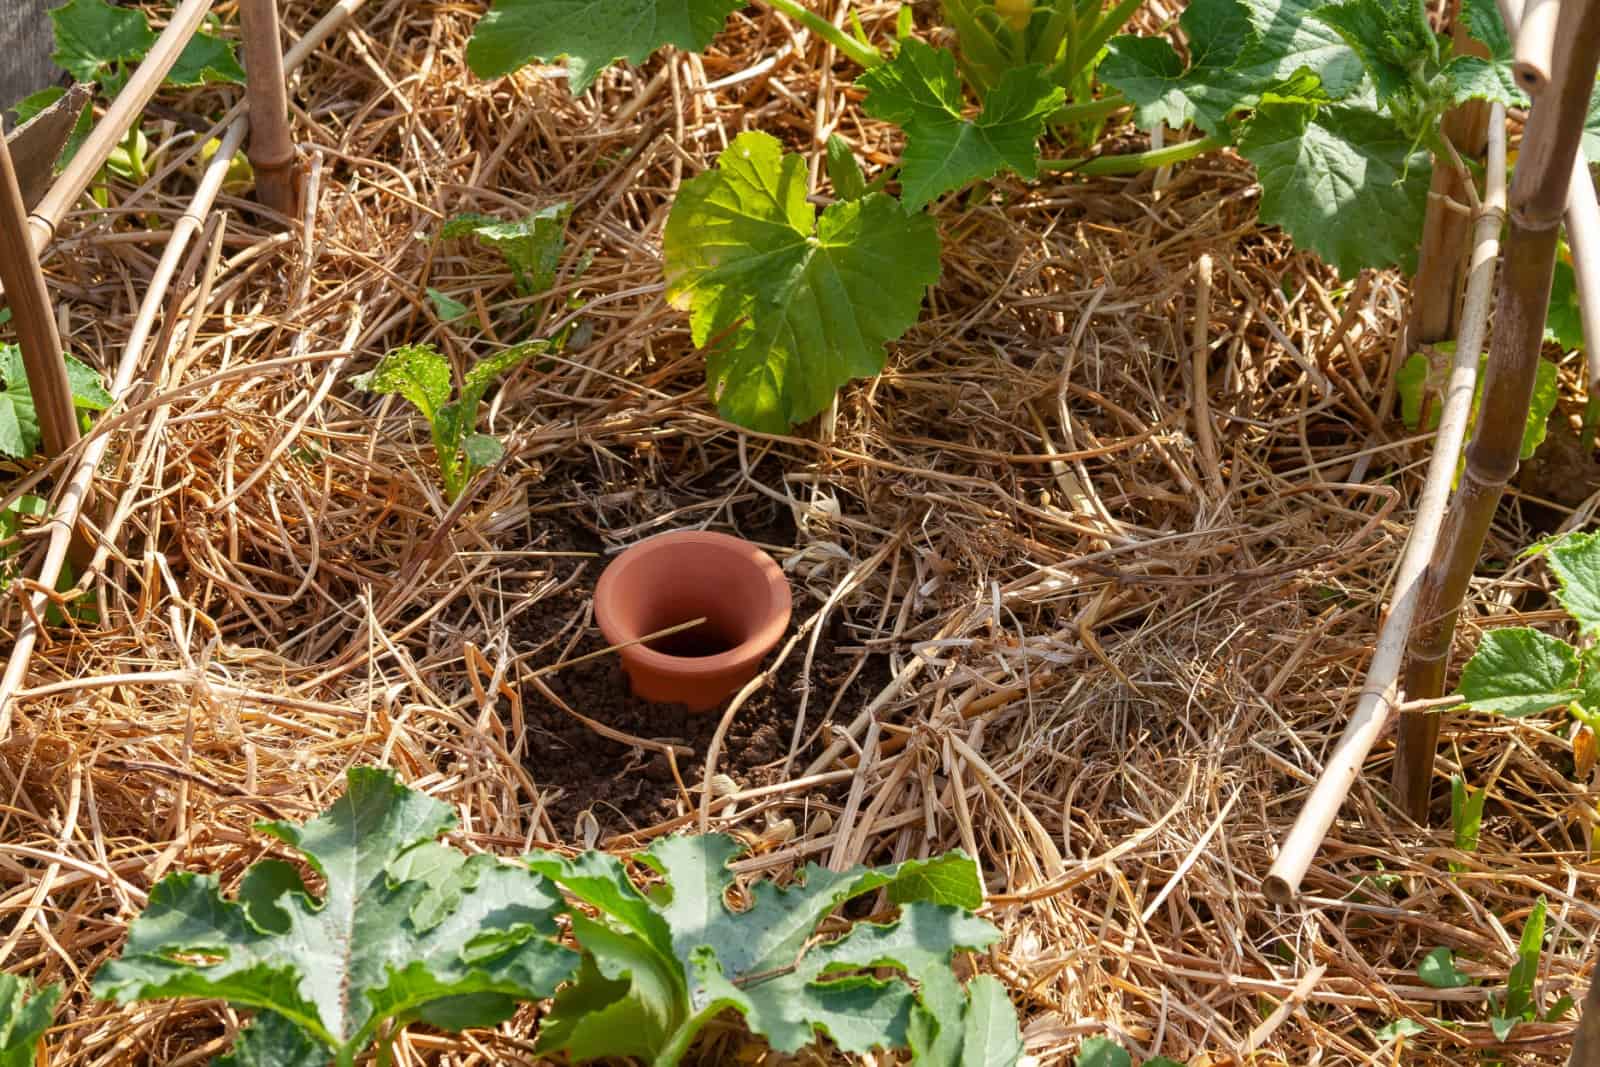
2. Olla Allows For Irrigation Below Mulch
We all know the benefits of mulching and there are few gardeners who skip this step. But we all know that it isn’t an easy task to water your plants with mulch over it and deliver moisture closer to the plants’ roots.
Ollas can help you here, too. Since the terracotta vessels are buried in the substrate – below mulch – they’ll easily deliver moisture to the roots.
3. Lowers Watering Chores
We usually wait until our vacation draws near before thinking about what to do about our plants’ water needs. But you don’t have to wait that long!
Use olla for irrigation now and reduce your watering chores tremendously. You can do it as soon as you transplant your seedlings in spring and keep it running until the winter comes knocking on your door.
That means an entire growing season of filling up ollas instead of spending hours on watering your garden.
4. Reduces Water Waste
Olla is a magical solution to your watering troubles. It saves time and water, while keeping your plants moisturized.
Since water is delivered right to the plants’ roots, it won’t splash anywhere else or evaporate as quickly as top irrigation might.
5. It Prevents Water Stress
Even with the best intentions in mind, scorching summers will eventually cause under and then overwatering.
But you can avoid this by adding a reservoir of sorts close to the plants’ roots. Olla will slowly leach water into the soil, keeping your veggies just moist enough and avoiding the vicious circle of under and overwatering.
6. Olla Avoids Soil Compaction
Soil will slightly compact every time you water. This is great for some projects, such as laying paver stones, but not for your plants which need room to spread their roots.
However, this isn’t an issue with olla. This irrigation system slowly delivers water deeper in the ground, avoiding compaction.
And that’s it! Your olla is done and you’re ready for your vacation or growing season. This time you won’t have to worry about withered and dehydrated veggies!