One Small Cutting Is All You Need to Propagate a Christmas Cactus
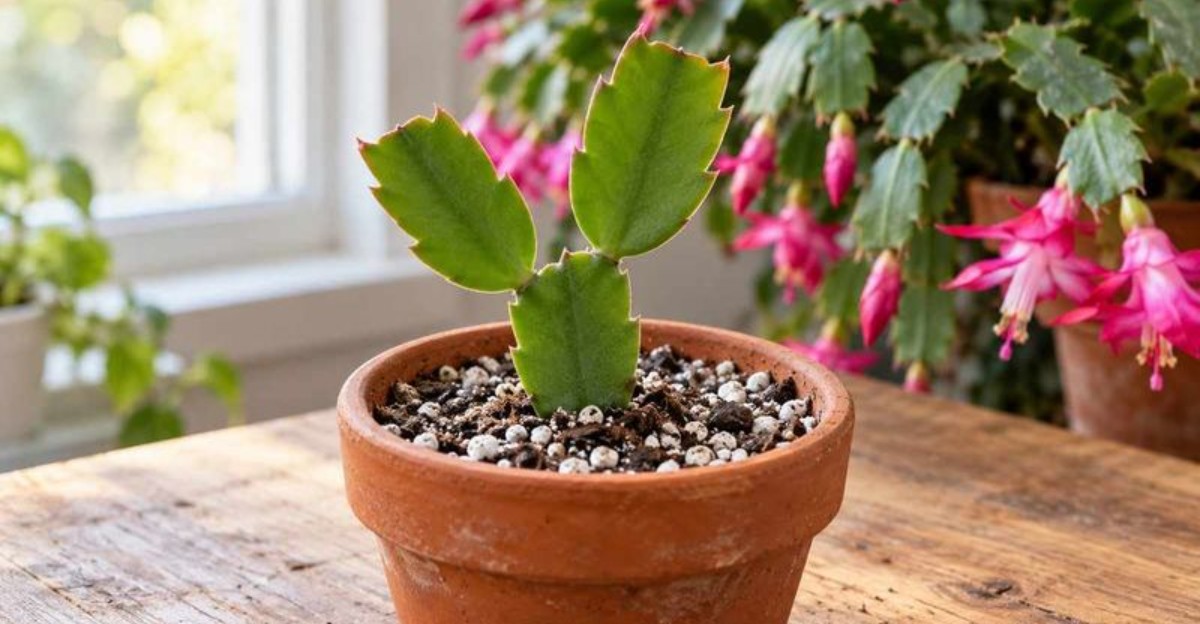
Some families pass down the same holiday houseplant for over a century, and those plants all began as a few green pads. I still find that amazing. A cutting no bigger than your thumb can carry a family story forward for decades.
The wild ancestors of this plant don’t grow in deserts at all. They cling to tree branches in the misty coastal mountains of Brazil, soaking up filtered light and humid air. That jungle background explains a lot about how the cuttings like to be treated.
Late spring is when many indoor gardeners start snipping. Personally, I love how forgiving the process feels, even for people who claim they can’t grow anything.
Could that one cutting from Grandma’s windowsill become your own flowering plant within a year or two? Would you be brave enough to try it?
A Single Christmas Cactus Segment Holds More Power Than It Looks
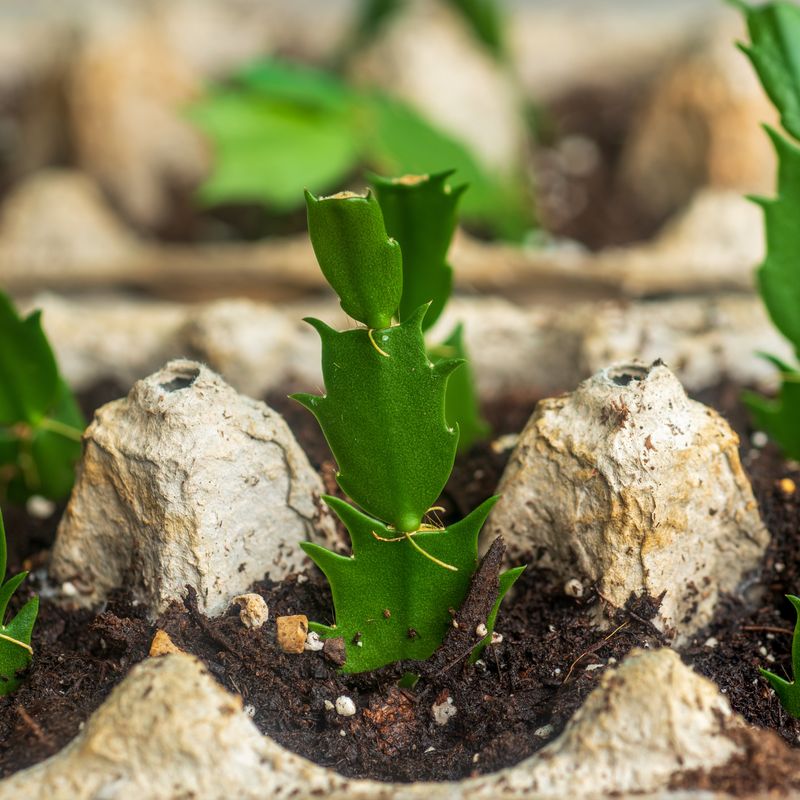
Those flat green pads on a Christmas cactus are not leaves at all. They are stem segments, and each one can grow roots from its base. That is why a tiny piece snapped off by accident can turn into a whole new plant.
Botanists call the plant Schlumbergera, and it belongs to a group of cacti that live on trees in the wild. In Brazilian forests, broken pieces often fall onto mossy branches and simply start growing again. Your kitchen windowsill is basically copying that natural trick.
I like to think of every segment as a little packet of stored energy. It holds water and food that keep it going while new roots form. As long as the piece is firm, green, and free of soft spots, it has a real shot at success.
A single segment can work, though most gardeners get faster results with a short chain of two or three. More tissue means more stored energy and a sturdier start. Still, if one lonely piece is all you have, give it a chance.
You might be surprised how stubborn that little pad can be. Many families have kept the same plant line going for generations, all from humble beginnings like this.
Let That Cut End Callus Before It Touches Soil
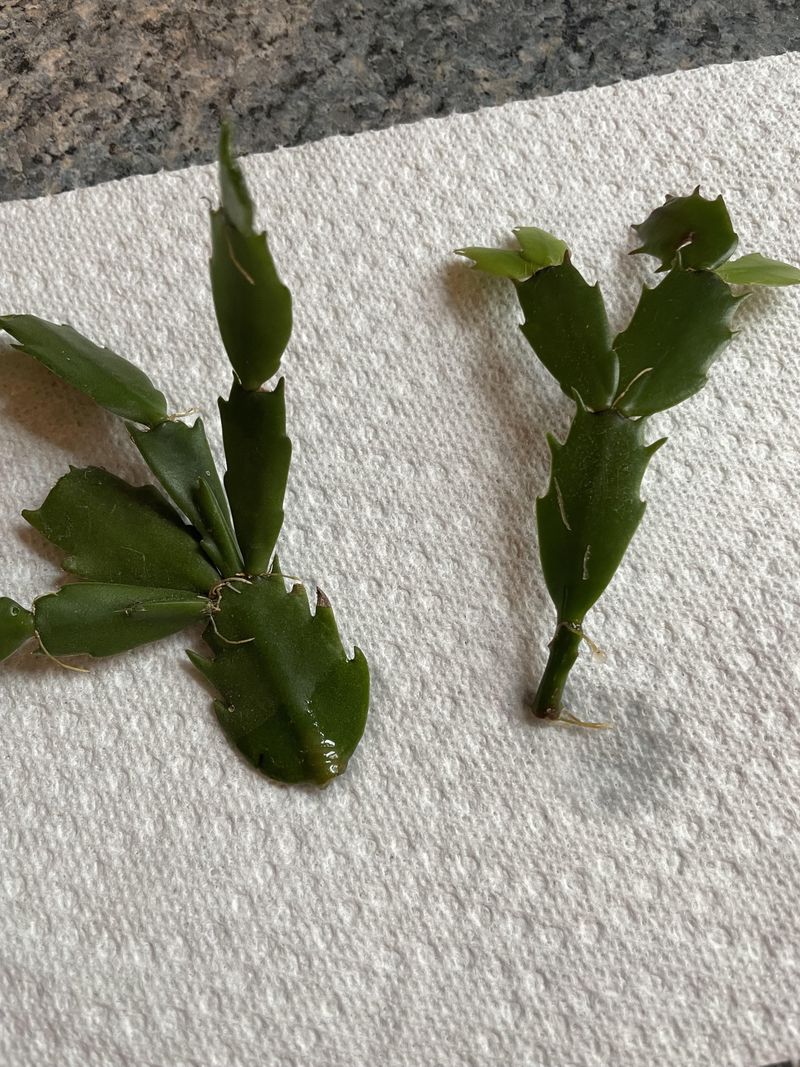
Rushing a fresh cutting into wet soil is the most common way people end up with mush. Trust me, I learned that one the hard way. A short waiting period makes a huge difference.
After you remove the cutting, its base is an open wound. Leaving it out to dry lets the end seal over with a thin, dry layer called a callus. That protective skin helps keep rot-causing fungi and bacteria out once the cutting meets moisture.
Most guides suggest drying for a few hours up to three days. Overnight works well for many gardeners. Place the cuttings on a paper towel or plate somewhere out of direct sun, and keep them away from heat vents.
How can you tell it is ready? The cut end should look dry and slightly firm, not wet or shiny. A light seal is plenty, so there is no need to wait a full week.
Some people dip the callused end in rooting hormone before planting. Christmas cactus roots easily without it, but a light dusting may speed things along a bit.
Once that little scab forms, your cutting is armored and ready. The real fun starts next.
Twist Off Two to Five Christmas Cactus Segments at the Joint
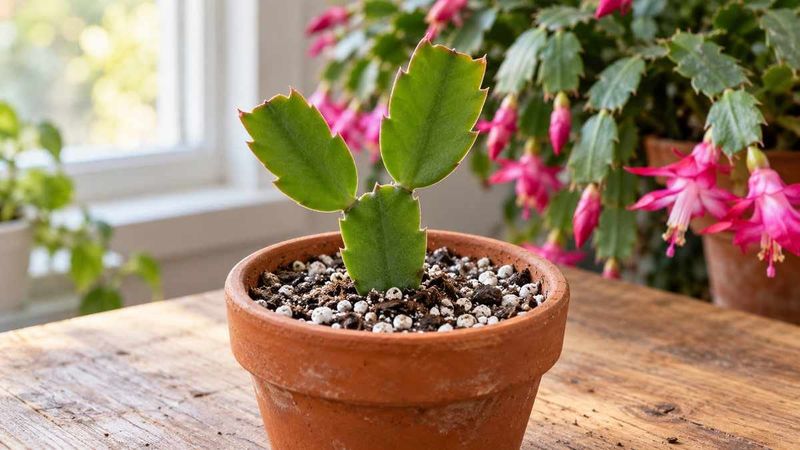
No fancy tools are required for this step, which honestly makes it one of my favorite garden chores. Your fingers do most of the work. A gentle twist at the joint usually separates the stem cleanly.
Look for a healthy branch and count out two to five segments from the tip. The joint is the narrow spot where one pad connects to the next. Hold the plant steady with one hand, then twist the section with the other until it pops free.
Prefer a blade? A clean, sharp knife or pruners work fine too. Wipe the tool with rubbing alcohol first so you don’t spread germs between plants.
Pick pieces that look plump and evenly green. Skip anything wrinkled, mushy, or showing reddish stress spots, since those segments have less energy to spare. Taking several cuttings at once is smart because a few may not root.
Don’t worry about hurting the parent plant. Removing a few stems often encourages it to branch out and look fuller over time. Many growers even pinch their plants lightly after blooming for exactly that reason.
Once you have your cuttings, set them on a paper towel. The next step needs a little patience.
Gritty Cactus Mix Gives Fresh Cuttings the Best Start
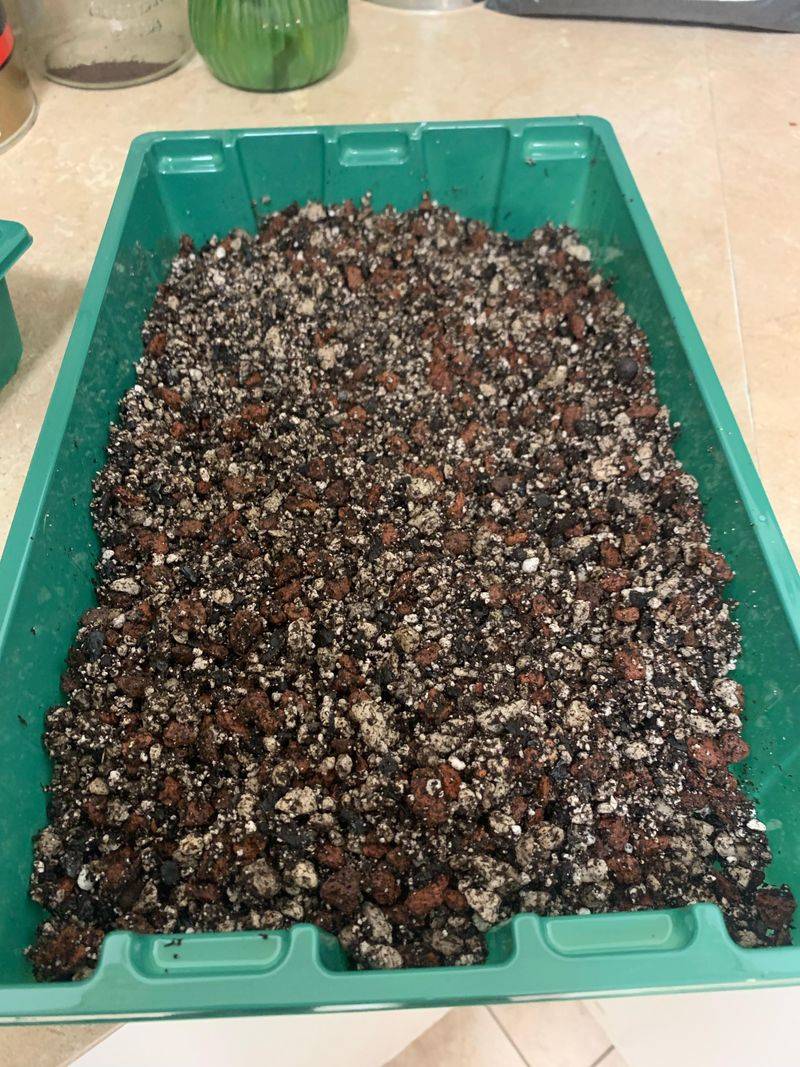
Picky about soil? This plant definitely is. Christmas cactus roots want air as much as they want water, so heavy, soggy dirt is bad news.
Grab a bag of cactus or succulent potting mix from the garden center. Many gardeners also make their own by blending regular potting soil with perlite, pumice, or coarse sand. A rough mix of two parts potting soil to one part perlite works nicely for most homes.
Fill a small pot that has a drainage hole. Lightly moisten the mix until it feels like a wrung-out sponge, not dripping wet. Then push the callused end of each cutting about half an inch to one inch deep.
Press the soil gently around the base so the cutting stands upright. You can tuck several cuttings into one pot for a fuller look later. I usually plant three or four together because the finished plant looks bushier much sooner.
Hold back on watering for the first week or so. Let the top of the mix dry slightly between drinks to keep rot away.
Iowa State University Extension notes that Christmas cactus cuttings can be rooted in a well-drained potting mix. Get the soil right, and the rest feels easy.
A Glass Jar of Water Lets You Watch the Roots Grow
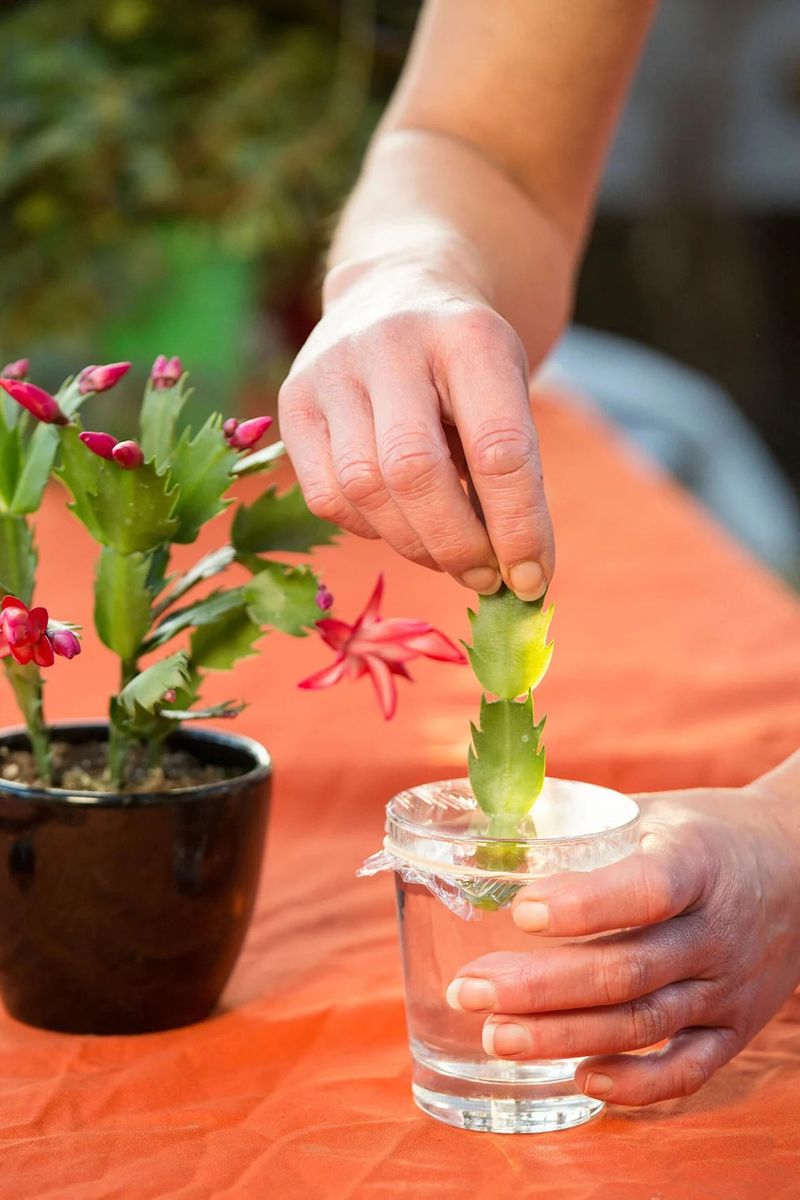
Kids and grown-ups alike get hooked on this method. There is something thrilling about spotting the first white root through clear glass. It feels a bit like a science fair project on your windowsill.
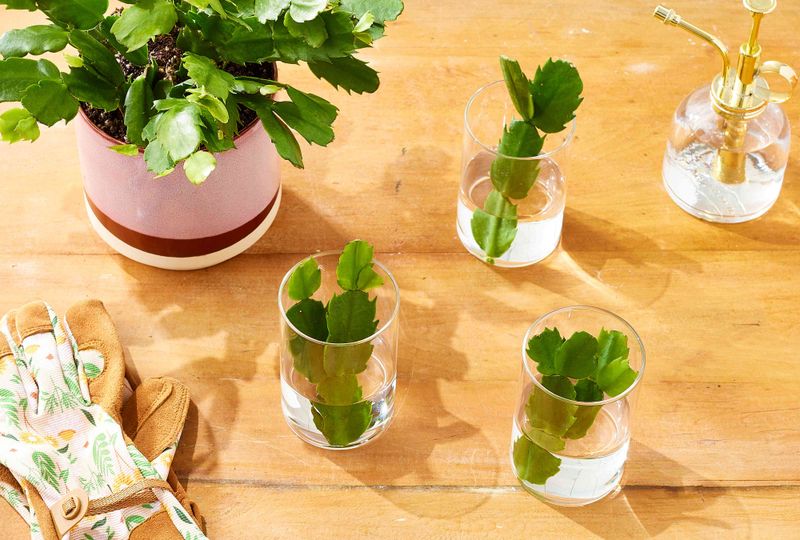
Choose a small jar or glass with a narrow opening. Fill it with clean water and rest the cutting so only the bottom segment sits below the surface. A few pebbles or a bit of perlite at the bottom can help hold it steady.
Change the water once a week. Fresh water keeps bacteria from building up and turning the stem slimy. If you notice a cloudy look or a funny smell, swap it out right away.
Within about two to four weeks, tiny roots usually appear. Wait until they reach roughly an inch long before moving the cutting into soil. Roots grown in water are a little delicate, so handle them gently.
Plant the rooted cutting in moist cactus mix and keep it slightly damp for the first couple of weeks. That helps the roots adjust to their new home.
Personally, I keep one jar going just for fun. Watching nature work in real time never gets old.
Bright Indirect Light Keeps Rooting Christmas Cactus Cuttings Happy
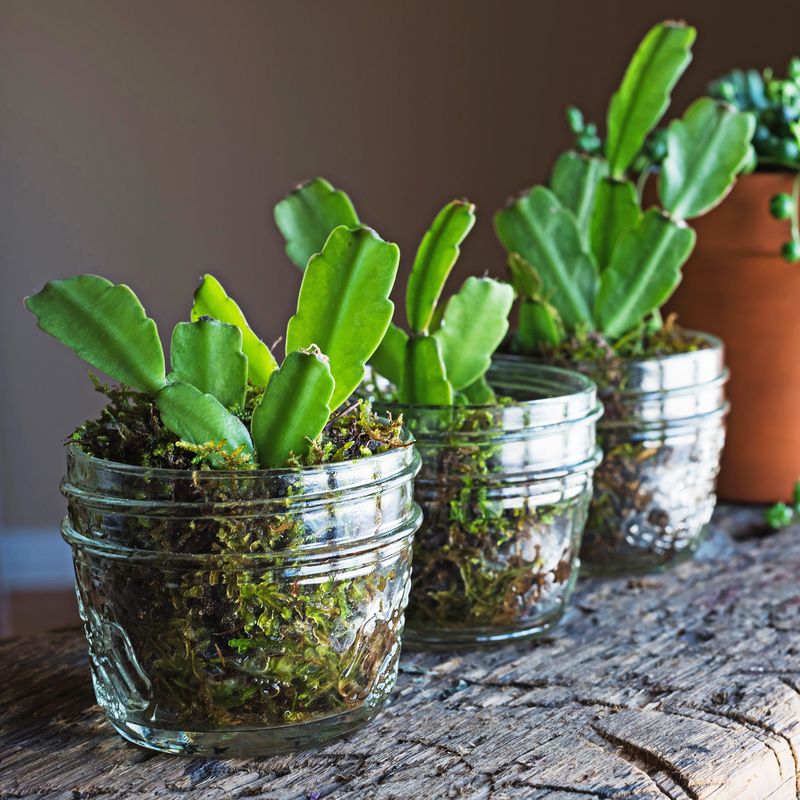
Remember those Brazilian treetops? Back home, this plant grows under a leafy canopy where sunlight arrives filtered and soft. Your cuttings want that same gentle glow while they root.
Set the pot or jar near an east-facing window or a few feet from a sunny one. A sheer curtain works wonders. Harsh afternoon sun can scorch the tender segments and turn them reddish or pale.
Warmth matters too. Aim for normal room temperatures between about 65 and 75 degrees Fahrenheit. Keep cuttings away from cold drafts, radiators, and air conditioning vents.
Humidity gives roots an extra boost. You can loosely tent a clear plastic bag over the pot, using sticks so the plastic doesn’t touch the cuttings. Open it for a bit every few days to let fresh air in and prevent mold.
So how long until roots appear? In soil, expect anywhere from two to eight weeks, and sometimes longer. Give a cutting a very light tug after a month, and if you feel resistance, roots are forming.
Fresh new segments at the tips are another happy sign. When you see them, you will know your patience paid off.
Late Spring Is Prime Time for Snipping Christmas Cactus Stems
Timing can quietly make or break your success. Most experts point to late spring or early summer, once the plant has finished blooming, rested, and started pushing out fresh growth.
Active growth means the plant has energy to spare. Cuttings taken now root faster and have the whole summer to settle in. That gives them a solid start before next season’s flower buds form in fall.
Across much of the U.S., May and June bring the steady warmth these cuttings love. In cooler northern homes, a bright indoor spot may still be needed. Gardeners in warmer southern areas can sometimes root cuttings on a shaded porch, out of hot direct sun.
Can you take cuttings at other times? Sure. A broken stem in December can still root, though it may move more slowly in shorter winter days.
One thing to avoid is snipping heavily while buds are forming. That cuts down on your holiday show. Late summer pruning can also reduce the number of branch tips that set flowers.
Mark your calendar for spring. Your future self, and maybe a few lucky friends, will thank you.
A Snug Little Pot Is the Perfect First Home for Your New Christmas Cactus
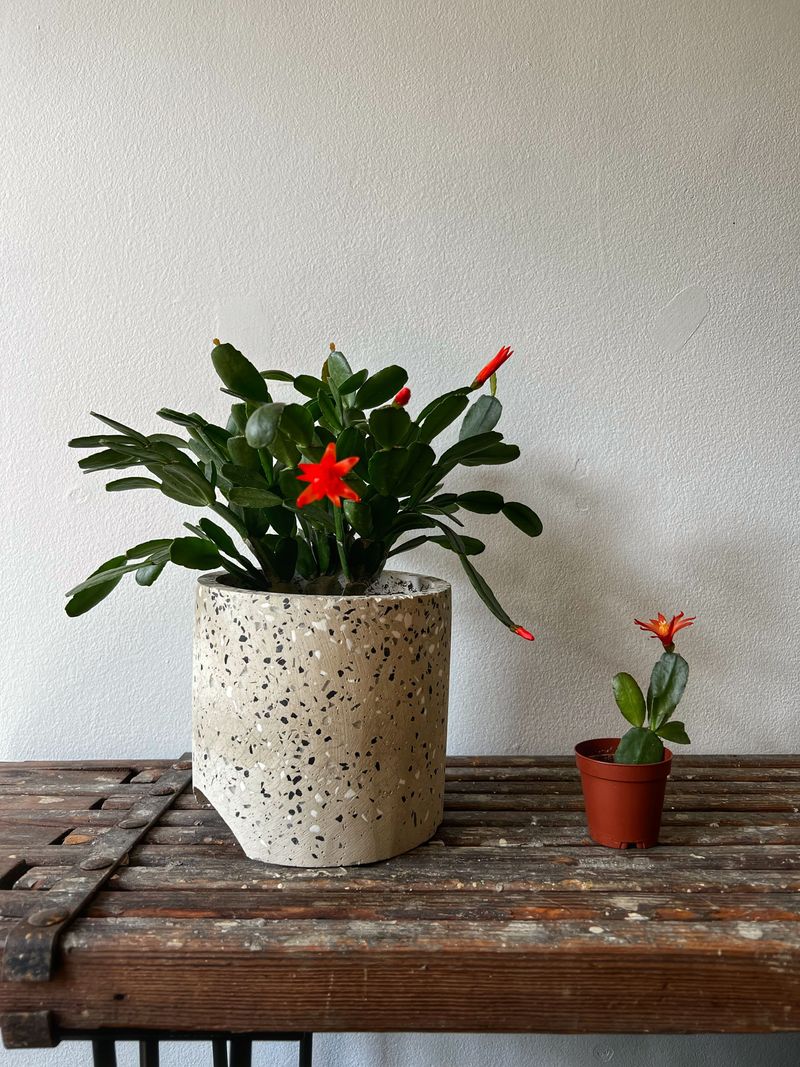
Bigger is not better here, and that surprises a lot of new growers. Christmas cactus actually likes being a little crowded at the roots. A snug pot often leads to more blooms down the road.
Once roots reach about an inch long, move your young plant into a three or four inch pot with a drainage hole. Use the same gritty cactus mix you trust. Plant it at the same depth it was growing before.
Water when the top inch of soil feels dry to your fingertip. Soggy soil remains the biggest threat, so empty any saucer that collects runoff. Keep giving it bright, filtered light.
Hold off on fertilizer for the first month or two. After the plant looks settled and is growing, feed it lightly during spring and summer with a balanced houseplant fertilizer at half strength. Stop feeding by late summer.
In fall, cool nights and long, dark evenings help trigger flower buds. Many young plants bloom within their first year or two.
Best of all, your new plant makes a heartfelt gift. Tie on a ribbon, share the story behind it, and keep that family tradition growing.