17 Orchid Leaf Problems To Watch Out For (And How To Fix Each One)
Orchids may look regal and low-key, but their leaves can be surprisingly expressive when something’s wrong. Yellowing, spots, or wrinkling aren’t just cosmetic—they’re your plant’s way of saying “help, please!” Paying attention early can make all the difference.
Common leaf troubles include overwatering, too much direct sun, or nutrient imbalances. Soft, mushy leaves often point to root rot, while leathery, wilted ones may mean they’re thirsty or stressed from temperature swings.
Catching these clues quickly helps keep your orchid healthy and blooming longer. With a little observation and care, you can turn a struggling plant around and keep those elegant leaves looking lush and vibrant.
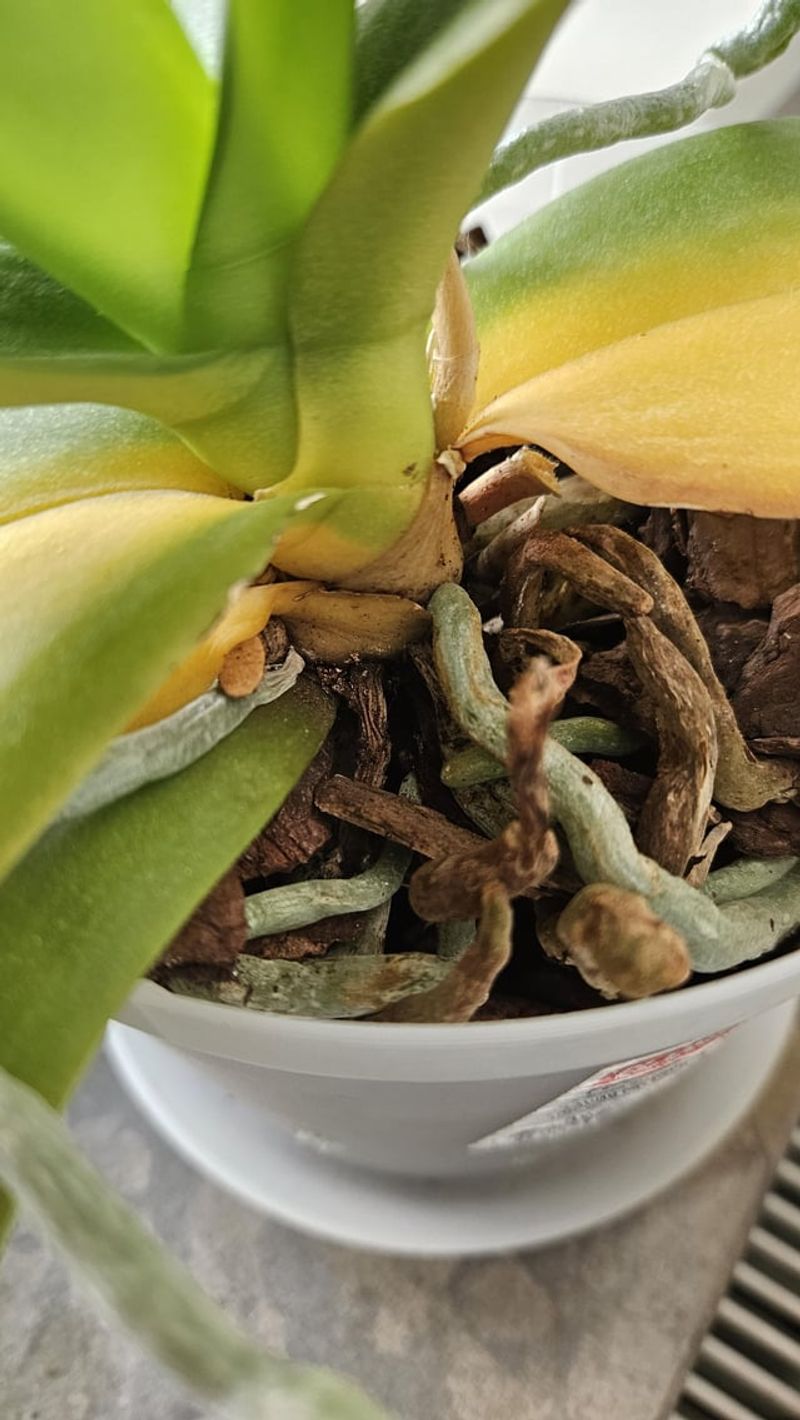
1. Yellow Leaves
Sunshine-colored leaves on your orchid often signal overwatering. The roots become waterlogged and can’t deliver nutrients properly, causing the distinctive yellowing.
Check your watering routine immediately. Allow the growing medium to dry slightly between waterings, and ensure your pot has adequate drainage holes. Sometimes simply adjusting your watering schedule resolves the issue within weeks.
I nearly lost my favorite Phalaenopsis last year until I realized I was drowning it with kindness. Cutting back to watering just once a week made those yellow leaves a thing of the past.
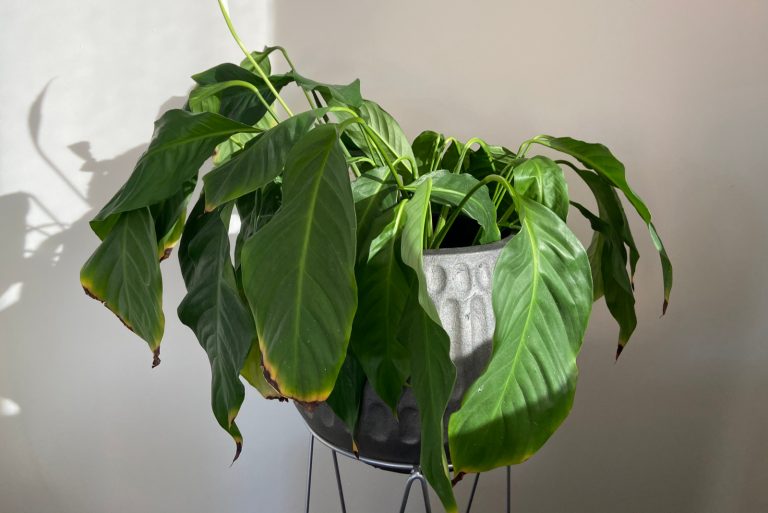
2. Brown Leaf Tips
Crispy brown edges appearing on your orchid leaves typically indicate low humidity or fertilizer burn. The delicate leaf tissue dries out and dies, creating those unsightly brown margins.
Mist your orchid regularly or place it on a humidity tray filled with pebbles and water. For fertilizer burn, flush the potting medium thoroughly with clean water and reduce fertilizer strength to quarter-dose for a few weeks.
During winter months when indoor heating systems run constantly, my orchids always develop brown tips unless I boost humidity. A small humidifier nearby works wonders.
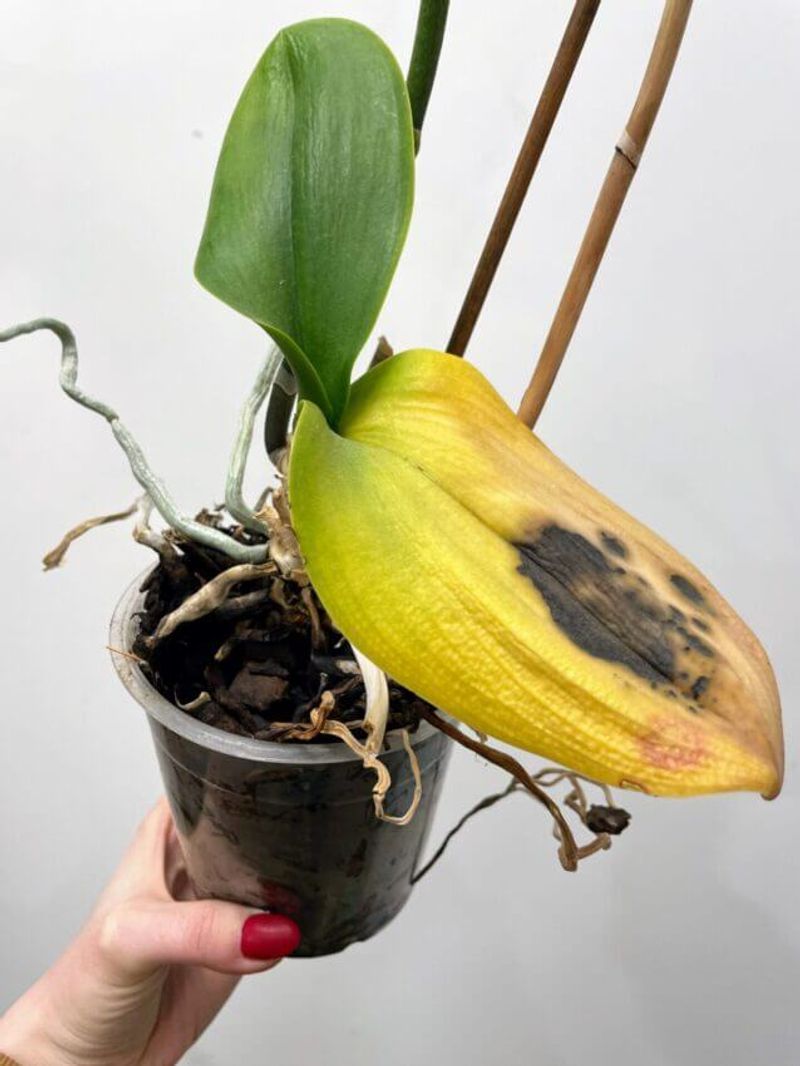
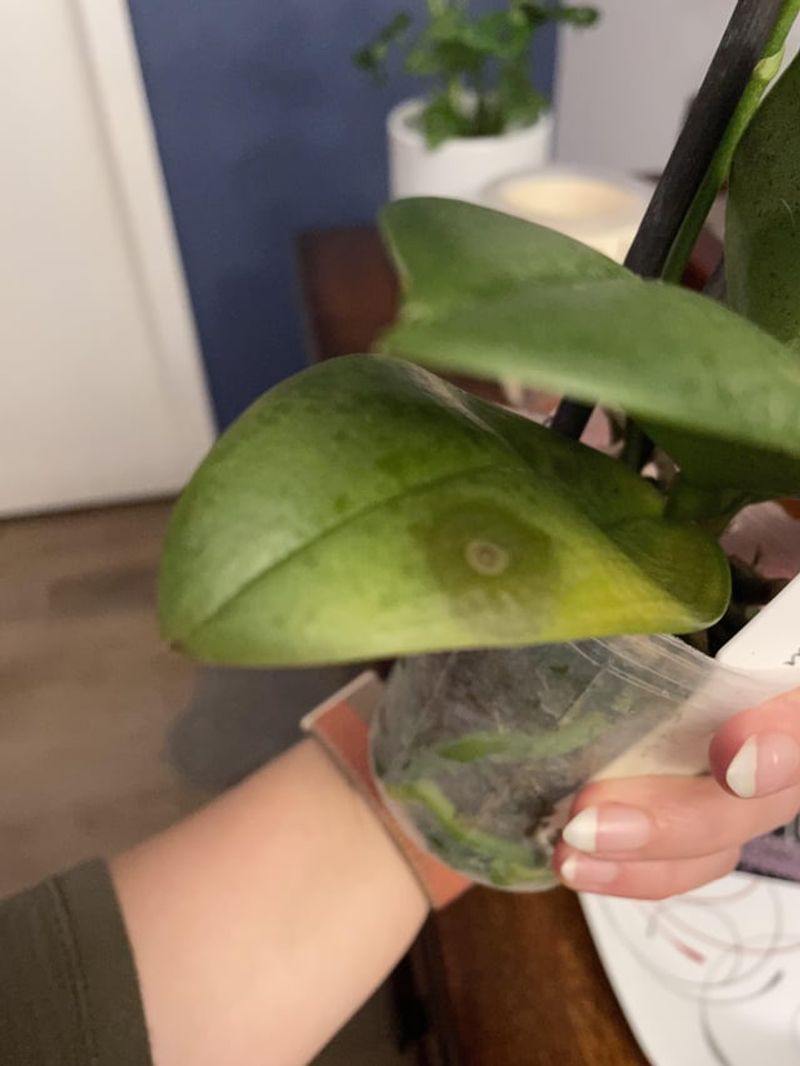
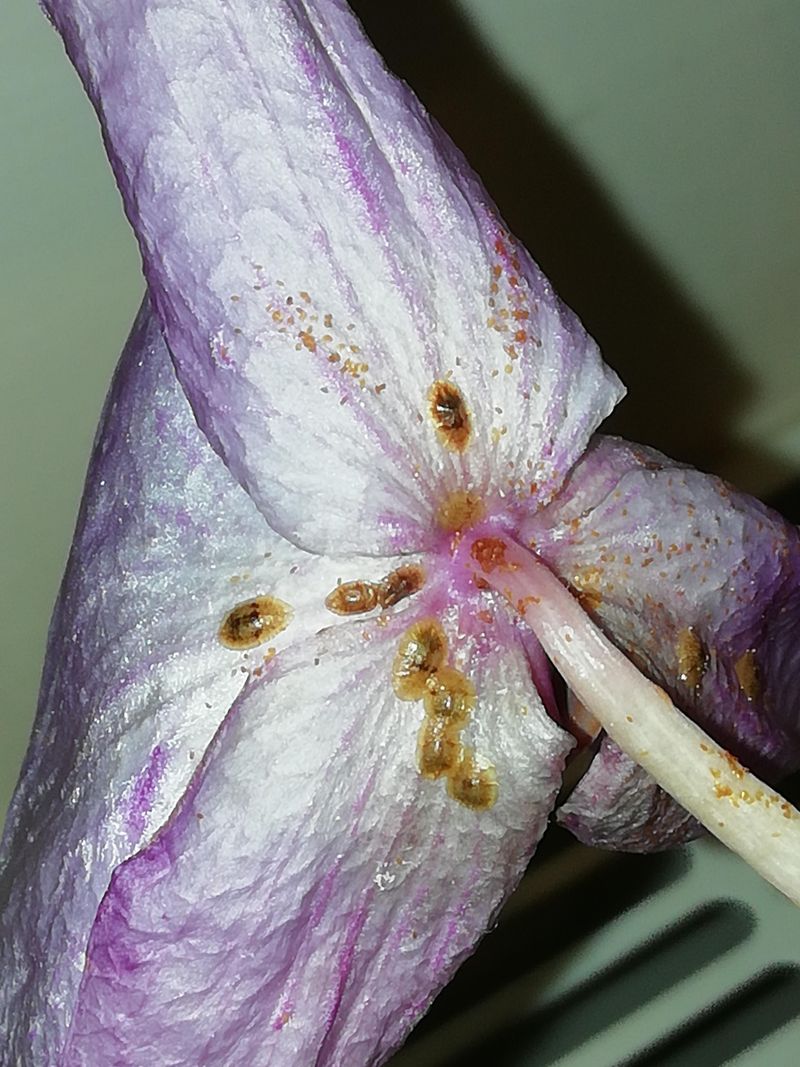
3. Black Spots
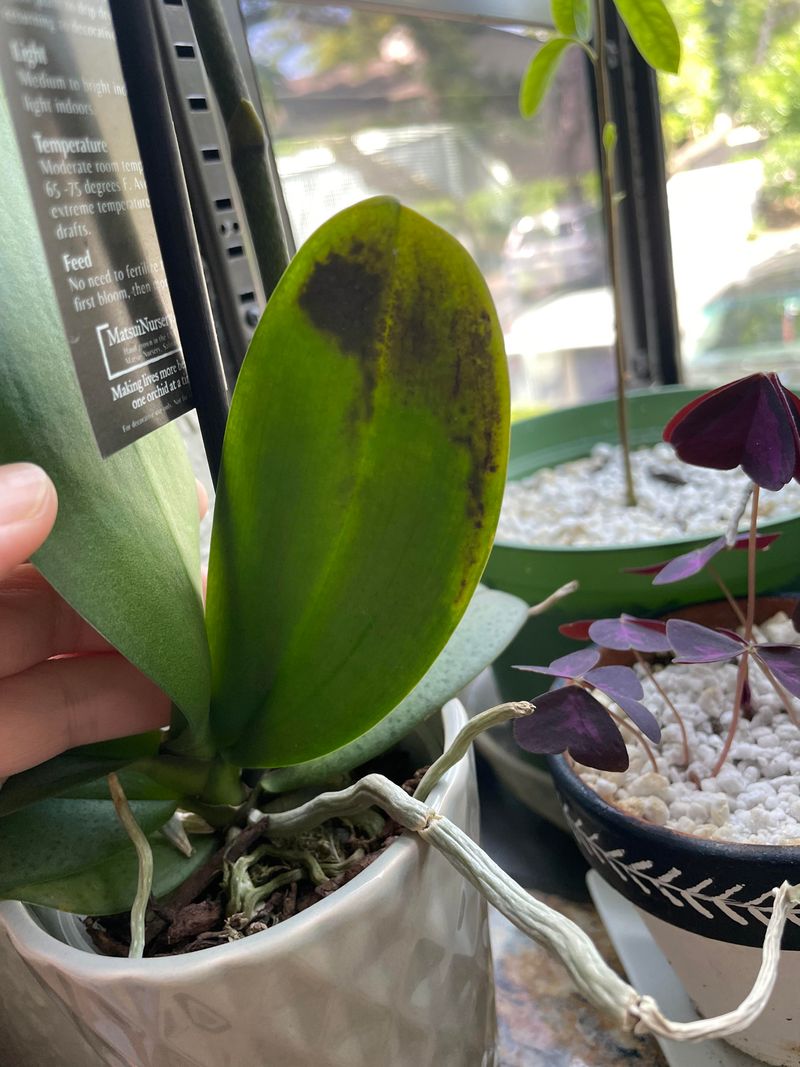
Mysterious black spots appearing suddenly on orchid foliage often indicate fungal infection, particularly if they’re soft or surrounded by yellow halos. These infections spread quickly in damp conditions.
Remove affected leaves using sterilized scissors and apply a fungicide specifically formulated for orchids. Improve air circulation around your plant and avoid wetting the leaves when watering.
The first time I spotted these dark patches, I panicked and cut away too much healthy tissue. Now I know to make clean cuts just beyond the infected area and to treat immediately with fungicide.
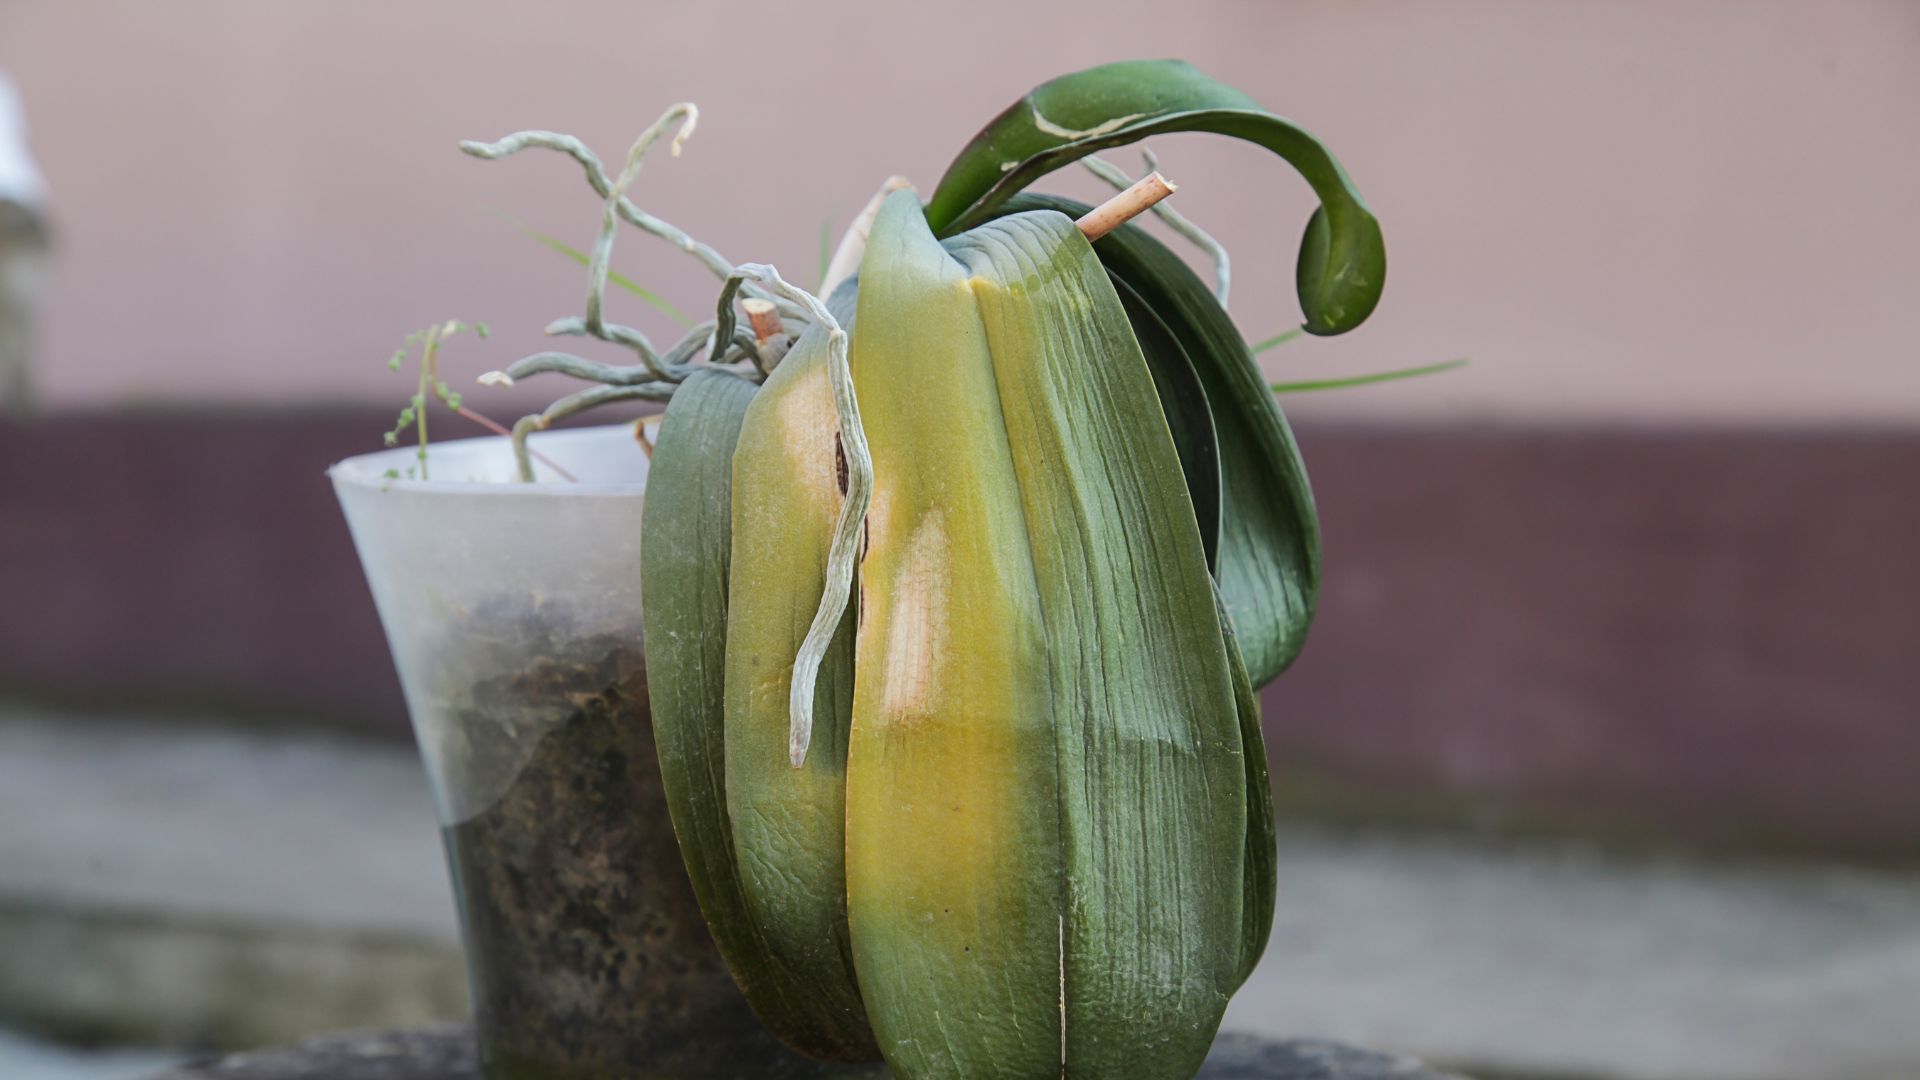
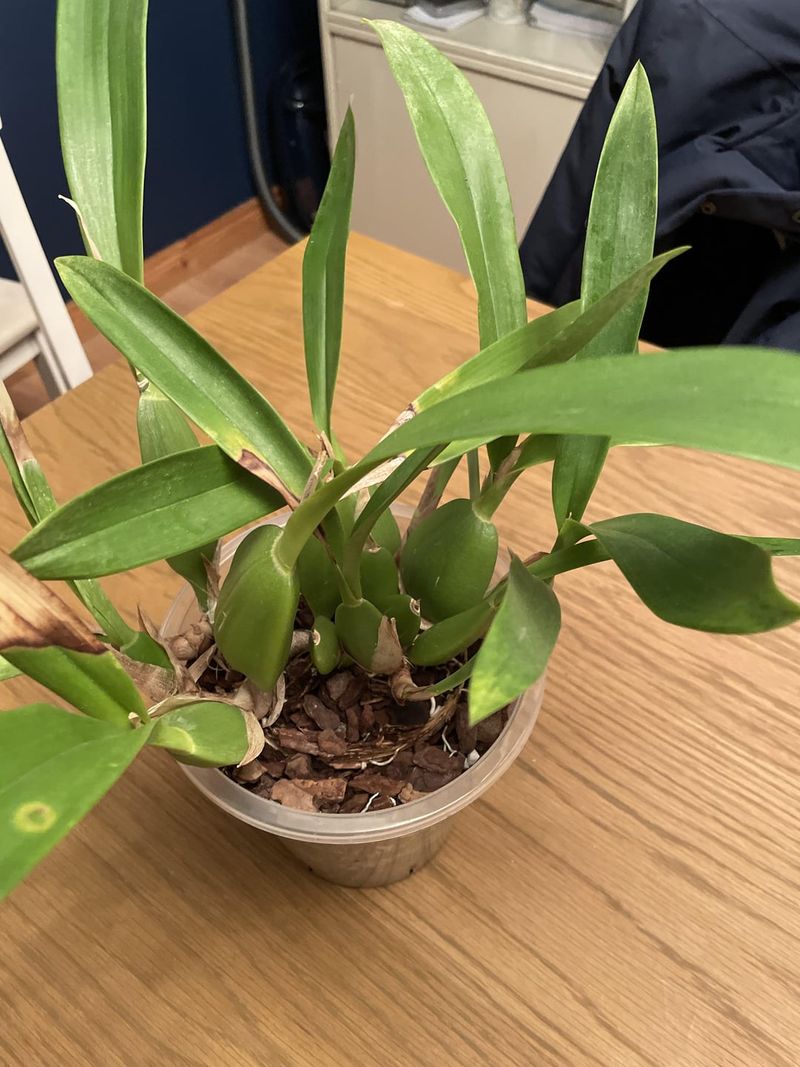
4. Wrinkled Leaves
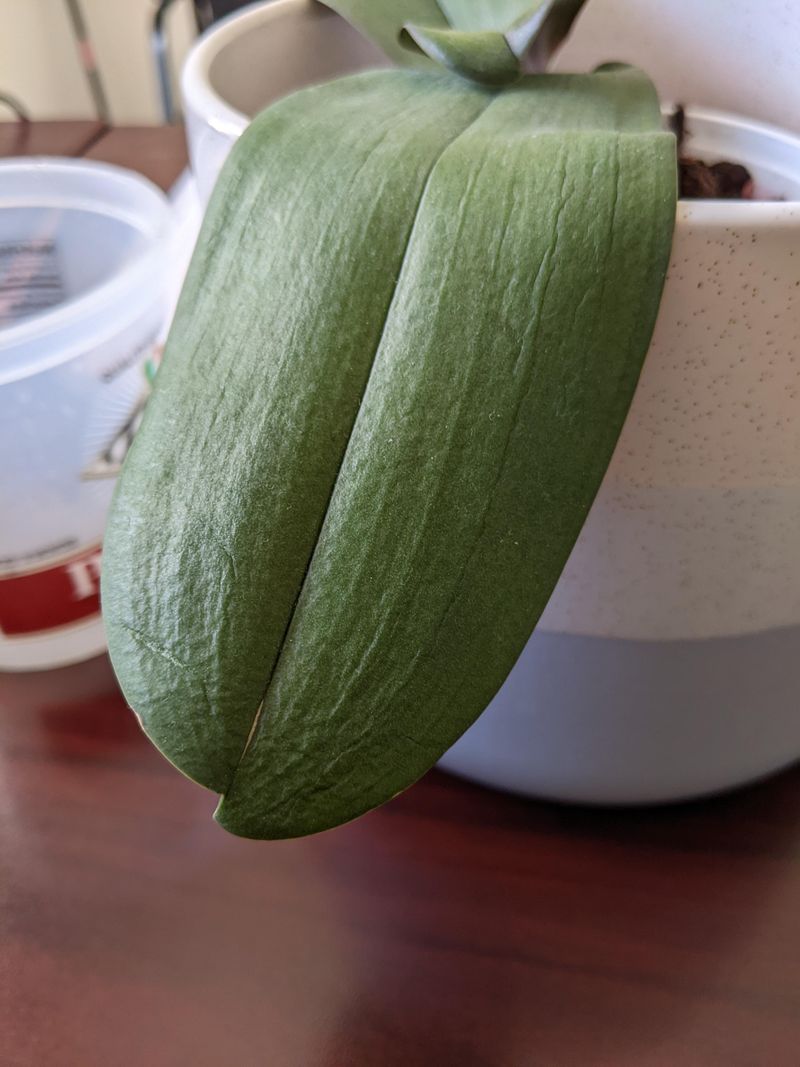
Puckered, wrinkled leaves that feel leathery to the touch signal dehydration. Your orchid isn’t getting enough water, or its roots are damaged and can’t absorb moisture effectively.
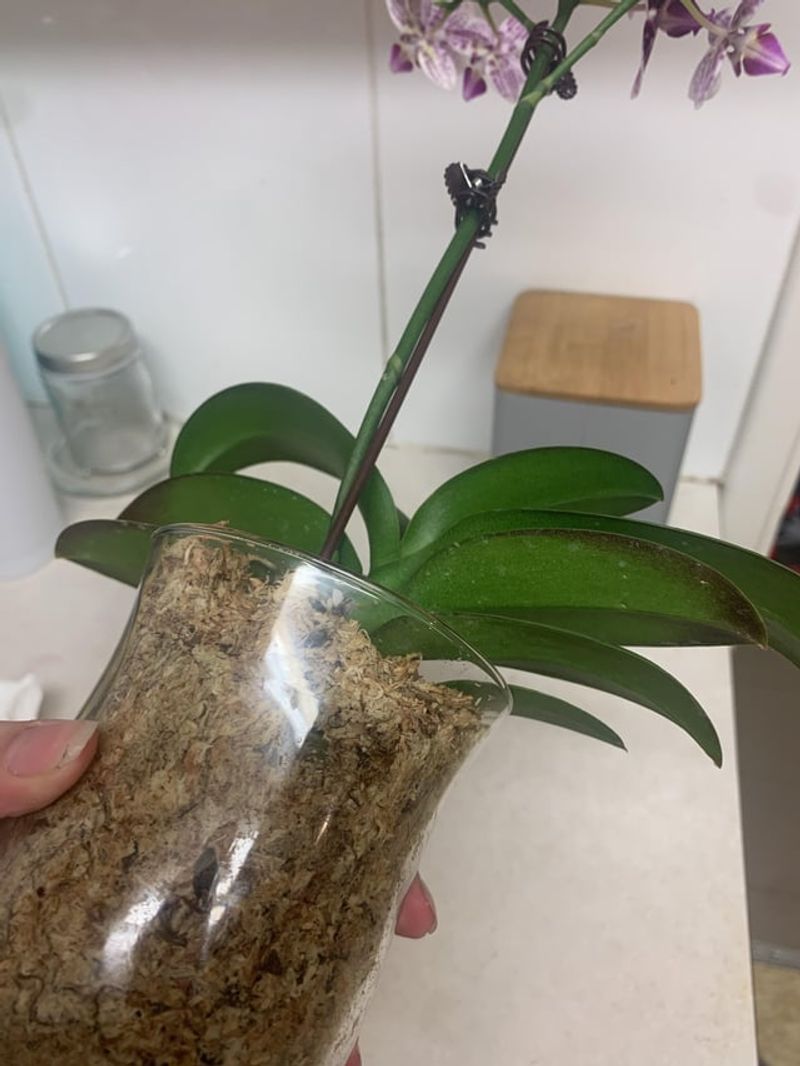
Soak the entire pot in room-temperature water for 15-20 minutes, allowing the roots to fully hydrate. Check the root system for rot or damage during your next repotting. Healthy roots appear firm and silvery-green when dry, turning bright green when wet.
My oldest orchid developed this problem after I switched to a different potting mix. The new medium dried out much faster than the previous one, teaching me to adjust watering based on the specific materials used.
5. Sunburn
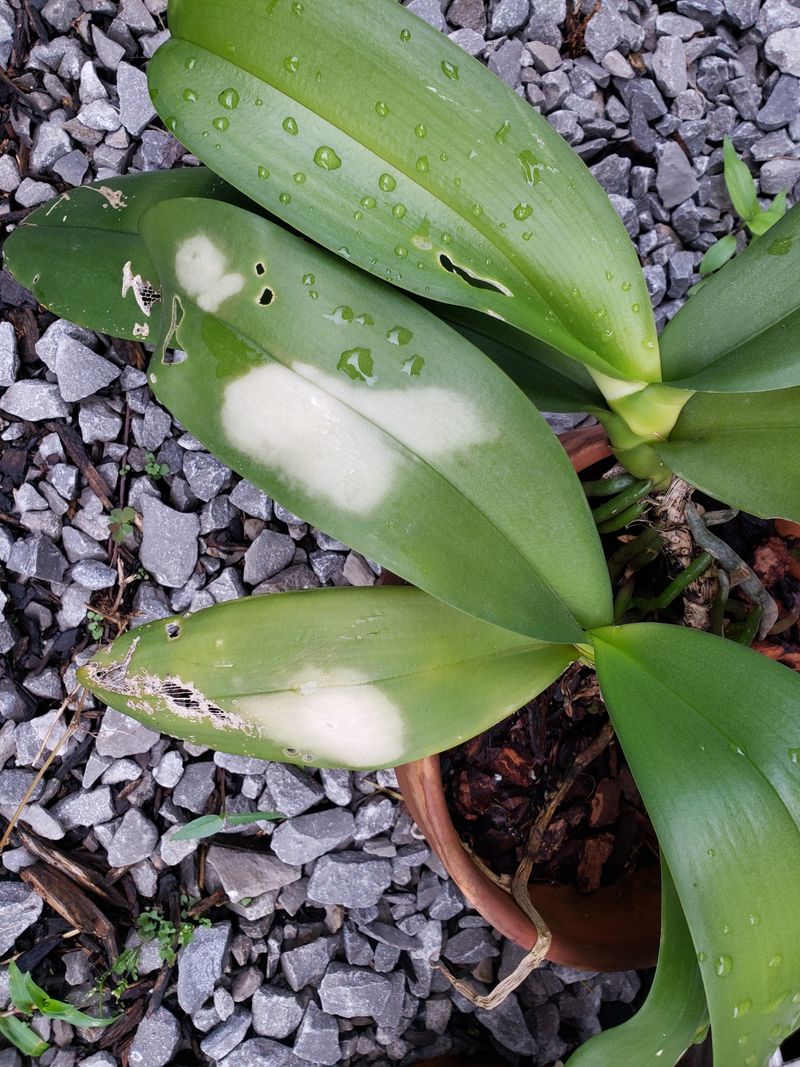
Bleached white or yellow patches on leaves that eventually turn brown indicate sunburn. The damage occurs when orchids receive too much direct sunlight, especially during intense afternoon hours.
Move your plant to a location with bright but filtered light. East-facing windows are often ideal, providing gentle morning sun. The damaged leaf portions won’t recover, but you can trim severely affected leaves to improve appearance.
After rearranging my plant shelf last summer, one orchid ended up directly in a sunbeam. Within days, those telltale pale patches appeared, reminding me that even light-loving orchids need protection from harsh rays.
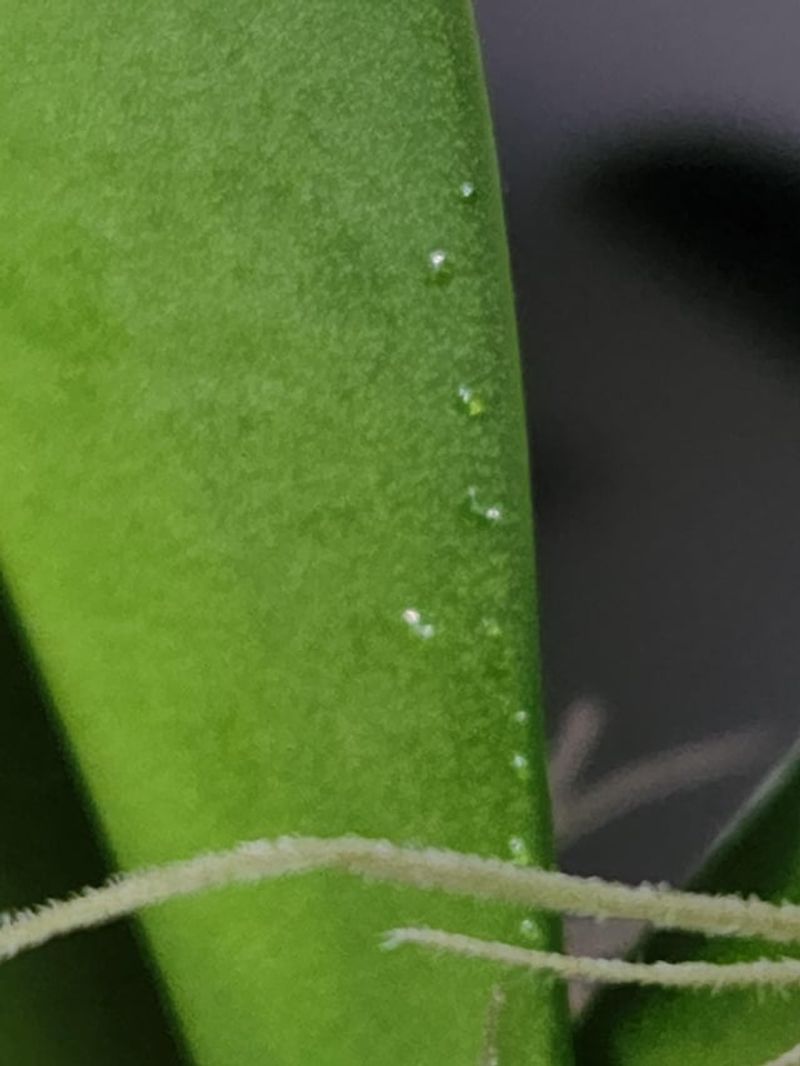
6. Leaf Edema
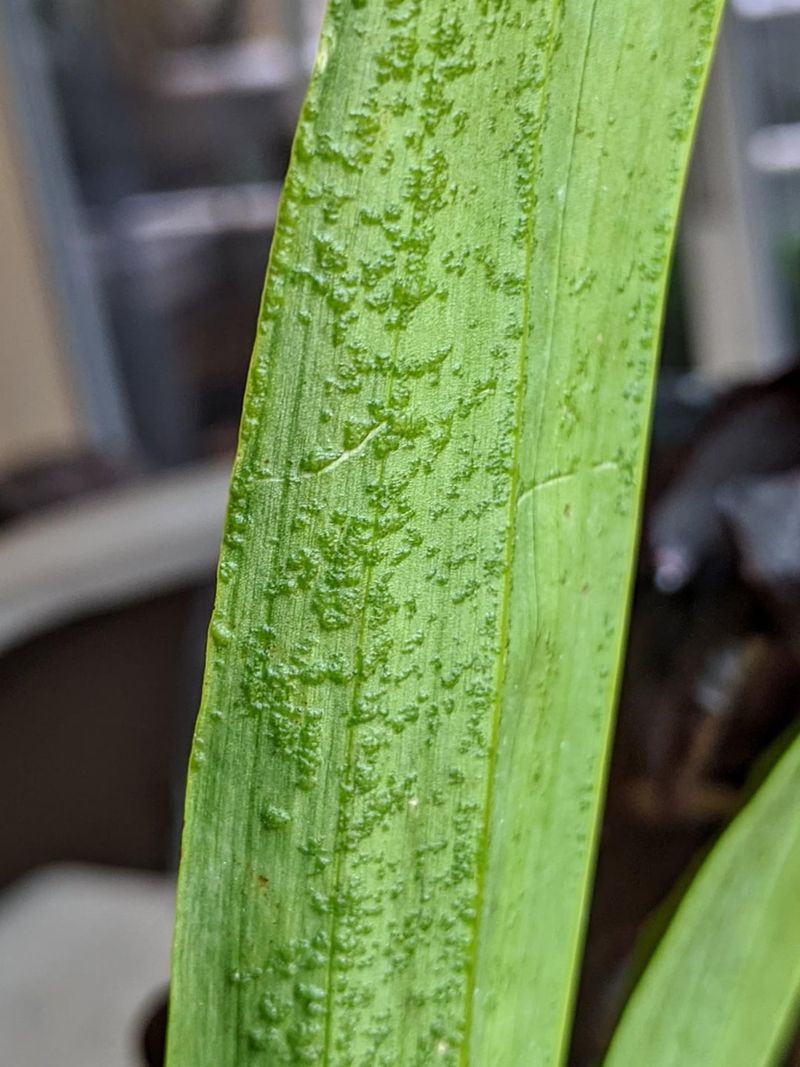
Small raised blisters on the undersides of leaves that look like pimples are signs of edema. This occurs when roots absorb water faster than the plant can use it, causing cells to rupture.
Adjust your watering habits to match environmental conditions. Water less frequently during cool, cloudy weather when transpiration slows down. Ensure good air movement around your plants with a small fan set on low.
The first time I noticed these bumps, I mistakenly thought they were insect eggs! A quick check with a magnifying glass revealed the characteristic fluid-filled blisters that signal this common physiological issue.
7. Bacterial Brown Spot
Wet-looking brown spots that expand rapidly and feel mushy to the touch indicate bacterial infection. These spots often have a yellow halo and can quickly spread throughout the plant.
Immediately isolate the affected orchid and cut away infected tissue, extending 1-2 inches beyond the visible damage. Use hydrogen peroxide or cinnamon powder on cut surfaces as a natural antibacterial treatment. Keep leaves dry and improve ventilation.
A bacterial outbreak nearly wiped out my entire collection until I learned to be vigilant about sterilizing tools between plants. Now I keep a spray bottle of 70% isopropyl alcohol handy for quick tool disinfection.
8. Mealybug Damage
Sticky leaves with cottony white masses in leaf crevices reveal mealybug infestation. These sap-sucking pests cause yellowing, deformed growth, and eventually leaf drop if left unchecked.
Use a cotton swab dipped in 70% isopropyl alcohol to remove visible bugs. For larger infestations, spray with insecticidal soap or neem oil solution, focusing on leaf joints and undersides where pests hide. Repeat weekly for three treatments.
Finding these fuzzy white creatures on my prized Cattleya was horrifying! I’ve found that preventative monthly inspections with a flashlight help catch them early before they can establish colonies.
9. Scale Insects
Raised brown bumps that don’t wipe off easily are scale insects. These armored pests attach themselves to leaves and stems, sucking sap and causing yellowing, stunted growth, and decline.
Gently scrape off visible scales with a soft toothbrush or fingernail. Follow up with an application of horticultural oil, which suffocates the pests without harming the plant. Check weekly for new outbreaks.
Scale is the most persistent pest I’ve battled in my collection. Their hard shells make them resistant to many treatments, but persistence and regular inspection have kept them under control.
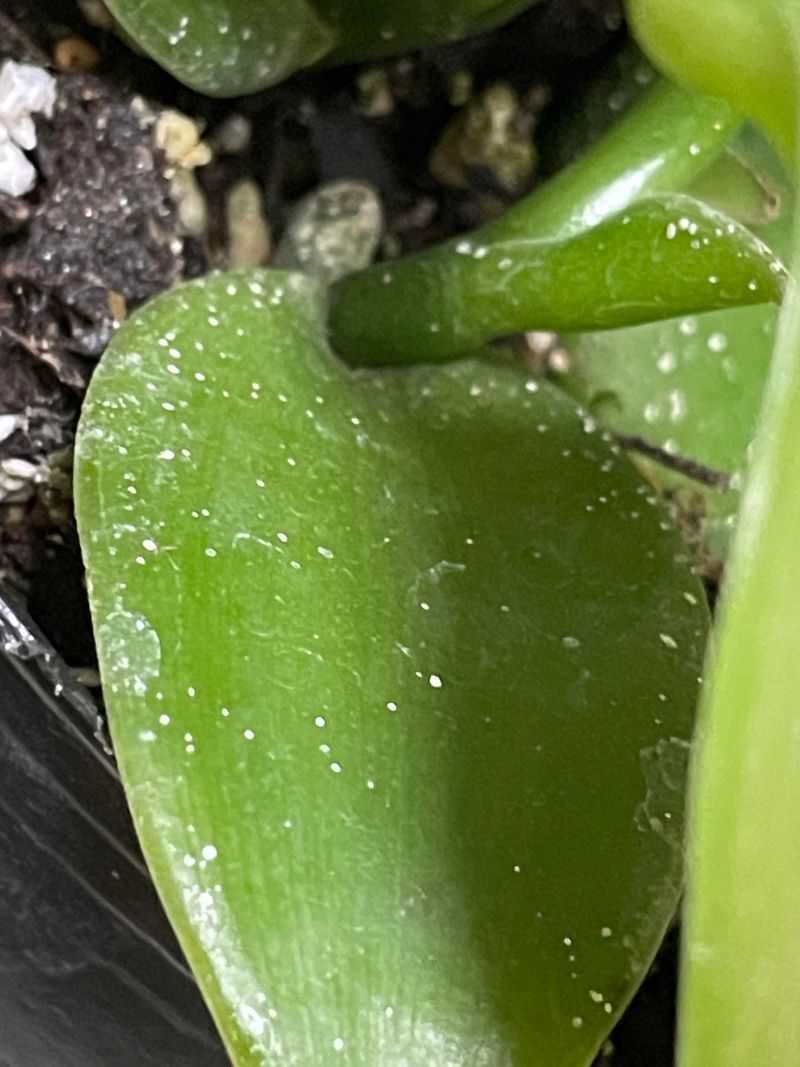
10. Spider Mite Damage
Tiny speckles giving leaves a dusty, stippled appearance indicate spider mite activity. These microscopic pests thrive in dry conditions and can quickly multiply, causing extensive damage.
Increase humidity around your orchids to discourage these moisture-hating pests. Spray leaves thoroughly with water to dislodge mites, then apply insecticidal soap or neem oil. Look for the characteristic fine webbing between leaves as an early warning sign.
During one particularly dry winter, spider mites decimated my collection before I even realized they were there. Now I routinely inspect the undersides of leaves with a magnifying glass as part of my care routine.
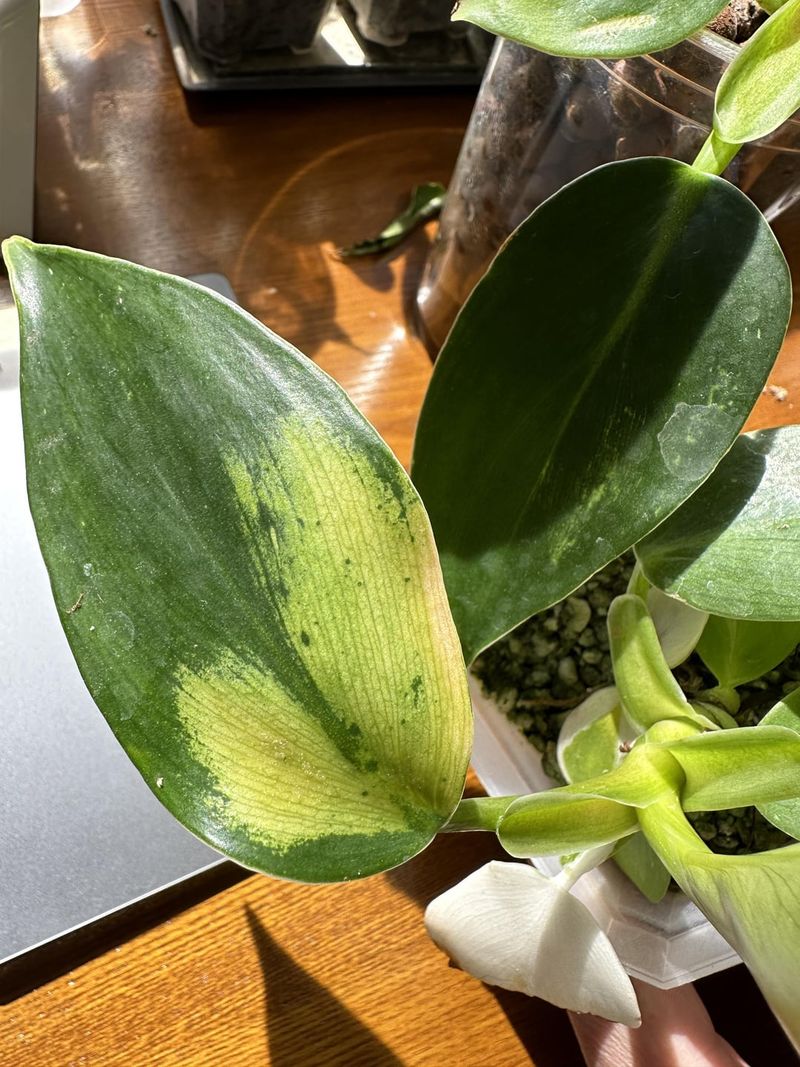
11. Nutrient Deficiency

Interveinal chlorosis—yellowing between leaf veins while veins remain green—signals nutrient deficiencies, typically iron, magnesium, or nitrogen. The pattern creates a distinctive network appearance across affected leaves.
Apply a balanced orchid fertilizer diluted to half-strength weekly during growing season. For specific deficiencies, use targeted supplements: Epsom salts for magnesium or chelated iron for iron deficiency. Adjust water pH if necessary, as nutrient uptake is affected by acidity.
After switching to rainwater for my orchids, their leaves developed this strange pattern. Adding a tiny pinch of Epsom salts to my fertilizer routine solved the problem within a month.
12. Mechanical Damage

Torn, split, or crushed areas on leaves result from physical injury. Moving plants, curious pets, or even enthusiastic cleaning can damage the delicate tissue, creating entry points for pathogens.
Clean damaged areas with hydrogen peroxide to prevent infection. For minor tears, simply monitor the area. For major damage, consider removing the entire leaf at its base using sterilized scissors. Protect plants from further injury by placing them away from high-traffic areas.
My cat’s fascination with my orchids led to several shredded leaves before I created a dedicated plant shelf out of his reach. Prevention is definitely easier than treatment with this particular issue!
13. Crown Rot
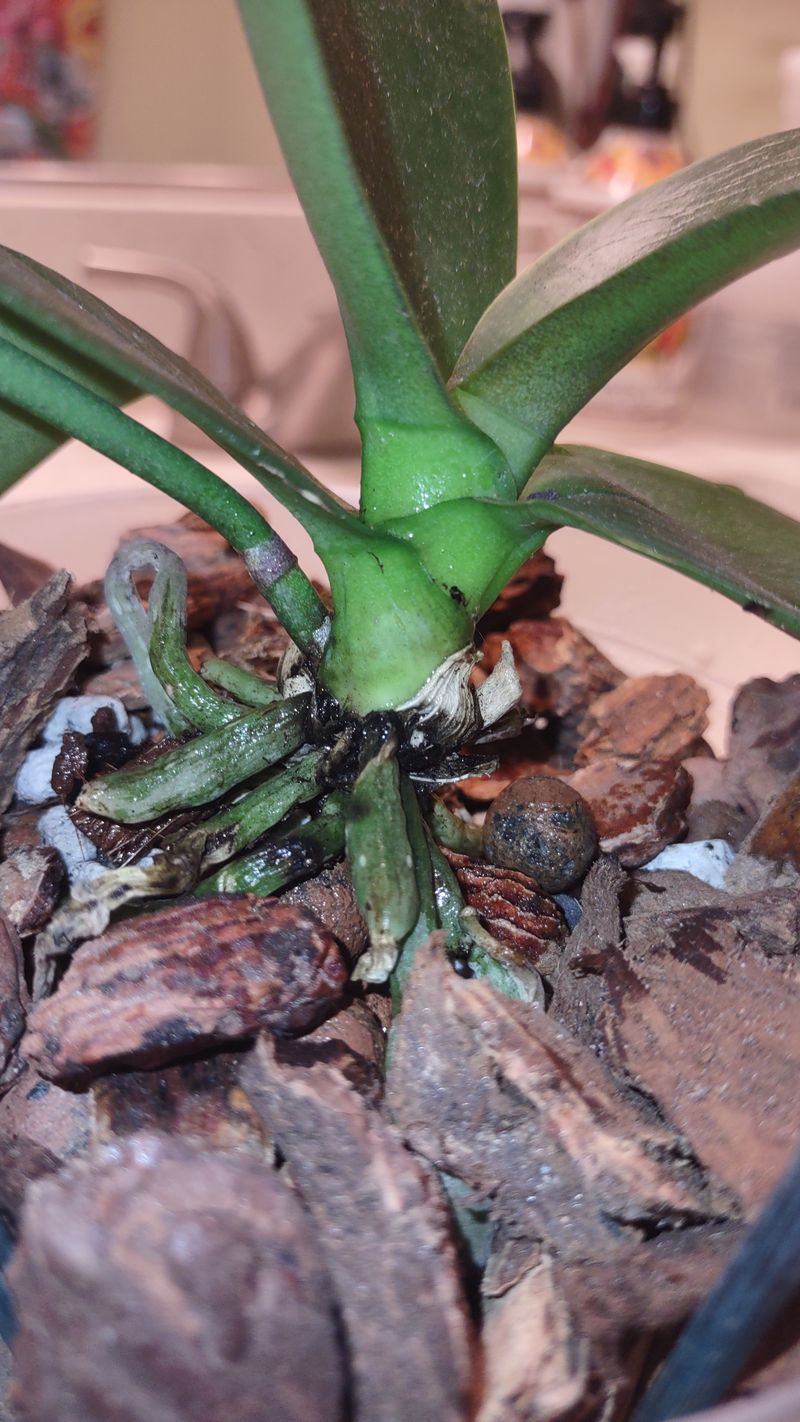
Black, mushy tissue at the center where new leaves emerge indicates the dreaded crown rot. This fungal or bacterial infection starts when water sits in the leaf crown and can quickly kill the entire plant.
Immediately remove the plant from its pot and cut away all infected tissue using sterile tools. Apply ground cinnamon (a natural fungicide) to the cut surfaces. Keep the crown completely dry during recovery and water only at the media edge.
I lost three prized Phalaenopsis to crown rot before learning to water carefully around the edges rather than from above. That simple change in technique has prevented any recurrence.
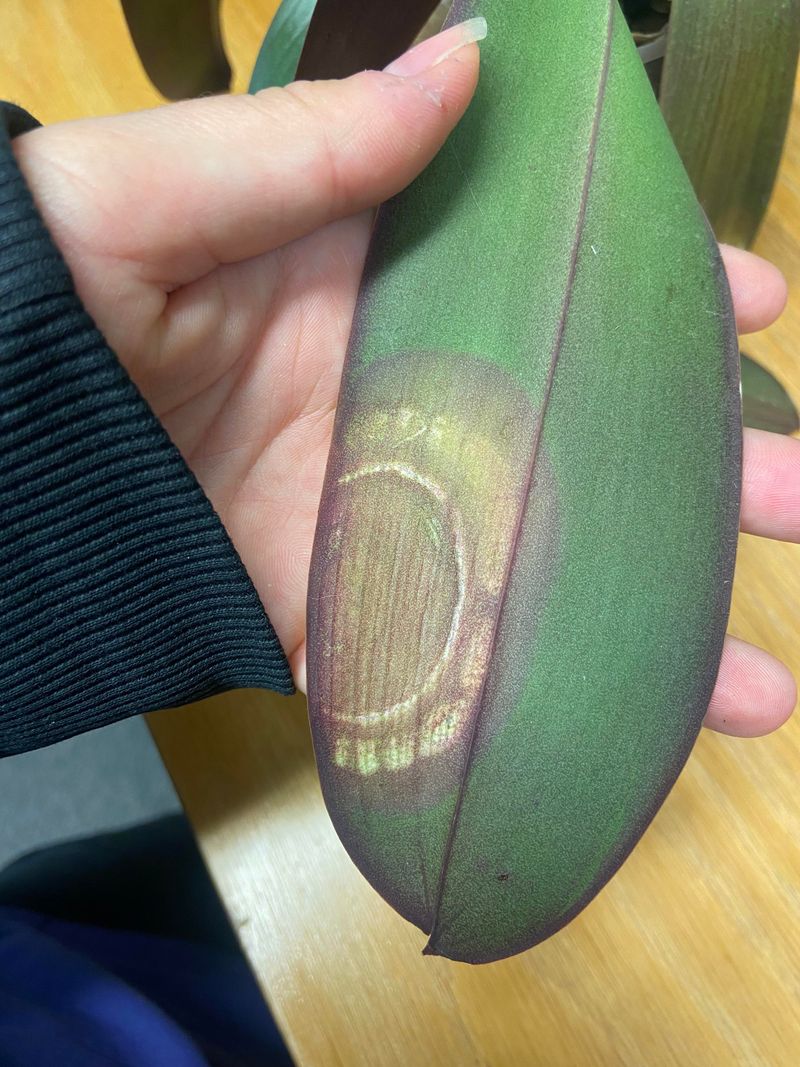
14. Cold Damage
Sudden appearance of translucent, water-soaked patches that later turn black indicates cold damage. Most orchids are tropical plants that suffer when exposed to temperatures below 55°F (13°C), even briefly.
Move damaged plants to a warmer location immediately. Unfortunately, affected tissue won’t recover, but you can prevent further damage by maintaining appropriate temperatures. Be especially careful of cold drafts from windows or doors during winter.
After leaving my orchids too close to a slightly open window during a cold snap, I woke to find these distinctive patches on several plants. Now I keep a small thermometer among my orchids to monitor conditions.
15. Leaf Spots from Hard Water
White crusty deposits or circular spots on leaves that don’t wipe off easily are mineral deposits from hard water. Over time, these can block leaf pores and interfere with photosynthesis.
Switch to filtered, distilled, or rainwater for your orchids. To remove existing deposits, wipe leaves gently with a solution of one part white vinegar to four parts water, then rinse with clean water. Avoid getting moisture in leaf joints.
The mysterious white spots on my orchids disappeared completely after I started collecting rainwater for them. As a bonus, they seem to grow more vigorously with the naturally soft water.
16. Thrips Damage
Silvery, stippled areas and black specks of frass (insect excrement) on leaves indicate thrips. These tiny, slender insects rasp the leaf surface and suck out cellular contents, causing distorted new growth.
Isolate affected plants immediately. Remove severely damaged leaves and treat with insecticidal soap or spinosad products. Yellow sticky traps help monitor for adult thrips. Multiple treatments are usually necessary as eggs may survive initial applications.
The first time I dealt with thrips, I mistook the damage for sunburn until I noticed the tiny black specks. Shaking affected leaves over white paper revealed the slender culprits jumping around.
17. Virus Infection
Streaky yellow or brown patterns, rings, or mosaic discolorations that don’t follow natural leaf veins may indicate viral infection. Unlike other problems, virus symptoms won’t improve with treatment and can spread to other plants.
Unfortunately, there’s no cure for virus-infected orchids. The safest approach is to dispose of infected plants to protect your collection. Always sterilize cutting tools between plants and wash hands thoroughly after handling any suspicious specimens.
Discovering my prize-winning Cattleya had a virus was heartbreaking, but removing it saved the rest of my collection from potential infection. Now I routinely sterilize tools with flame or alcohol between plants.