12 Common Pilea Peperomioides Problems And How To Fix Them
The Chinese money plant is a popular houseplant due to its attractive looks and how easy it is to take care of.
However, this plant is not a succulent, and if you neglect it for too long, it will start drooping and curling, its leaves will fall off or change color, and it will be more susceptible to pest infestations and diseases.
Thankfully, there are ways to deal with all these issues, and you will be able to nurture your plant back to health with little effort.
Before we examine the most common Pilea peperomioides problems and learn ways to solve them, let’s look into some general specifics of this pilea variety:
[table id=312 /]
12 Pilea Peperomioides Problems And Solutions
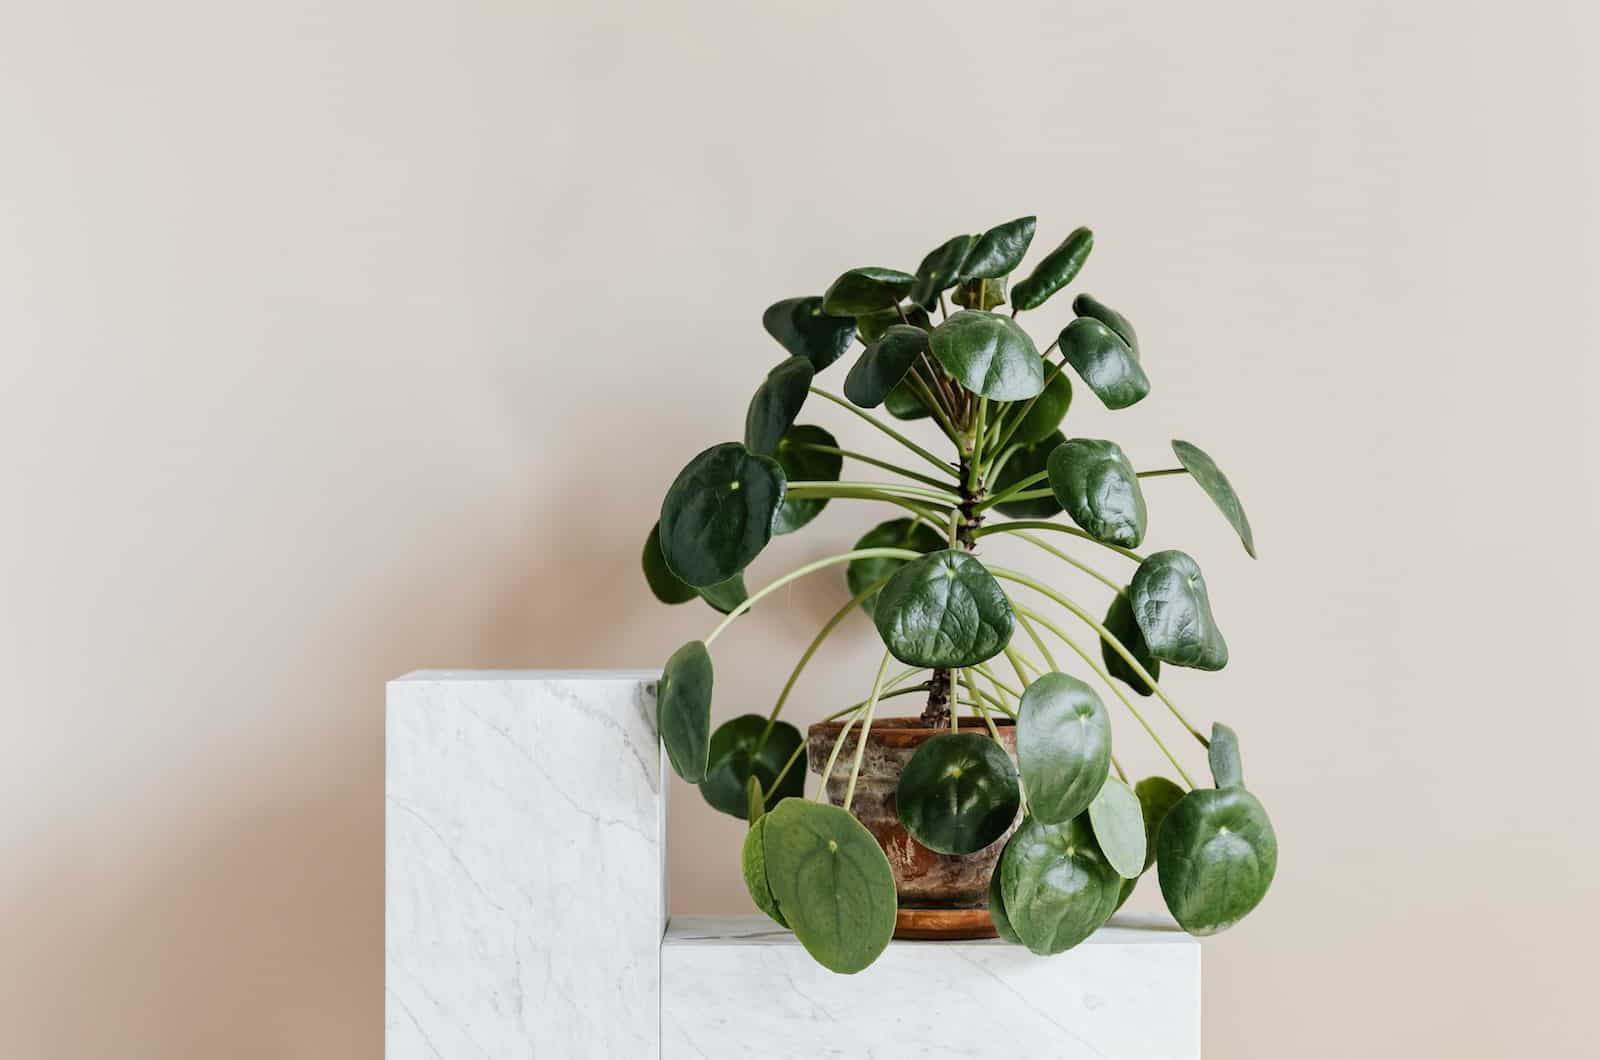
There are many things that can go wrong with your pancake plant, such as discoloration, legginess, droopiness, leaf loss, edemas, etc. And yet, the way to prevent them is pretty simple – just meet this plant’s requirements, and that’s it!
Ensure that your plant is kept in a location with bright light, water it only when the topsoil dries out, plant it in a well-draining growing medium, fertilize it once a month during its growing season, increase relative humidity above 50%, and keep the plant in temperatures between 60-85°F, and it’ll thrive.
But sometimes the unexpected happens, and your plant starts showing unsightly symptoms (drooping and curly leaves are definitely not on my list of attractive plant looks).
Thankfully, there are ways to reverse the effects of the environmental and physiological changes that can affect your plants, but it is always better to prevent them in the first place.
Nevertheless, we will now examine the twelve most common Pilea peperomioides problems in the sections below and offer some helpful ways to treat them.
1. Yellow Leaves
The Pilea peperomioides is one of the most famous pilea types due to its green, coin-like leaves. The leaves of this plant should be green, and if they start turning yellow, it means something is wrong with it.
Some of the most common reasons for yellow leaves are overwatering, overfertilization, too much light, and pest infestation.
As there are many possible reasons for yellow foliage, you should first determine what’s causing it before you start treating it.
For instance, overwatering is usually accompanied by soft and mushy leaves and a drooping appearance, while too much light often leads to sunburns that can make the leaves brown and crispy.
Pest infestations can be easily spotted, but overfertilization is harder to notice. If you see any chlorosis between the leaf veins, salt build-up on the soil surface, or browning of the edges and leaf tips, your plant is getting too much food.
How To Fix Yellow Leaves
The consequences of these issues cannot be reversed, which means that the leaves won’t regain their green color.
However, you can stop the further progress of these problems by simply implementing proper care.
Therefore, you should only water your plant when the topsoil is dry and move it to a more sheltered spot where the direct sun cannot reach it. This pilea plant thrives in indirect light, so keep it near (not on) an east, west, or south-facing window.
Overfertilization has a few possible solutions, and you can choose which one works best for you. You can either repot the plant into fresh soil or flush the old one.
Flushing is not that difficult, although it does make a mess, so you should do it either outside or in the tub. All you need to do is slowly pour water over the soil and let the excess water drain out through the potholes.
Pro tip: Use plenty of fluid (four times the pot’s volume is usually enough).
For pest infestations, you should turn to either horticultural oils, such as neem oil, or the pesticide of your choice. Smaller groups of bugs don’t usually cause enough damage to the plant so the leaves start changing their color, so you won’t be able to remove them by hand in this case.
2. Brown Spots And Leaves
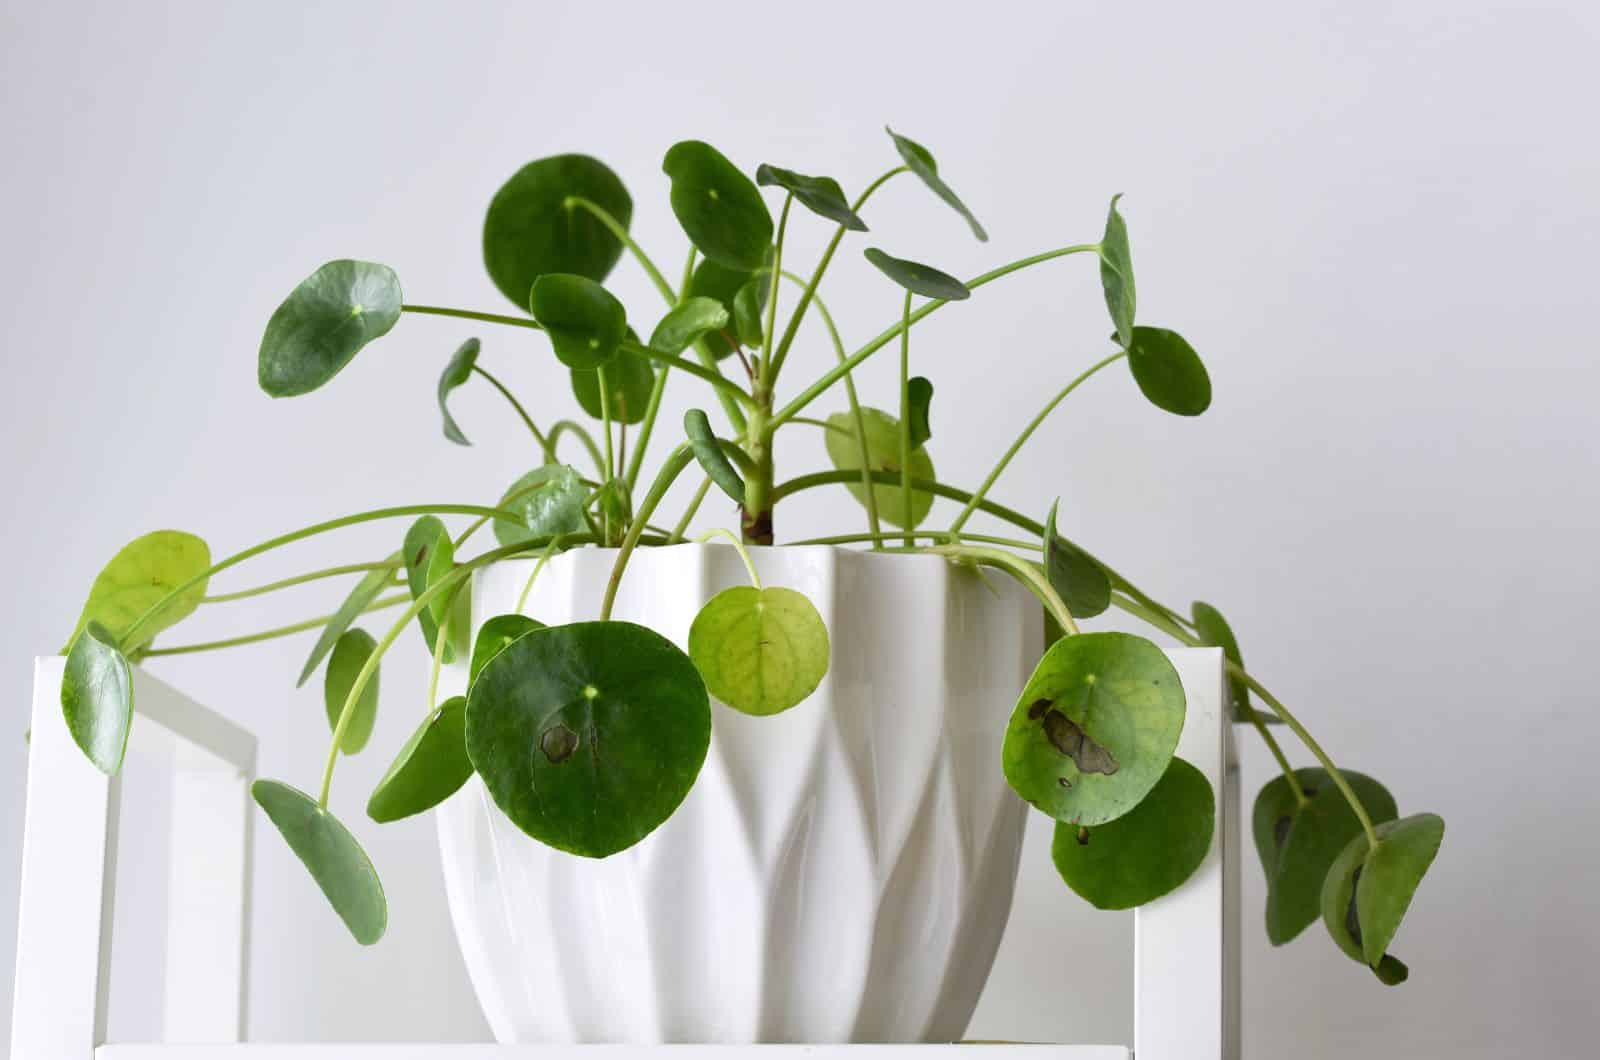
Growers around the world that have to deal with brown leaves and spots on their Pilea peperomioides plants know that it isn’t something to be taken lightly.
If the leaves are curly and crispy, in addition to having brown spots and leaf margins, it is probably due to exposure to direct sunlight.
However, overfertilization can also lead to the browning of the foliage, so you should be careful when treating this plant.
You may sometimes observe black spots on the lower ends of your Pilea peperomioides leaves, usually because the plant is overwatered. But always check for other signs of overwatering, such as wet soil, mushy and soft foliage, and a droopy appearance.
Another frequent occurrence are brown leaf tips, which are usually caused by low humidity.
Remember, first diagnose the issue and then do something about it!
The Pilea peperomioides is on the list of money plants that bring good fortune, but there is nothing fortunate about a plant with brown foliage and spots!
You can fix this issue with a little bit of patience.
How To Fix Brown Spots And Leaves
Unfortunately, dark spots and leaves cannot regain their healthy green color, so you will have to prune them or wait for them to fall off on their own.
(Of course, cutting off unhealthy leaves is actually beneficial as you’ll be making more room for new growth, and the plant won’t waste its energy on leaves that barely photosynthesize.)
Determining whether the leaves are suffering from sunburns is easy; you simply have to touch the brown parts, and if they are crispy and crumble between your fingers, you should move your plant to an area where direct light cannot hurt it.
You can deal with overfertilization by either repotting your plant into new soil or flushing the existing medium under a slow stream of water.
You can also solve overwatering by letting the growing medium dry out between waterings, or you can replant this pilea into dry soil if you don’t want to wait.
Always use a well-draining potting soil enriched with perlite, pumice, peat moss, coir, etc. Also, put your plant into a container with drainage holes in order to avoid water clogging.
Finally, make sure that the humidity around your plant is above 50% to avoid brown tips.
3. Pale Foliage
Pale leaves are generally a sign that your plant isn’t getting enough light. However, this issue is usually accompanied by leggy and droopy plants, so you’ll be able to recognize them.
A lack of sunlight is not the only reason your plant’s leaves may start to lose color. Nutrient deficiency and overwatering can also result in a loss of chlorophyll, which is what makes the plants green in the first place.
However, plants that don’t get enough nutrients will frequently have discolored leaves that become stunted.
Overwatering can be easily recognized by soft, soggy foliage, wet soil, and pale leaves.
How To Fix Pale Foliage
If you keep your plant in low-light conditions, you should first move it to a brighter spot, although not suddenly. Expose your pilea plant to more light little by little; start with moving it to a location with filtered light and leaving it there for an hour or two before taking it back to its regular place.
Increase the amount of time you leave your plant in the light every day by an hour or two until it can remain in the new spot all the time.
Pale foliage can also signify that your plant needs more nitrogen, so give it more of this mineral (just don’t go overboard as that can lead to other issues).
Finally, overwatering is easily solved. All you’ve got to do is stop watering your plant for a while. However, sometimes the plant has been sitting in water for quite some time, so you should check the roots and remove any diseased ones in this case.
4. Grainy Sections On Undersides Of Leaves
One of the most common problems that affect this plant are grainy sections on the undersides of leaves.
However, this is one of the first issues where you don’t need to be alarmed or take drastic action, such as changing your plant’s fertilization and watering schedule, moving it to different locations, pruning, or propagating it.
These sandy grains are mineral deposits that appear naturally. Your plant excretes them through the leaf pores, and they form these sections.
How To Fix Grainy Sections On Leaf Undersides
As this is not a real problem, you don’t have to do much about it.
You can simply wipe off the grains with a damp cloth or even leave them be; they don’t hurt your plant at all!
You can also try using distilled water to prevent mineral deposits in the first place.
5. Foliage Falling Off
Some leaf drop is quite normal. For instance, lower leaves can fall off when you get a new plant as it needs some time to adjust to the new temperature and lighting. If there’s not enough light getting to the leaves, it isn’t uncommon to see indoor plants shedding their lower foliage.
Also, if you notice any older leaves changing color and dropping, there’s nothing to worry about as it’s part of the life cycle of leaves.
But if the leaf drop is sudden and almost all of them fall off, you might be wondering why it happened and if the main stem will grow new leaves.
Well, the most common causes of leaves falling off are overwatering and underwatering, but small pots and inadequate lighting and fertilization can also lead to this problem.
We have some care tips up our sleeve that will make your plant healthy again in no time!
How To Fix Foliage Falling Off
The first thing you need to do is determine why your plant is dropping its leaves. If it’s underwatering, then give your plant more water, and if it’s due to overwatering, refrain from irrigating your plants until the top soil is dry.
Ensuring that your plant gets enough light during the day will prevent many issues, including leaf drop.
If you notice that your plant’s roots are coming out through the potholes, you should repot your pilea into a bigger container. Such crowded spaces usually imply that there is not enough nutrients in the soil and that your plant’s roots cannot develop proportionally to the stems and leaves above the ground.
You should also feed your plants at least once a month to entice new growth and prevent leaf loss. You can use regular houseplant fertilizers and dilute them in water (while carefully following the instructions on the box).
The key aspect of proper fertilization is watering your plants before feeding them in order to avoid burning the plant’s root system.
6. Pilea Peperomioides Drooping
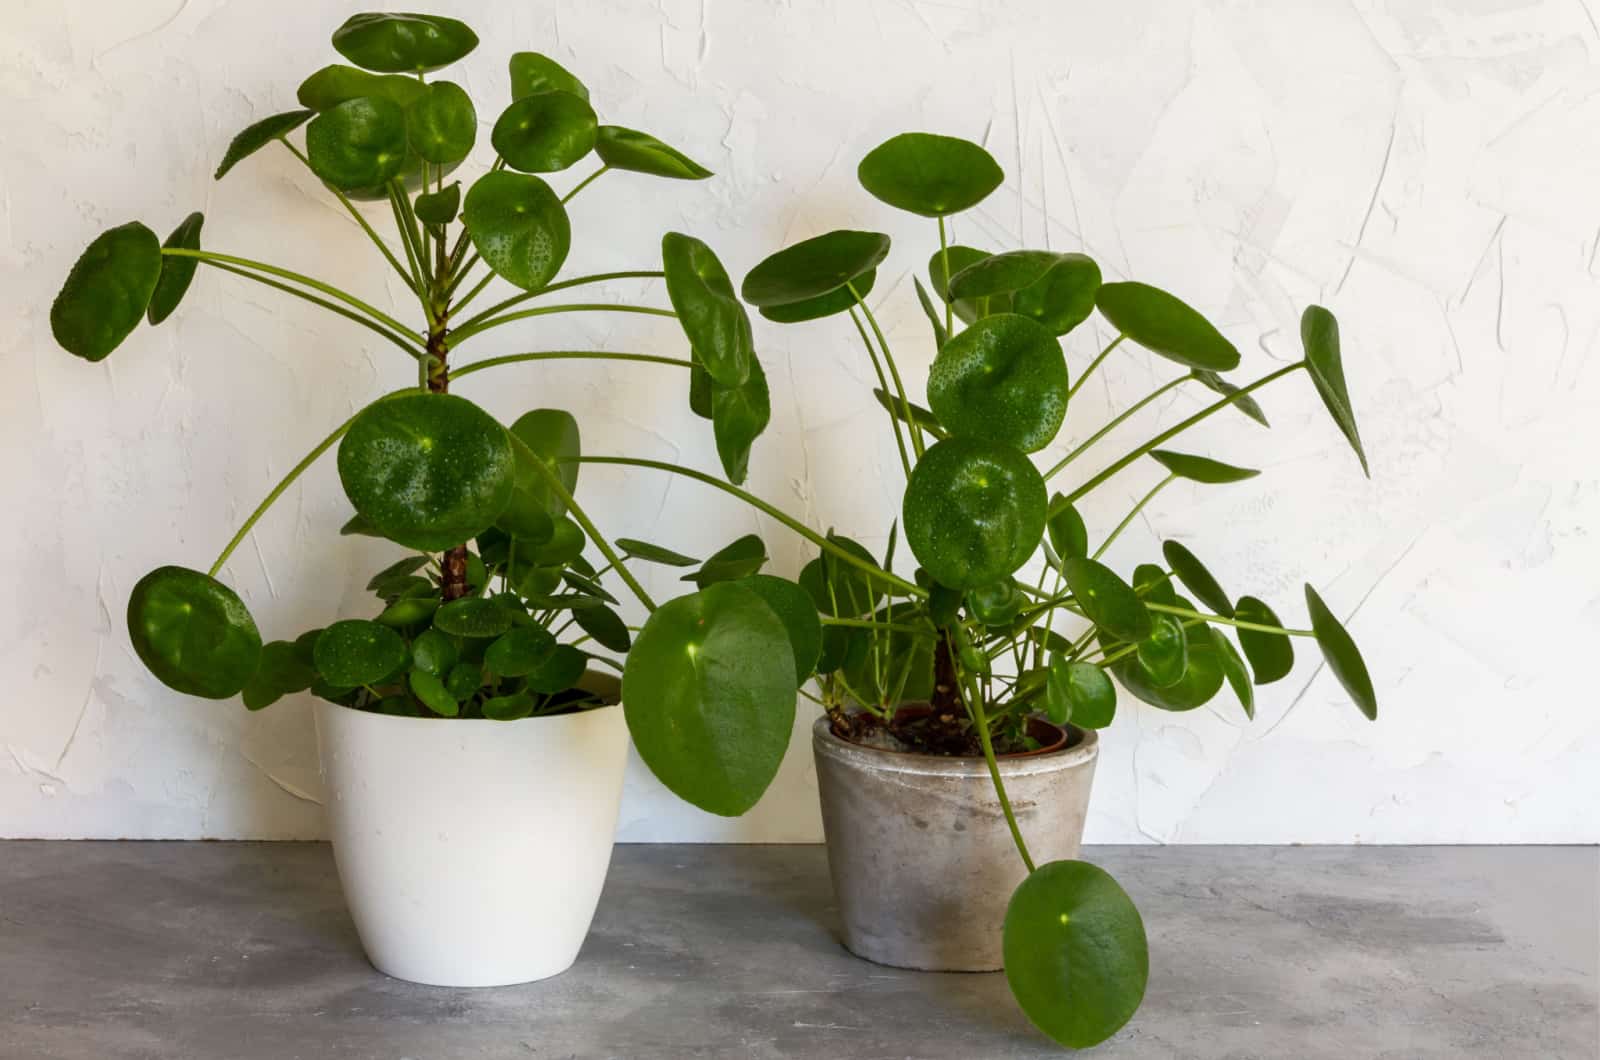
There are many reasons why your Chinese money plant is drooping. Some of the most common are over and underwatering, over and under fertilizing, inadequate sunlight, temperature fluctuations, pest infestations, etc.
The critical thing is to determine what is making your pancake plant droop before you treat it.
You already know that overwatered leaves are mushy, while underwatered foliage is dry and crispy, which may indicate your plant needs.
Furthermore, salt build-up in the soil and discolored leaves usually indicate that your plant is over-fertilized, while leaf loss, chlorosis, and red or purple undertones signify nutrient deficiency.
Drooping leaves can also be caused by either too much or too little sunlight, which you can easily distinguish; plants in low-light conditions usually have pale leaves and leggy stems, while plants grown in direct sunlight exhibit burnt foliage.
How To Fix Drooping Pilea Peperomioides
The first step to getting your pilea plant better is diagnosing the issue. Once you know what’s causing the droopiness, you can start treating it.
To prevent overwatering, you should wait until the topsoil dries out before irrigating your plant, while underwatering is dealt with by giving your plant something to drink.
Keep watering the Chinese money plant until you notice liquid coming out of the drainage holes, allow the water to drain completely, and then empty the tray.
Every Pilea peperomioides care guide includes feeding the plant occasionally. However, using too much fertilizer or fertilizing too often can lead to mineral build-up and your plant being unable to uptake water, which leads to droopiness.
If you feed these plants once a month during their growing season with a houseplant fertilizer, you won’t have problems with either over or under-fertilization.
You should also place this pilea plant somewhere it can get bright indirect sunlight so it can thrive without suffering from sunburn.
Certain pests will suck away the plant’s sap, leaving them with no water and nutrients for proper functioning, which is why you should get rid of these bugs as soon as you notice them. Apply some neem oil or pesticides.
Finally, ensure that your plant is away from places where sudden temperature changes occur, such as doorways, heaters, AC vents, drafty windows, etc. These places can also lower humidity levels, causing brown leaf tips.
7. Pilea Leaves Curling
Proper plant care will prevent you from having to do a lot of additional work, and you won’t have to deal with issues such as the curling of the pilea leaves.
However, if this problem does occur, you should know that the likely culprits are low humidity and inadequate watering, lighting, and feeding.
All these reasons make the leaves curl in different directions, and we’ll briefly examine them in the following paragraphs so you can tell exactly what the issue is.
You can blame low-light conditions or overwatering if the leaves are curled outwardly. Legginess and pale leaves are a sign of low light, and yellow foliage and wet soil for too much water.
Leaves curling inwards can be caused by nutrient deficiency, low humidity, or extreme temperature.
Finally, too much or too little nutrient content in the soil and pests and diseases can make the leaves curl both inwards and outwards, so you should test the soil to see which nutrient the plant either lacks or has in abundance.
You can also look for pests and check whether the plant has come down with a sickness such as root rot by examining its roots. (We’ll talk more about this condition in a separate section).
How To Fix Pilea Leaves Curling
Once you determine the cause of the curly pilea leaves, you can start treating them.
If you suspect nutrient deficiency or too much fertilizer in the growing medium, you should test the soil and either give your plant more minerals (such as nitrogen) or stop fertilizing it for a while.
You can even repot the plant to replenish the fertilizers in the substrate and solve your overfertilization problem. Soil flushing is another great way to deal with too much fertilizer.
Slowly pour water over your plant and let it drain through the holes in the bottom of the pot. Don’t forget to use generous amounts of water.
If you think that low humidity is causing your plant’s leaves to curl, you can either invest in a humidifier or mist them every couple of days.
Don’t forget that you should only water your plants when the top few inches of the soil are dry. You can avoid over and underwatering this way.
Finally, don’t expose your plants to extreme temperatures. Keep them indoors where the room conditions won’t make them sweat or shiver!
And place them at a safe distance from heaters, AC vents, drafty windows, etc.
8. Leggy Plant
One of the leading causes of a leggy Chinese money plant is a lack of sunlight.
Plants need light to photosynthesize, and if you keep them in low-light conditions, they will spread their stems to look for it.
But if the source of light is too far and your green buddy can’t find it, it will become weaker and weaker as it cannot photosynthesize enough energy and food for proper development.
The stems will become too heavy for the plant and droop, which is another common symptom of a lack of sunlight.
How To Fix A Leggy Plant
You guessed it! Simply move your plant to a spot with more light in order to avoid legginess.
However, you shouldn’t move it from the shaded area to a bright one suddenly, or you will risk your plant getting sunburnt.
Instead, harden your plant by slowly introducing it to more light. Move it to a bright spot for a couple of hours the first day, and then take it back to its usual place. Repeat this process every day and slowly extend the amount of time your plant spends in the well-lit area.
In a week or so, your plant should be ready to move to its new spot once and for all.
You should also rotate your plant so that every part gets equal sun exposure. If the back side of your green friend is always in the shadows, it can end up getting leggy.
Unfortunately, elongated parts of your plant won’t magically return to their previous shape; you will have to prune them to give your plant a clean look.
9. Rotting Plants
Root rot is one of the worst things that can happen to your plant. This fungal infection is caused by overwatering, so you should avoid it at all costs.
Many plants die because of this disease, which is why it is so important to catch it early. The most common symptoms are yellow leaves, droopiness, stunted growth, and wet soil.
The worst thing you could notice is a rotting smell spreading from the pot, which is a clear indication your plant has caught this infection.
Any roots infected with rot will be brown or black and relatively soft and mushy. These roots cannot perform their function, which is why the above-mentioned symptoms occur.
If the rot isn’t treated, it could spread to your plant’s main stem, and once it’s that advanced, there’s not much you can do.
There are some ways to treat this disease, and we’ll go through them in the paragraphs below.
How To Fix A Rotting Plant
As soon as you notice that something isn’t right with your plant, or you suspect you may have overwatered it, always check its roots.
Better safe than sorry!
If the roots are dark and soggy, you should trim them with some sterilized pruning shears (and disinfect them afterward to prevent the spread of fungi spores).
You can also treat the rest of the roots with a fungicide just to be on the safe side.
Another thing you can do is multiply the plant. Find healthy plantlets, separate them from the mother plant, and propagate them in a well-draining medium enriched with perlite or one of the sand types fit for gardening.
You can also use healthy stems if the root rot is far advanced and there are no viable plantlets and roots.
10. Edema
This condition is caused by overwatering or erratic watering (allowing the soil to dry out completely in between irrigations). It manifests in the form of bumps and blisters on your plant’s leaves.
But is it treatable?
How To Fix Edema
Luckily, you can fix this condition. All you have to do is adjust your watering technique, and your plant should be fine.
You should always let the top 2-3 inches of the soil dry between waterings. But don’t let all the soil dry out completely because that can stress the plant and lead to edema and other issues.
Unfortunately, blisters and bumps won’t go away after adjusting the amount and frequency of watering. However, new leaves will be healthy, and that’s all that matters.
You can always take some pruners and snip the unsightly leaves (just don’t remove more than 1/3 of the plant at once).
11. Stunted Growth
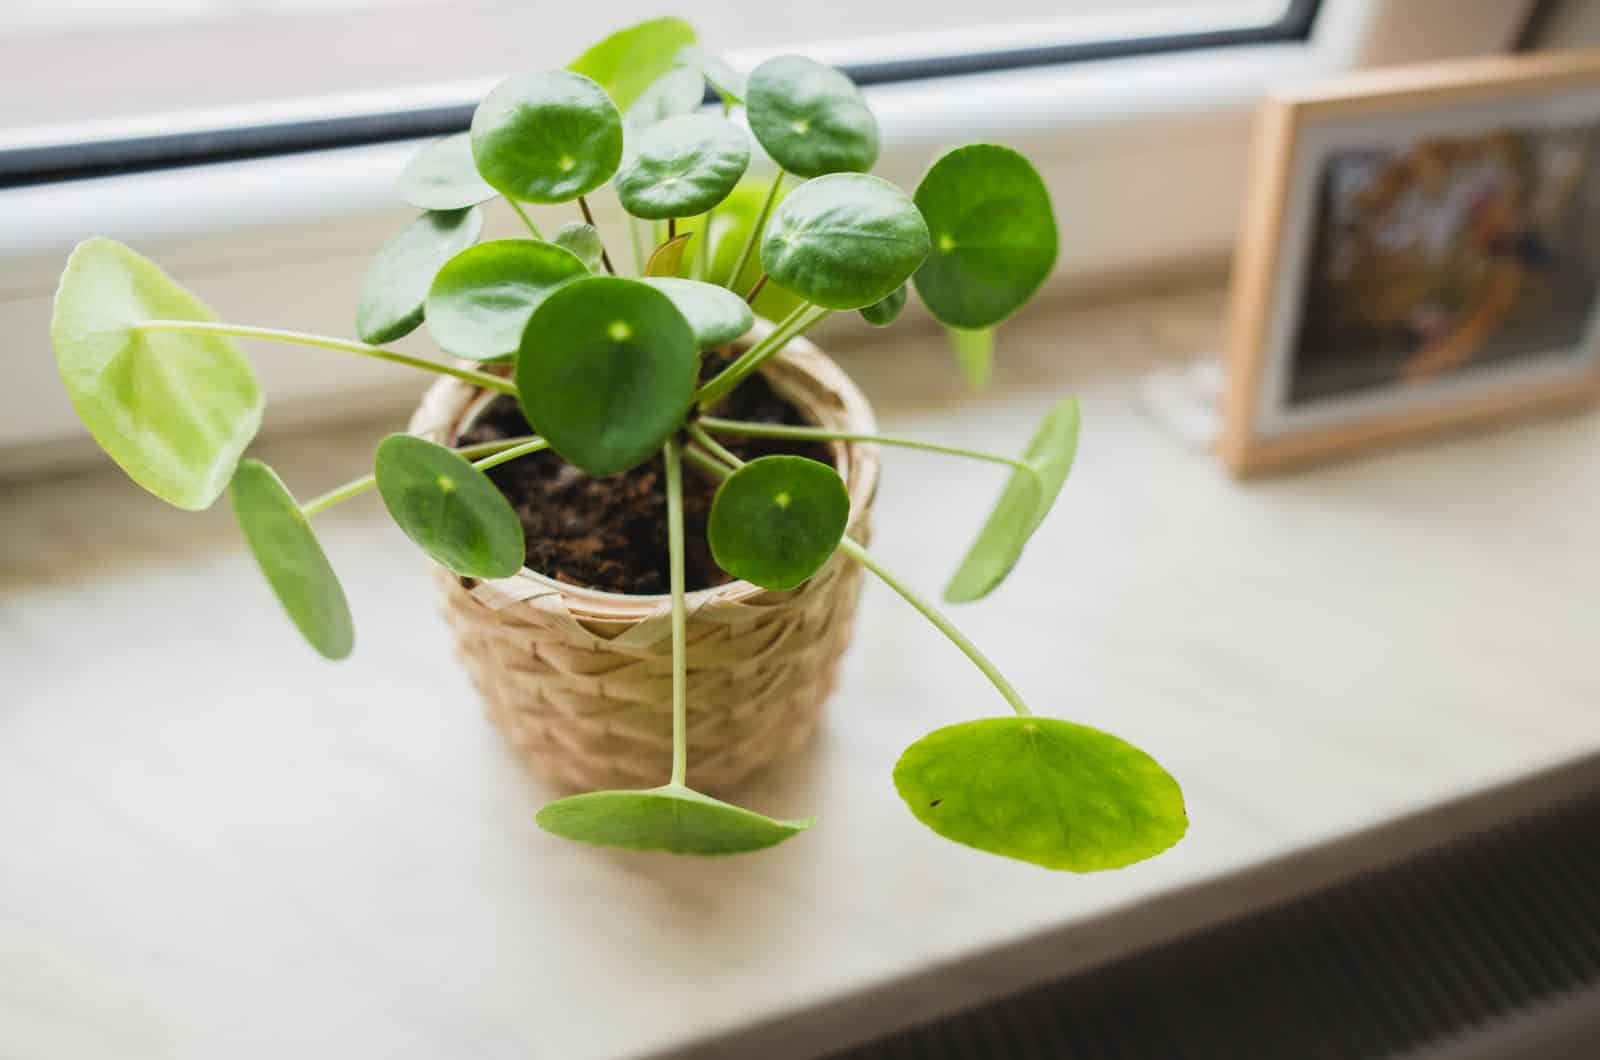
Unfortunately, many things can cause your plant to grow slowly or stop growing altogether. However, it’s also quite normal because plants usually stop growing once they enter dormancy. So remember this before feeding your plants more food, moving them around, and adjusting the watering schedule.
Root rot and pest infestations can slow your plant’s growth. Once aphids, mealybugs, gnats, and spider mites start feeding on your plant’s sap, they steal the nutrients and water your plant needs for proper growth.
If the plant doesn’t get enough sunlight, it will either stop growing or start elongating its stems. (It’s always a lottery with this one!)
Too much or insufficient fertilizer can slow the plant’s growth. It is clear why nutrient deficiency might cause stunted growth, but why is it that overfertilization has the same effect?
Well, the plant gets clogged with mineral build-up and cannot uptake water.
Essentially, anything that stresses your plant can lead to stunted growth, so ensure you follow this plant’s care guide in order to avoid this issue.
How To Fix Stunted Growth
The only way to fix and avoid stunted growth in the first place is by following the care guidelines for this plant.
Keep the plant in bright indirect light and water it only when the topsoil feels dry to the touch. (You can also use a moisture meter if you’re unsure whether the soil is dry enough.)
Plant this peperomia-like variety in well-draining soil and a pot with drainage holes to allow excess water to drain away quickly.
Fertilize the pancake plant once a month with a liquid houseplant fertilizer diluted to half strength (or more if indicated on the package).
Keep the relative humidity levels above 50% by misting or using a humidifier, and avoid placing your plant near heaters, drafty windows, doorways, AC vents, etc., as they can lead to sudden temperature fluctuations.
Repot the plant once a year and keep it at room temperature.
12. White Dots
White spots on your pilea plants shouldn’t be confused with the grainy sections you may find on leaf sides.
These white or yellow dots can be caused by spider mites. These bugs can also cause some other symptoms, such as webs and a yellow or bronze appearance on the foliage (but these appear only in large infestations).
How To Fix White Dots
Sadly, white spots won’t magically disappear once you get rid of spider mites, but that doesn’t mean you should let these pests colonize your plant.
You can remove them by hand, using horticultural oils, or pesticides, depending on the size of the infestation.
If you really hate the looks of those spots on your plant’s foliage, you can always prune them; just don’t cut more than ⅓ of the plant, or it might have difficulties developing.
To Wrap Up
This article included some of the most common Pilea peperomioides problems and ways to fix them.
Thankfully, none of these issues are irreversible if caught on time, but that doesn’t mean you can just neglect your plant.
It is always better to prevent dealing with these problems in the first place, and following the Chinese money plant care guide can help you with that.
Hopefully, you can nurture your plant back to health!
Until next time!
Like this post? Share or pin it for later!
