6 Problems With Salvias And How To Solve Them
If you haven’t heard of Salvia, perhaps sage rings a bell. Why are these plants frequently grown in gardens? The answer is simple: they are hardy.
I believe some growers might be surprised if I told them that Salvias also have certain problems.
Interestingly, there are a few problems with Salvias, which are mainly related to inadequate conditions. This is actually a good thing because it’s easier to fix these issues.
I’ll go through the most common problems with Salvia plants and show you the best ways to bring your plant back to life.
Before we move on, let’s look at some basic info about Salvias.
[table id=487 /]
Let’s get started!
Problems With Salvias
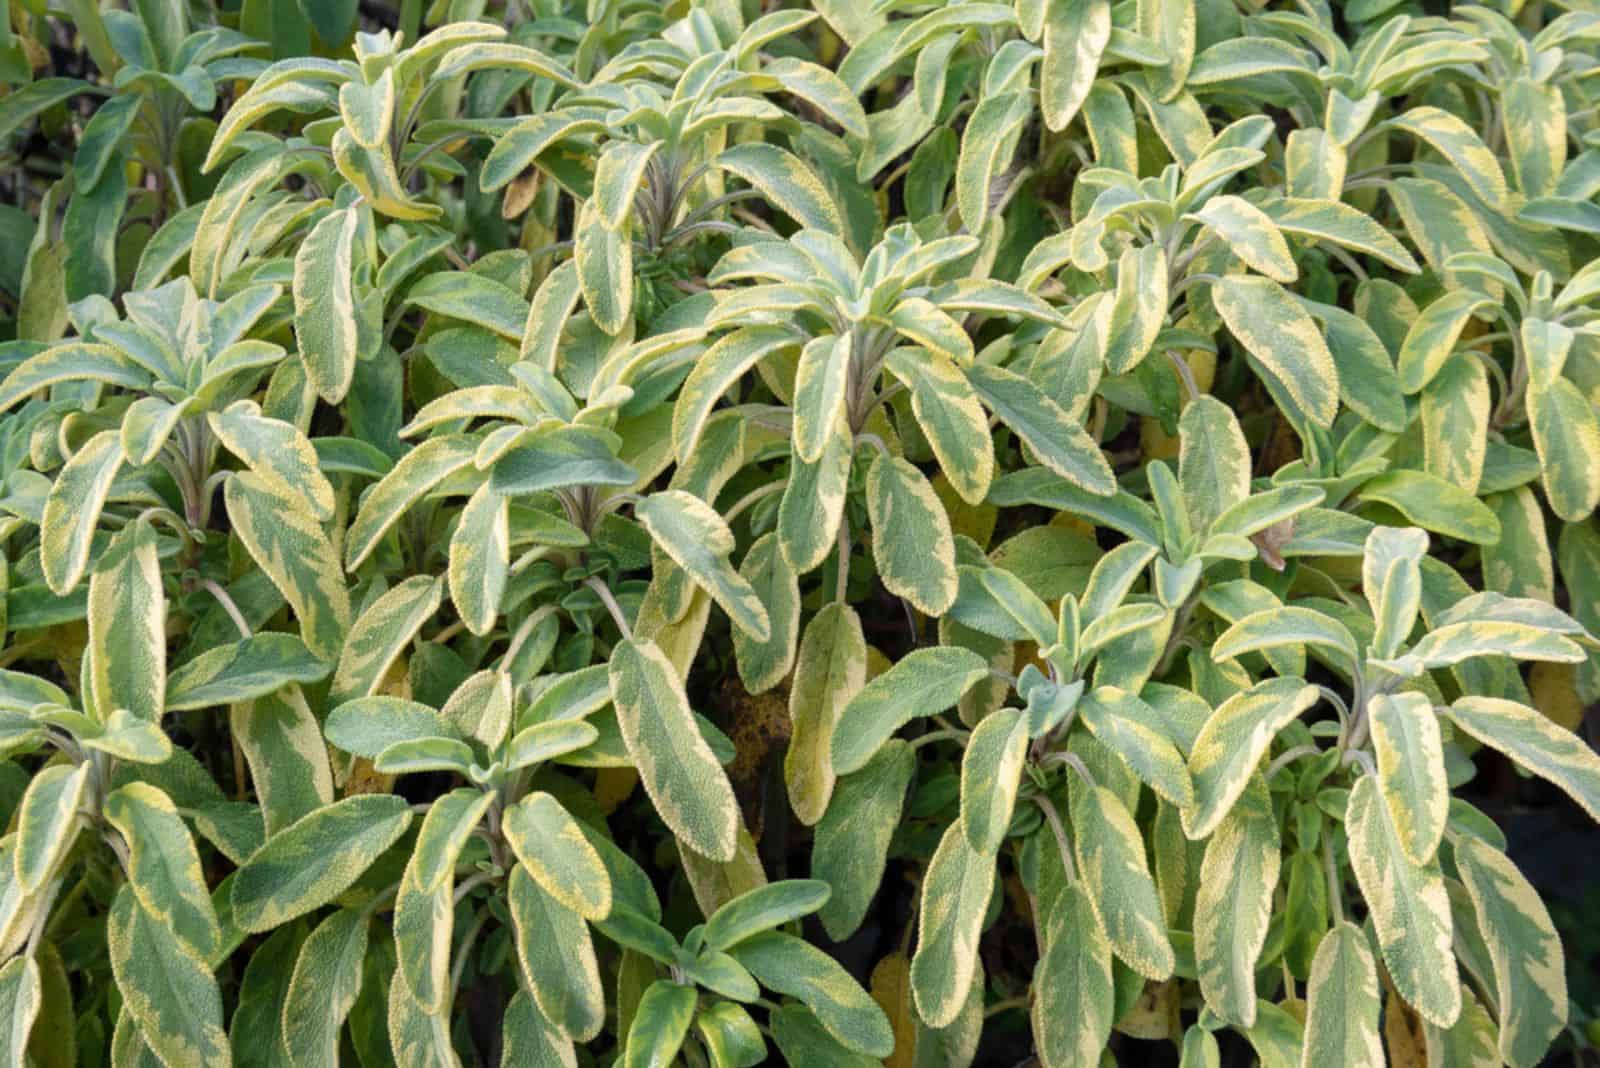
The Salvia genus encompasses many species, and perennial Salvias are most commonly referred to as sage.
These plans produce breathtaking blooms and are frequently used in culinary arts. But if you want to grow healthy and happy Salvia plants, you need to know the problems that may occur.
The most common problems with most species of Salvia include powdery mildew, flopping, legginess, pest infestation, brown leaf tips, yellow leaves, and root rot.
Let’s find out more about these issues and, of course, how to fix them!
Powdery Mildew
Many growers have likely had a plant with this disease without even realizing it. Powdery mildew is among the most pervasive and readily identifiable plant diseases.
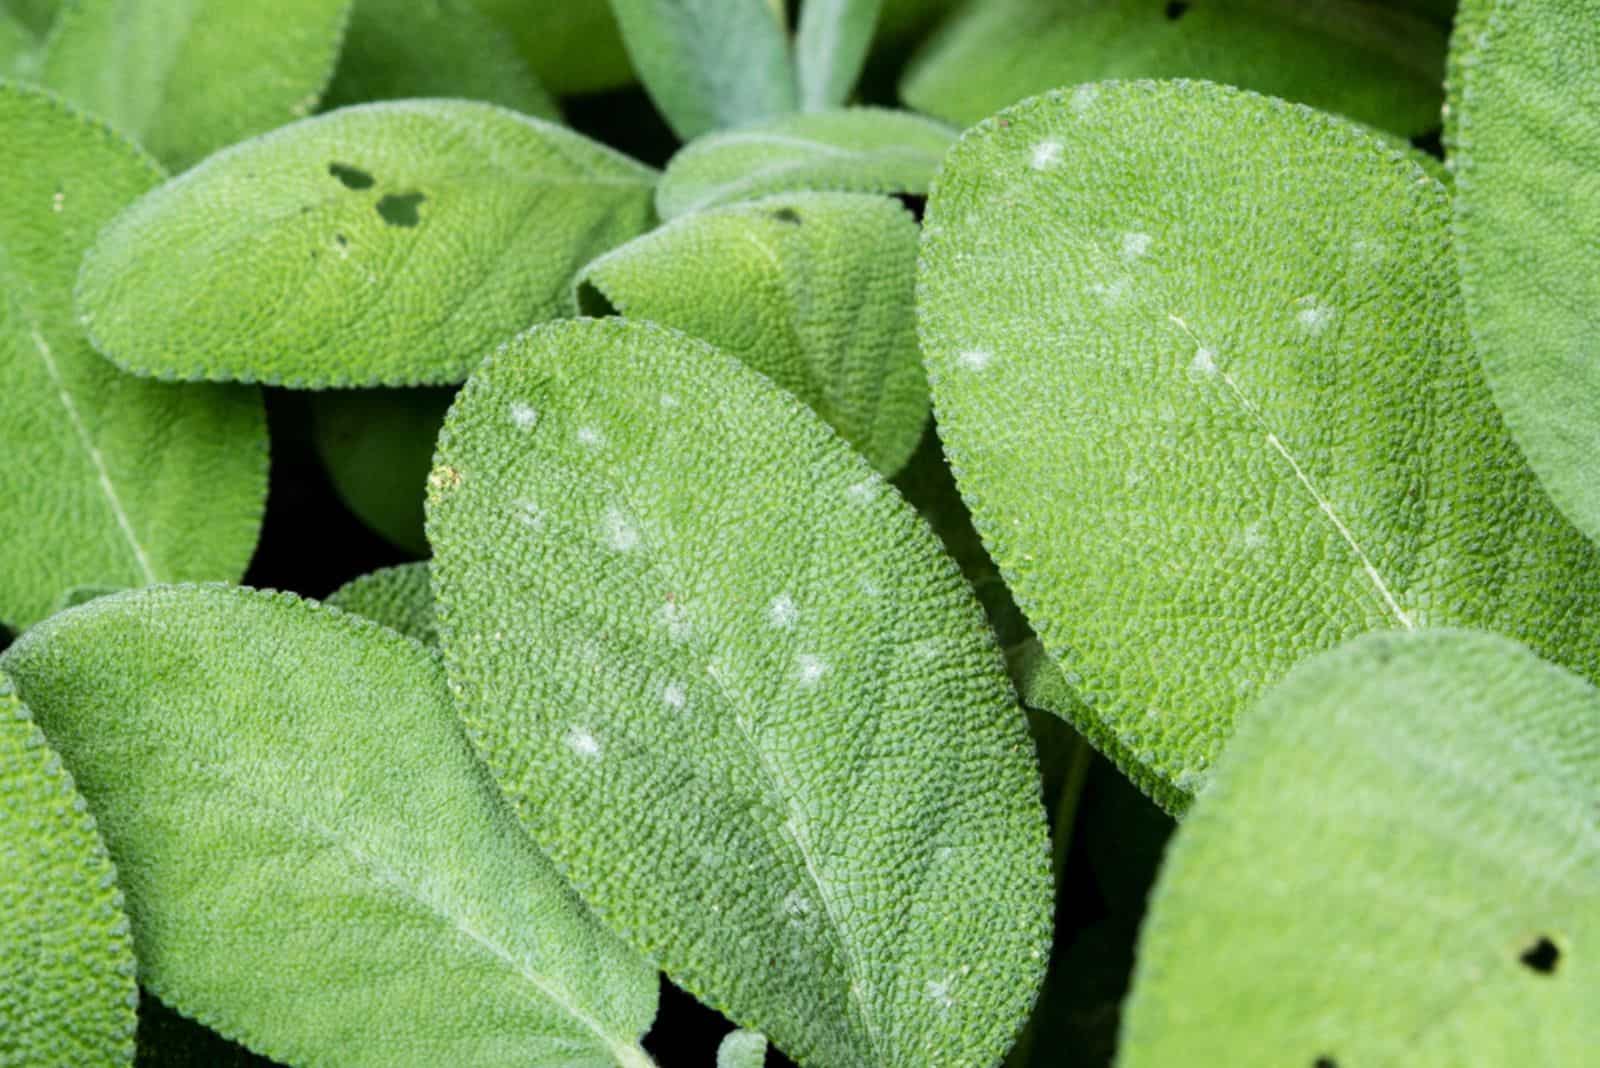
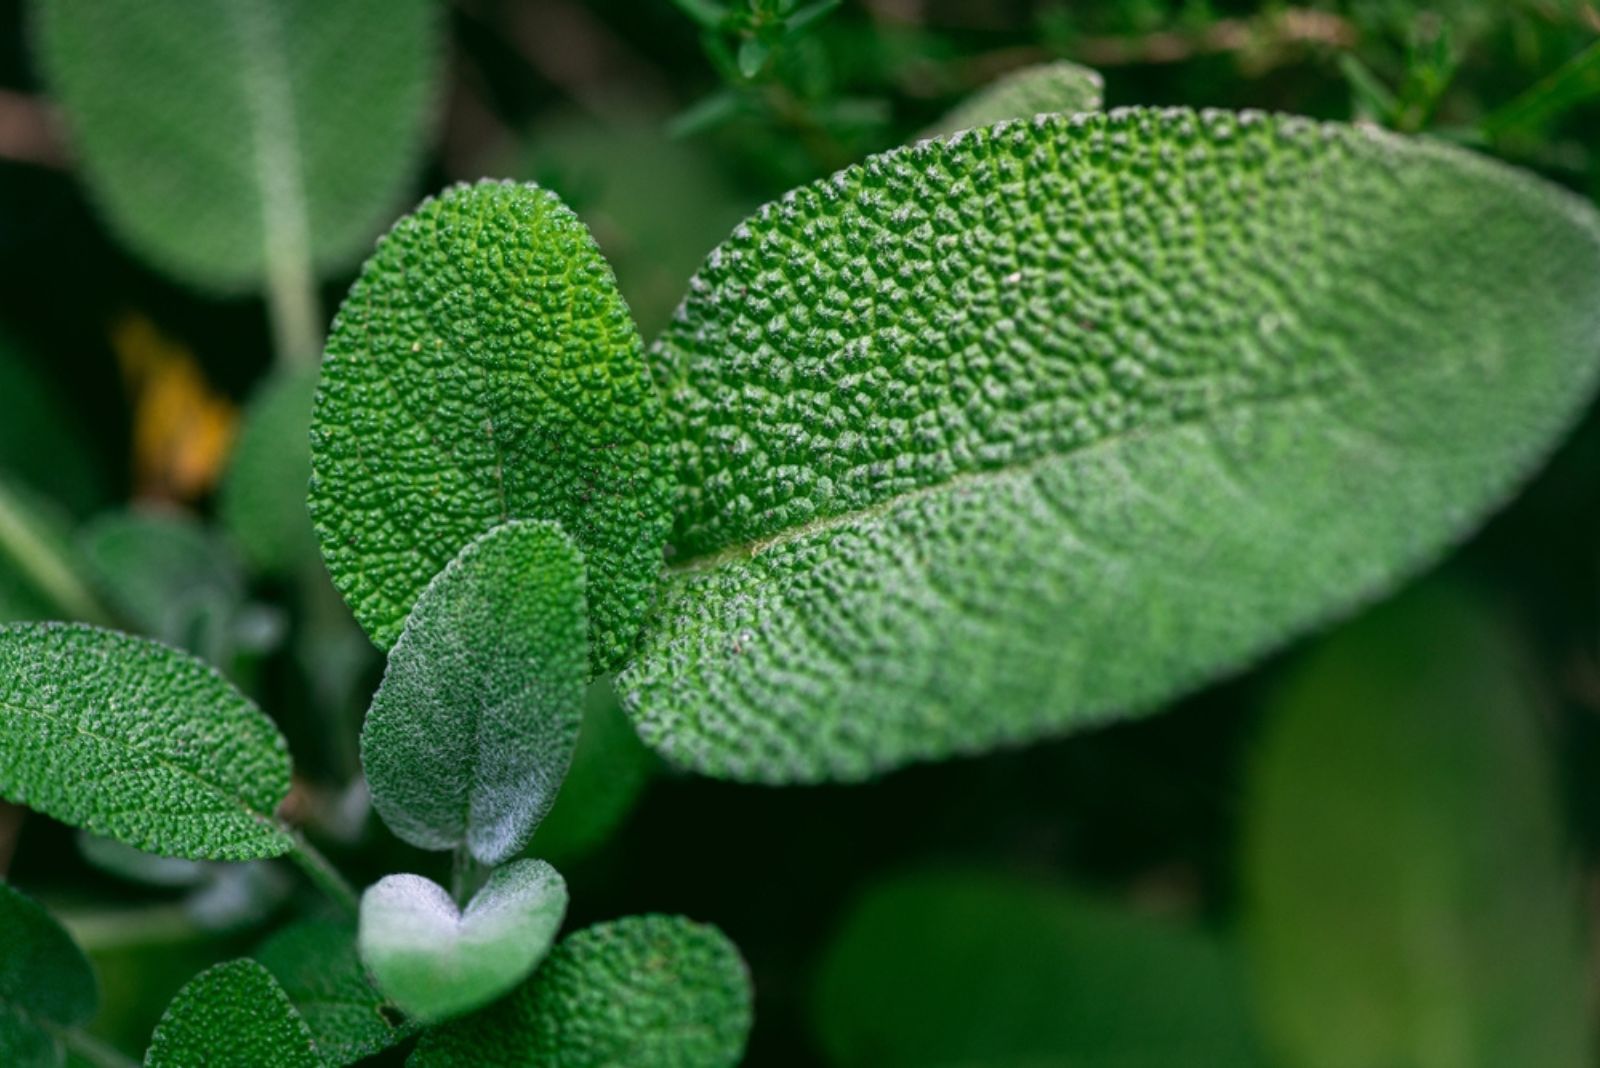
How can you tell if your Salvia has powdery mildew? The plant’s leaves will display grayish-white spots or blotches with a white mold on their surface.
Some plant varieties have become resistant to this disease; unfortunately, Salvias aren’t one of them.
Powdery mildew is not a deadly disease, at least for sage plants. However, the main problem is that it spreads quickly, so instead of having a single plant with powdery mildew, you’ll be dealing with this disease on all the plants in your garden.
For Salvias, powdery mildew means stunted growth and, in most cases, no blooming.
The fungi responsible for this disease thrive in humid environments, and excess soil moisture will promote their growth.
Solution To Powdery Mildew
The first thing you need to do if your Salvia has powdery mildew is check the conditions.
The essential thing required for the healthy growth of Salvia species is good air circulation. Therefore, if you intend to grow Salvias, pay attention to spacing.
Powdery mildew requires treatment with fungicides in most cases. I recommend sulfur-based organic fungicides, just pay close attention to dosage!
You’ll most likely need to cut off the diseased Salvia leaves if the damage is severe.
When removing diseased leaves, disinfect any tool you use for cutting before and after usage.
One more important thing to note: discard any damaged leaves and never compost them because the fungi will spread and the compost will be infected.
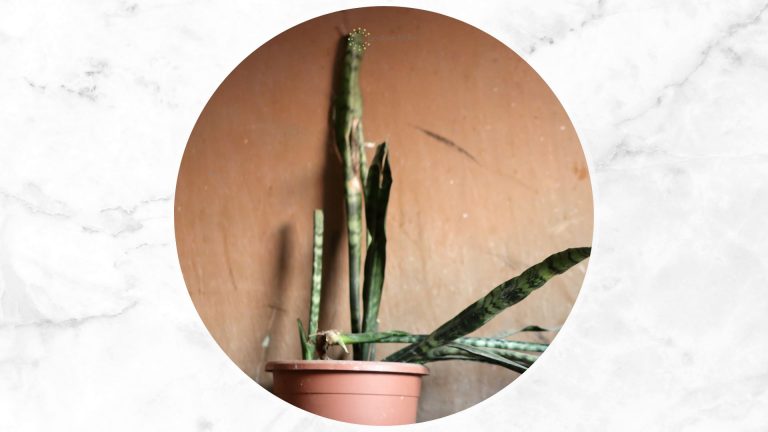
Flopping

Healthy Salvias proudly stand upright, but they can display flopping if their requirements aren’t met.
There are two possible reasons for flopping Salvia plants. The first is overwatering. As you may know, some Salvia cultivars are drought-tolerant, which means these plants are susceptible to overwatering, especially during winter months.
But even if you have the right watering schedule, bear in mind that frequent rainfall can cause water accumulation in the soil and lead to flopping. Specimens such as Salvia microphylla are most susceptible to flopping.
Another possible reason your Salvia is flopping could be overfertilization. Nitrogen promotes blooming, but too much nitrogen in the soil can lead to problems.
These plants aren’t heavy feeders and won’t produce more purple flowers if fed with too much nitrogen; it would be the total opposite!
Solution To Flopping
If you determine that overwatering is the cause of flopping, you’ll need to change your watering habits and also check the soil. You may have a perfect watering schedule, but if you don’t ensure well-drained soil, problems will occur sooner or later.
These plants need approximately an inch of water every 7-10 days. If rainfall isn’t frequent in your area, you’ll need to water your Salvias.
Ensure well-draining and porous soil for your Salvias. This way, you’ll avoid overwatering and the plants will tolerate frequent rainfall better.
If the soil is too loose and doesn’t retain water at all, adding a layer of mulch is a great idea. You can also feed your sage in early spring with all-purpose plant food diluted to half strength.
Be careful if using compost because these plants hate mushroom compost.
Deadheading is a great way to promote blooming and new growth.
Salvia Becomes Leggy
Legginess is frequently caused by inconsistent watering. Your Salvias will look lifeless if they don’t receive enough water.
Salvias are drought-tolerant but can’t grow without water.
Lack of water isn’t the only reason for a leggy Salvia; lack of sunlight may also lead to this issue.
If your sage plant lacks light, it won’t start producing flowers in mid-summer (this refers to all USDA growing zones where sage plants are grown).
These plants may appear leggy if they attempt to spread out and get more sunshine.
Solution To Legginess
If your sage plants become leggy due to a lack of water, you need to give them a good soak. You should continue to water them during dry spells with about an inch of water per week.
You need to increase sun exposure if your sage plants don’t get enough sunlight. The best way to do that is by replanting your sage plants so they can receive about 6 hours of full sun. As for the rest of the day, these plants should grow in partial shade.
Don’t be alarmed if some issues occur after planting; your plants are trying to adapt to new soil. Pay attention to the soil conditions; well-drained soil will prevent too much water in the soil and reduce the risk of fungal diseases.
Pest Infestation
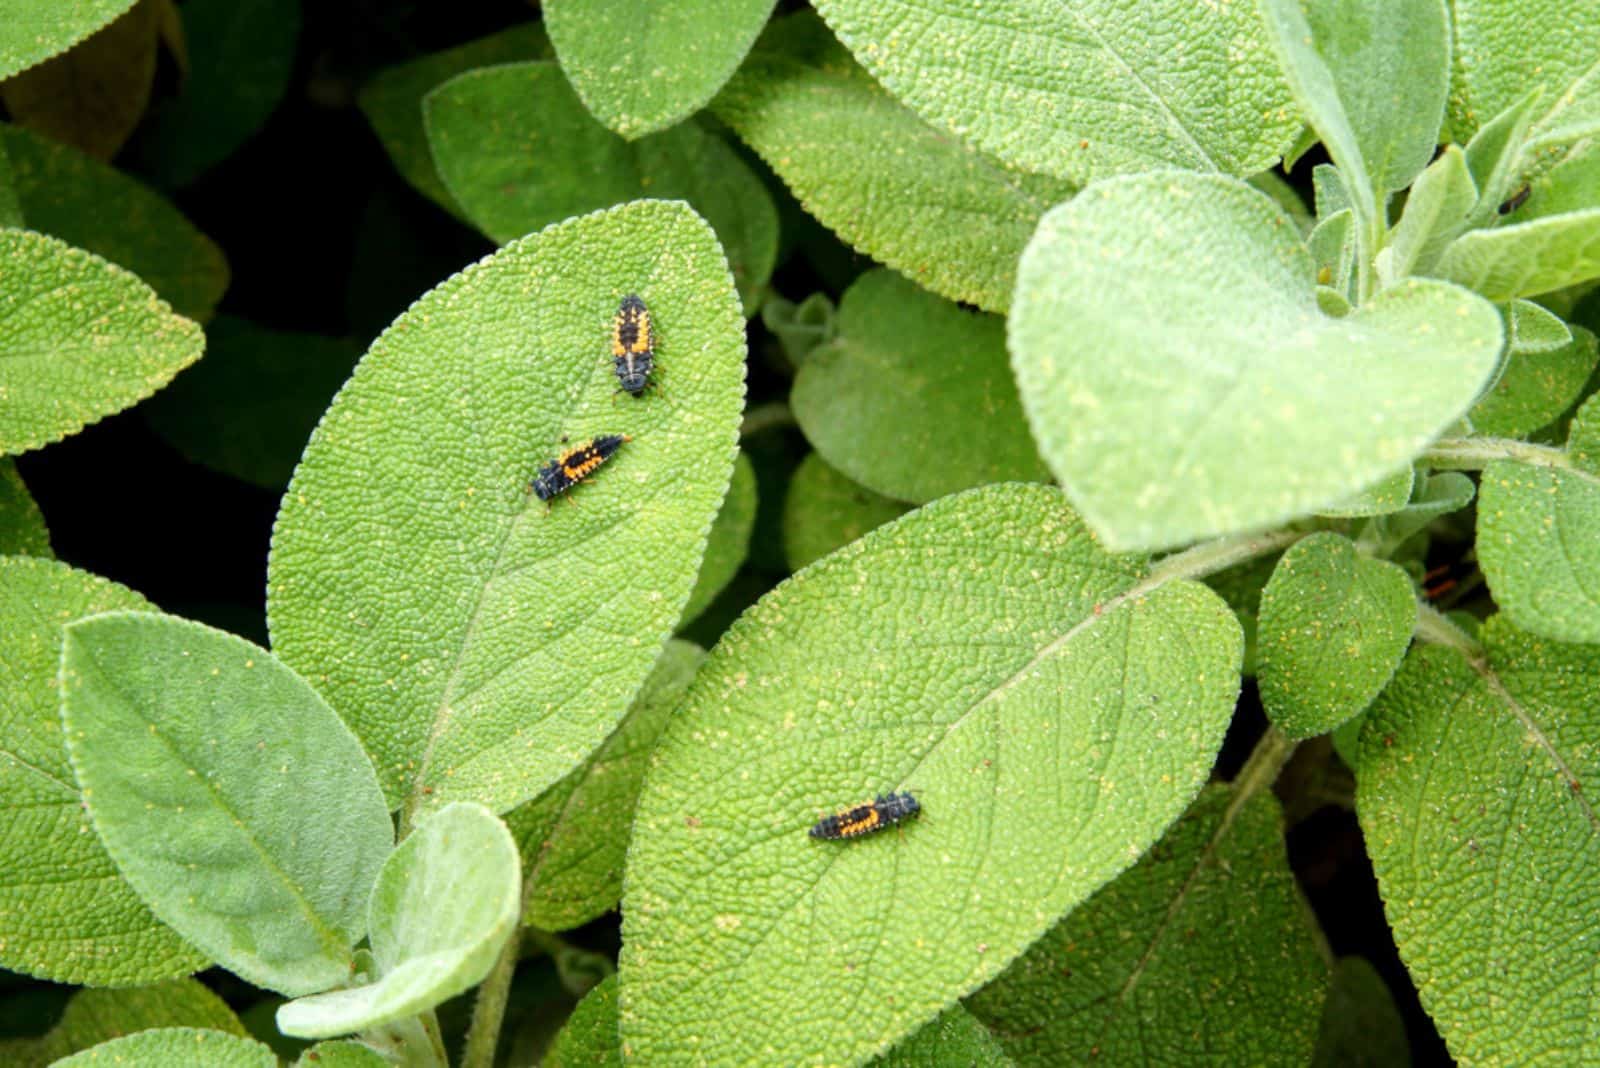
The most common pests you’ll see on sage plants are aphids, spider mites, whiteflies, and Japanese beetles.
Aphids are annoying little critters that are usually difficult to identify. These small, round-shaped, greenish creatures feed on Salvia leaves. If you notice stunted growth and fewer flowers, check the undersides of the leaves because these pests most frequently hide there.
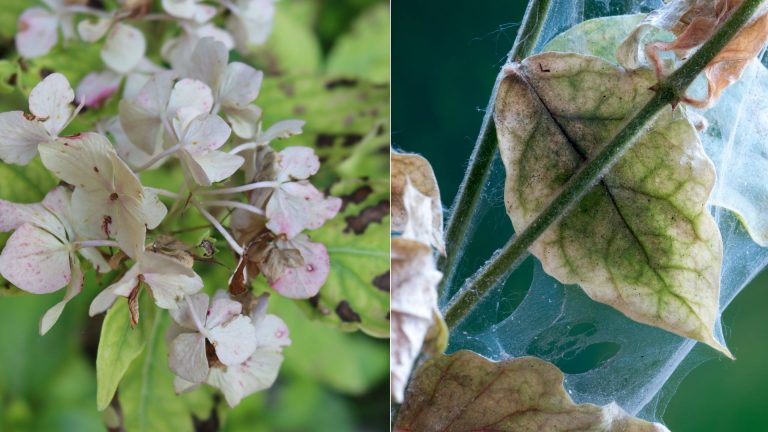
Spider mites enjoy eating the sap from the leaves of sage plants. If your sage suffers from a spider mites attack, it’ll most likely display leaf discoloration.
Tiny white spots will occur on the leaves, which will become larger and brownish if left untreated. Pay attention to the soil because spider eggs may be present in the soil and lead to bigger problems.
Similarly to spider mites, whiteflies suck the sap from sage leaves. If the infestation is severe, you won’t see many flowers and your Salvia won’t grow fast enough.
Japanese beetles may also feed on sage leaves, leaving them full of holes.
Solution To Pest Infestation
Using insecticide as soon as you spot any pests may seem like a simple and quick solution, but that’s the last thing you should do.
If you use chemical solutions to eliminate pests, you’ll harm or deter pollinators.
Neem oil is a perfect choice if your sage plants aren’t severely infested. Insecticidal soap is another way to control pests during flowering.
The most common way to solve pest issues in your garden is with companion planting. Salvias and Celosia plants are perfect companion plants because they attract pollinators.
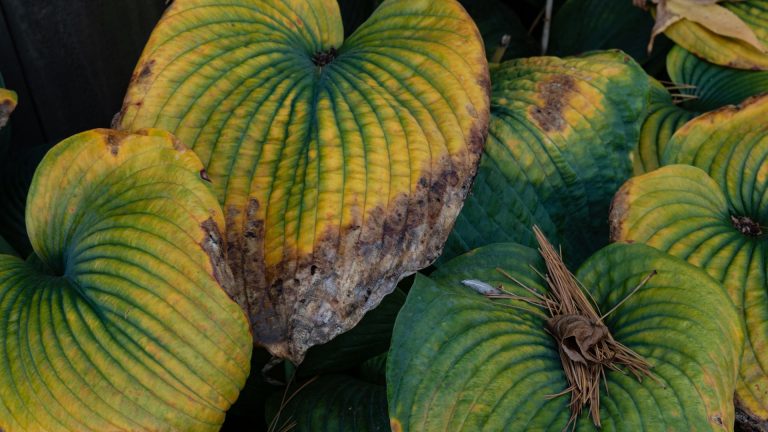
Brown Leaf Tips

If the leaf tips of your sage plants start turning brown, your plant may be stressed. For example, if you change the spot of your sage in your garden or take it indoors to overwinter, it may quickly get stressed.
You need to react ASAP if you notice this issue because once the browning spreads to the entire leaf surface it may be too late to save it.
Browning may spread to stems. If this occurs, cut back on watering because excessive watering may lead to rotting.
Solution To Brown Leaf Tips
If your sage is stressed, you must give it the right conditions until it fully adapts.
You’ll need to ensure enough sunlight and make sure your sage receives an inch of water weekly.
If all the leaves of your sage plant turn brown, you should cut them off with a sanitized pair of pruners. Remember, these leaves are already dead, so trying to save them is a waste of time.
Botrytis Blight
If your sage has dark lesions on the leaves and gray mold on the leaf surface, it may be suffering from Botrytis blight.
The fungus that causes this disease thrives in high humidity, cold temperatures, and overly wet soil. Just like powdery mildew, Botrytis prefers poor circulation, so inappropriate spacing may also promote fungal growth.
Solution To Botrytis Blight
If your sage suffers from this disease, you must adjust the conditions and remove the affected leaves.
Before you plant Salvias, pay attention to spacing; 12 inches between each plant will suffice.
You’ll need to dispose of your sage if the damage is severe. Don’t add it to the compost pile, and inspect the other plants in your garden to see if they have also been affected.
Disinfection is the key; fungus can quickly transfer via unsterilized tools. Remember that these fungi can survive winter, so it’s essential to eliminate them as soon as possible.
Root Rot
Sage plants frequently suffer from root rot, which can develop as a result of water accumulation in the soil.
The signs of root rot in sage plants include yellowing, browning, stunted growth, and wilting.
Although many think that wilting occurs due to a lack of moisture, check for root rot if you notice this sign. Trust me, you don’t want to water Lilac sage that’s suffering from root rot.
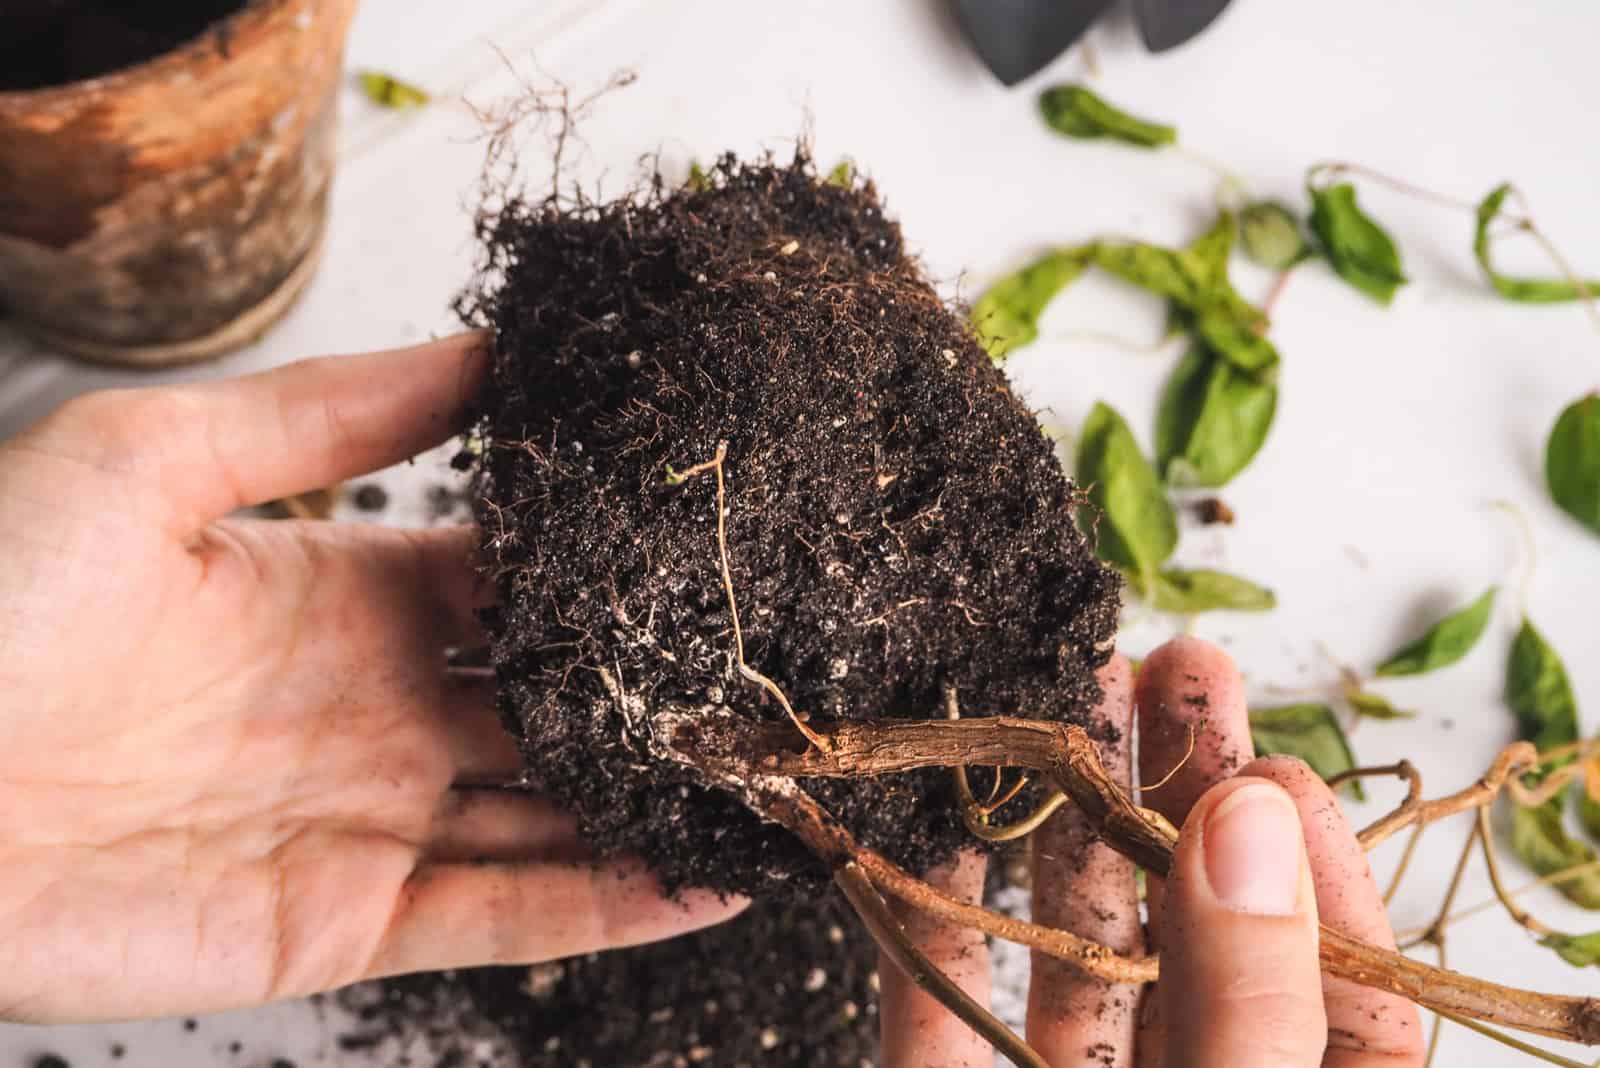
Solution To Root Rot
If your sage has root rot, you need to first take it out of its container. When inspecting the root system, search for dark and mushy roots because these roots are infected. If all the sage roots look like this, it would be best to discard the plant.
If there are still grayish-white and firm roots, sanitize your pruners and carefully cut off each affected root. I also recommend applying fungicide to healthy sage roots to prevent the disease from spreading.
Always discard the old soil; never use it for other plants as they’ll get infected too.
Wrapping Up
If you want to make your garden even prettier, Salvia plants will do the job. They start their flowering season in mid-summer and continue blooming through fall.
Sage pants have a good reputation for being hard-to-kill plants, but just like all other hardy plants, they aren’t entirely problem free.
I showed you some problems with Salvias you may encounter when growing these amazing plants.
Don’t be discouraged if your Salvia doesn’t look healthy and happy, and has any of the issues above; just use our advice, and your sage will be back on track in no time!
Until next time!
Like this post? Share or pin it for later!