Propagating Polka Dot Plant: What Are The Best Methods?
Positive Bloom is an Amazon Associate and we earn from qualifying purchases through these links at no extra cost to you.
If you’re anything like me, you’re totally in love with polka dots! You’ll also be delighted to hear that there is a plant with a stunning appearance that cleans indoor air of toxins and has polka dots!
I’m talking about the polka dot plant.
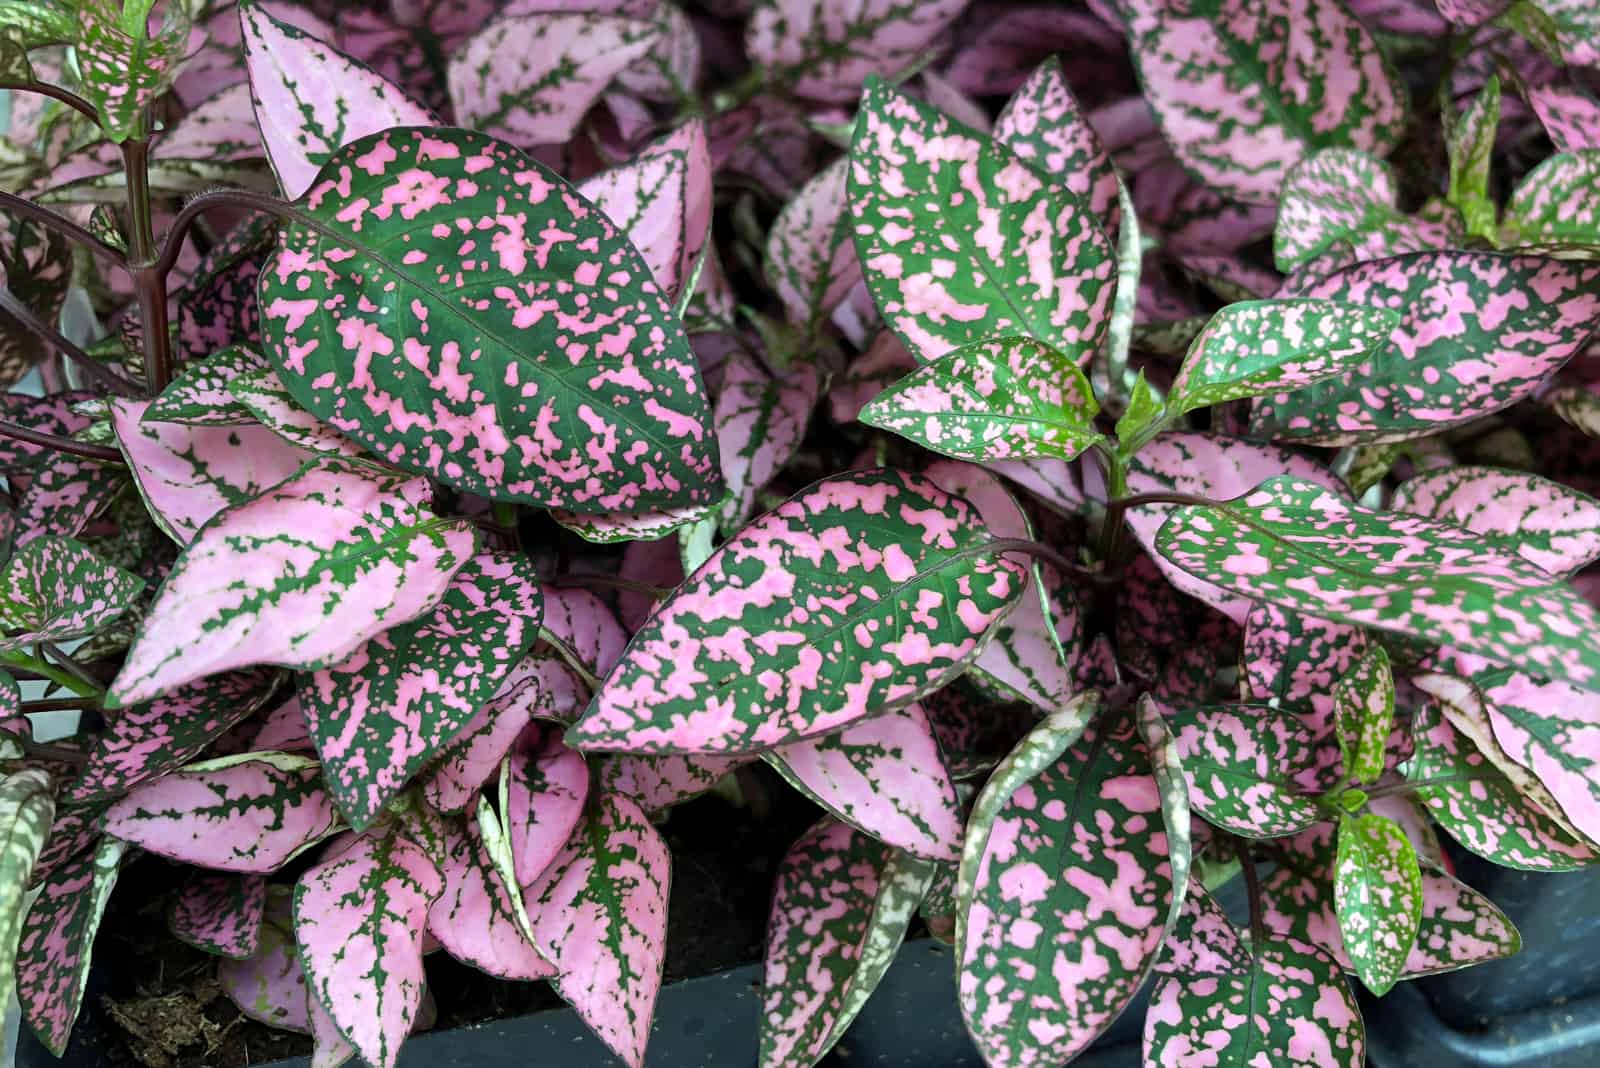
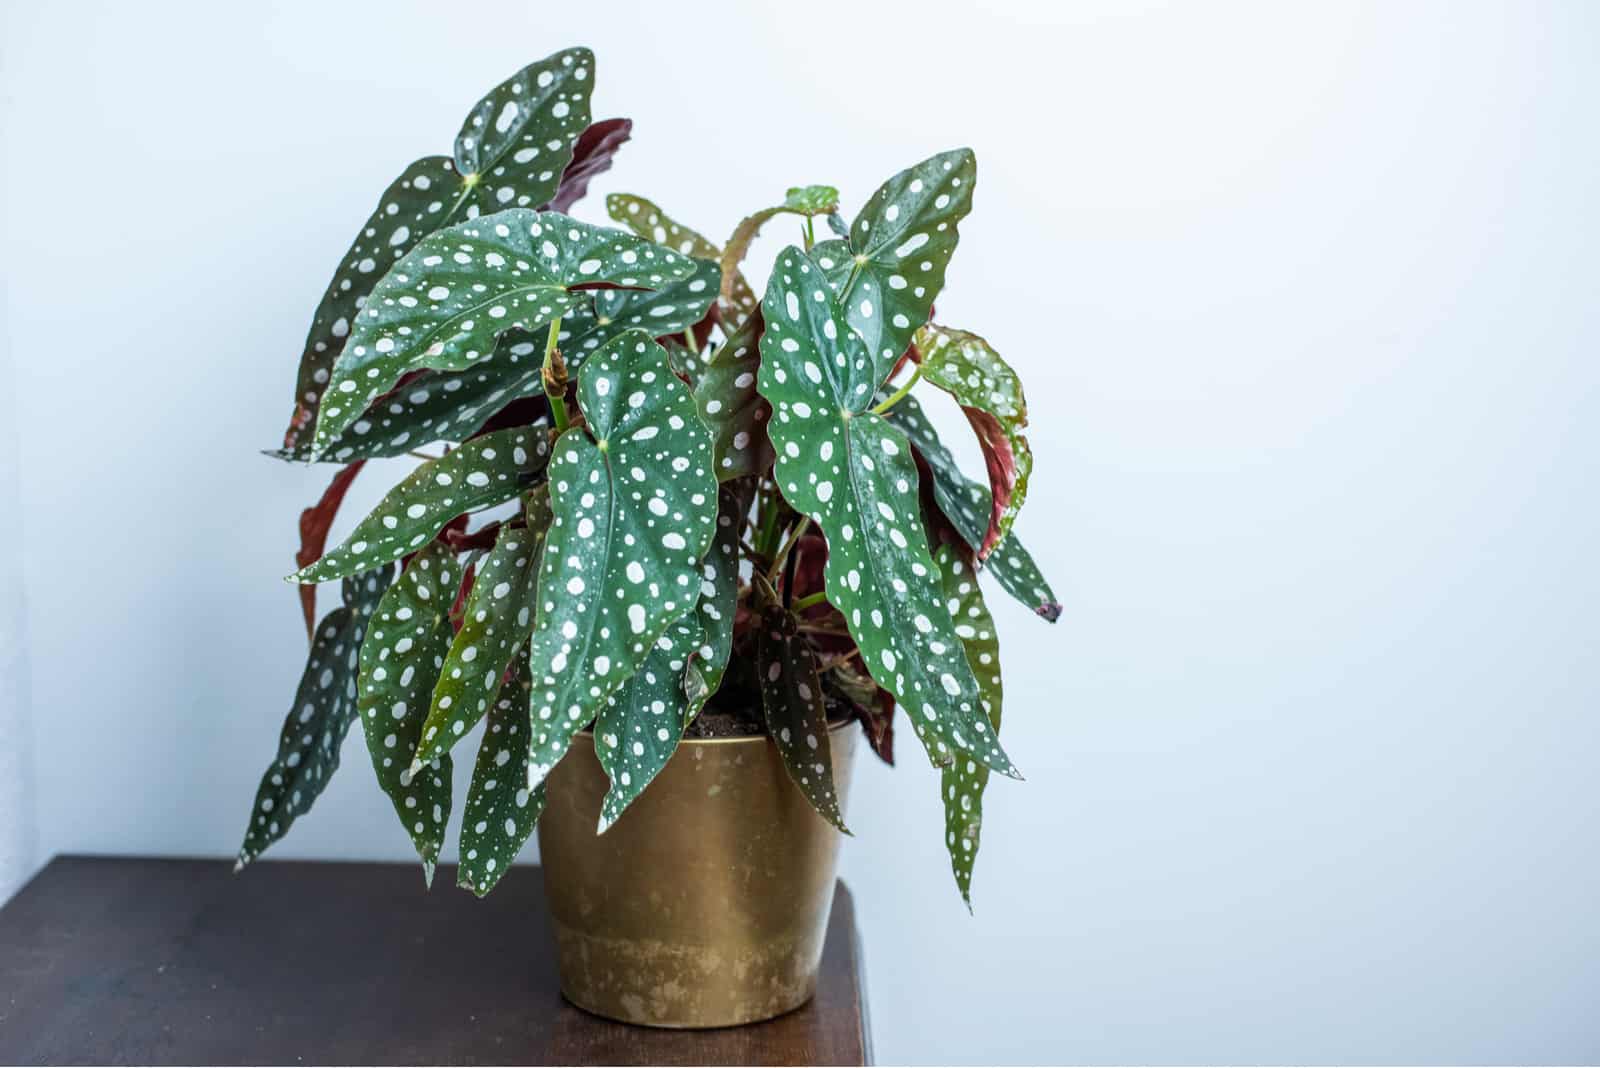
This fascinating herbaceous perennial belongs to the Acanthaceae family and is native to Madagascar, South Africa, and East Asia. Common names for this plant are the measles plant, freckle face, flamingo plant, and pink dot.
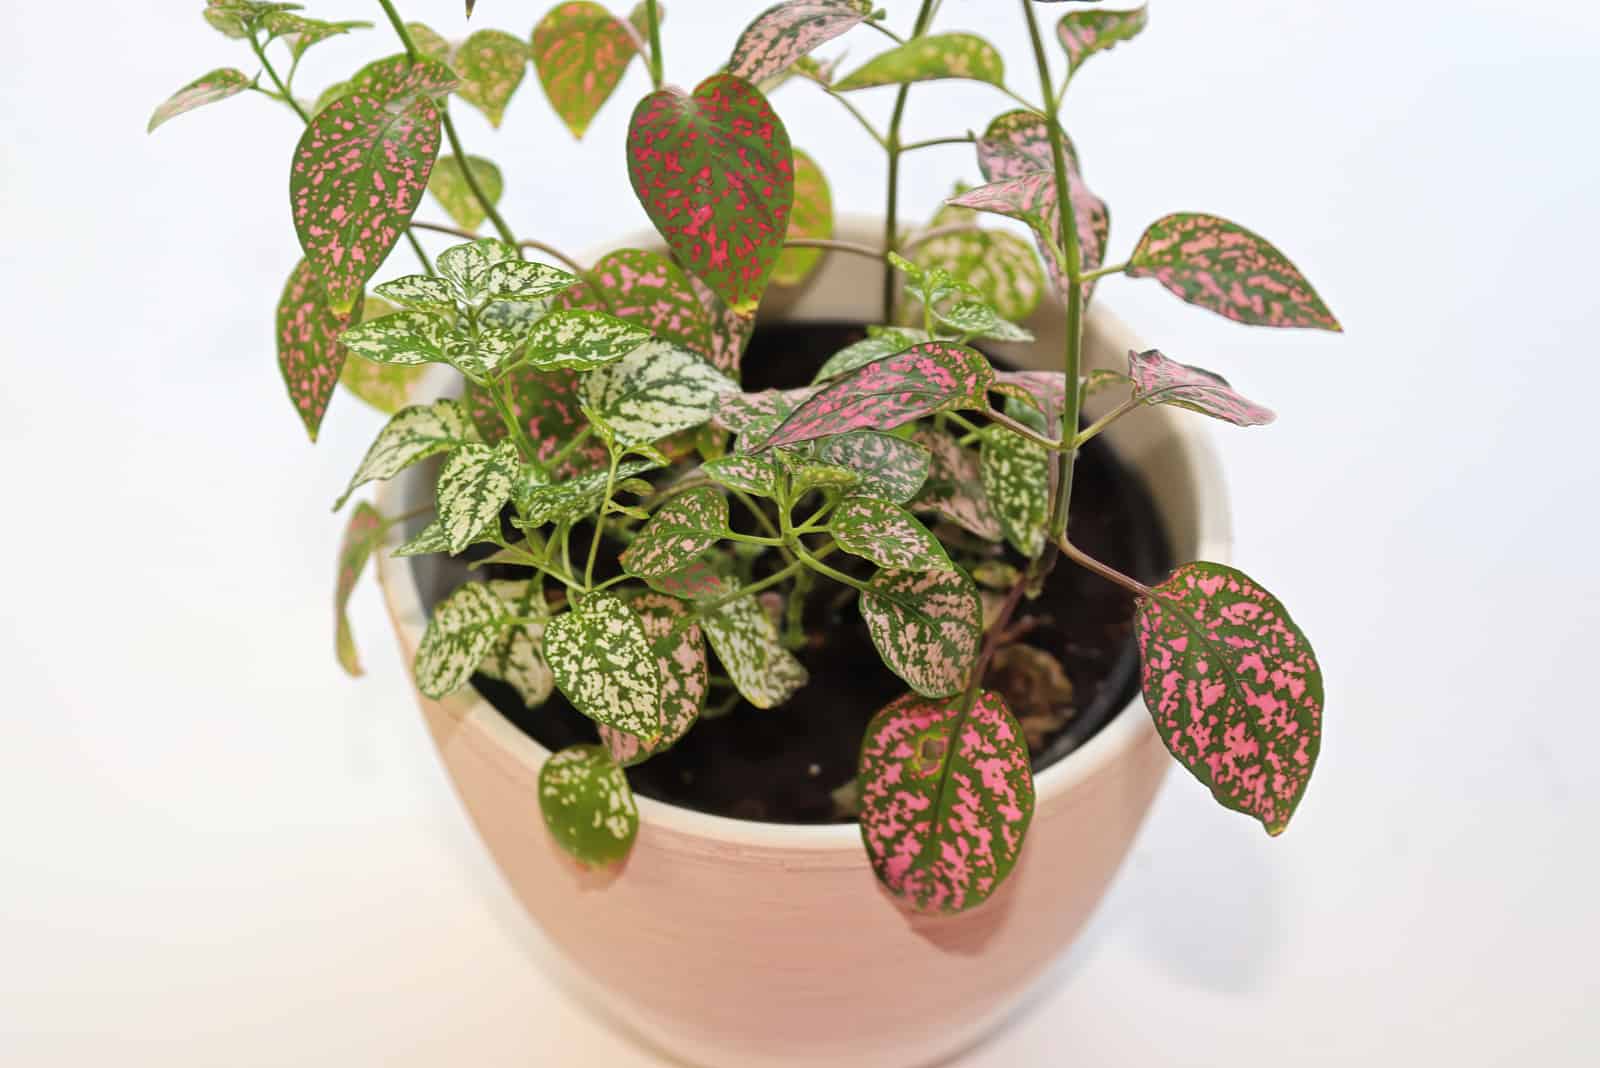
Freckle face plants can be found in various colors, including white, red, and pink. These plants are easy to grow and easy to propagate, which is lucky. When propagating the polka dot plant, a few things need to be considered, including the tools needed for propagation, potting mediums, how much time it takes, and of course, how to actually do it.
Don’t worry, you’ll find everything you need to know and more right here! Let’s get started!
Propagating Polka Dot Plant: Stem Cuttings
If you want to use stem cuttings to propagate the polka dot plant, I have good news, because it’s easy and has an excellent success rate!
The procedure has three stages: taking the cuttings, placing them in soil or water, and taking care of the cuttings until the roots sprout.
Let’s find out how to take cuttings!
How To Make Polka Dot Plant Cuttings
Before I show you how to take stem cuttings, let’s find out the equipment you’ll need to perform the procedure.
• Gloves: Many plant growers are probably laughing right now because I mentioned gloves first. Although the freckle face plant isn’t considered toxic, I recommend using gloves. If you were dealing with a contaminated plant earlier, you don’t want to spread the disease.
• Mature and healthy polka dot plant: The propagation will only be successful if the plant is mature and healthy, as any issues can easily disrupt the process.
• Sterilized and sharp scissors or shears: Always sterilize any tools that will be touching the roots to avoid transmitting any diseases. I use rubbing alcohol or bleach for sterilization.
Now, let’s take the cutting!
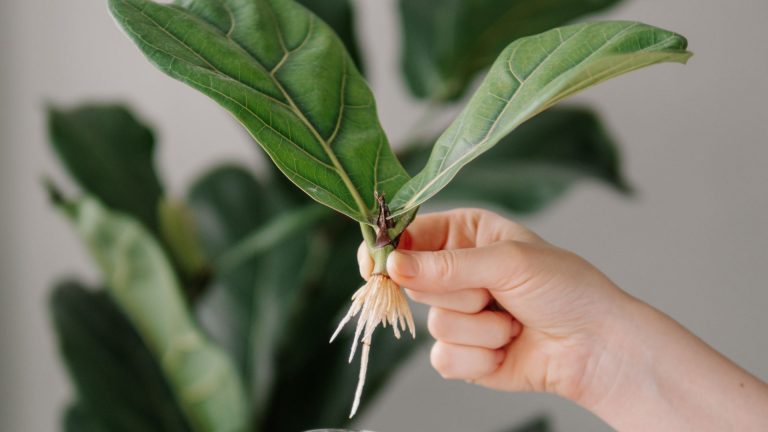
First, inspect your freckle face plant and search for a healthy stem. As mentioned, the plant needs to be healthy, and if any part of the plant shows signs of disease or pests you shouldn’t propagate it.
The stem should have at least one node (the part of the stem from which the leaf grows) with a few leaves. If there isn’t a node on the cutting, the propagation won’t succeed.
Take the scissors or shears and make a cut below the flamingo plant’s node.
That’s it! Now you have the cutting so you can continue with the procedure.
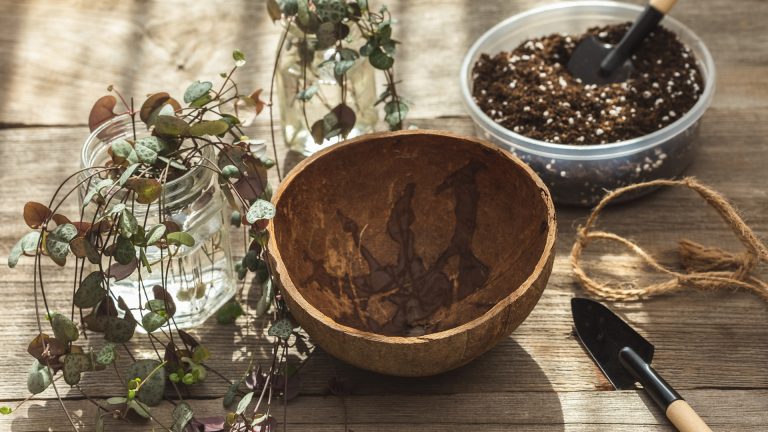
Stem Cuttings In Soil
The essential thing with this method is to choose a high-quality potting mix. That’s the only way for the procedure to be successful.
Flamingo plants require soil rich in organic matter with a good drainage system. Why is that so? Organic matter ensures the required nutrients are present, and good drainage helps the excess water get to the soil. The cutting will root in wet soil, but the roots will rot quickly.
I suggest you purchase all-purpose soil and add pumice or perlite to improve drainage.
Propagate your flamingo plant by following the steps below.
1. Fill a container with the potting mix you prepared for the pink dot plant.
2. Place the polka dot plant’s cuttings in the center of the soil and gently press the soil around the cutting. The cutting should be a couple of inches into the soil.
3. Place your chosen container in bright indirect light.
4. A few weeks later, you’ll notice the roots of your new pink dot plant sprouting! When the roots are a few inches long, it’s time to place them in the original pot.
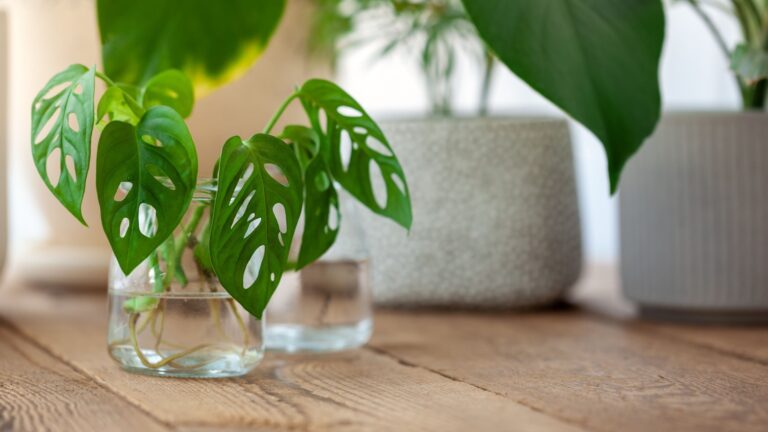
Stem Cuttings In Water
To propagate the cuttings in water, you’ll need a transparent container.
Let’s find out how to propagate polka dot plant cuttings in water!
1. Fill a transparent container with temperate water to help avoid stress. Remember that the cuttings are sensitive.
2. Place the cutting in the water. Only the cut’s lowest third should be submerged as the rest of the cutting could quickly rot if left in water for too long. Remember to remove any leaves in contact with water as they could also rot after a few days and disrupt the procedure.
3. Place the container with the flamingo plant cutting in bright indirect light to promote new growth. Direct sunlight will damage the cuttings and disrupt the procedure. On the other hand, low light will prevent the roots from sprouting, so the chances of getting a new pink dot are very low in this case.
I suggest investing in a light monitor. I recommend this one.
[lasso id=”2903″ link_id=”1045″ ref=”amzn-light-meter-digital-illuminance-meter-handheld-ambient-temperature-measurer-range-up-to-200000-lux-luxmeter-with-4-digit-color-lcd-screen”]
If you’re unsure about light conditions in your house, this LED grow light will definitely help.
[lasso id=”2475″ link_id=”1046″ ref=”amzn-amazon”]
4. Rooting hormone – Although this step is optional, it increases the success rate by promoting root growth. I suggest this one.
[lasso id=”2904″ link_id=”1047″ ref=”amzn-garden-safe-brand-takeroot-rooting-hormone-2-ounces-helps-grow-new-plants-from-cuttings”]
5. Please don’t skip this step! Refresh the water every 2-3 days as stagnant water attracts harmful bacteria and smells.
Now, wait for a few days until two delicate roots sprout from the node. I can take more or less time depending on the conditions you provide. All the info you need can be found later in the article.
Polka dot plants differ from other houseplants in propagation as the process has a high success rate and takes less time. As it takes less time for the roots to sprout, the chances of root rot are significantly decreased.
6. After you see the new roots are a couple of inches long, it’s time to plant them in some potting mix.
7. Place the flamingo plant cuttings in the soil and continue with usual care.
Propagating The Hypoestes Phyllostachya By Division
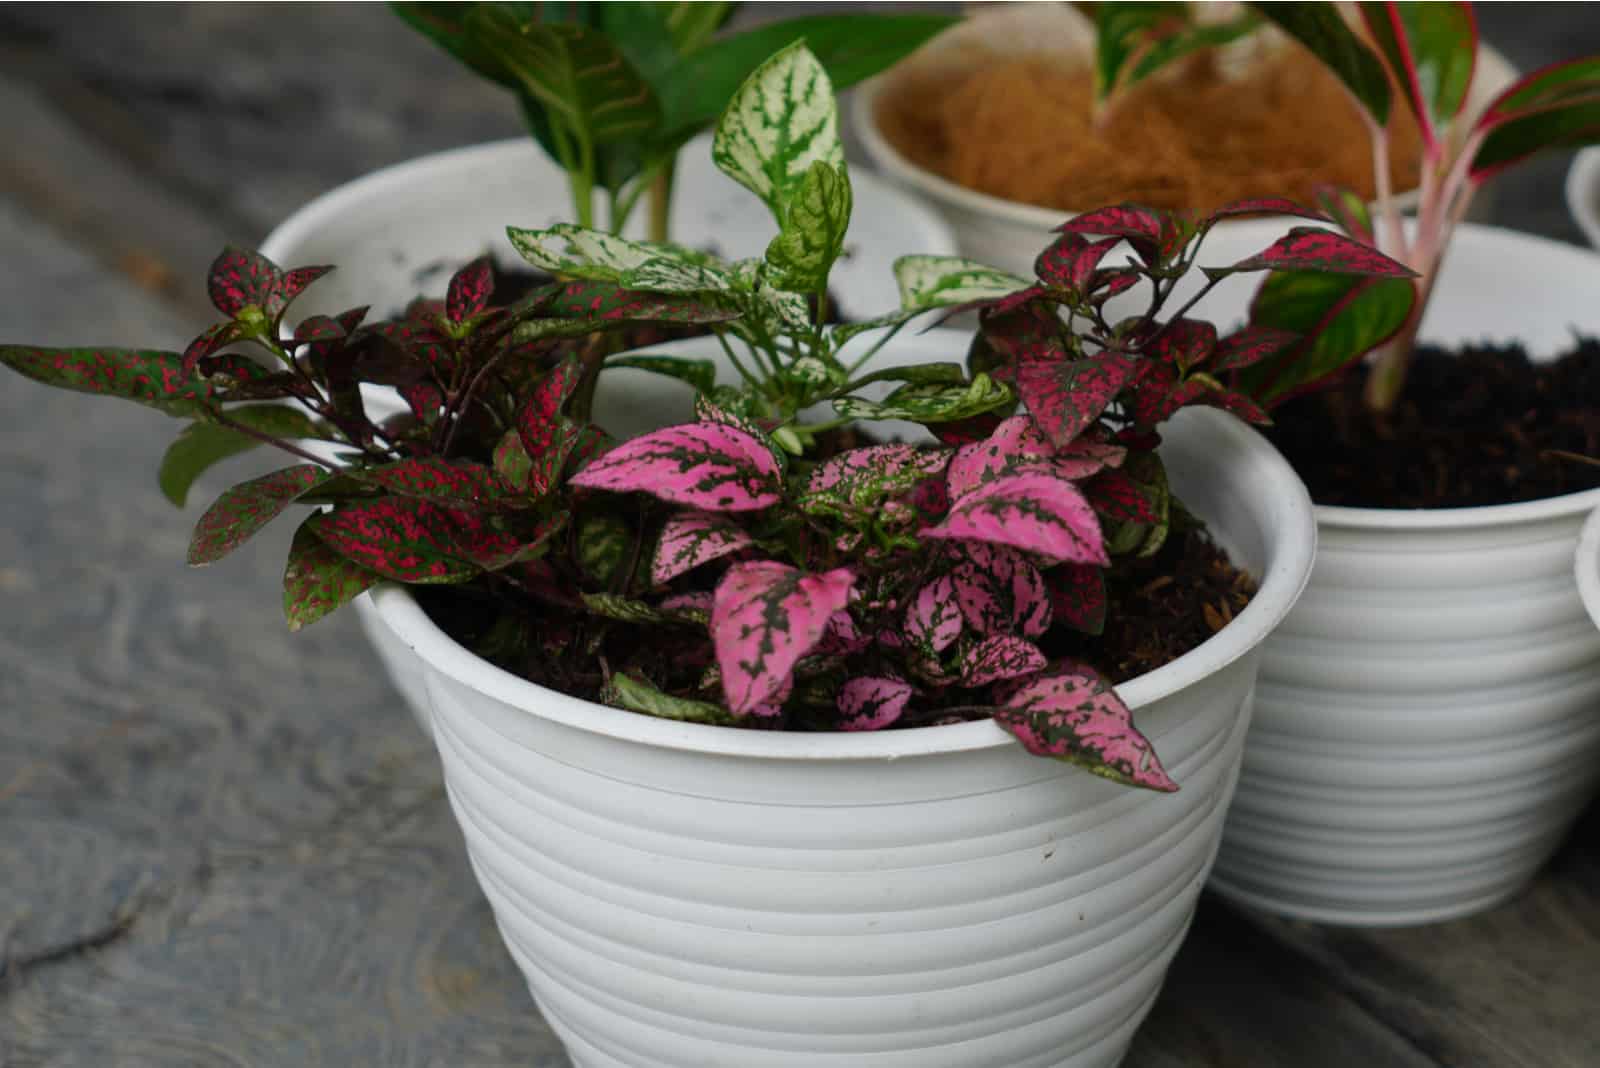
The success rate of this method largely depends on the size and shape of your pink dot plant.
You’ll need a bushy and rather big polka dot plant if you want to get a new one (or new ones).
The great thing about this method is that it doesn’t take a lot of time because you don’t have to wait for the roots to sprout or the new leaves to grow. You’ll get a new plant immediately.
Here are the four steps for propagating a freckle face plant by division.
1. Take your flamingo plant out of the pot because this method involves separating stems/offshoots from the mother plant. Luckily, this step is relatively easy compared to other houseplants.
Gently lift your polka dot plant out of the pot. Remember that the roots are delicate, and tugging may damage them.
2. Divide the plant. Some roots may be tangled, so you’ll have to trim them off. This is rare, so don’t worry too much about it.
Decide how many polka dot plants you want (yes, you can do that) and closely inspect each section. Separate the sections so that each has some roots attached. If there are some mushy and discolored roots, you’ll have to remove them instantly as they could transfer disease quickly.
Instead of pulling the polka dot plant apart, use sterilized shears to avoid damage.
3. Place each section into separate mediums filled with fresh potting mix. It’s important never to use the old potting mix! The old potting mix may contain pests or bacteria that could destroy the new sections and the mother plant.
4. Stick to usual freckle face plant care.
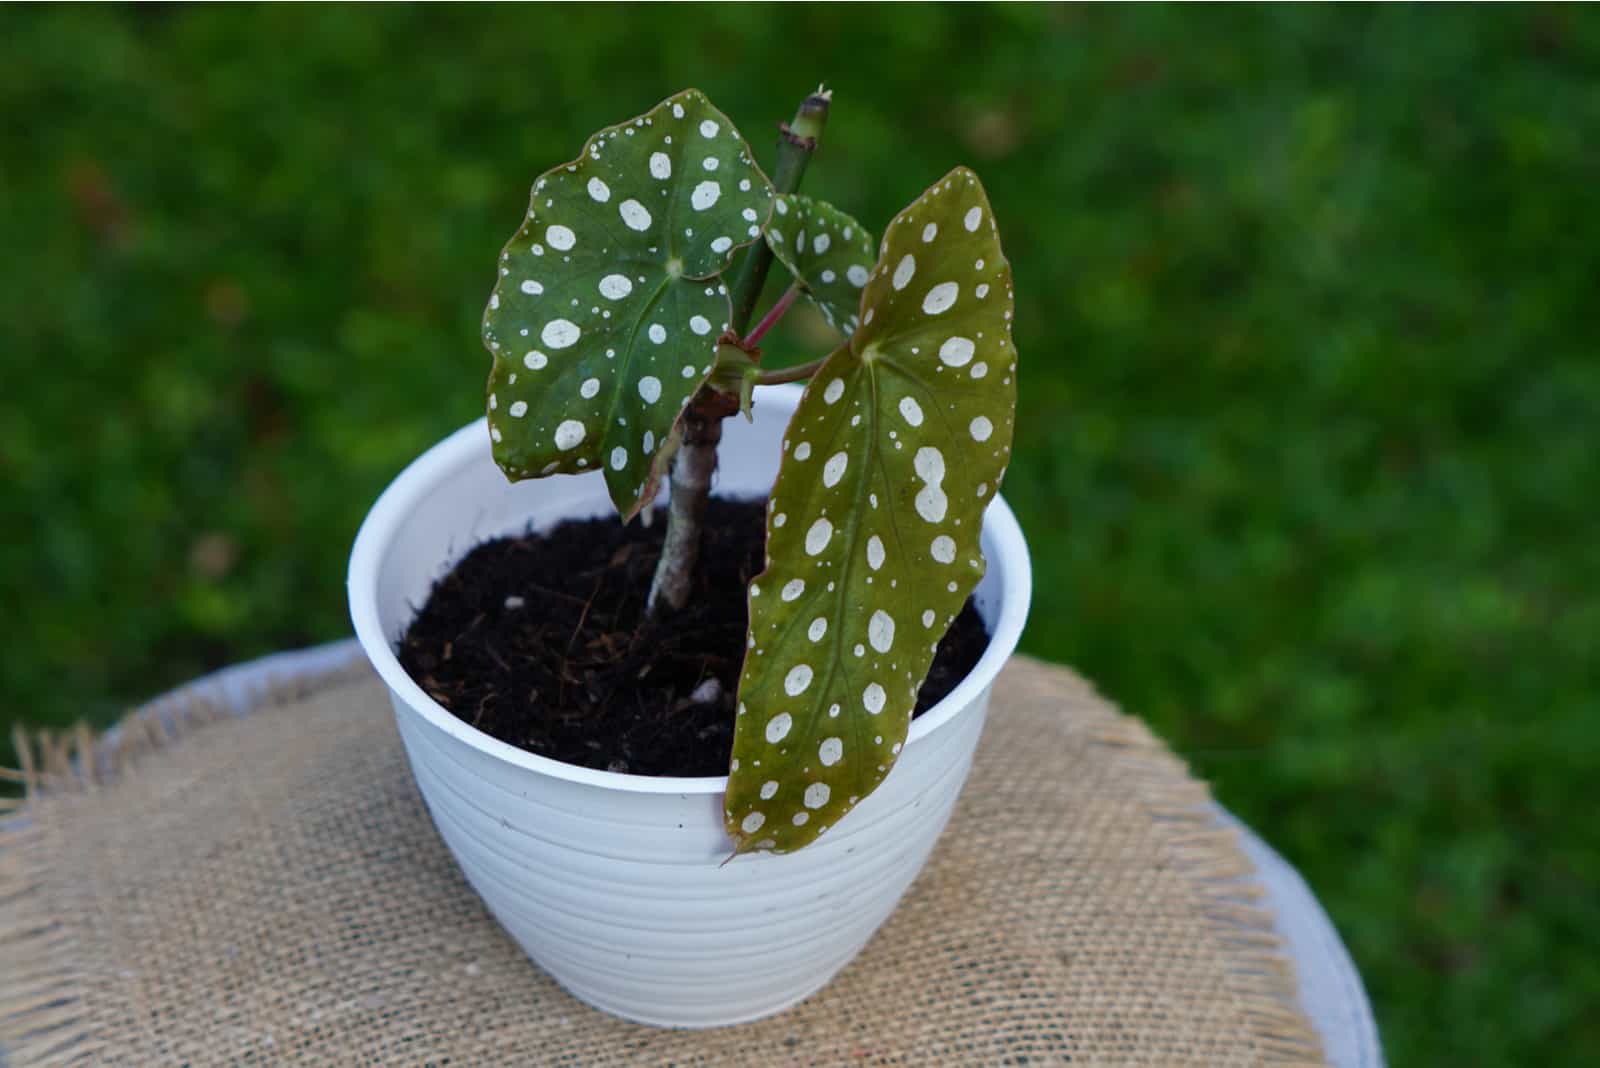
Polka Dot Plant Propagation From Seeds
Although getting new pink dots plants from seeds can be challenging for beginners, there’s no need to worry if you follow our steps.
Before you begin the procedure, prepare the following:
• A germination kit
• Container
• LED lighting
• Clear plastic
Now follow these five steps.
1. Purchase polka dot plant seeds from a plant store or collect the seeds from blossoms and leave them to dry well.
2. Sow the seeds approximately two weeks before spring.
3. Take a germination kit and add a potting mix that includes peat moss and perlite to improve drainage.
4. Water the kit and place it in a room with a temperature between 70 to 75 degrees Fahrenheit. Make sure the kit receives bright indirect light. Purchase LED lights to be sure.
5. Take some clear plastic and cover the germination kit to keep the moisture and heat trapped within.
You’ll have to wait for about two weeks for the freckle face plant seedlings to germinate.
When you notice new leaves and saplings after a few more weeks, it’s time to transplant them into the original container.
Why Should You Propagate A Polka Dot Plant?
Plant growers may have a couple of reasons for propagating their plants.
For example, buying a new polka dot plant for your plant collection won’t be cheap. To avoid unnecessary costs, you can simply propagate the plant. Not only do you save money (except for equipment), but you will also get way more plants than you could afford if buying them.
You can propagate to save money and use new plants as gifts or great additions to your plant collection.
Another reason to propagate is to save a dying measles plant. Overwatering or over-fertilization can happen to anyone, so multiplying will protect the plant.
If you spot any changes on the plant like discoloration of the leaves or roots, search for healthy stems and propagate the plant as soon as possible.
The last reason to propagate is to prevent the pink dot from going to waste. You’ll have to trim the plant from time to time as it can grow too bushy, so you can propagate with the parts you trim.
Common Issues When Propagating A Freckle Face Plant
Although all the methods above have an excellent success rate, some issues can occur.
It’s essential to react as soon as you notice something’s wrong.
For example, the new leaves on the freckle face plant cuttings may be pale. If you notice this, you should check the light where you are keeping the container with the cutting.
Placing the container in Indirect sunlight will help the cuttings recover and continue to form new and healthy leaves.
You may notice the stems rotting if you’re rooting the plant cuttings in water. This happens if the cuttings are placed in water for a long period of time.
A rotting stem is a sign of unsuccessful propagation. However, things can still end well if there’s more than one node attached to the cutting (this is why you should select stems with more nodes if possible). Cut off the healthy node and continue the process.
As mentioned, the roots may take more or less time to sprout depending on the conditions. If you don’t notice new roots after a while, don’t panic. Check all the conditions, and if everything is adjusted according to the requirements, the roots will sprout – you just need to be patient.
Polka Dot Plant Care Guide
These plants aren’t only easy to propagate, but also to care for. It doesn’t matter if you grow the Splash or Confetti series of the polka dot plant’s cultivars, you will be able to take good care of them by using our care tips below.
Light Conditions
The measles plant requires bright indirect light when grown as an indoor plant. The best idea would be to place it near a south or east-facing window.
If placed in direct sunlight, the plant’s leaves may droop or suffer from sunburn.
Use a light meter to monitor light supply, and consider purchasing grow lights if needed.
If you want to grow the measles plant outdoors, find a spot with partial shade. Remember that these plants need sunlight, but be careful it’s not direct.
Temperature Conditions
USDA growing zones 10 and 11 are the only zones in which the flamingo plant is hardy. The temperature should be over 60 degrees Fahrenheit for the plant to thrive.
The best time to plant flamingo plants outdoors is in the spring, right after the last frost or when there’s no danger of frost anymore.
However, when winter approaches, you should move the plant indoors. Before the first expected frost, please move your beautiful flamingo plant indoors to overwinter it.
Humidity Conditions
Hypoestes phyllostachya plants prefer higher humidity, and anything over 50% will work well.
Most households don’t have higher humidity, so you’ll have to either increase humidity using a couple of techniques I’ll describe below or move the plant to the kitchen or a bathroom.
Kitchens and bathrooms have higher humidity due to the faster water evaporation.
If you need to raise humidity levels when growing your measles plant, there are a couple of options. First, you can put a pebble tray under the plant’s pot. Make sure the roots aren’t in contact with water as they could quickly rot.
You can also mist the plant, place it near other houseplants, or invest in a humidifier.
Potting Mix
Flamingo plants prefer soil rich in organic matter. Adding organic materials to an all-purpose potting soil will create a perfect environment for the roots to grow healthily and send nutrients to other parts of the plant.
You can also add pumice or perlite to improve drainage because well-draining soil is a must for these plants.
Fertilizing
The flamingo plant is a heavy feeder and prefers organic fertilizers. All-purpose organic fertilizer designed for houseplants will do wonders. If you decide to use chemical fertilizers, a balanced 19 19 19 fertilizer diluted to a half will work best.
If you grow this plant outdoors, add a layer of compost to the soil each spring.
The fertilizing schedule is simple: fertilize once a month during the growing season and avoid fertilizing during dormancy (colder periods).
Watering
Hypoestes phyllostachya plants prefer moist soil. However, waterlogged soil is no good either as it’ll cause root rot.
On the other hand, the soil shouldn’t be allowed to dry out entirely between waterings. If you notice the plant’s leaves wilting, check the soil.
Water the flamingo plant when the top two inches of the soil are dry.
Pruning
The flamingo plant tends to get leggy, so it requires occasional pruning.
You should prune to keep the plant healthy, and it would be best to clip off the flowers at the end of the growing season.
Repotting
A plant gets pot or root bound when it outgrows its container because it has no place to establish roots.
When you notice the flamingo plant’s roots growing out of the drainage holes, you know your plant has outgrown its container. After its dormant phase, the optimum time to repot a polka dot plant is in the spring.
You’ll need to increase the size of the container each time you repot the plant.
The new container shouldn’t be too much bigger as the roots don’t need excess soil surrounding them — the more soil around the roots, the bigger chances of root rot.
Additionally, the roots will grow below the soil line if the container is too big and the flaming plant won’t be able to grow upwards.
Cleaning
Last, but not least, keep the plant’s leaves clean.
Cleaning the leaves isn’t a demanding or time-consuming thing. Clean the leaves with a soft sponge dipped in water.
The main thing to pay attention to when cleaning is drying the leaves afterward.
The leaves of the flamingo plant are sensitive, just like the roots, and excess water may cause them to soften and maybe even rot.
FAQs
How long does it take to propagate a polka dot plant?
If you decide to propagate a polka dot plant, you’ll first need to choose the method. Although each method has a great success rate, it’s always better to choose the one that suits you, especially if you are a beginner.
When you propagate by stem cuttings in soil, you can expect the new roots to sprout in three to four weeks. If you decide to root the stem cuttings in water, it’ll take about two weeks for the roots to sprout.
The division method takes the least time as the sections already have roots attached and they’ll take a couple of days to adapt to the new conditions and start to grow.
Finally, if you decide to propagate from seeds, it’ll take about two weeks for the seeds to germinate.
What is the best time for propagating polka dot plants?
If you decide to use seeds, the best time to propagate the freckle face plant is in the spring.
If you propagate this plant using stem cuttings, you can do it anytime and it won’t affect the success rate. The same applies to the division method.
What type of plant is the Polka Dot plant?
This Hypoestes phyllostachya plant belongs to the Acanthaceae family. It is a herbaceous evergreen shrub, perennial only in the USDA growing zones 10 and 11.
This plant is considered invasive in Queensland and New South Wales, Australia. It’s not regarded as invasive in the US and is safe to plant directly in the soil.
Wrapping Up
Who can resist fashionable polka dots? I certainly can’t!
So, propagating polka dot plant is something you should definitely do. Your plant will benefit from it, and you’ll get more stunning plants.
Luckily, it’s a simple process. You can do it by stem cuttings in water or soil, propagating from seeds, or even get some from the mother plant – it’s up to you!
They’ll look beautiful in your plant collection and make a great gift to your friends.
Even if they are not into plant growing, they will love it!
Until next time!
Like this post? Share or pin it for later!