19 Proven Tips For Growing Foxglove Blooms In Gorgeous, Lush Clusters
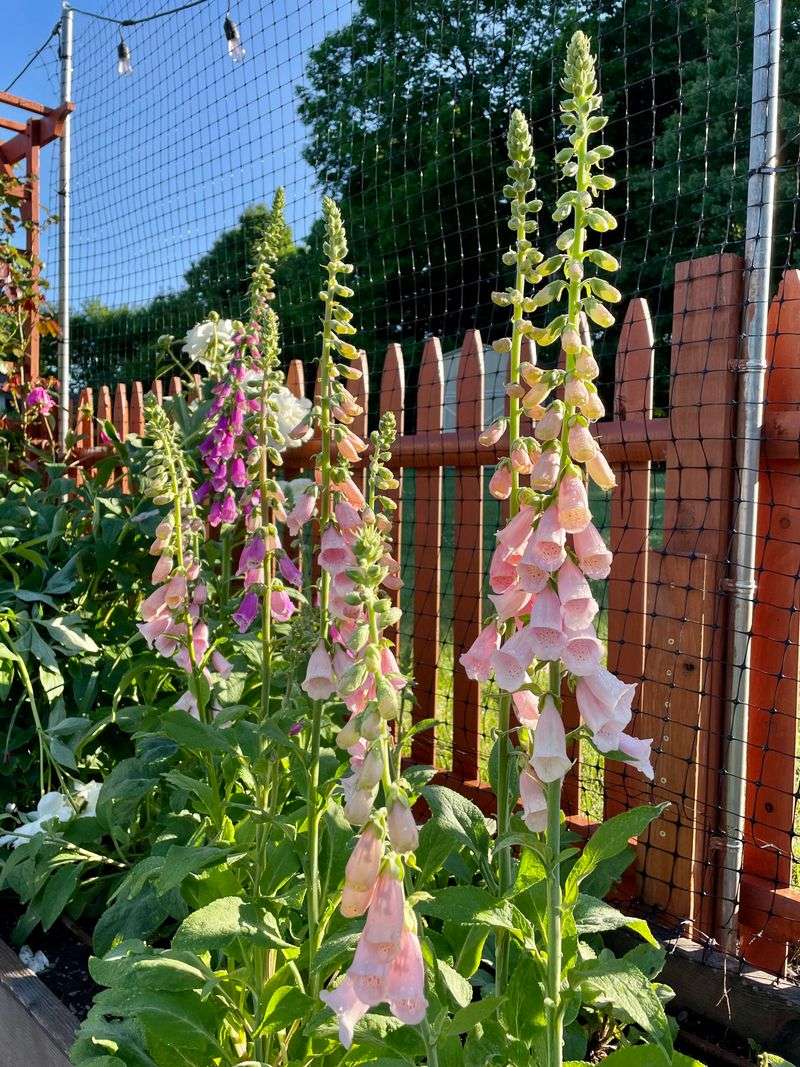
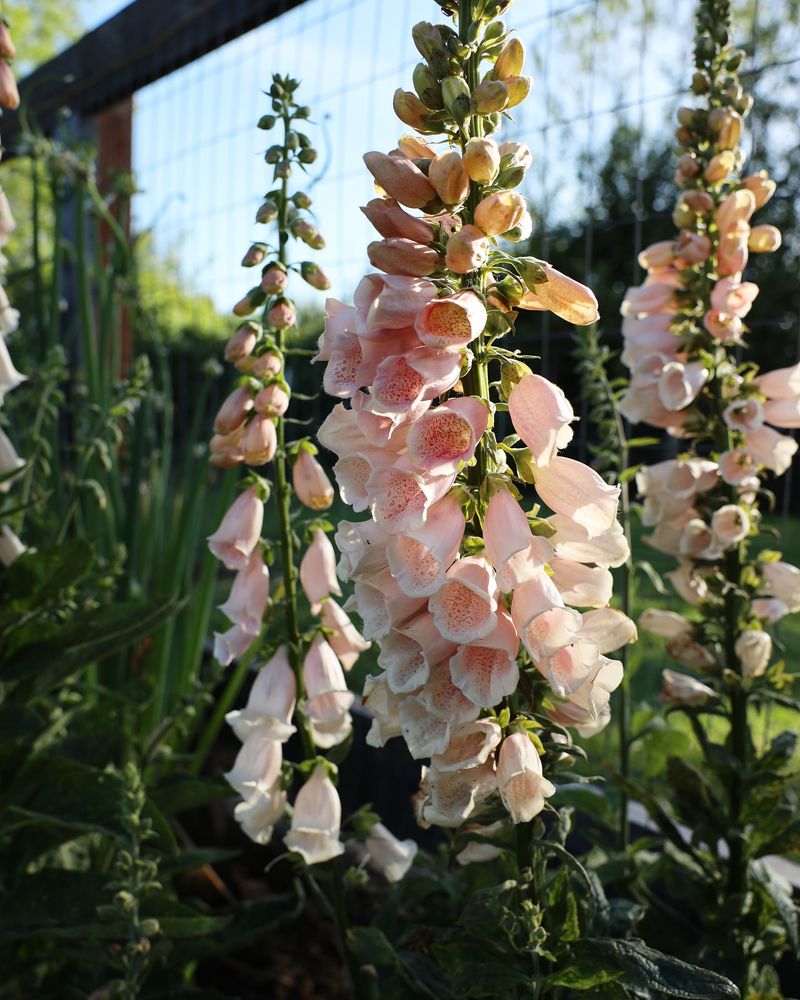
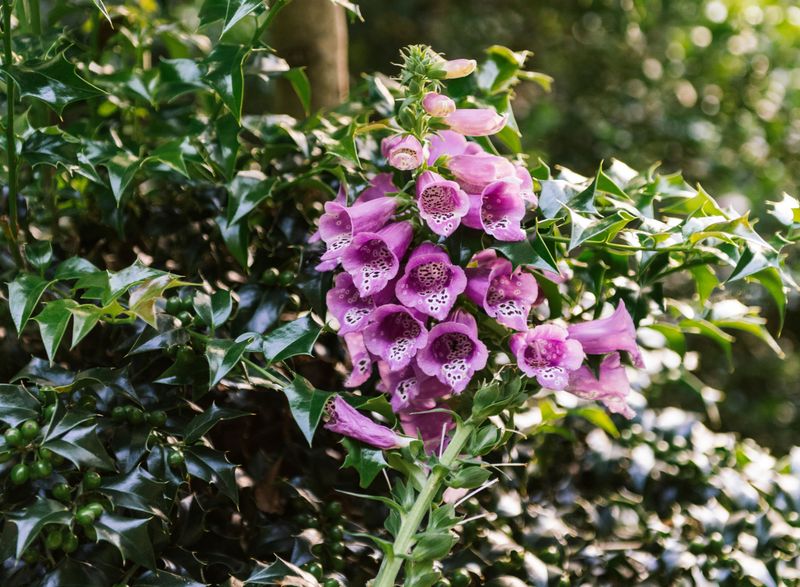
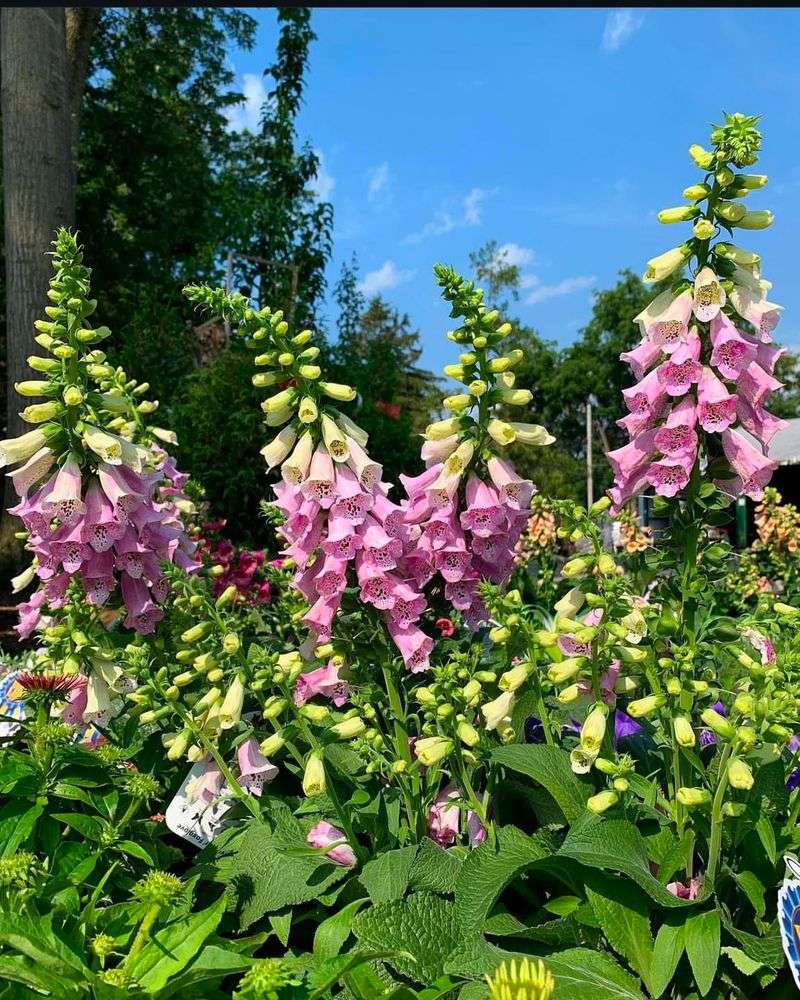
Foxgloves bring an enchanting touch with their tall spires and nodding bell-shaped blooms—like something out of a storybook. They turn even the simplest garden beds into charming cottage-style showpieces full of drama and elegance.
These biennials thrive in partial shade and rich, well-drained soil. Scatter seeds in late summer, let the rosettes develop their first year, and by next summer, you’ll have towering floral spires that captivate from every angle.
To keep them blooming year after year, allow some flowers to go to seed and self-sow. It’s a low-maintenance way to keep the magic alive—and your garden buzzing with admiration.
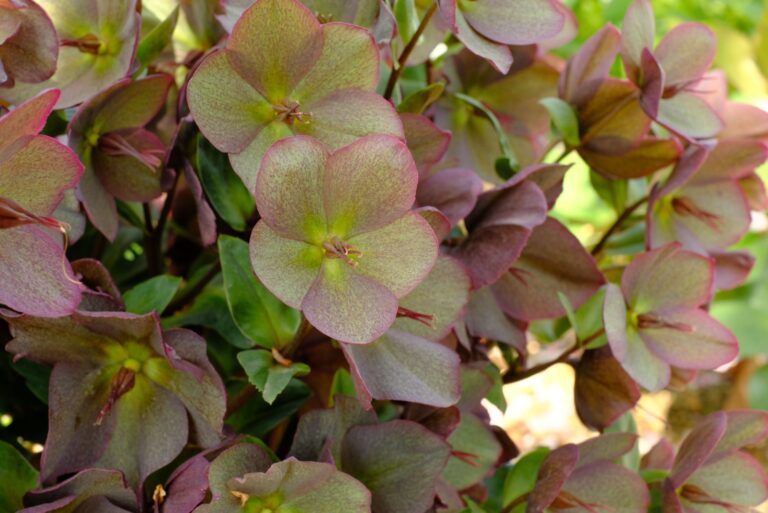
1. Choose The Right Variety
Not all foxglove varieties perform the same in every garden. Some thrive in full sun while others prefer dappled shade.
I’ve had amazing success with ‘Excelsior’ for its long-lasting blooms and ‘Camelot’ series for their first-year flowering habit.
When selecting plants, look for sturdy stems and healthy foliage rather than those already in bloom, as they’ll establish better in your garden.
2. Perfect Your Soil Mix

Well-draining soil prevents root rot, which can quickly kill these beauties. Mix in plenty of compost to improve both drainage and nutrient content.
Testing your soil pH is worth the effort since these plants prefer slightly acidic to neutral conditions (pH 6.0-7.0). I’ve seen dramatic differences in plant vigor with just small pH adjustments.
Adding leaf mold to clay soils creates the woodsy conditions these woodland-edge natives naturally enjoy.
3. Strategic Seed Starting
Starting seeds indoors gives you a head start on the growing season. Sow them 8-10 weeks before your last frost date in seed-starting mix.
The seeds need light to germinate, so press them onto the soil surface without covering them. Mist gently to avoid displacing these tiny seeds.
Patience is key—germination typically takes 14-21 days. Keep the soil consistently moist but not waterlogged during this critical period.
4. Master The Transplanting Technique
Wait until seedlings develop their second set of true leaves before moving them to individual pots. This usually happens about 4-6 weeks after germination.
Handle young plants by their leaves rather than stems to prevent damage. The stems are surprisingly fragile at this stage.
When transplanting to the garden, space plants 12-18 inches apart to allow proper air circulation, which helps prevent powdery mildew later in the season.
5. Find The Sweet Spot For Sunlight

Morning sun with afternoon shade provides ideal growing conditions in most climates. This lighting balance promotes strong stems while protecting delicate flowers from scorching.
In cooler northern regions, these plants can handle more direct sunlight. My plants in Maine thrive in locations that would be too sunny for those in my friend’s Virginia garden.
Watch for signs of light stress—yellowing leaves often indicate too much sun, while sparse blooms suggest insufficient light.
6. Watering Wisdom
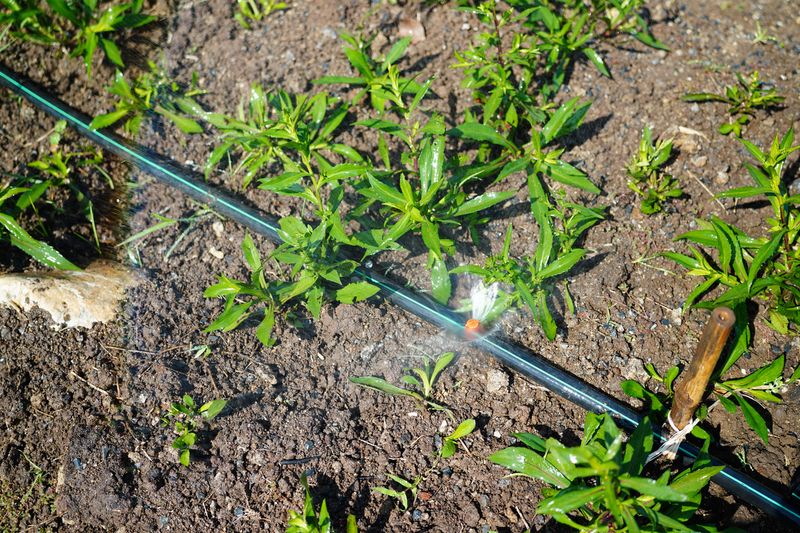
Consistent moisture keeps flower stalks tall and strong. Aim for about 1 inch of water weekly, including rainfall.
Soaker hoses work wonderfully since they deliver water directly to the roots while keeping the foliage dry. This simple switch reduced disease problems in my garden by half.
During hot spells, water deeply rather than frequently to encourage roots to grow downward, creating more drought-resistant plants.
7. Strategic Feeding Schedule
Apply a balanced, slow-release fertilizer when plants begin their spring growth. This provides steady nutrition without forcing excessive leafy growth.
Too much nitrogen creates lush foliage at the expense of flowers. I learned this lesson the hard way after over-fertilizing one season and getting magnificent leaves but disappointing blooms.
A light side-dressing of compost midway through the growing season gives plants a gentle boost without overwhelming them.
8. Mulch For Maximum Performance

A 2-inch layer of organic mulch mimics the natural forest floor habitat these plants love. Shredded leaves or pine straw work particularly well.
Mulching serves multiple purposes: it retains soil moisture, suppresses weeds, and gradually breaks down to feed the soil. The difference in plant vigor between mulched and unmulched sections of my garden is remarkable.
Keep mulch pulled back slightly from the crown of the plant to prevent rot issues, especially in humid climates.
9. Deadheading For Extended Blooms
Removing spent flower stalks redirects the plant’s energy into producing side shoots with additional blooms. Cut the main stalk about halfway down once the top third of flowers have faded.
Use clean, sharp pruners to make cuts just above a set of leaves. This technique has doubled the blooming period in my garden.
Some newer hybrid varieties respond especially well to this treatment, sometimes blooming continuously from early summer through fall.
10. Staking Tall Varieties
Place supports early in the season before plants reach their full height. Once they start to lean, it’s much harder to stake them without causing damage.
Bamboo stakes with soft plant ties work well for individual plants. For larger groupings, I’ve found that creating a grid of string or twine between stakes provides invisible support.
The goal is to keep flower spikes upright during rain and wind without making the supports obvious to garden visitors.
11. Manage Self-Seeding
Allow some flower stalks to develop seeds if you want these biennials to naturalize in your garden. Each plant produces thousands of tiny seeds that will create new plants for future years.
To control where they grow, deadhead most stalks and leave just a few strategic ones to set seed. My best garden displays came from allowing this natural process to create drifts.
Mark the location of mature plants before they die back so you don’t accidentally weed out the new rosettes that will bloom next year.
12. Companion Planting Strategies
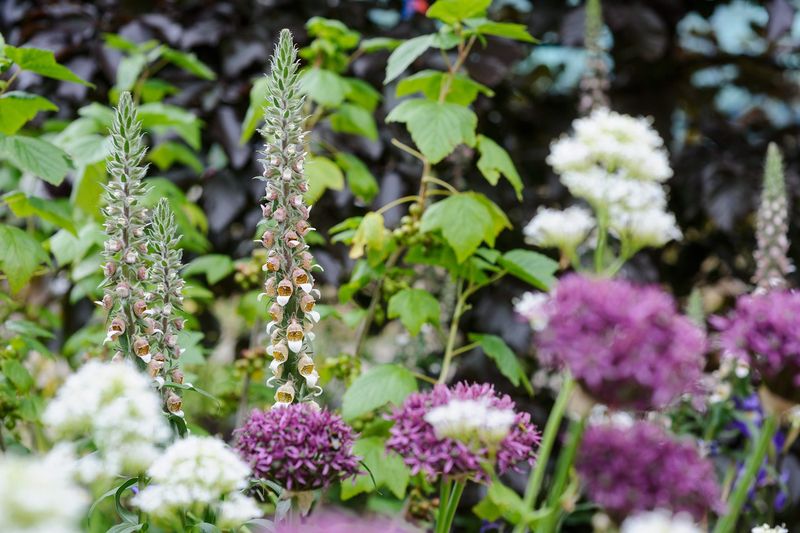
Pairing with the right neighbors enhances both appearance and growing conditions. Plants with similar light and water needs make the best companions.
Astilbe, ferns, and hostas create a beautiful woodland garden effect when planted alongside. Their contrasting foliage textures highlight the vertical drama of the flower spikes.
Avoid extremely aggressive spreaders like mint that might overwhelm these somewhat delicate plants. I lost an entire stand after planting them too close to a vigorous ground cover.
13. Prevent Common Diseases

Good air circulation is your first defense against fungal problems. Proper spacing when planting pays off later in the season.
Powdery mildew often appears during humid weather. Remove affected leaves promptly and apply a solution of 1 tablespoon baking soda in 1 gallon of water as a preventative spray.
Crown rot can be devastating but is largely preventable by ensuring good drainage and avoiding overhead watering, especially late in the day.
14. Tackle Pest Problems Naturally
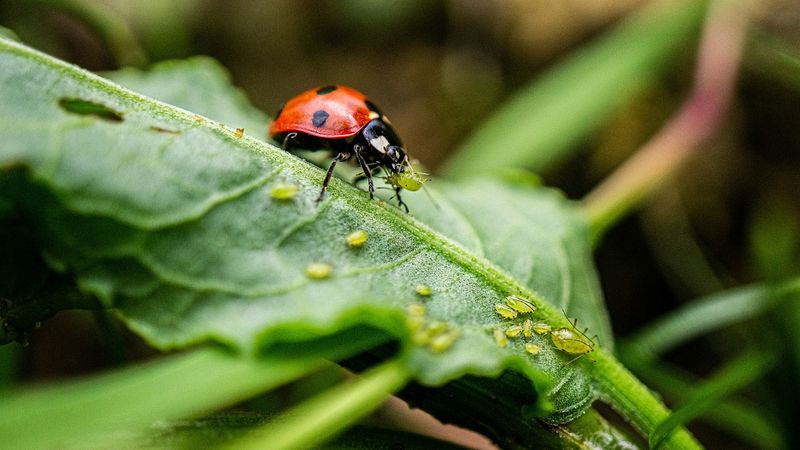
Aphids sometimes cluster on tender new growth and flower buds. A strong spray of water often dislodges them without the need for chemicals.
For persistent infestations, try insecticidal soap applied in the evening. This timing prevents leaf burn and avoids harming beneficial pollinators that visit during daylight hours.
Encouraging natural predators like ladybugs and lacewings creates a balanced garden ecosystem where pest problems rarely get out of hand.
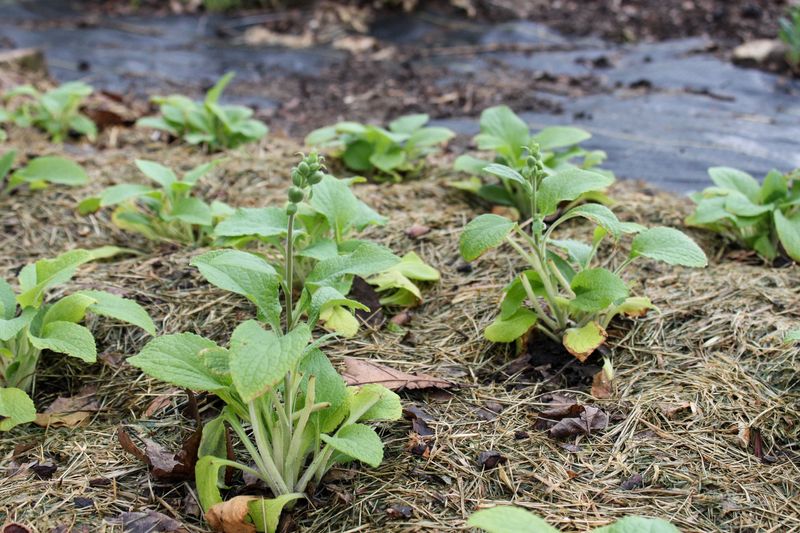
15. Overwintering Young Plants
First-year plants form leafy rosettes that need some protection to survive harsh winters. A light layer of evergreen boughs provides ideal insulation without smothering the plants.
In extremely cold regions (zones 3-4), surrounding rosettes with a cylinder of chicken wire filled with dry leaves creates a microclimate that improves survival rates. I started doing this after losing half my plants one particularly harsh winter.
Remove winter protection gradually in spring as temperatures warm to avoid shocking the plants.
16. Divide Perennial Varieties
While most foxgloves are biennial, some newer cultivars like ‘Camelot’ and ‘Dalmatian’ are actually short-lived perennials that benefit from division every 2-3 years.
The best time to divide is early spring when new growth just begins to emerge. Carefully lift the entire clump and separate it into sections, each with healthy roots and several growing points.
Replant divisions immediately and keep well-watered until established. This simple maintenance task keeps plants vigorous and blooming profusely.
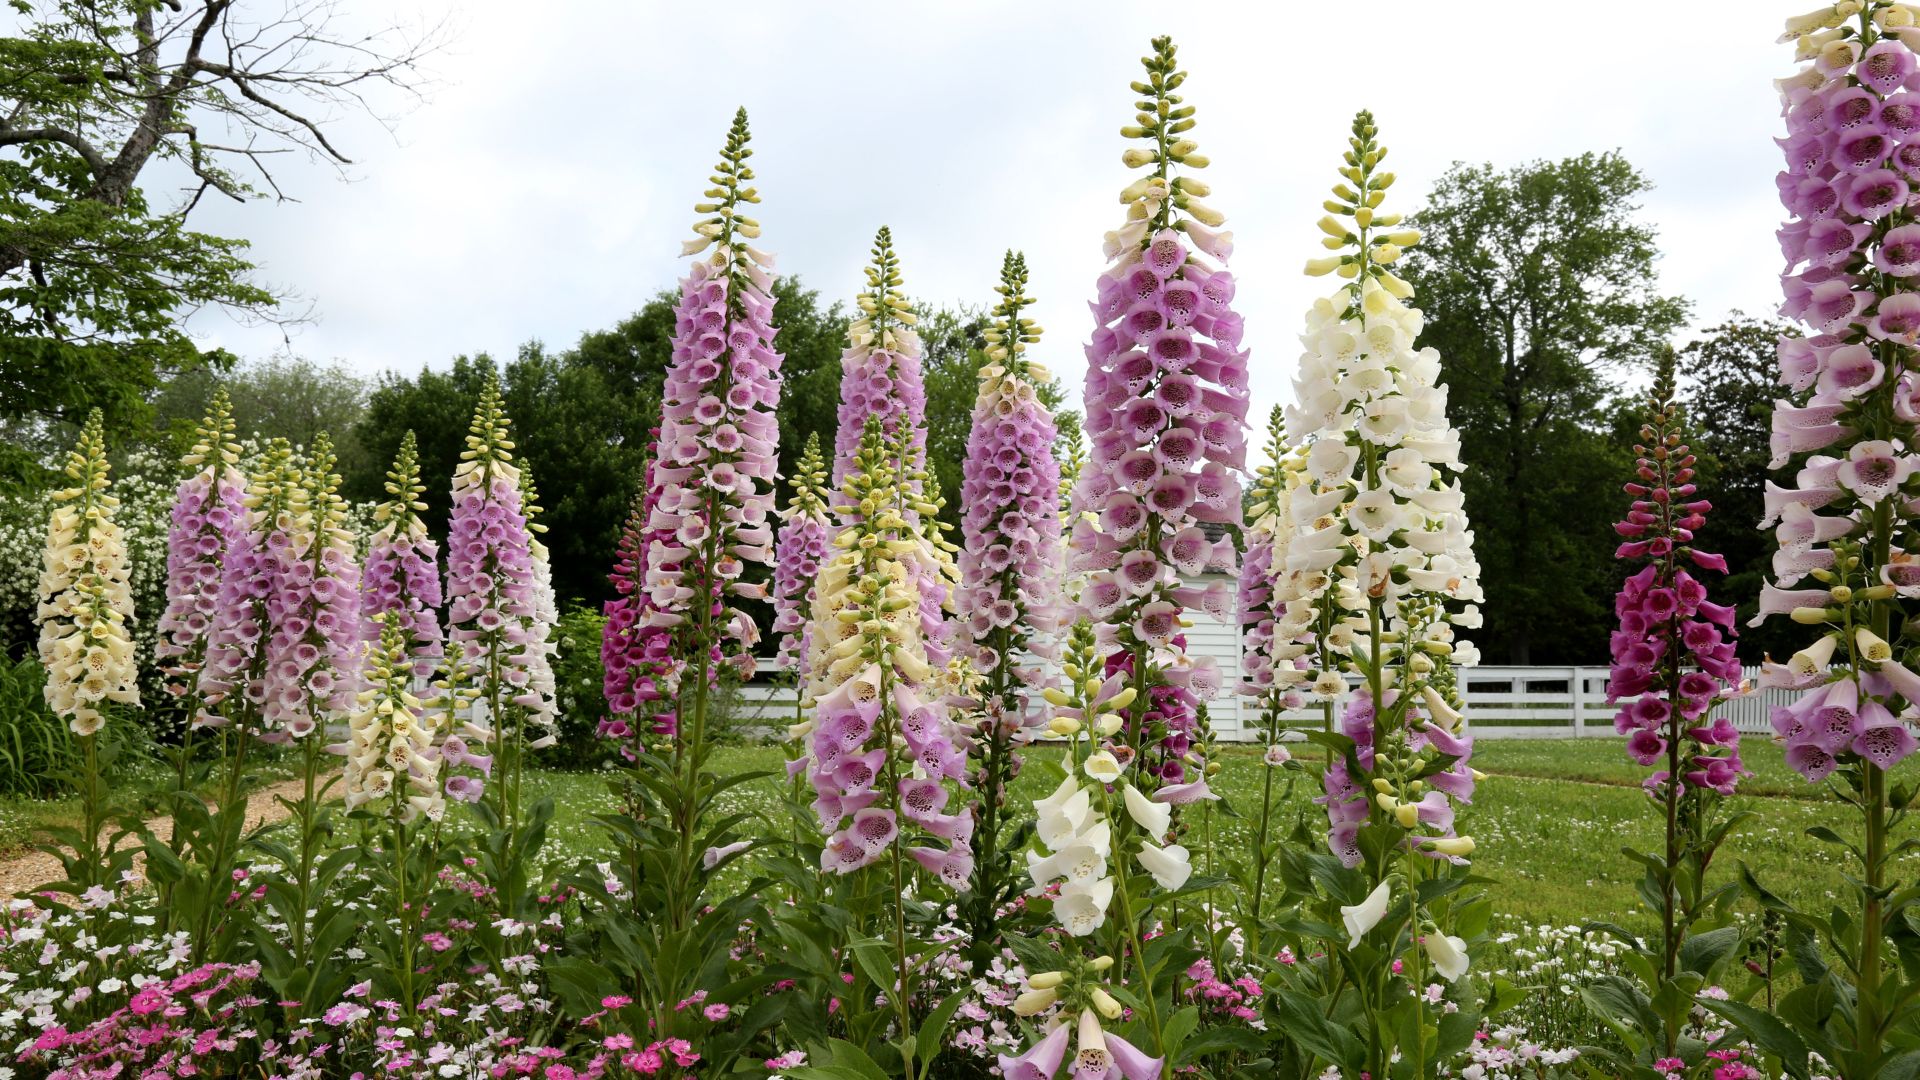
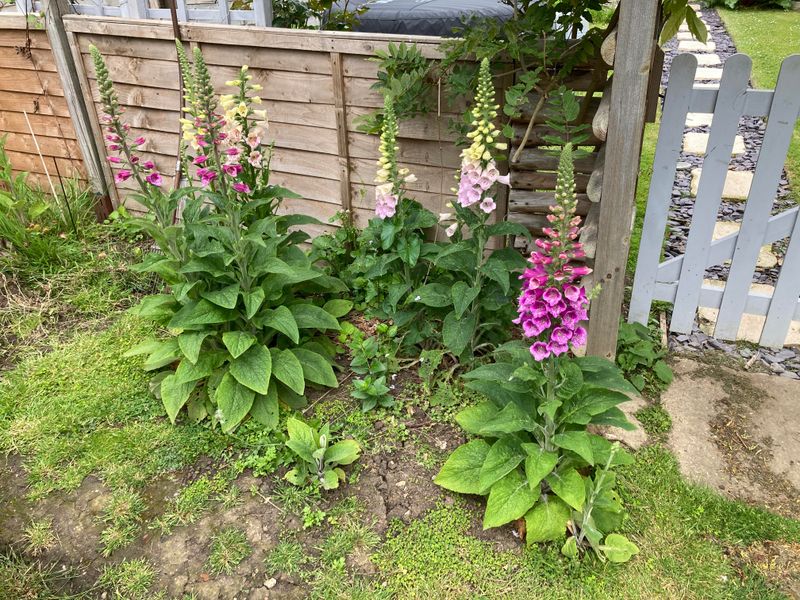
17. Create Dramatic Groupings
Planting in odd-numbered groups creates more natural-looking displays than evenly spaced rows. Groups of 3, 5, or 7 plants form eye-catching clusters.
Stagger planting times by a few weeks if growing from seed to extend the overall blooming period. This simple scheduling trick has given me nearly continuous blooms for most of the summer.
Mixing heights within groups adds visual interest—taller varieties like ‘Excelsior’ (reaching 5 feet) behind medium-height types creates depth.
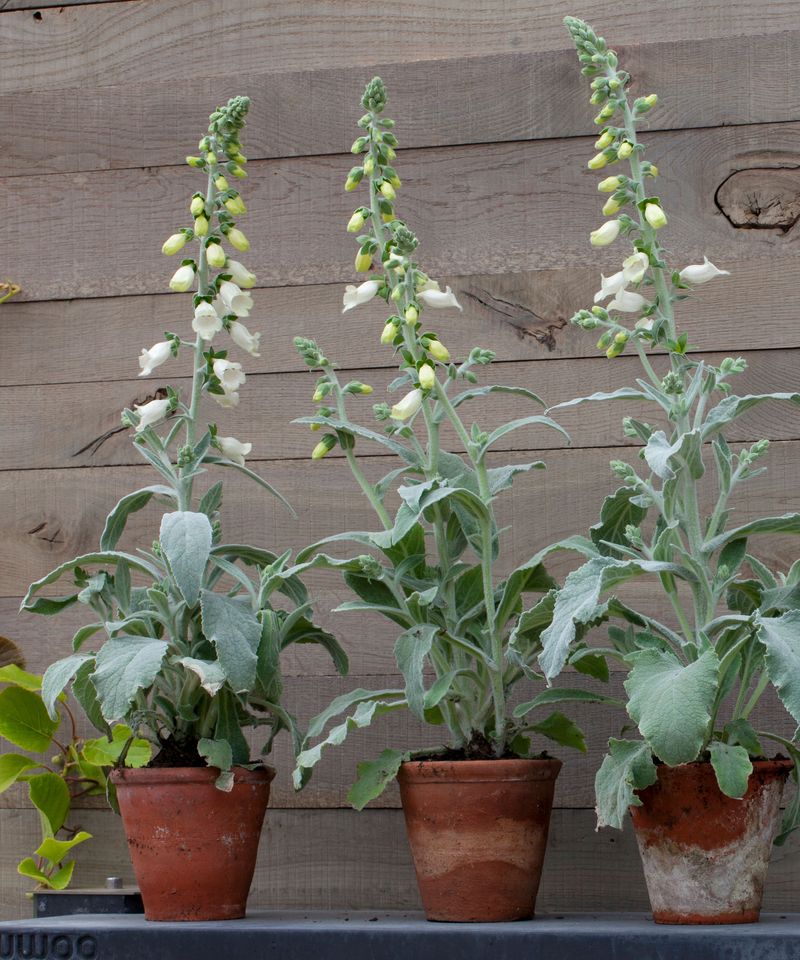
18. Consider Container Growing
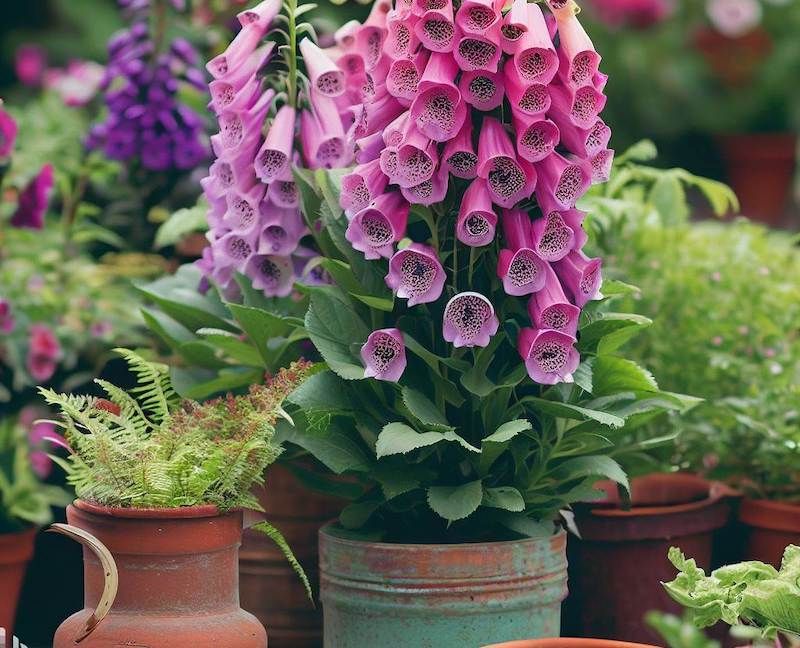
Large containers (at least 12 inches deep) work surprisingly well for these typically woodland plants. Use a high-quality potting mix with added perlite for drainage.
Container-grown plants may need more frequent watering and feeding than garden-planted ones. During summer heat, I sometimes water my potted specimens twice daily to maintain consistent moisture.
The mobility of containers allows you to showcase plants at their blooming peak and move them to less prominent positions afterward.
19. Harvest For Cut Flowers

Cut flower spikes when about one-third to one-half of the blooms are open for the longest vase life. Early morning is the ideal harvesting time when stems are fully hydrated.
Place cut stems immediately in clean, cool water after cutting at a 45-degree angle. Adding a commercial flower preservative extends vase life significantly.
Remove any foliage that would sit below the waterline to prevent bacterial growth and cloudy water. With proper care, these dramatic spires can last 7-10 days in arrangements.