15 Reasons Gardeners Are Hoarding Bubble Wrap (And How It Can Save You Hundreds On Greenhouse Costs)
Bubble wrap isn’t just for popping anymore—gardeners are clinging to it like bees to honey. This humble packing material has become a secret weapon in slashing greenhouse costs, keeping plants cozy and wallets happy.
Want to garden smart, not hard? Bubble wrap might just be your new best bud.
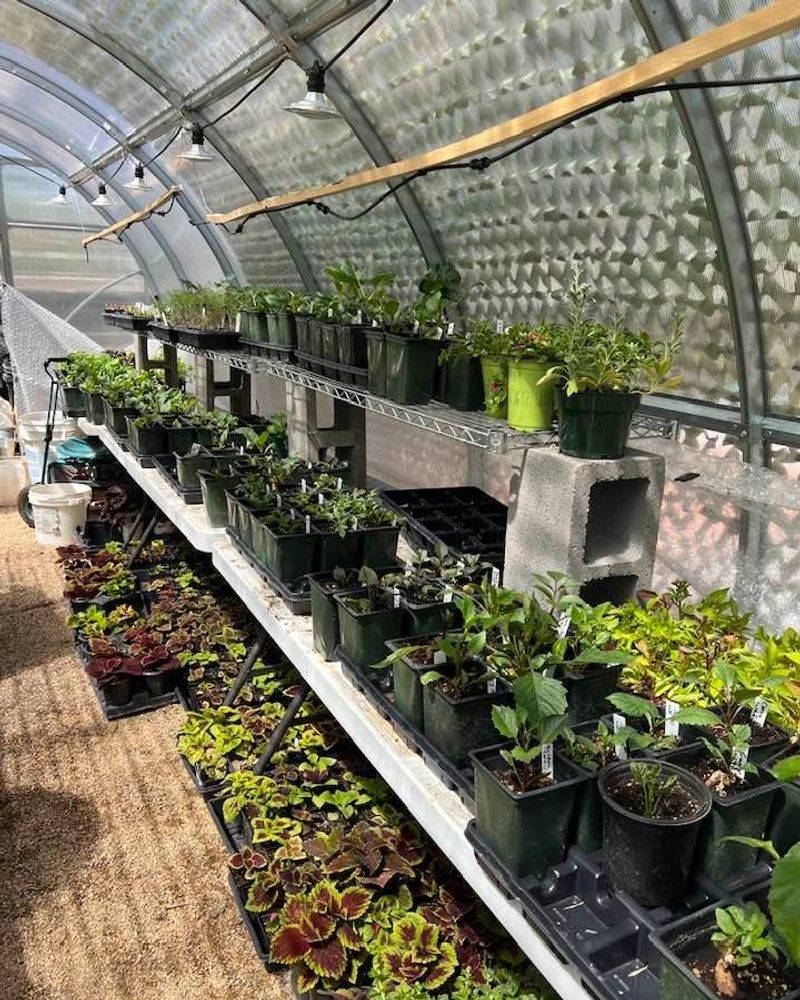
1. Instant Greenhouse Insulation
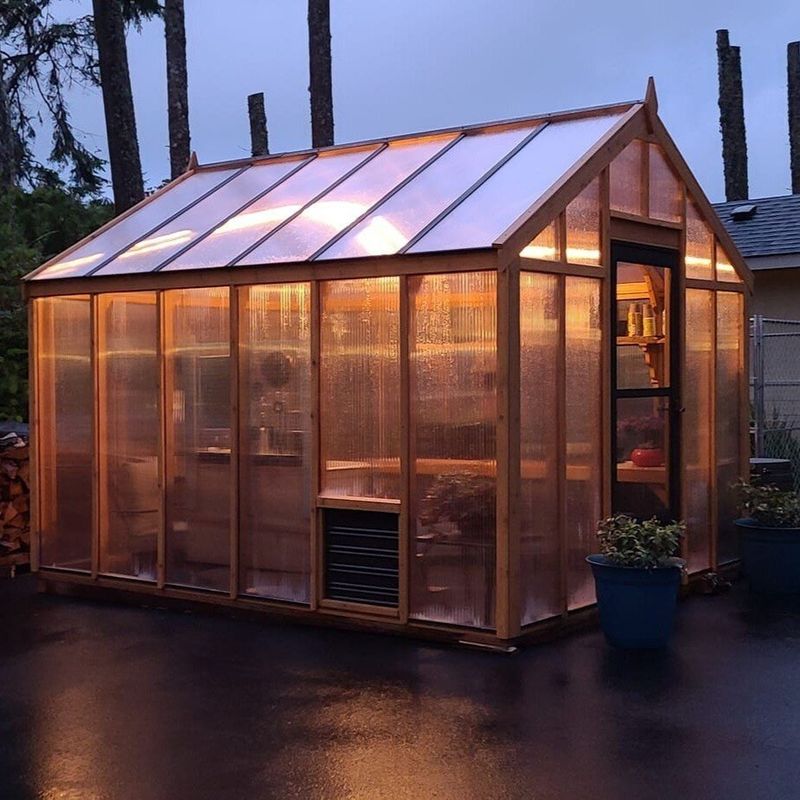
Wrapping the inside walls of your greenhouse with bubble wrap creates an extra insulation layer that traps heat like magic. The air bubbles work as tiny heat pockets, maintaining warmer temperatures overnight when frost might otherwise damage your plants.
Most gardeners report temperature increases of 5-10 degrees with proper bubble wrap installation. That’s enough to keep tender plants alive during mild freezes without running expensive heaters!
2. Budget-Friendly Cold Frames

Got old windows lying around? Combine them with bubble wrap to build DIY cold frames for a fraction of store-bought prices. Layer the bubble wrap inside your frame for extra insulation that keeps seedlings cozy.
A standard cold frame can cost $100+ at garden centers, but making your own with recycled materials and bubble wrap might run less than $20. Plus, you’ll feel clever every time you harvest early spring greens from your homemade setup!
3. Plant Pot Frost Protection
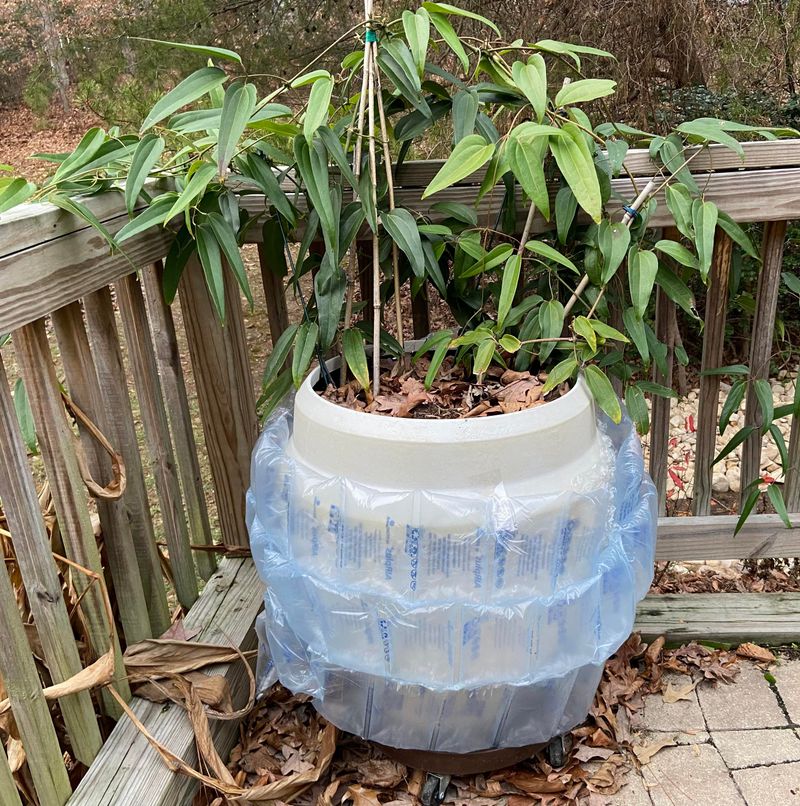
Potted plants face extra danger during cold snaps since their roots aren’t insulated by ground soil. Wrap container sides with bubble wrap secured by twine or garden tape to create a cozy barrier against freezing temperatures.
The difference can be dramatic – while unwrapped pots might freeze solid during a cold night, bubble-wrapped containers often stay just warm enough to prevent root damage. For expensive specimen plants, this simple trick has saved countless gardeners from heartbreaking losses!
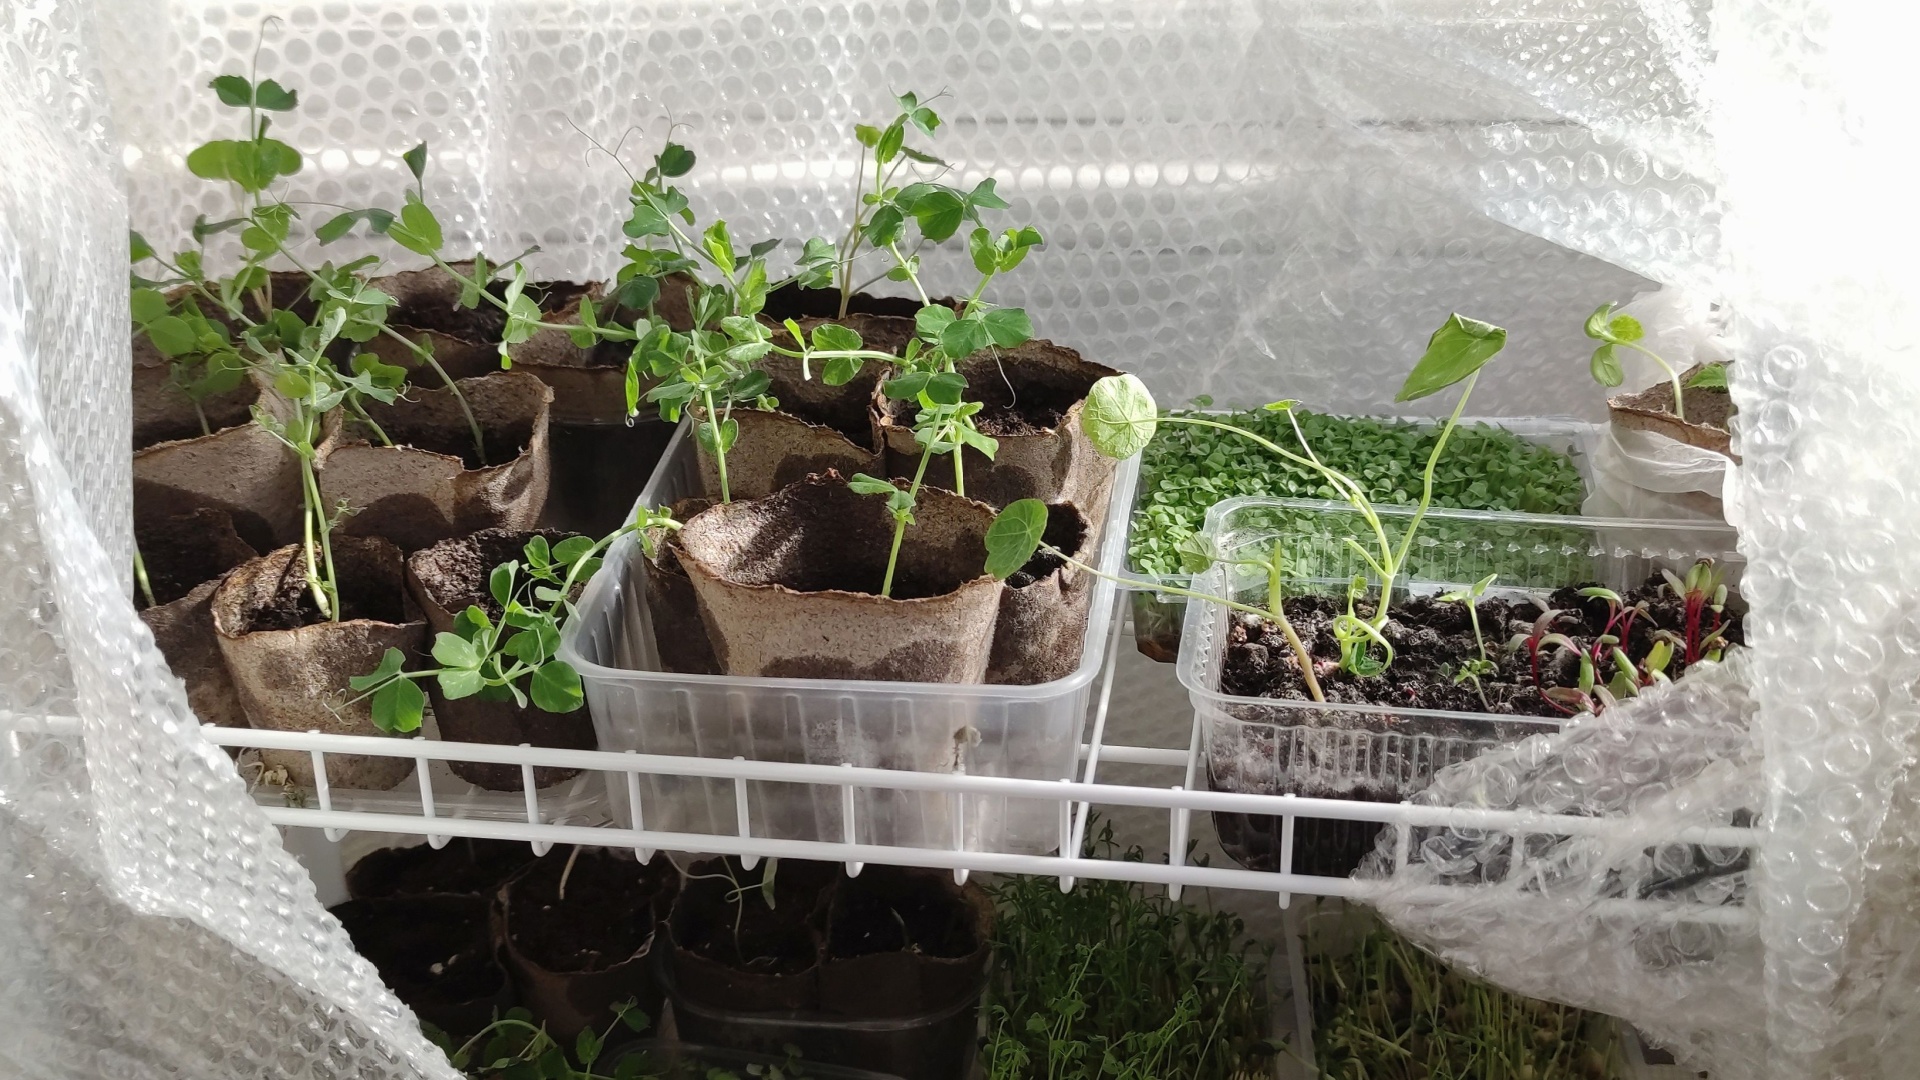
4. Seedling Tray Warmth Boosters
Placing bubble wrap beneath seed trays creates bottom warmth without fancy heating mats. The insulation prevents cold from seeping up through tables or benches, keeping germinating seeds at ideal temperatures.
Many seeds germinate days faster with this simple trick! For gardeners starting hundreds of plants each season, these extra growing days can mean earlier harvests and stronger plants. Large bubble wrap works best here since the bigger air pockets provide more insulation value.
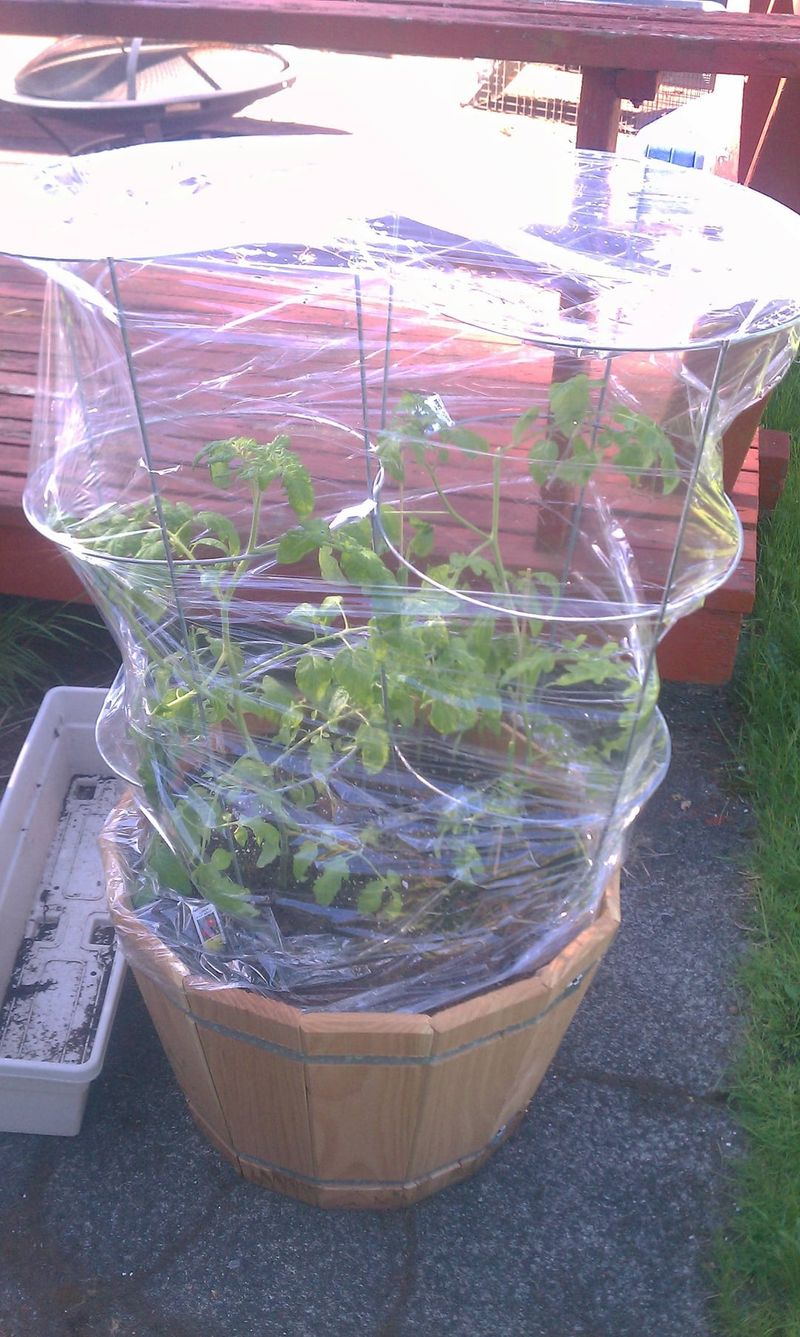
5. Temporary Cloche Alternatives
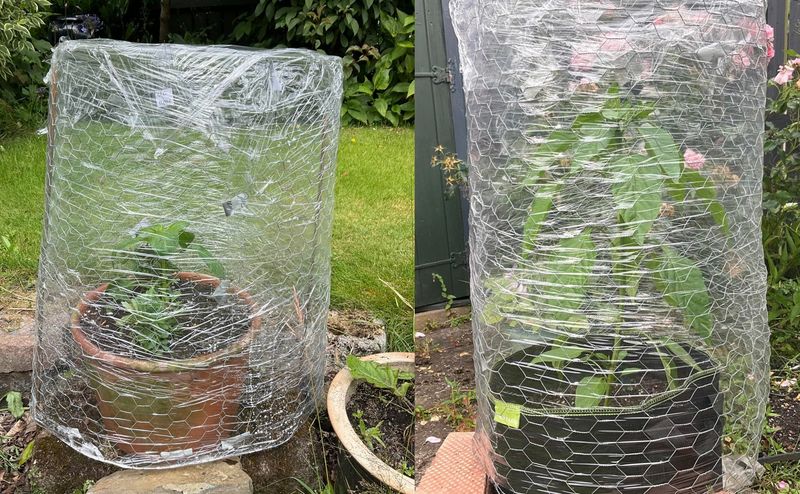
Fashion bubble wrap into makeshift cloches by creating bubble wrap tunnels over seedlings. Simply bend flexible garden wire into hoops, then drape bubble wrap over the top for instant protection from unexpected frosts.
Commercial row covers can cost $20+ per season, while recycled bubble wrap costs nothing! The material lets in sufficient light while protecting tender plants from cold damage. Smart gardeners keep sheets ready to deploy whenever weather forecasts look threatening.
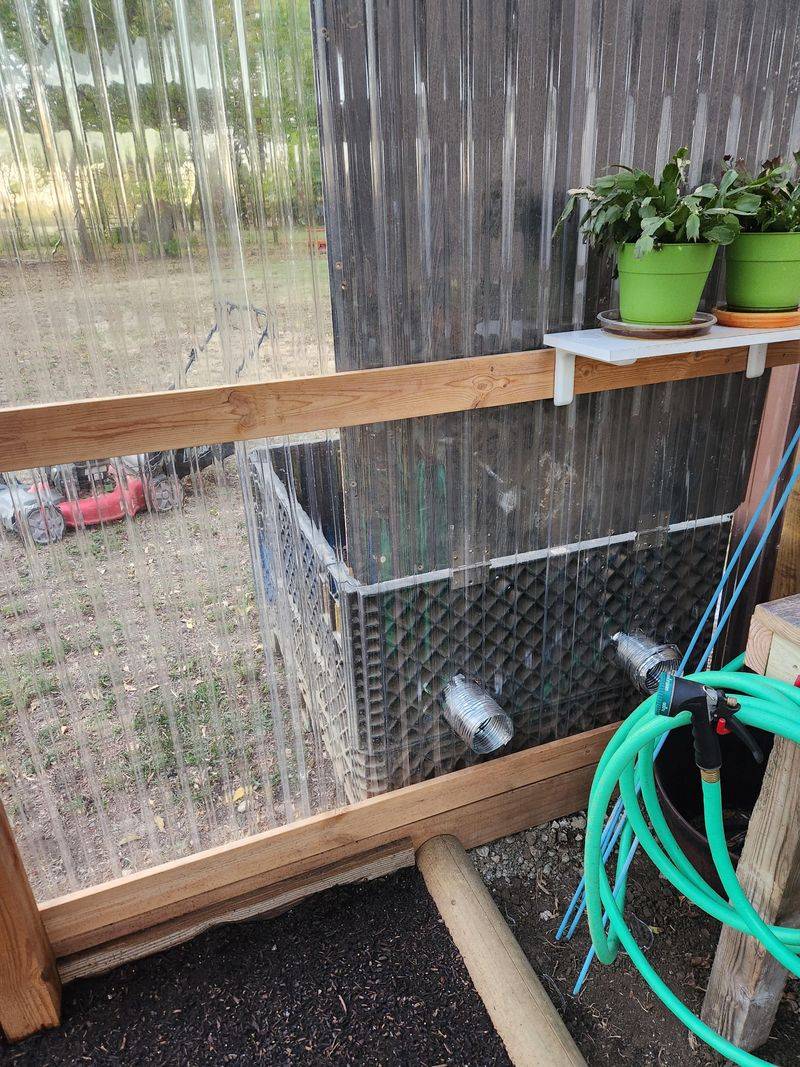
6. Draft-Blocking Window Seals
Aging greenhouse windows often develop gaps that leak precious heat. Cut bubble wrap strips to press into these cracks, instantly stopping cold air infiltration without expensive repairs.
A professional greenhouse repair might cost hundreds, but this quick fix takes minutes and costs nothing. Many gardeners report their heating bills dropped by 15-20% after sealing all the drafty spots in their greenhouses!
7. Bubble Mulch for Container Plants

Layering bubble wrap at the bottom of large containers serves two brilliant purposes. It reduces the amount of soil needed (saving money on expensive potting mix) while creating drainage space that prevents root rot.
For deep planters, this trick can save 3-4 gallons of potting soil – that’s about $15-20 in savings per large container! The lightweight bubble wrap also makes heavy planters easier to move around your garden or patio when needed.
8. Emergency Hail Protection
When storm clouds threaten, quick-thinking gardeners drape bubble wrap over prized plants. The bubbles absorb impact energy from hailstones that would otherwise shred delicate leaves and flowers.
A single hailstorm can destroy months of gardening work in minutes! Keeping bubble wrap ready for emergency deployment has saved countless vegetable gardens and flower displays. Unlike solid covers, bubble wrap’s texture prevents it from flattening plants while protecting them.
9. Seed Starting Humidity Domes
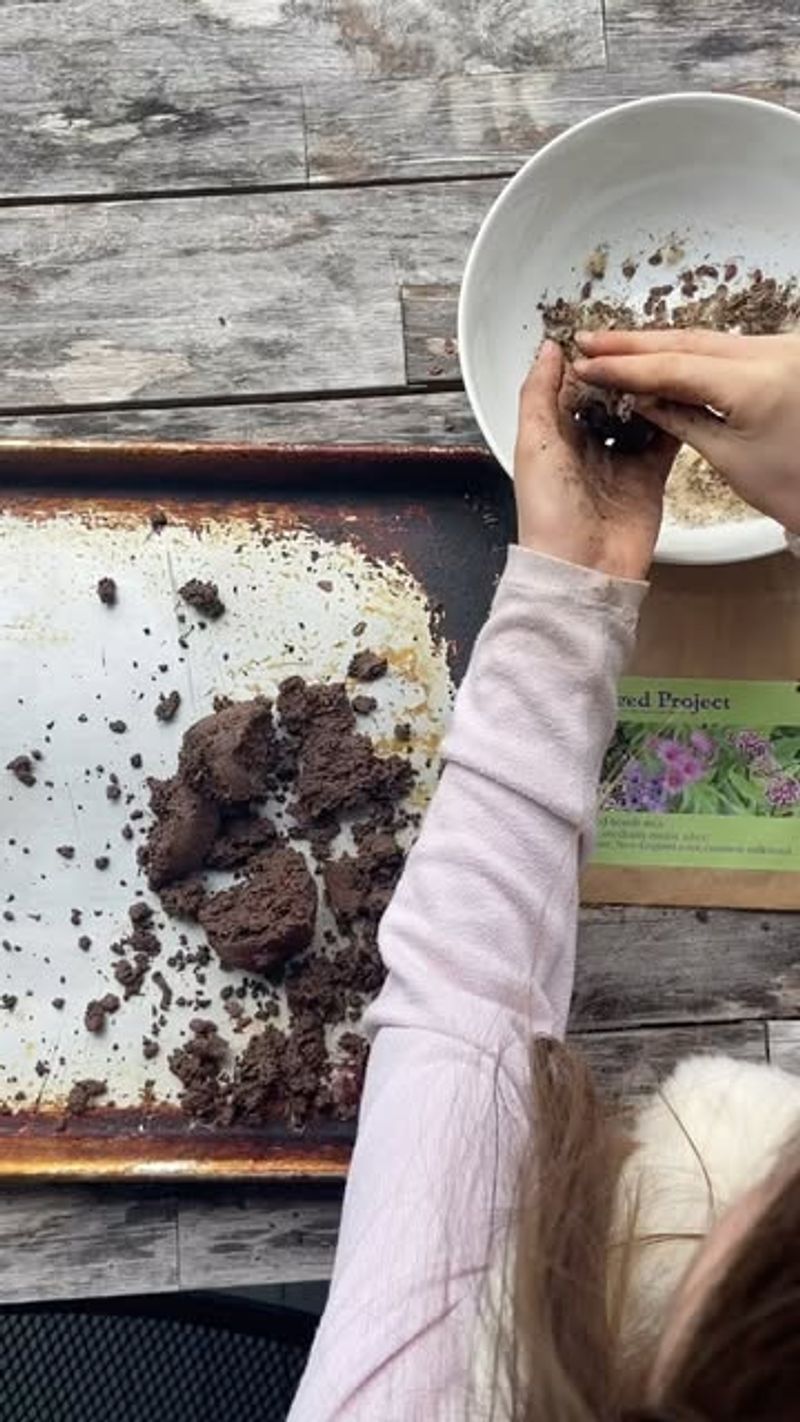
Form bubble wrap into simple humidity domes for seed trays by creating bubble wrap tents. The translucent material maintains moisture while allowing light through – perfect for germination without expensive propagation equipment.
Commercial seed-starting systems with humidity domes typically cost $25-40, while this DIY version costs virtually nothing! Beginning gardeners especially appreciate how the clear material lets them monitor seed progress without disturbing the delicate growing environment.
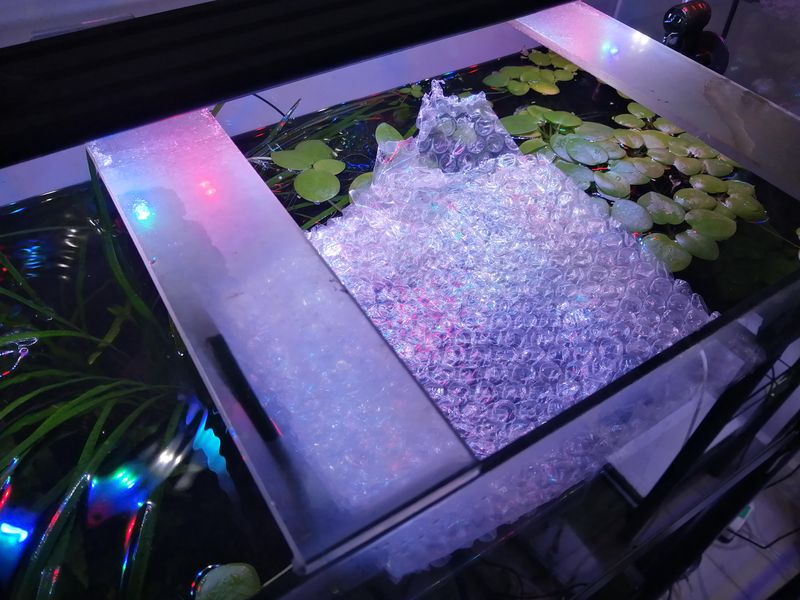
10. Pond Freeze Protection
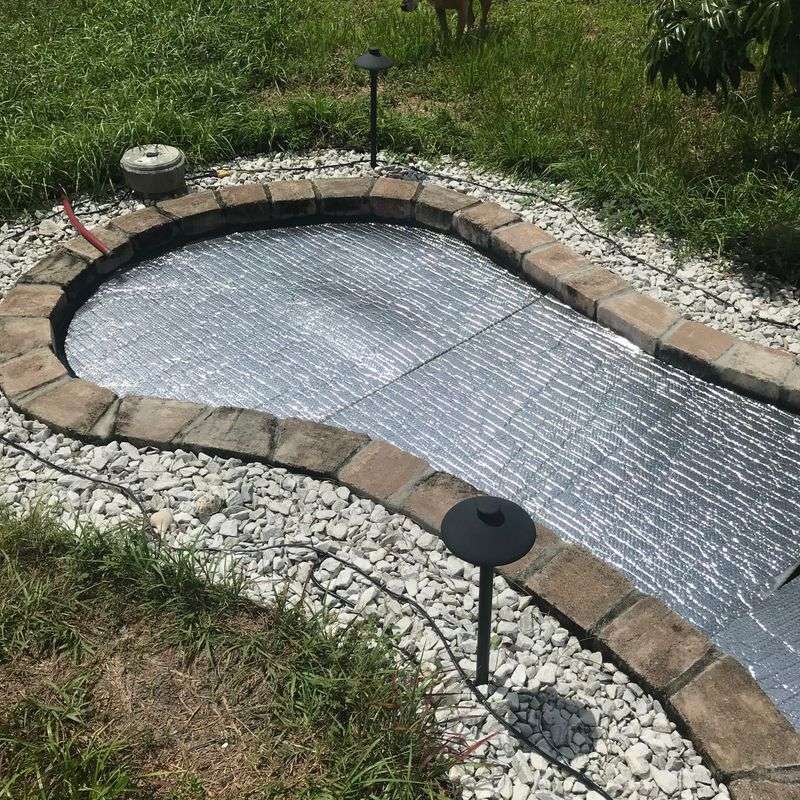
Floating bubble wrap sheets on garden ponds prevents complete freezing during cold snaps. The material insulates while allowing gas exchange, helping fish survive winter without expensive pond heaters.
A decent pond heater starts at $100, plus electricity costs all winter! This bubble wrap trick has saved countless backyard fish from icy deaths. Just be sure to leave some unwrapped areas where gases can escape, or use a small pump to maintain an opening.
11. DIY Propagation Heat Mats
Create your own propagation warming system by placing bubble wrap between a seedling tray and a heating pad set on low. The bubbles distribute heat evenly while providing insulation from temperature fluctuations.
Commercial propagation heat mats cost $40-60 each! This homemade version works nearly as well for most common garden plants. Just be careful with the heating pad settings – use only those with automatic shutoffs for safety.
12. Fruit Tree Trunk Guards
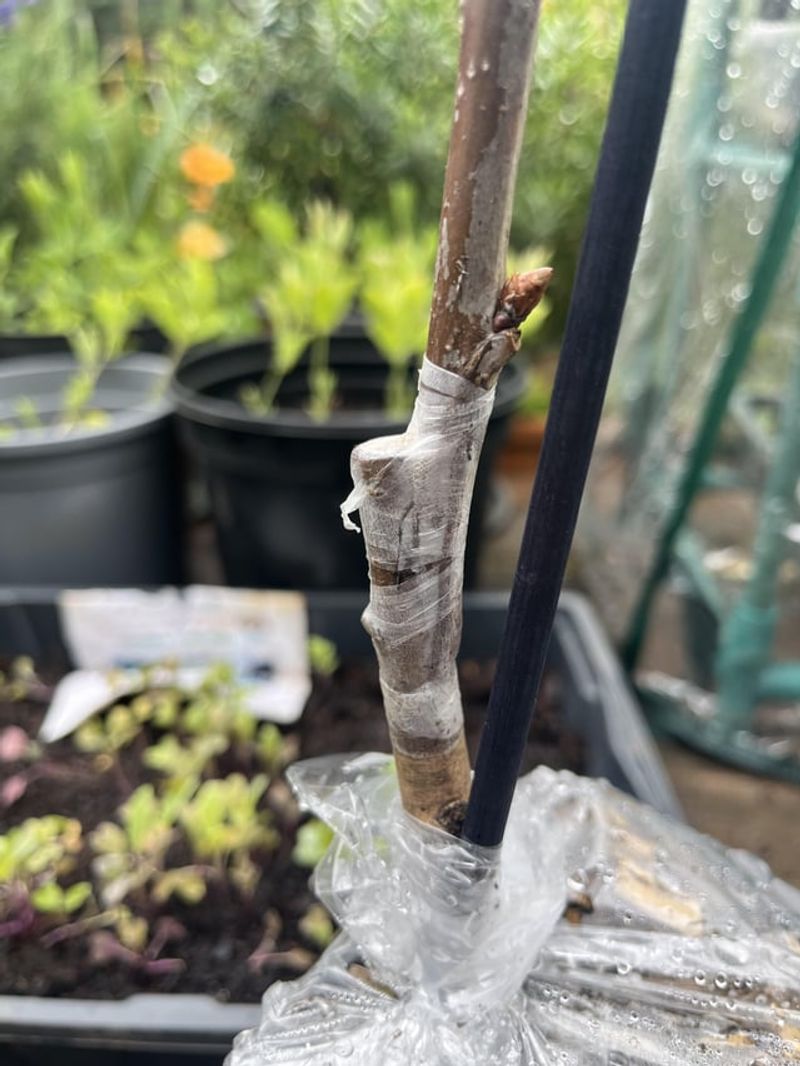
Wrap young fruit tree trunks with bubble wrap during winter to prevent sunscald and rodent damage. The material creates an air gap that insulates bark from temperature swings that cause splitting.
Commercial tree guards cost $5-10 per tree, making bubble wrap a huge money-saver for orchards! Many gardeners report their wrapped trees show significantly less winter damage and recover faster in spring. Remember to remove the wrap once temperatures stabilize to prevent insect hiding places.
13. Bubble Wrap Rain Barriers
During excessive rainy periods, create temporary shelters using bubble wrap draped over simple frames. Unlike solid plastic, bubble wrap allows airflow while deflecting heavy rainfall that might damage delicate flowers or ripening fruits.
Garden centers charge $30+ for similar protection systems! The textured surface of bubble wrap also prevents water pooling that can lead to mold issues. For vegetable gardeners, these quick shelters can save tomato crops from splitting during sudden downpours.
14. Compost Bin Insulation
Line the inside of compost bins with bubble wrap to maintain higher internal temperatures during winter. The insulation helps beneficial microbes stay active even during cold months, speeding decomposition when most compost piles go dormant.
Year-round compost production means more free fertilizer for your garden! Many bubble-wrapped bins continue breaking down kitchen scraps at 40-50% of summer rates even during freezing weather. That’s significantly better than uninsulated bins that completely stop working below 40°F.
15. Temporary Greenhouse Windows
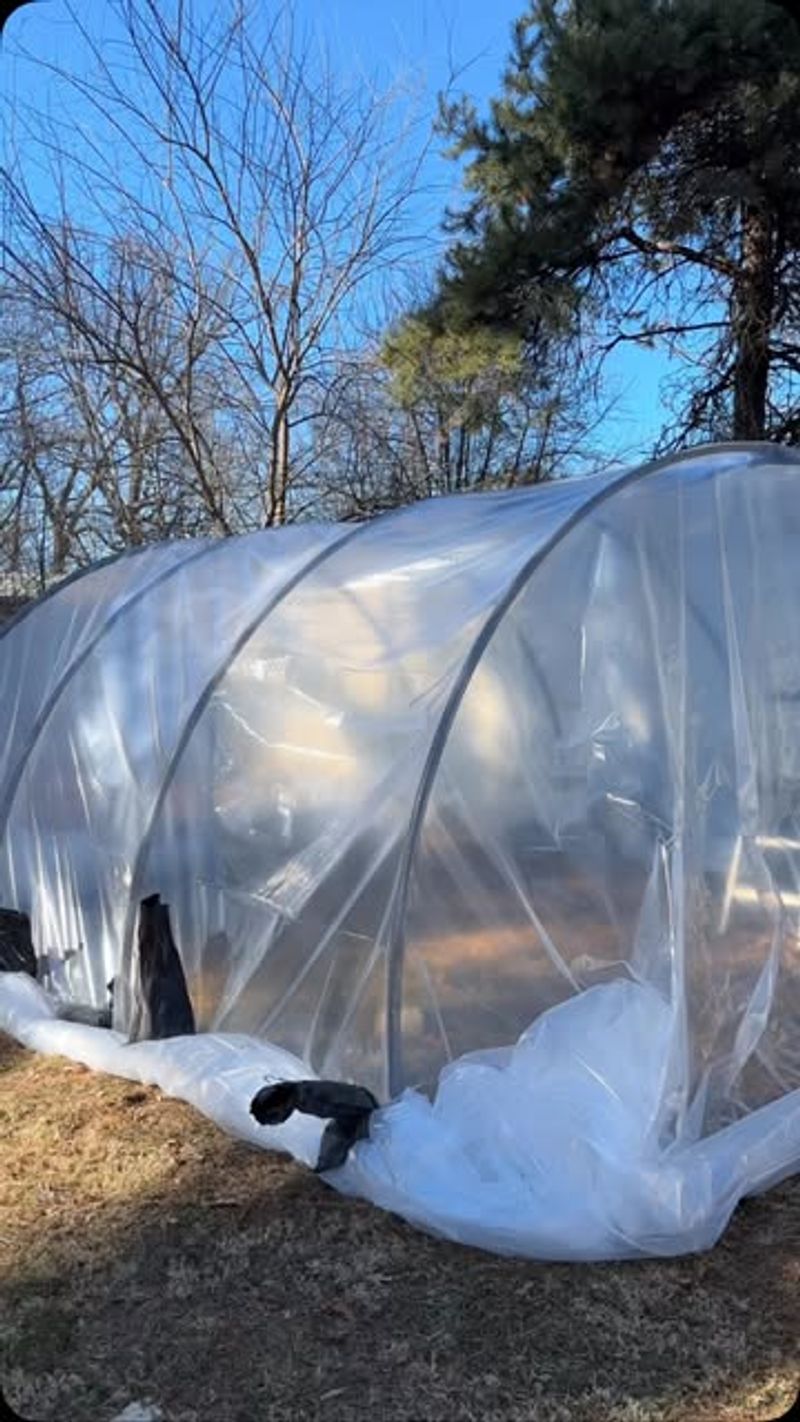
Create instant window replacements by stretching bubble wrap across damaged greenhouse panels. The material provides surprising clarity while maintaining insulation properties until proper repairs can be made.
Emergency greenhouse repairs often come with premium pricing – sometimes $100+ just for the service call! This temporary fix buys time while keeping plants protected. Large-bubble varieties work best for this application, offering better insulation while still allowing about 70% light transmission.