Simple Step By Step Guide For Repotting Fiddle Leaf Fig
Fiddle Leaf Figs, also known as Ficus Lyrata, have become quite popular recently — it is hard to find a garden without one!
Whether you choose to grow it as a houseplant for ornamental purposes or you are growing a fiddle leaf fig tree for its delicious fruit, you won’t regret it!
These plants are low-maintenance and can grow in various conditions.
Repotting can sometimes be tricky, but you don’t have to be a master gardener in order to repot this plant. We were all beginner gardeners once, and any type of help can come in handy.
We are going to cover repotting fiddle leaf fig step-by-step, discuss what type of soil is best to use, and find out what the best pot for your fiddle leaf fig plant is.
Let’s dive right in!
Repotting Fiddle Leaf Fig: Step-by-step Guide
Once your plant has become rootbound, it’s time for repotting!
The best time to repot this plant is in either spring or early summer so that it has enough time to adapt to its new environment for the rest of the growing season!
Even if your plant is not rootbound, you should repot it every other year to boost its growth. If you want for your FLF to grow big and strong, always plant it in a larger pot.
First, we are going to cover the basic steps of repotting, however, there are also a few things that you should pay attention to before repotting — but more on that later!
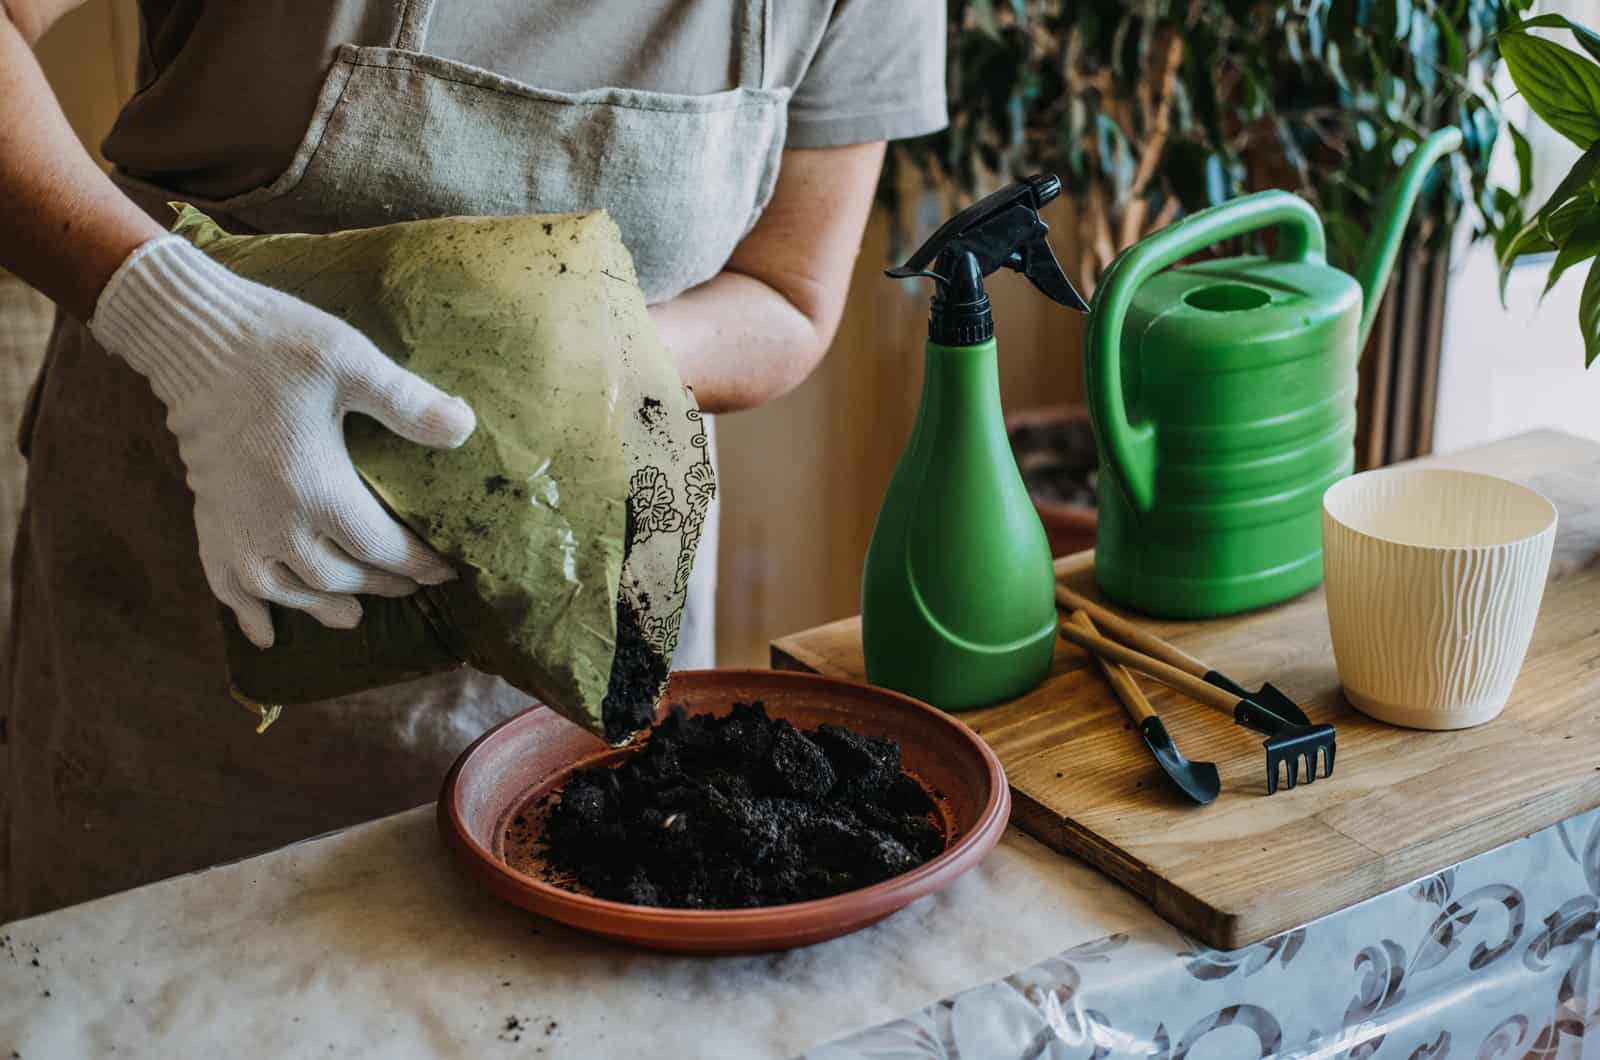
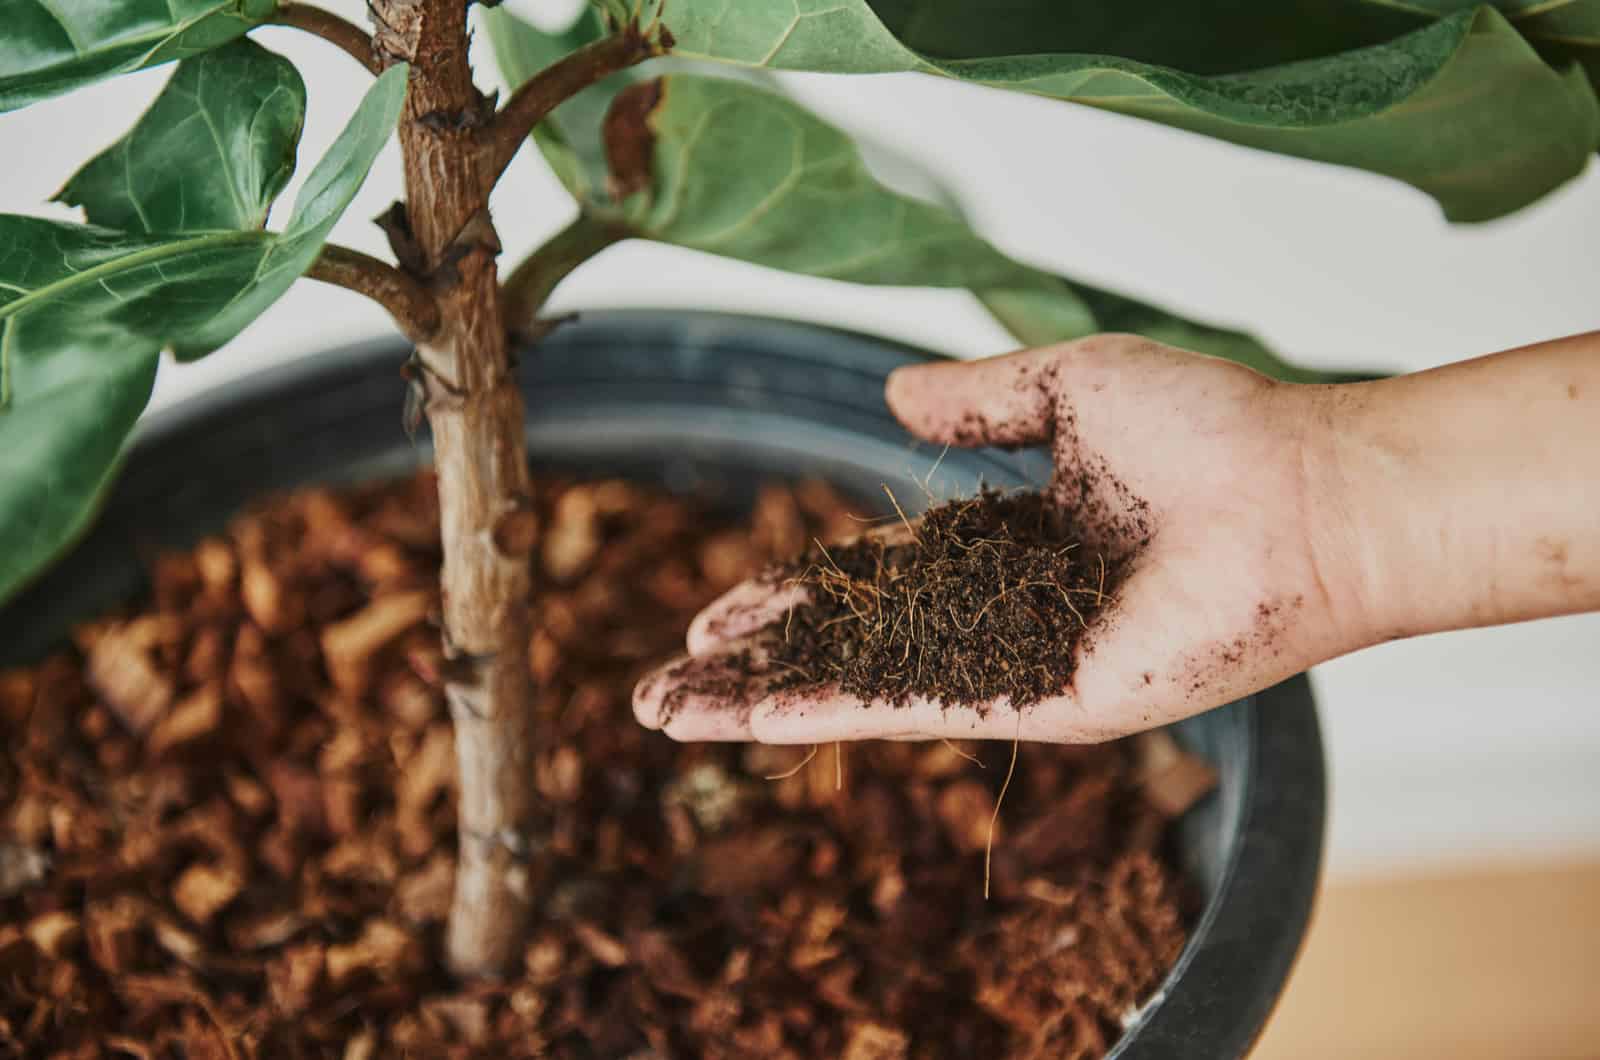
Step 1: Prepare The Potting Soil
You should prepare the right potting mix for your plant. Your little Fiddle leaf fig absolutely loves growing in well-draining soil with good air circulation. I usually use a succulent mix and fill about 4 inches of the new pot.
Step 2: Gently Pull The Plant Out Of The Current Pot
It is important that you gently pull the plant out of the current pot so that you don’t cause any damage to the root ball. A good trick is to hold the base of the plant and tap the pot on the sides. You should then kind of wiggle the plant to loosen it up a bit.
It is a lot easier to do this with dry soil, so don’t water the plant before repotting.
You can also try massaging the bottom of the pot and squeezing it, or use a knife around the edges to loosen up the roots.
Step 3: Remove The Old Soil
Once you’ve managed to pull the plant out of the pot, the next step is an easy one: remove the old soil!
To do this, you can lightly shake the plant to remove excess soil or use water to wash it down. It is important that the roots don’t dry out when repotting, and you shouldn’t use stone-cold water either.
If you break some of the roots, that’s fine!
A little breakage is unavoidable, just make sure that you don’t damage all the roots — the smaller ones are just as important because they are used for absorbing water and nutrients, while the larger ones are important for stability.
Step 4: Trim The Outer Roots
When your plant becomes root bound, in some cases circling roots will begin to develop on the outside as well because the little ones don’t have anywhere to go!
These long outer roots are usually trimmed off to boost growth and development once you repot the plant. You should cut about 2 inches, however, this depends on the size of your plant.
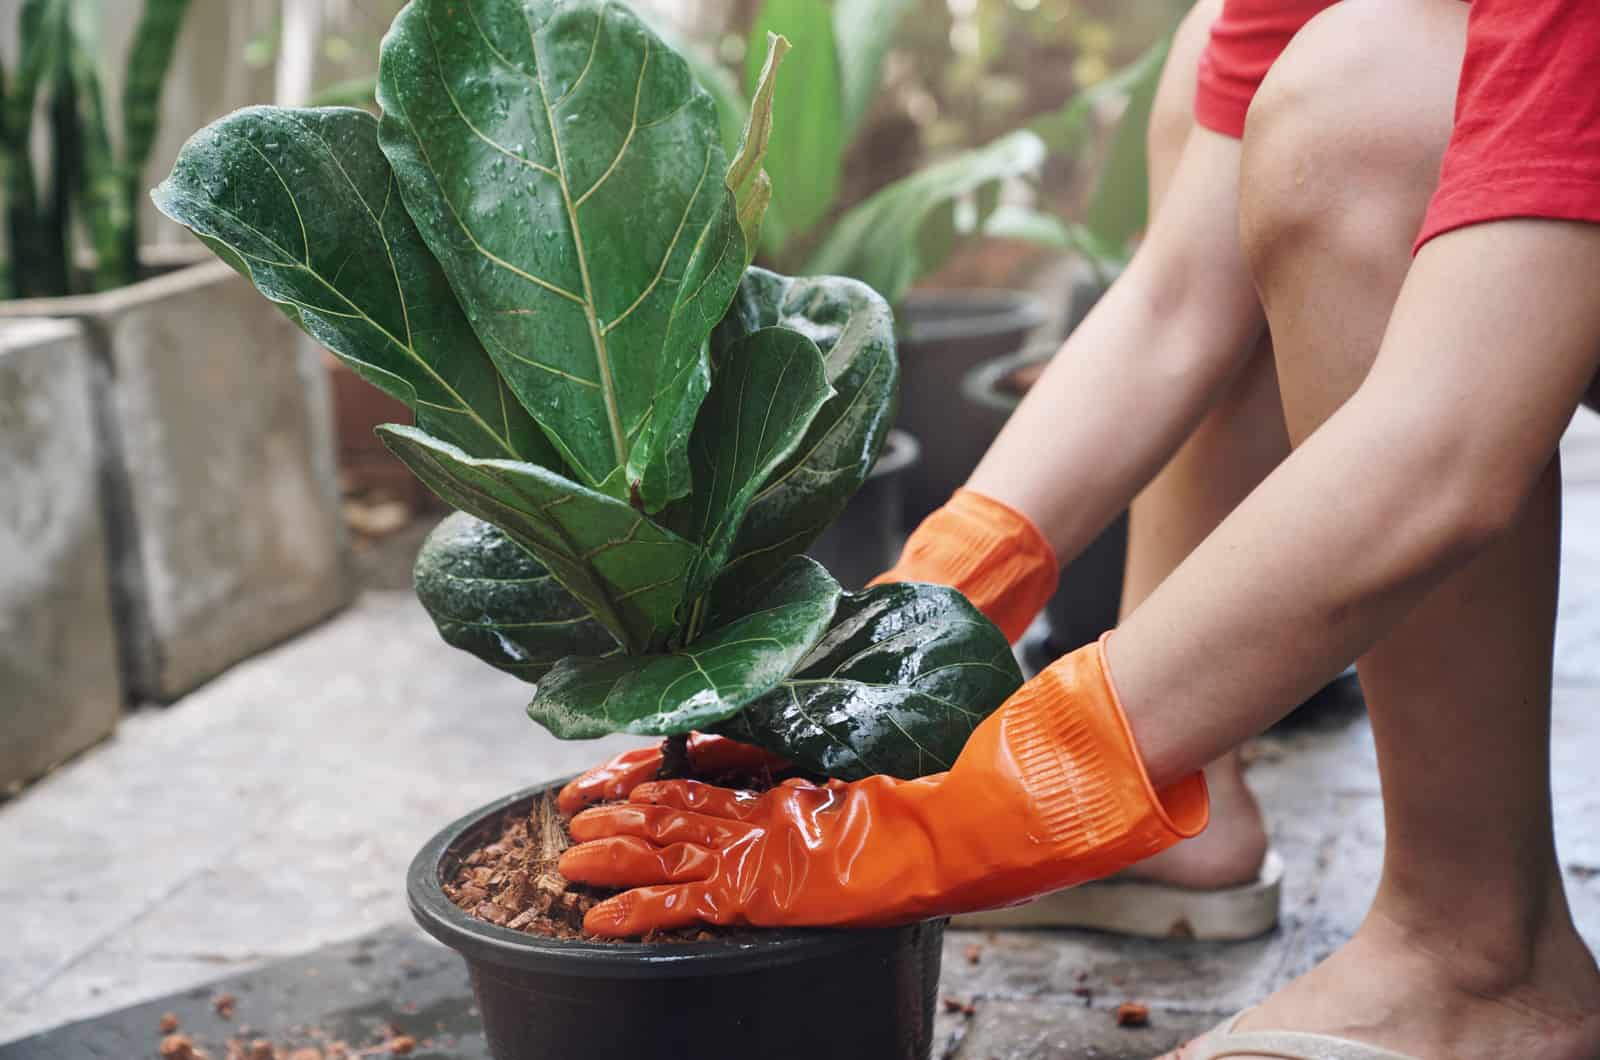
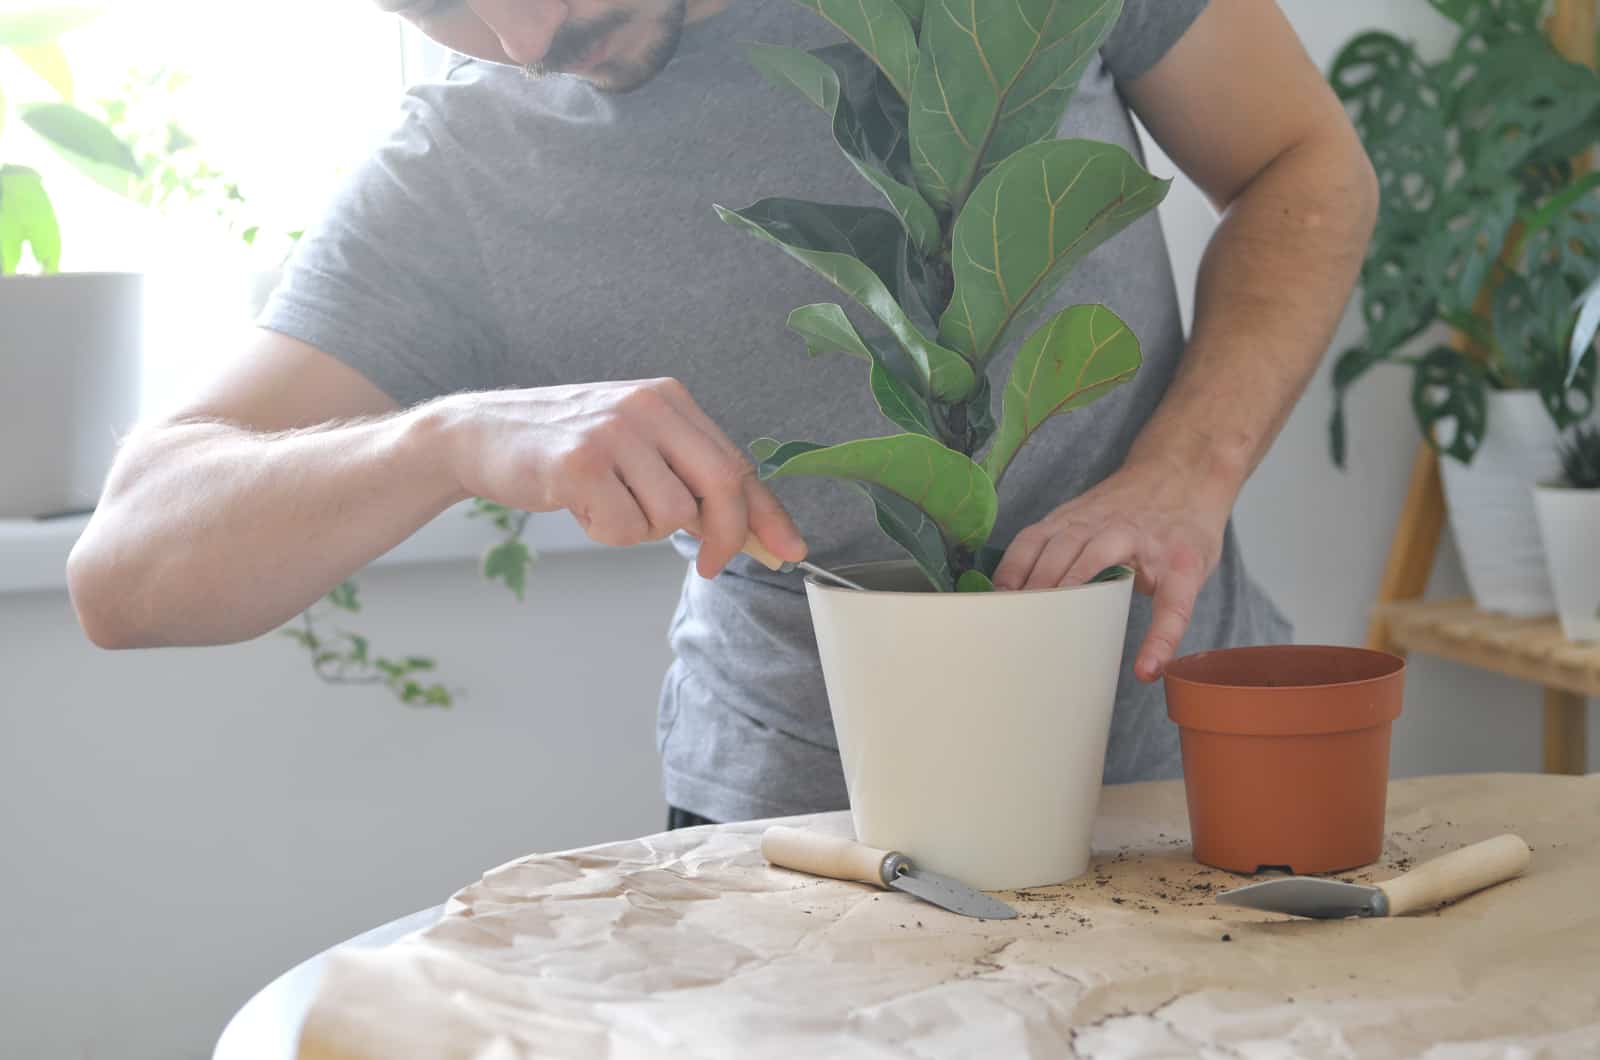
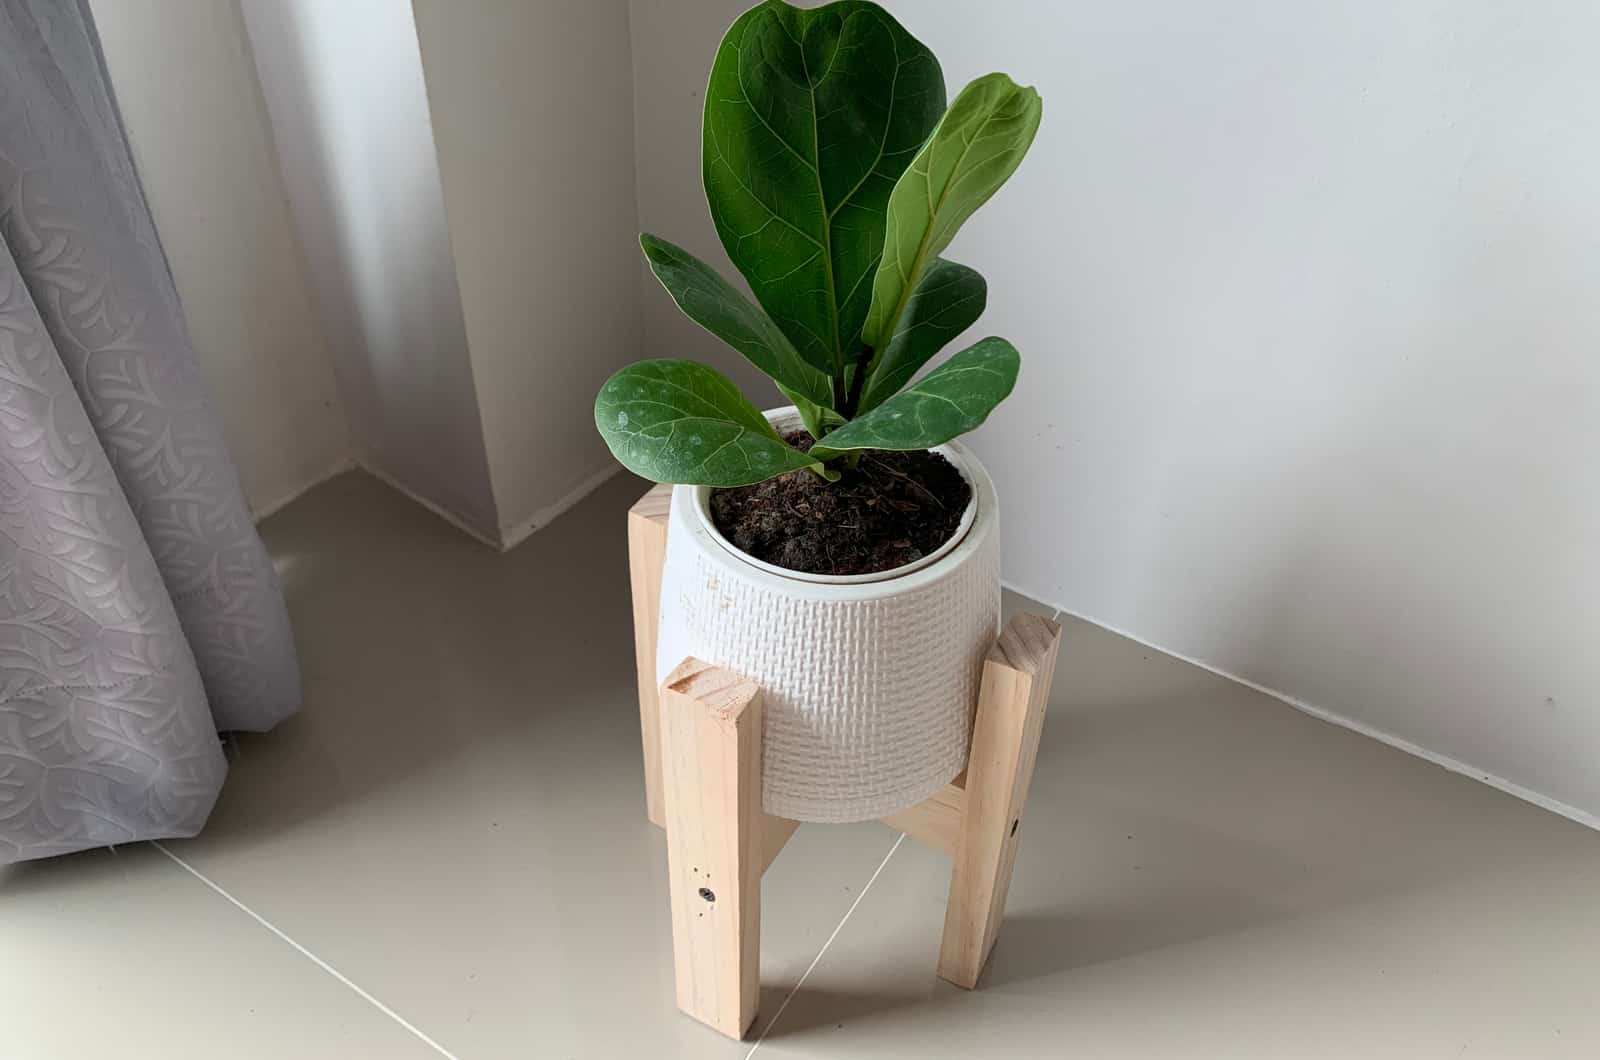
Step 5: Put The Plant In The New Pot
In this step, you put the plant in the center of the pot and fill the rest with soil. Bear in mind that the entire root ball should be covered with soil.
You might need some help if your FLF is large — the best way is to hold the plant upright and fill in the sides.
You should then gently press around the roots so that it all settles in together. Don’t put too much pressure on the soil, be gentle with your plant!
Step 6: Water The Repotted Plant
Watering after repotting is a crucial step as it will help the soil settle between the plant’s roots. You should thoroughly water the plant and let it drain.
If you notice that the soil has lowered, you can go ahead and put some more — just make sure that you press it down gently.
You will have to water your FLF again when the top of the soil has dried. This trick is commonly used when figuring out a watering schedule because it can be hard to determine how many times you should water the plant in a week. In this case, just check the soil and you are good to go!
Though some might say that you should apply fertilizers after repotting, I would suggest you avoid fertilizing for at least a month after your plant has been repotted because the roots need time to adapt to their new home!
In the meantime, you can add some type of soil conditioner to make the soil perfect for your plant.
And, finally, follow through with regular plant care and keep your Fiddle leaf fig in bright indirect light.
You can also check out this amazing video that contains loads of information about repotting:
More Tips About Repotting
Now we will cover some tips and tricks about repotting, and find out what your fig needs in order to grow big and strong!
Proper drainage and pot size are the key to successful repotting, followed by well-draining fiddle leaf fig soil.
Without further ado, let’s get started!
How To Know When Your Fiddle Leaf Fig Needs Repotting
Once your fiddle leaf fig tree has outgrown its current pot and becomes rootbound, it is time for repotting. But, how can you tell when it’s ready?
There are a few details that you should pay close attention to, such as the growth habits and roots.
Remember that you should only repot the plant during the growing season. Avoid repotting the plant during the winter as it has entered dormancy, and repotting in this period might seriously damage your plant!
Roots Popping Out
If you notice that the roots are coming out of either the drainage holes or the soil surface, then your plant is probably rootbound.
In some cases, these roots will continue to grow on the outside of the pot simply because they have nowhere to go!
This is an obvious sign that your plant needs much more space, so you should repot it into a bigger pot.
Slow Growth
Slow growth during the growing season is another indicator that your plant needs repotting. If you notice that your plant has stopped growing, check the roots first. Once you notice them coming out of the drainage holes, you’ll know what to do.
Please note that this does not apply during the winter season when your plant enters dormancy, as it is completely normal for it to grow slower because it does not absorb much water and nutrients.
Soil Is Drying Too Quickly Or Not At All
If you notice that the soil dries out too quickly, it means that there isn’t much soil left because your plant’s roots have taken up all the space! New soil and a larger pot are unavoidable at this point.
On the contrary, if you have repotted the plant in the correct soil mix, but it doesn’t seem to dry out, then you have probably used a pot that is a bit too large for your plant. Consider repotting your plant in a smaller pot rather than risking overwatering.
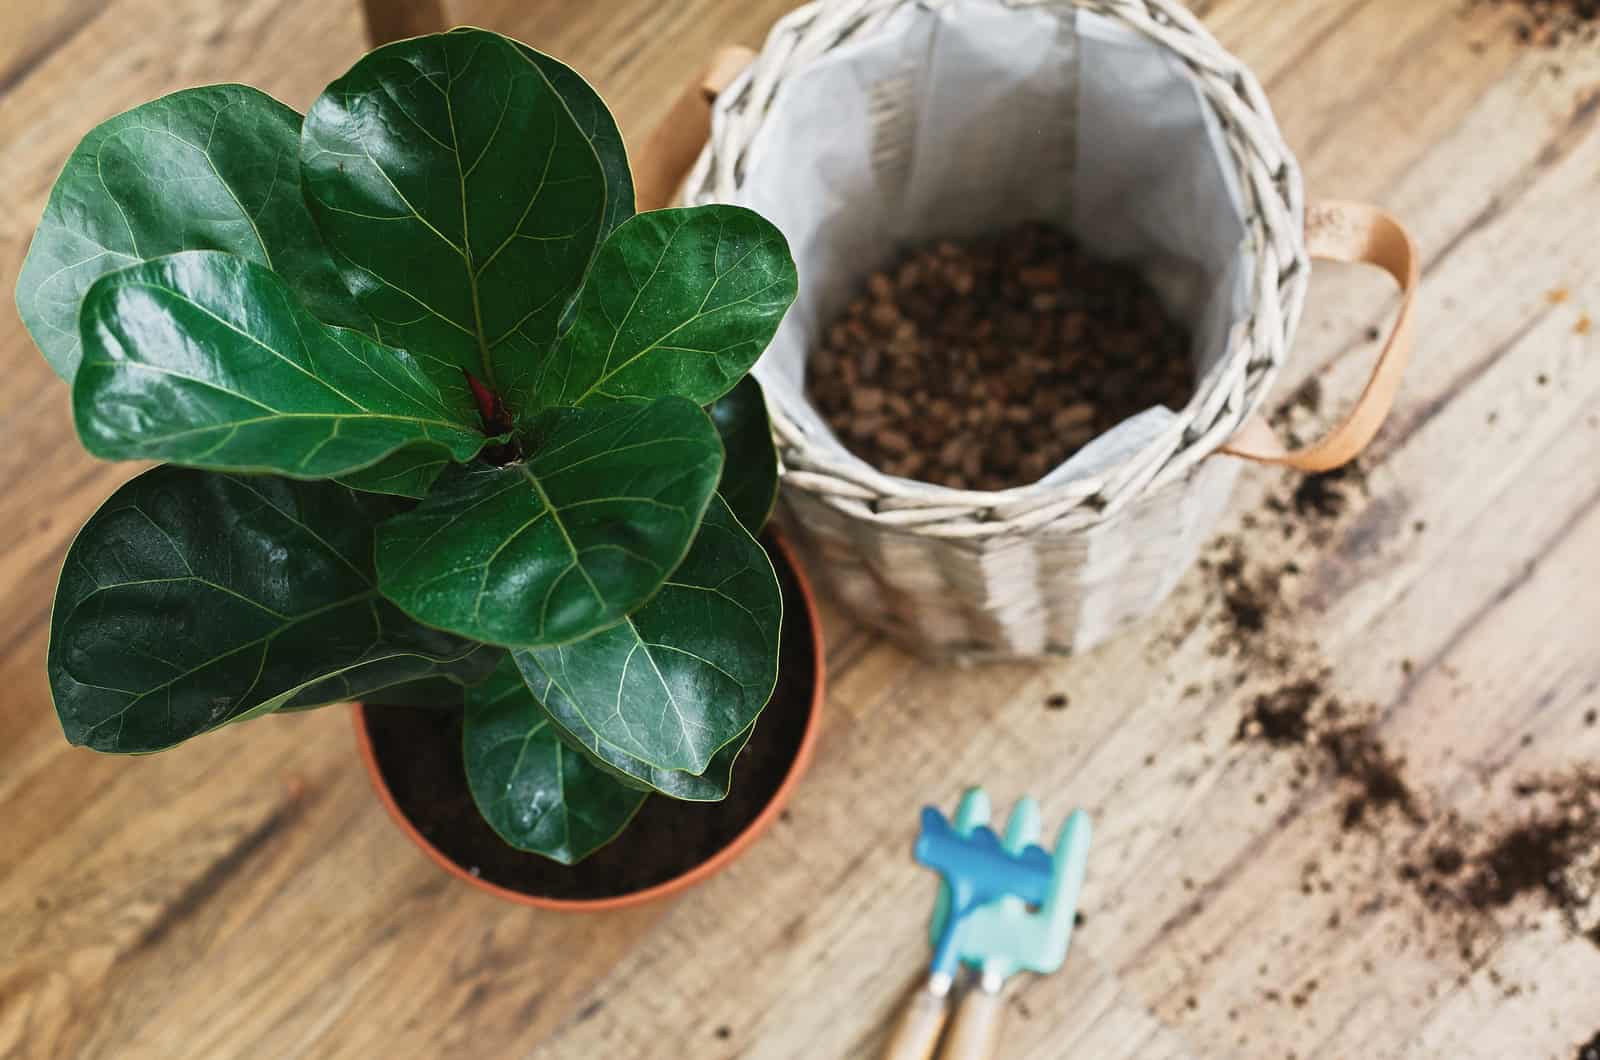
Repot The Brand New Plant
When you buy a brand new plant, it usually comes in a plastic pot. These pots have drainage holes in the side rather than the bottom so they can keep the roots dry. These types of pots instantly drain the excess water, which is why growers have to water the plants on a daily basis.
However, this is a great method for preventing root rot in Fiddle leaf fig plants.
Your Fiddle leaf fig will continue growing and developing, which is why you should repot after a few days. In case you don’t have time for repotting in the first few days, then water the plant slowly every day so that the roots are not completely dry.
What Materials Are Necessary For Repotting?
The answer might be pretty obvious; the necessary materials for repotting a fiddle leaf fig plant are a pot and new soil. But, how can you tell what the correct pot size is and what type of potting soil to use for your FLF?
Luckily, we are here to tell you everything you need to know!
Choose The Correct Pot
The general rule when repotting any type of plant is to use a pot that is 1 or 2 inches larger than your current one.
If you repot your Fiddle leaf fig plant in a pot that is much bigger, your plant will only focus on developing the roots to fill out the empty spaces, and not on producing new leaves that season.
Also, because there is more than enough soil it will take longer for the soil to dry out, which makes it more susceptible to pests and fungi.
It is extremely important that your pot has drainage holes in the bottom. If you want to put your plant in a decorative cachepot that doesn’t have drainage holes, you will have to either drill them yourself or put your plant in a plastic pot with drainage holes and place that in the pretty cachepot.
I did this with the pot for my Monstera plant, and I didn’t have any issues.
Use The Best Soil For Your Fiddle Leaf Fig
As we already mentioned, your Fiddle leaf fig plant thrives in loose and well draining soil, and you can either use a store-bought potting mix or make one yourself.
Whichever option you choose, remember that you should always repot your FLF plant in fresh soil — never reuse the one from the previous pot!
You can use succulent or cactus potting soil for your plant — both can provide proper drainage and airflow.
If you want to use a DIY potting soil, you can mix peat-based soil (2/3) and perlite (1/3) and your Fiddle leaf fig will absolutely love it!
It will promote the proper delivery of water and nutrients to the roots, as well as the establishment of a strong root system.
What Can You Do After Repotting?
There are a few things that you can do to make the most out of repotting. This usually involves adding plant food to promote new growth and development, however, it is important to continue with proper plant care so that your plant can adapt to the changes.
Water Thoroughly
As we already mentioned, you should water your repotted plant until excess water starts dripping out through the drainage holes.
Your old watering schedule won’t apply here because you have repotted your plant to a larger pot, which will naturally require more watering.
However, we have a few care tips up our sleeves to help get you in the game!
Watering is one of the most critical aspects of fig plant maintenance because if done incorrectly it can cause many issues, such as overwatering and yellowing leaves.
It took me a long time to figure out the best watering plan for my fig tree.
If a Fiddle Leaf Fig does not receive enough water, it will wilt and lose its lovely green tone.
If it receives too much water, it will likely lead to overwatering. Your fig will almost certainly develop root rot if the potting soil is overwatered, and you will have to repot your plant once again — could you imagine the stress that the plant would go through!
Put Them In The Same Spot
The best tip that any gardener can give you when taking care of an indoor plant is to mimic its natural habitat. This means that you should provide your tropical plants with indirect light and a humid environment, just like in deep rainforests!
If you have bought a new Fiddle leaf fig plant, you should never expose it to direct sunlight because it only enjoys a little early or late afternoon sun. Instead, aim for bright indirect light.
Keeping the plant in low light for an extended period of time, on the other hand, may cause stunted growth. This is especially critical for a young tree, which needs more light to thrive.
Once repotted, bring your plant back to its original spot so that it doesn’t have to deal with yet another change.
Fertilizing
It is important to wait at least one month after repotting to fertilize your plant again because the soil has not yet settled in, and chemicals from the fertilizers might shock it.
After that one month has passed, you are good to go!
There are so many options when it comes to fertilizers, however, I would suggest you get one with NPK formula as it is the best option for foliage and fruit production, which is what this plant is all about.
You can choose from a slow-release fertilizer, which is applied once and continuously releases nutrients over the next six months, or a liquid fertilizer that is applied weekly. There are also granular fertilizers, which are applied once a month during the growing season.
Avoid fertilizing your Fiddle leaf fig plant during the winter because it enters dormancy and doesn’t need any nutrients.
Frequently Asked Questions
1. What are some common problems with the Fiddle leaf fig?
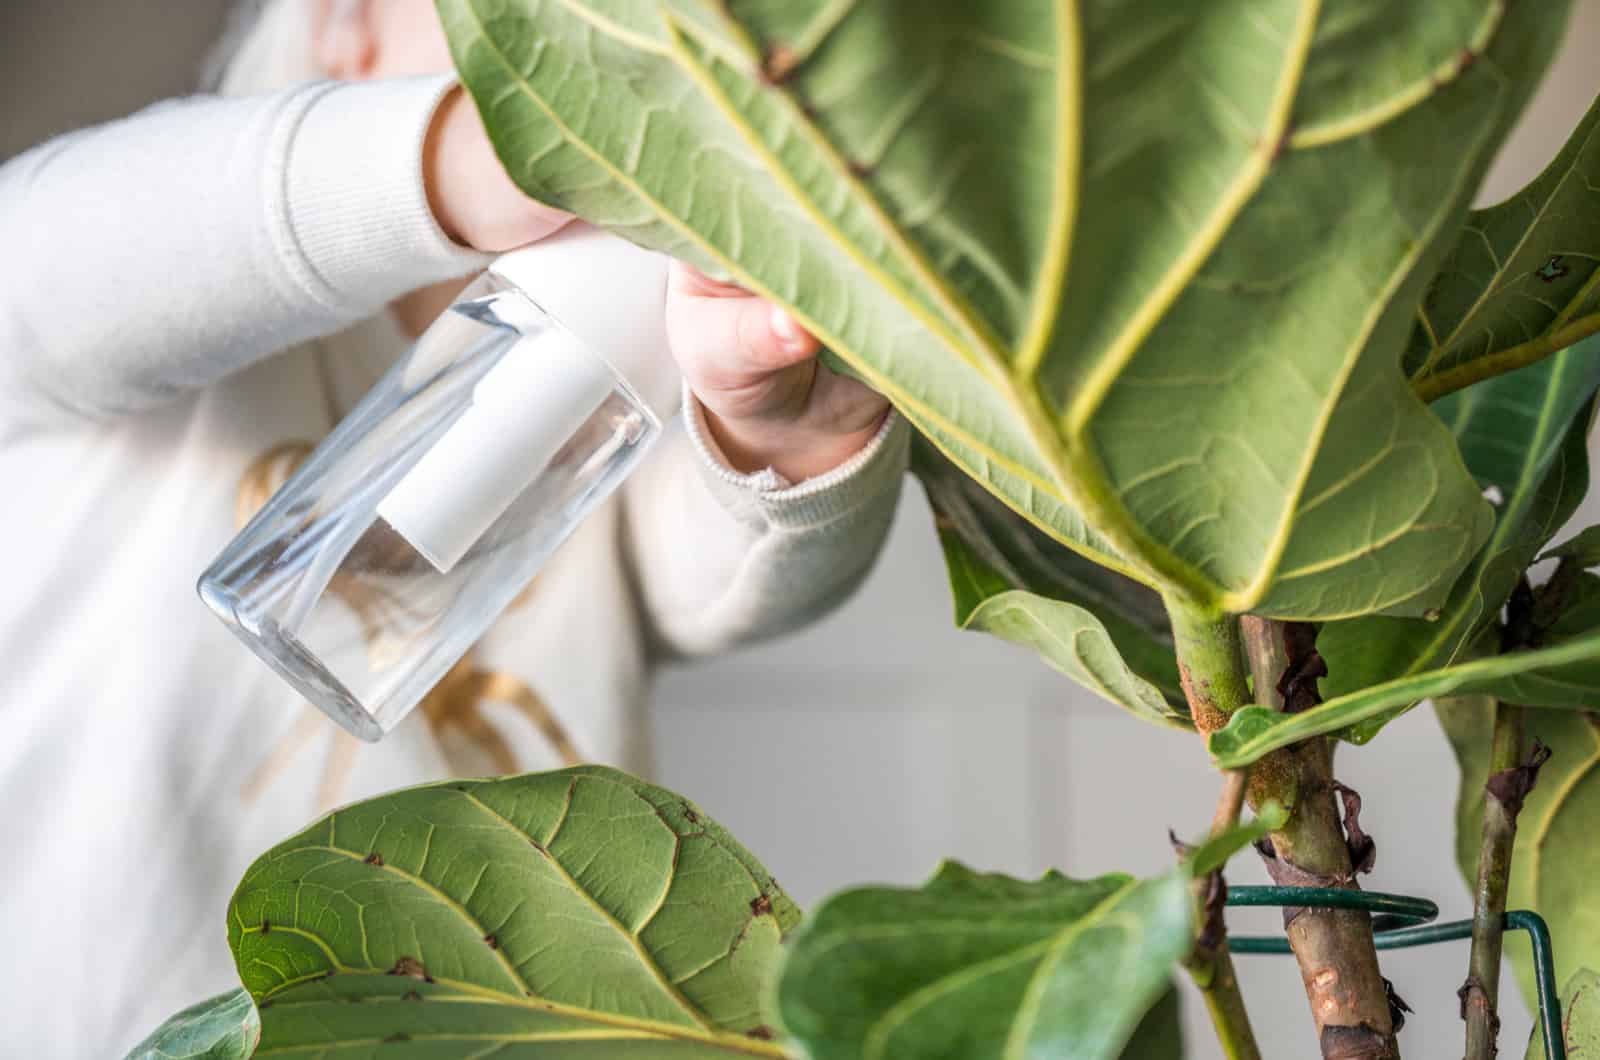
In addition to overwatering, which is usually manifested by yellowing and dropping leaves, root rot is the most common problem with the fiddle leaf fig. This isn’t surprising because it is a result of overwatering.
However, if you notice any brown spots on the leaves then your plant might be dealing with bacterial leaf spot. To prevent this disease, avoid watering the leaves of your plant and remove any fallen leaves from the soil.
In addition to this, your Fiddle leaf fig is also susceptible to various pests, including spider mites, aphids, white flies, scale, and mealy bugs. But remember, these are not likely to invade a perfectly healthy plant!
If they do invade your plant, you can use neem oil or go to your local nursery and buy some other type of pest control to treat them.
2. How do you propagate a Fiddle leaf fig?
There are a few options when it comes to propagating a Fiddle leaf fig plant. For instance, you can start the Fig tree cutting in water. Remember that it is extremely important to use sterilized shears when cutting the branches.
On the other hand, you can plant a rooted fig cutting in soil or water. Many growers place fig cuttings straight in the ground, which allows the roots to sprout and expand naturally. We prevent having wet roots this way.
Putting the cuttings in water, on the other hand, has a number of advantages. Because the cuttings do not receive enough water when planted in the soil, the tops of the cuttings may dry out. However, cuttings are always moist in water.
Another method for propagation of an FLF is the air-layering method, which involves growing the roots with a branch or stem that is still attached to the mother plant.
3. What are the benefits of repotting a Fiddle leaf fig?
Some of the benefits of repotting a Fiddle leaf fig include better growth and development of the new leaves! Also, your plant is not rootbound anymore, so these little roots have enough space to grow and absorb all the essential nutrients and water!
If you repot your FLF plant at the beginning of the growing season, you can start fertilizing sooner, which means that you will have more fruit in the season!
4. Is repotting done in the spring or the fall?
The repotting of a Fiddle leaf fig is usually done in spring or early summer because that’s the period when your plant is actively growing, so it will have enough energy to deal with these changes.
Your plant enters dormancy in winter, which means that it stops growing. During this period, it won’t be needing many nutrients or much water and will be more vulnerable. Therefore, we avoid repotting during colder periods.
To Sum Up
Now you have seen that repotting Fiddle leaf fig plants isn’t a big deal!
The things you have to pay close attention to include ensuring proper drainage, the right potting soil, and the correct pot size.
The rest of the steps are pretty much the same, just remember that you should cut those long outer roots that have been circulating and poking through the drainage holes.
Water thoroughly immediately after repotting and keep your plant in bright indirect light. Wait for a month before fertilizing again, and you are good to go!
Bear in mind that you should repot these plants once every 2 to 3 years, or even sooner if they get rootbound (you’ll notice little roots coming out of the drainage holes in this case).
I hope this article was helpful.
Until next time!
Like this post? Share or pin it for later!