5 Steps For Setting Up A DIY Automatic Irrigation System In Your Garden
Are you tired of spending hours and hours watering your plants and dragging hoses around? What if I told you that there’s one simple solution to it?
Automatic watering has some great DIY options, and will help you keep your plants well hydrated and save you loads of hassle.
Don’t worry, it’s not complicated as long as you follow our 5 simple steps for setting up a DIY automatic irrigation system in your garden.
Let’s dive straight in!
1. Prepare Tools And Supplies
Before you start doing anything, you should prepare all the tools and supplies needed for this project, which are:
• Water timer
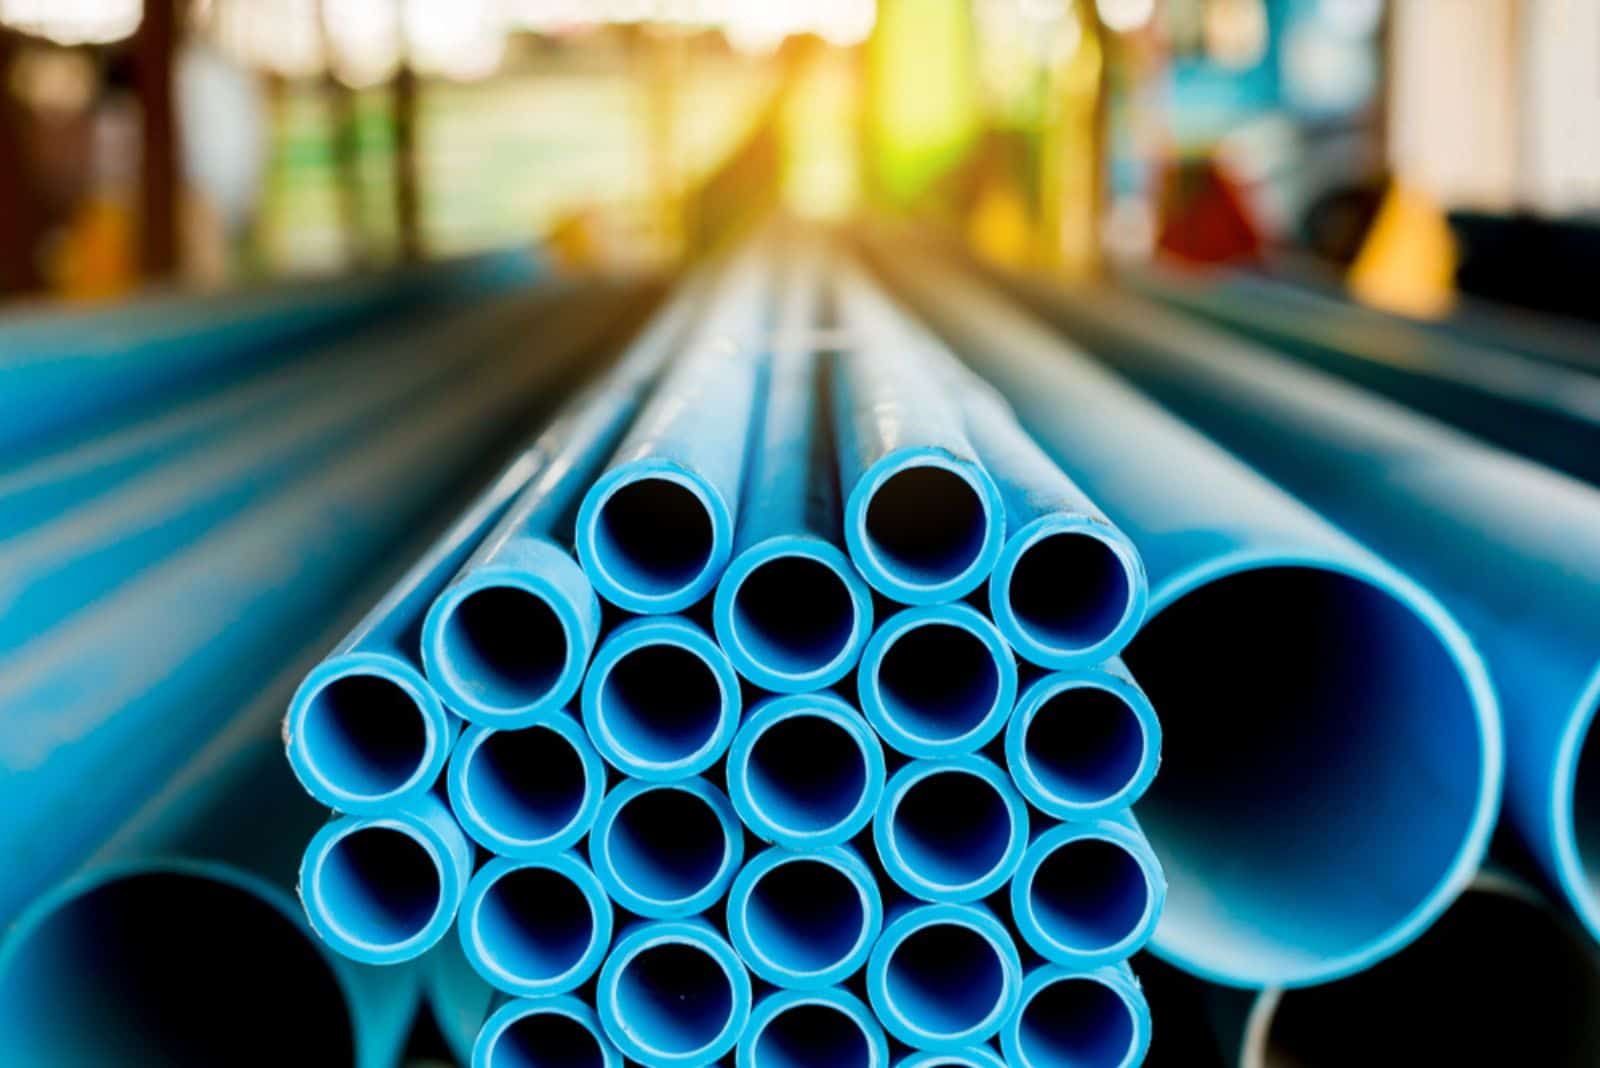
• PVC pipe (¾’’ will suffice)
• PVC glue and activator
• Fittings for assembling
• Hose adapter (female and male)
• On-off valves
• Soaker hose
You should also prepare some tools for cutting the PVC pipe (hand saw or electric saw), a tape measure, and tools for drilling.
2. Plan Out The System Configuration
Now it’s time to learn to make a detailed plan for the system configuration.
The first thing you need to do is measure the distance from the water source to the first bed, and then to each other bed you plan to irrigate using this system.
It would be beneficial to make a sketch of all the beds in your garden and the water source.
If you decide on branching out, you’ll need connectors for junctions. If you need to extend the pipe, you’ll need coupling connectors. If you want to change the direction of the irrigation line, you should go with elbow connectors.
Many gardeners use these systems for raised beds. If you have a raised bed, you should prepare fittings for every bed. They will transport water up to the hose.
I also recommend adding valves to every bed. Not all plants have the same watering needs. For instance, cucumber watering requirements differ from those of potatoes, and valves will enable you to turn off the water supply if needed.
There’s one simple formula for determining the length of the PVC pipe for raised beds.
Height of the raised bed x number of beds = total length of PVC pipe required.
3. Pipe Installation

You have two options when it comes to installing PVC pipes.
The first one is burying them approximately ¾’’ under ground level. The second option is to lay the pipes along the borders of your beds. Make sure you protect them from damage by foot traffic.
There’s one essential thing to do if you decide on the first option, which is consult with local utility location services (the phone number for call-before-you-dig is 811).
Saw the pipes to the length you determined with the formula above, and connect the fittings with glue and activator.
Don’t forget to install a valve on every bed.
4. Attaching Pipes To The Water Source
Your timer needs to be connected to the water source before you connect the PVC pipe to the timer. In most cases, an extension hose will be needed.
If you’re using one, connect it to the pipe using either male or female connectors.
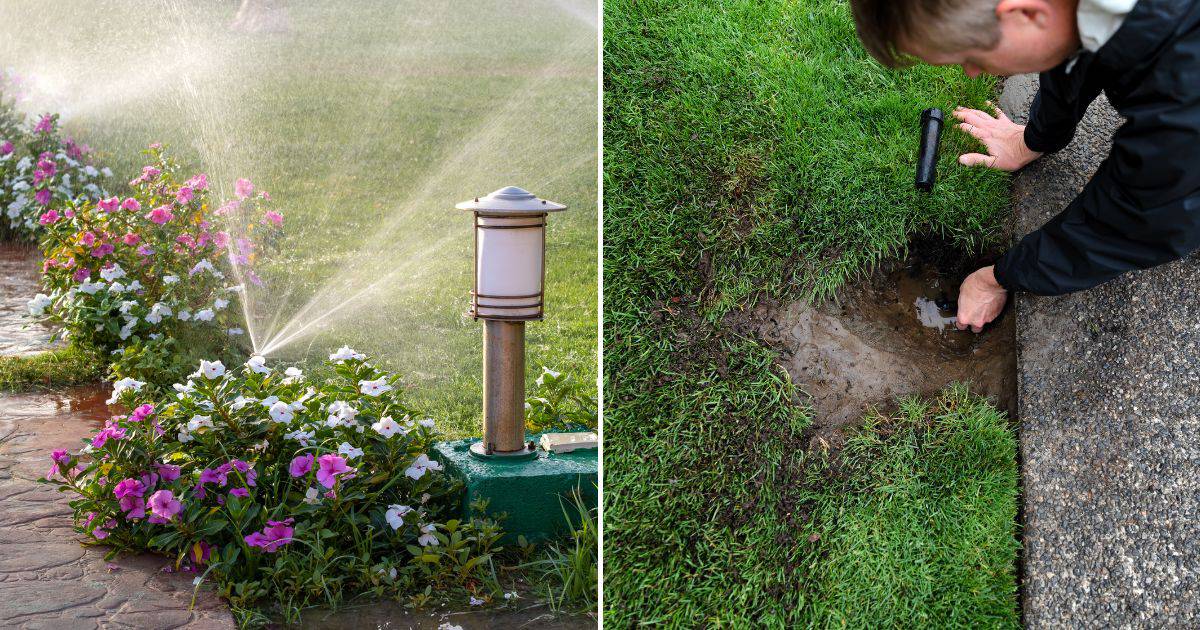
When you install the pipe, test everything by turning on the timer and checking if there are any leaks or other issues.
Pipes can get damaged over time, so it would be best to ensure structural support; you can use a pipe clip for this purpose. Drill the screw holes in the pipe and insert the screw through each hole in the pipe clip. Tug it gently to check its stability.
5. Burying The Pipe And Connecting Hoses
After testing the system and consulting with your local utility location services, it’s time to bury the PVC pipe. As mentioned before, you should bury it ¾’’ under the ground level.
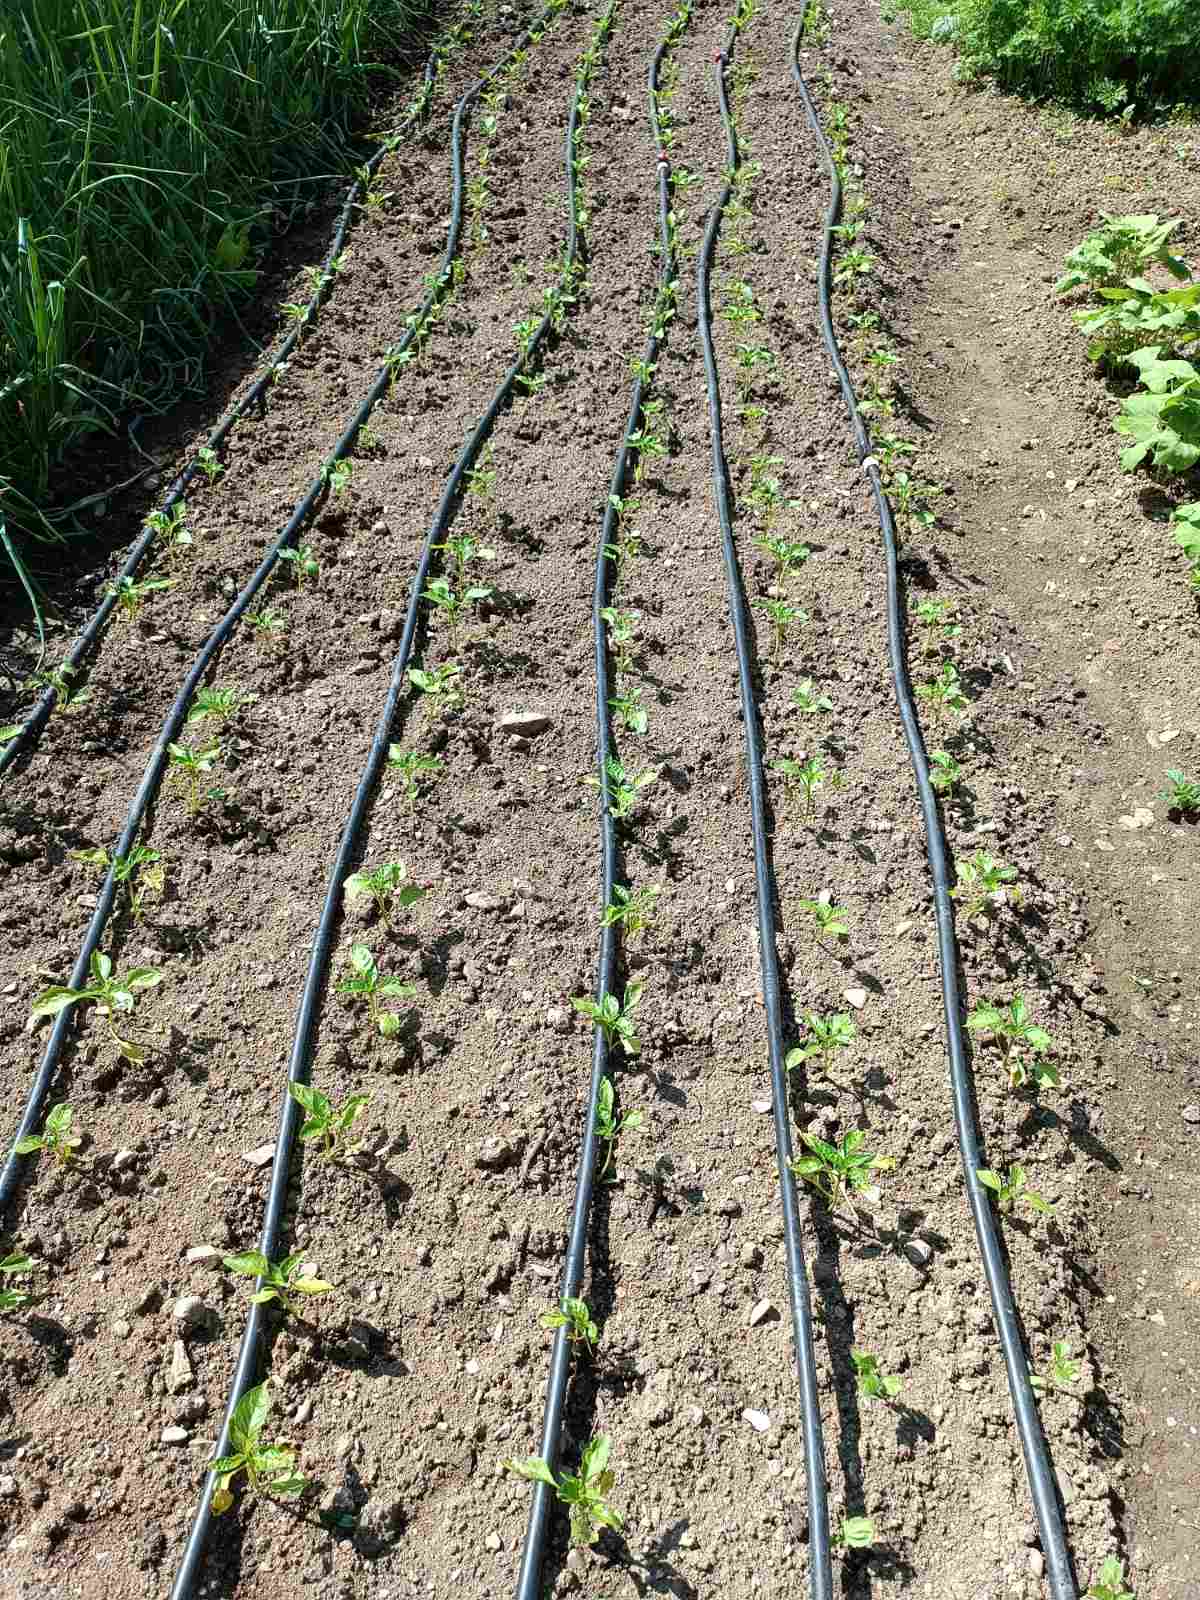
Now take female connectors and use them to attach the pipes to the soaker hose. Determine which plants require irrigation, install the valves, and turn on the timer.
Whether you wish to ease the watering of your underground veggies or boost your cucumber harvest, automatic watering systems will save you so much time and effort.
Follow our guidelines for installing it, and your garden will be well-hydrated and thriving all season long!